Rust Repair Part 14: Welding in the Passenger 2x6 Rocker
In this post we’ll continue building out the 2x6 rocker for the passenger side.
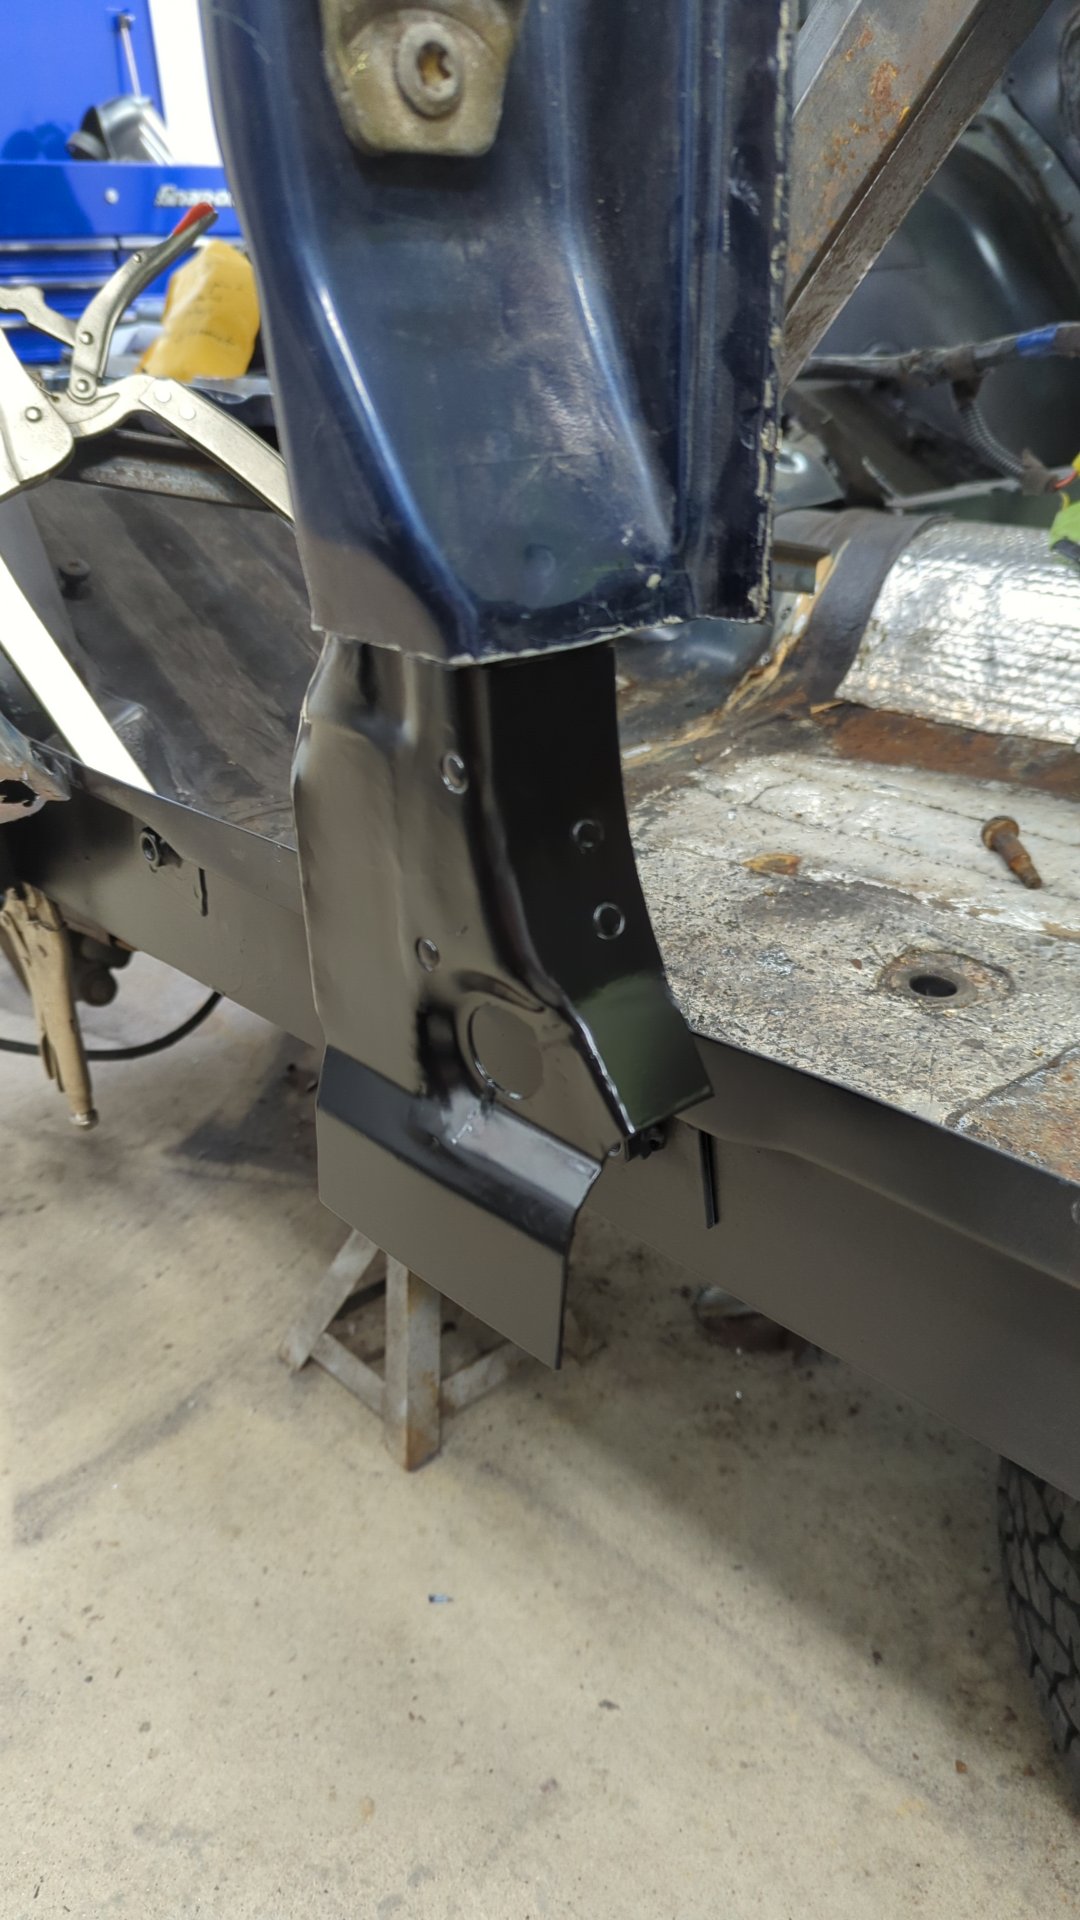
Finishing Up The A Pillar
Before I could weld up the outer rocker I needed to finish the A / B Pillars so I’d have something to weld it to.
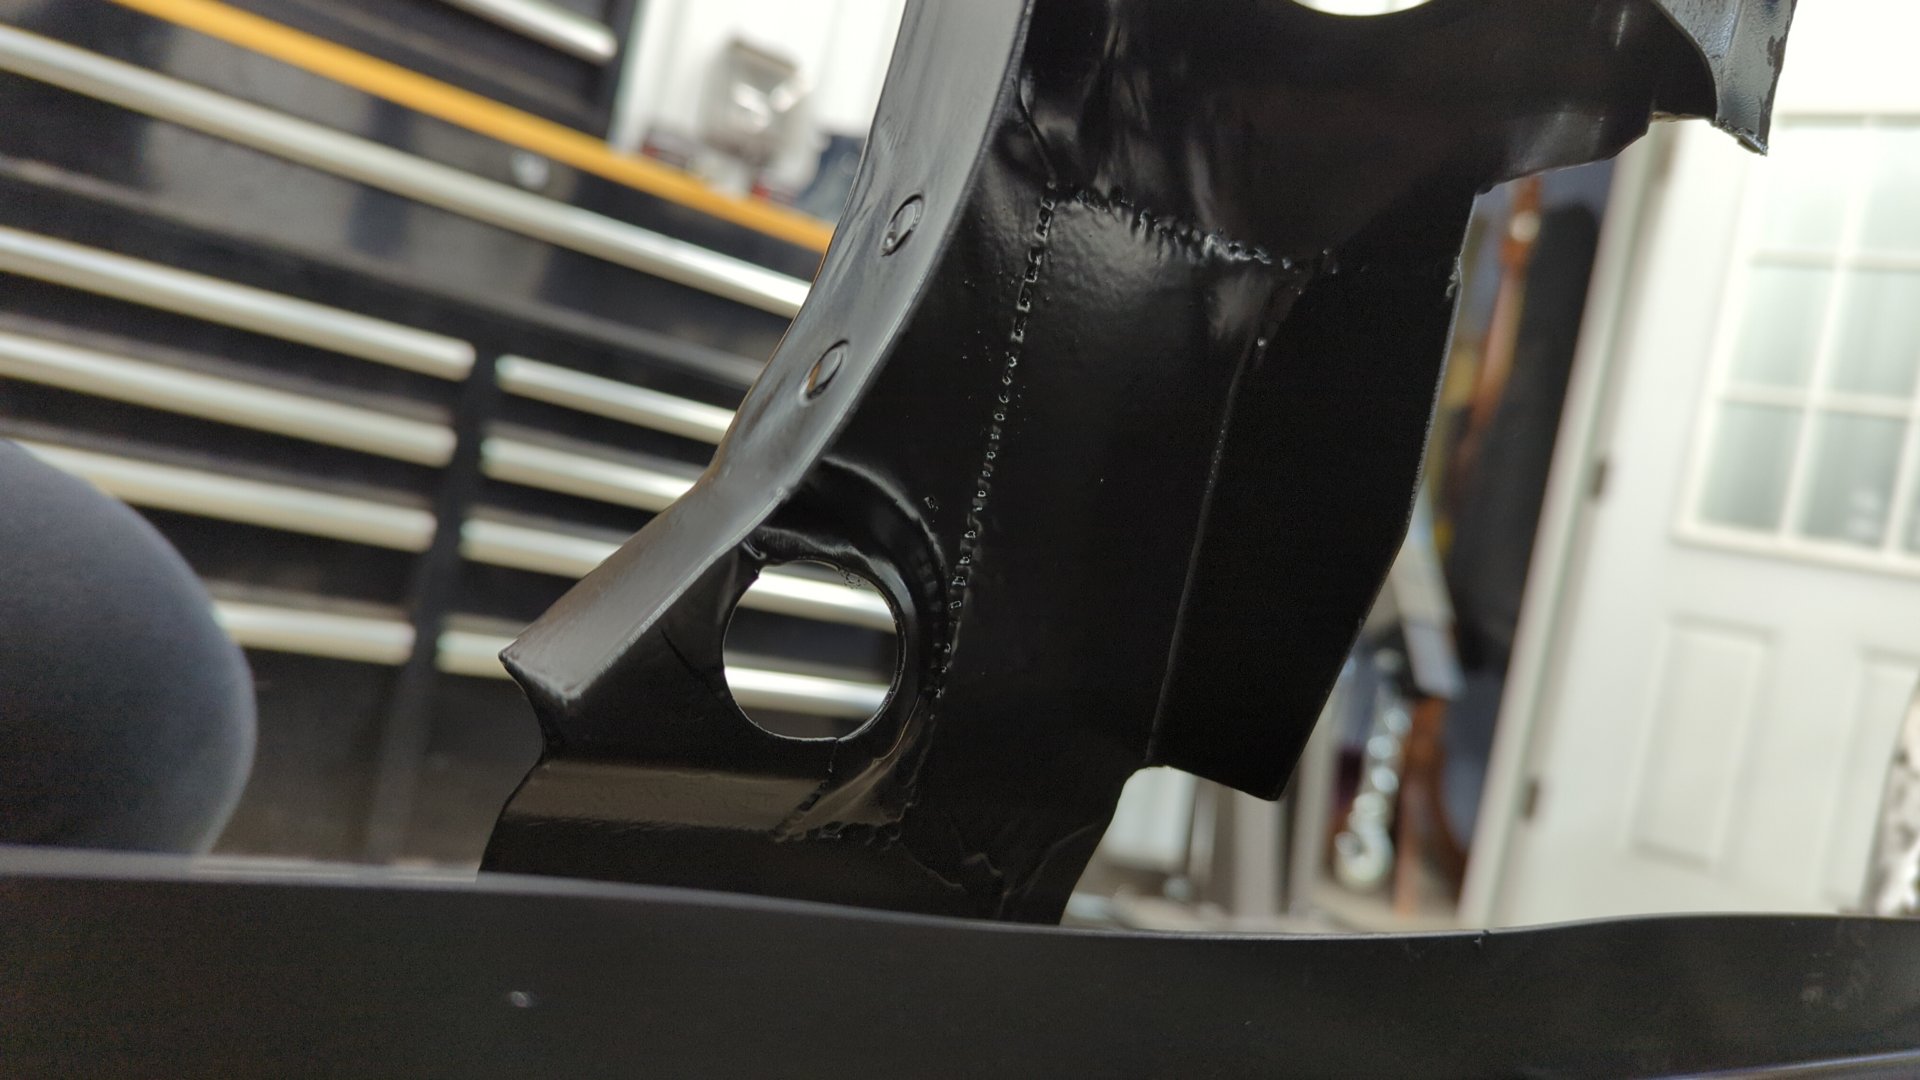
The A pillar was just about done but there was one final patch that needed to be welded up.

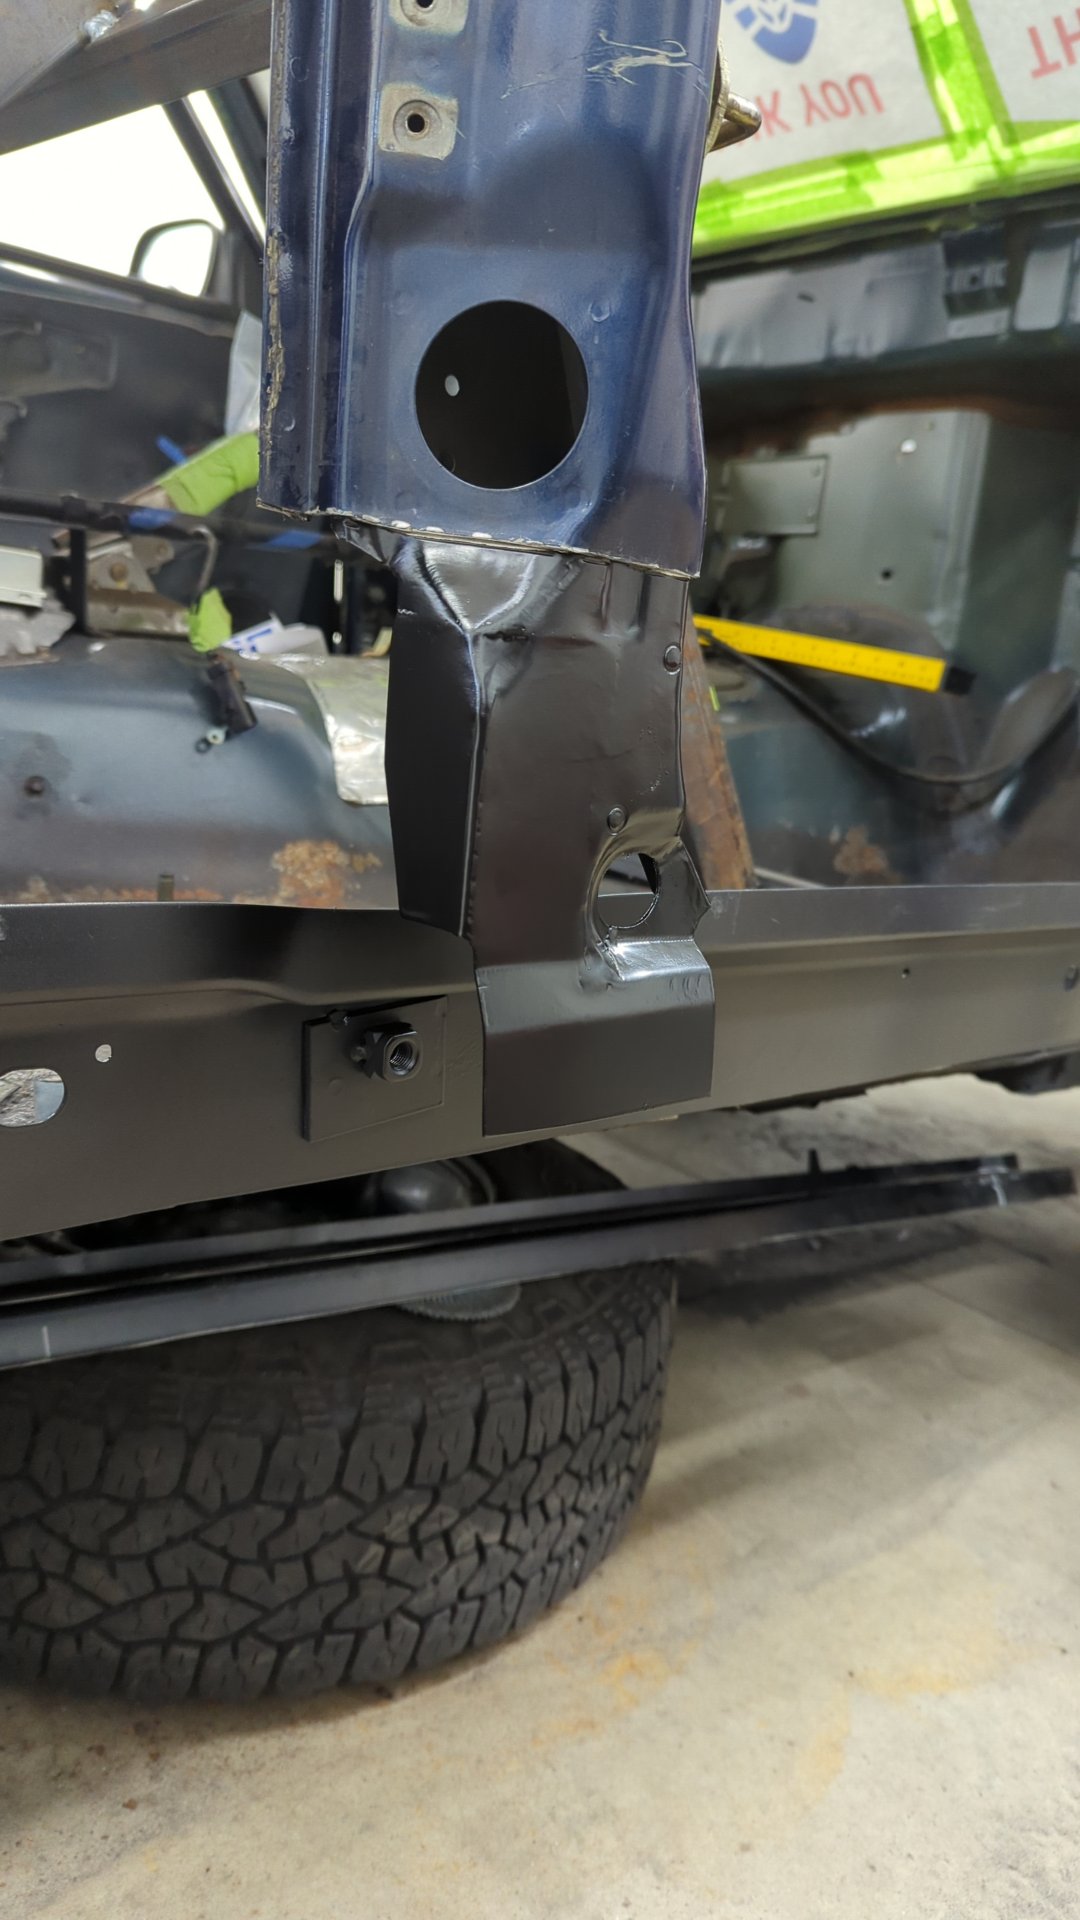
A bit of grinding on the outside cleaned up the weld nicely.
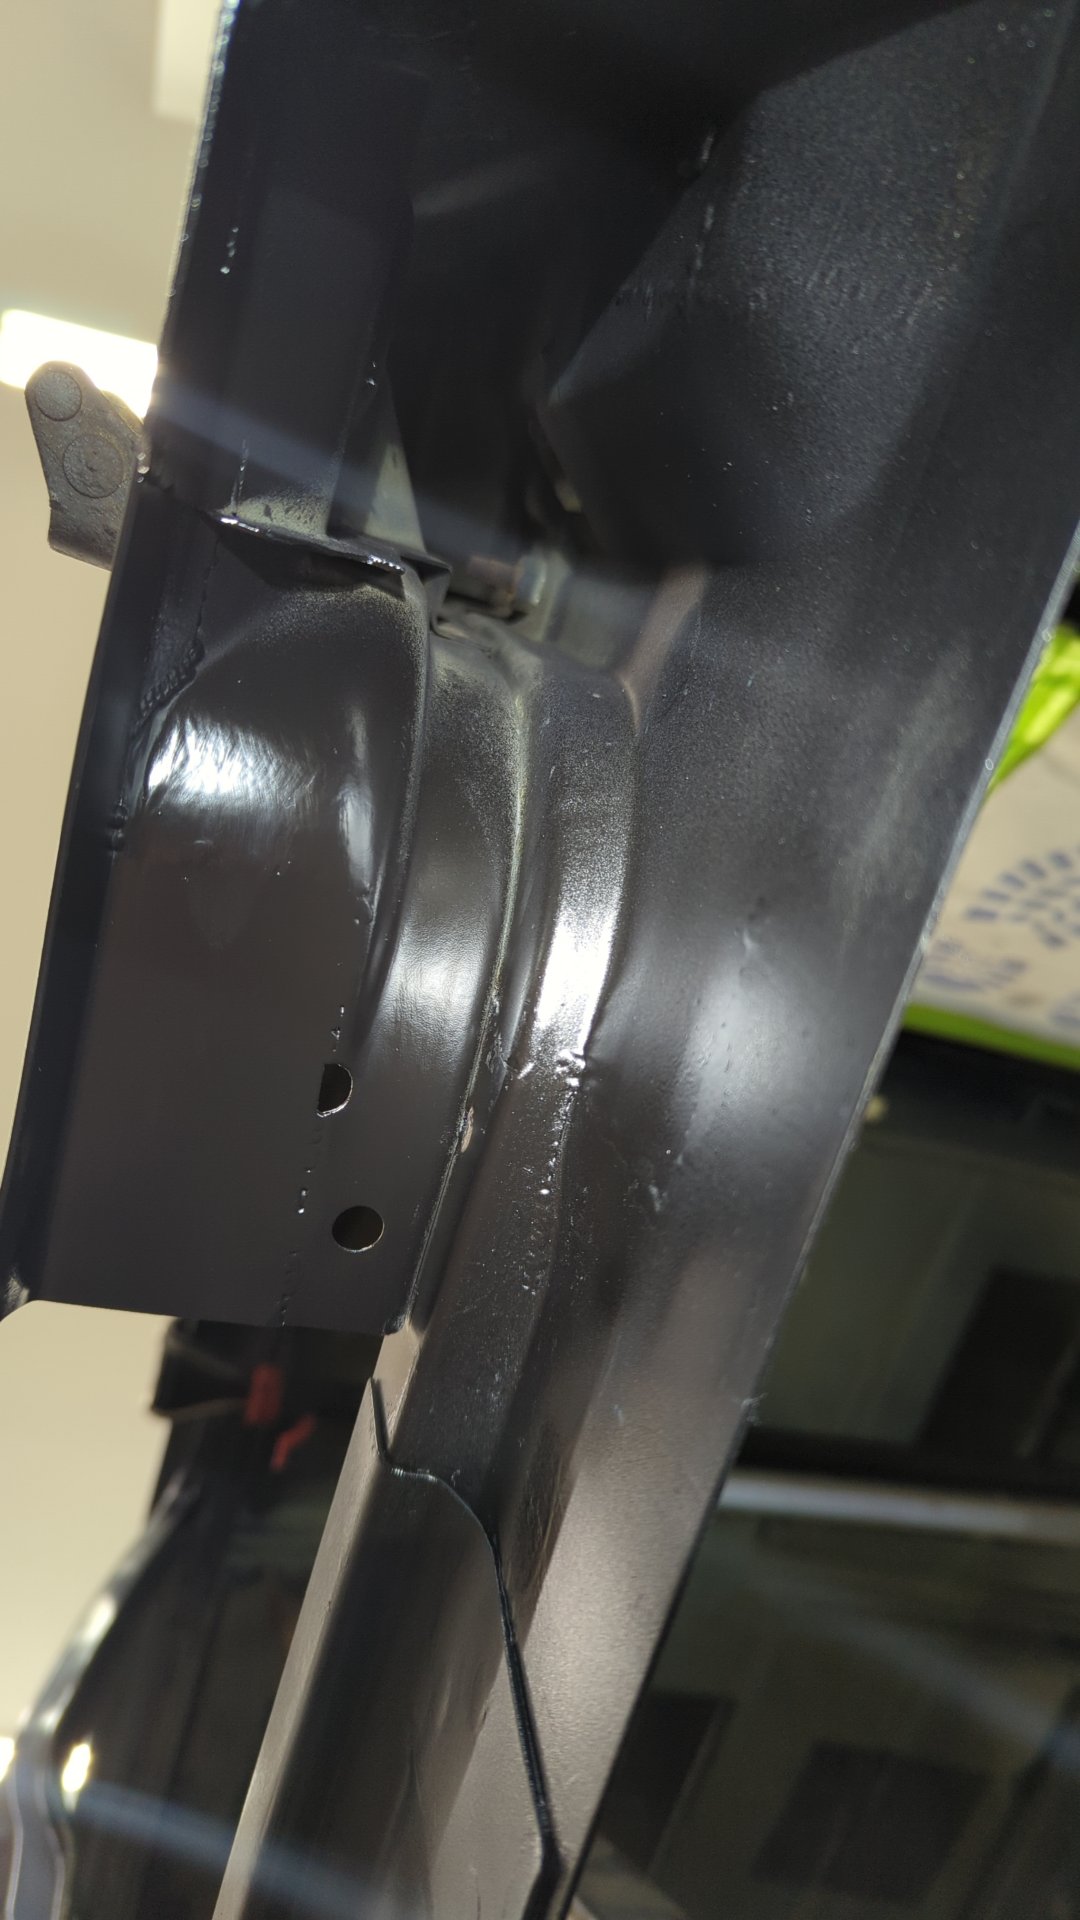
Of course the repair wouldn’t be complete without two coats of epoxy primer.

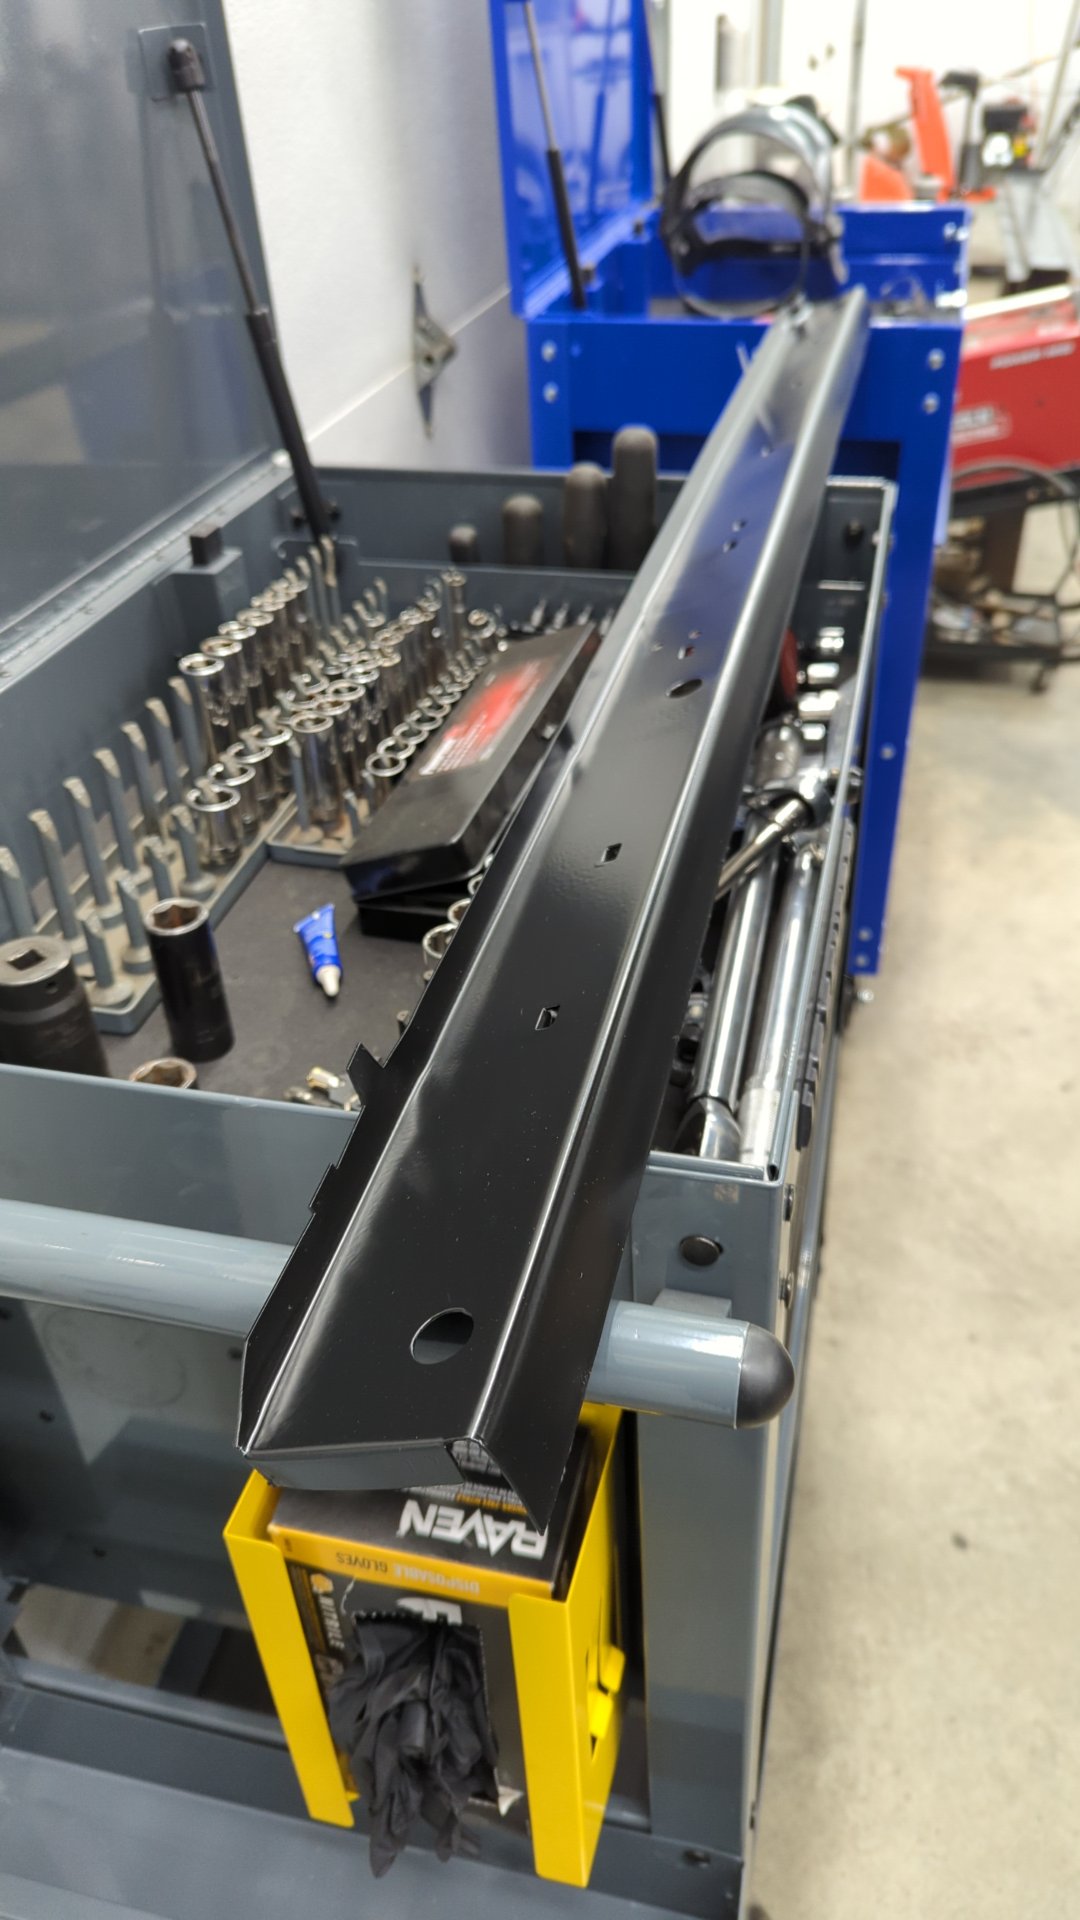
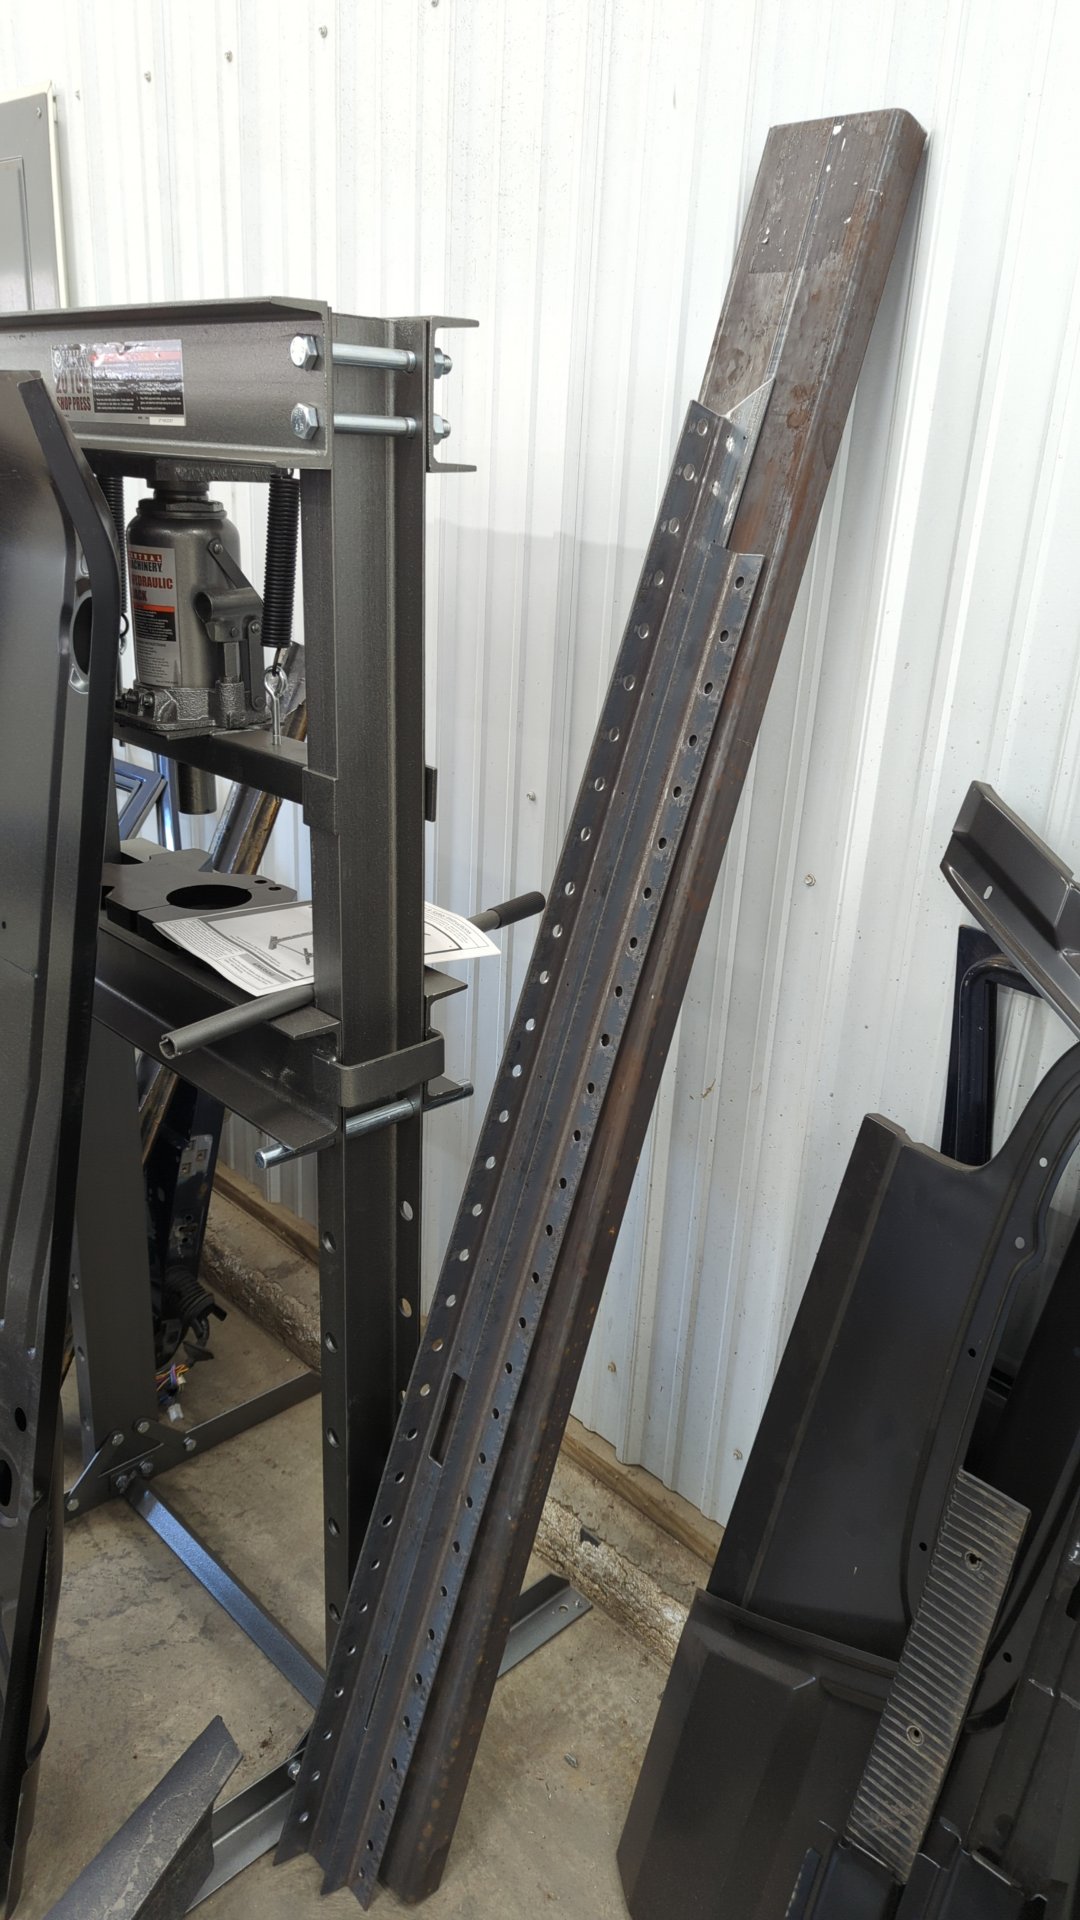
Cutting the Outer Rocker Down To Size
It still feels a bit silly to have bought new outer rockers since I wouldn’t be using much of them, but I felt like it’d help save me some time vs making my own. The rockers are over 48" long which is beyond the max capacity of my metal brake and I didn’t feel like purchasing an even larger brake, nor like the idea of making the outer rocker out of two pieces.
Basically everything on the left hanging down at an angle needs to be cut off.
To keep the rocker panel from moving I clamped it down to my table and slowly cut it with my trusty angle grinder. I believe I cut the edge at 1 3/8".
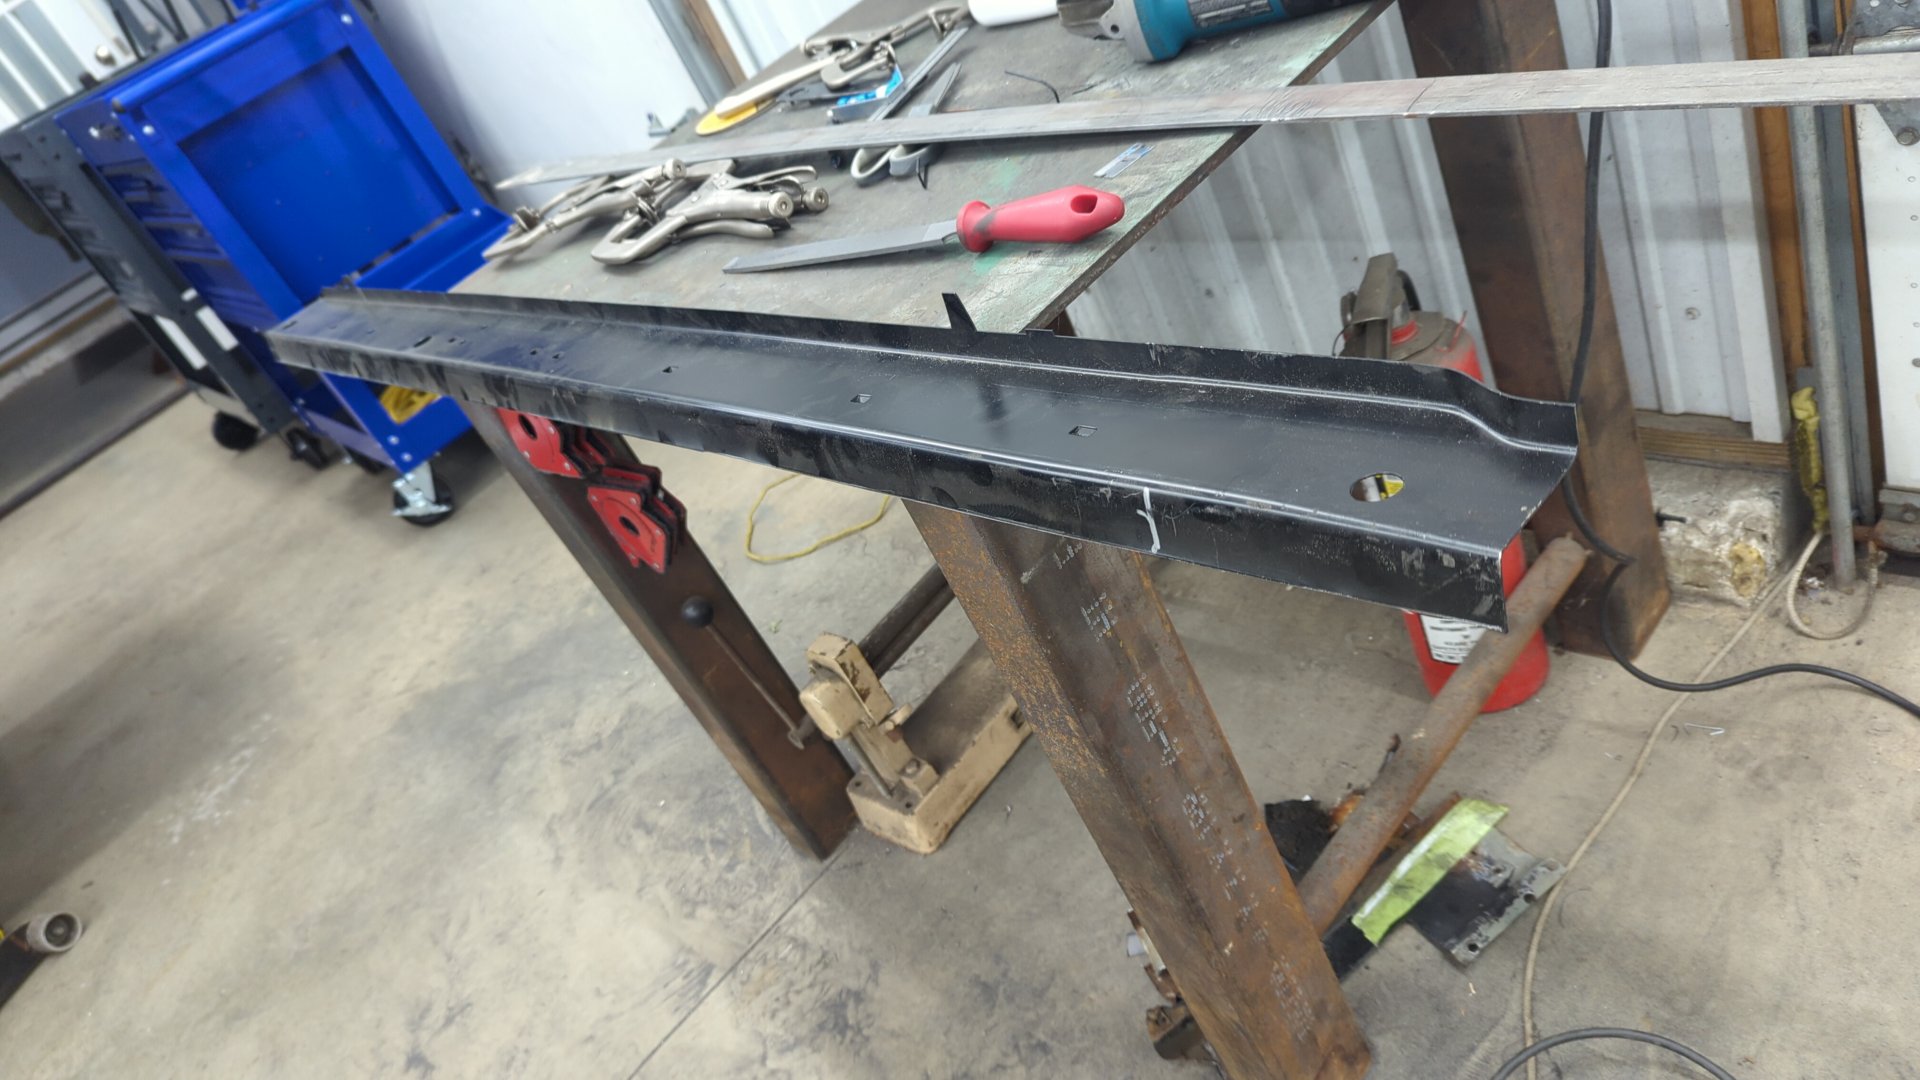
The cut came out pretty good for just an angle grinder.

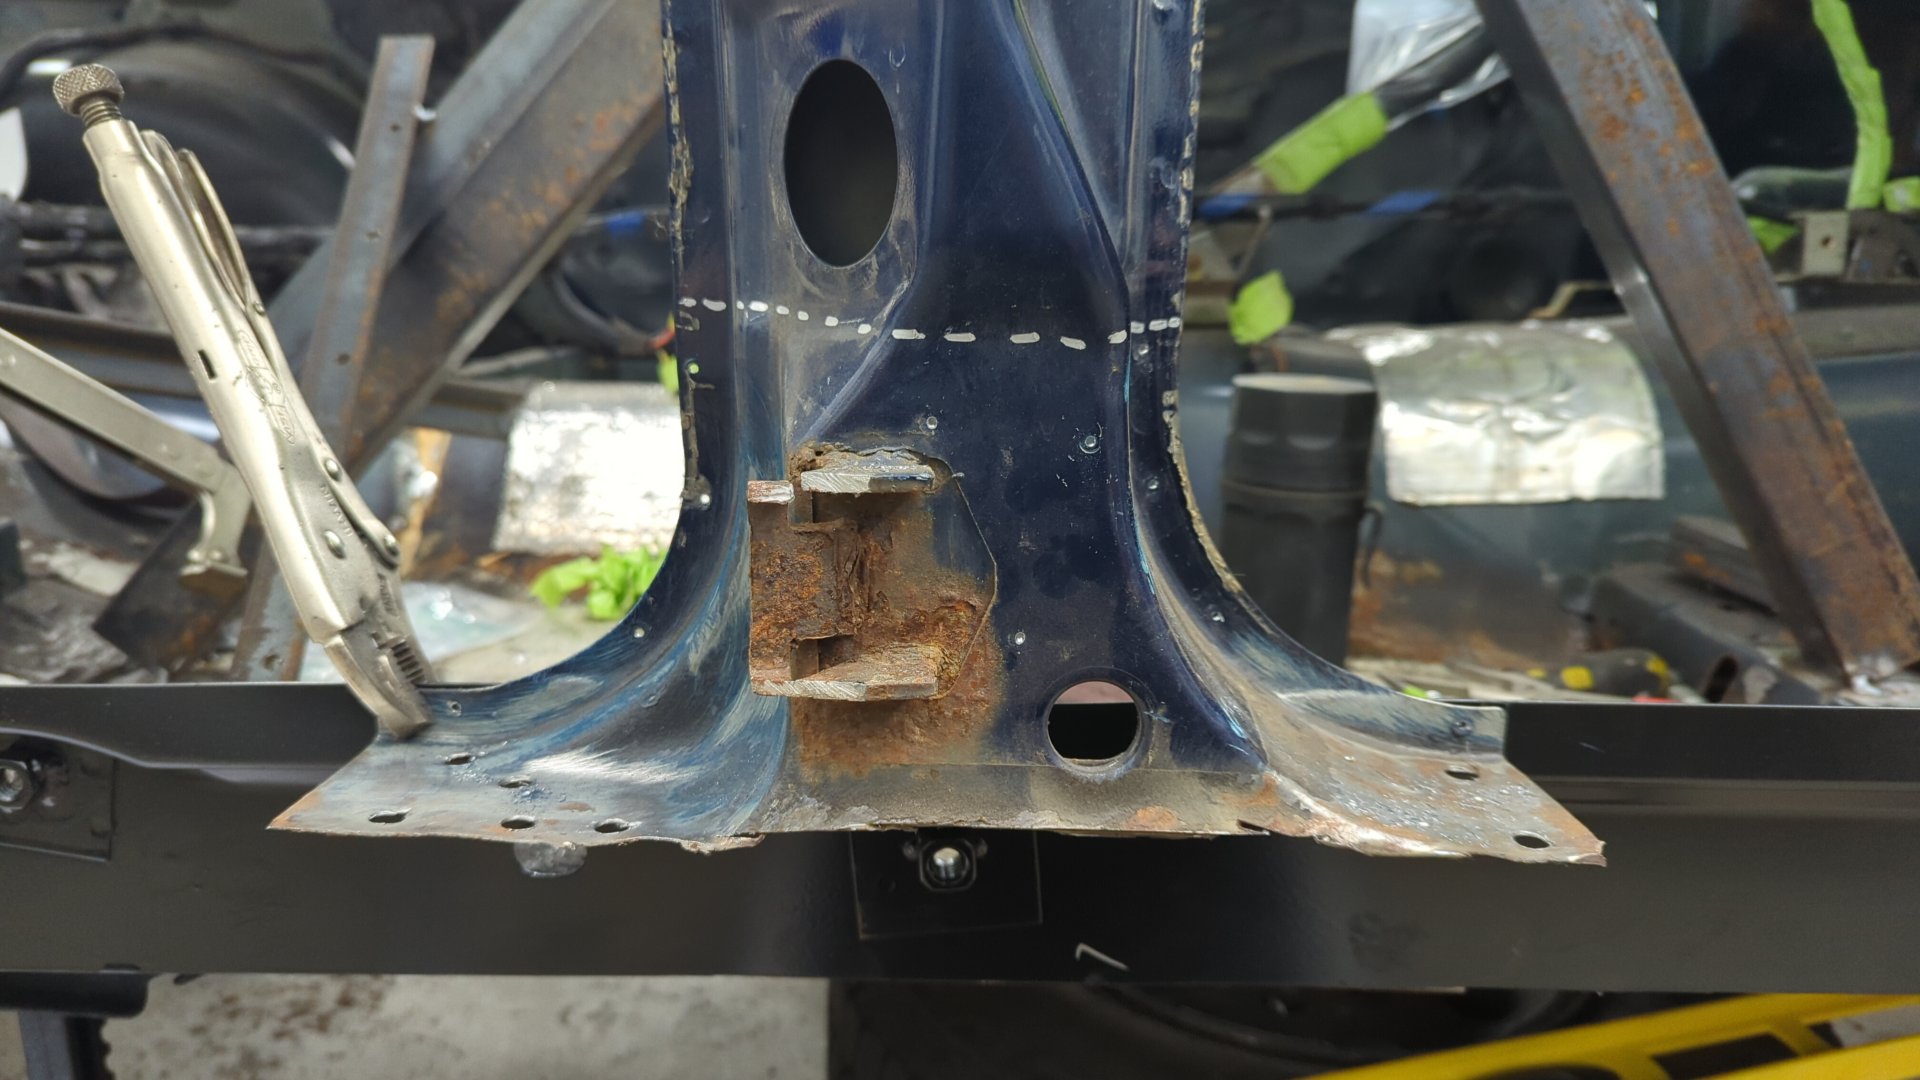
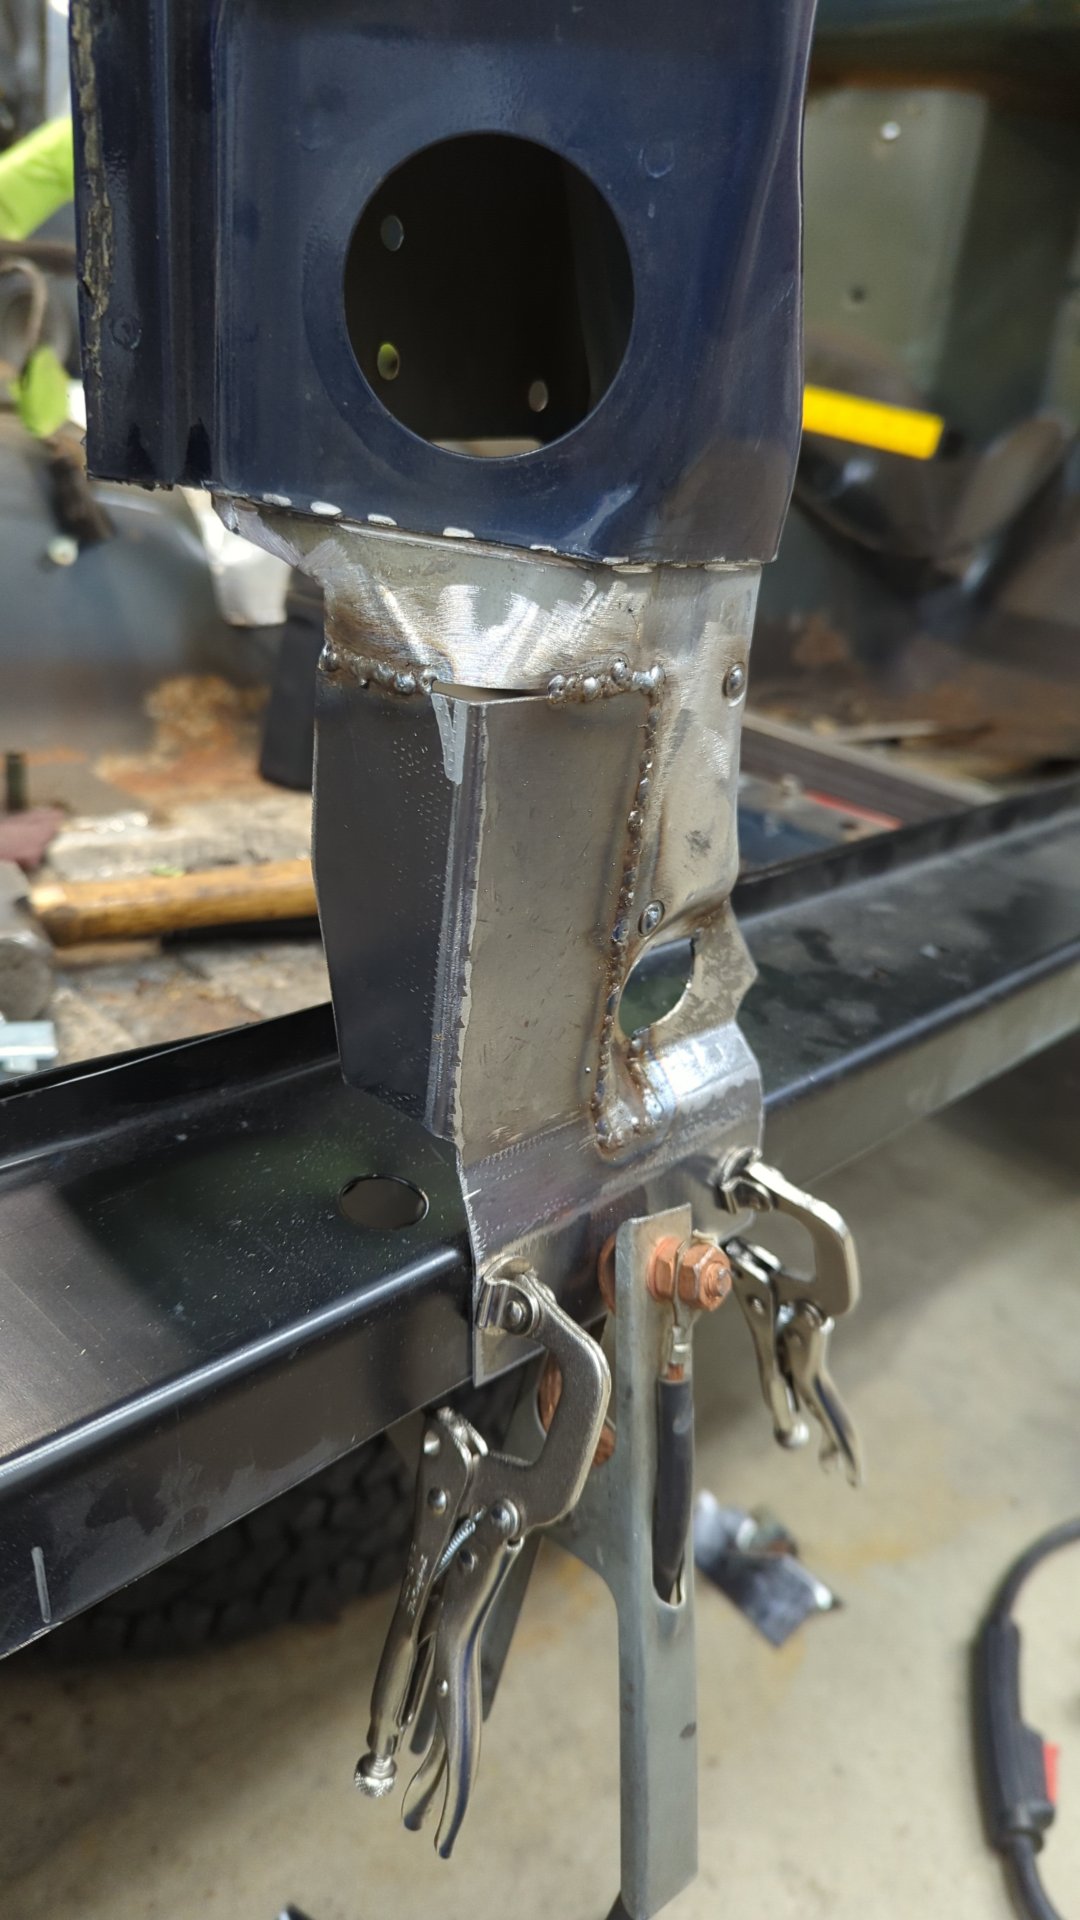
Back On The B Pillar
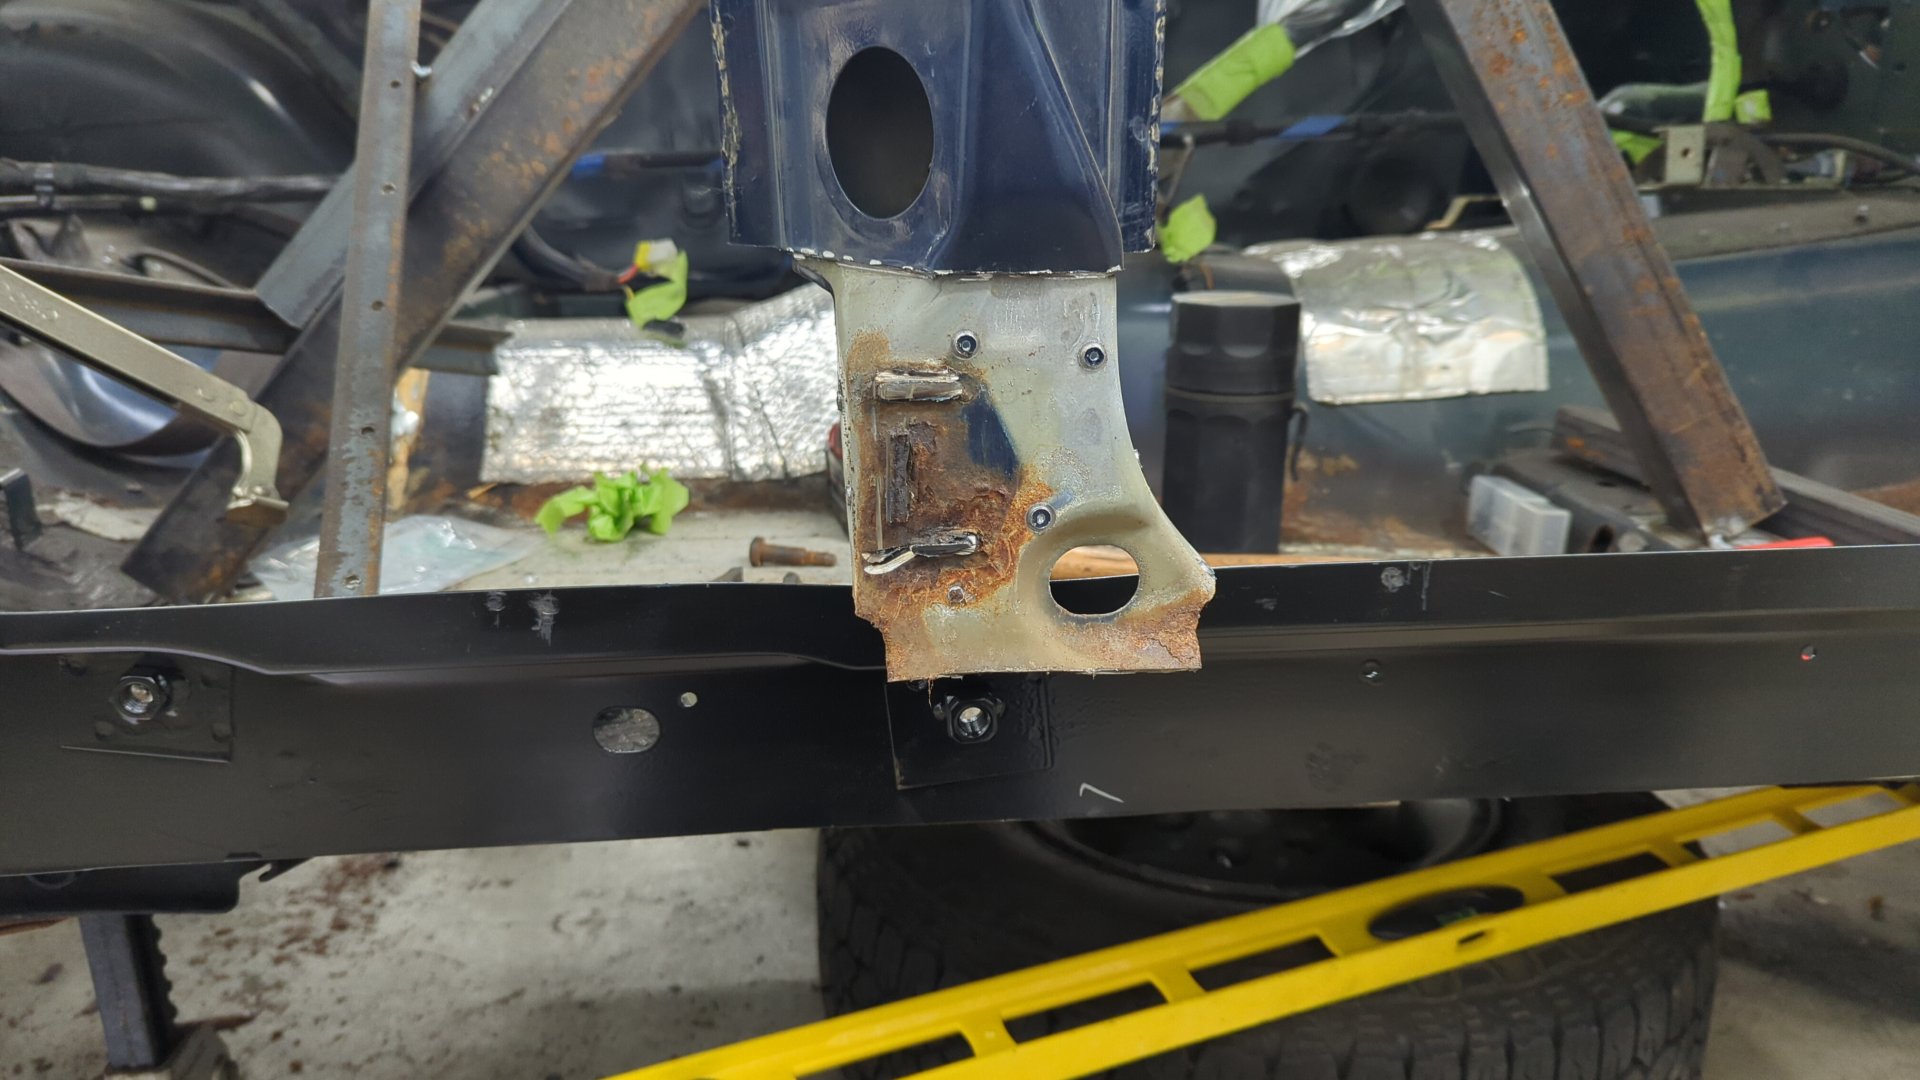
On the bottom of the B pillar there was a lot of rust that had started on the lower door hinge and slowly eaten it’s way into the body. The B pillar is comprised of two layers of metal spot welded together and the rust had found it’s way in between the layers.
Not wanting to risk the rust returning within a year or two, I felt my best option was to cut the two layers apart so I could remove all of the rust trapped in between them.
It’s gonna be tricky aligning the new door hinge later on when I’m ready to weld the new one on, but I’m not gonna worry about that yet.
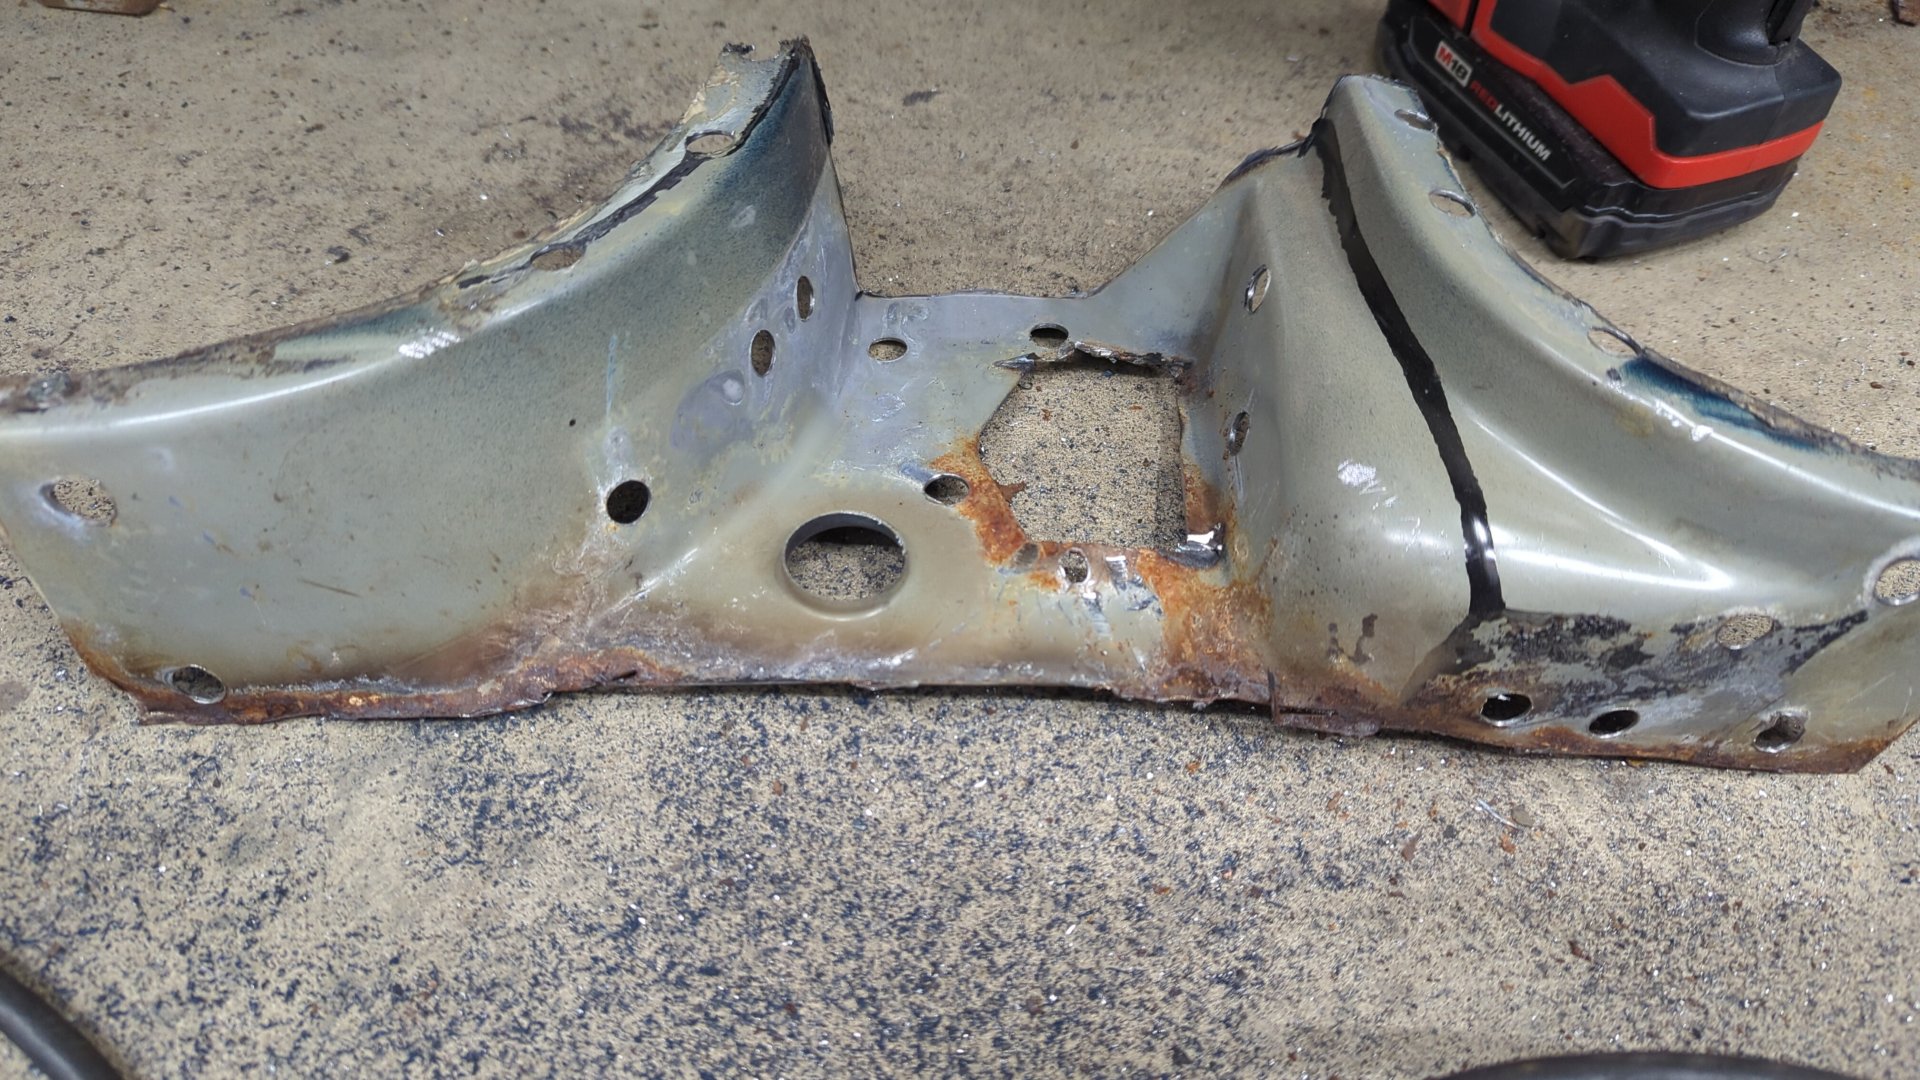
The outer piece got a bit bent up during the removal but I don’t forsee it being an issue to reuse it.
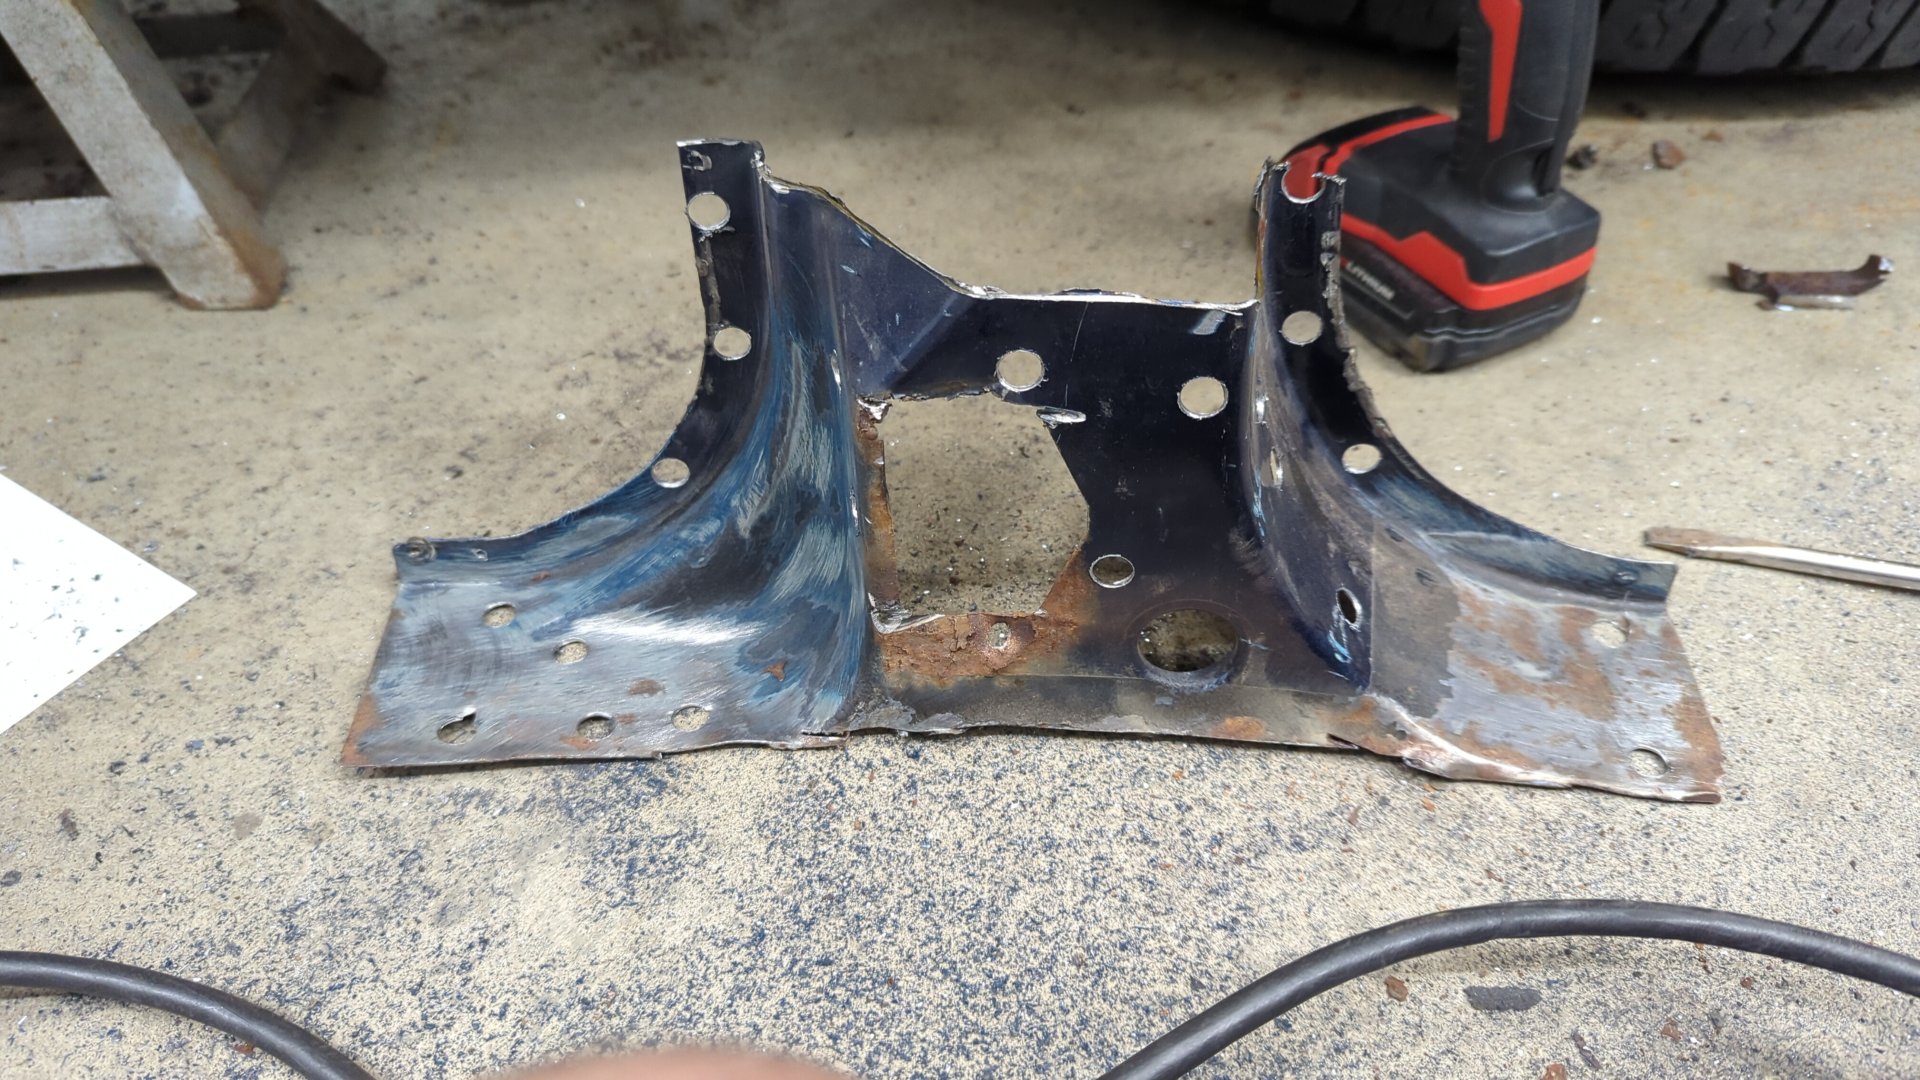
Lots of rust was hidden on the backside.
A Small Mistake
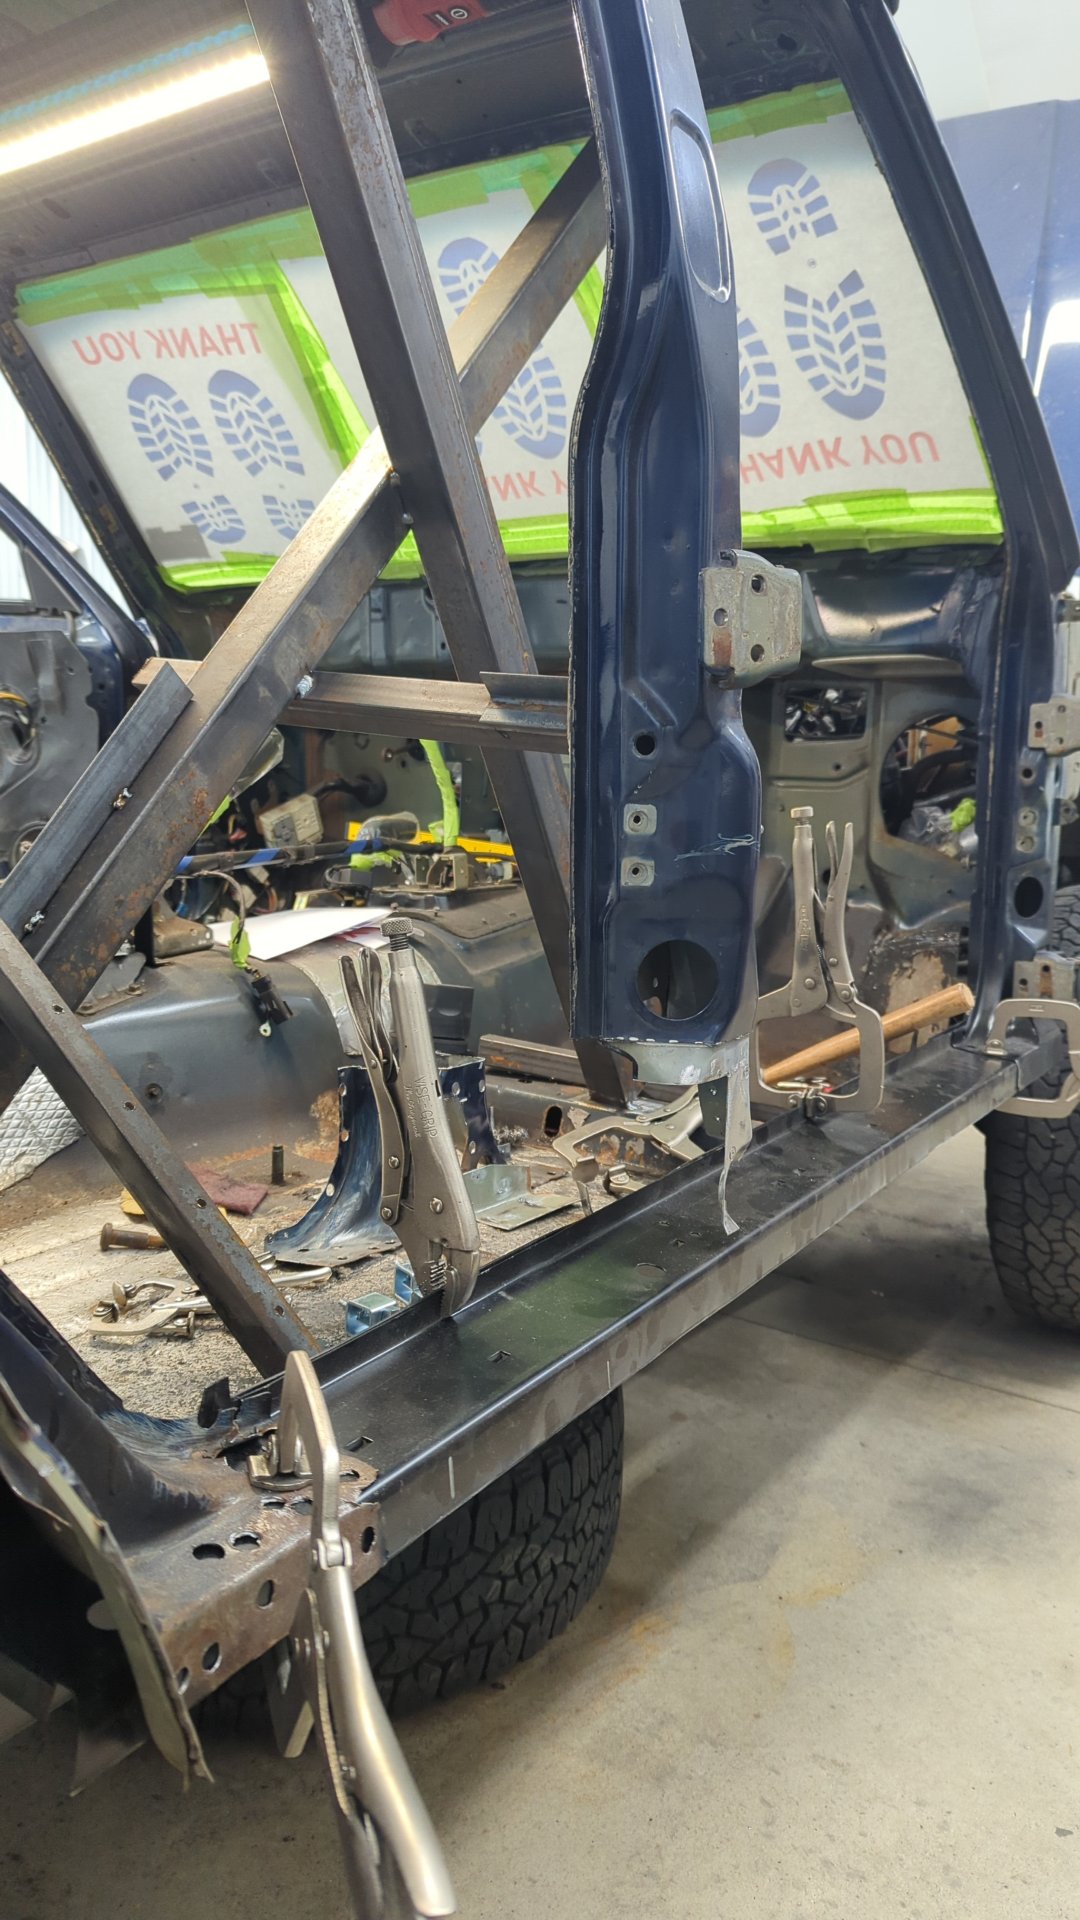
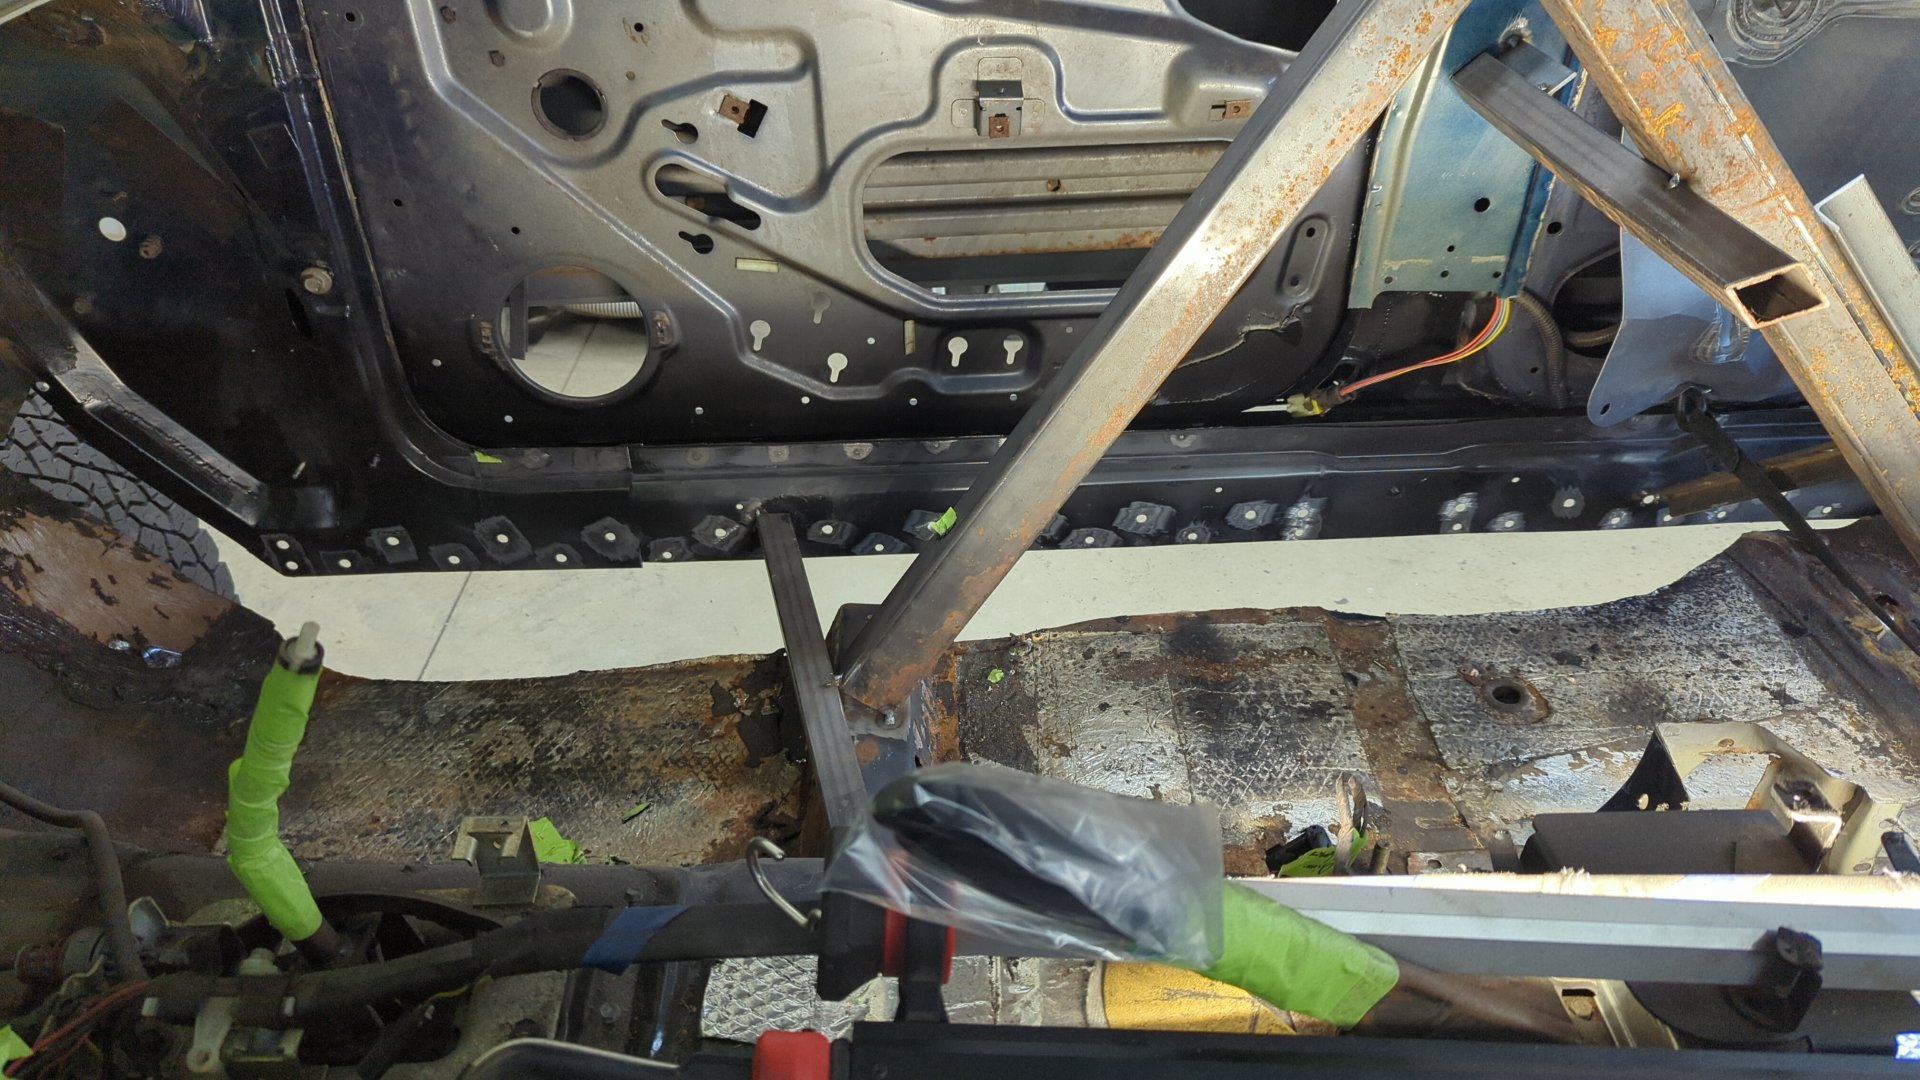
And I don’t know why this took me so long to notice my mistake, but I realized I never braced the B pillar, or took any measurements so I’d know where it used to be before I started to cut it up. Oops!
It took me about an hour to work out where to measure from but I was able to determine where the pillar should be by taking diagonal measurements from the rear seat mounts to the B pillar on each side of the vehicle.
Not wanting to risk welding up the pillar into the wrong position I added a brace to the pillar so it couldn’t move anymore.
Most of the inner layer was salvageable, but I did have to cut a chunk of it out.
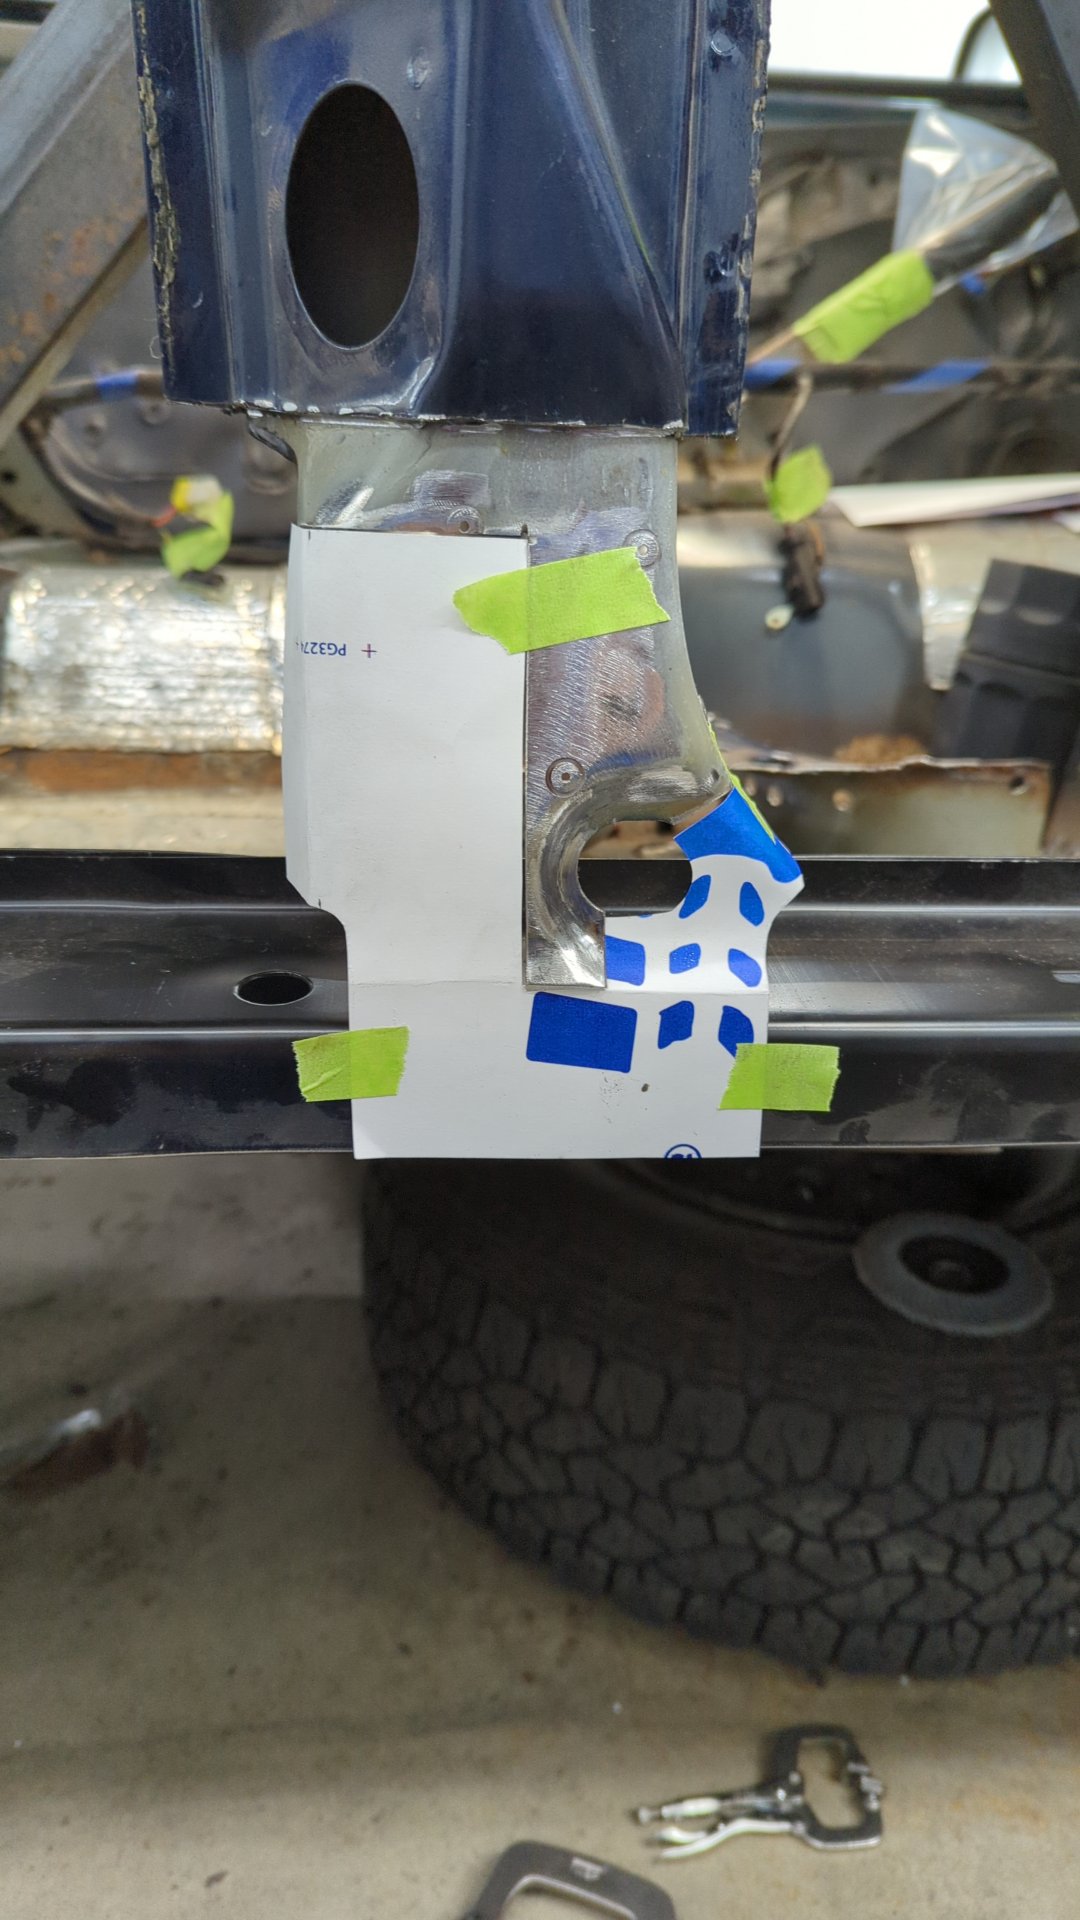
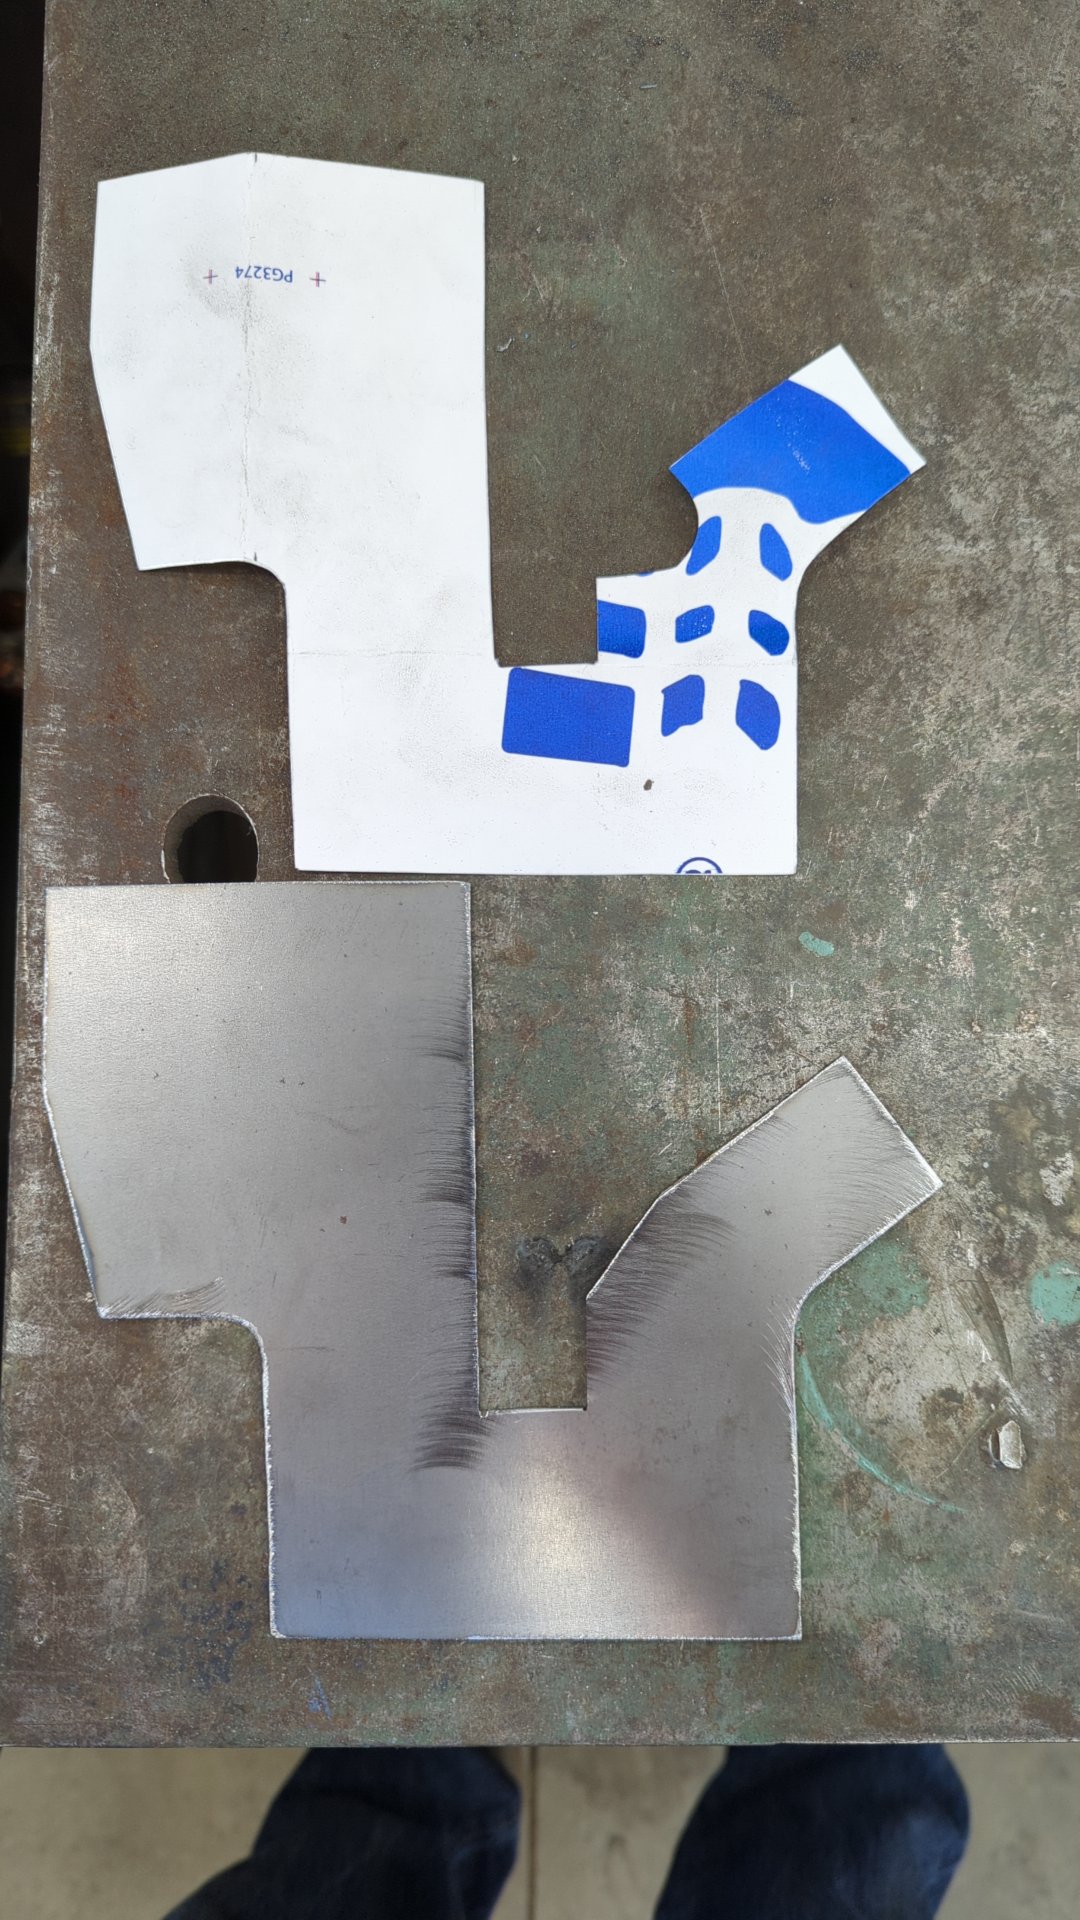
I made a mockup of the piece I wanted to make using some paper.
Then I cut out a replacement from 16ga steel. I used my angle grinder, die grinder, and a file to make the cuts.
A few bends later and things were looking a pretty good!
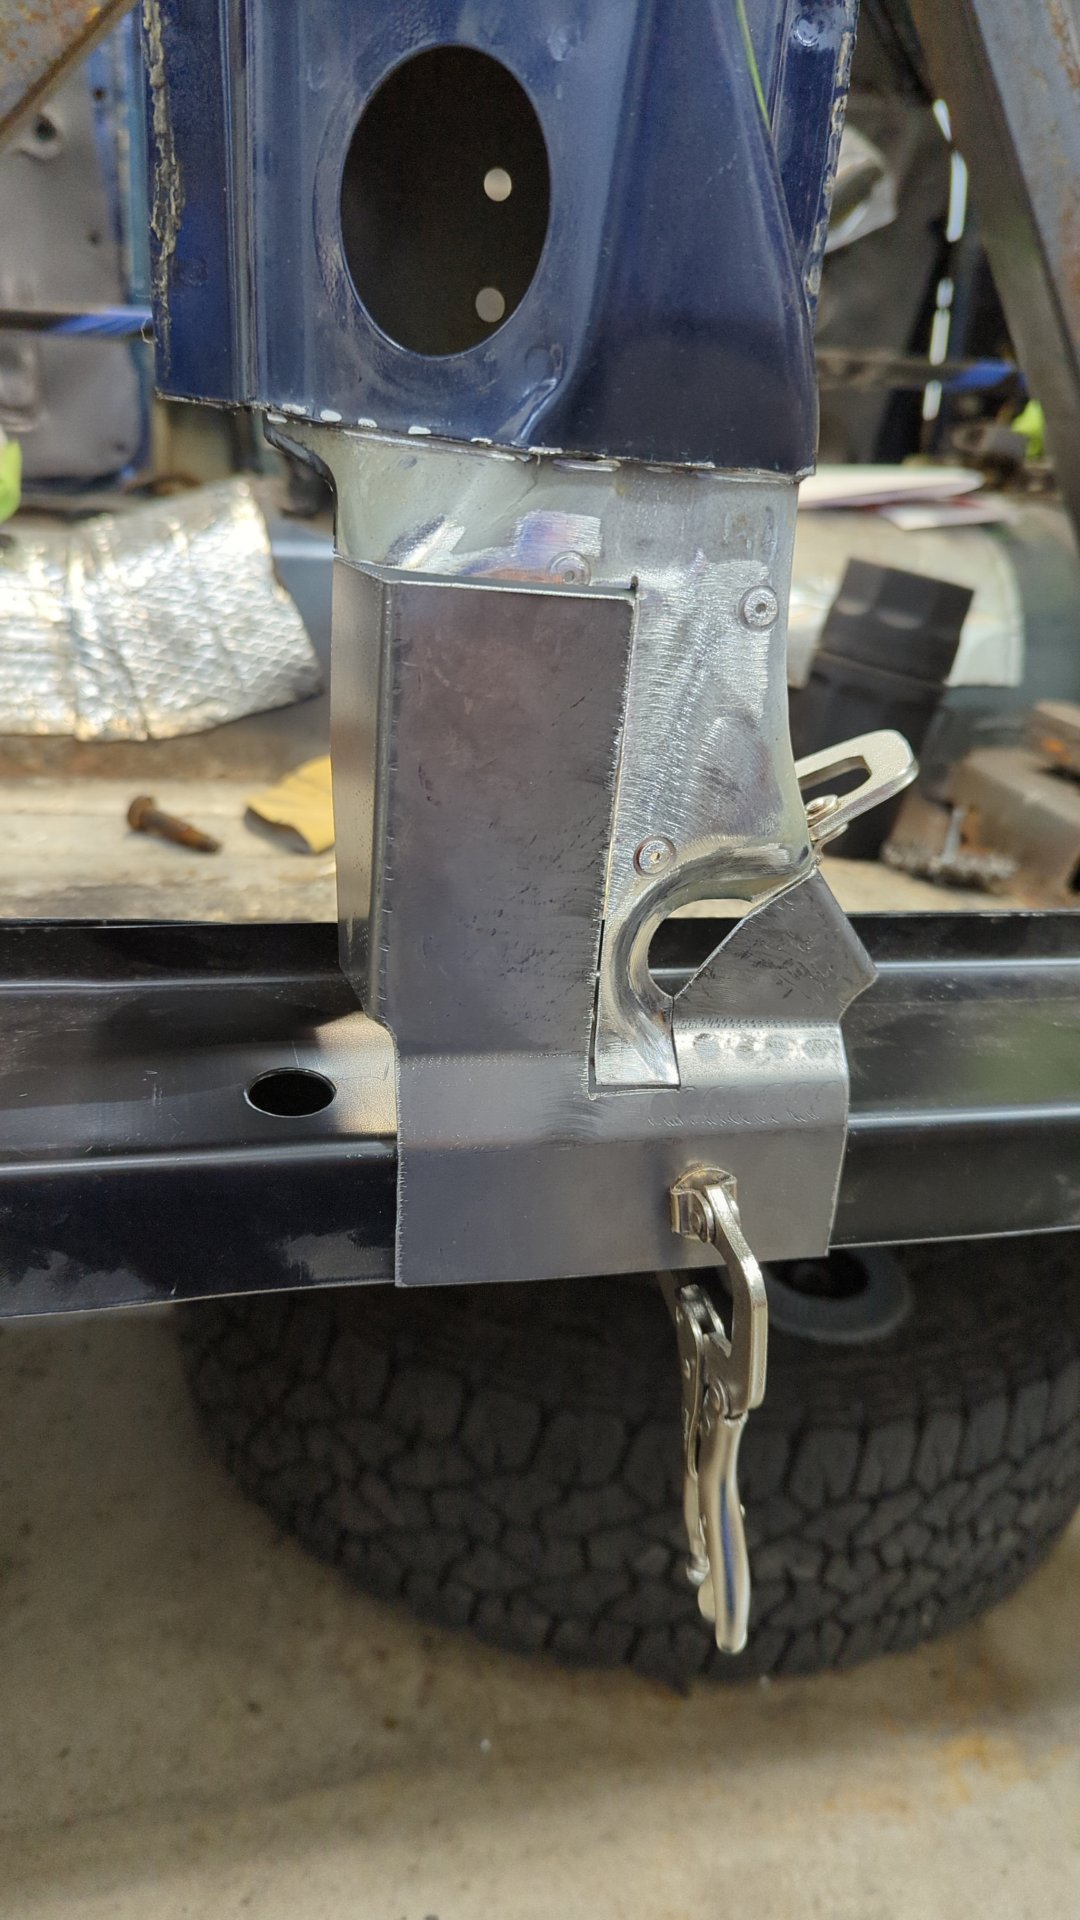
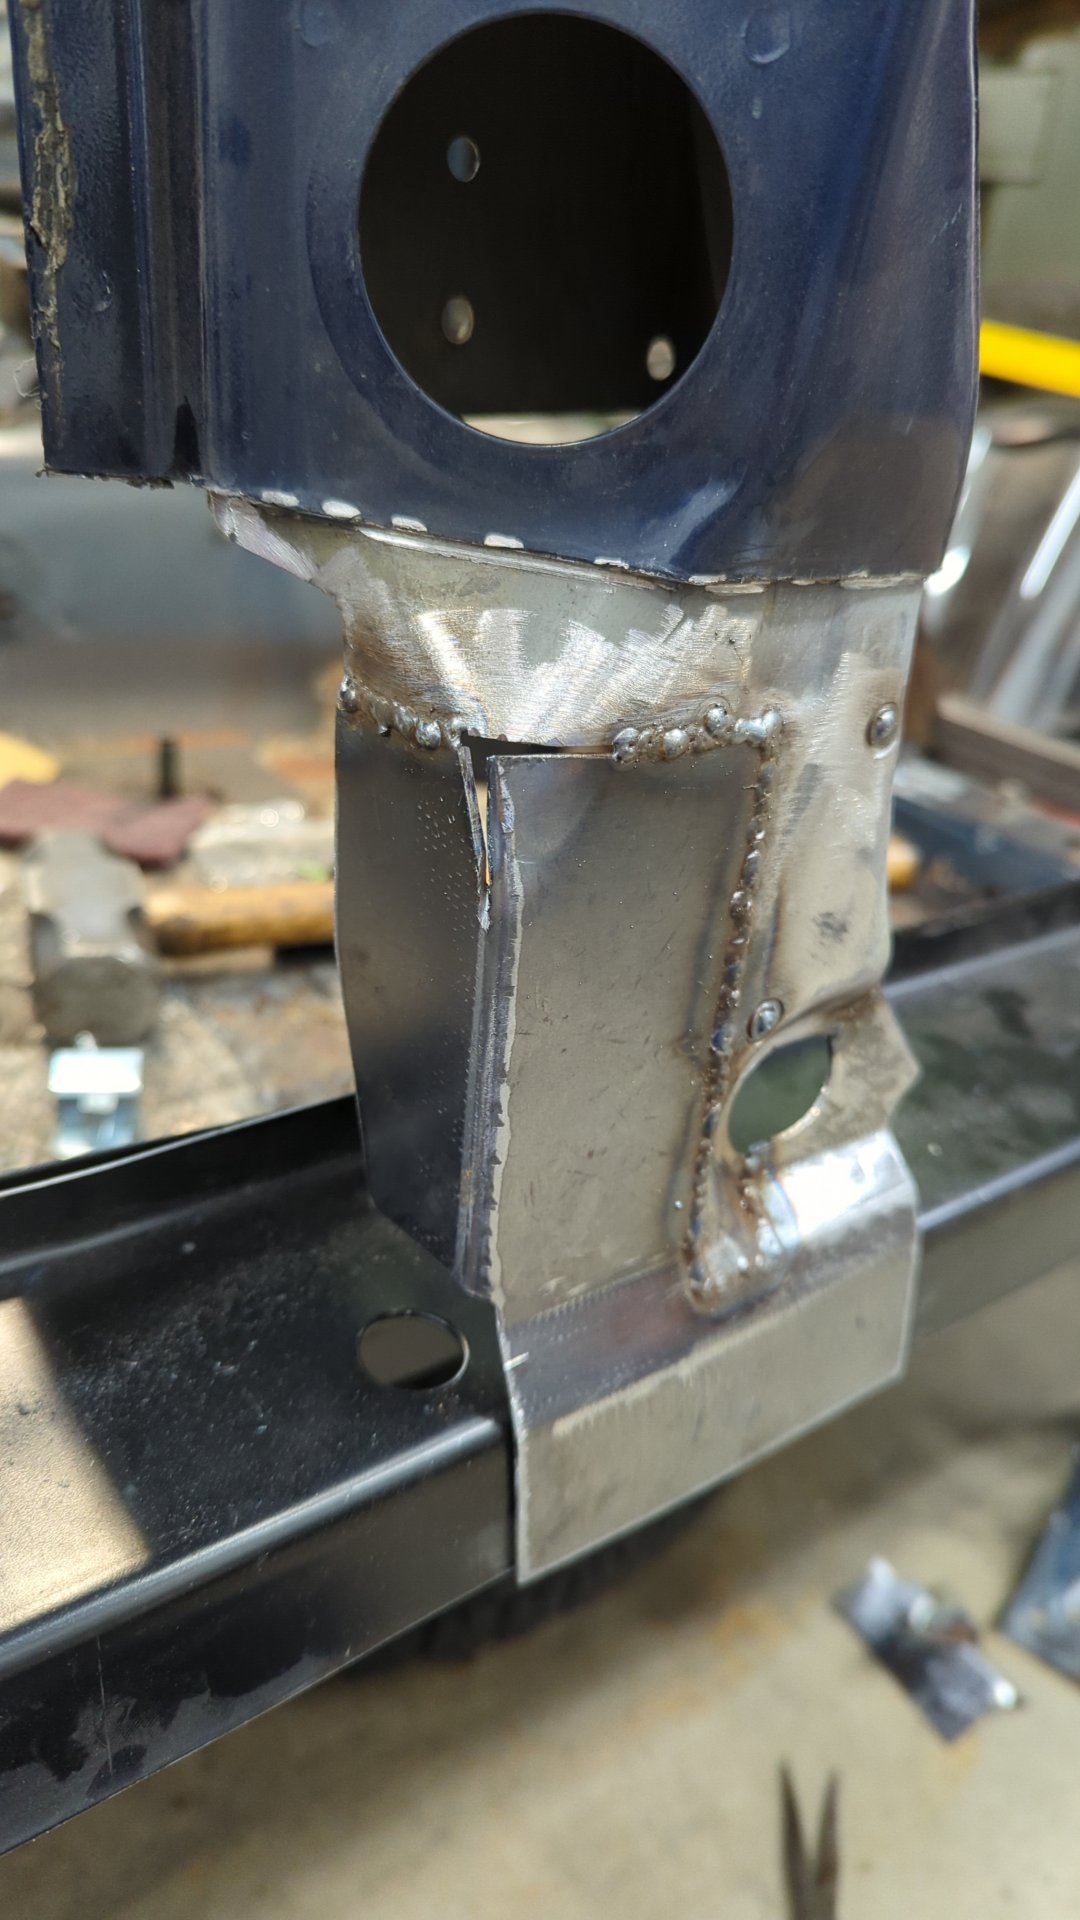

And with the B Pillar ready, I now had enough metal to weld up the outer rocker.

Preventing Leaks
I’ve been spending a lot of time trawling the forums looking for tips / advice on how to do the 2x6 rocker mod, and also to see if anyone reported of problems down the road after having done said mod.
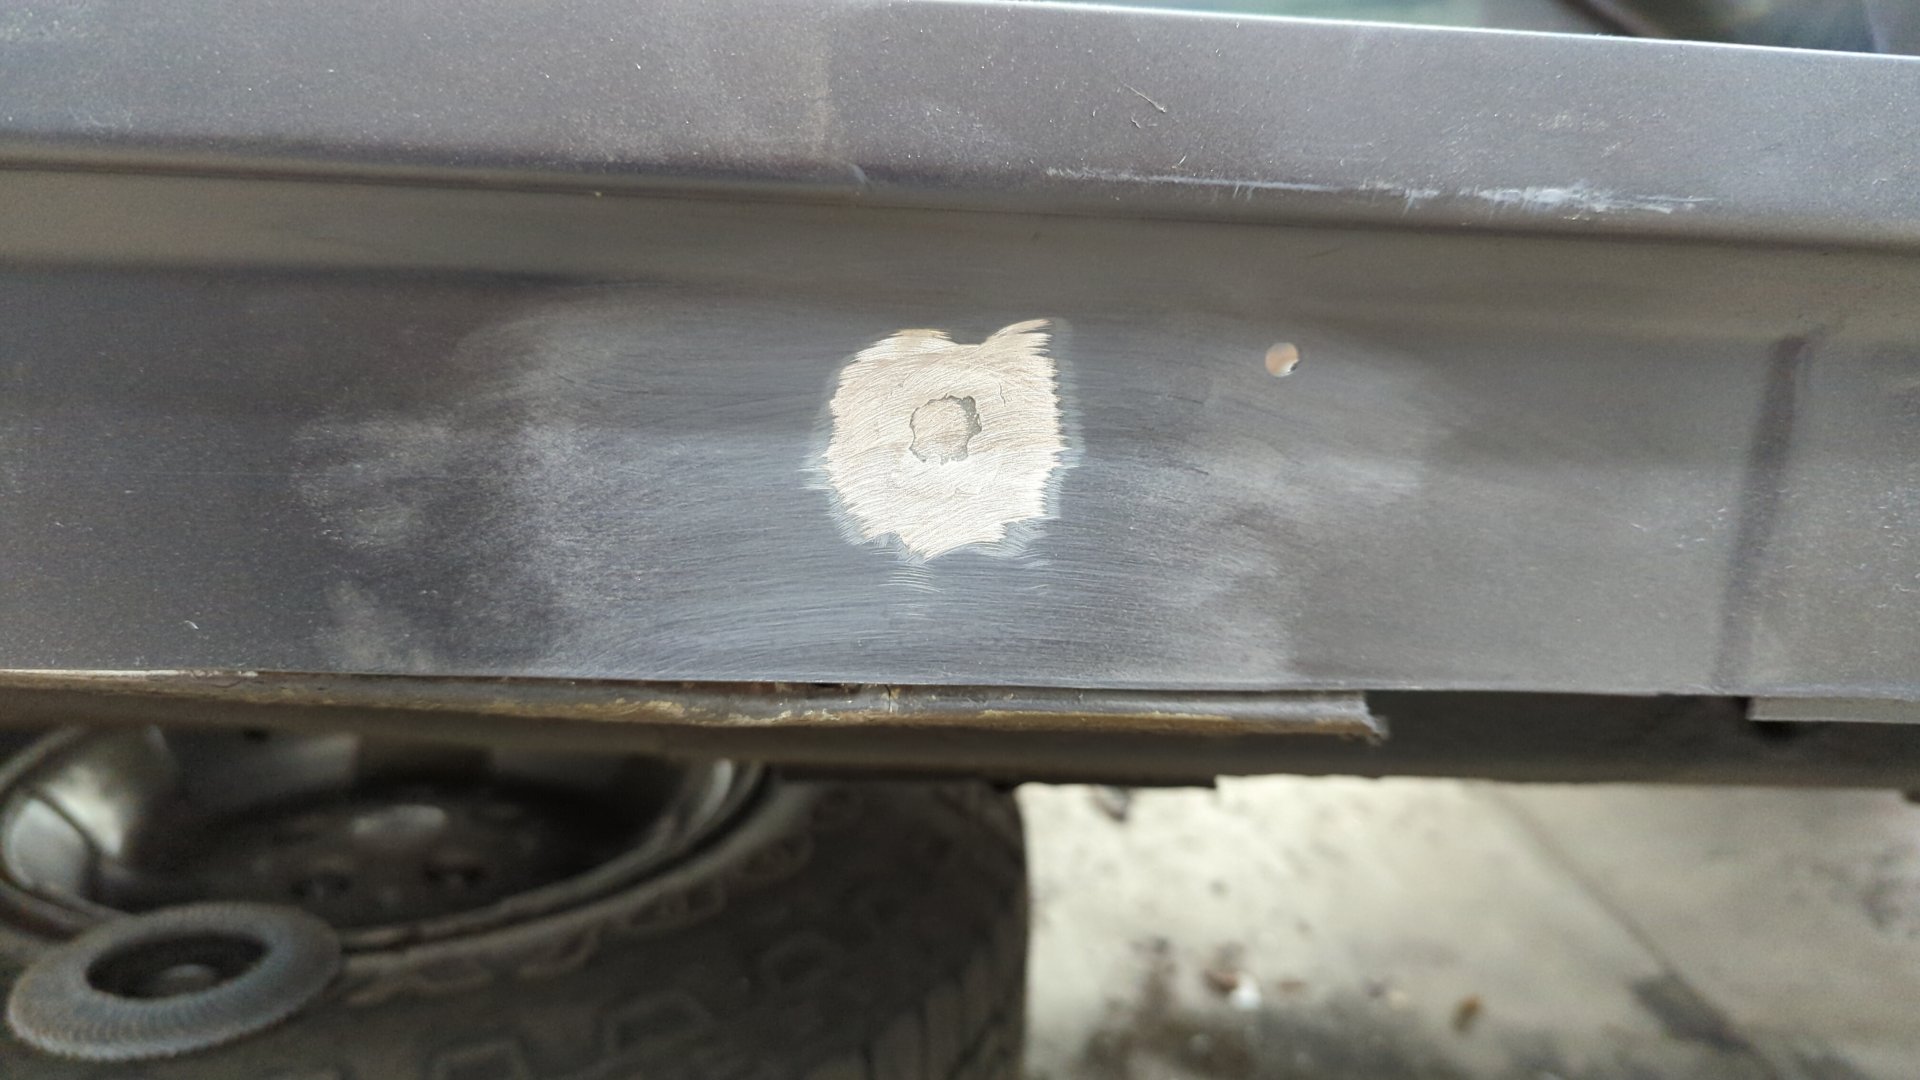
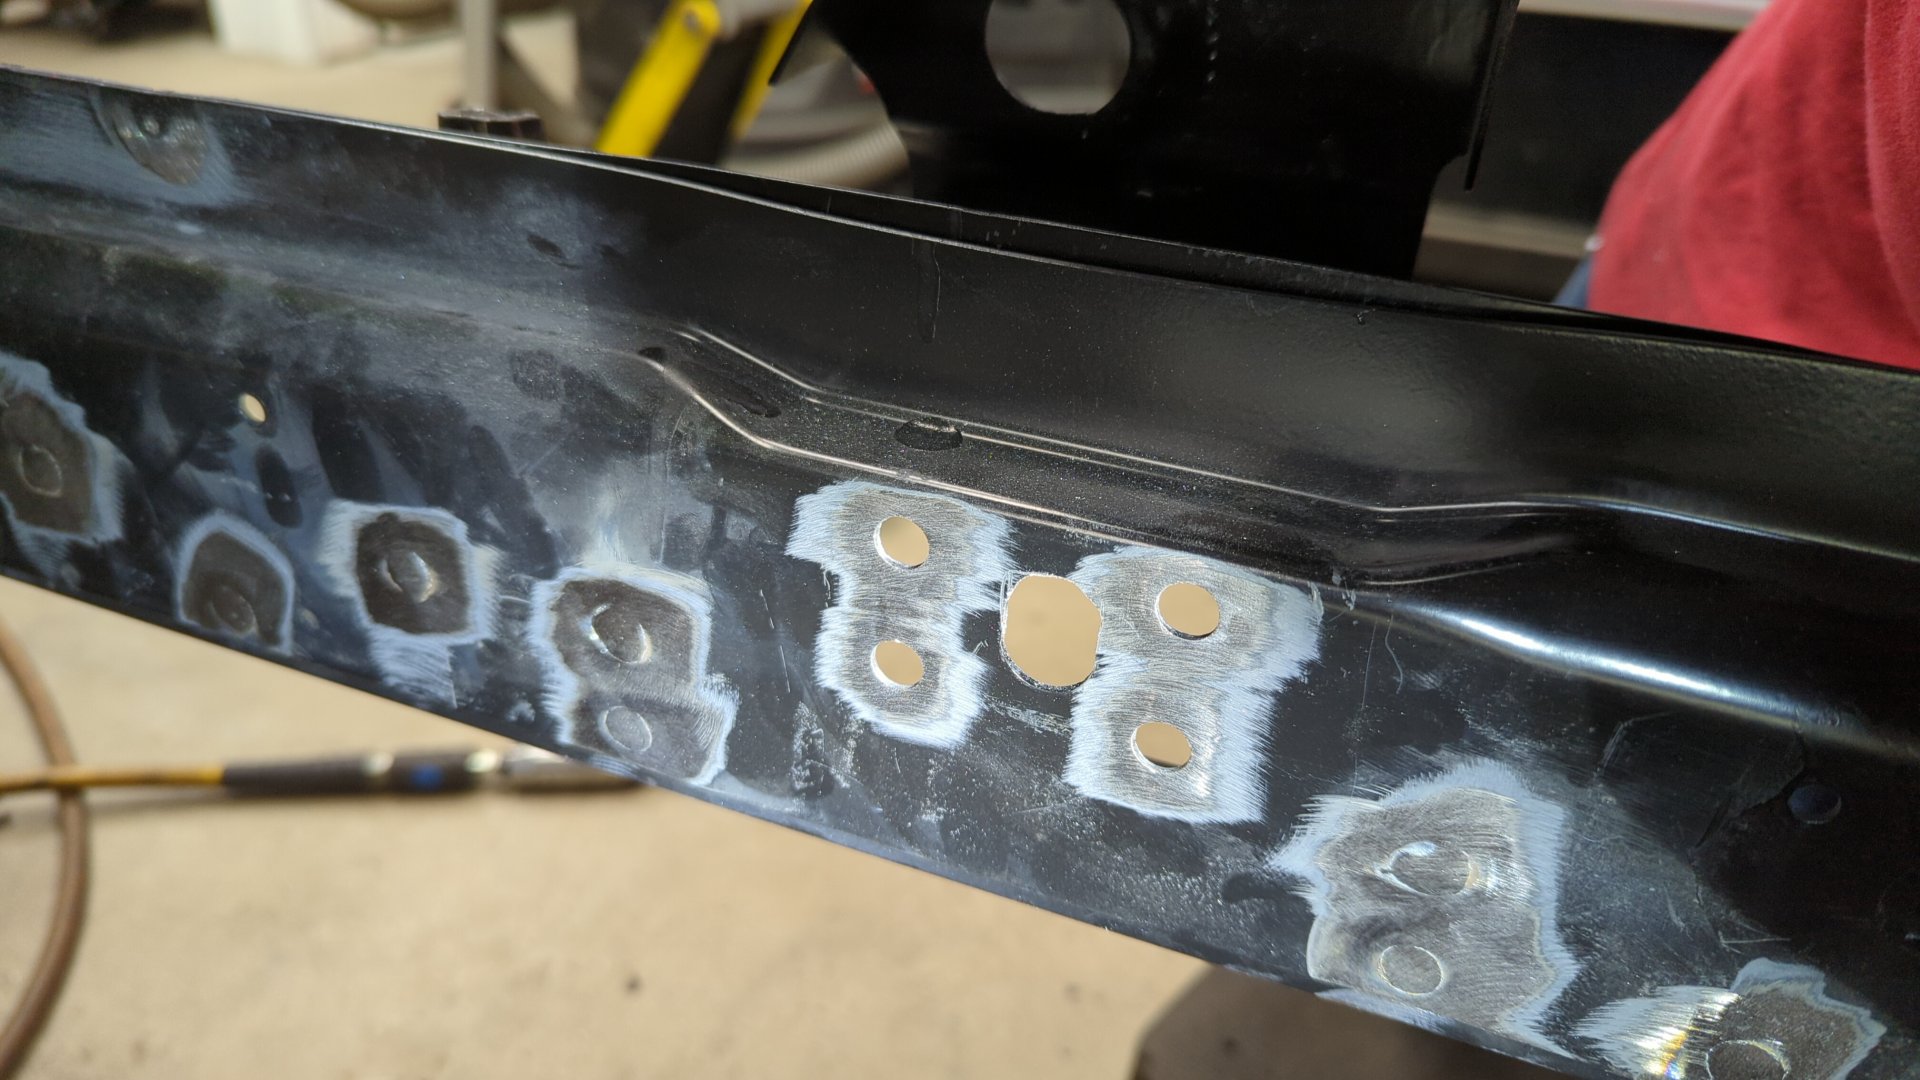
One of the posts I stumbled across was someone reporting a leak that was letting water into their cabin when it rained. It turns out there’s two holes on the inner rocker that perfectly align with the top of the 2x6 so when it rains water would drip down the pillars onto the top of the rocker and then leak into the cabin.
Not wanting any leaks I decided it’d be better and easier to weld up the holes now since I don’t need them.
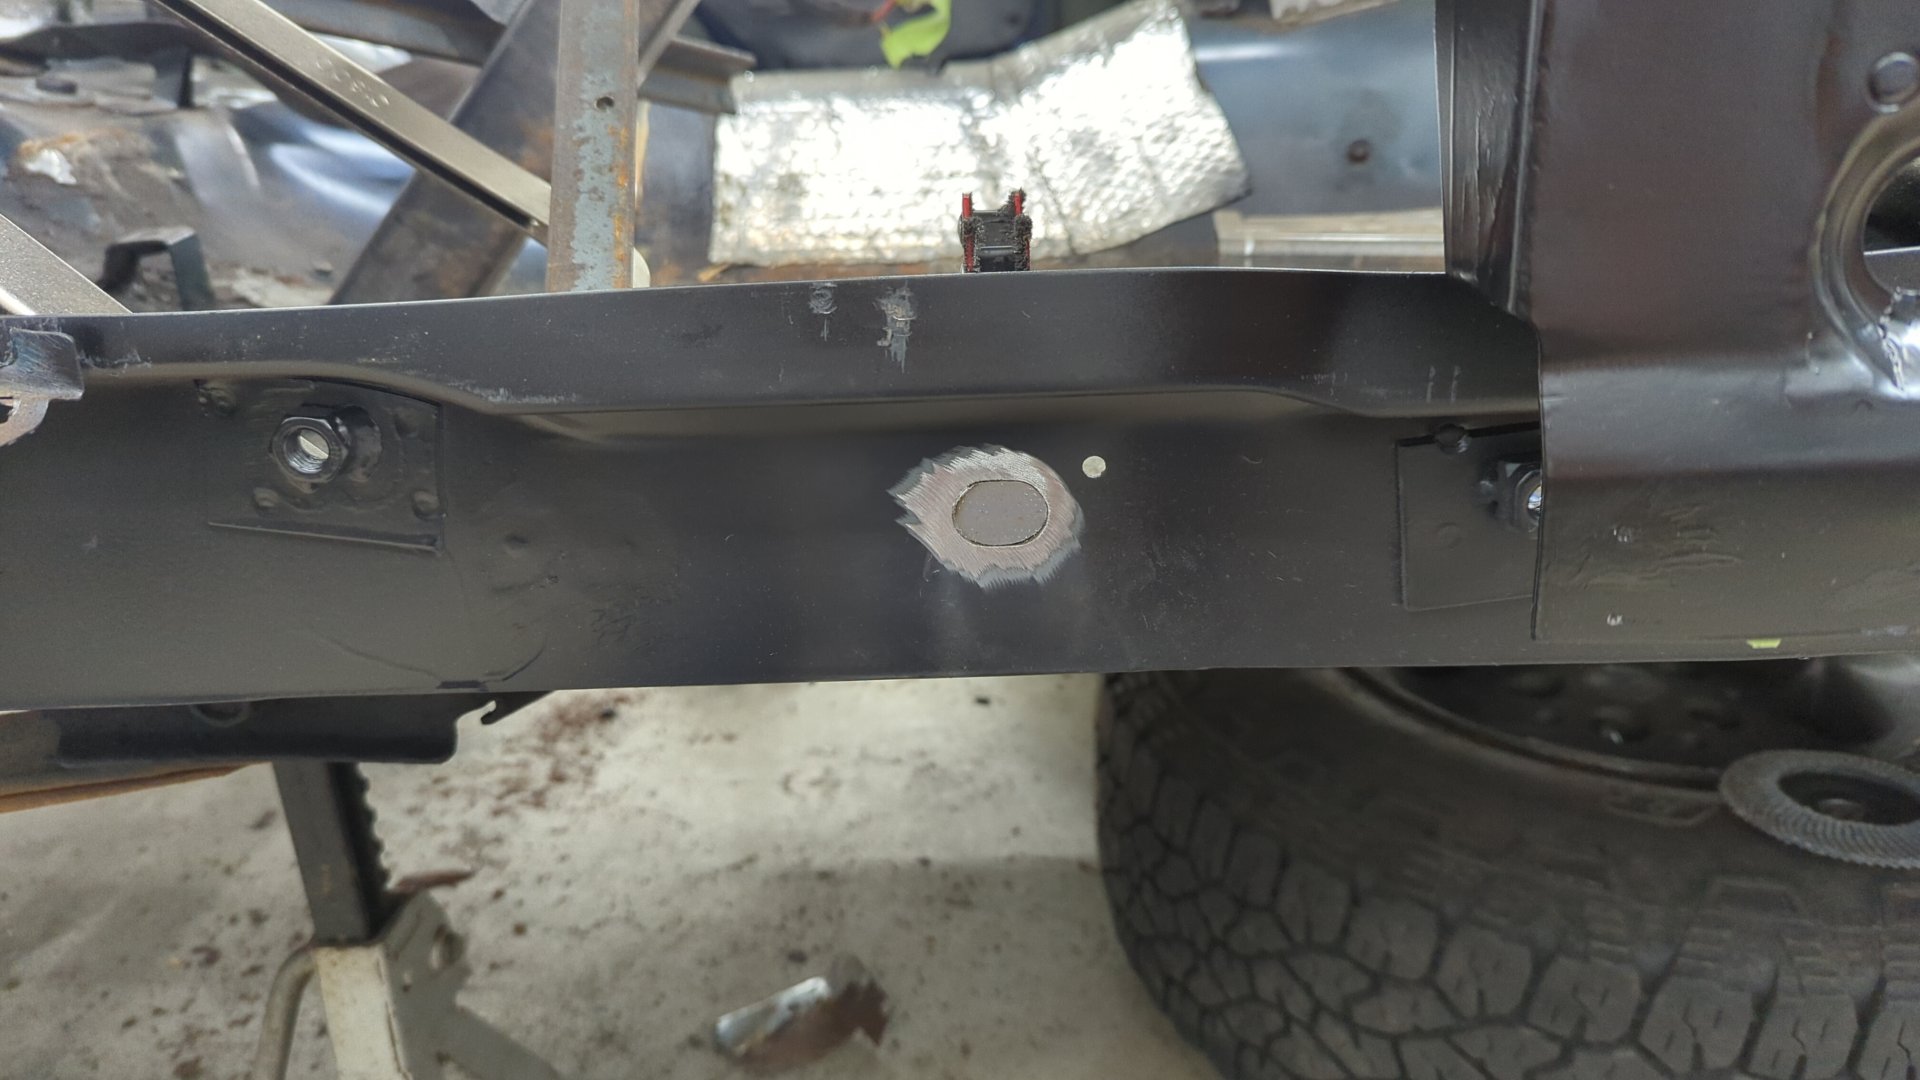


I opted to brush on the primer over painting it because I didn’t want to have to clean the paint gun afterwards for such a small job.
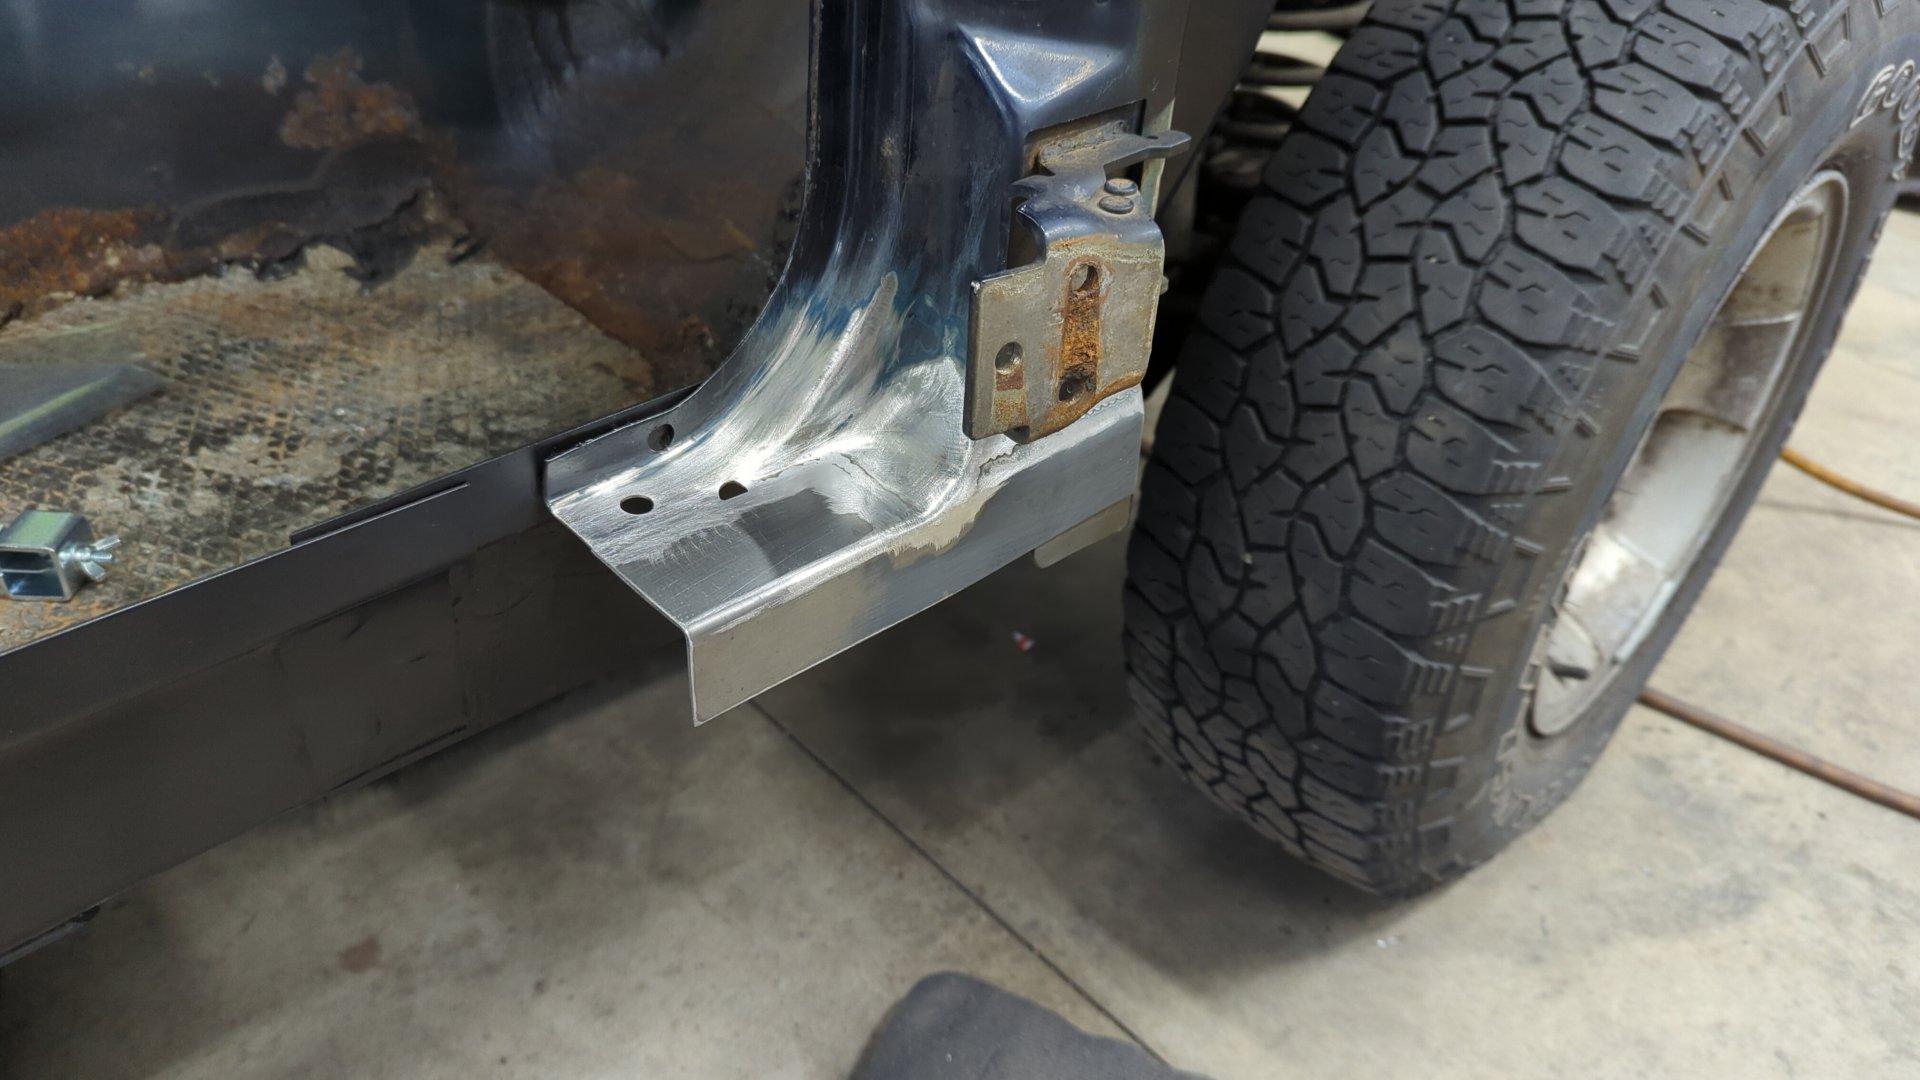
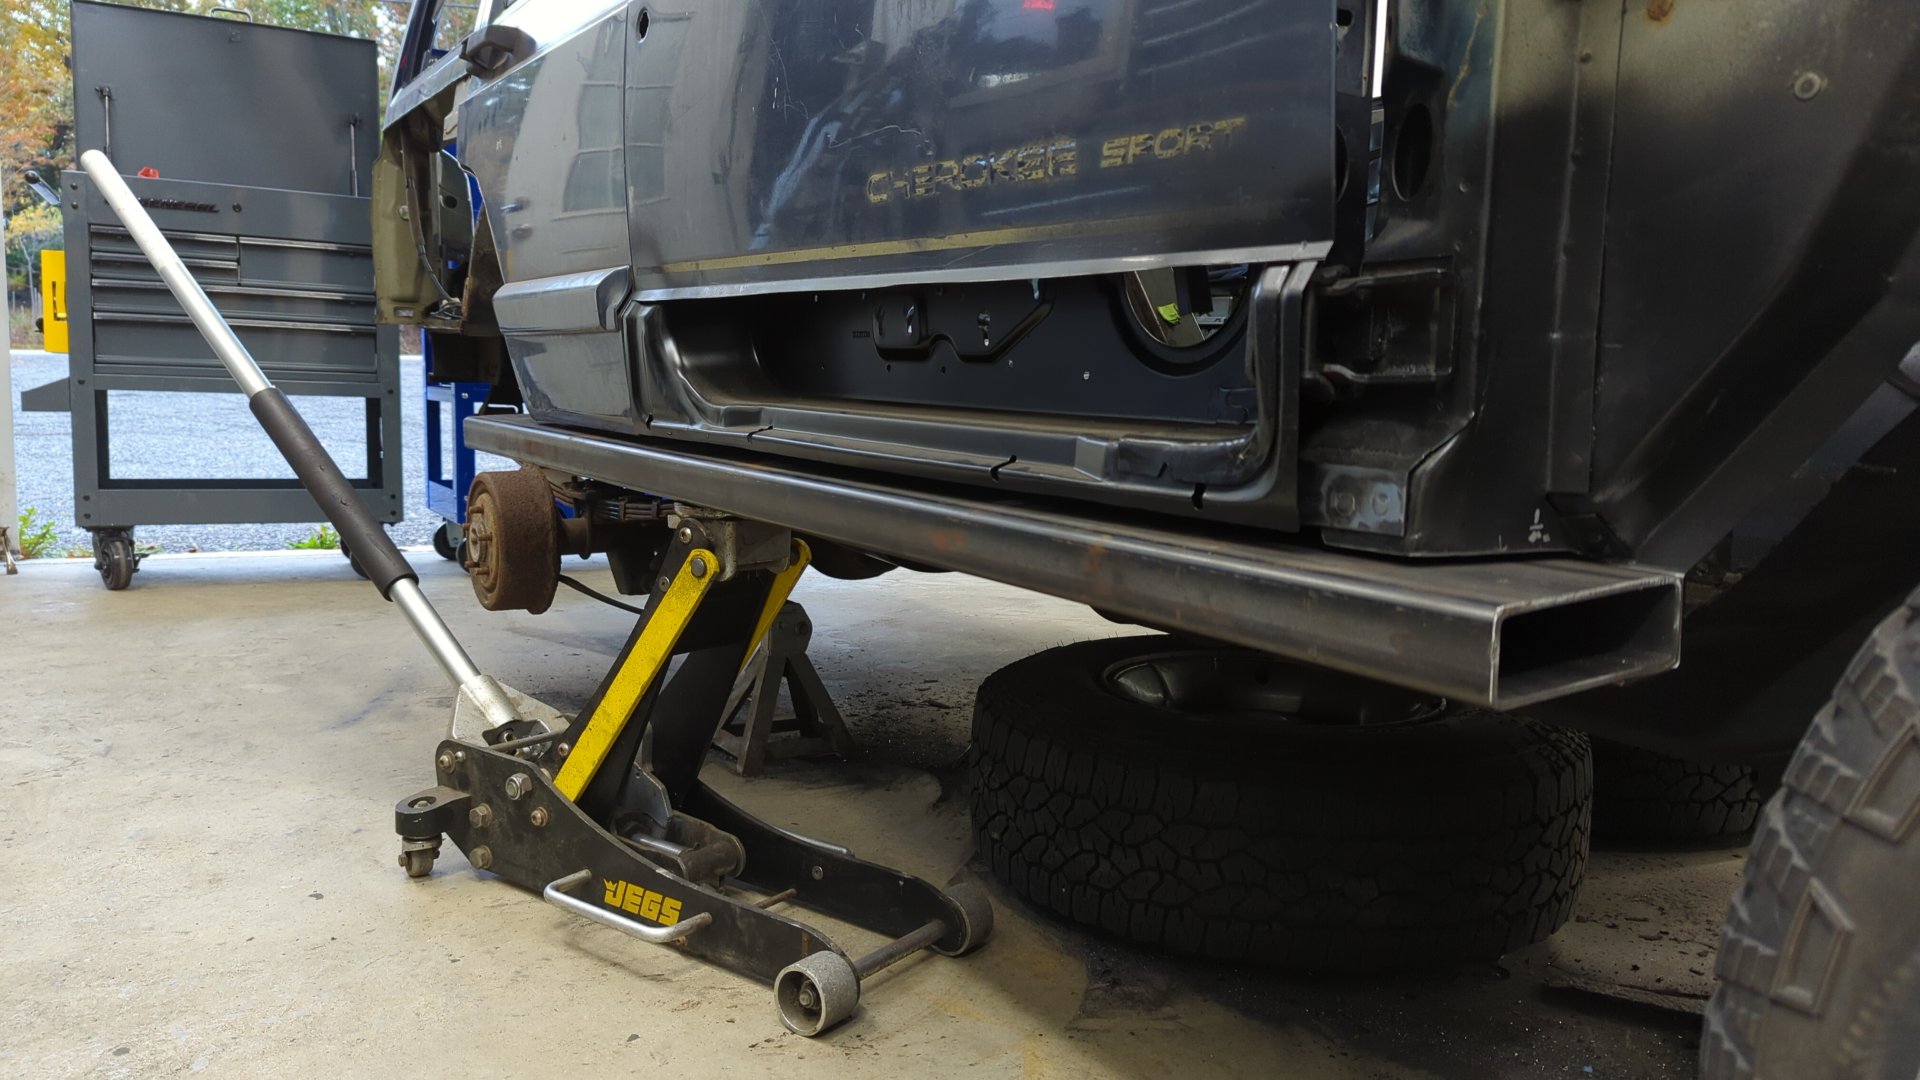
Installing the Outer Rocker
Prior to installing the outer rocker, it was given a good sanding with 80 grit and two coats of epoxy to protect it.
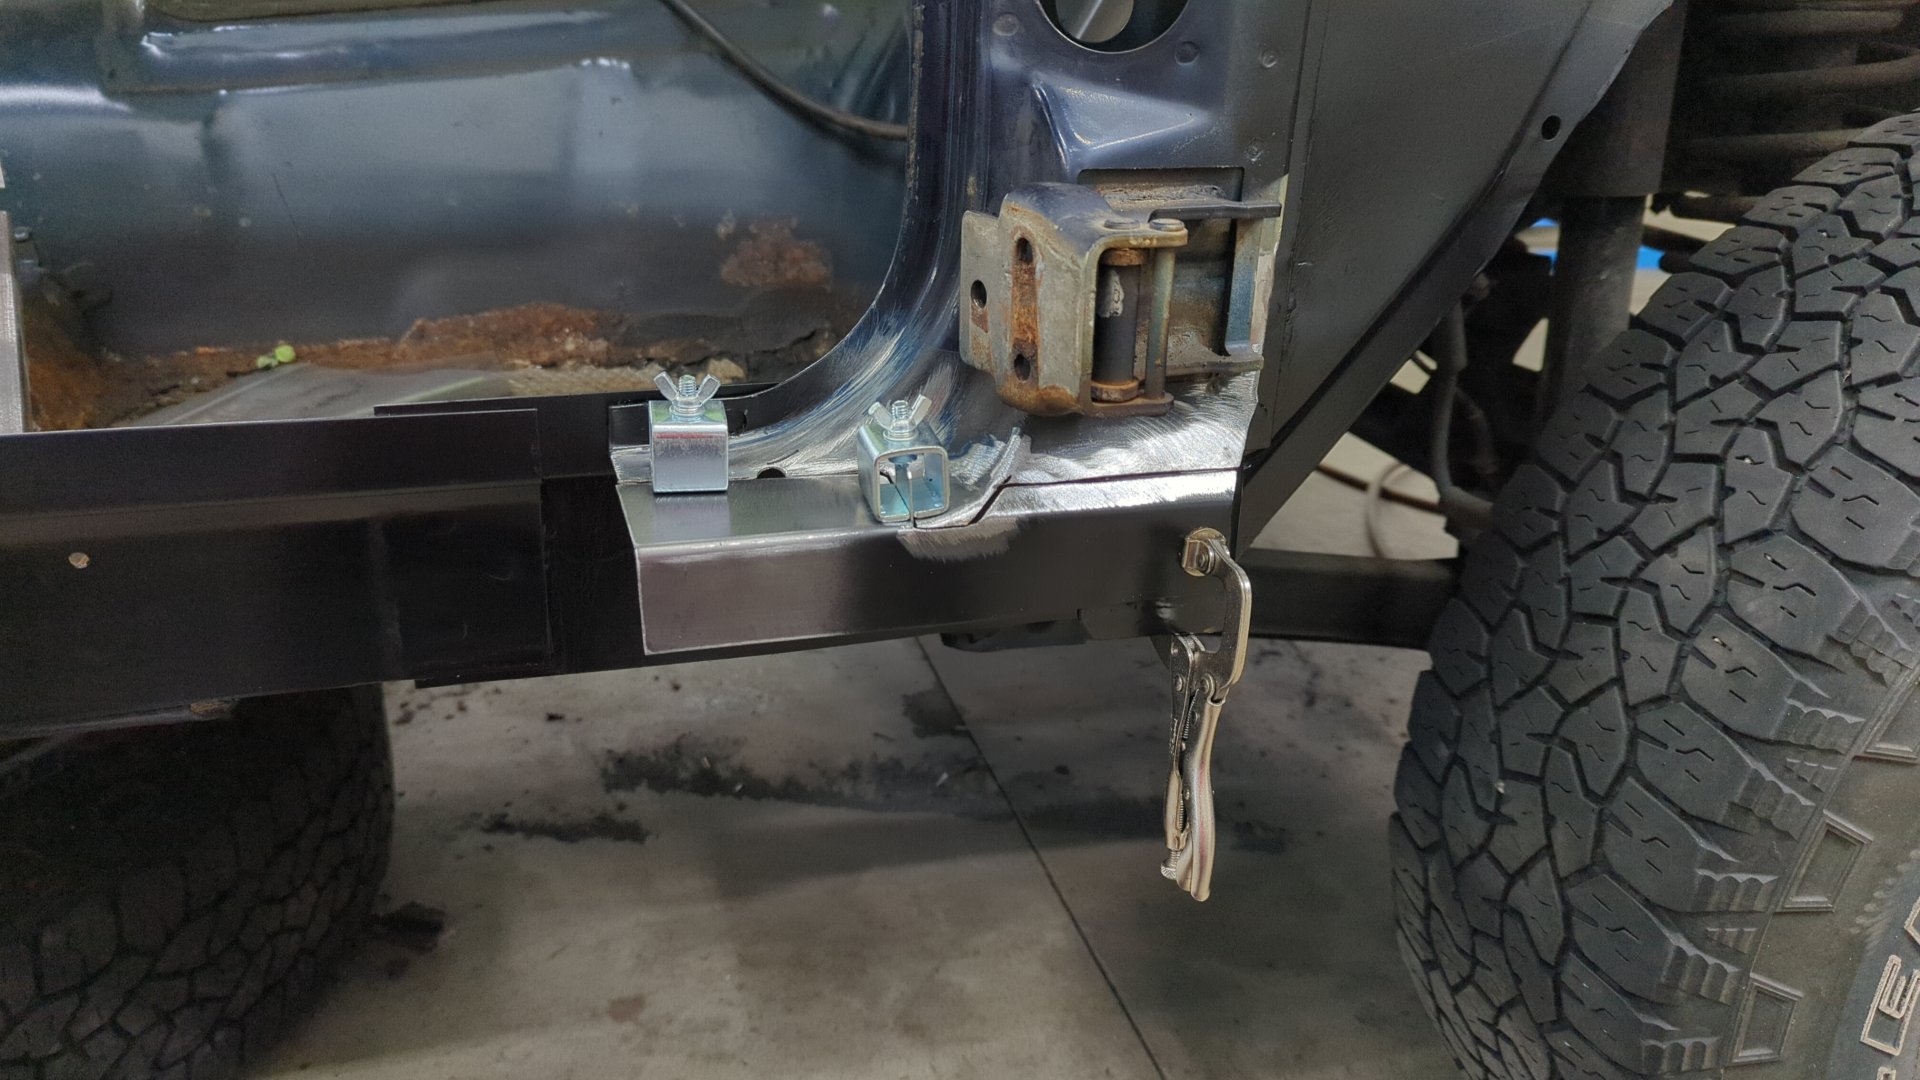
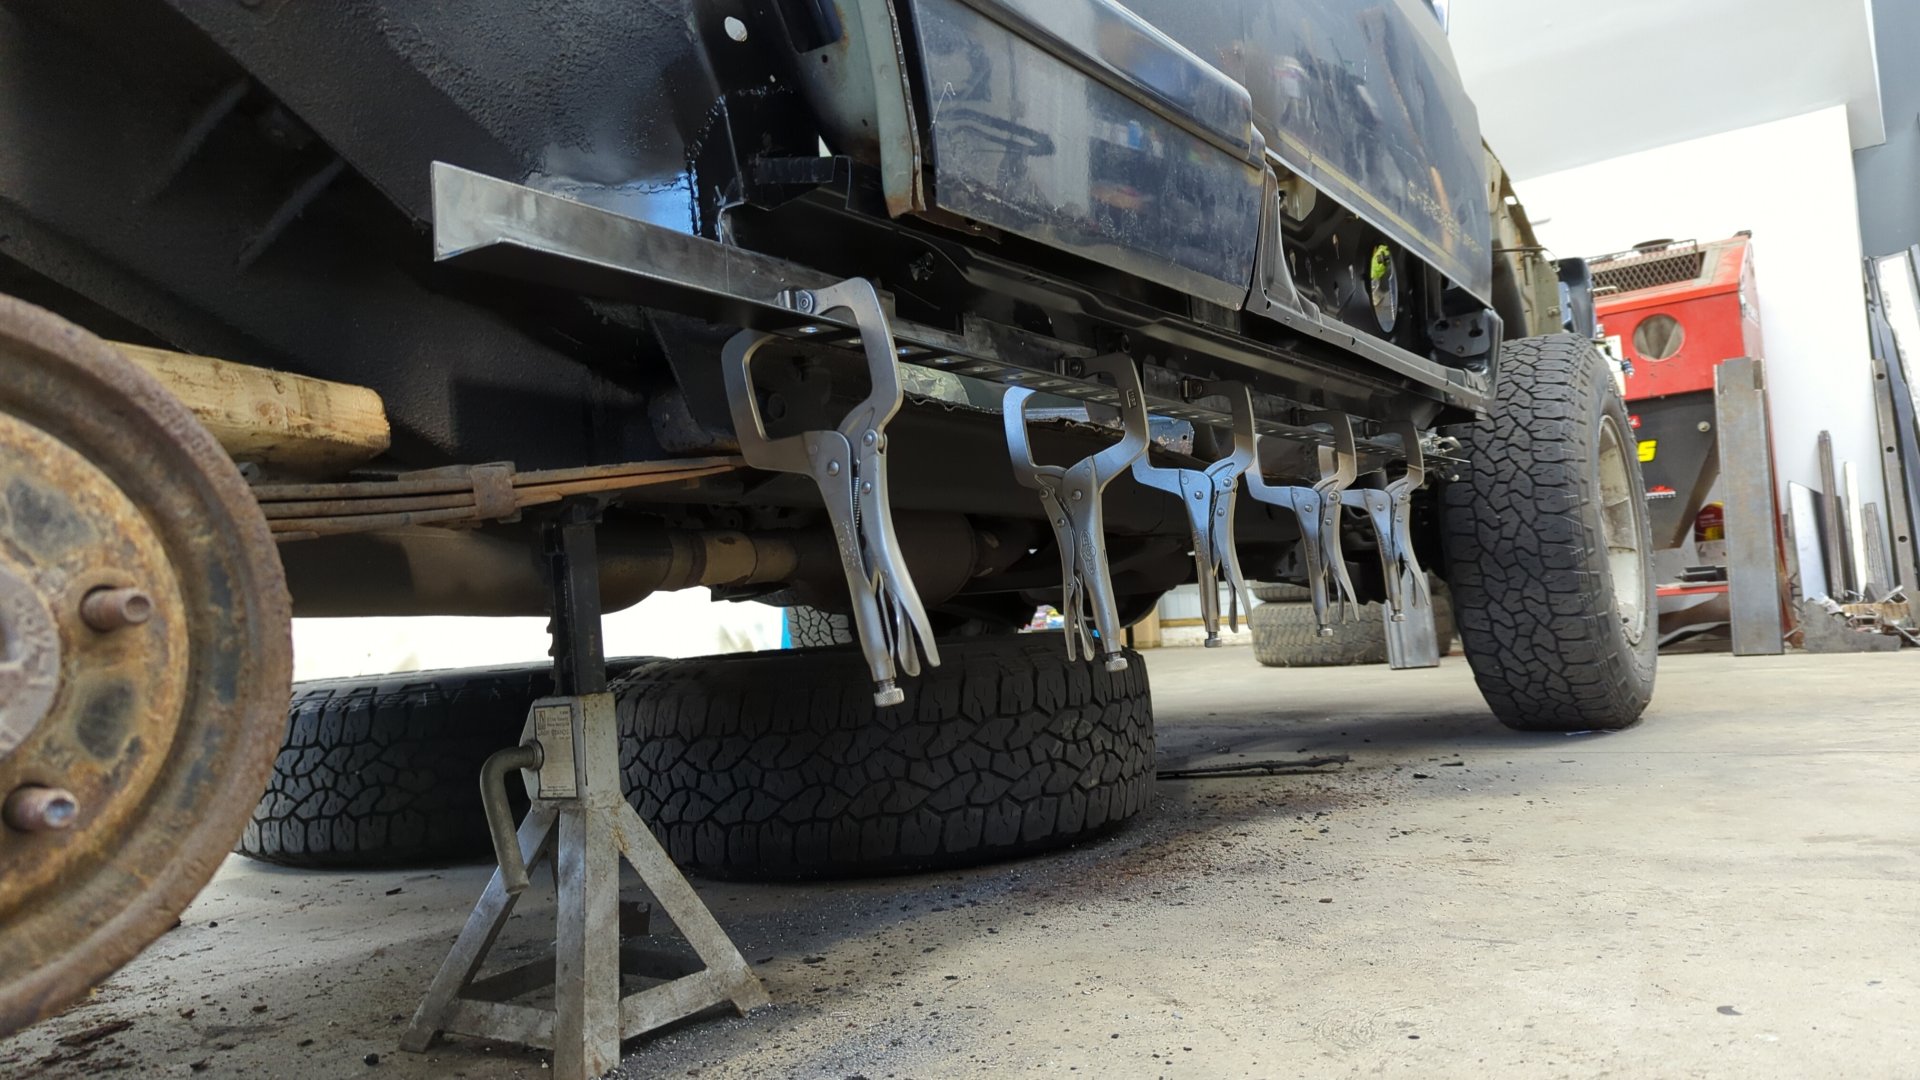
Lots of clamps were used to ensure I had it in just the right spot.
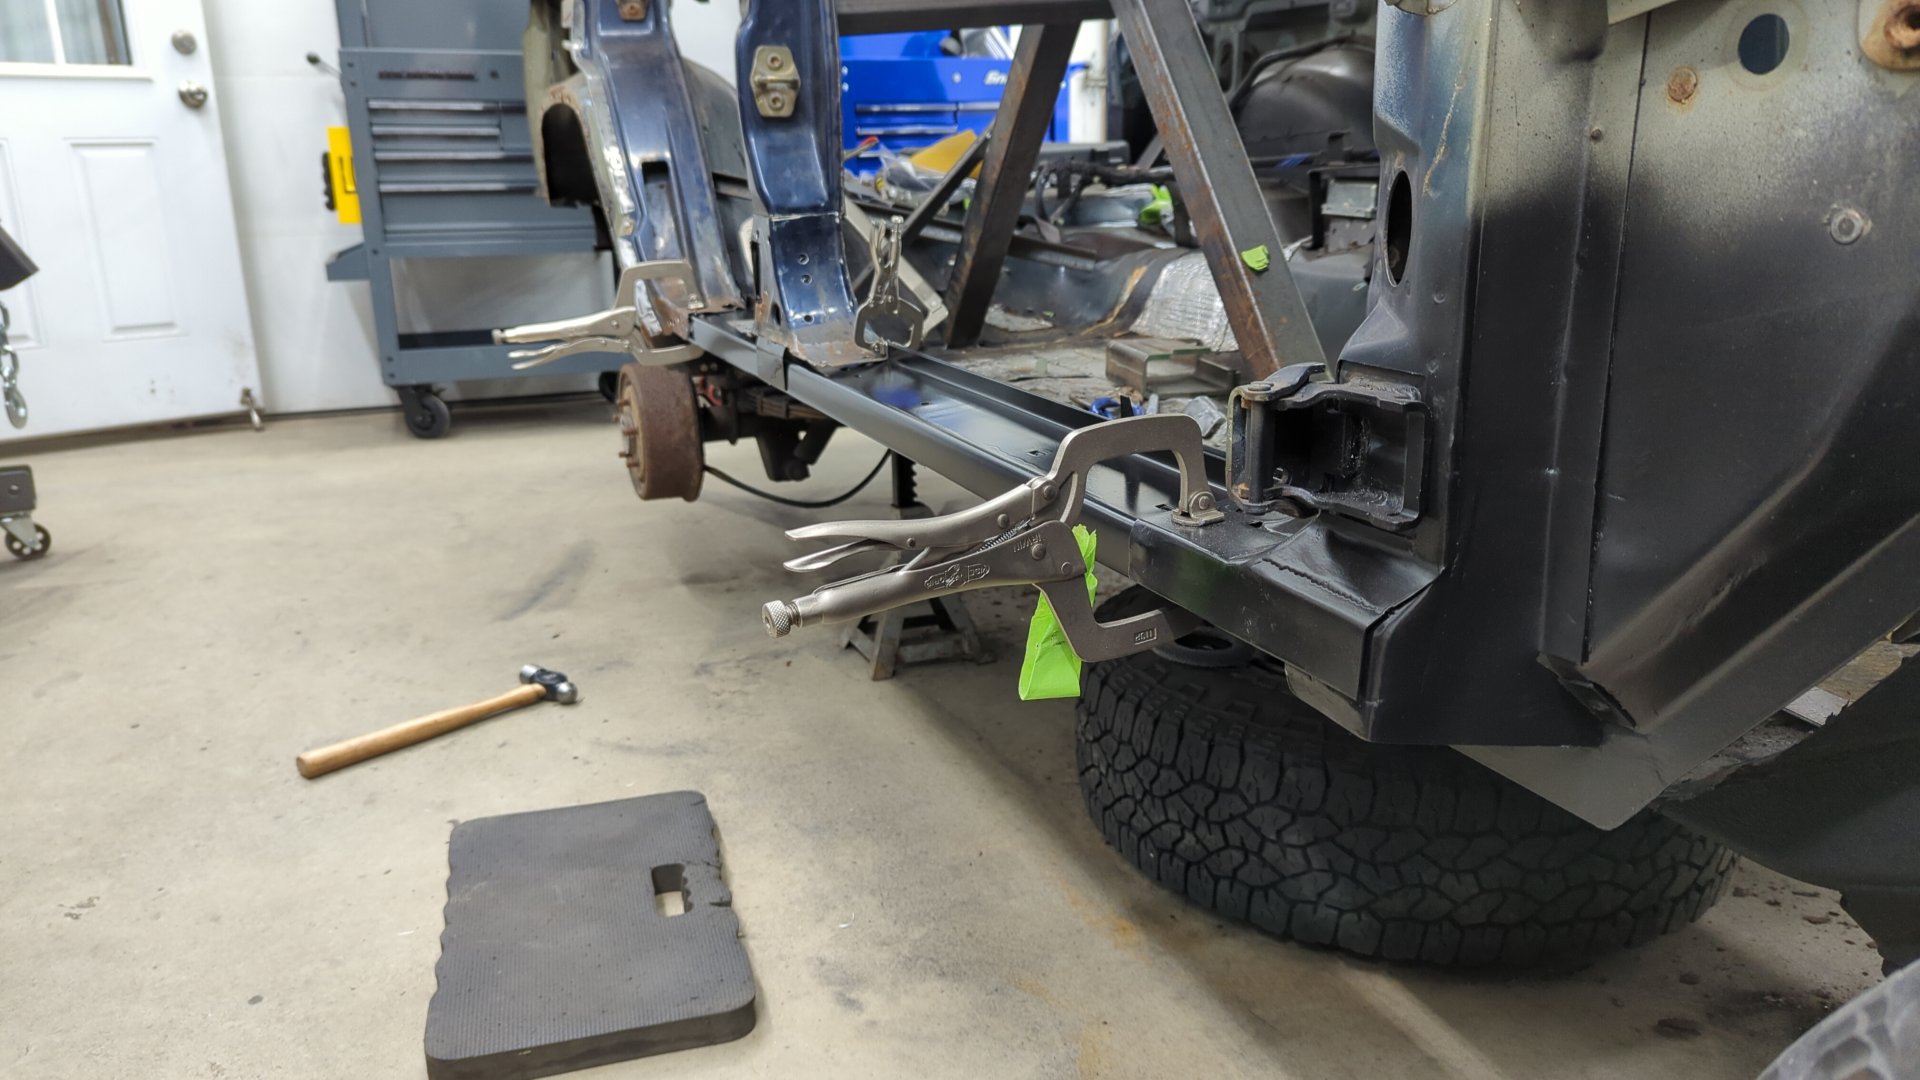
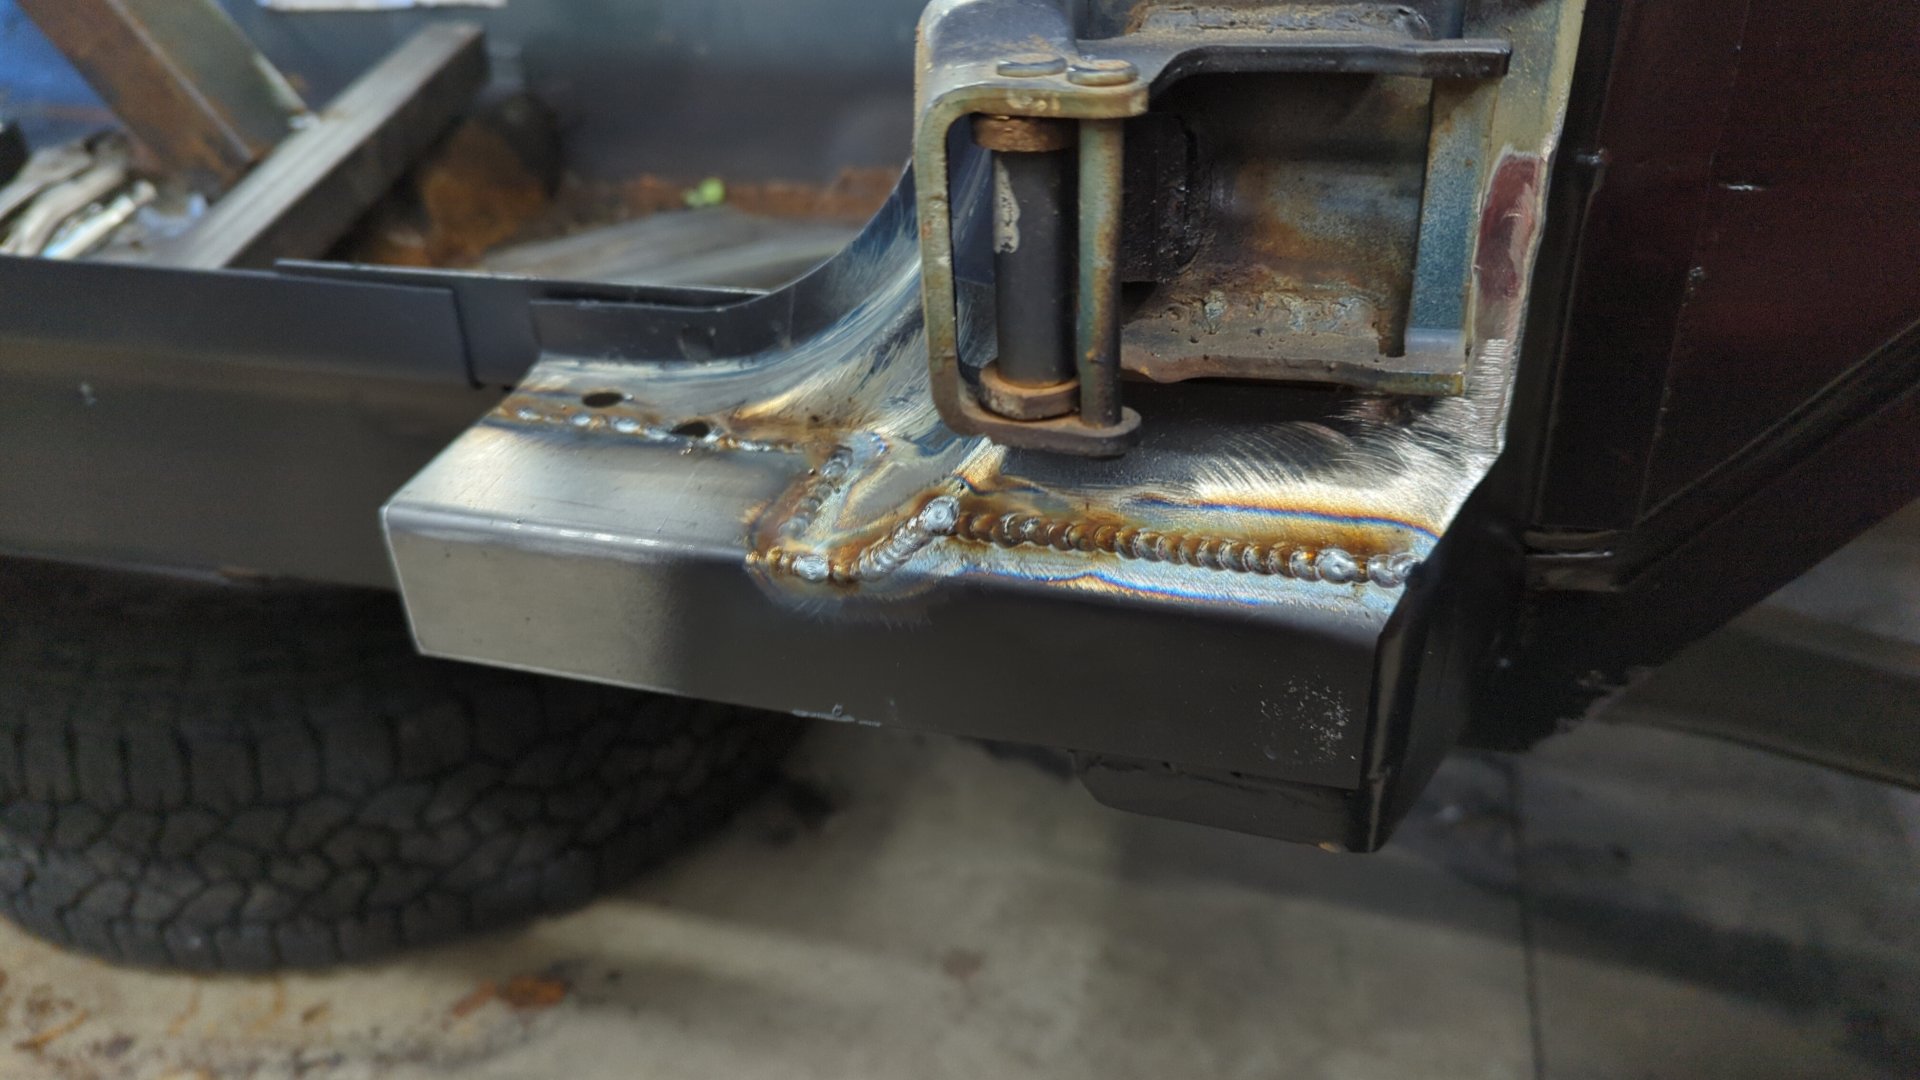
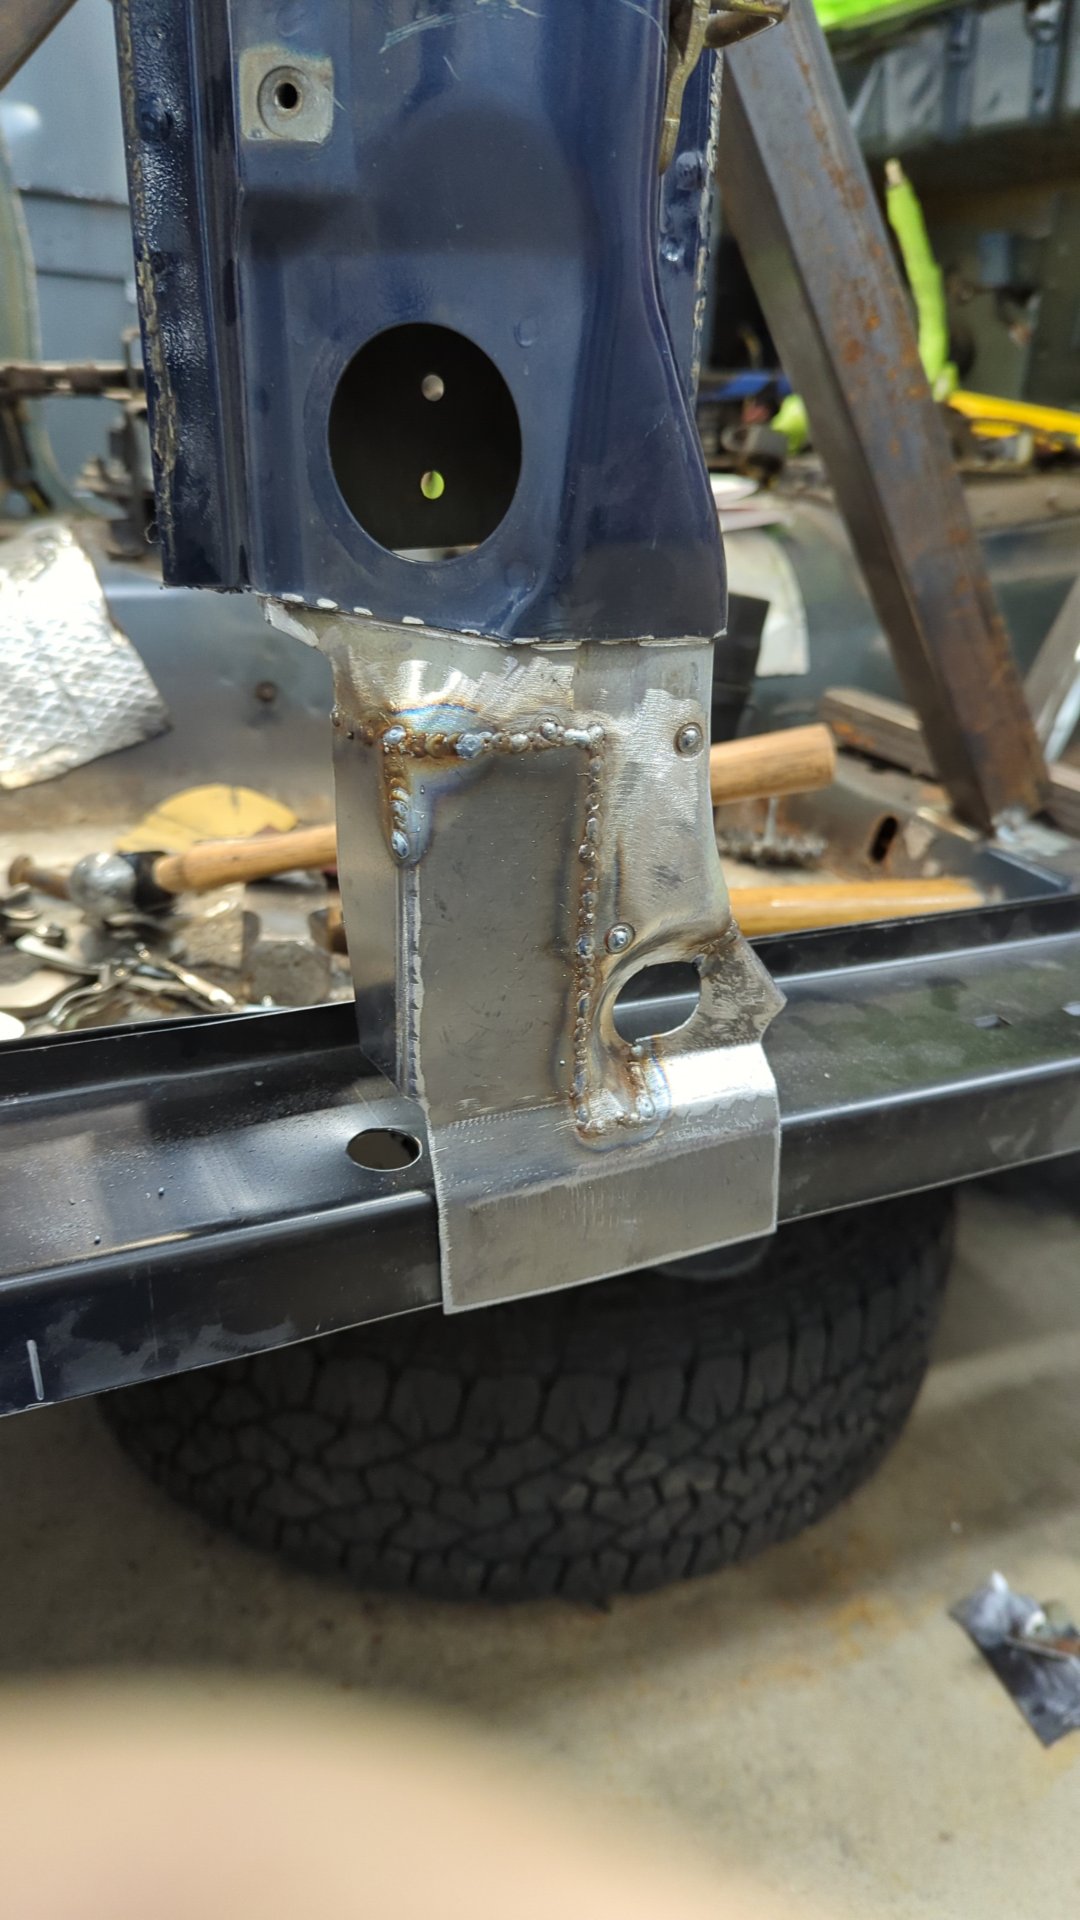
And once I was absolutely confident of it’s position, I welded it in.

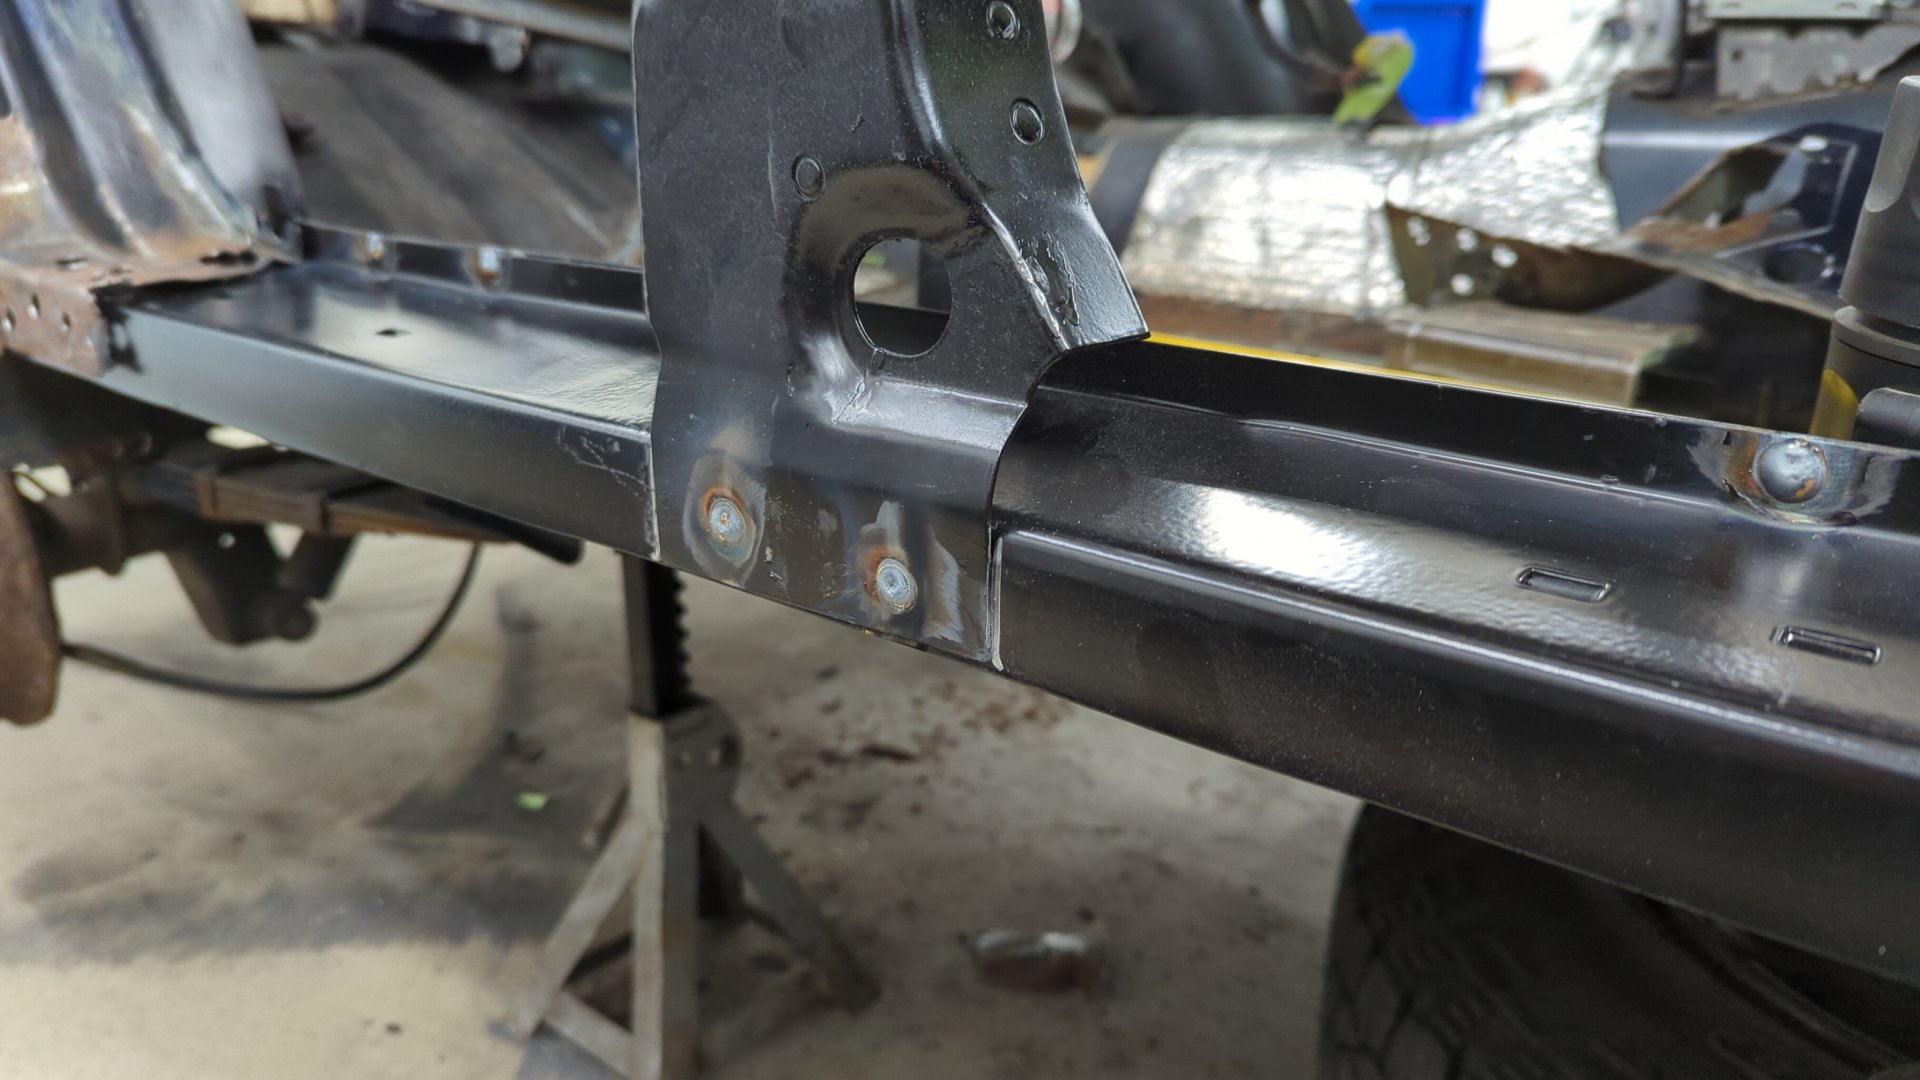
No spot welds here! I need to replace the rusty metal before welding it up.
To protect the exposed metal around the welds on the upper pinch seam I flooded epoxy down between the layers. I find doing this fills the seam nicely and creates a protective coating around everything.
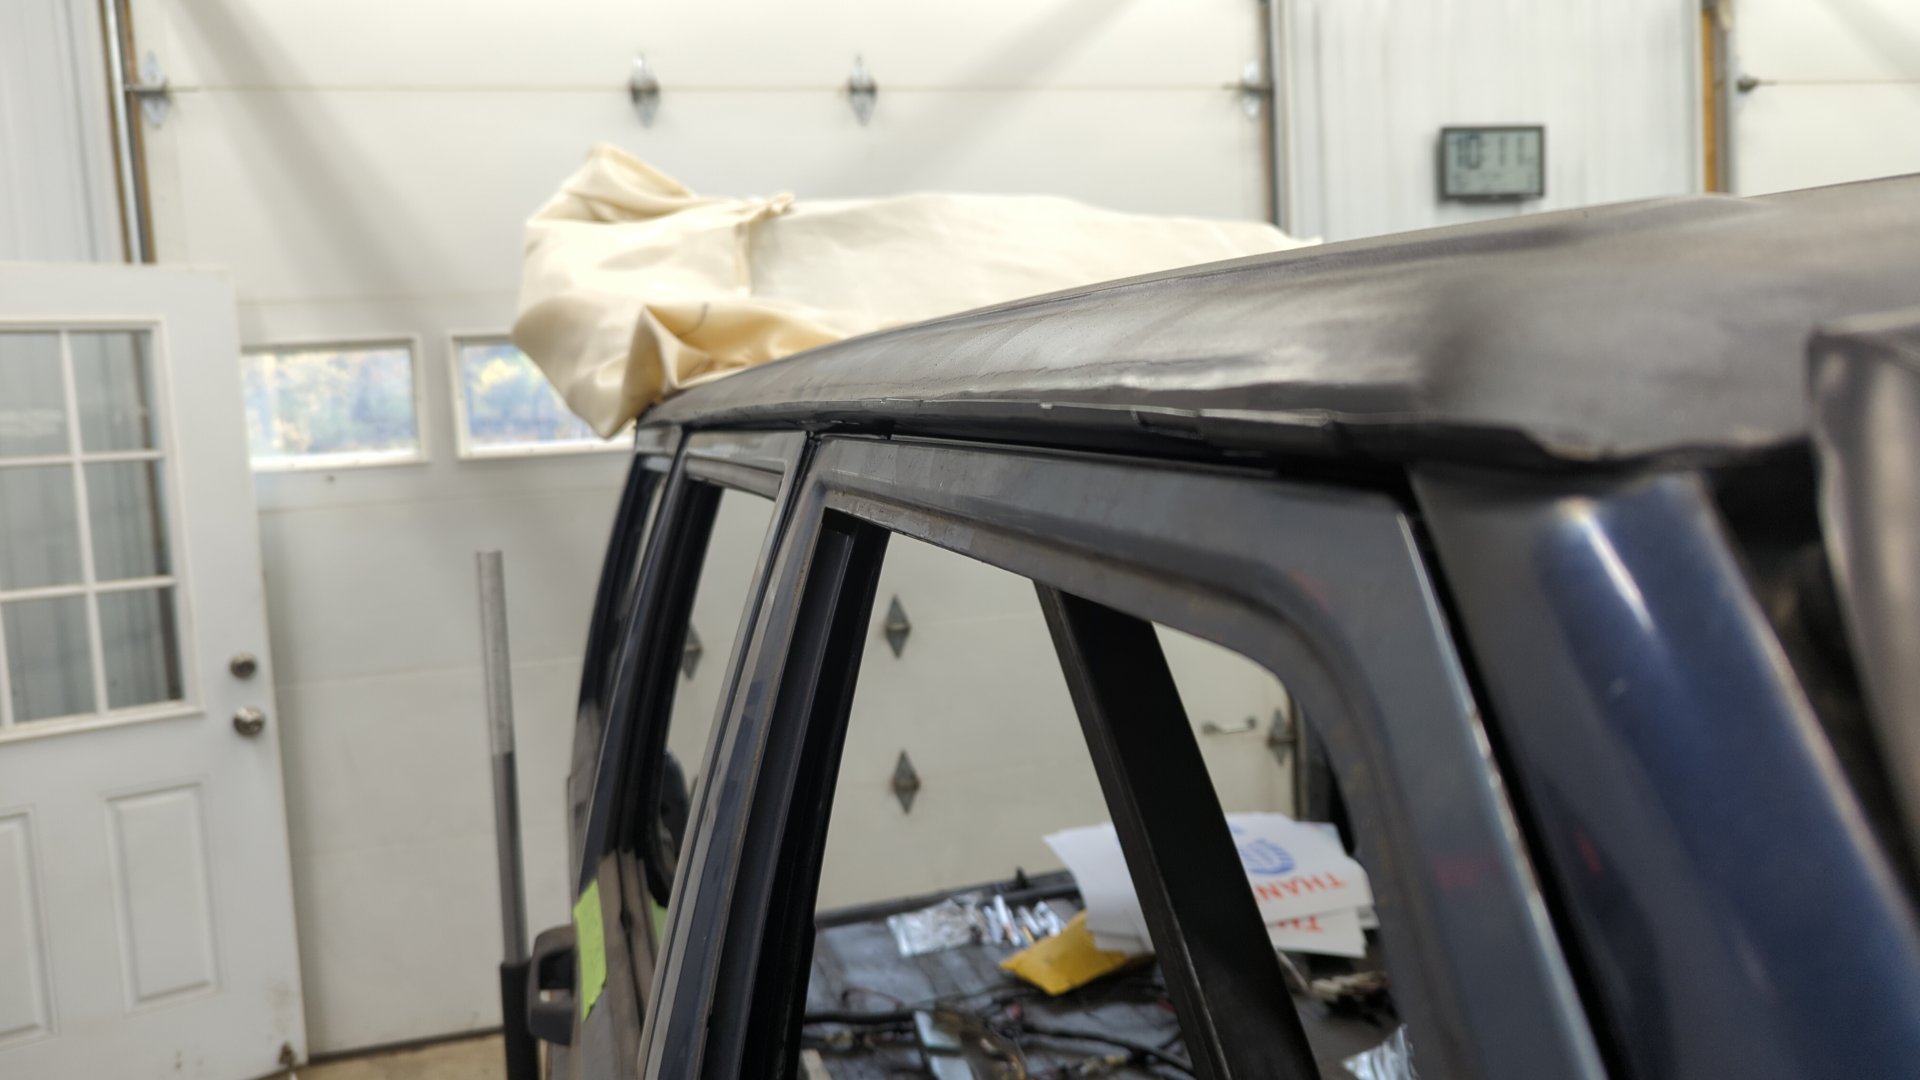
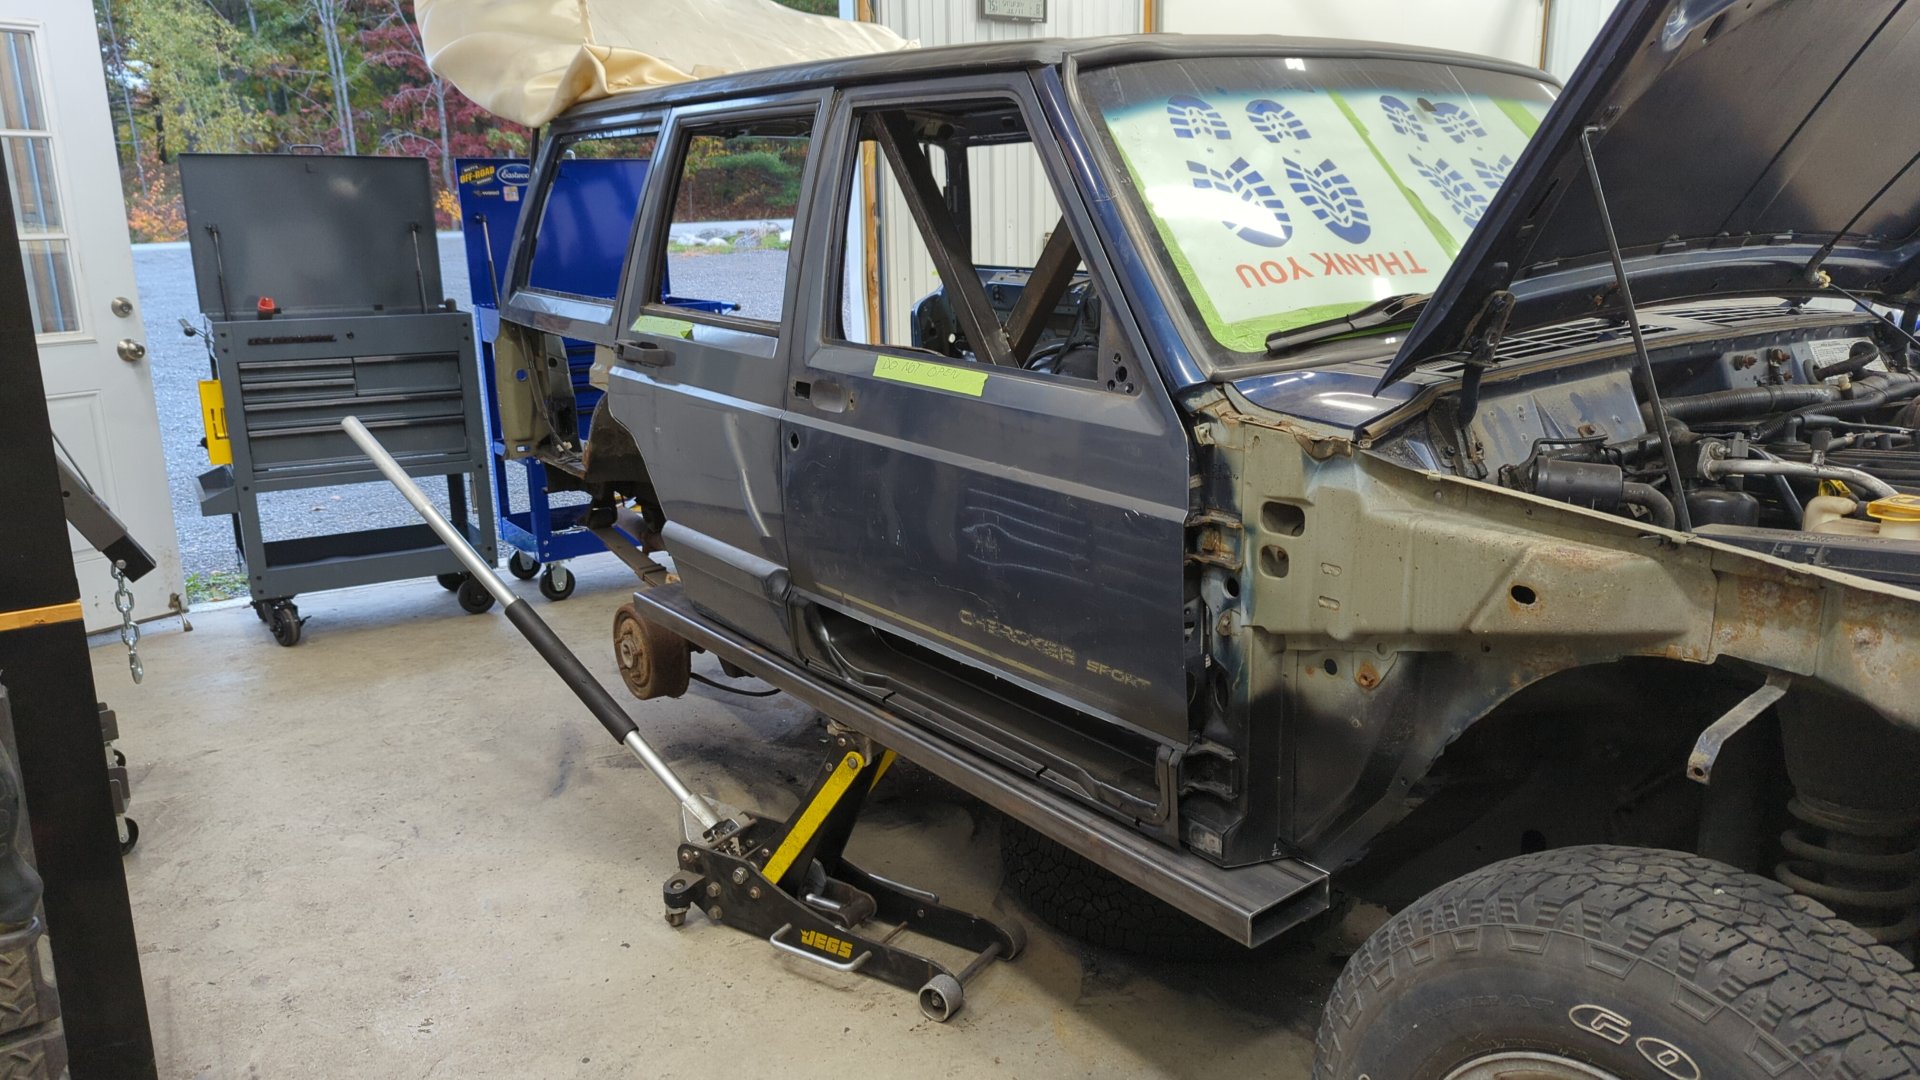
The Doors
Paranoid about ensuring my door gaps looked good I took the time to re-install the doors so I could test fit the 2x6 against them.

I never noticed this till now but my new (to me) passenger front door is bent at the top left corner. I’ll need to fix that later on.
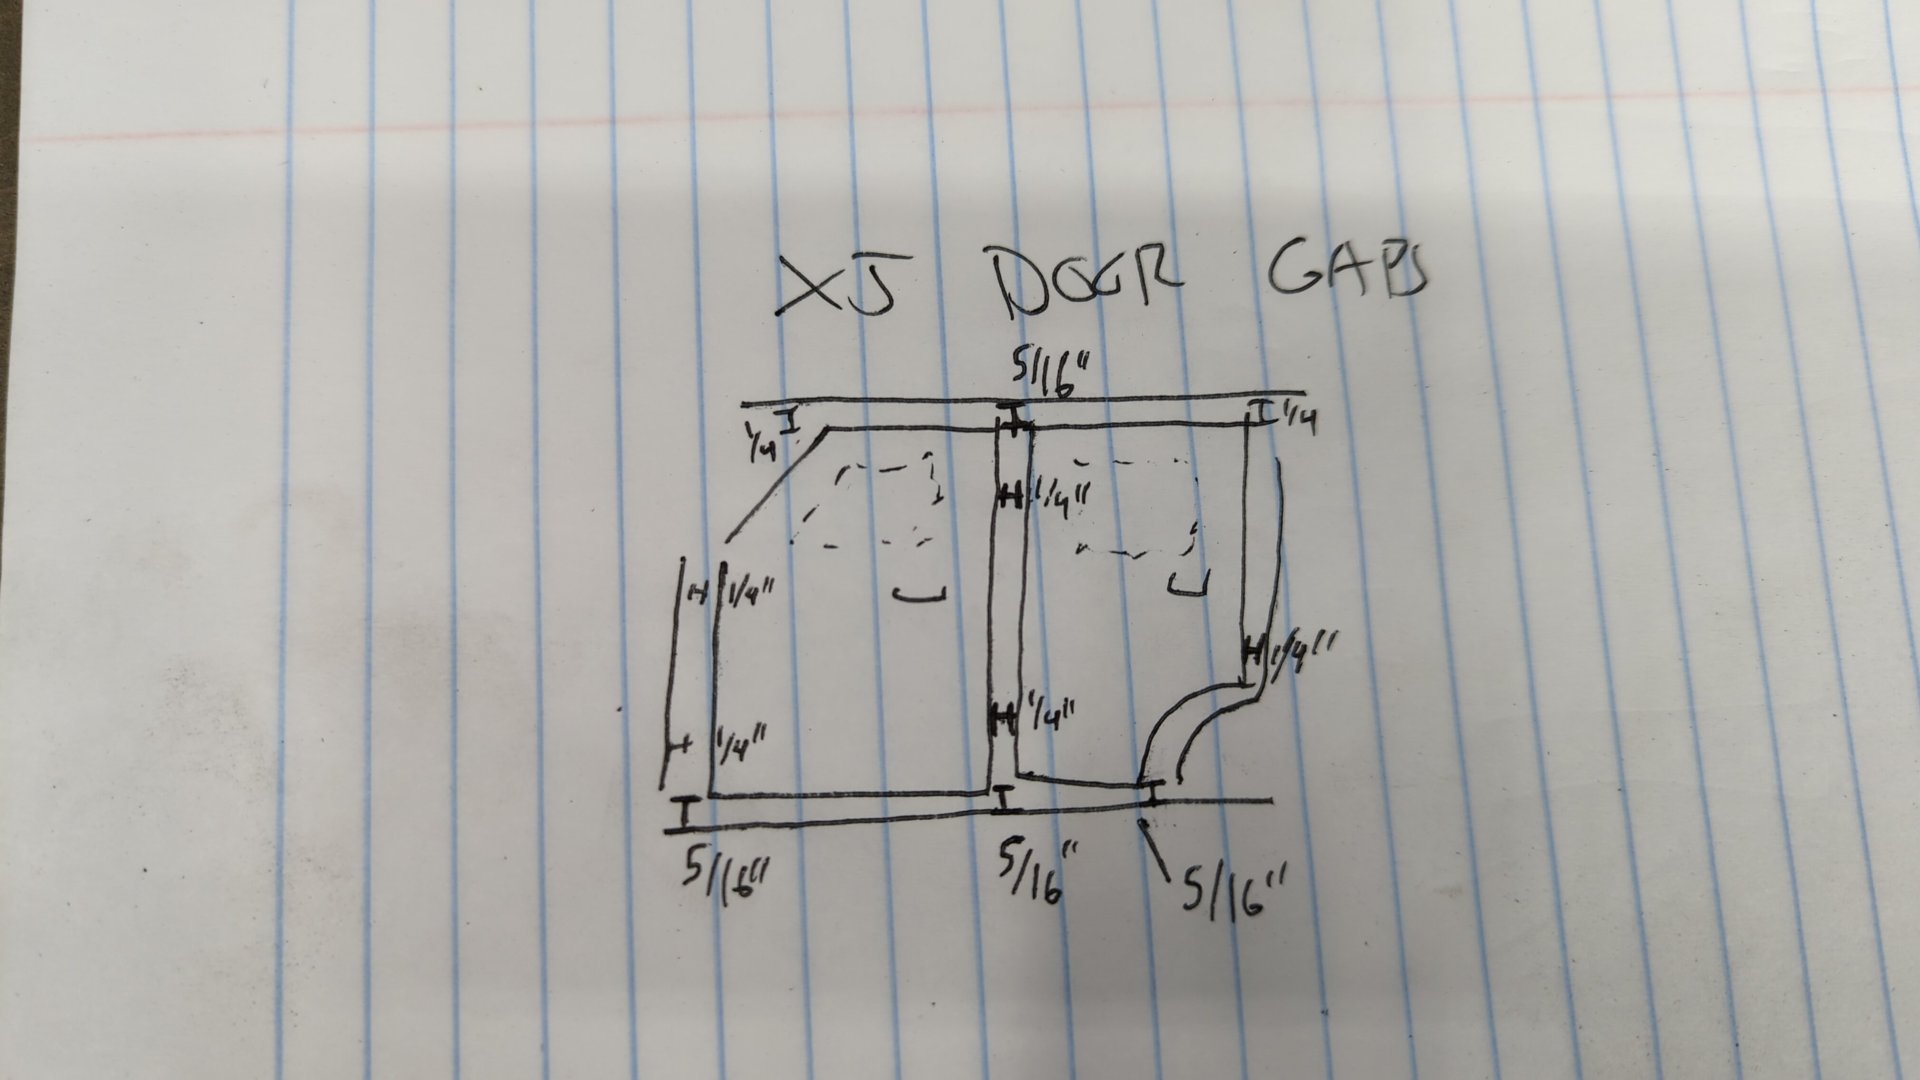
For reference I took measurements of the door gaps on the driver side.
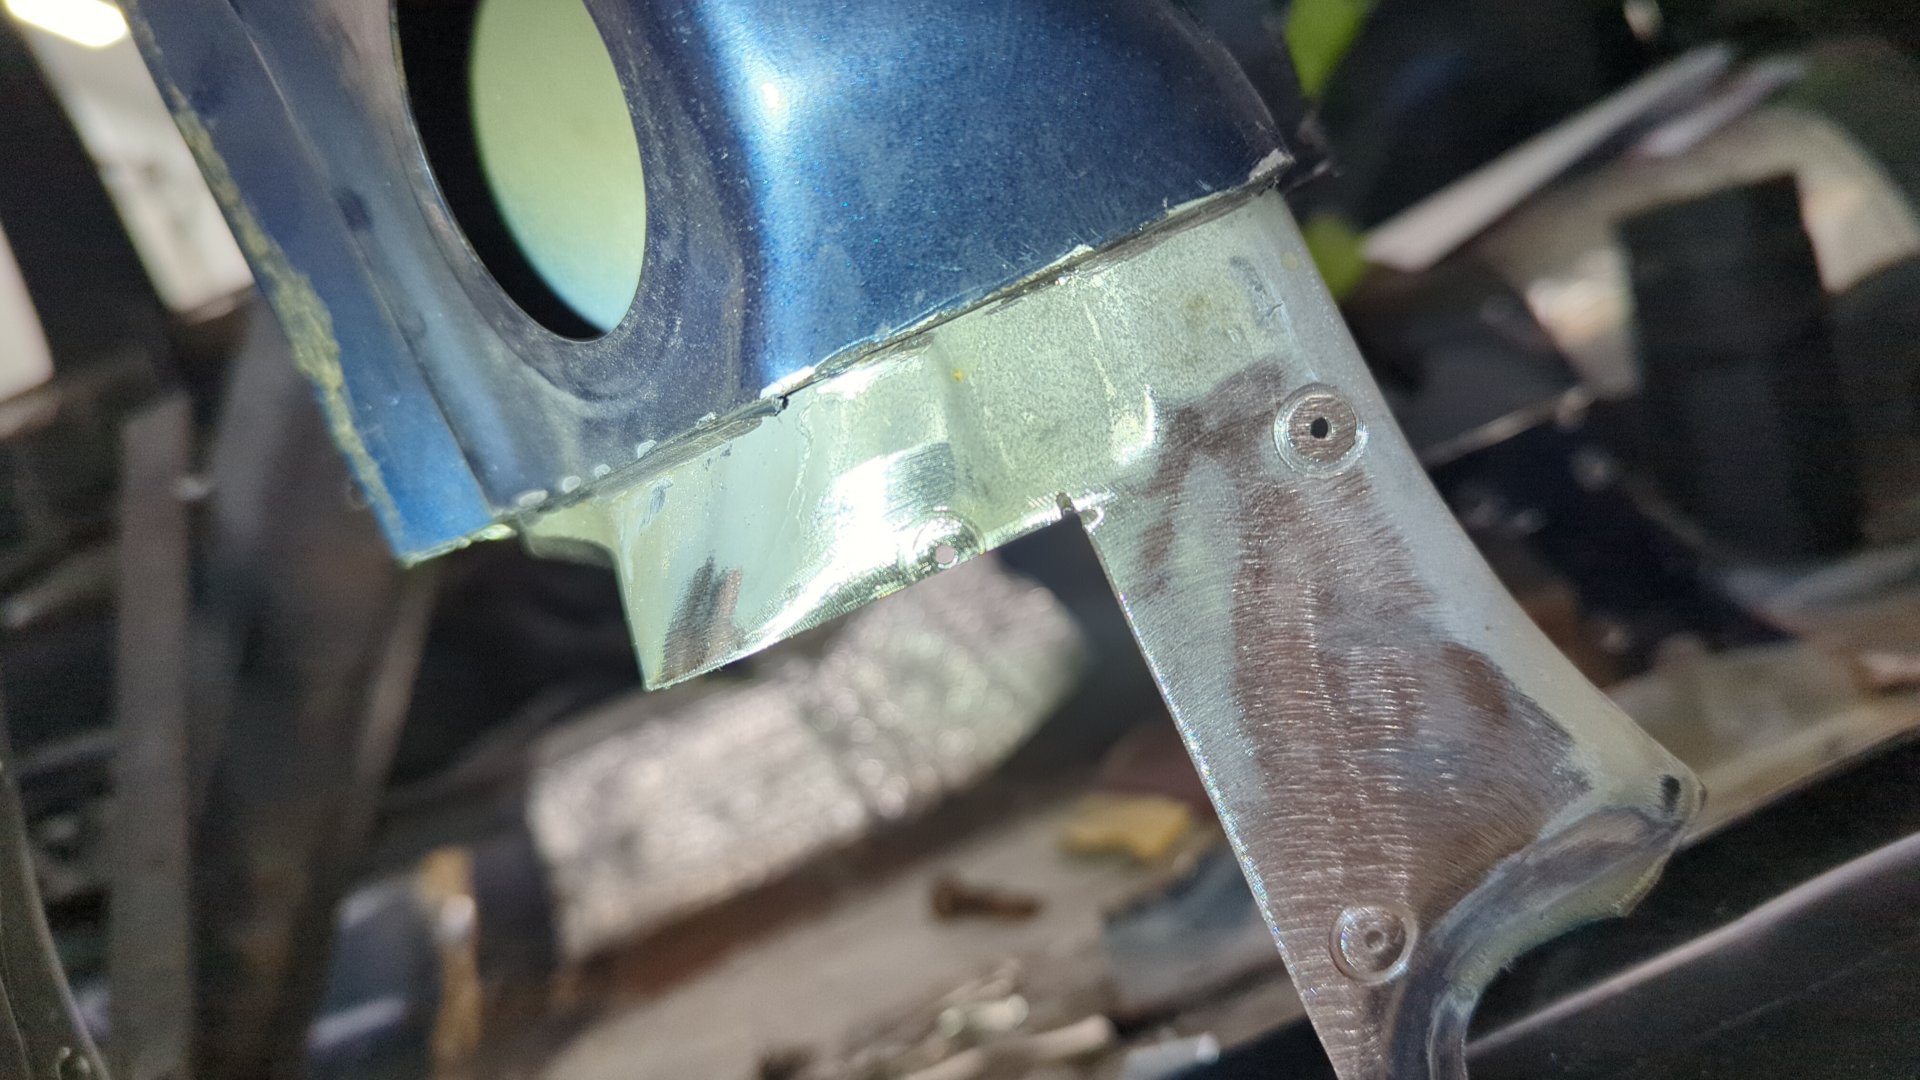
Bracing The Inner Rocker
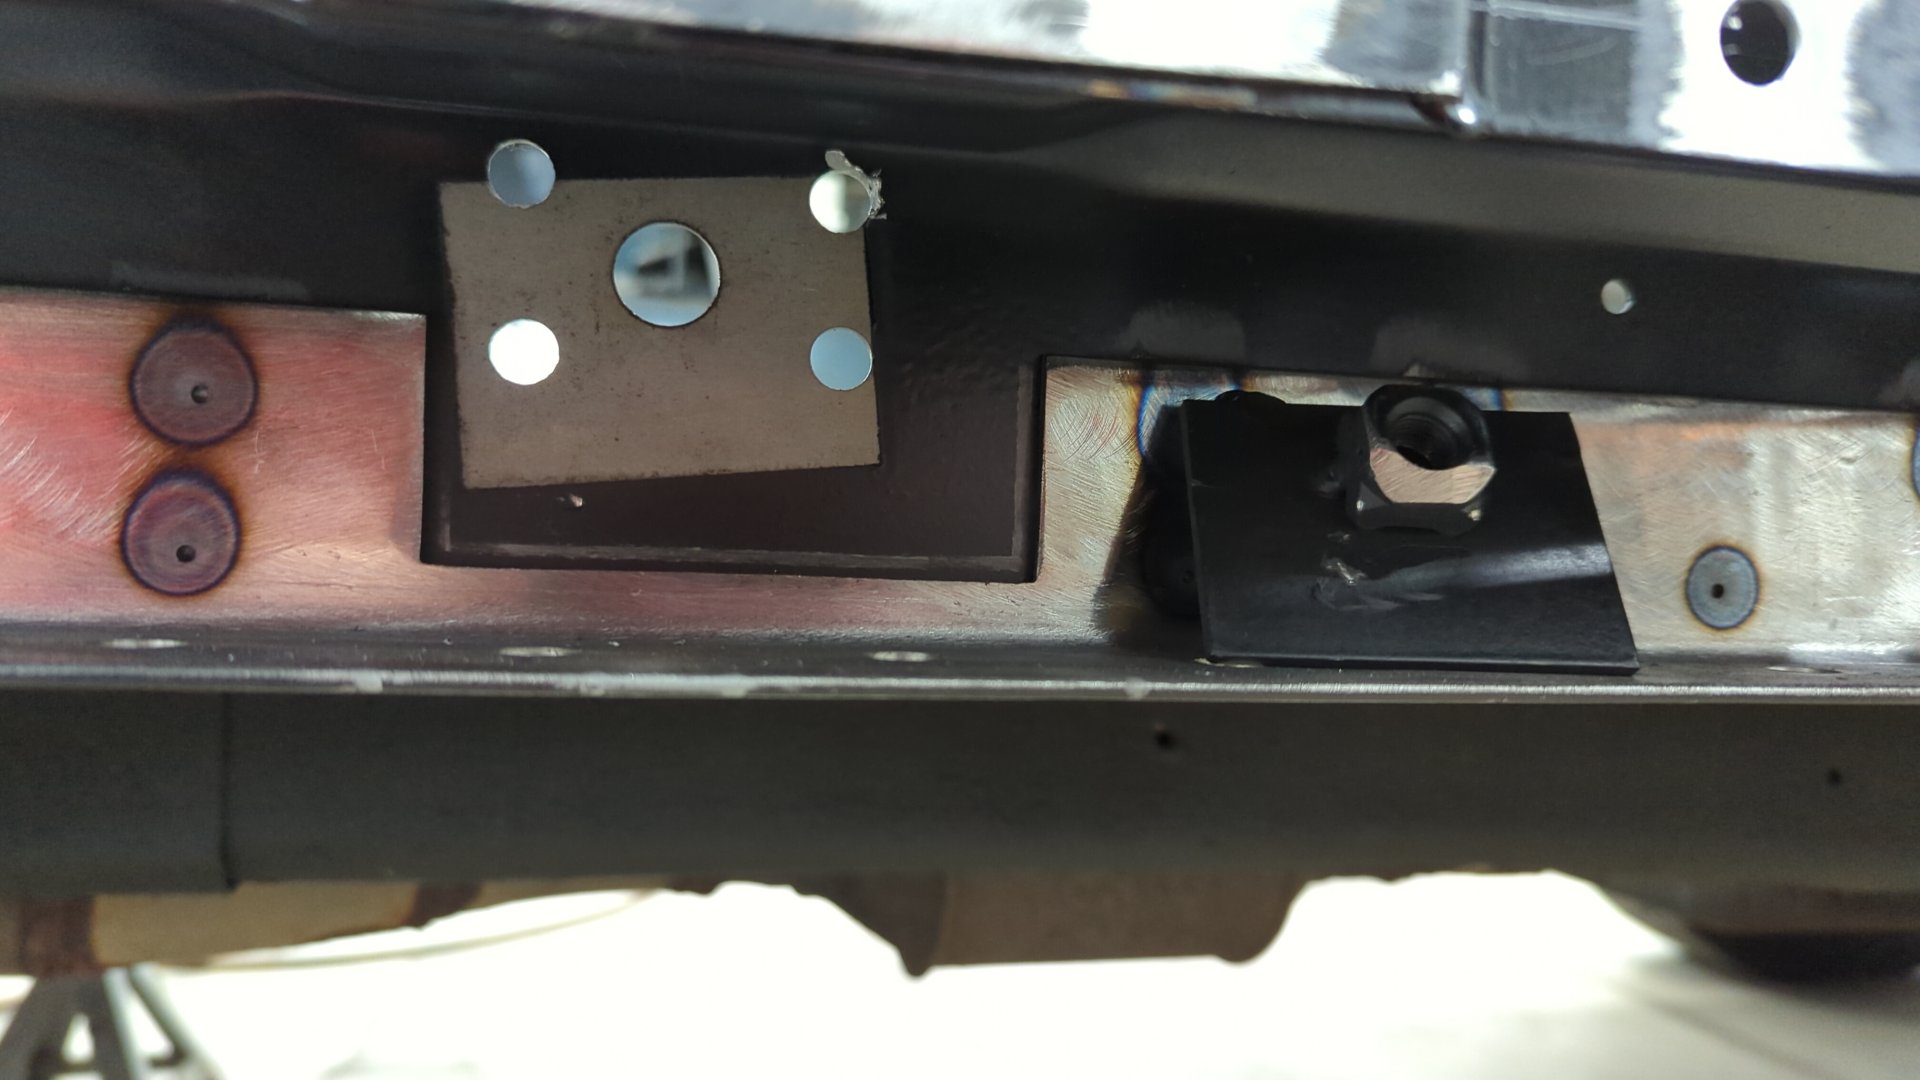
To add some strength to the inner rocker, and make it easier to weld the 2x6 to it, I decided to make a mounting plate out of some 11ga 2" angle.
Here’s what I ended up with after cleaning up the metal and drilling a ton of holes.
If you look closely, you can see a bunch of pilot holes I drilled in the top half. I used these as guides to drill holes into the inner rocker.
Because the angle is significantly thicker than the inner rocker I’d be welding to, I opted to make the welds from the inside. By welding from the inside I could direct the majority of the heat from the welder into the thicker angle and avoid blowing throw the inner rocker.
It was actually kinda tricky to reach some of the welds from the inside.

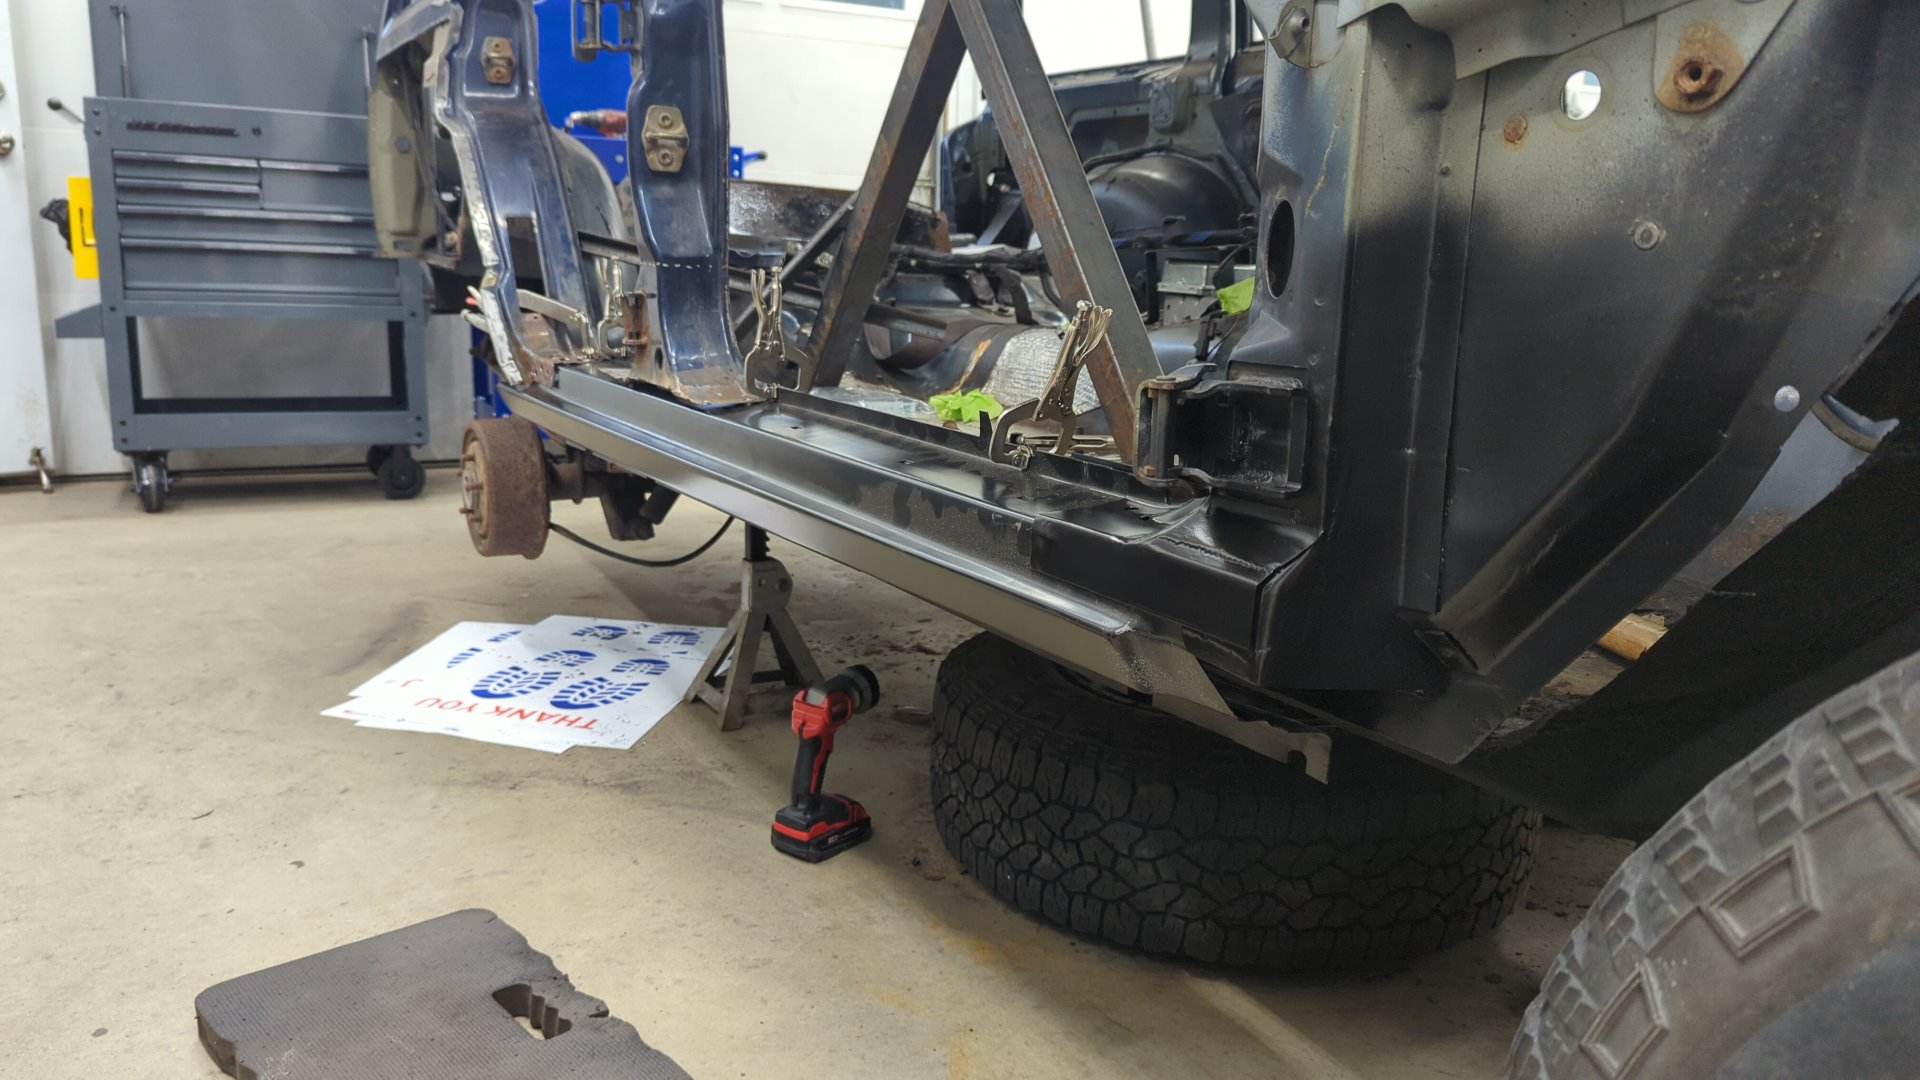
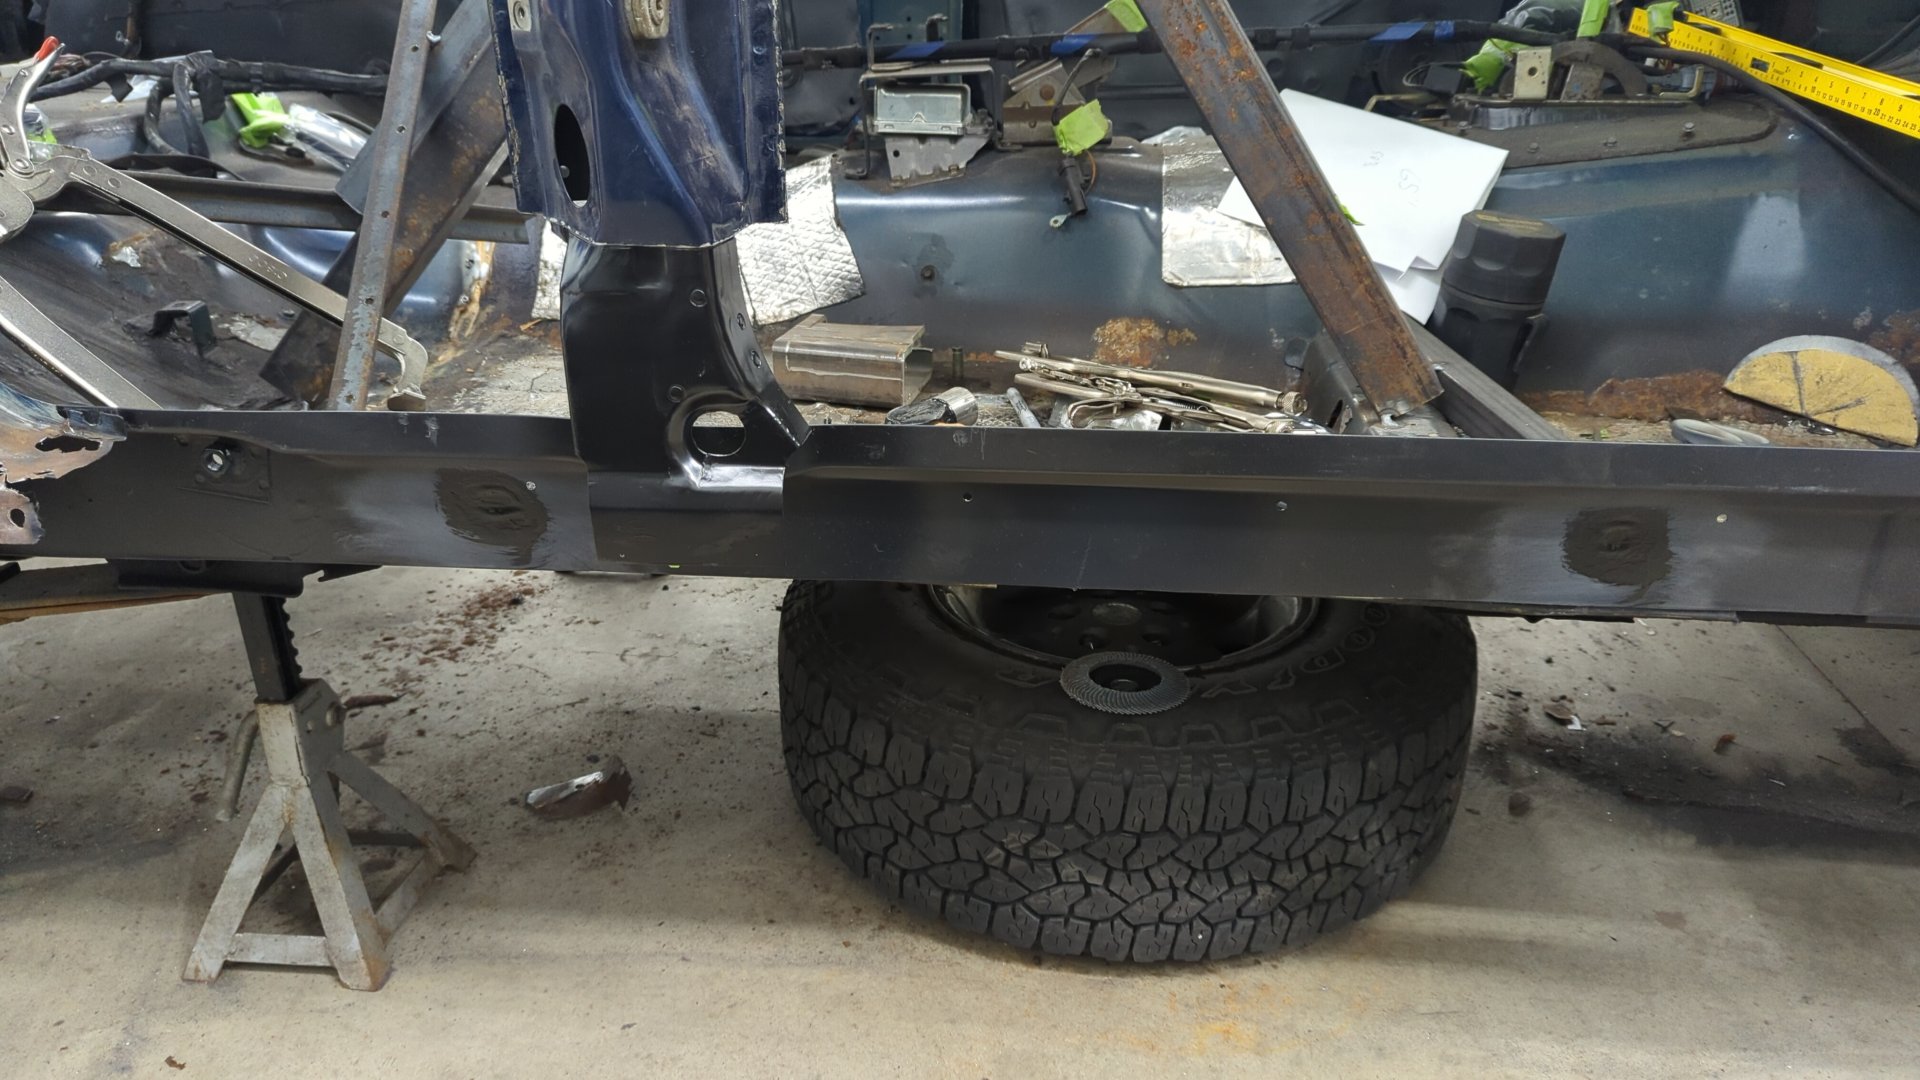
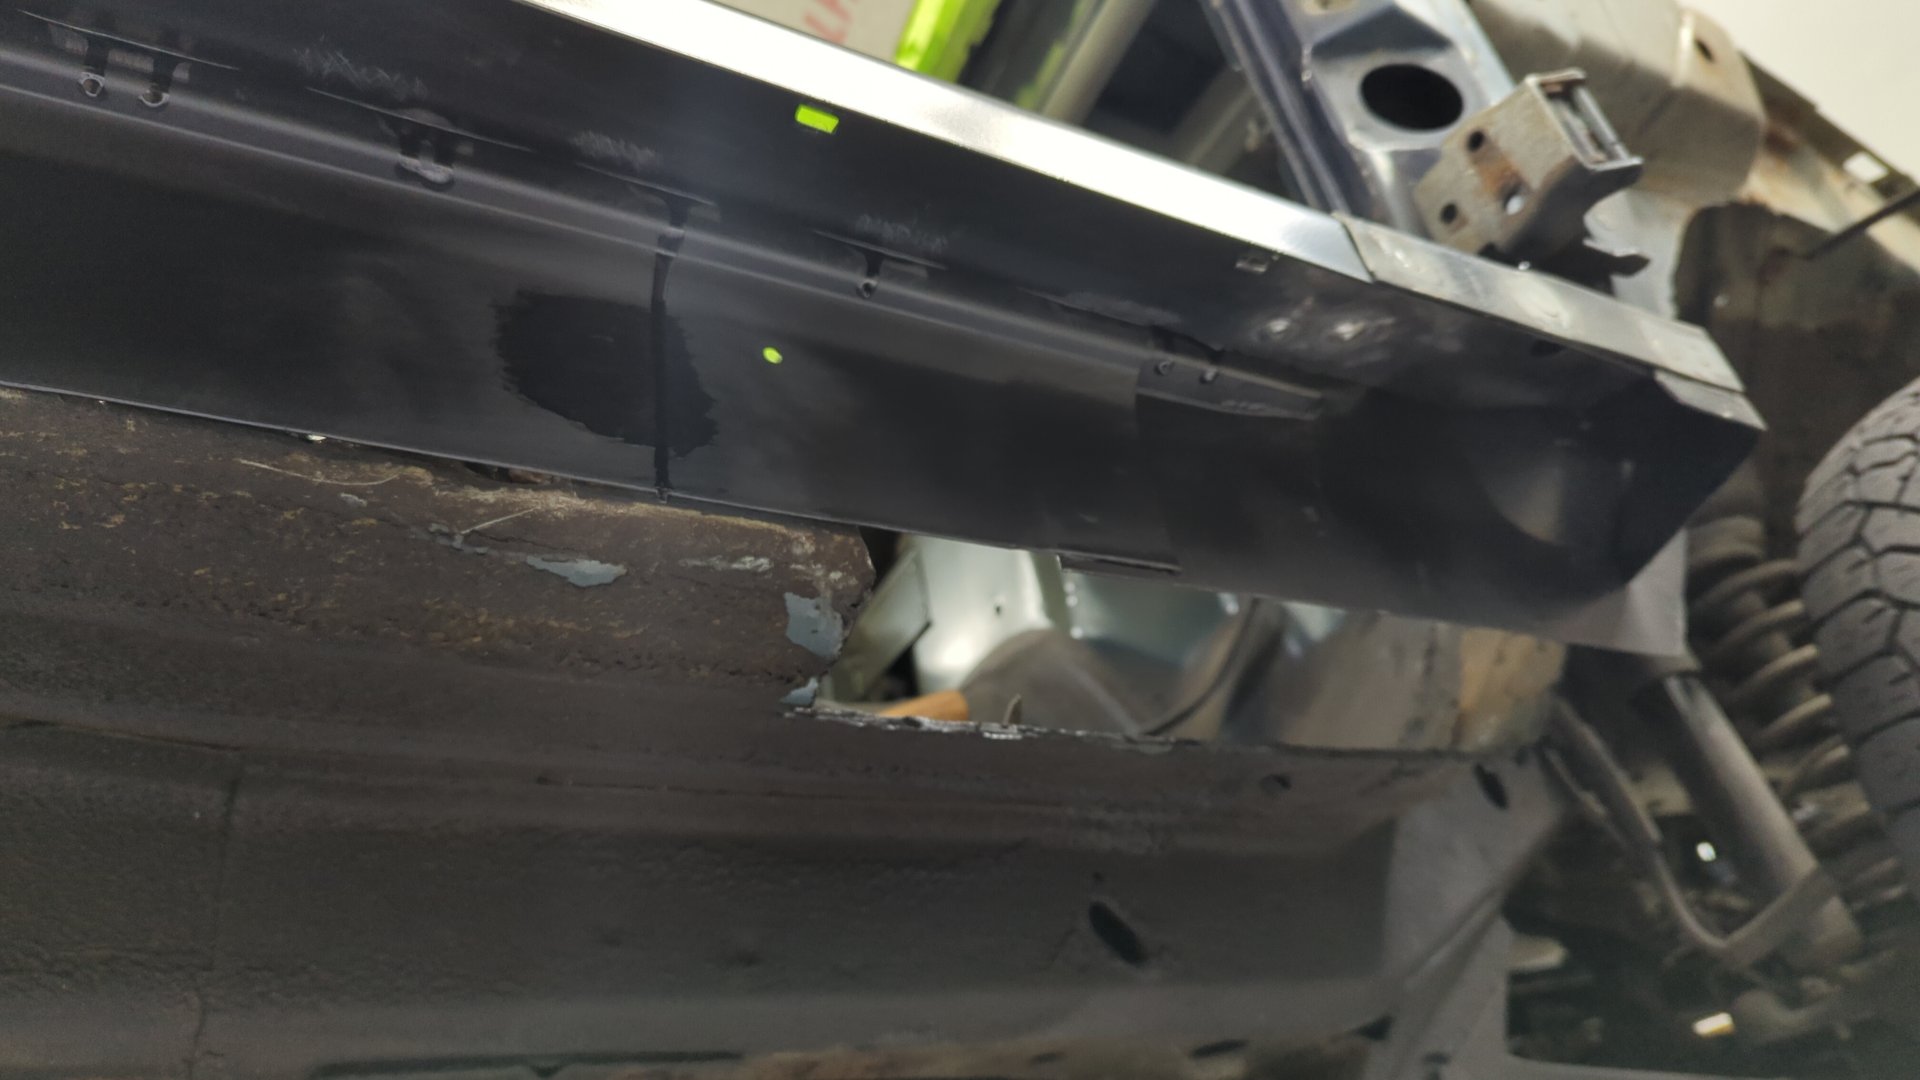
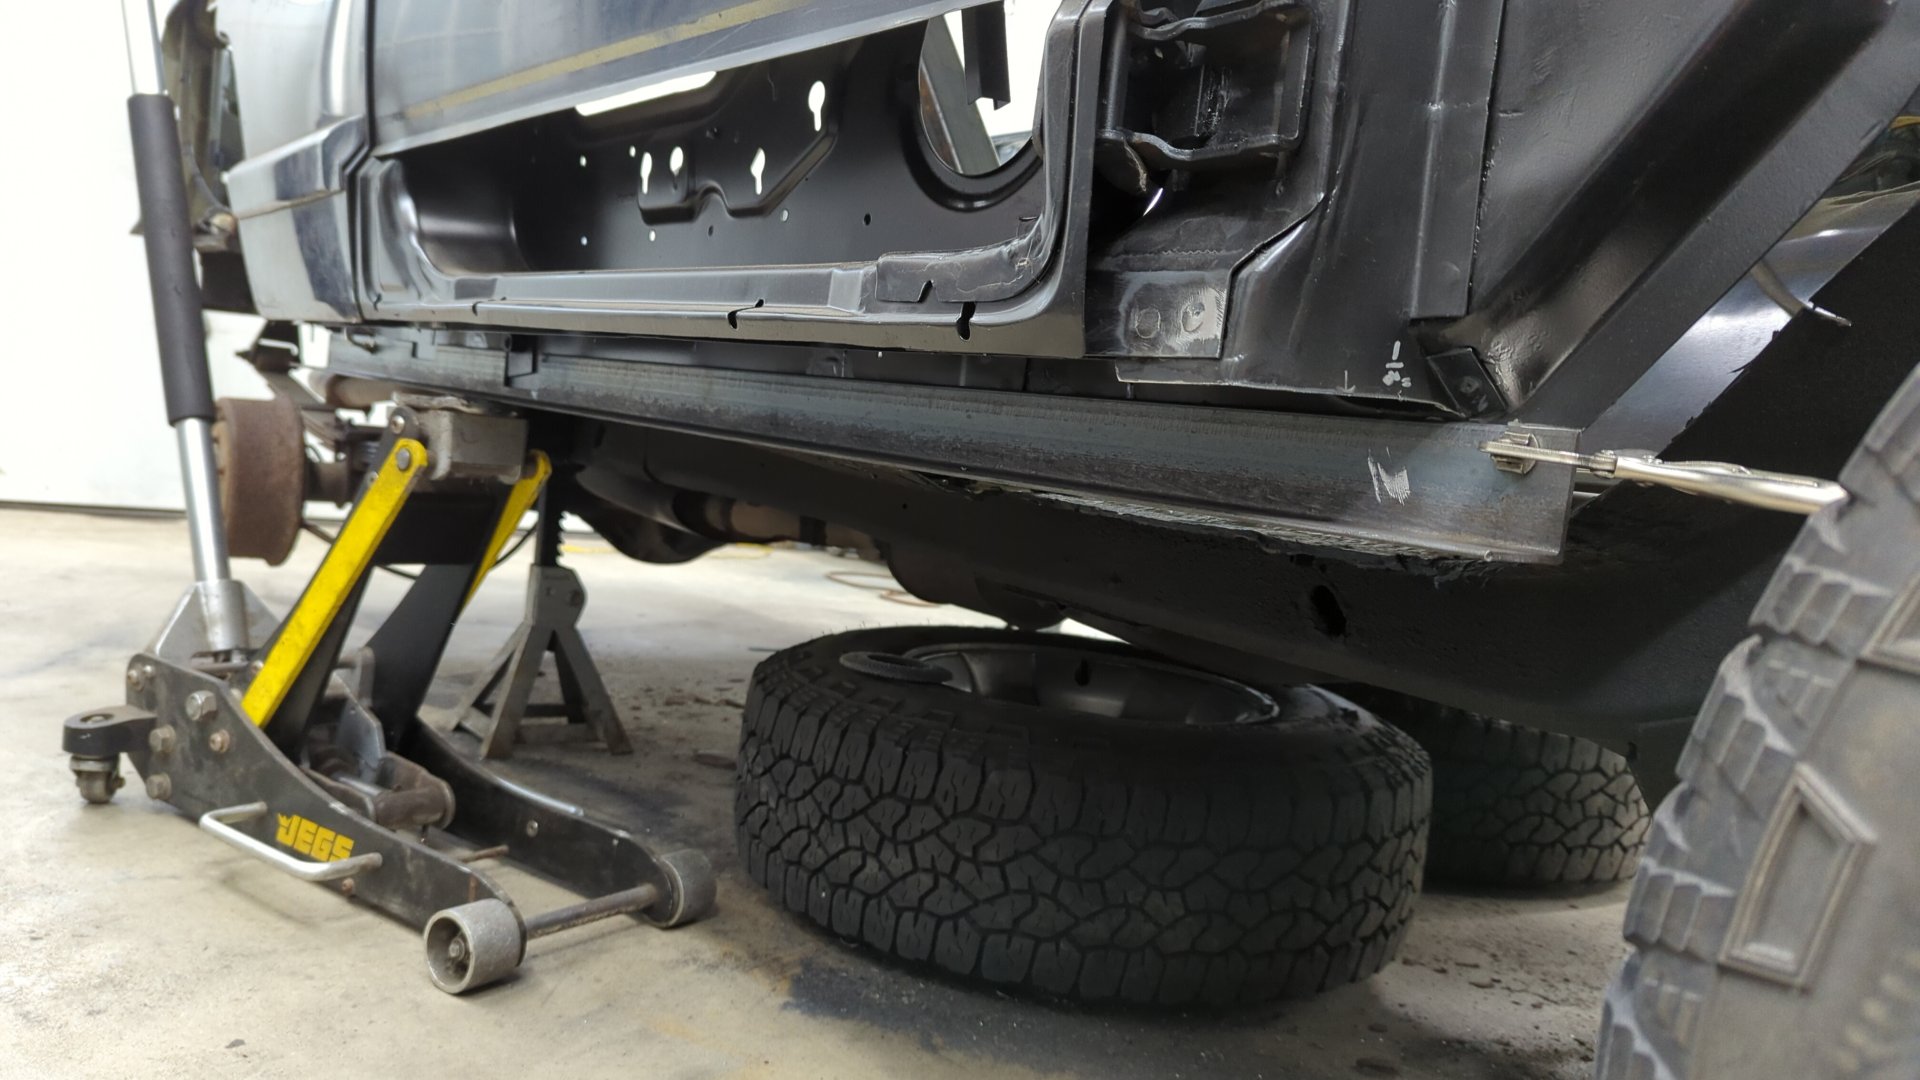
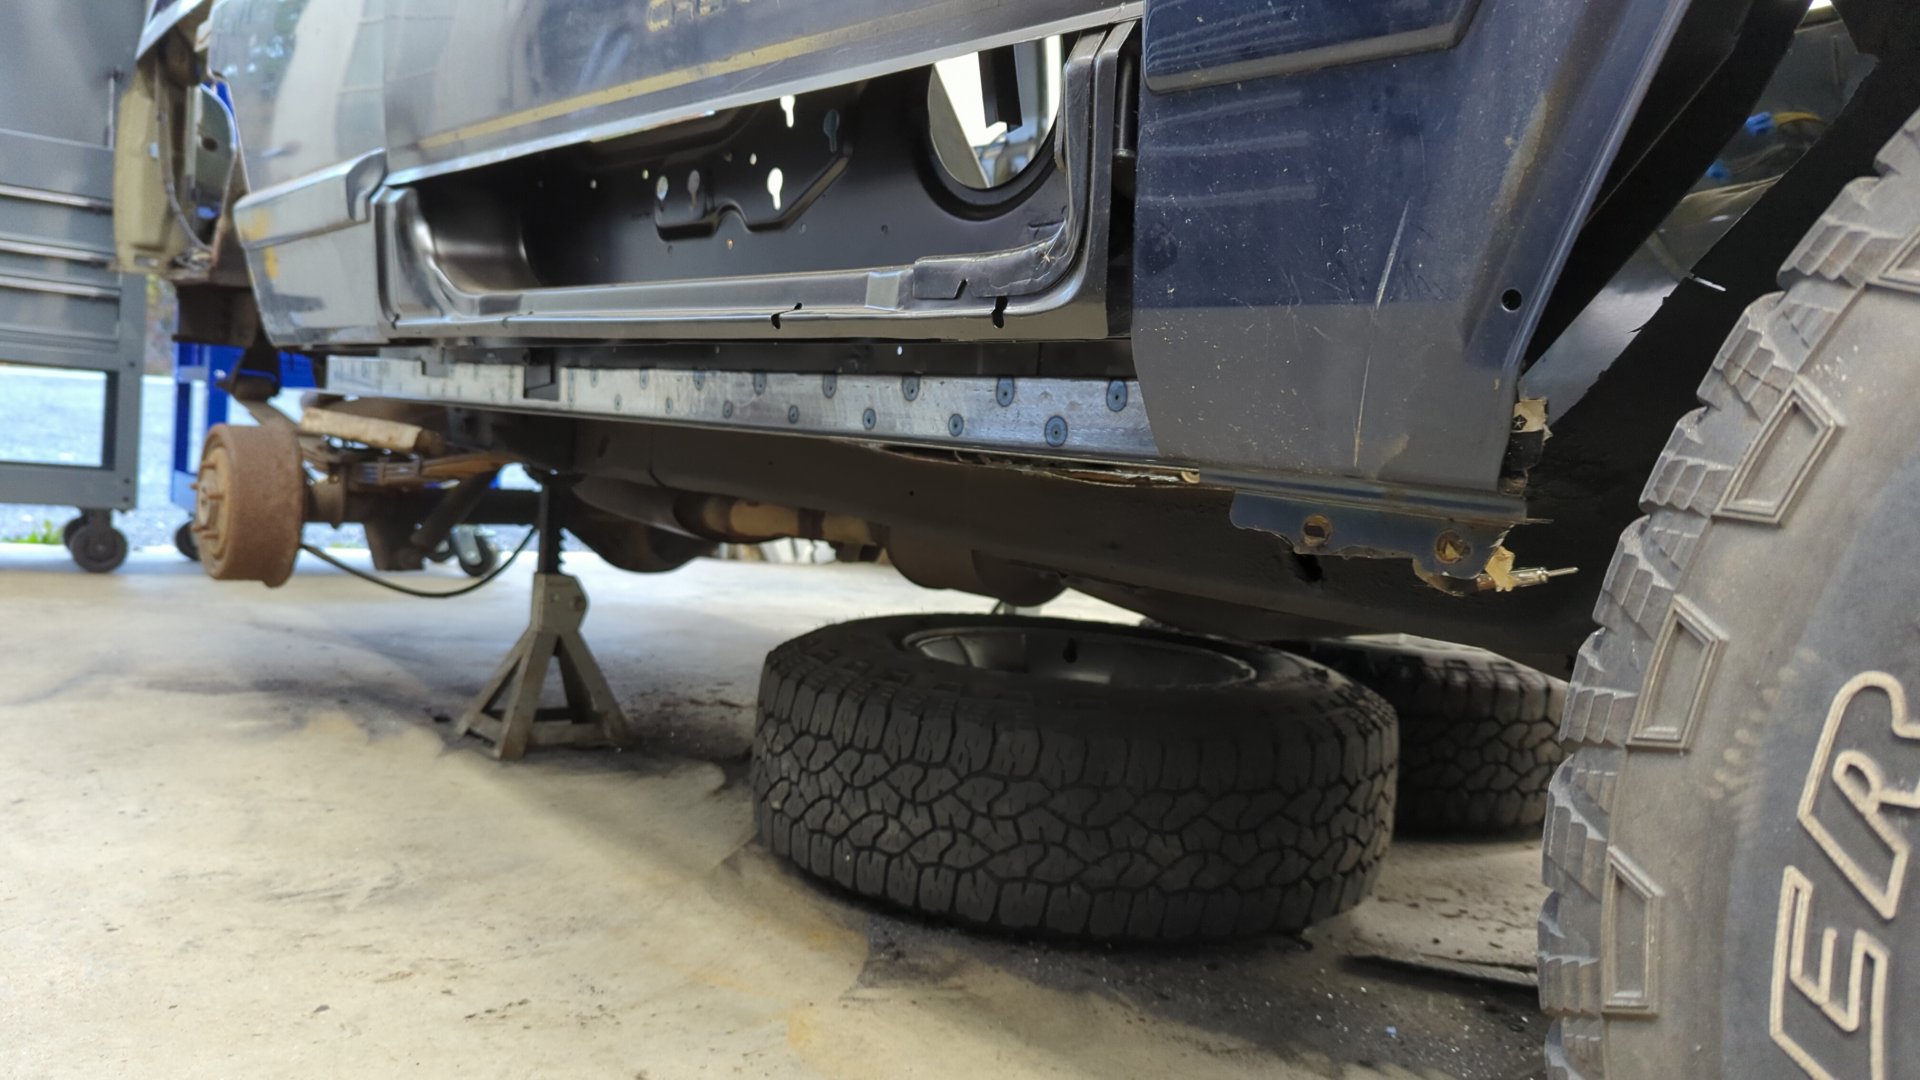
Test fit of the 2x6
I decided to give the front fender a quick trimming so I could test fit it without getting in the way of the 2x6.
I haven’t fully settled on where to end the 2x6 yet. I’m switching to after market fender flares (Bushwacker Flat Flares) so I want to test fit them first to decide where to end the 2x6 rocker.
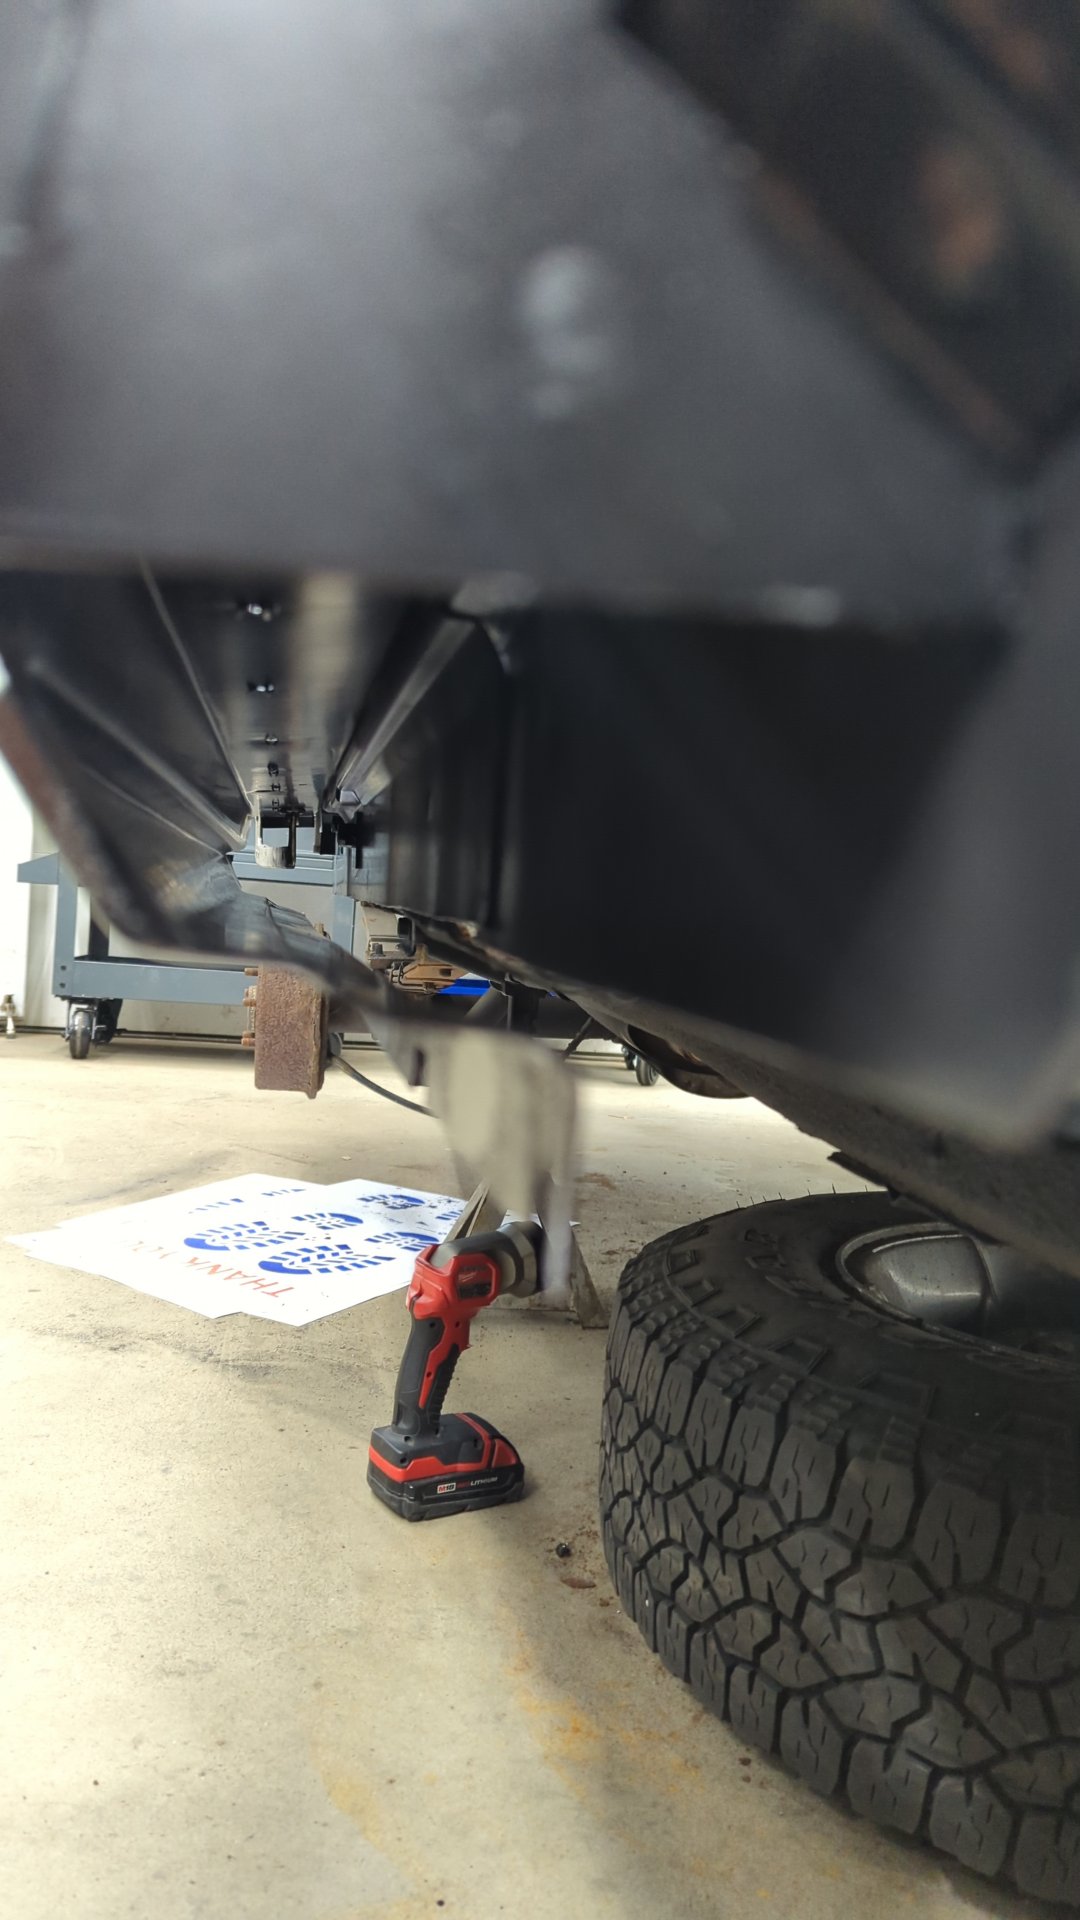
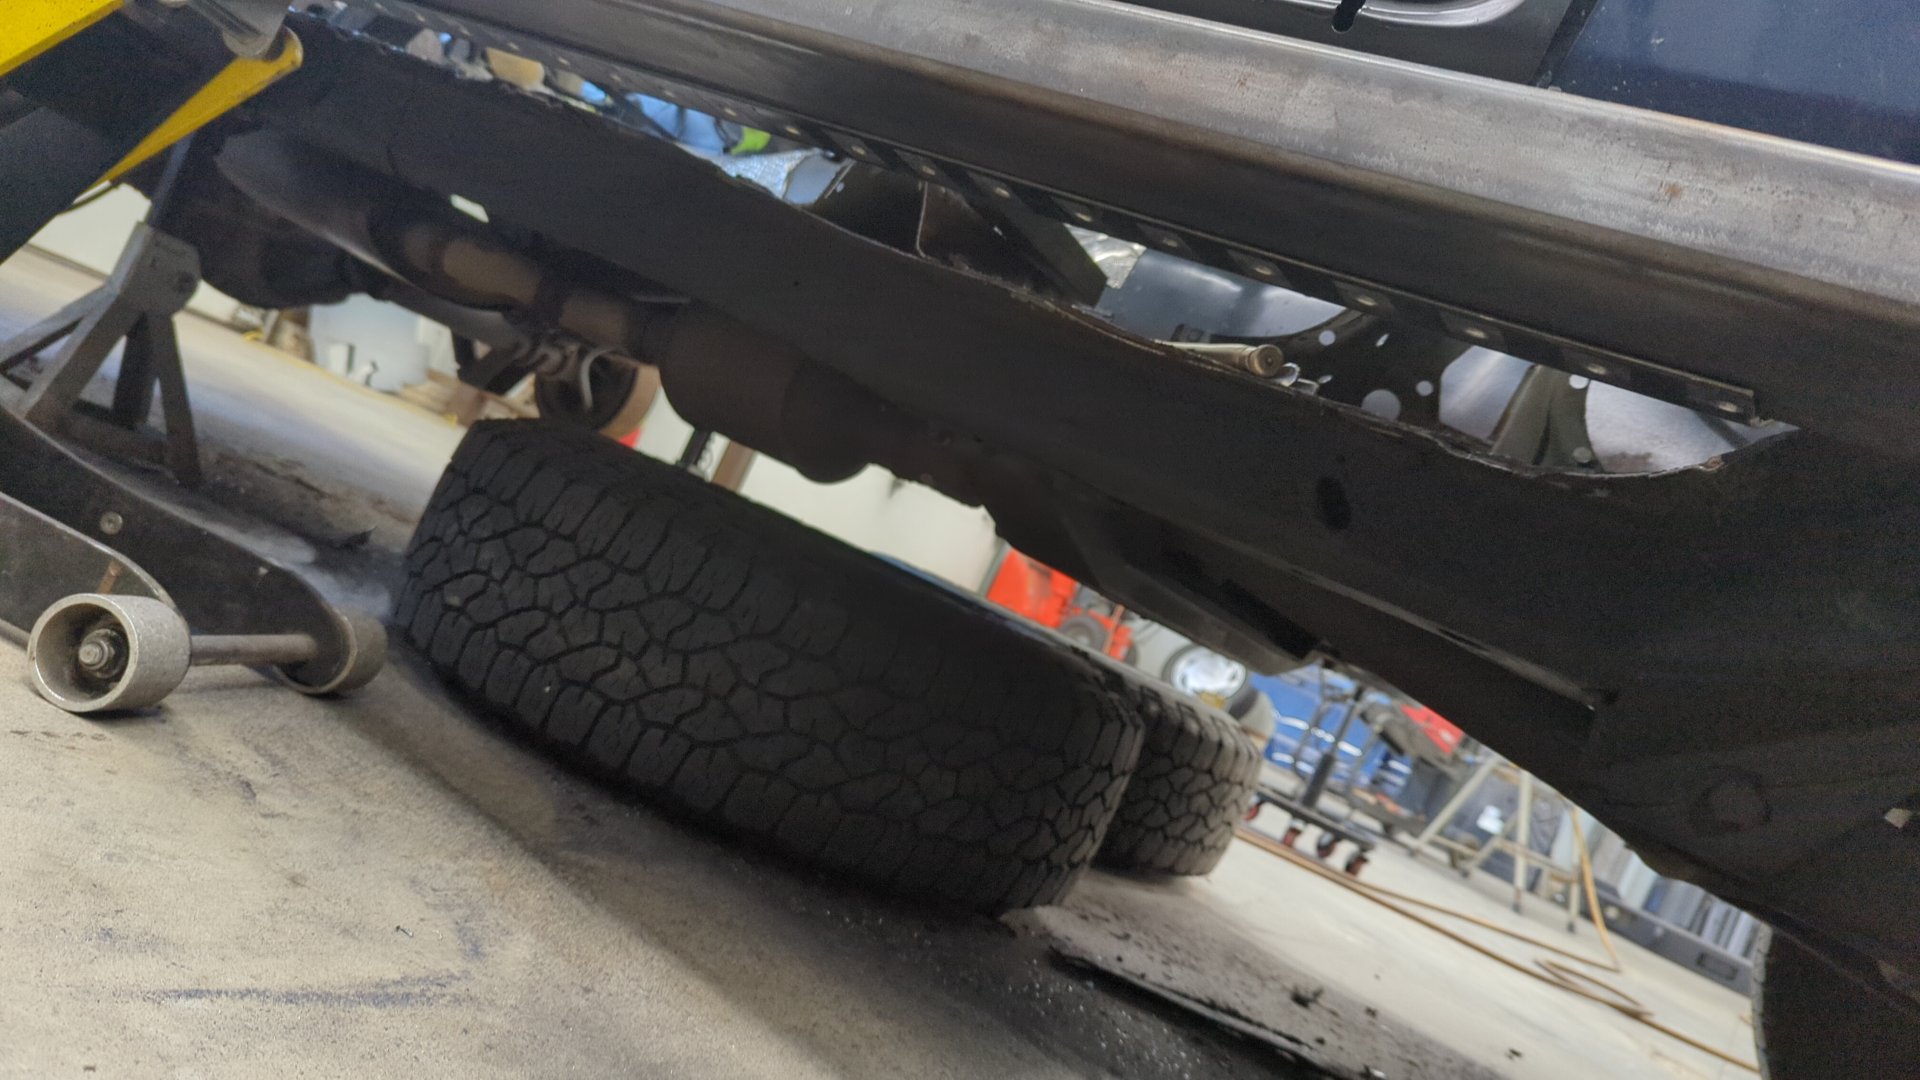
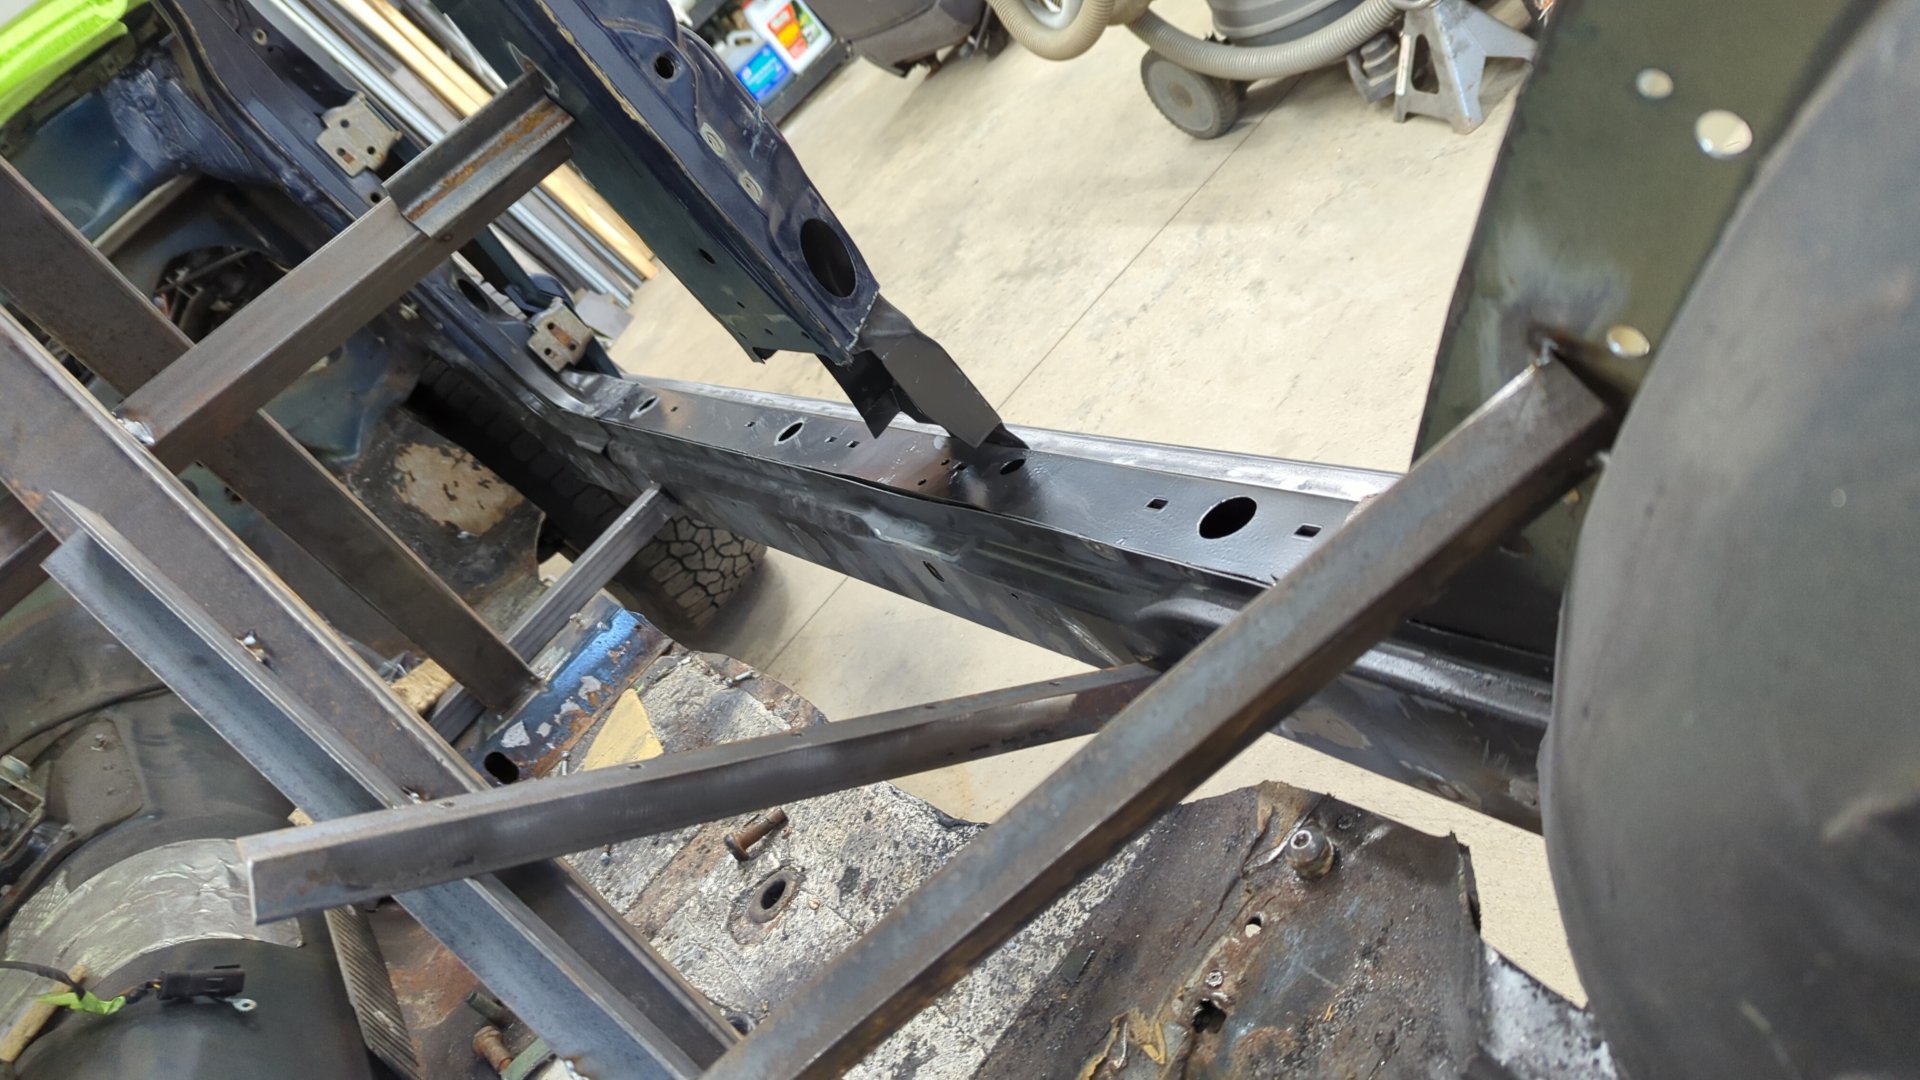
How it looks underneath the 2x6.
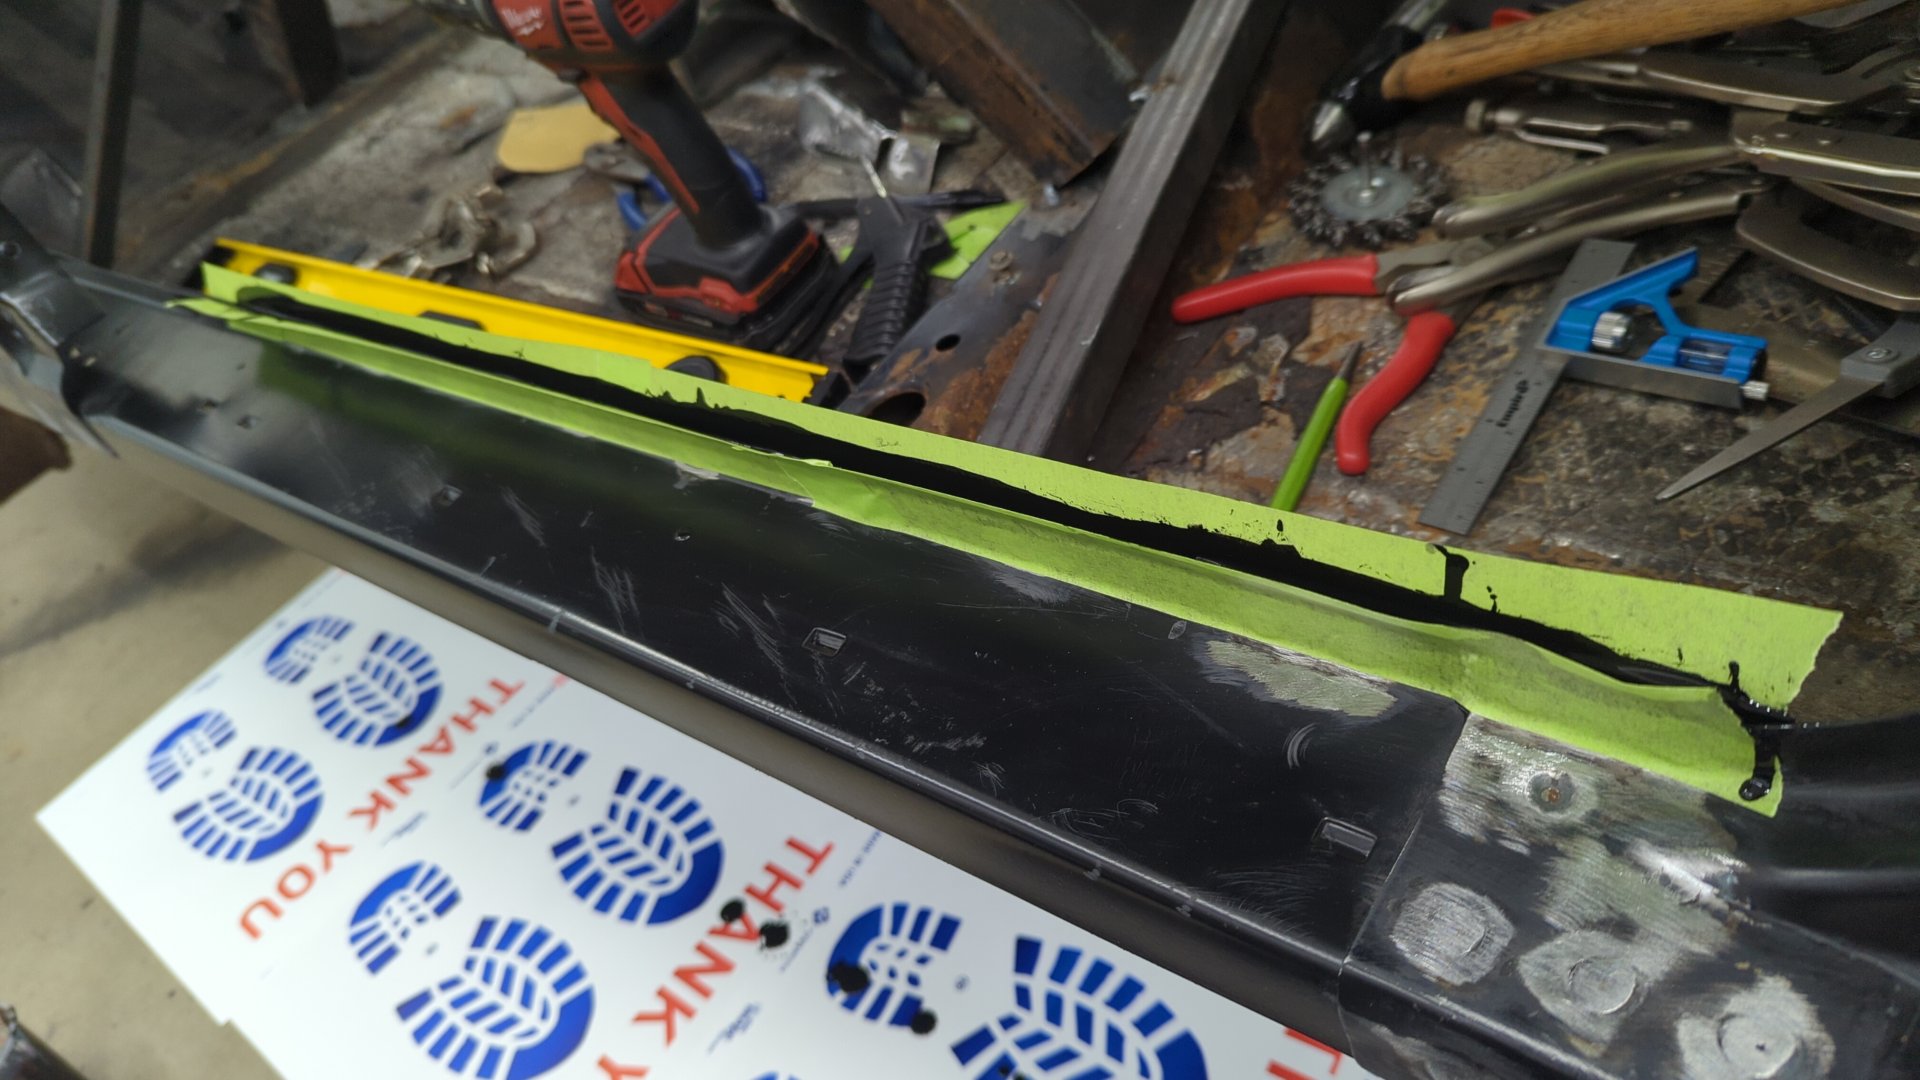
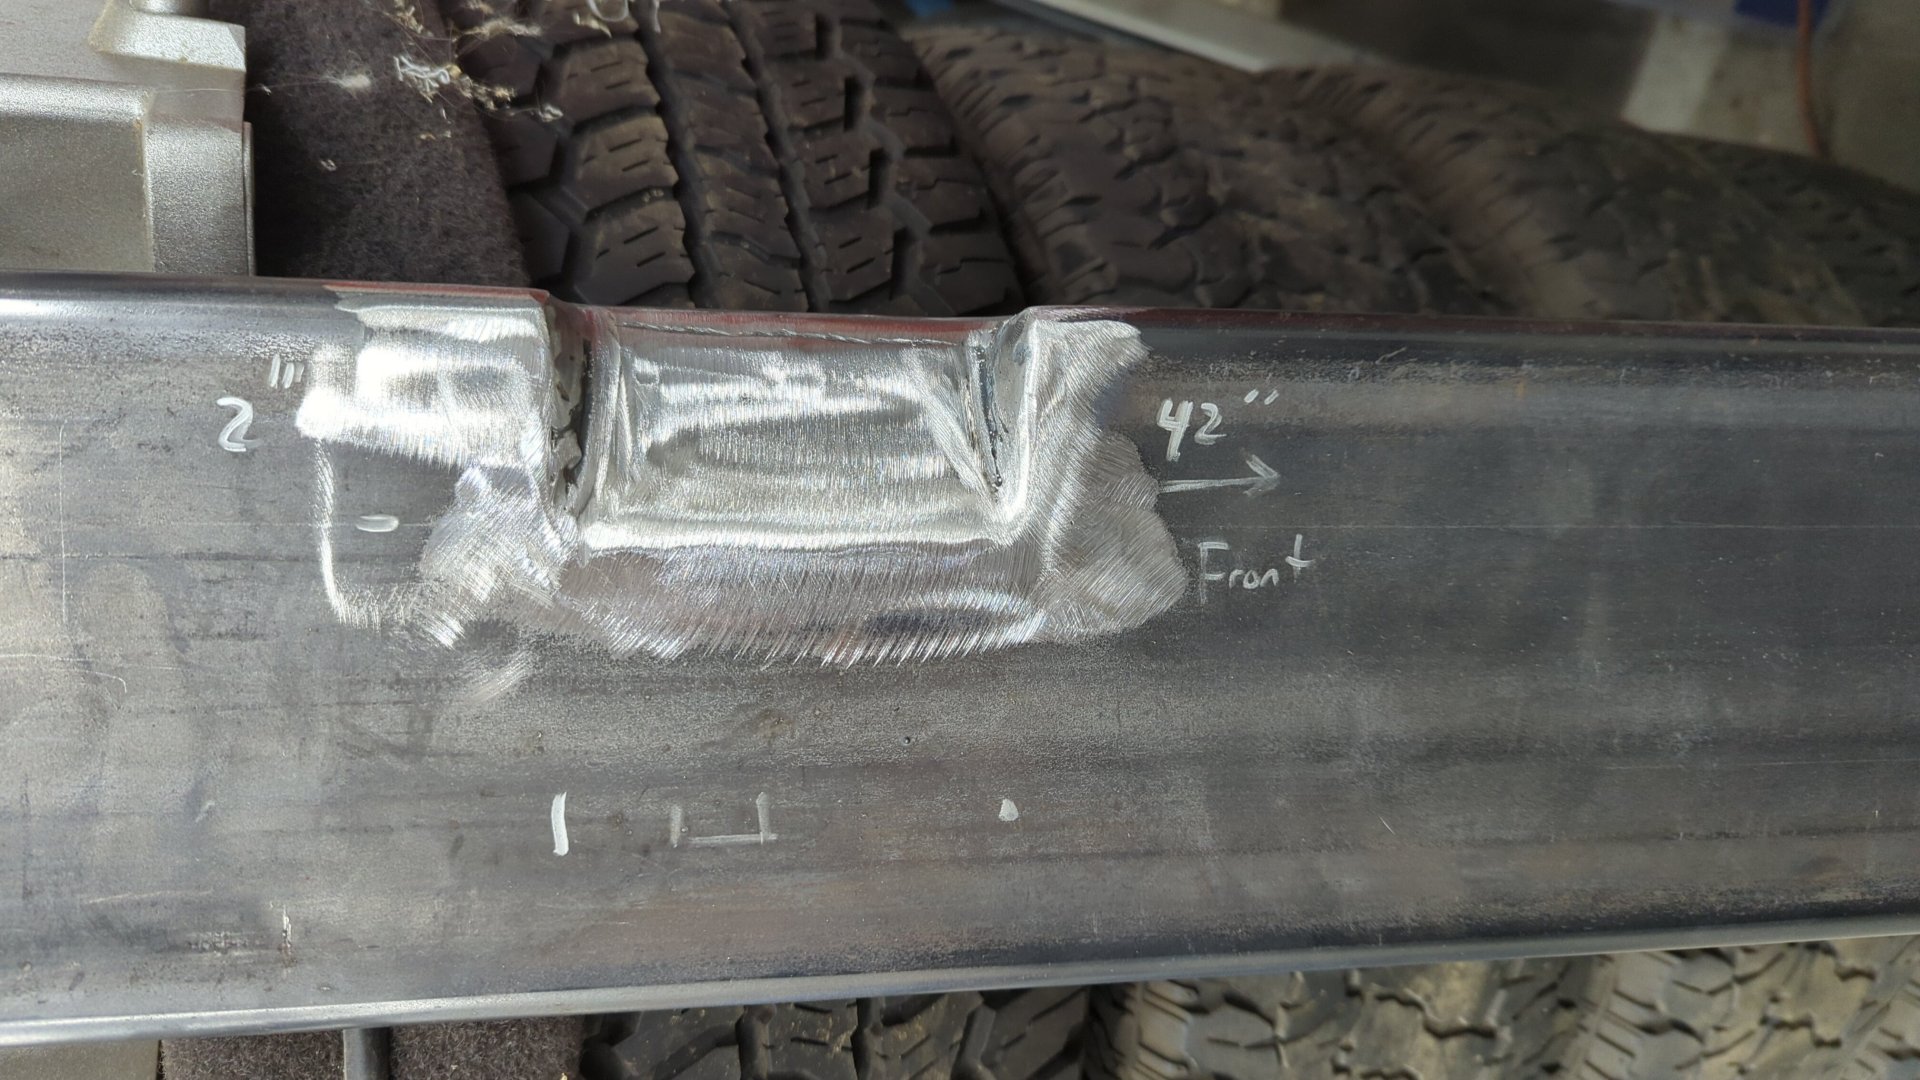
Final Prep Work
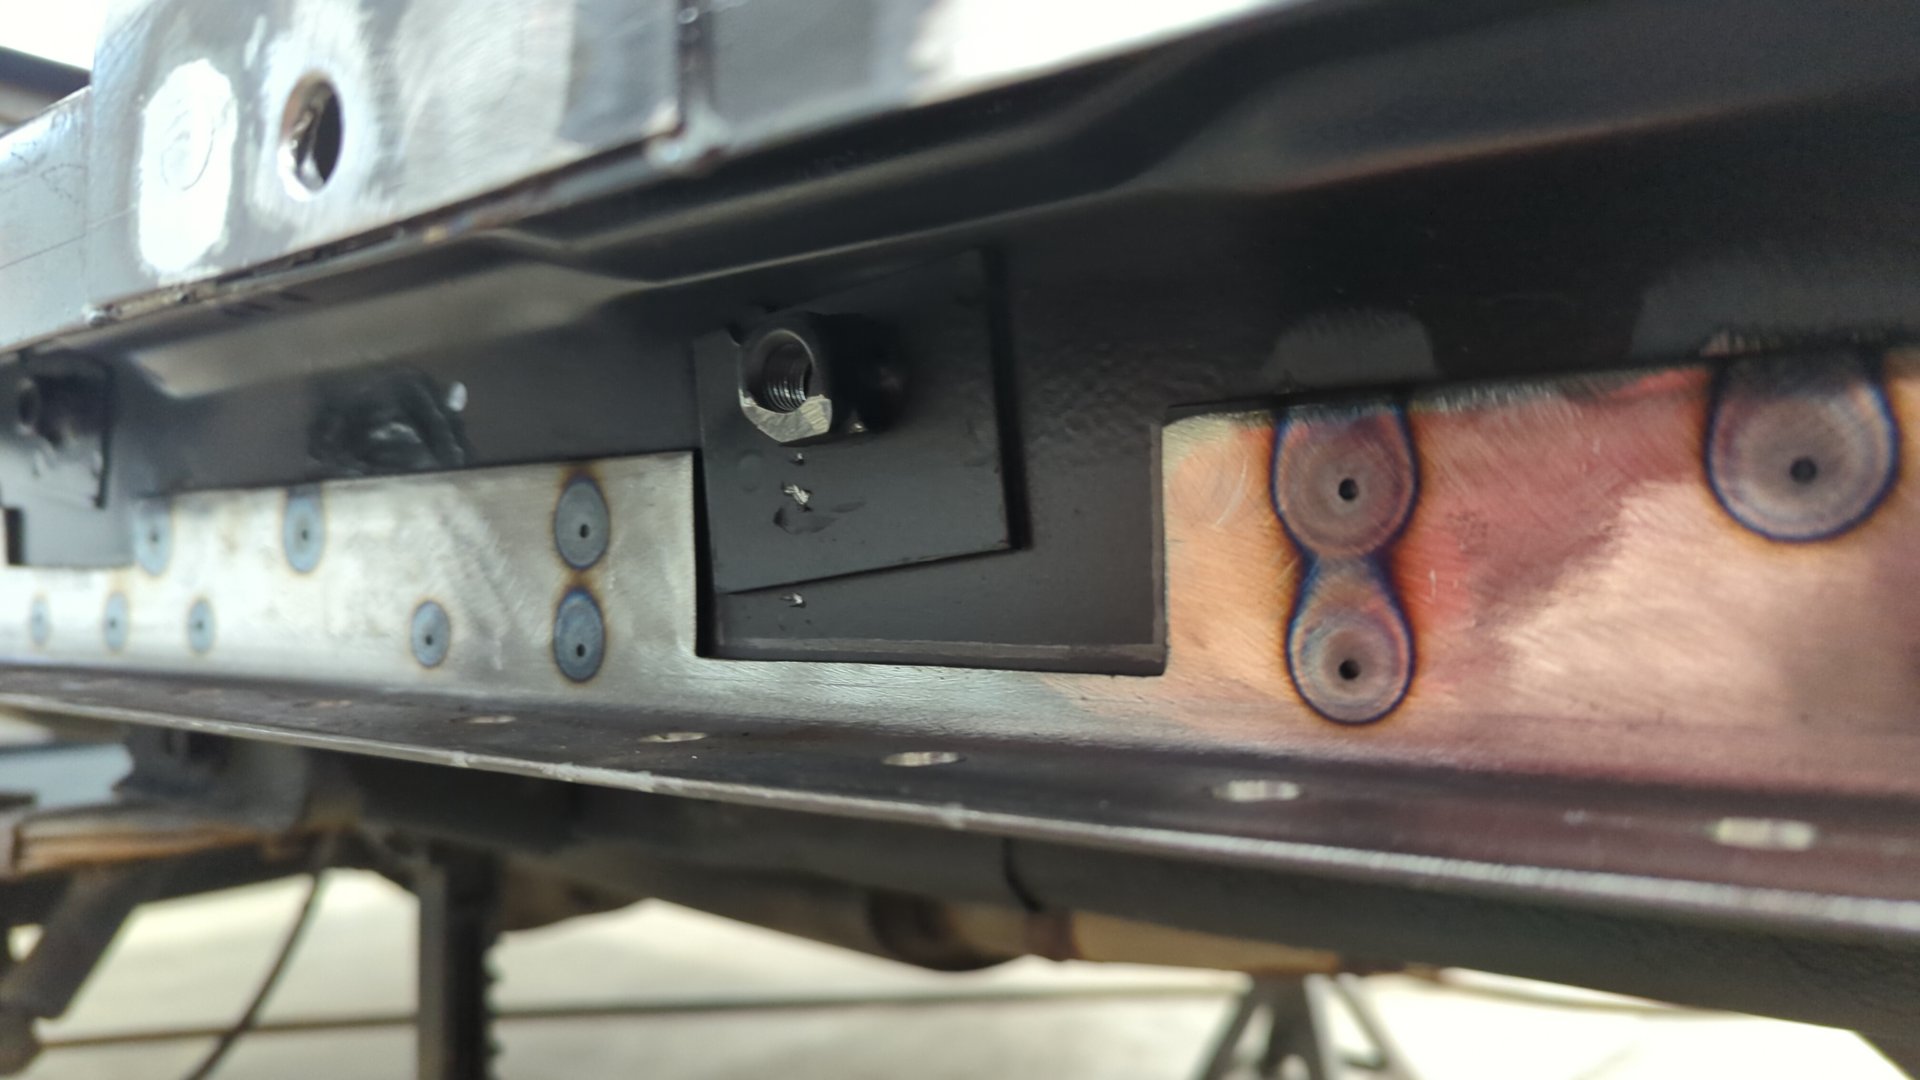
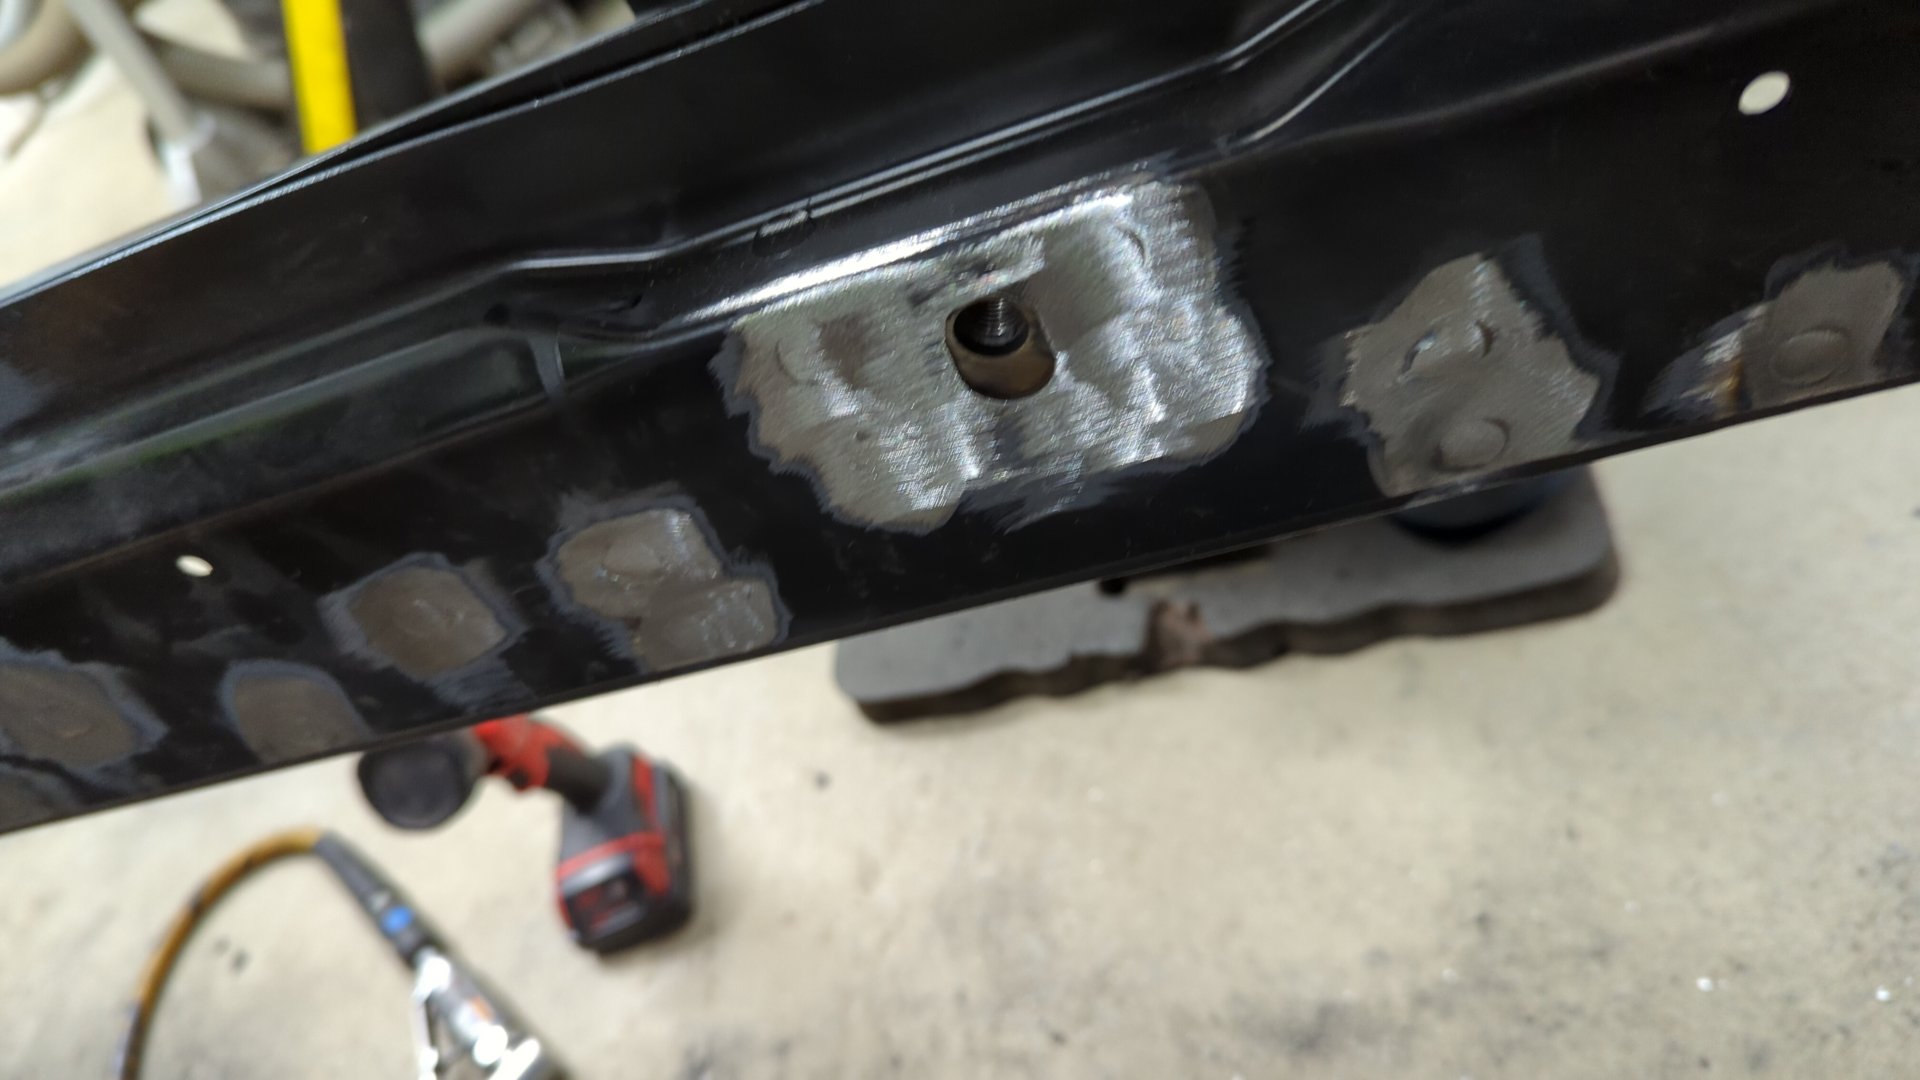
This ended up being unnecessary (see below about relocating the seat belt nut) but I put a small notch into the 2x6 so it wouldn’t interfere with how the passenger front seatbelt mounts to the inner rocker.
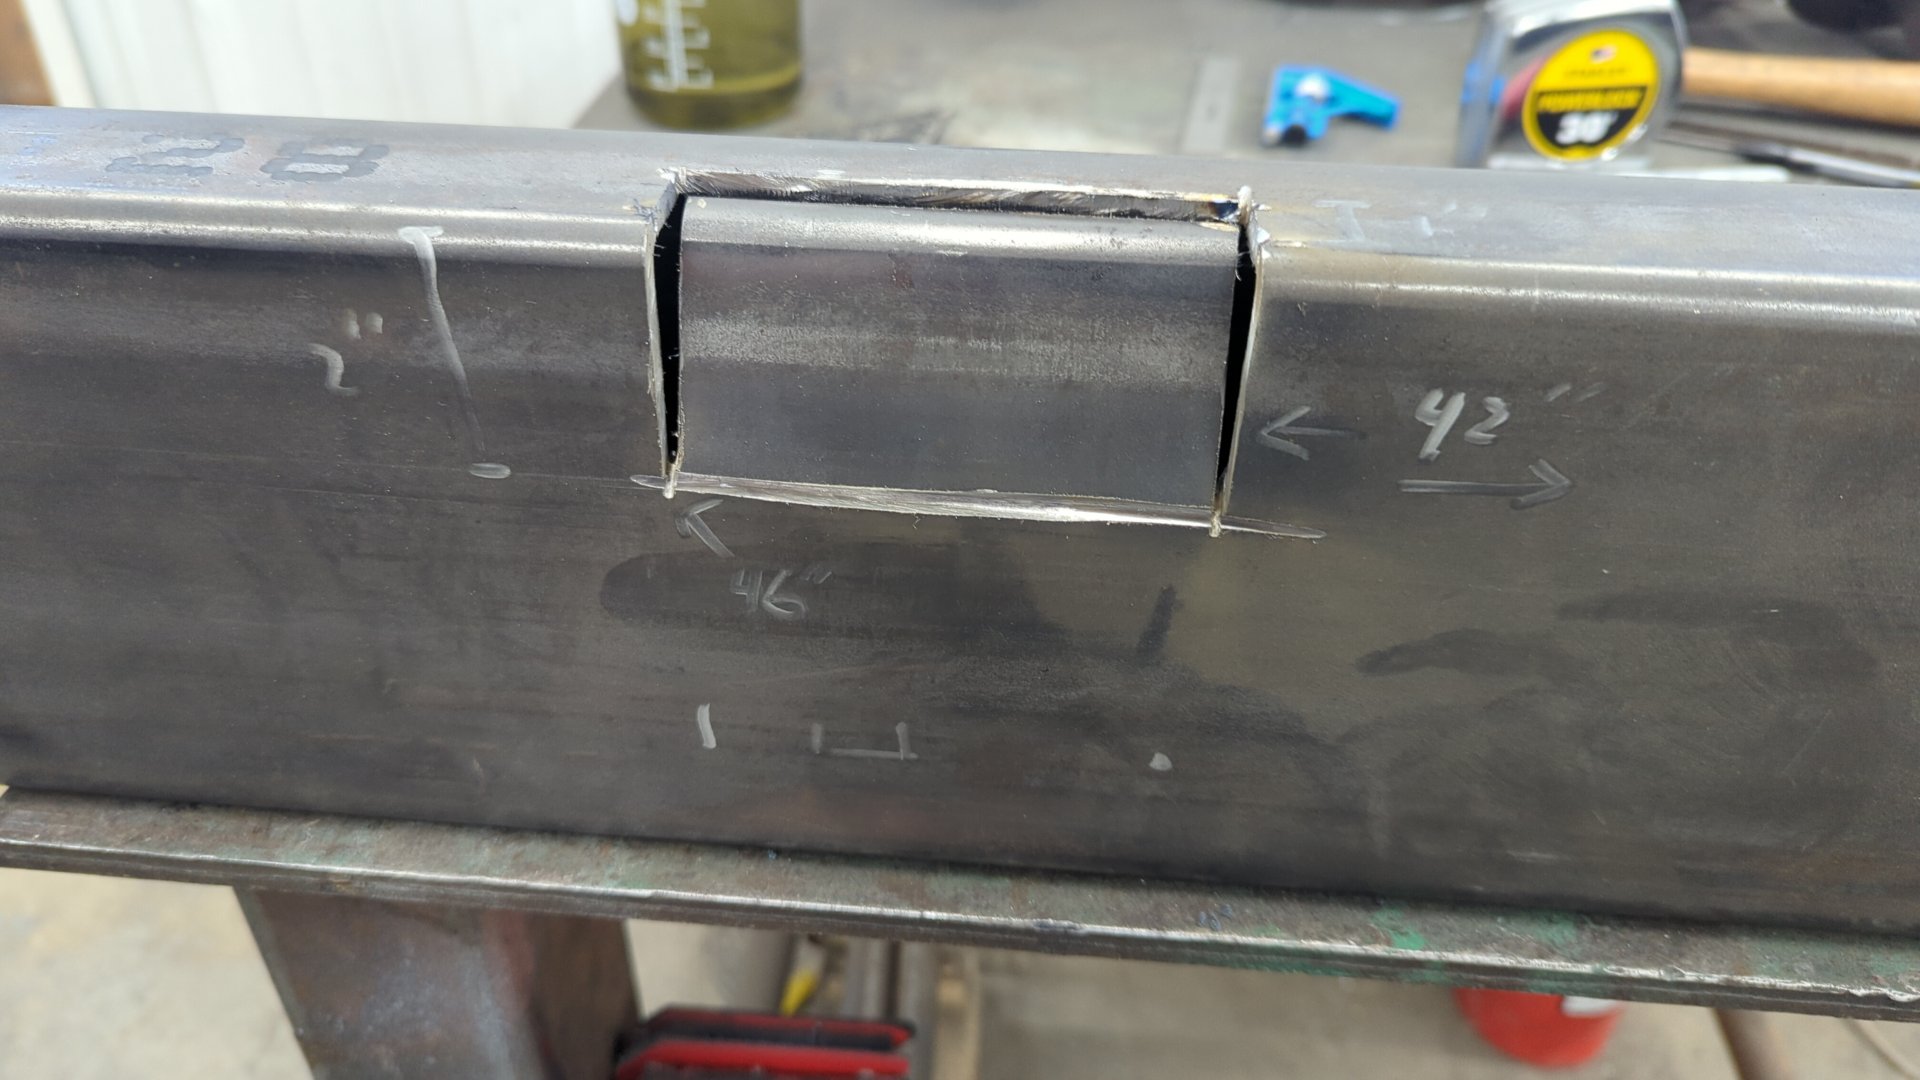
Not the best picture but the nut down towards the middle of the rocker is the problem. It sits just low enough that the 2x6 hits it.

I made sure to angle the rocker outwards so water would drip off it.

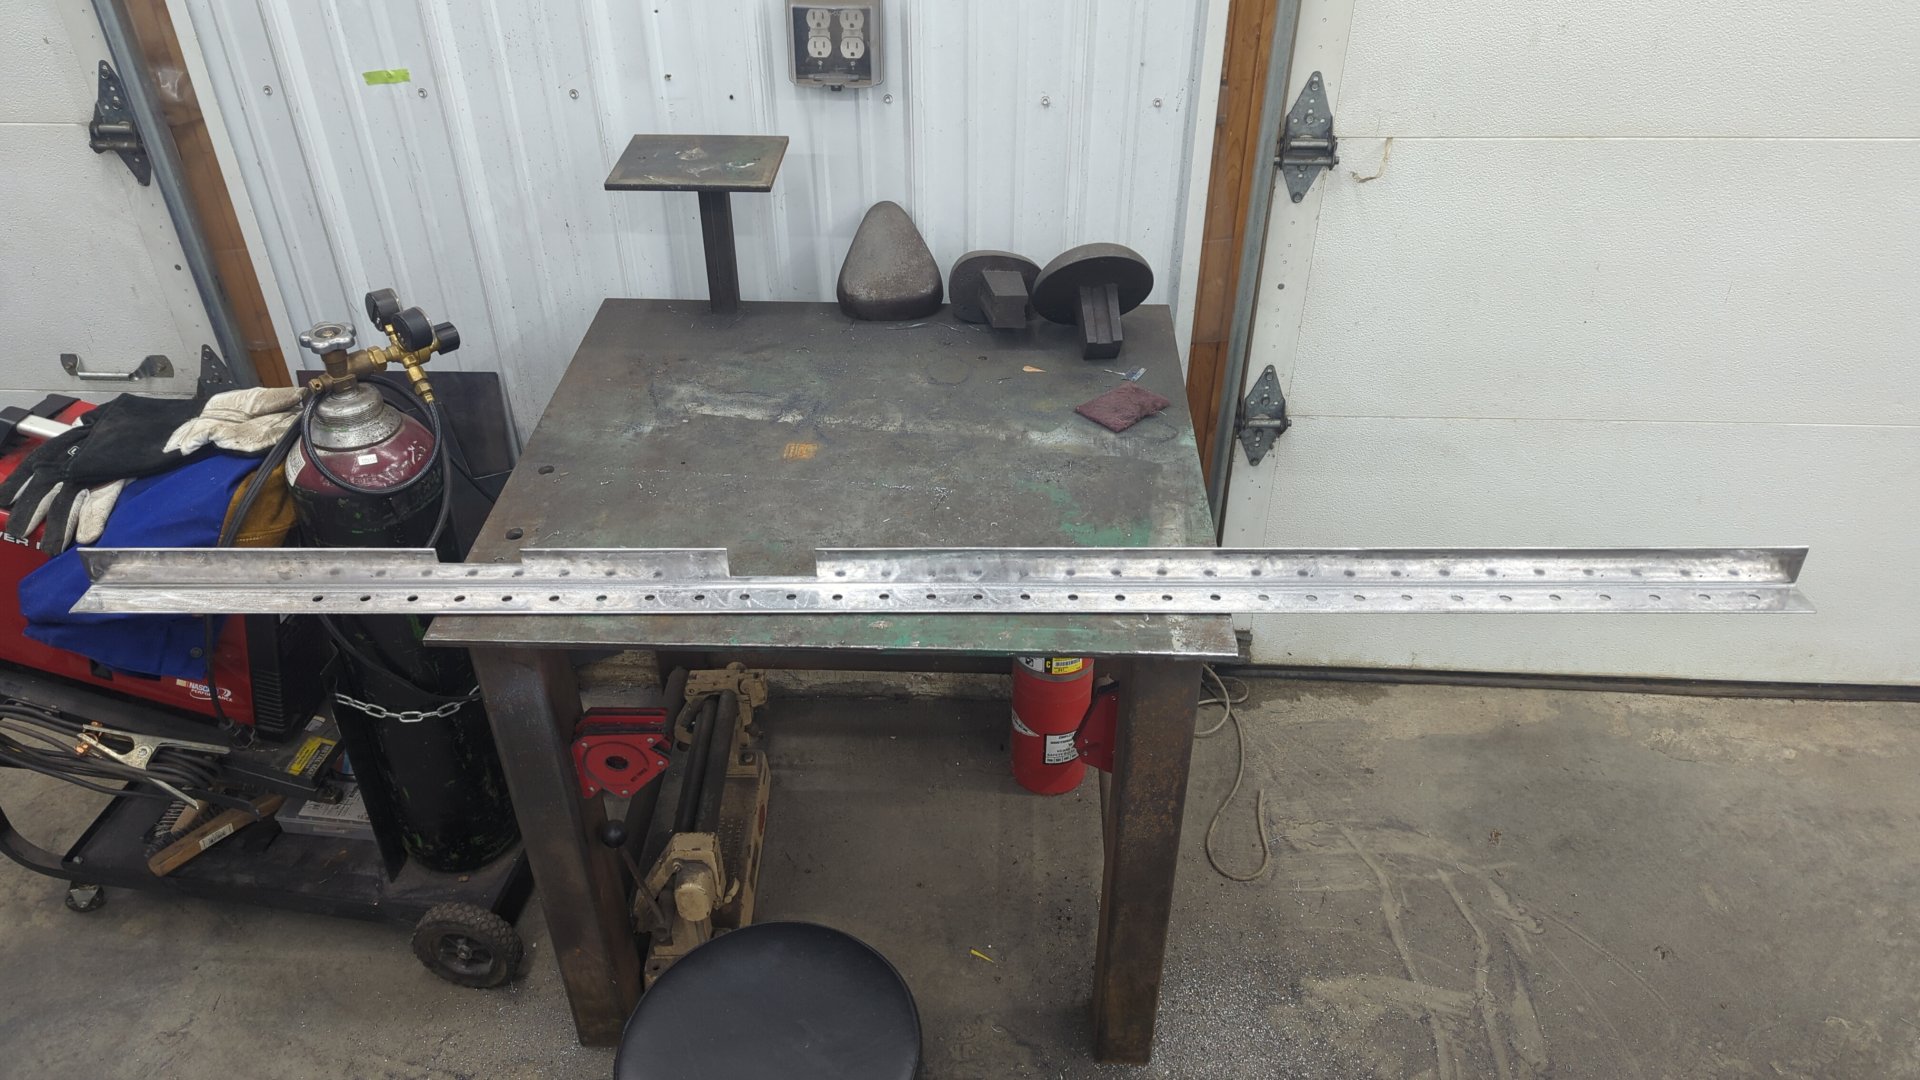
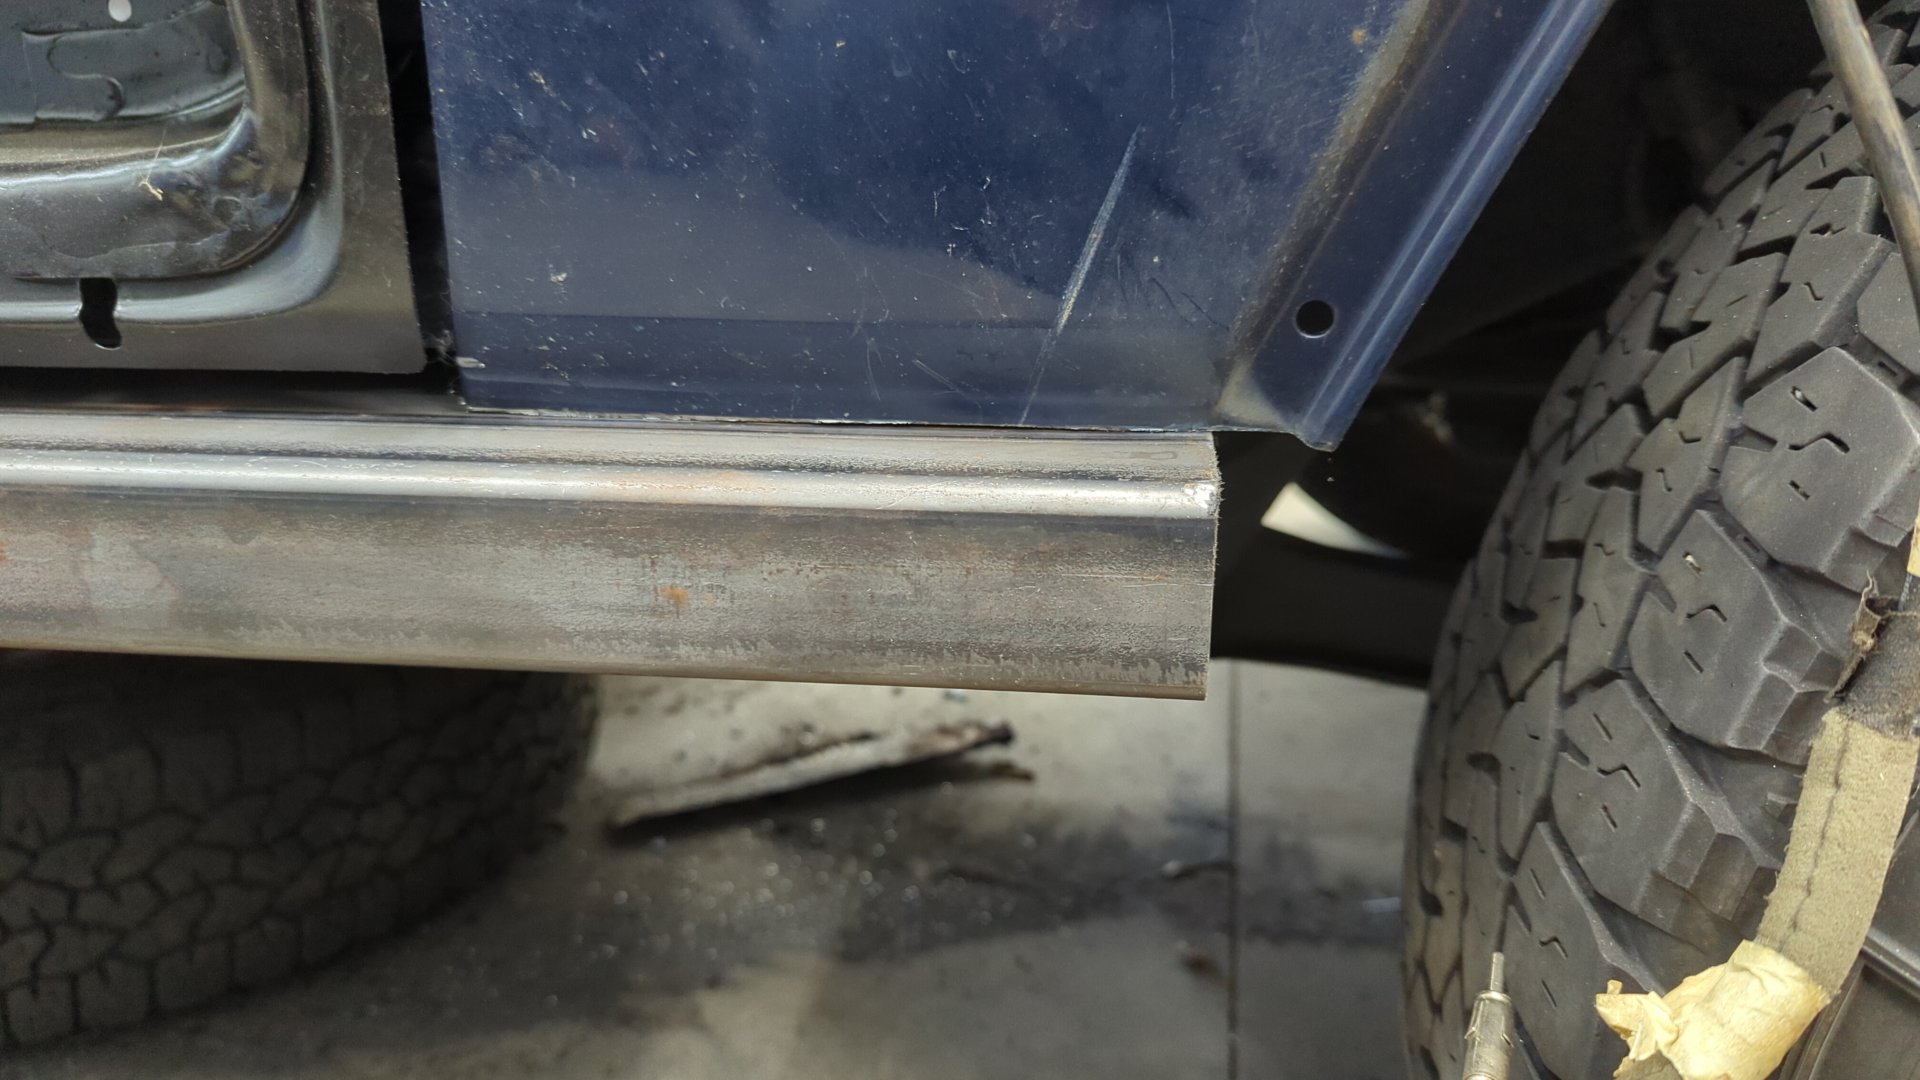
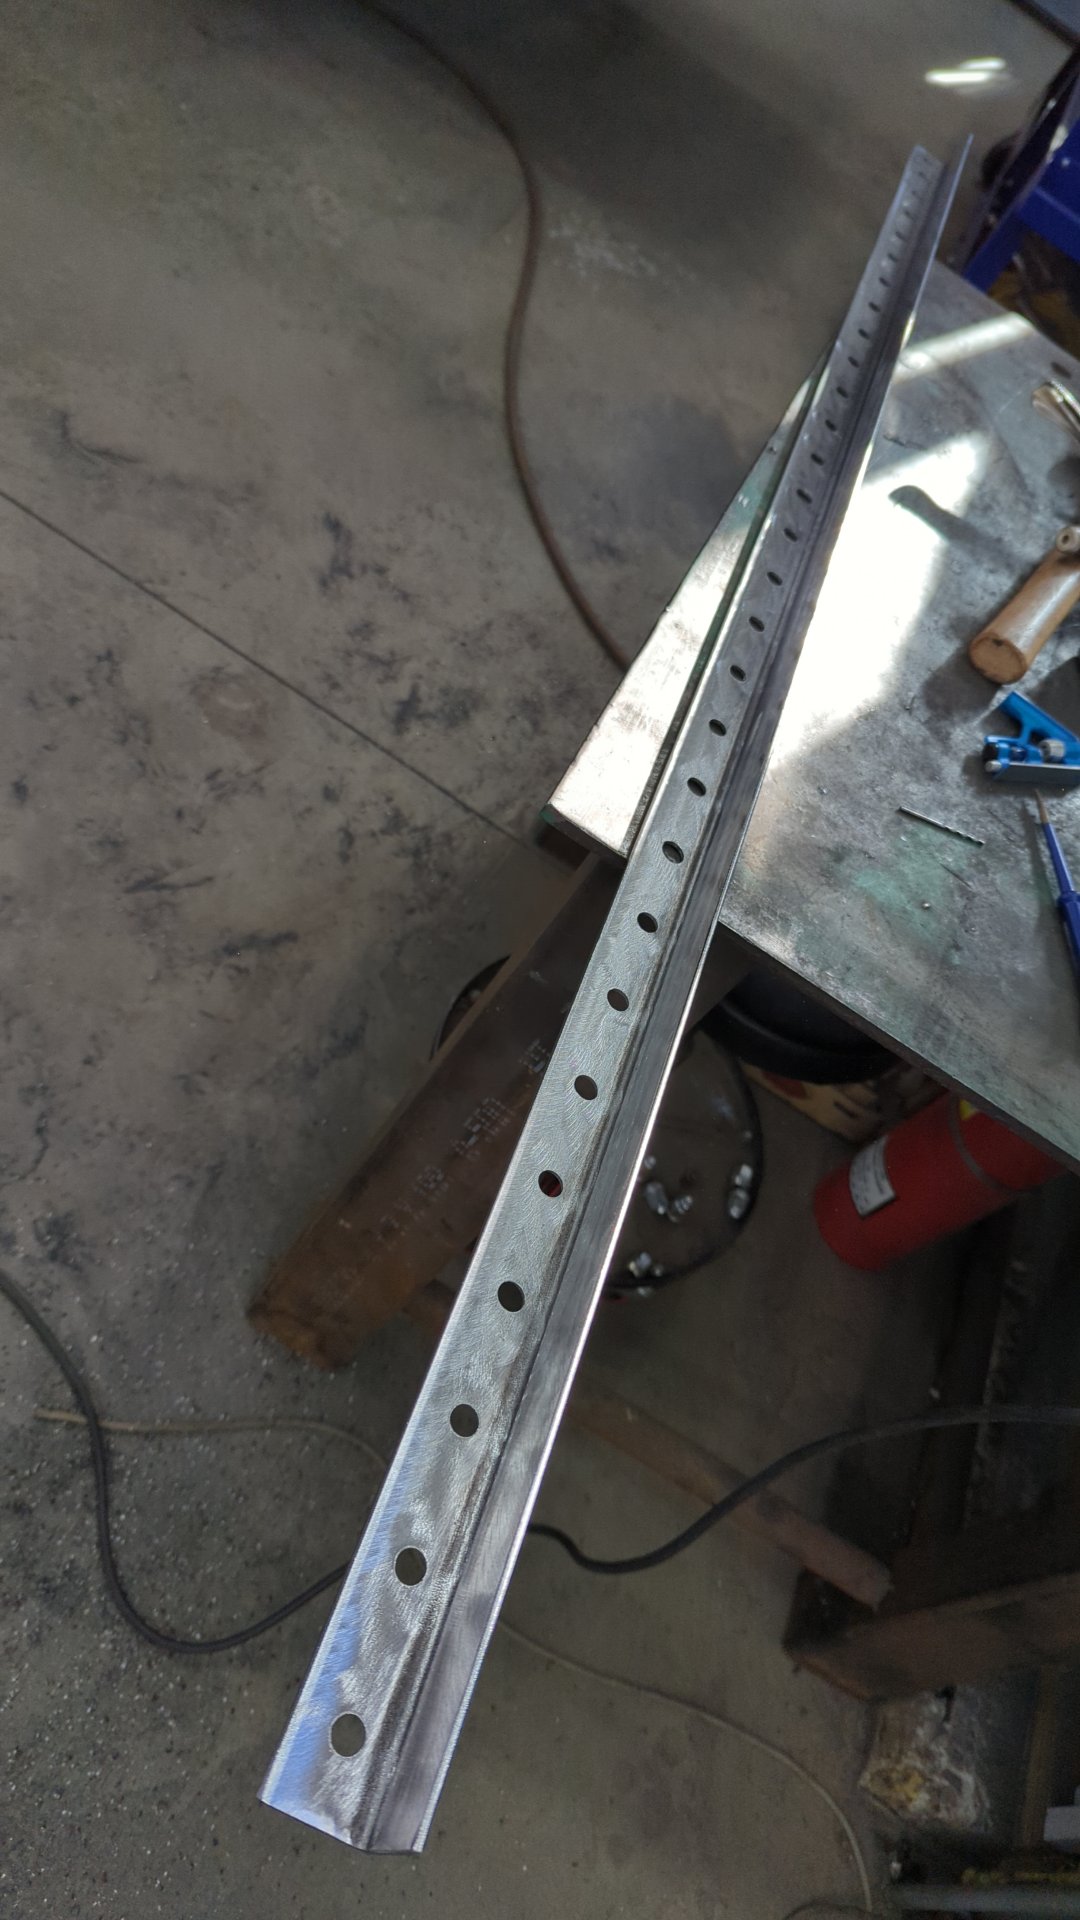
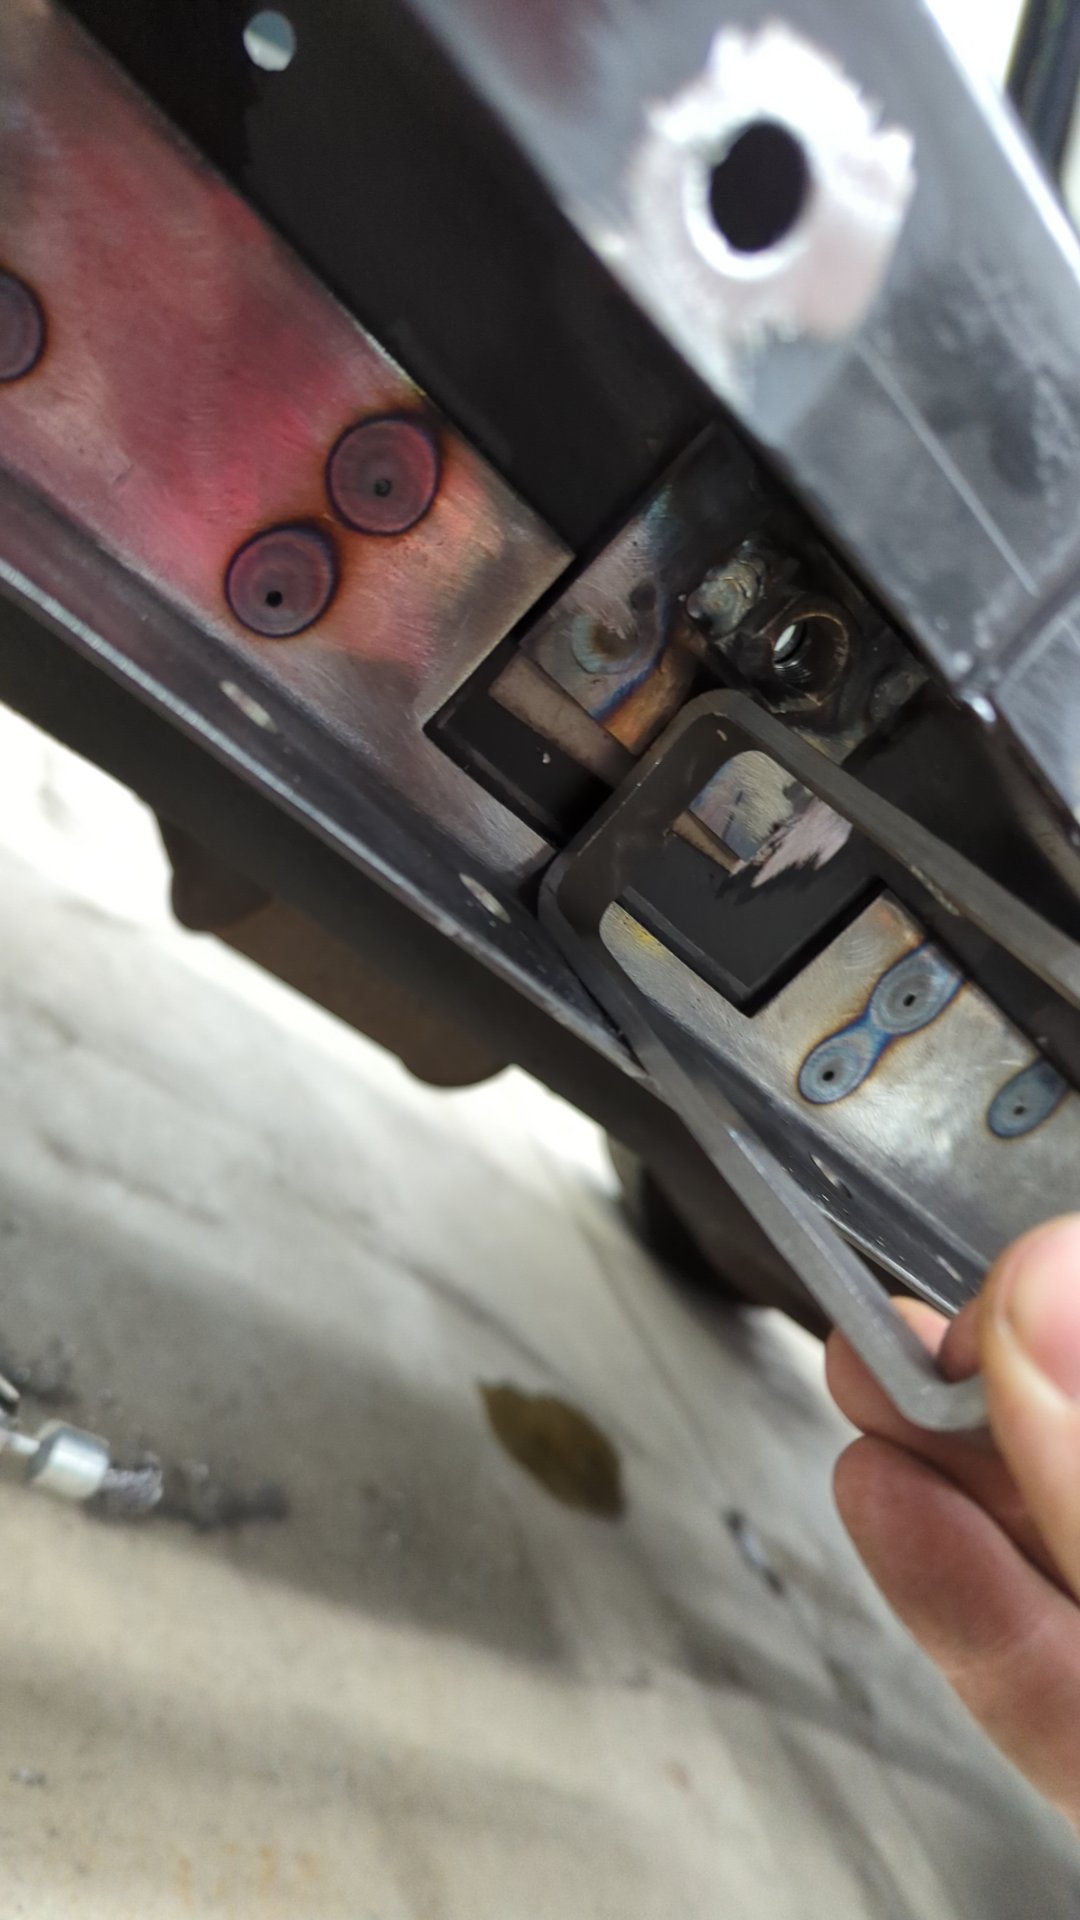
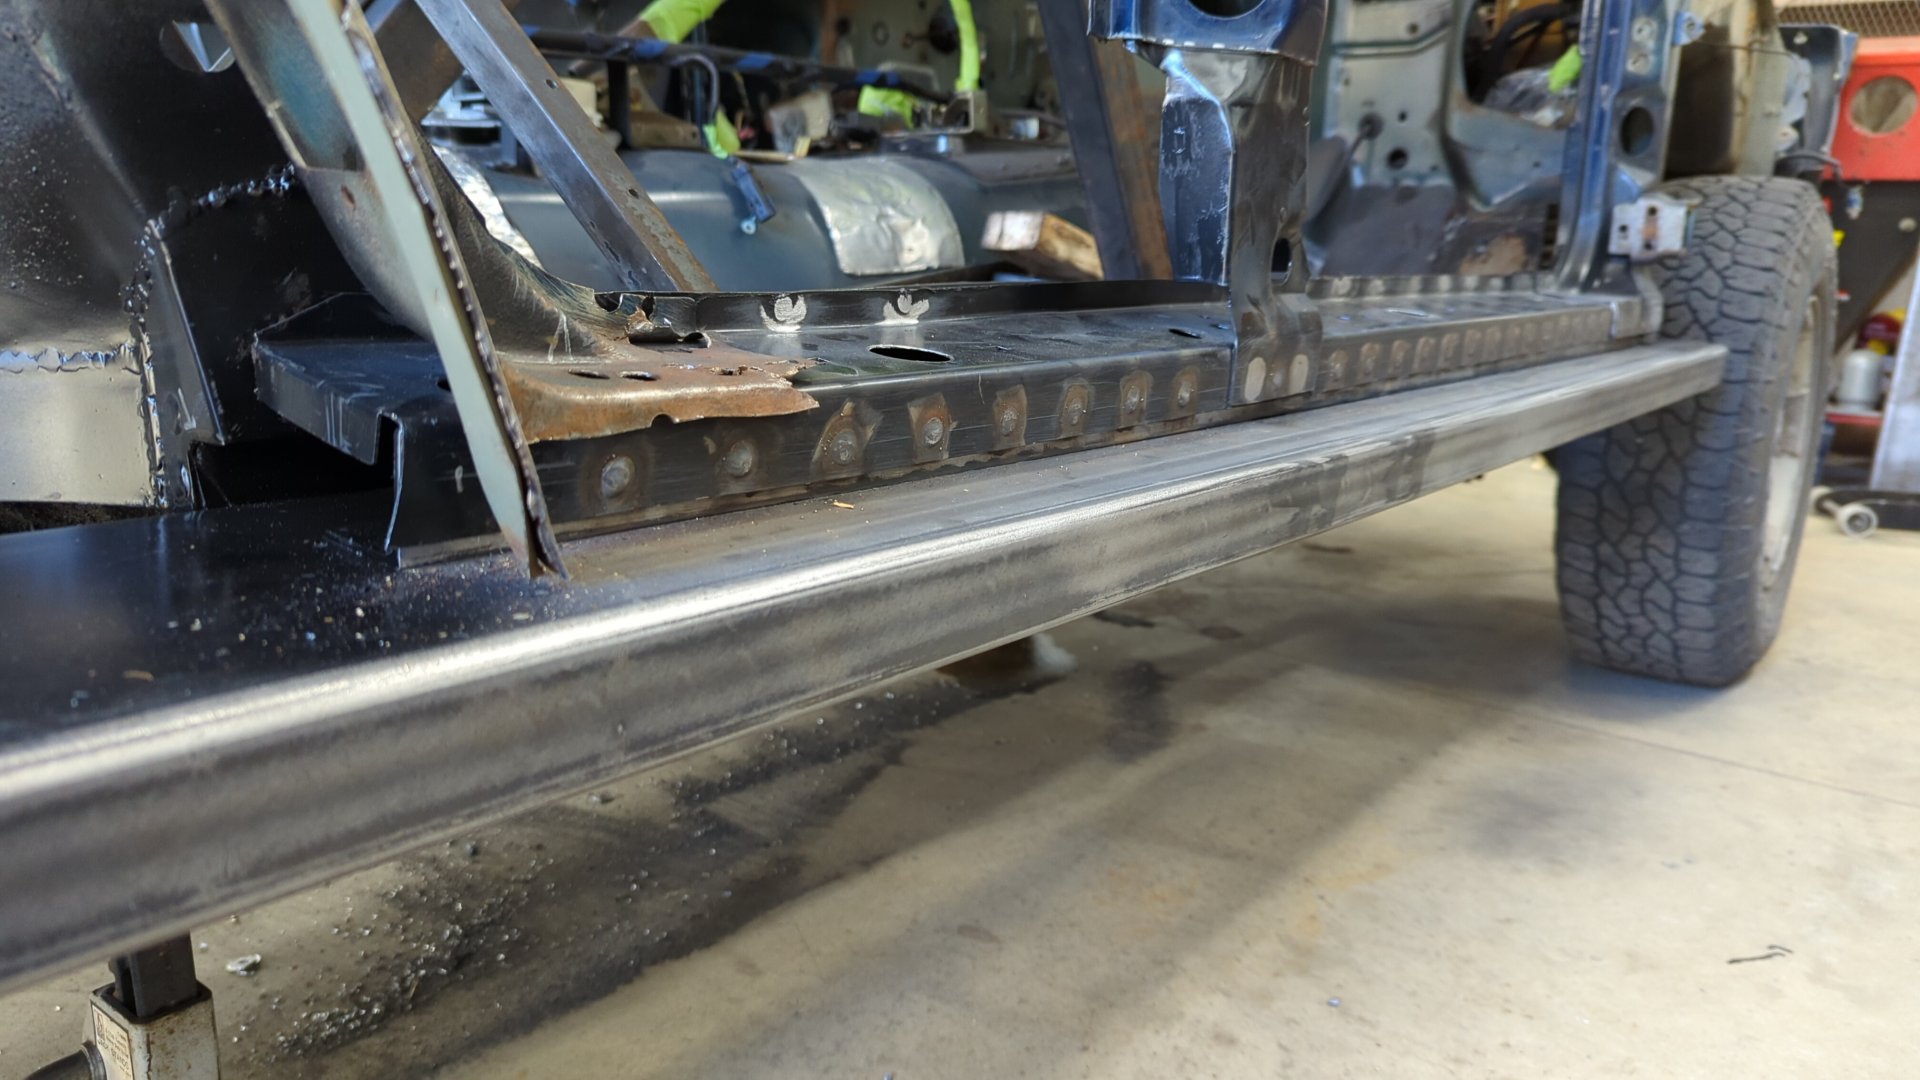
Then I slide in the 1 1/2" angle from the back so I could plan out where to position it.
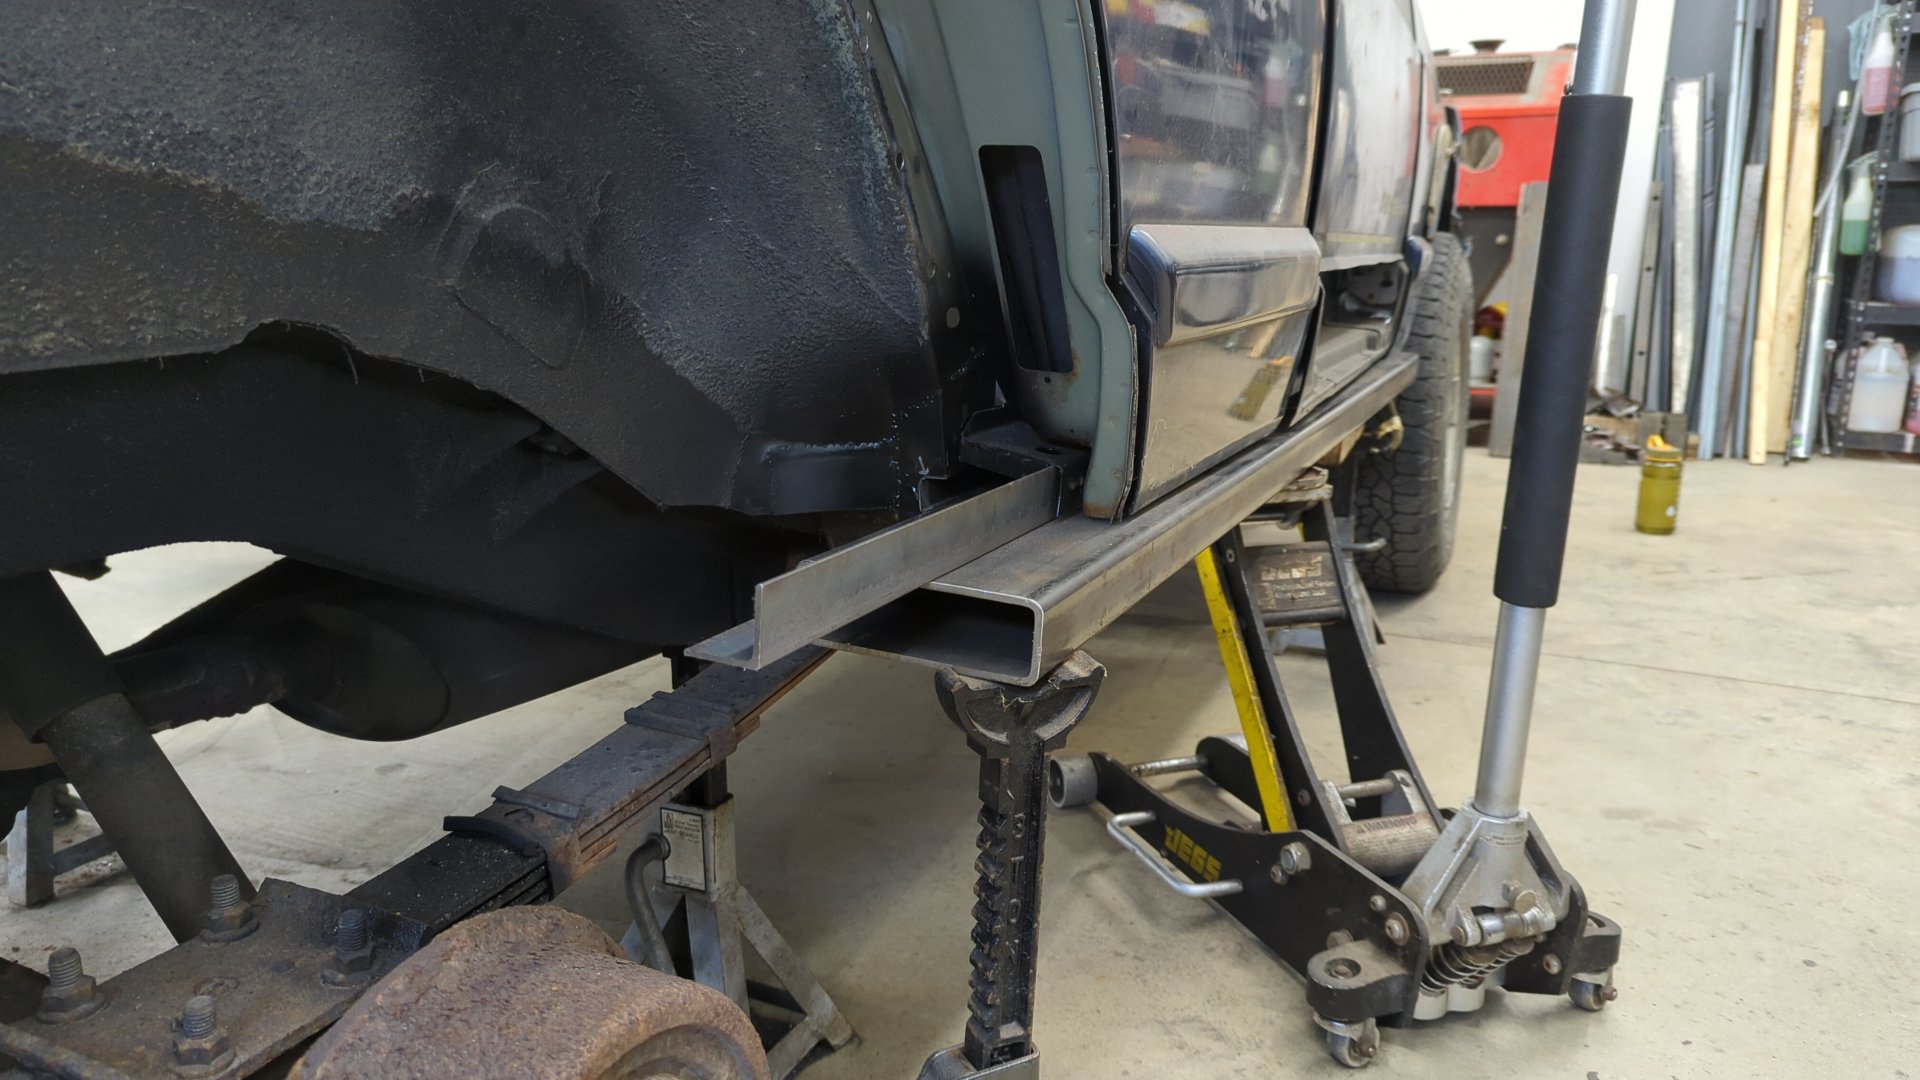
The angle is what all the plug welds in the rocker will go to.
And to prepare the angle for installation, I cleaned up the metal and drilled ~31 holes so it could be plug welded to the top of the 2x6.
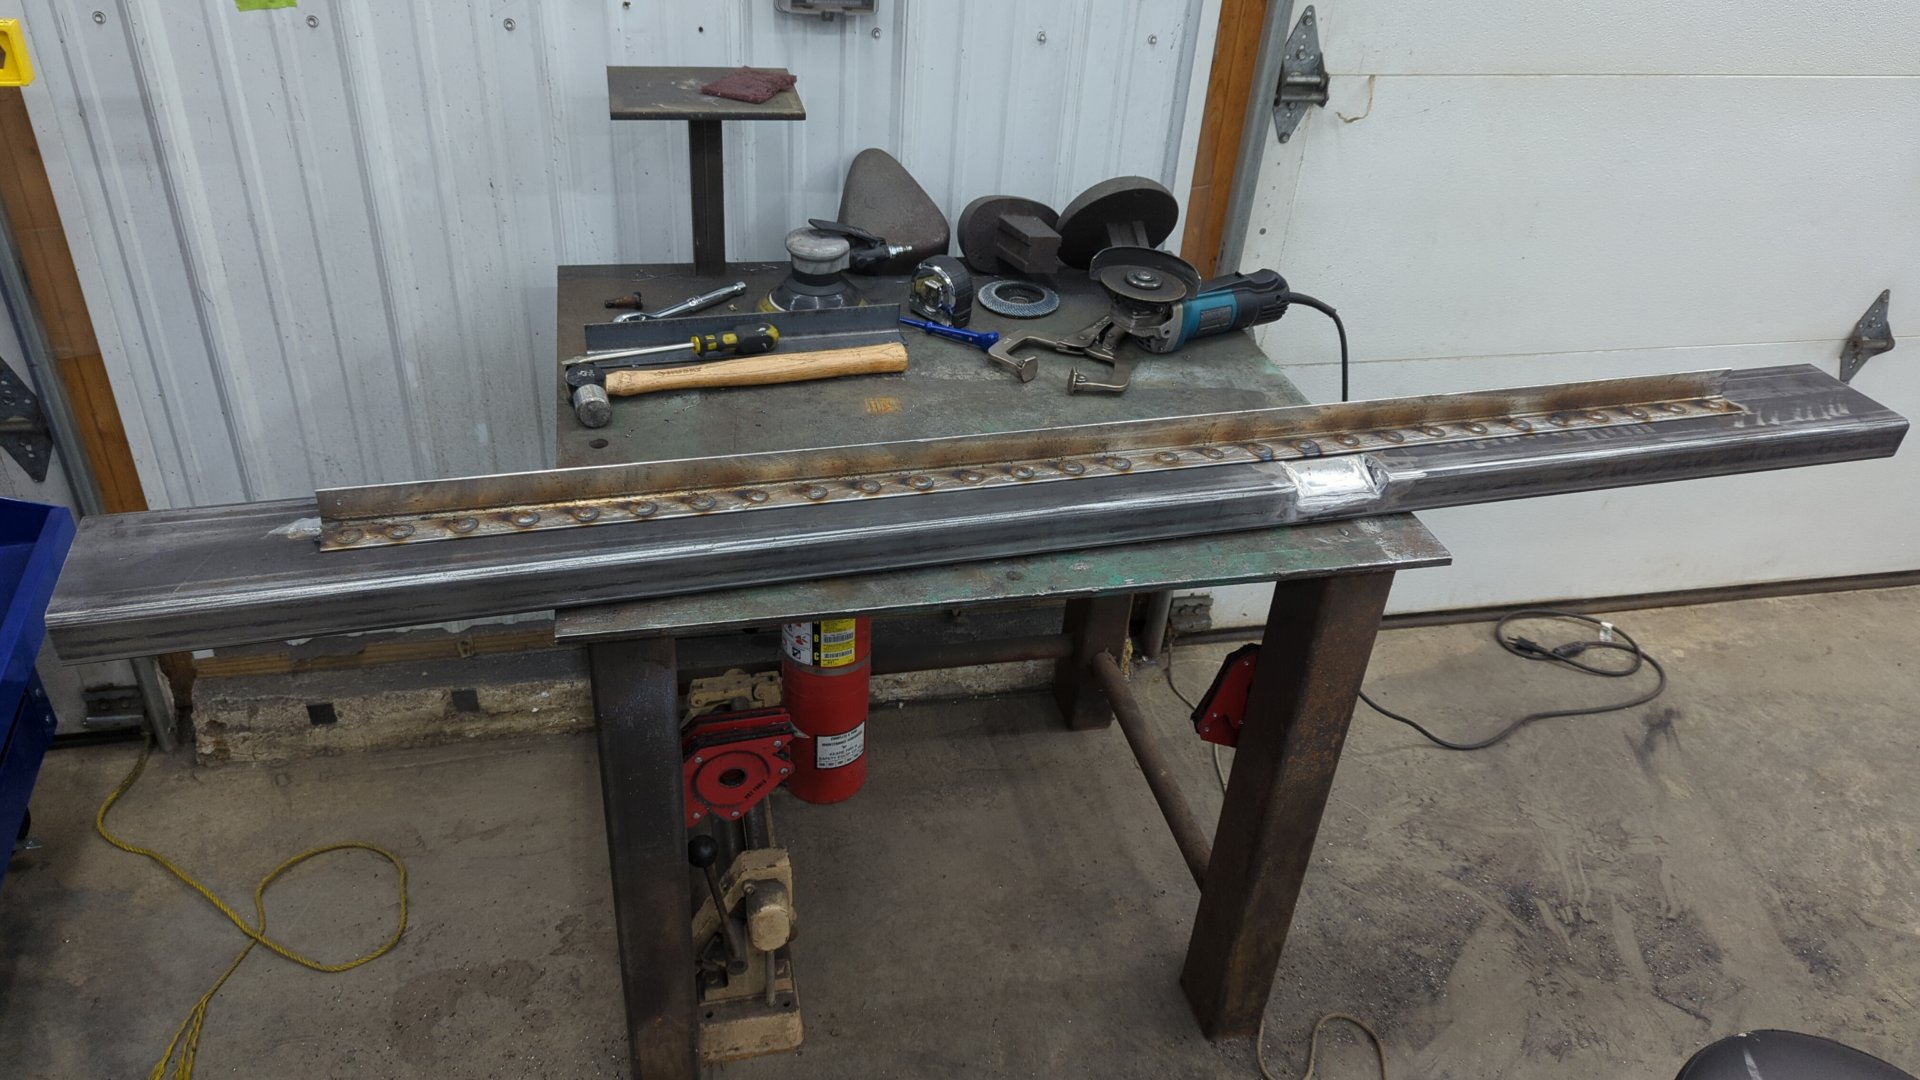
Some epoxy primer was dripped down into the seam to help reduce the chances of it rusting.
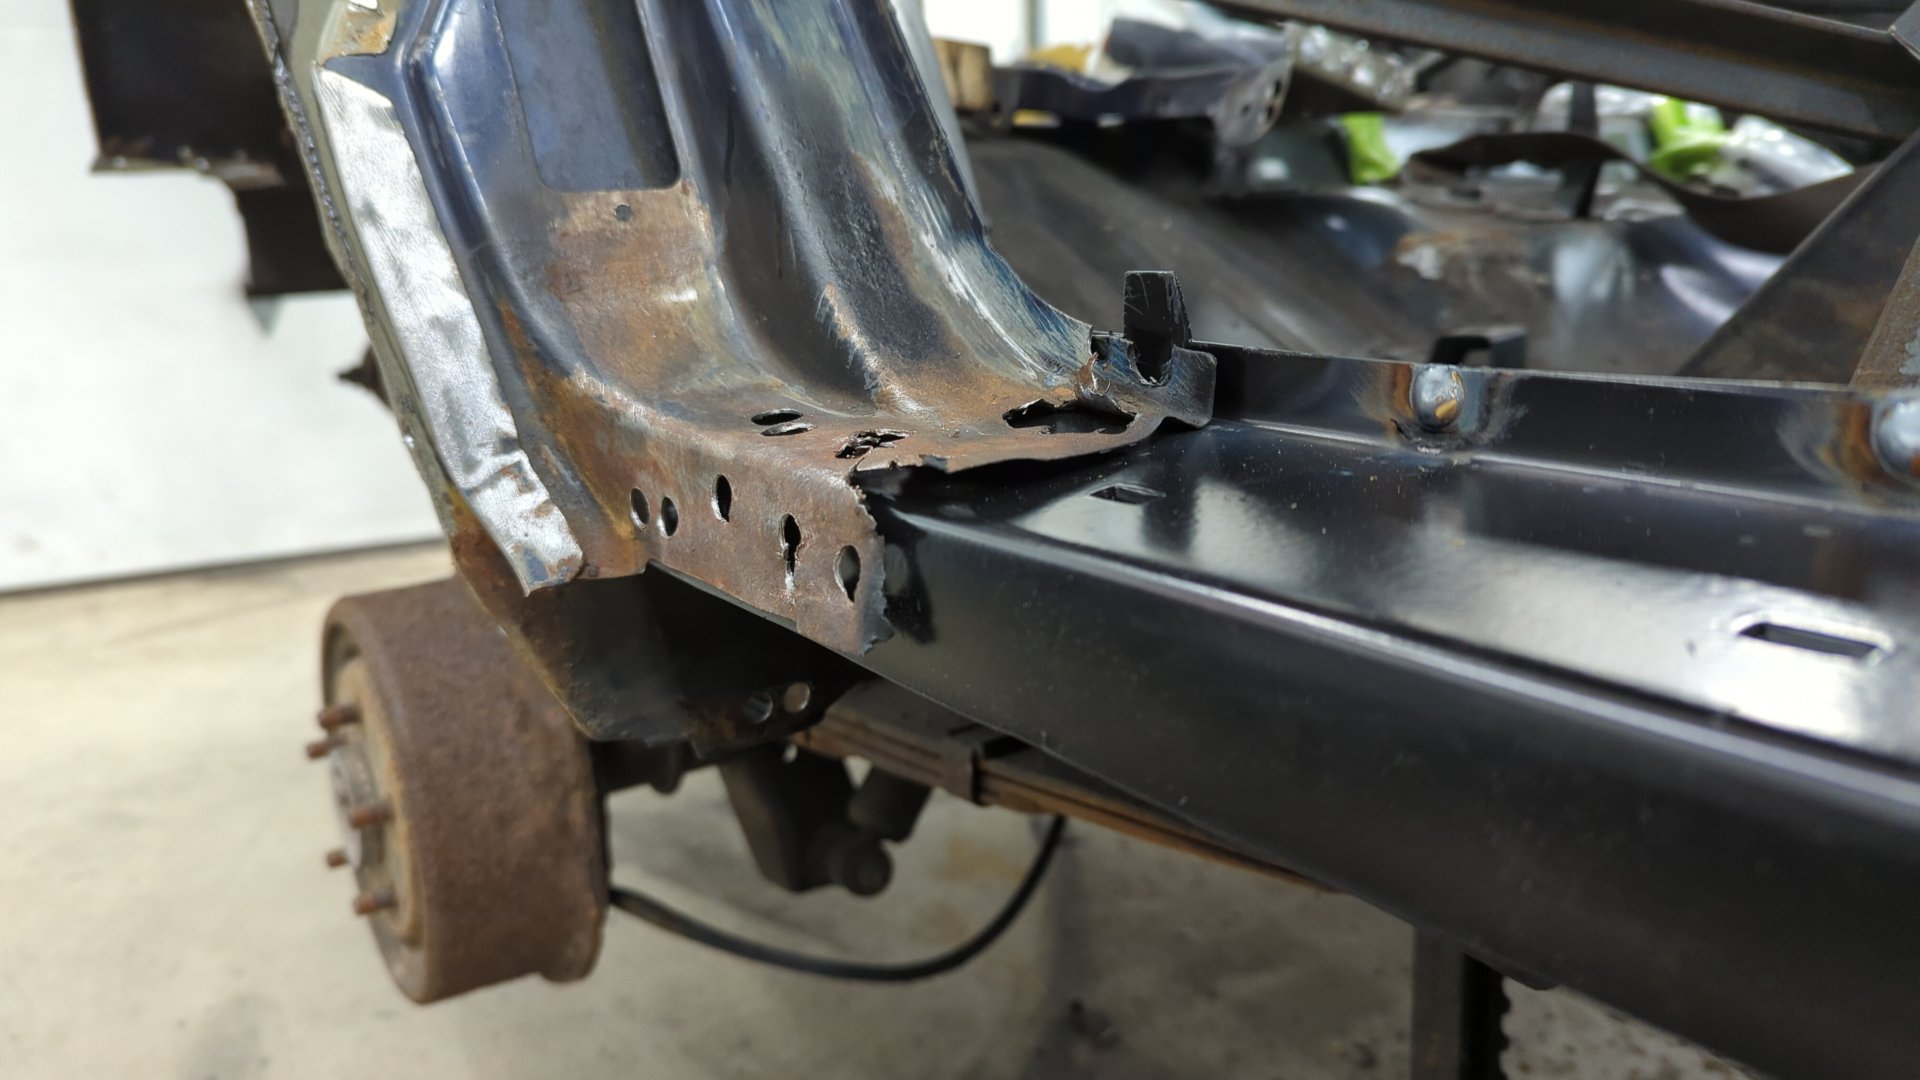
The Frustrating Seat Belt Tensioner Mounting Nut
I made a small mistake here. Turns out my plan of sliding in the 2x6 from the rear wouldn’t work because of the passenger seat belt nut. I thought I could get around the issue by grinding the nut down a bit but that didn’t work. I realized my only option if I wanted to continue with my plan of sliding the 2x6 into position from the rear was to raise the seat belt mount.
With some test fitting I worked out that I could raise it by 1/4" of an inch to get it out of the way, and I’m about 95% certain this won’t cause any downstream issues.
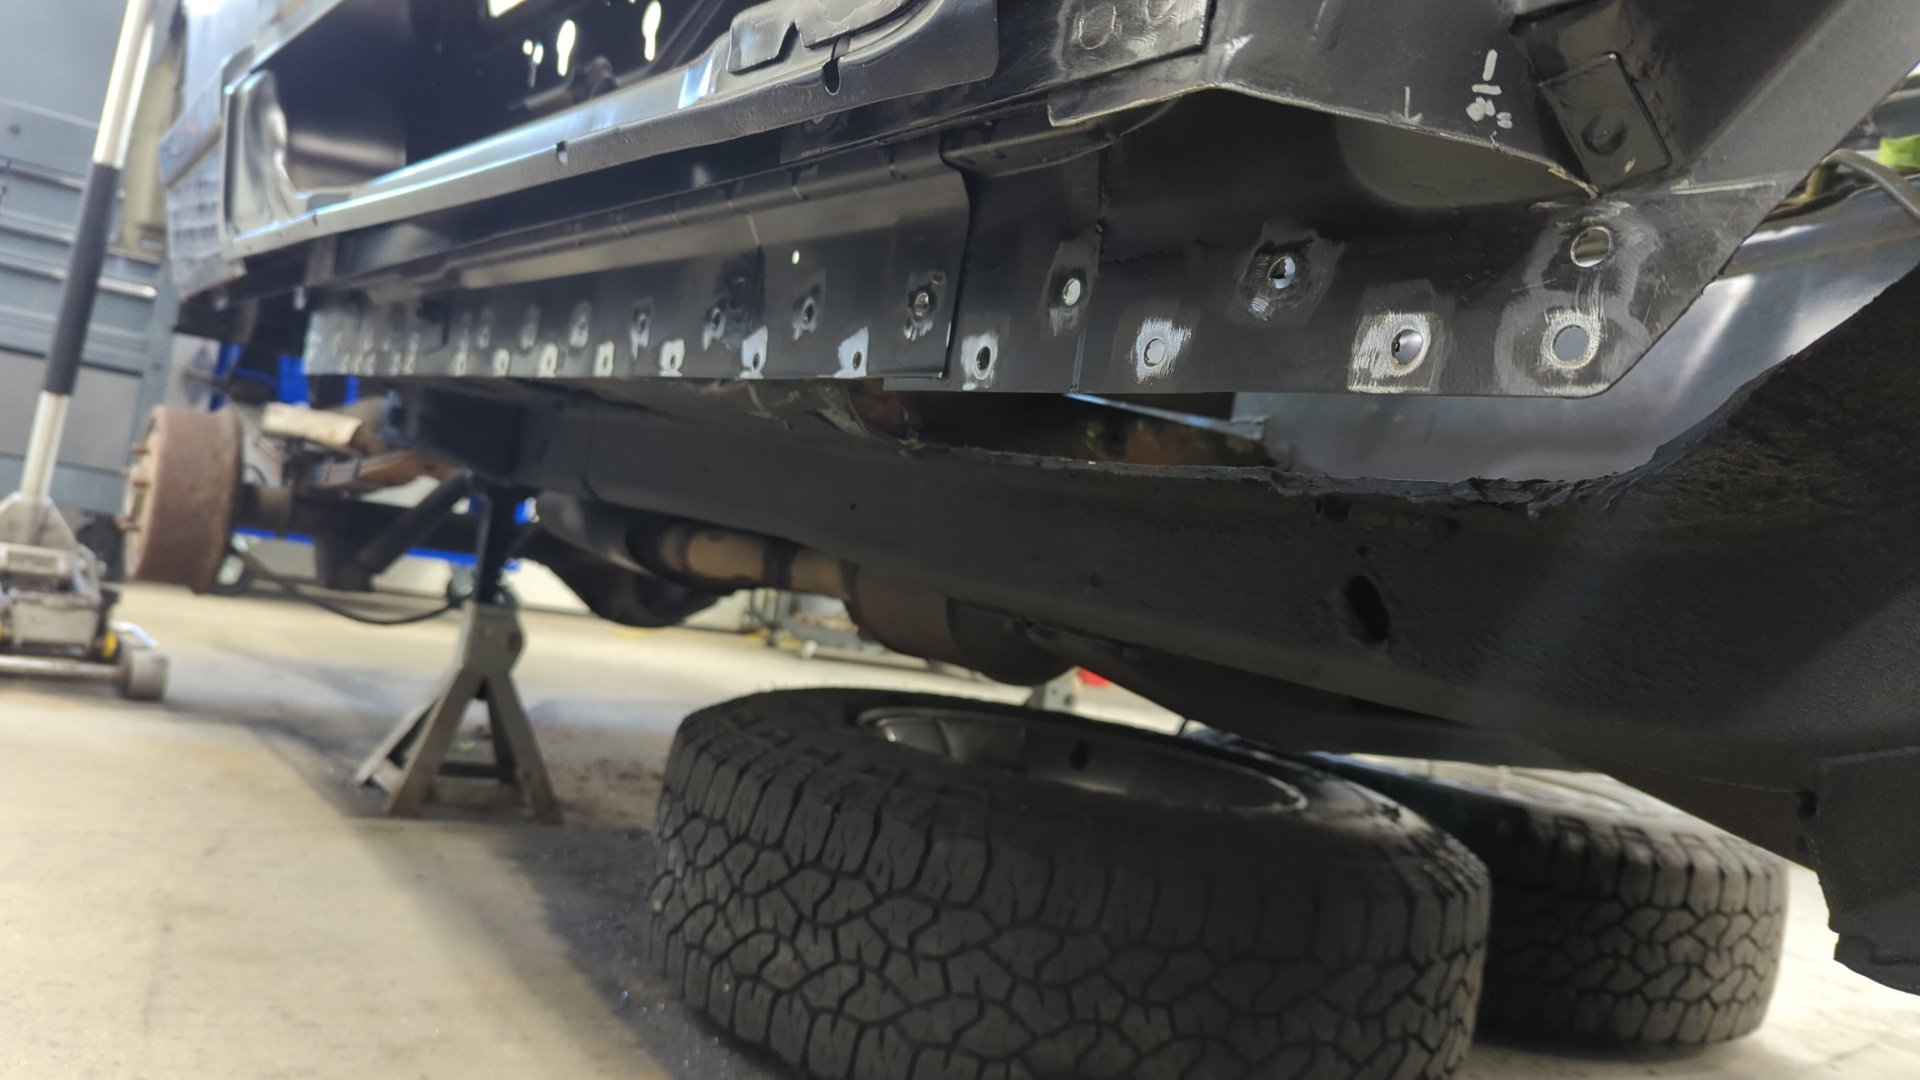
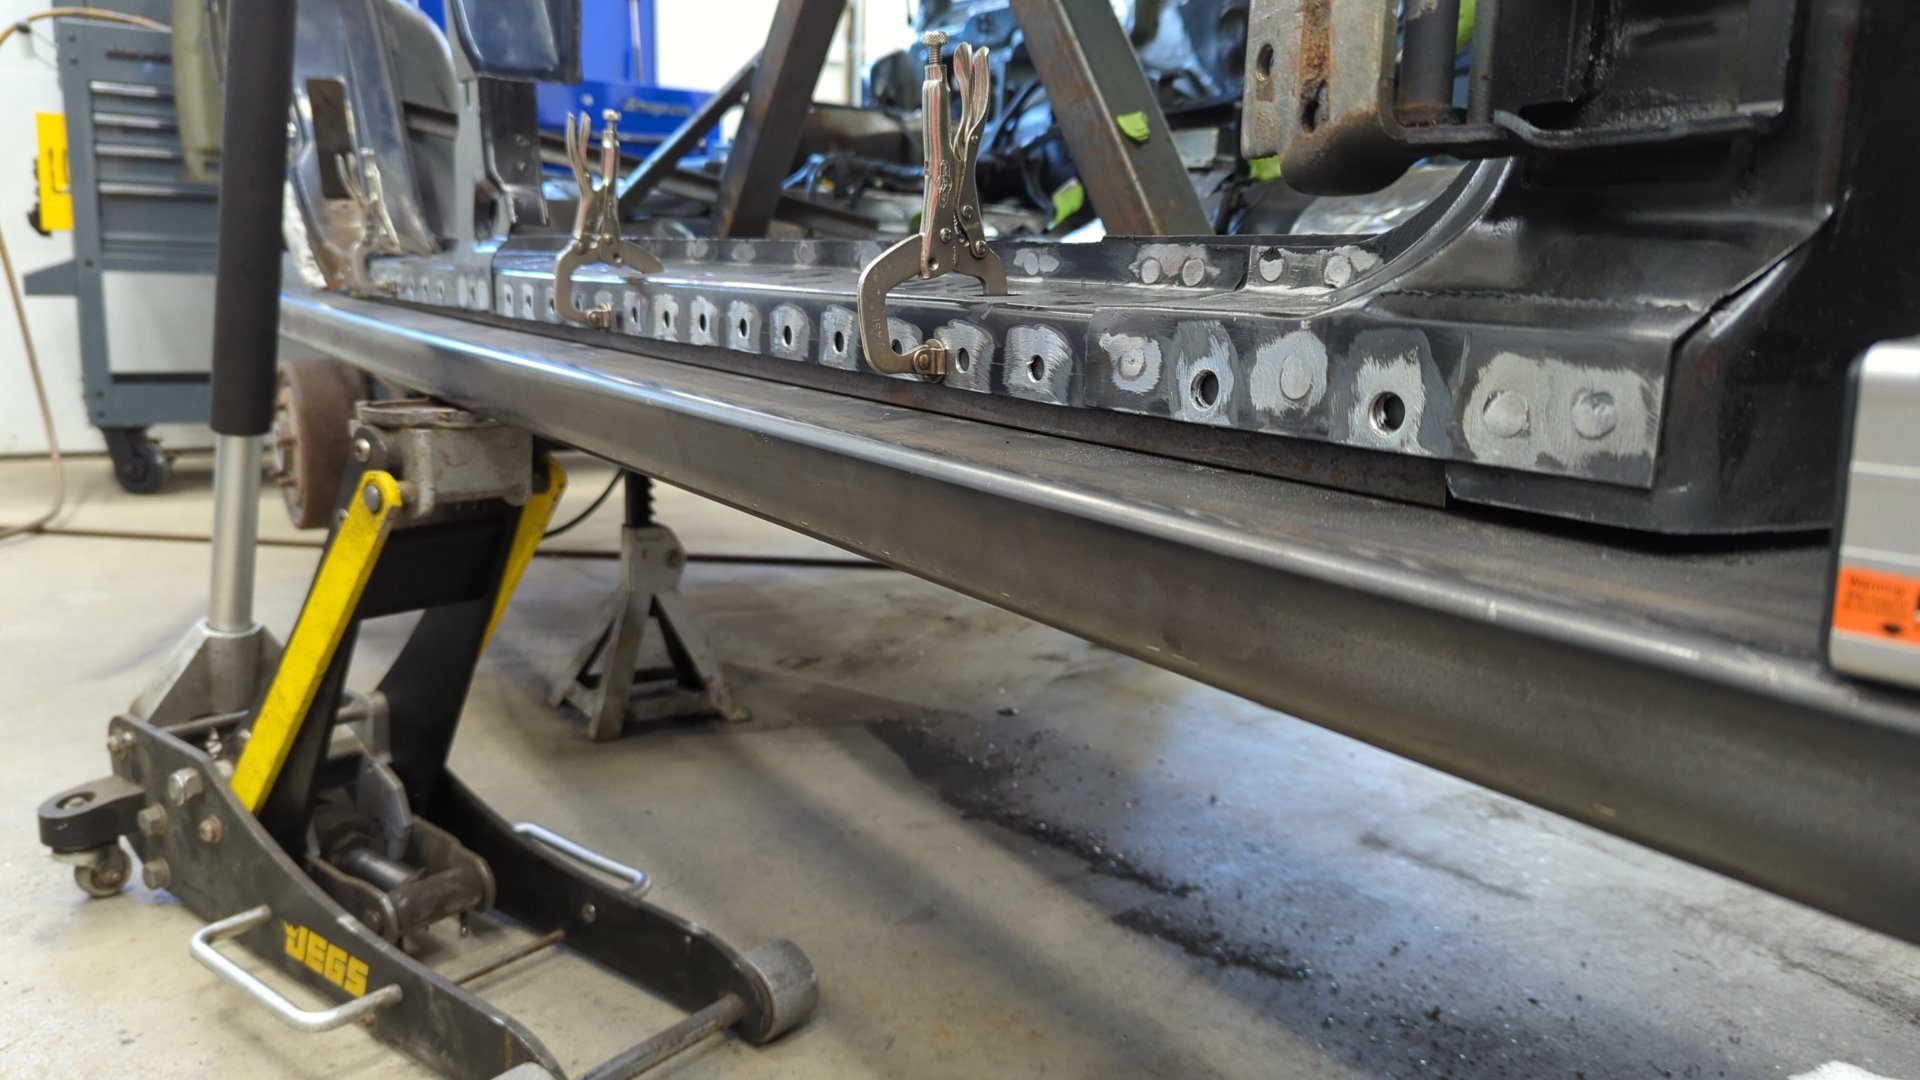
No Turning Back Now
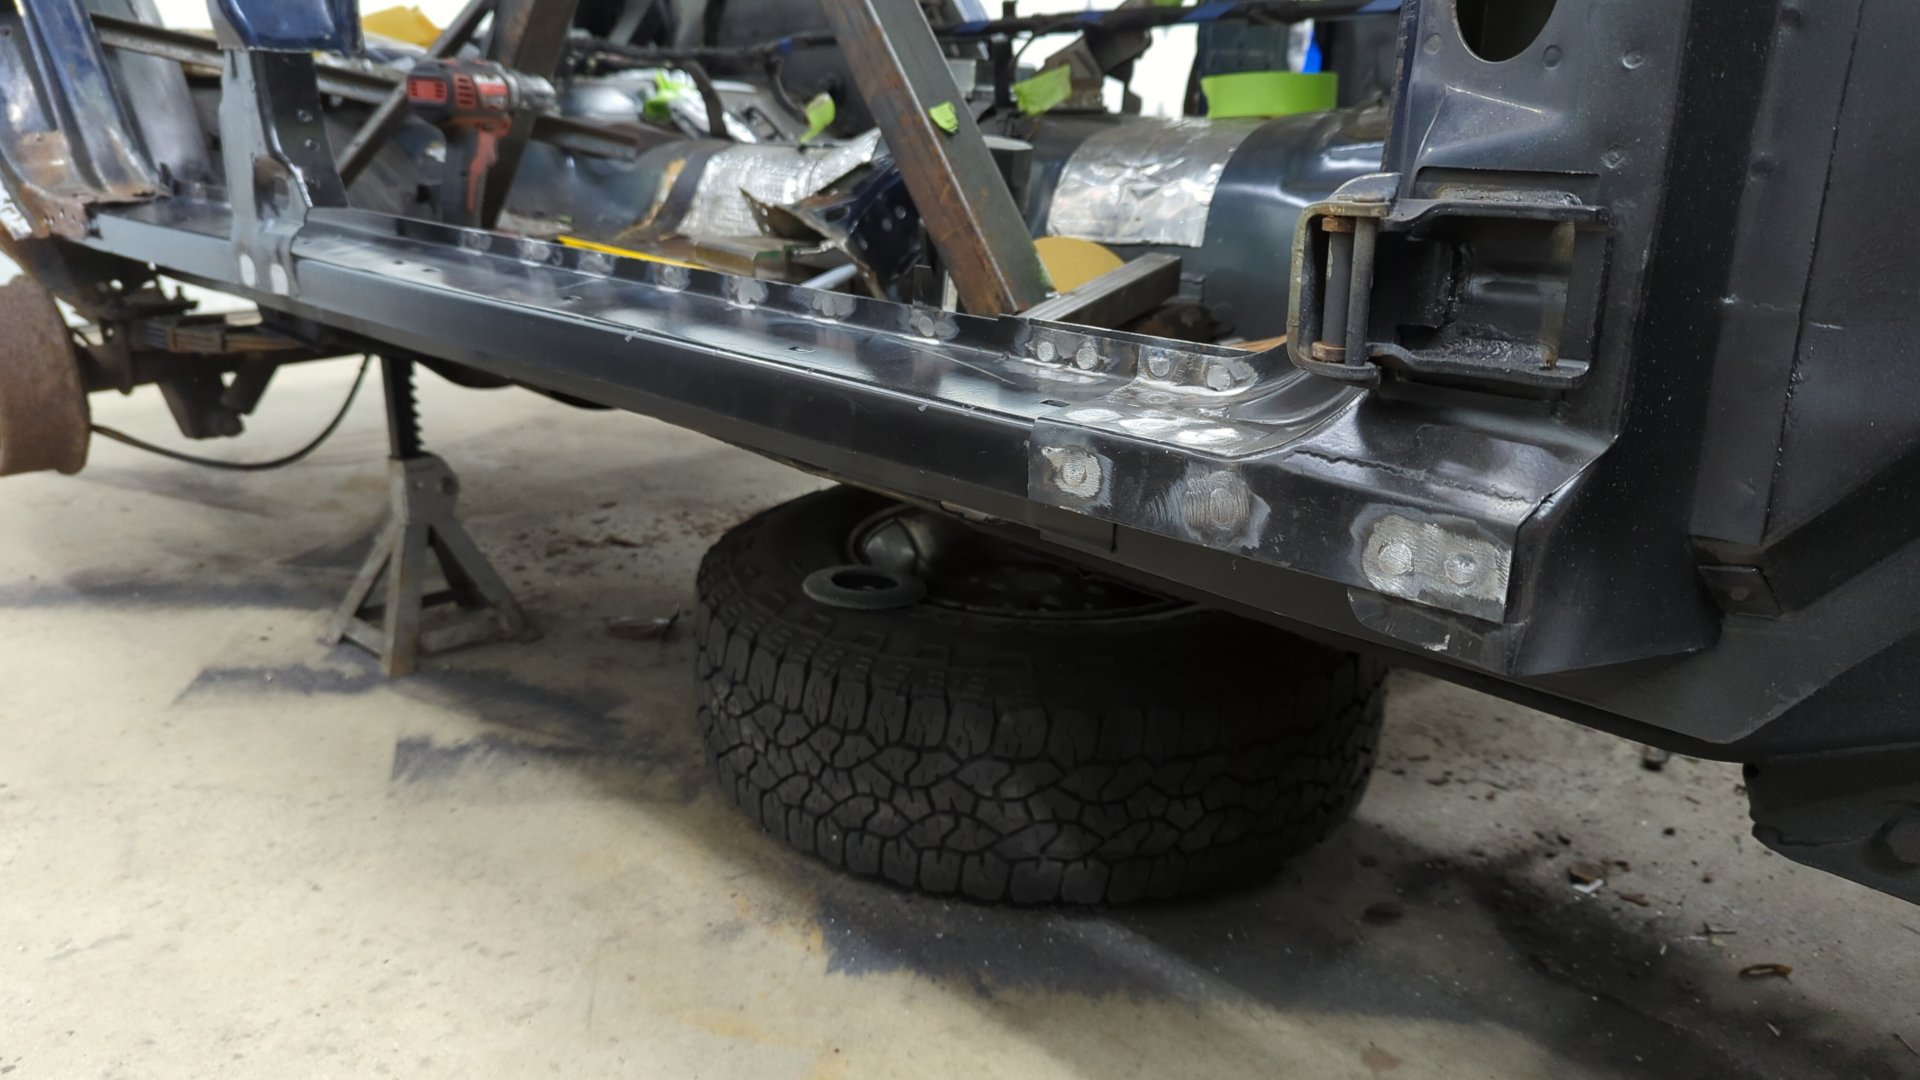
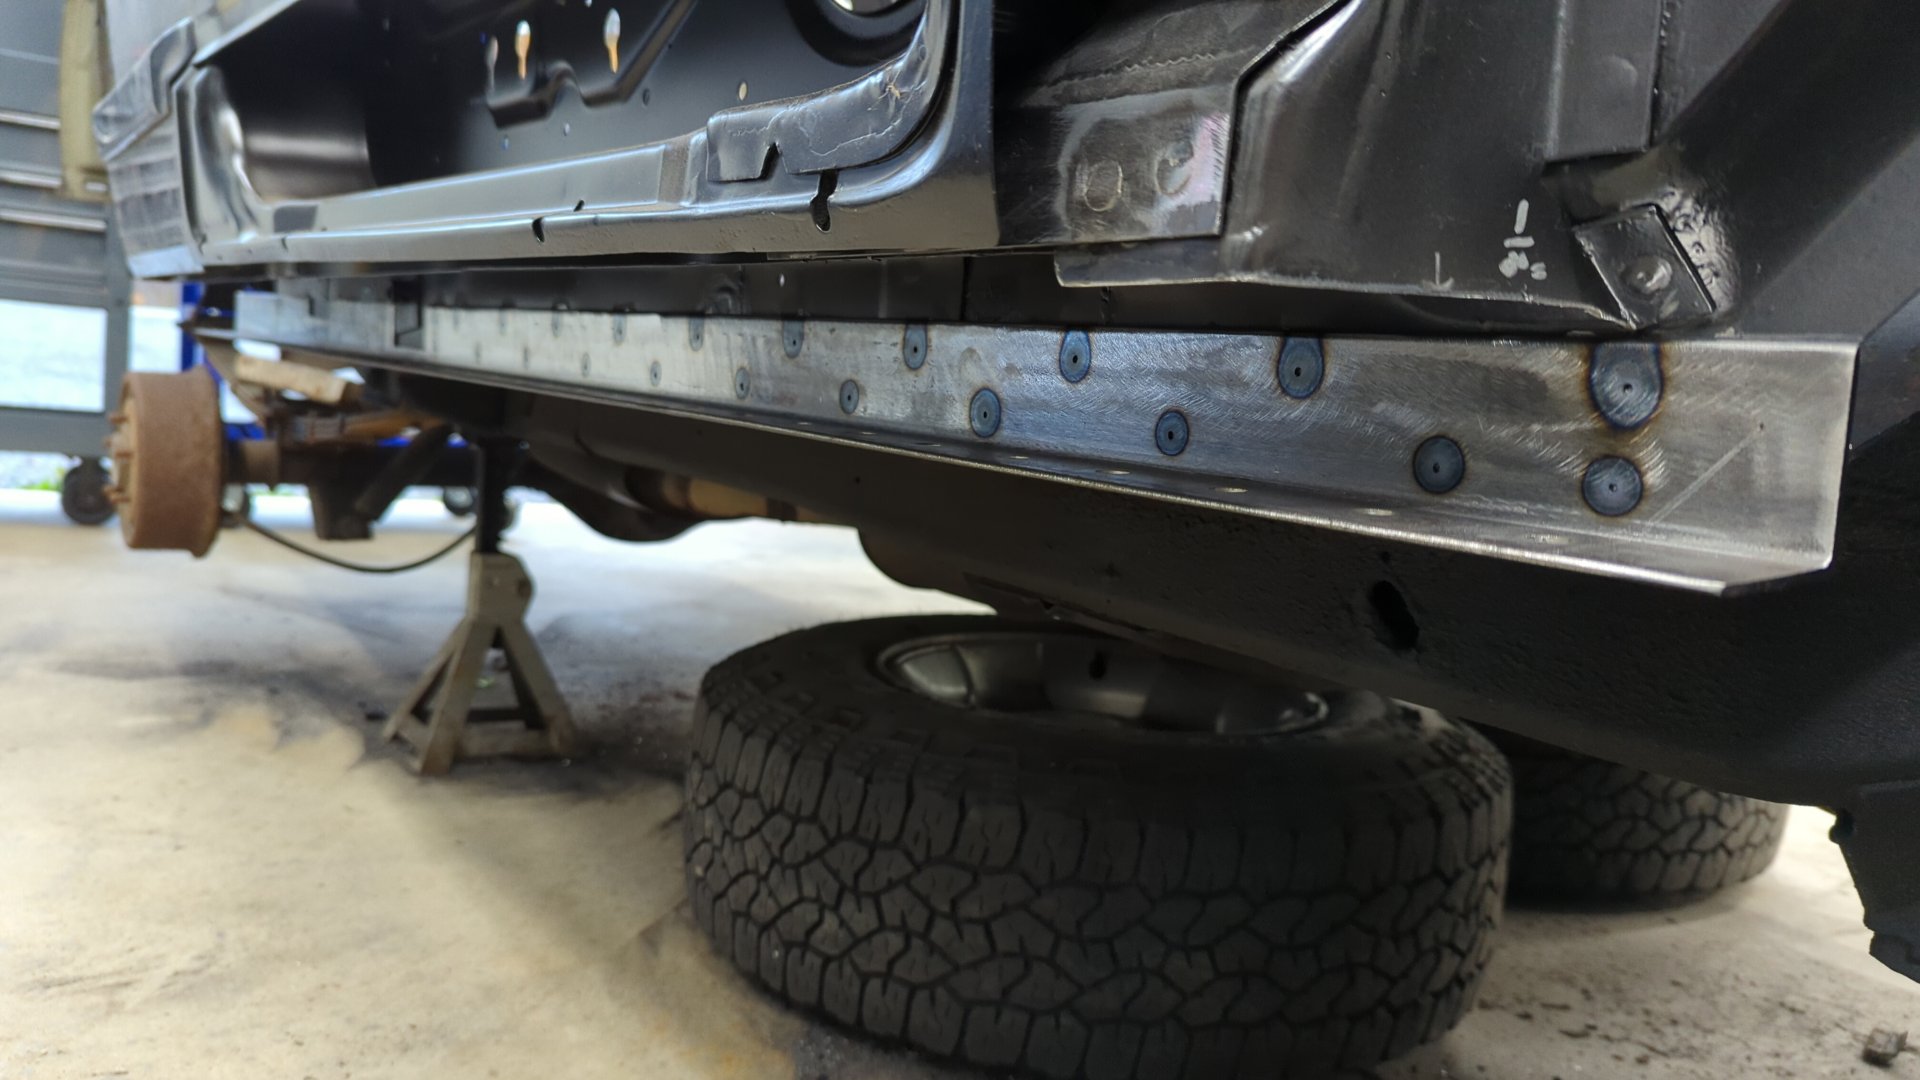
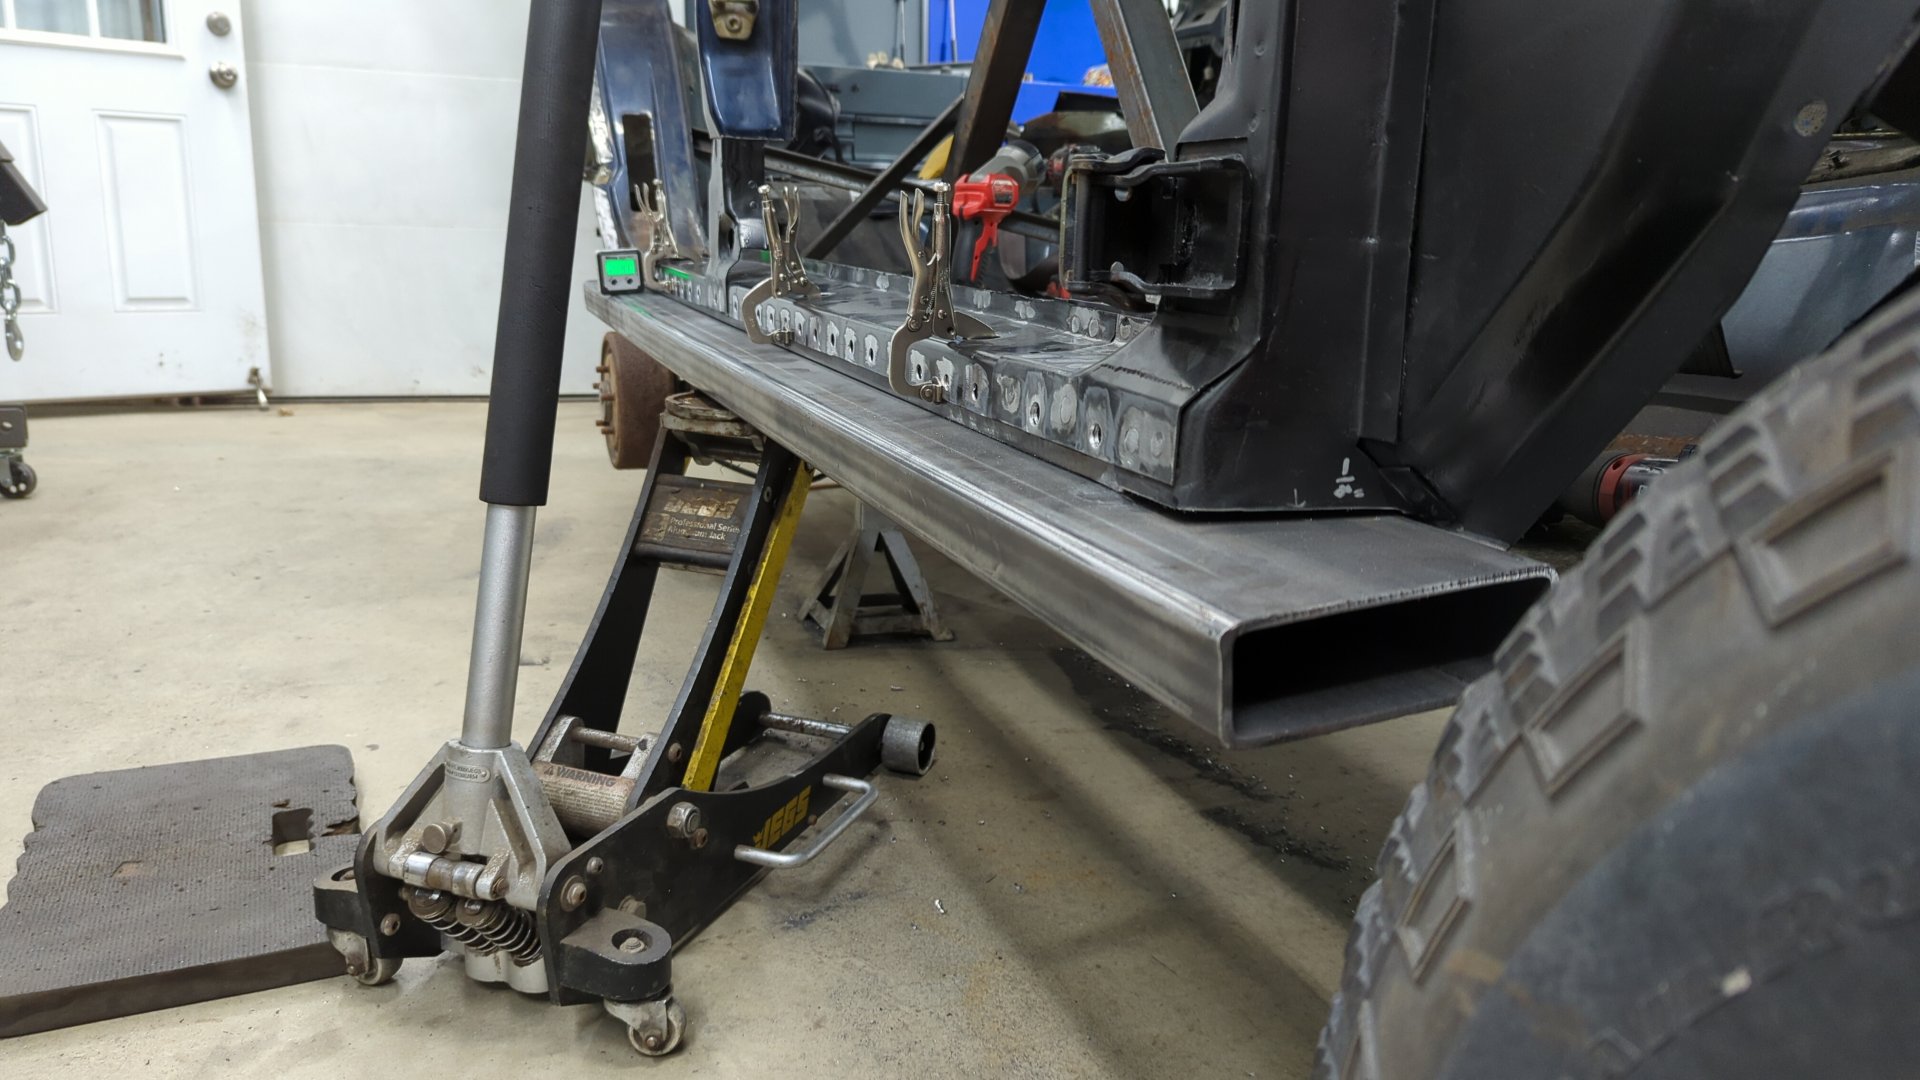
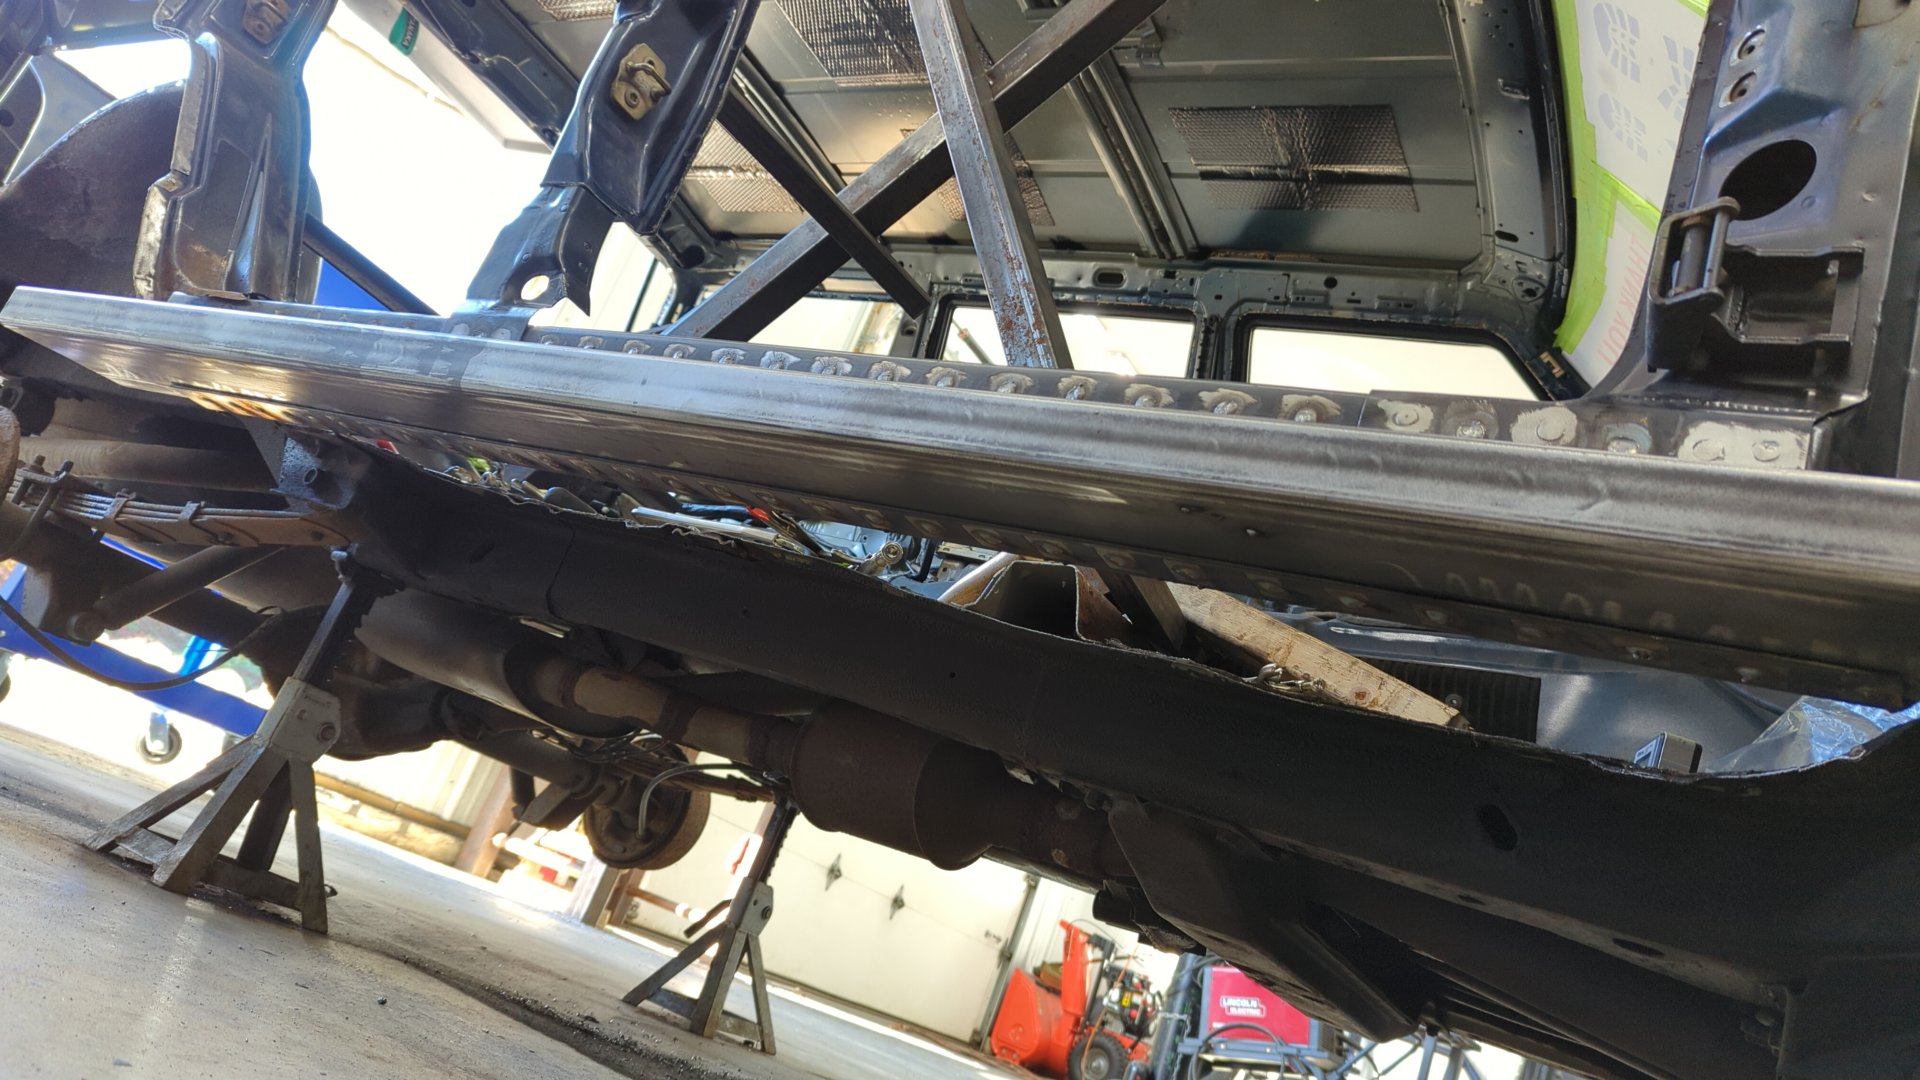
With the seat belt mount fixed I was able to slide the 2x6 into position.
And after drilling a ton of holes into the outer rocker for plug welds I was just about ready to weld it in.
I cranked my welder up pretty high for the welds. The outer rocker is 16ga and the angle they are being welded to is 1/8". I raised the voltage to be just underneath the recommended setting for 1/8 to ensure I still got good penetration on the angle but also didn’t blow holes into the 16ga rocker.
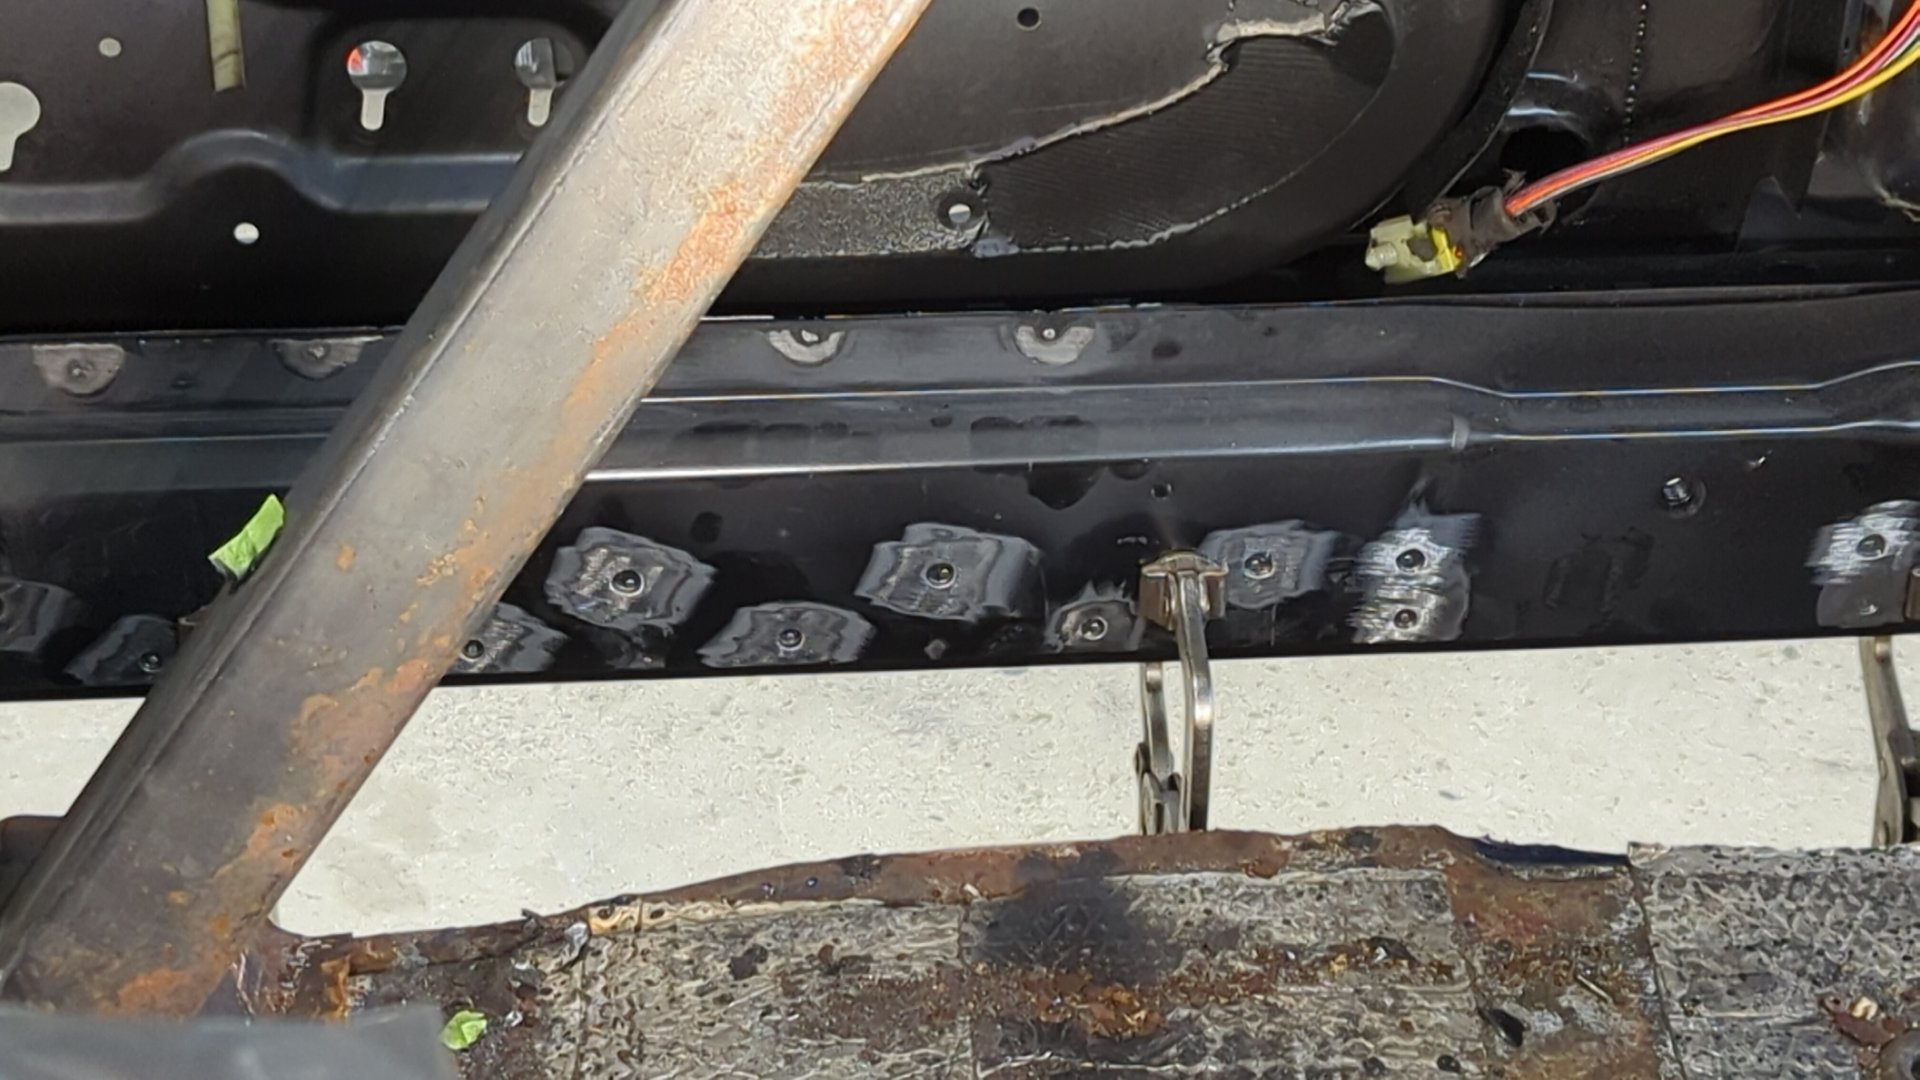
Welding on the bottom side was actually a fun challenge. It’s been a while since I’ve done any overhead welding so it was good practice.
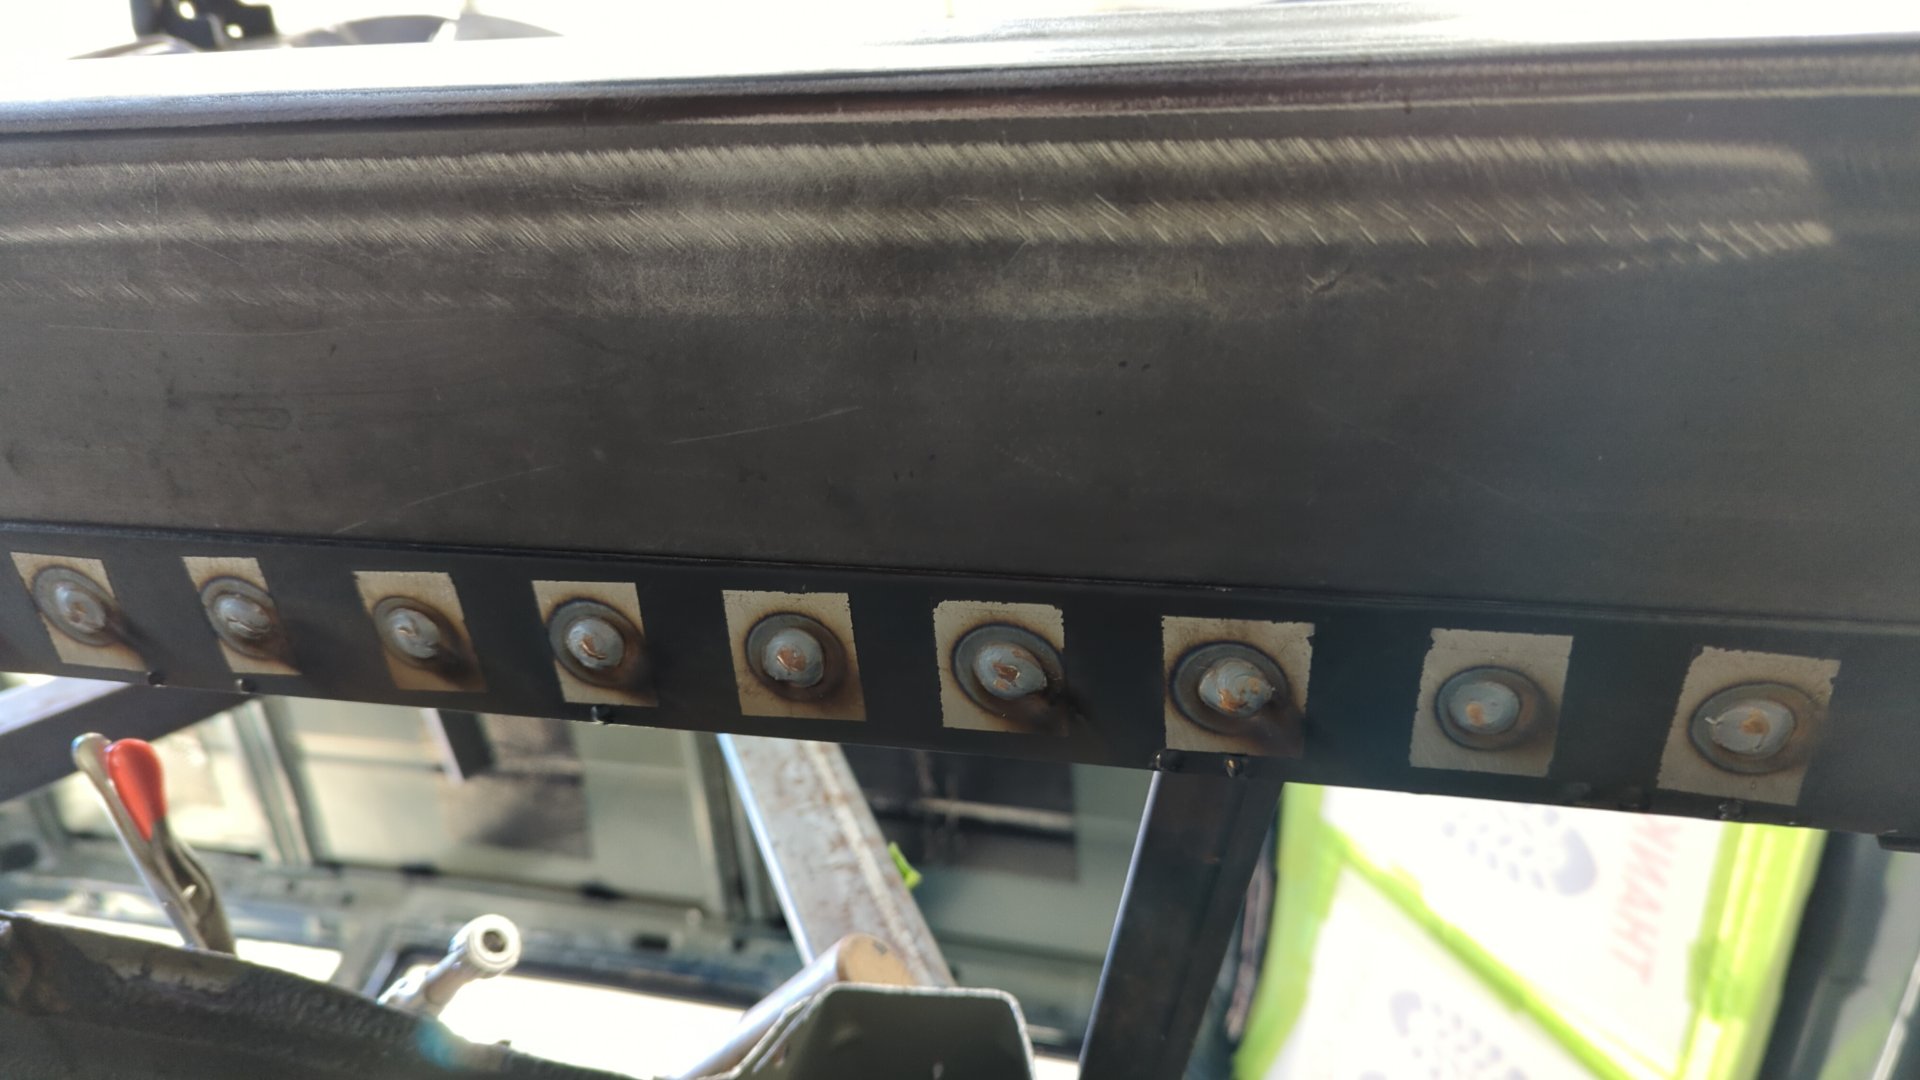
Two of the underside welds ended up extremely porous. I’m not certain but I suspect a contaminate somehow got into the welds (maybe there was some paint up there) because every other weld came out perfect.
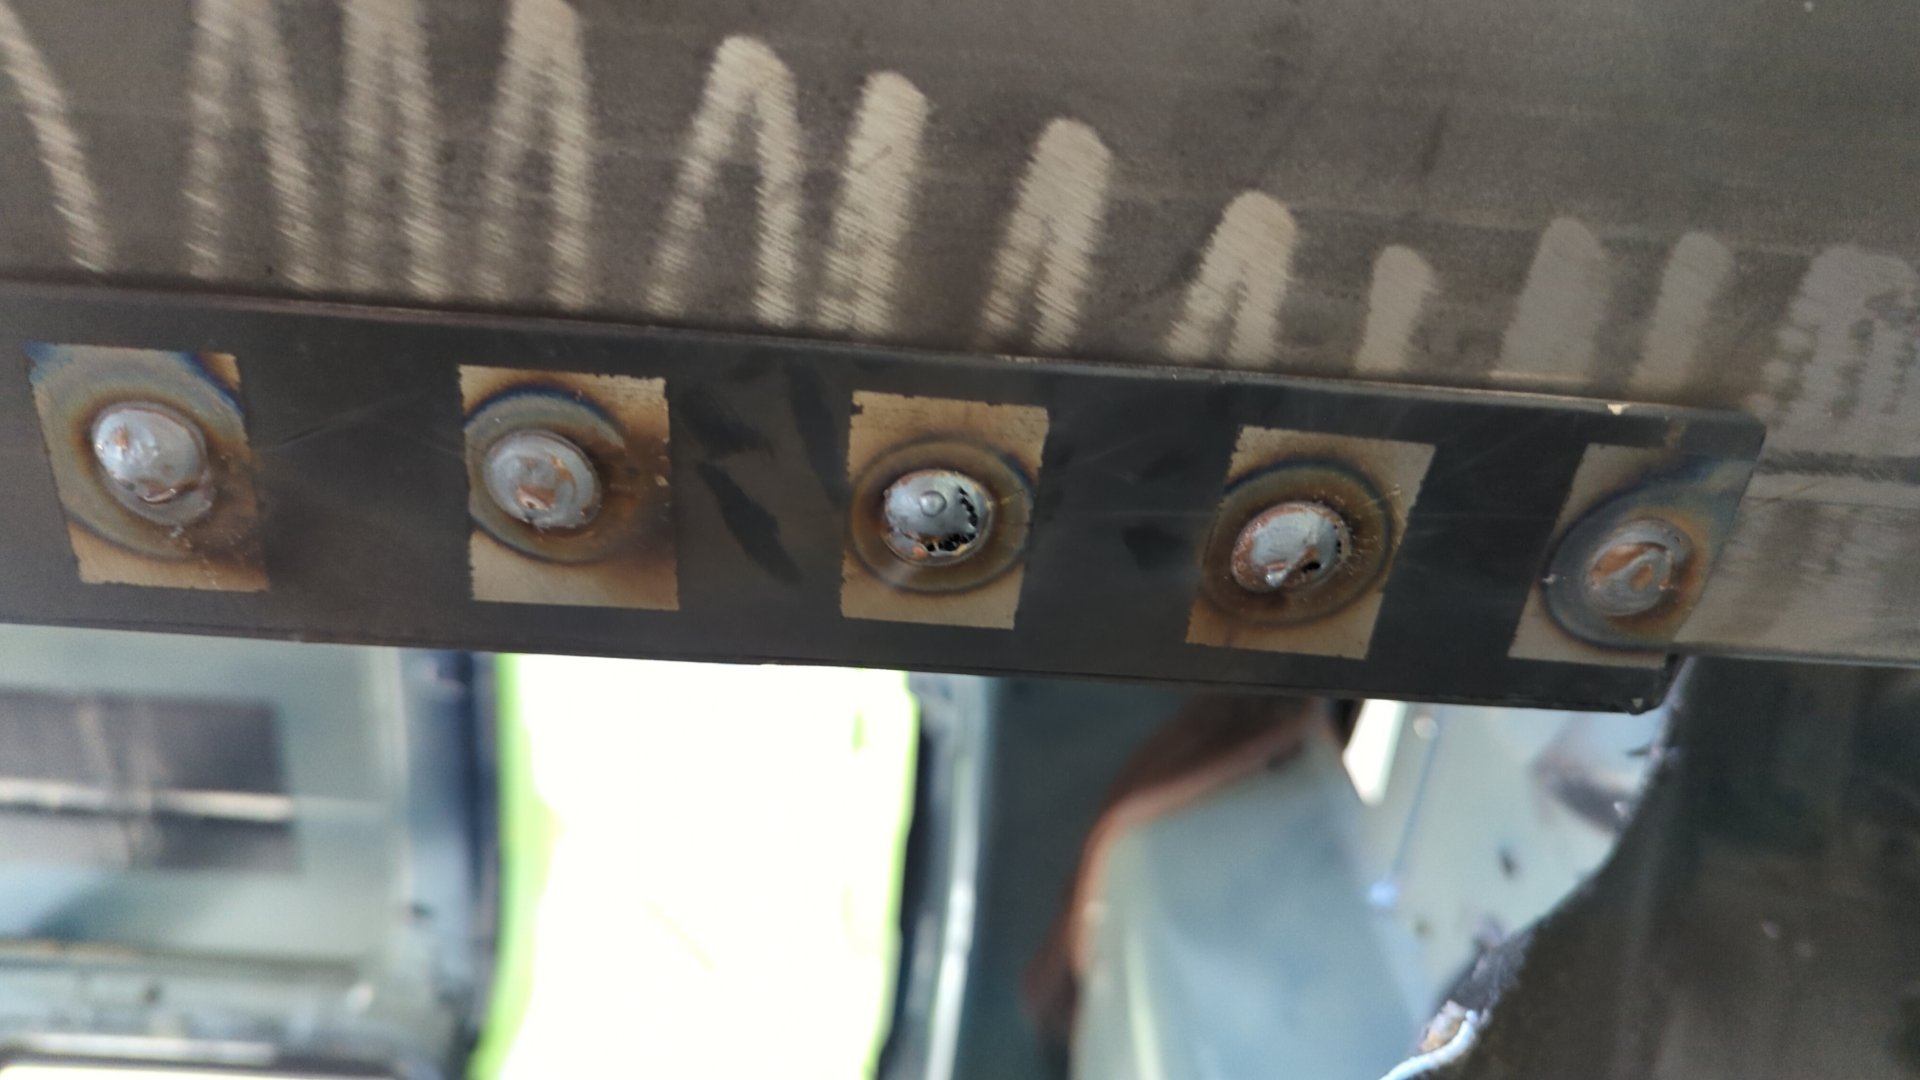
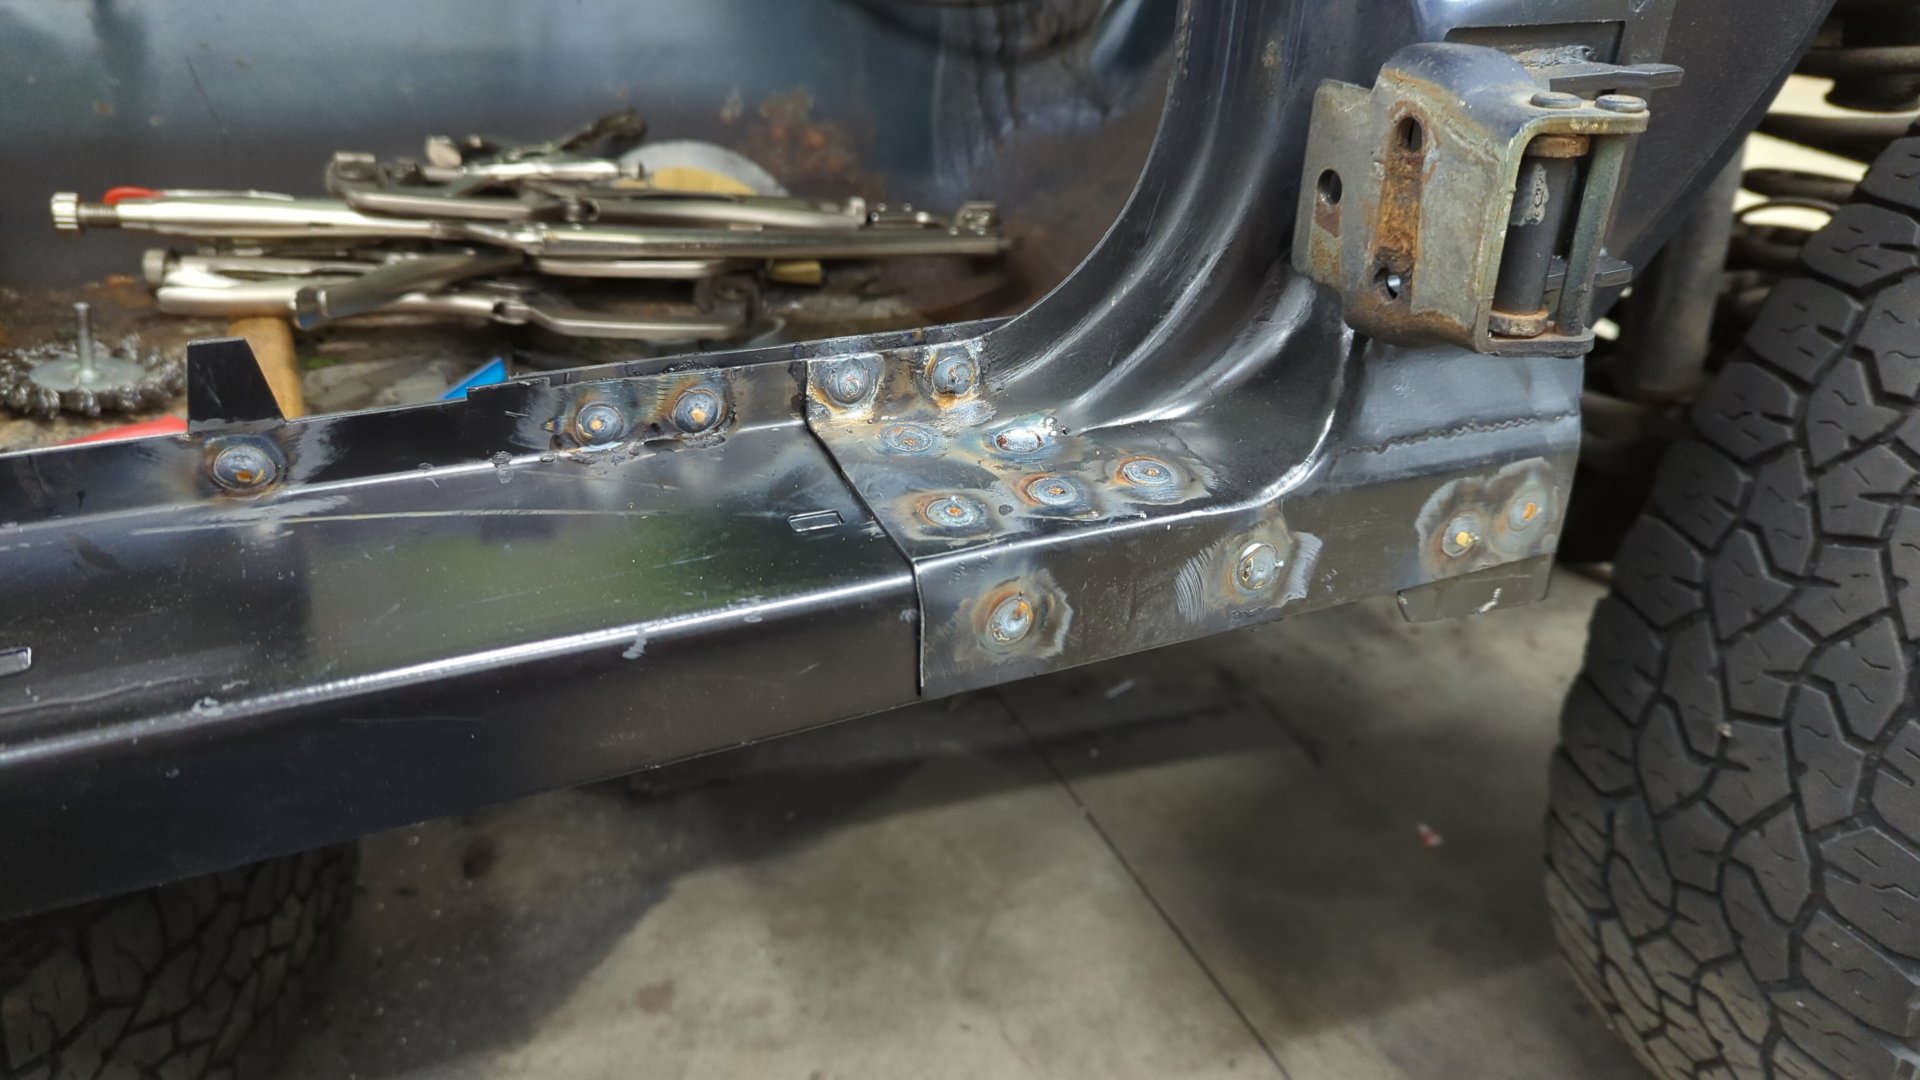
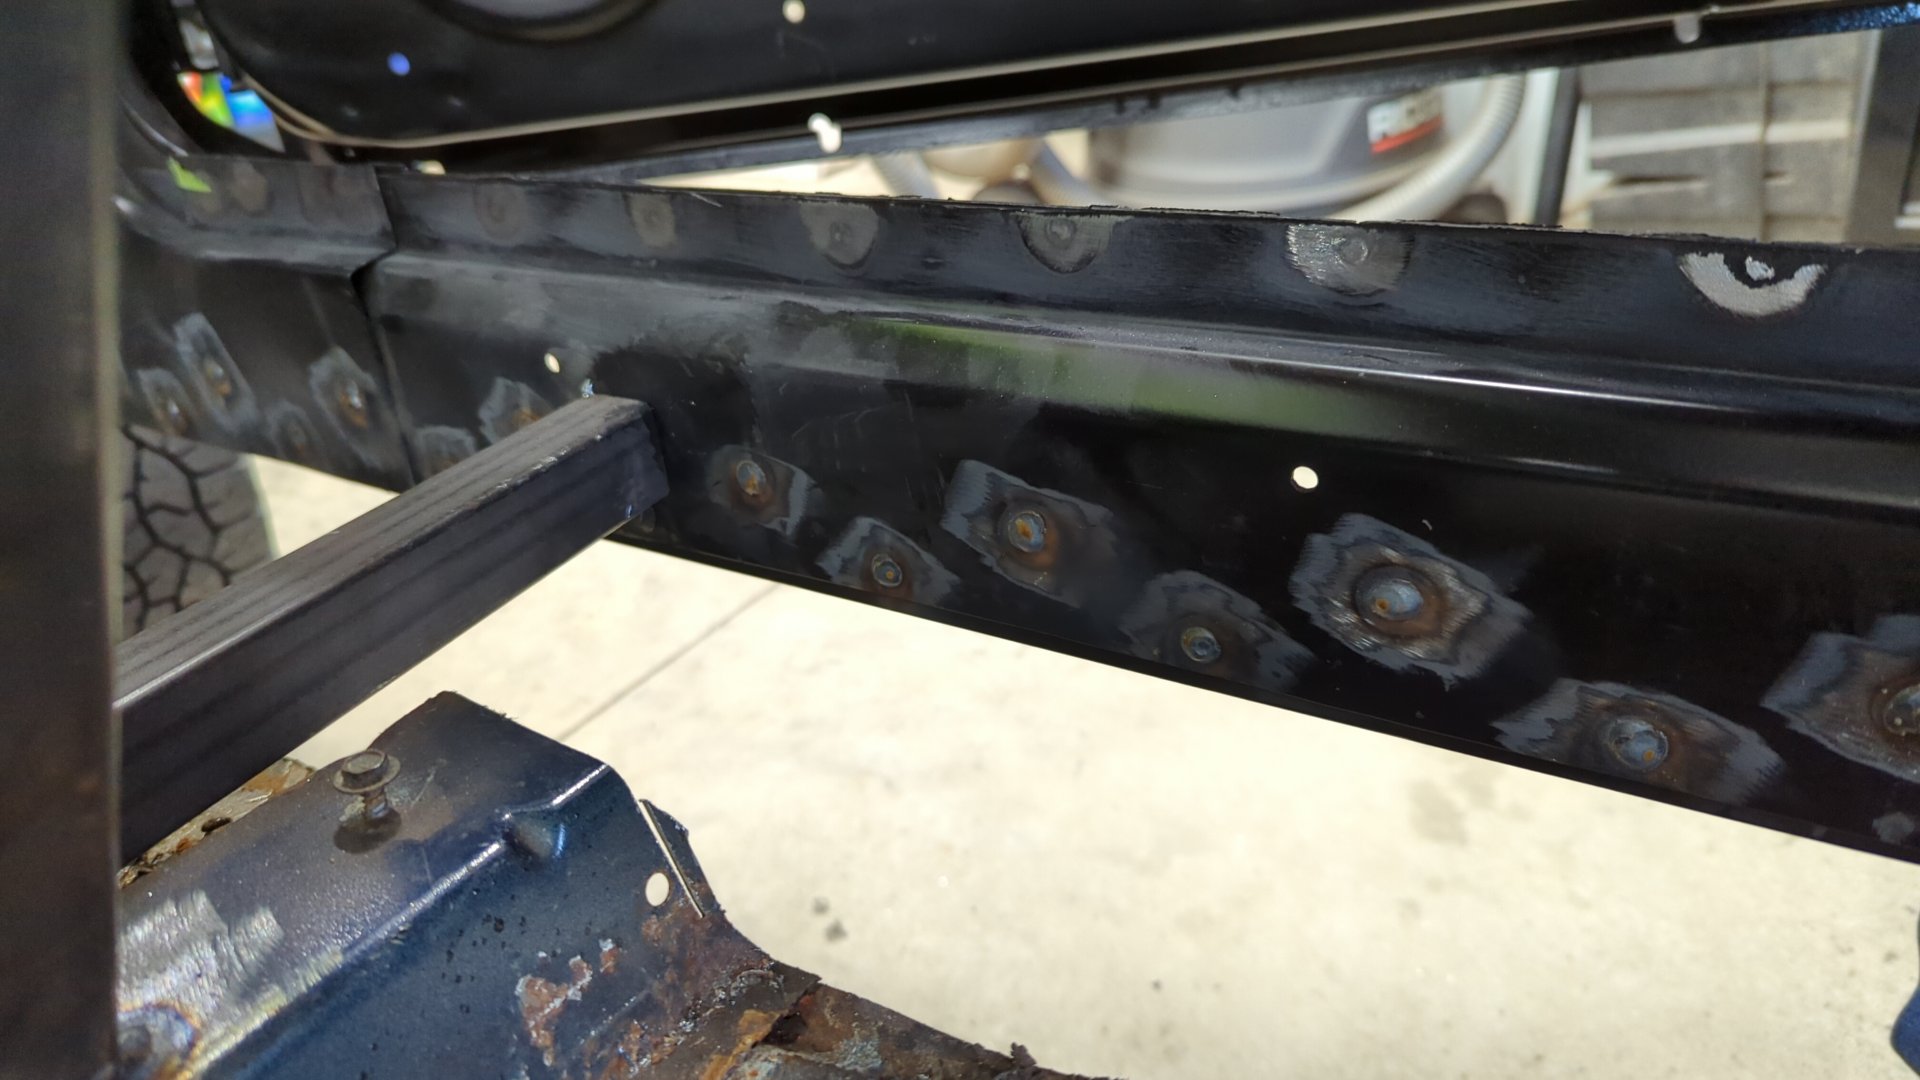
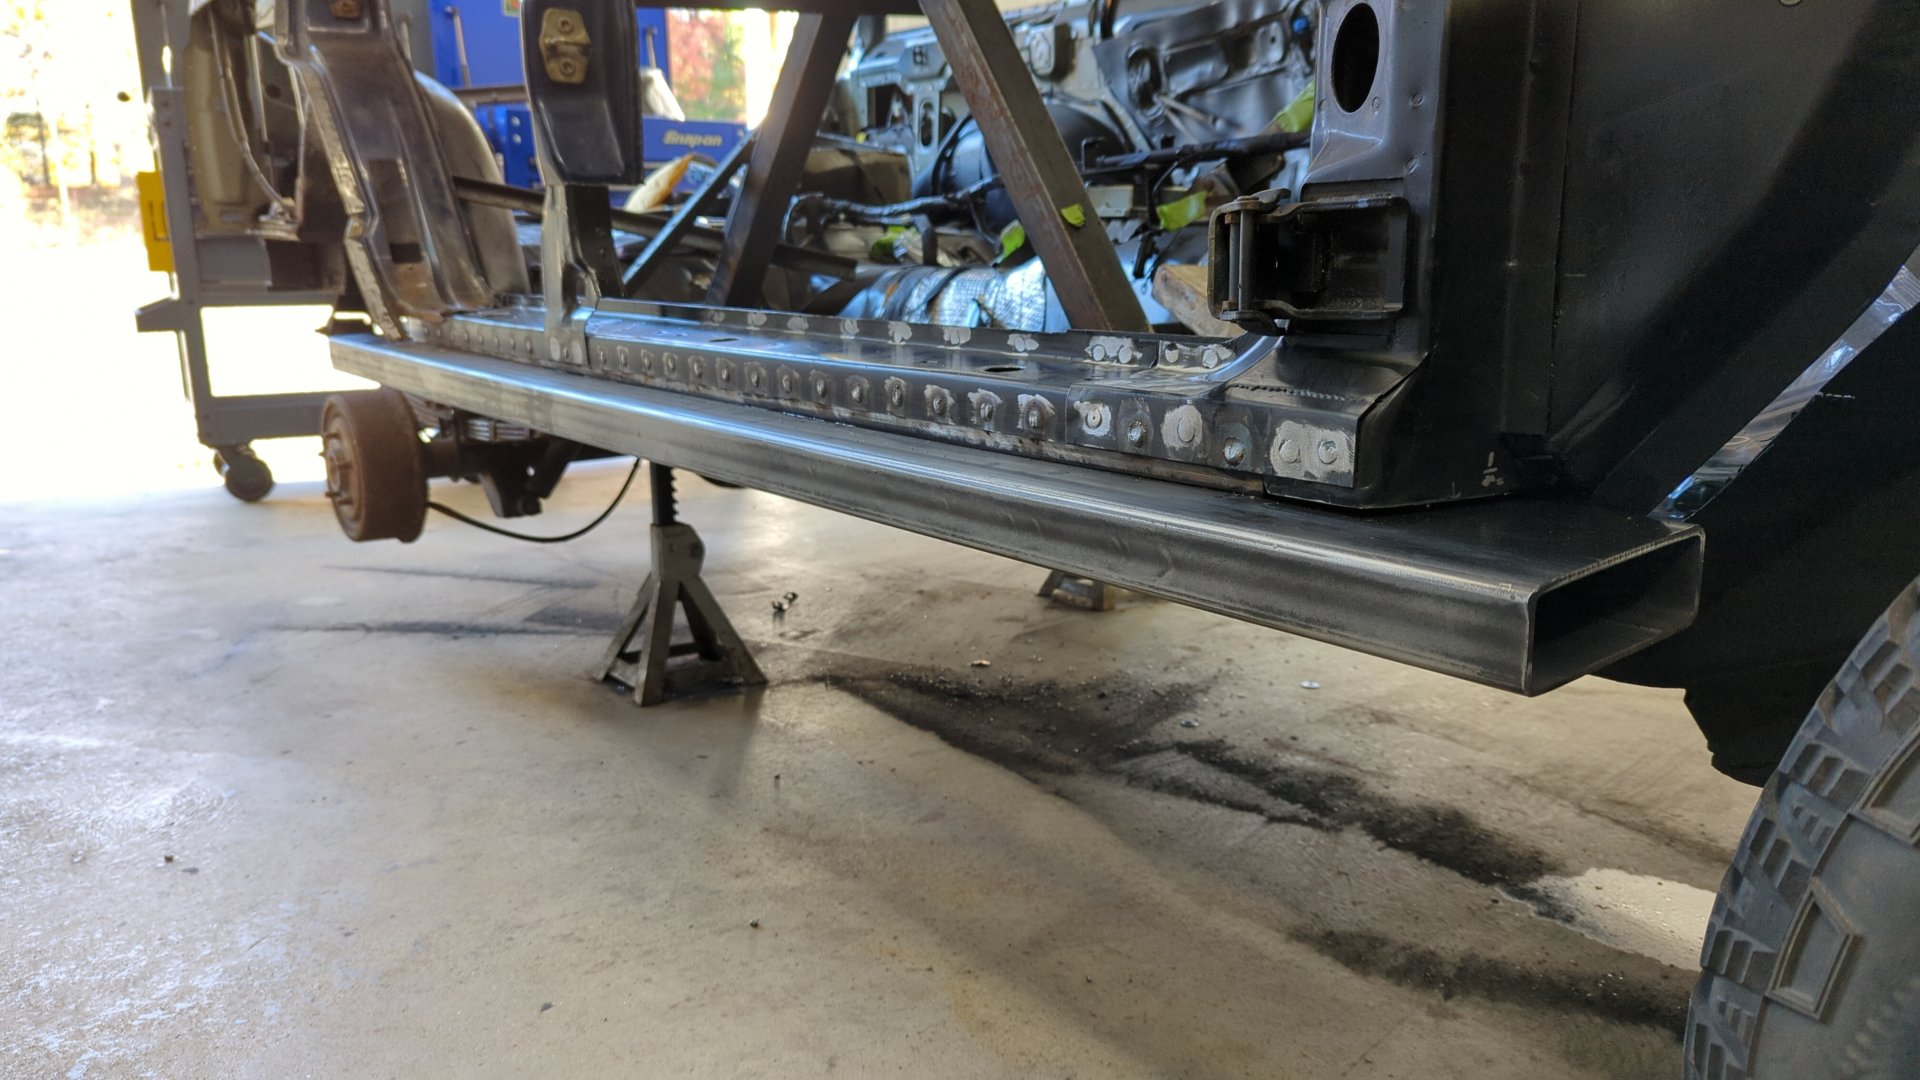
After everything was welded up and the metal had some time to cool down I cleaned up the welds with my grinder.

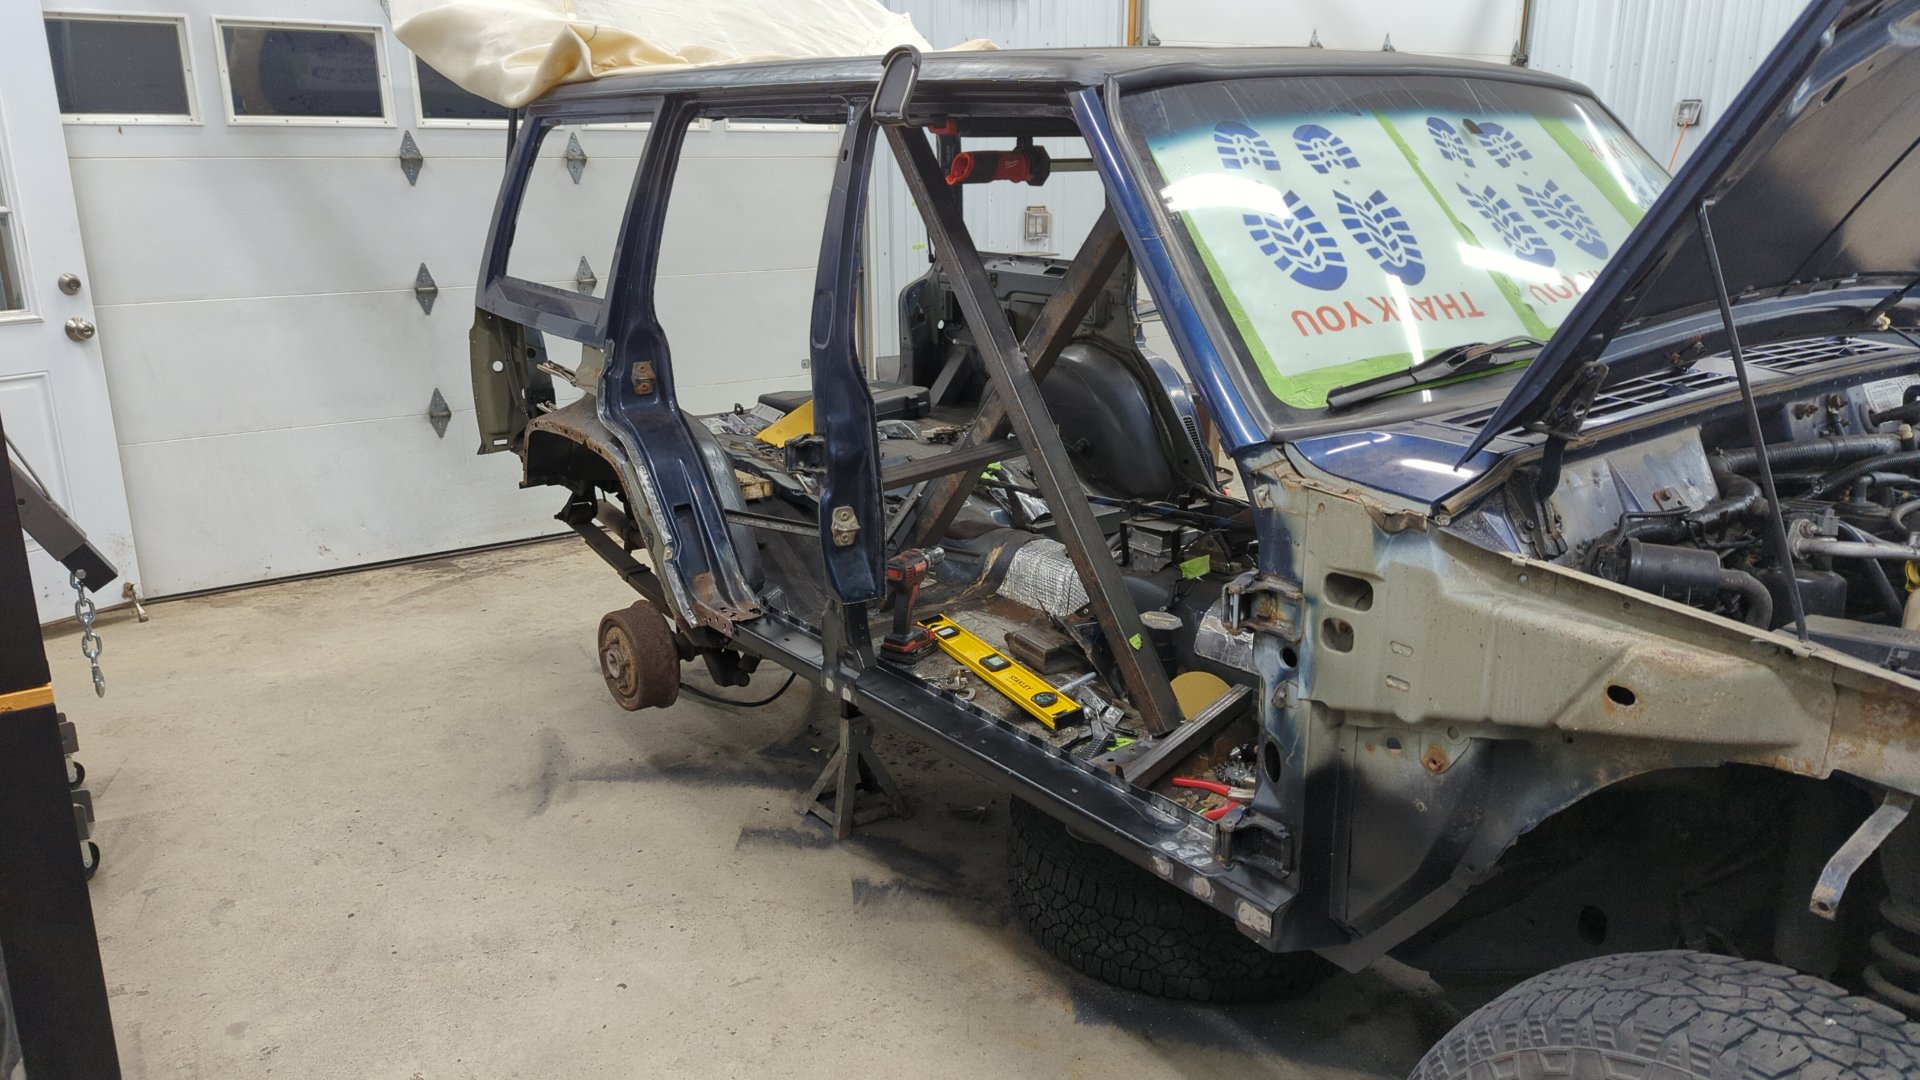
And just like that, the passenger side was starting to look whole again.


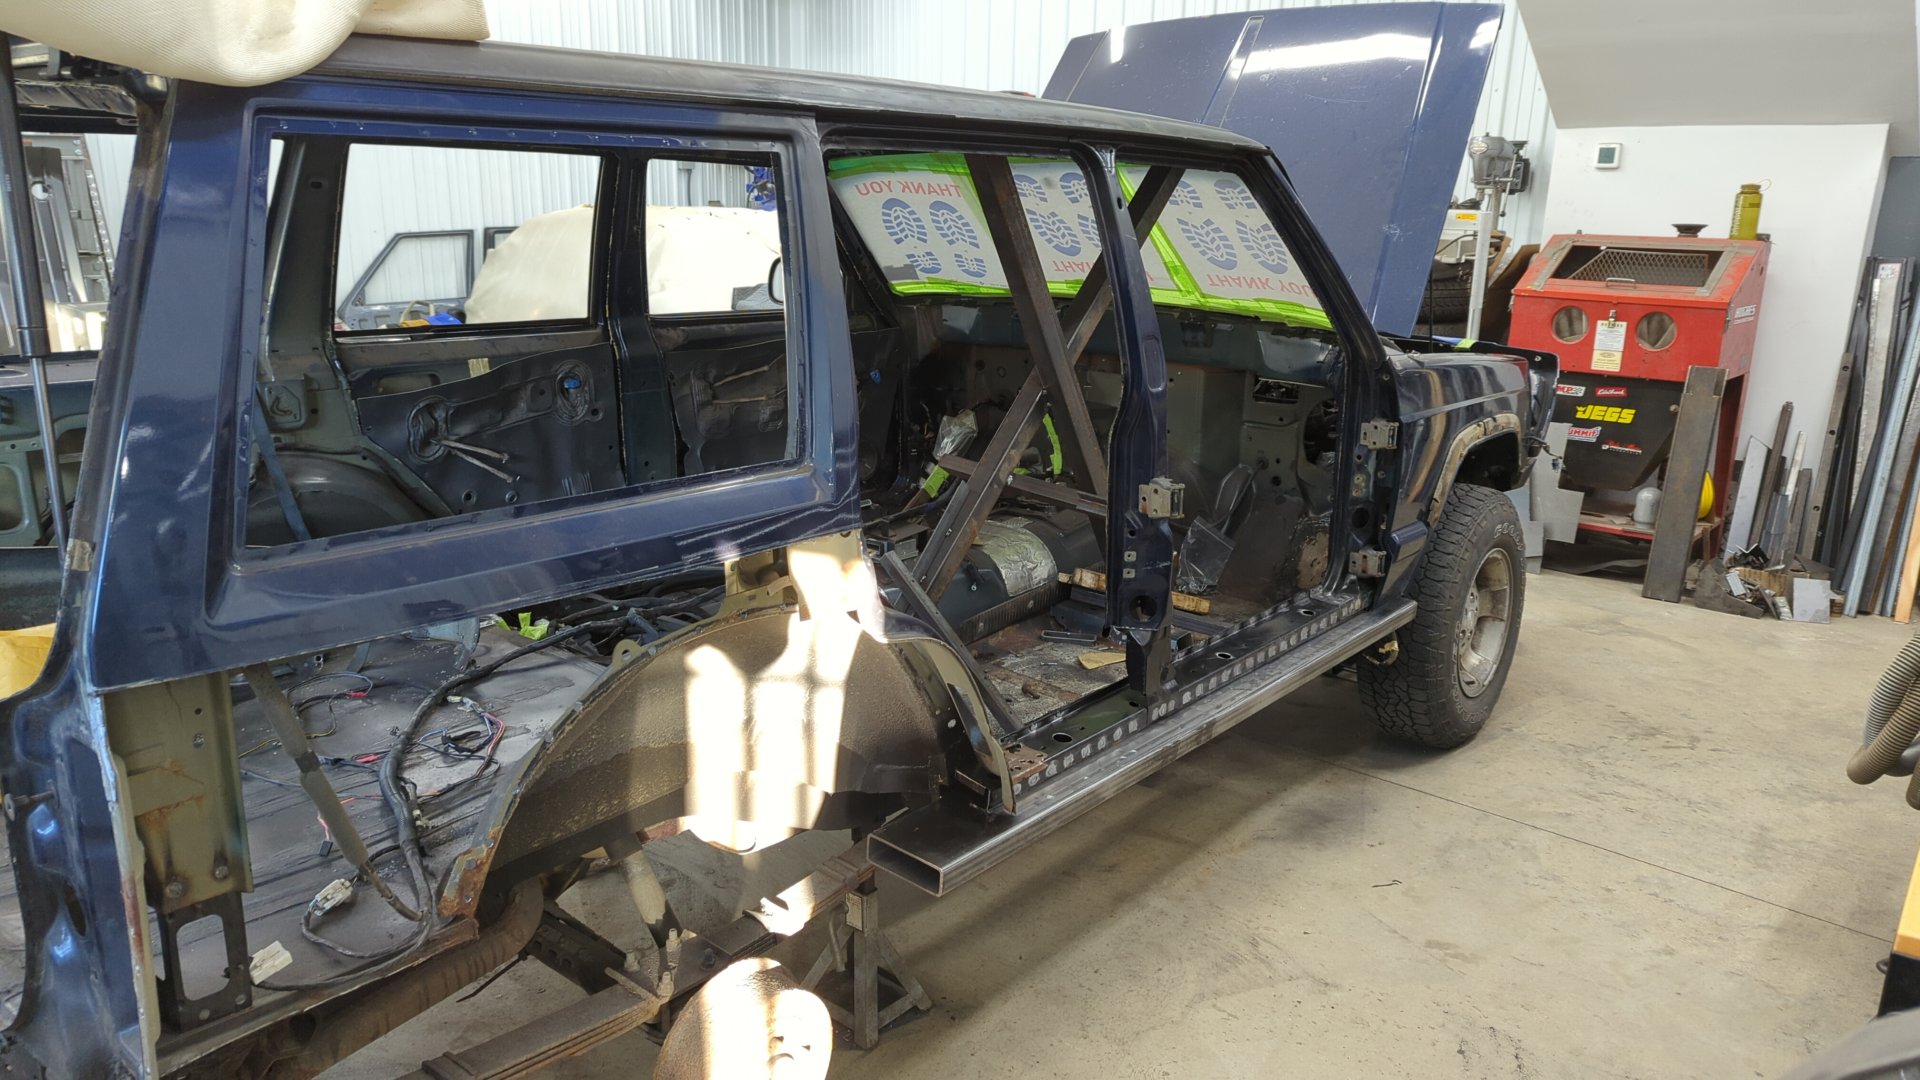
Most of the bracing is probably irrelevant at this point, but I’m planning on leaving them as-is until I finish the rear quarter panel. With the outer quarter and inner wheel well missing I’ve found the remaining metal is actually on the weaker side and wants to bow outwards.
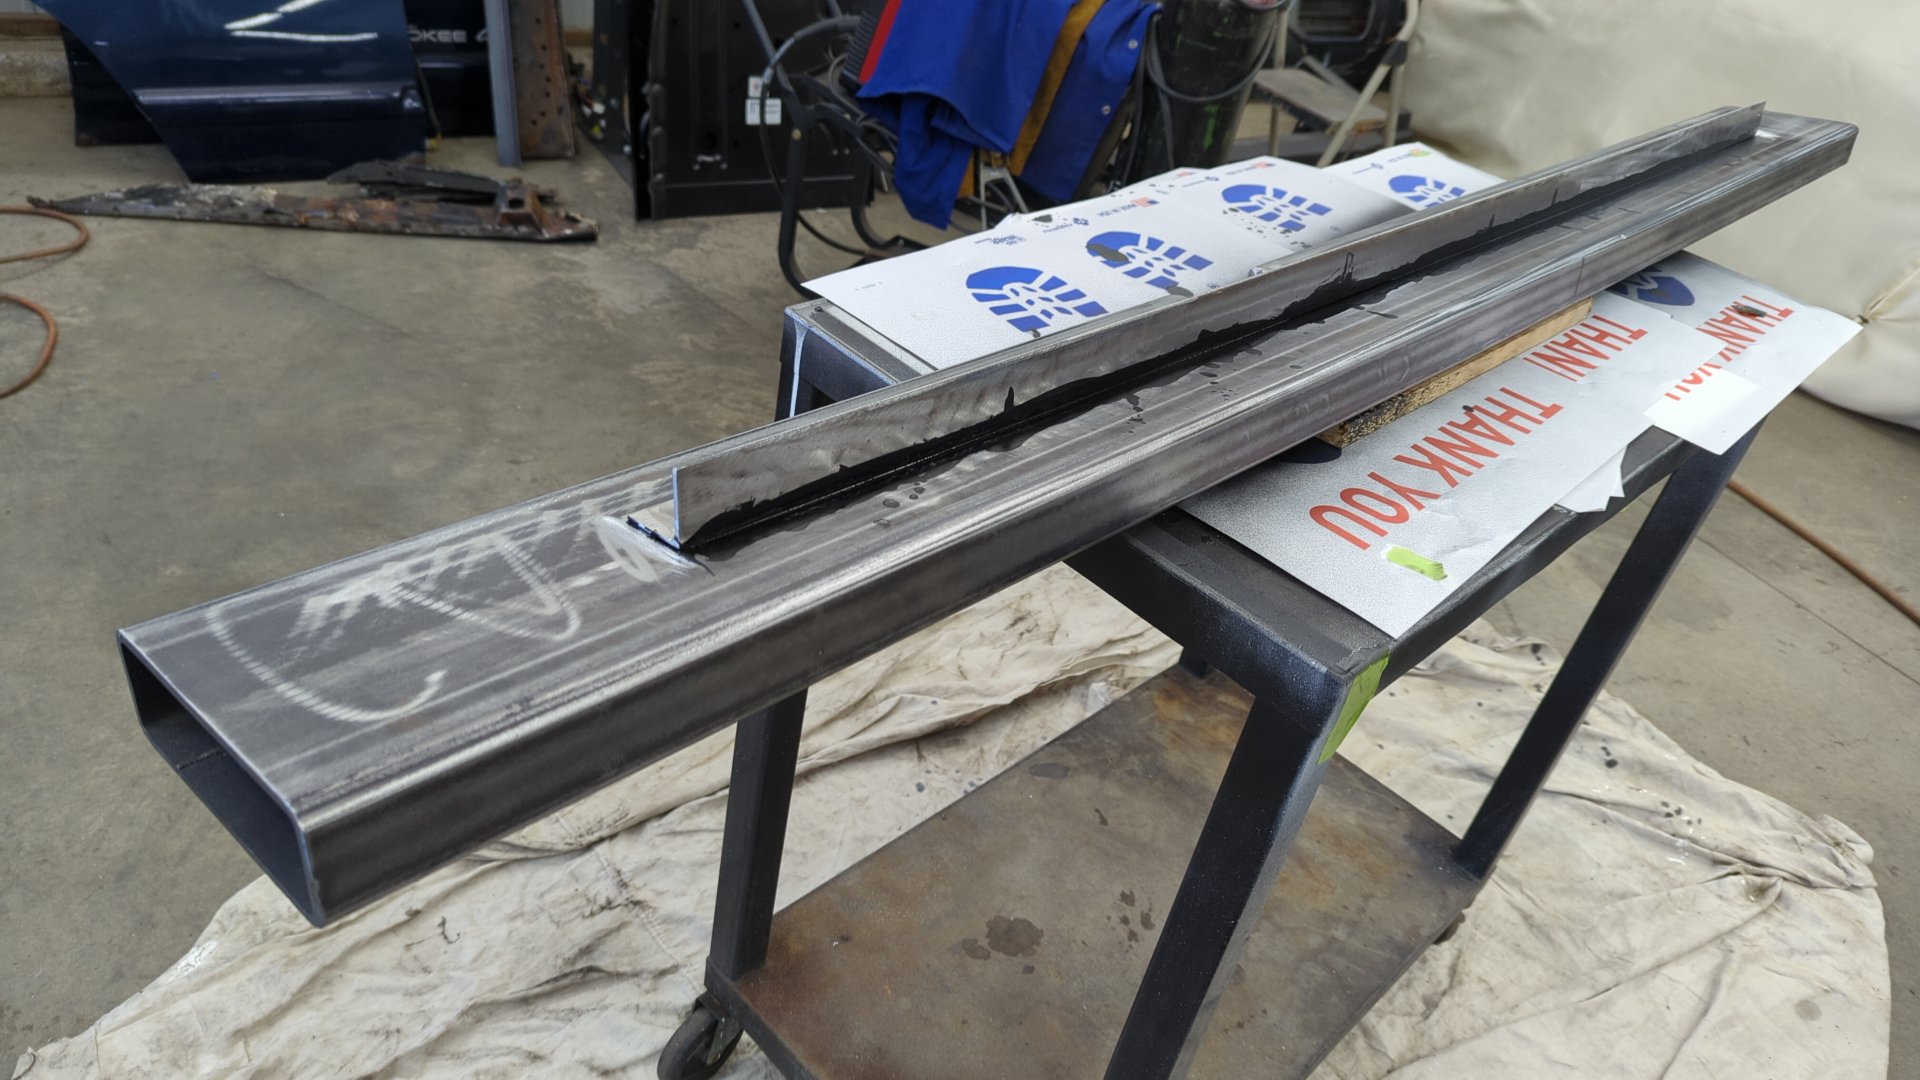
While working on the passenger rocker I took the time to build the custom parts I need for the driver side rocker. It’ll be a few months before I’m ready to install them, but I figured it’d be easier to make the parts now while the designs were still fresh in my head.
Next steps are to finish the outer layer of the B pillar and repair the metal at the bottom of the C pillar (aka dog leg).