Rust Repair Part 15: Finalizing the 2x6 Rocker
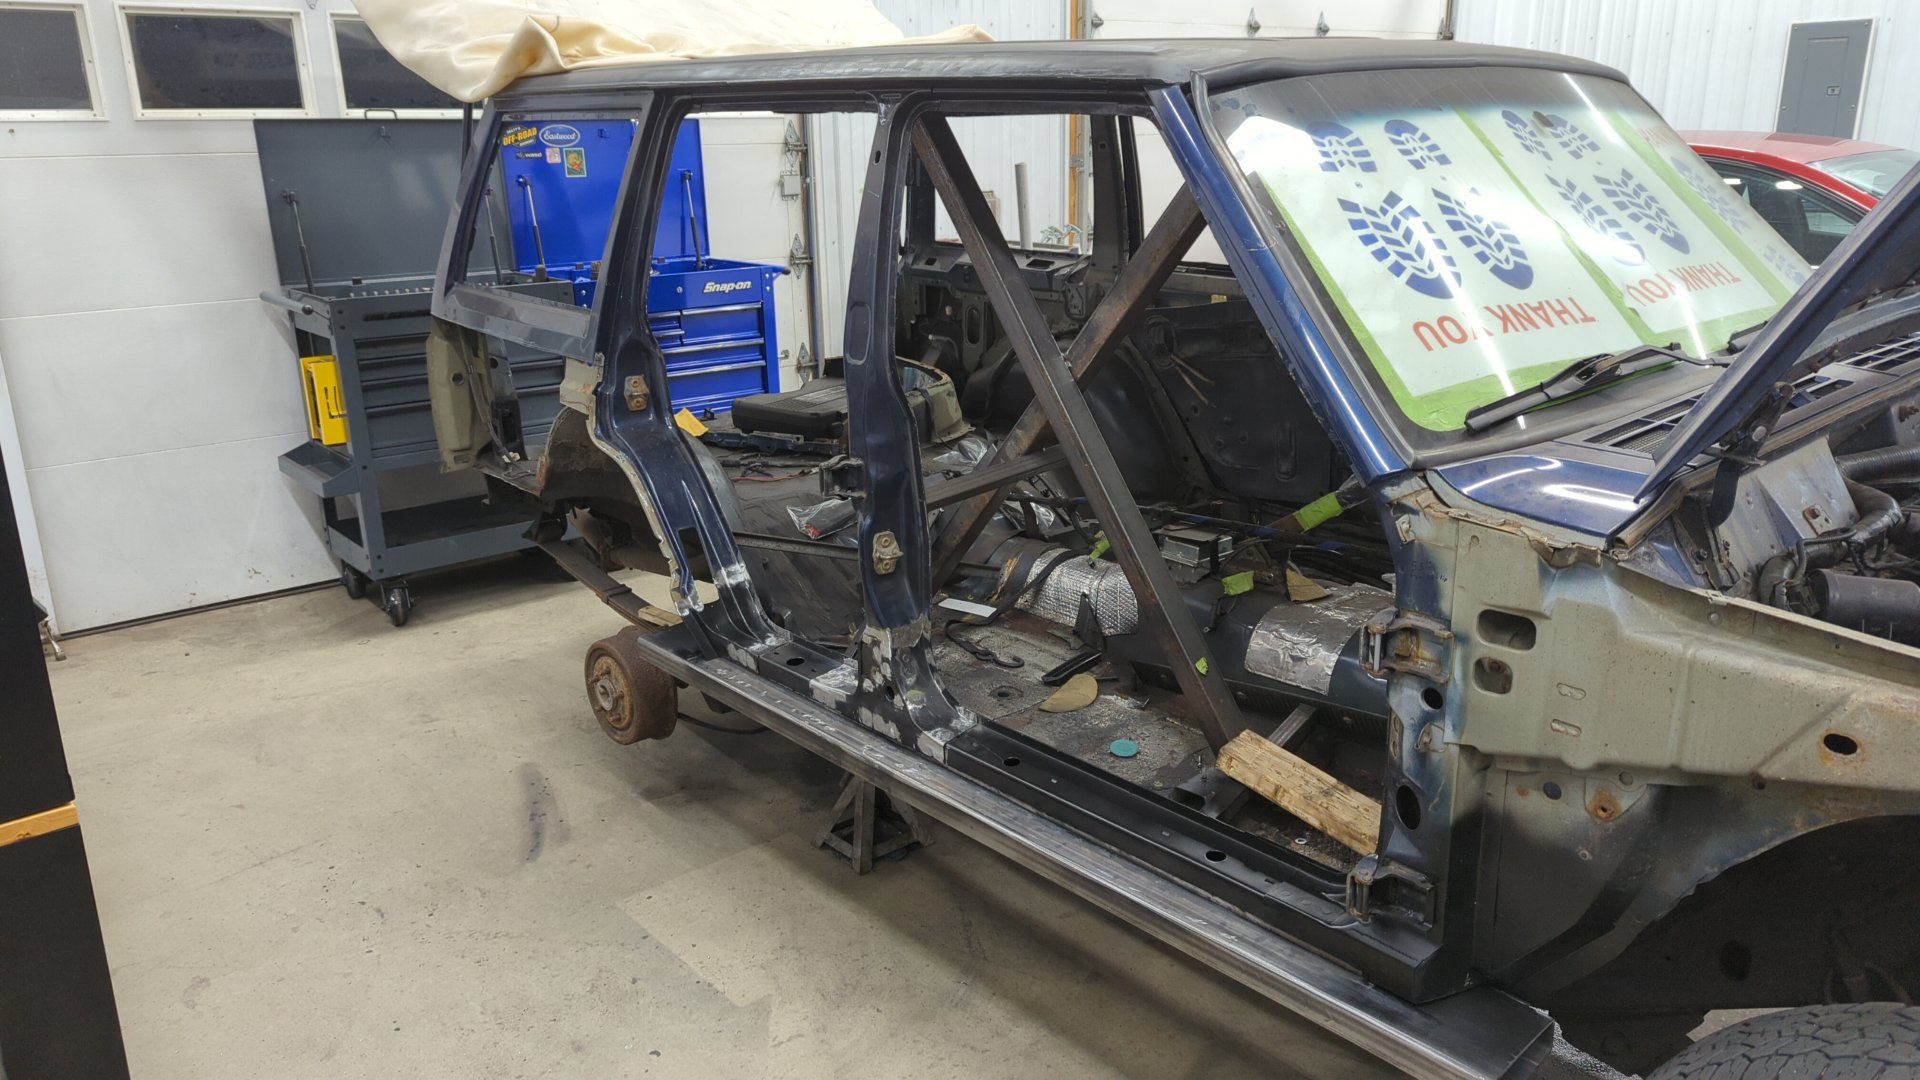
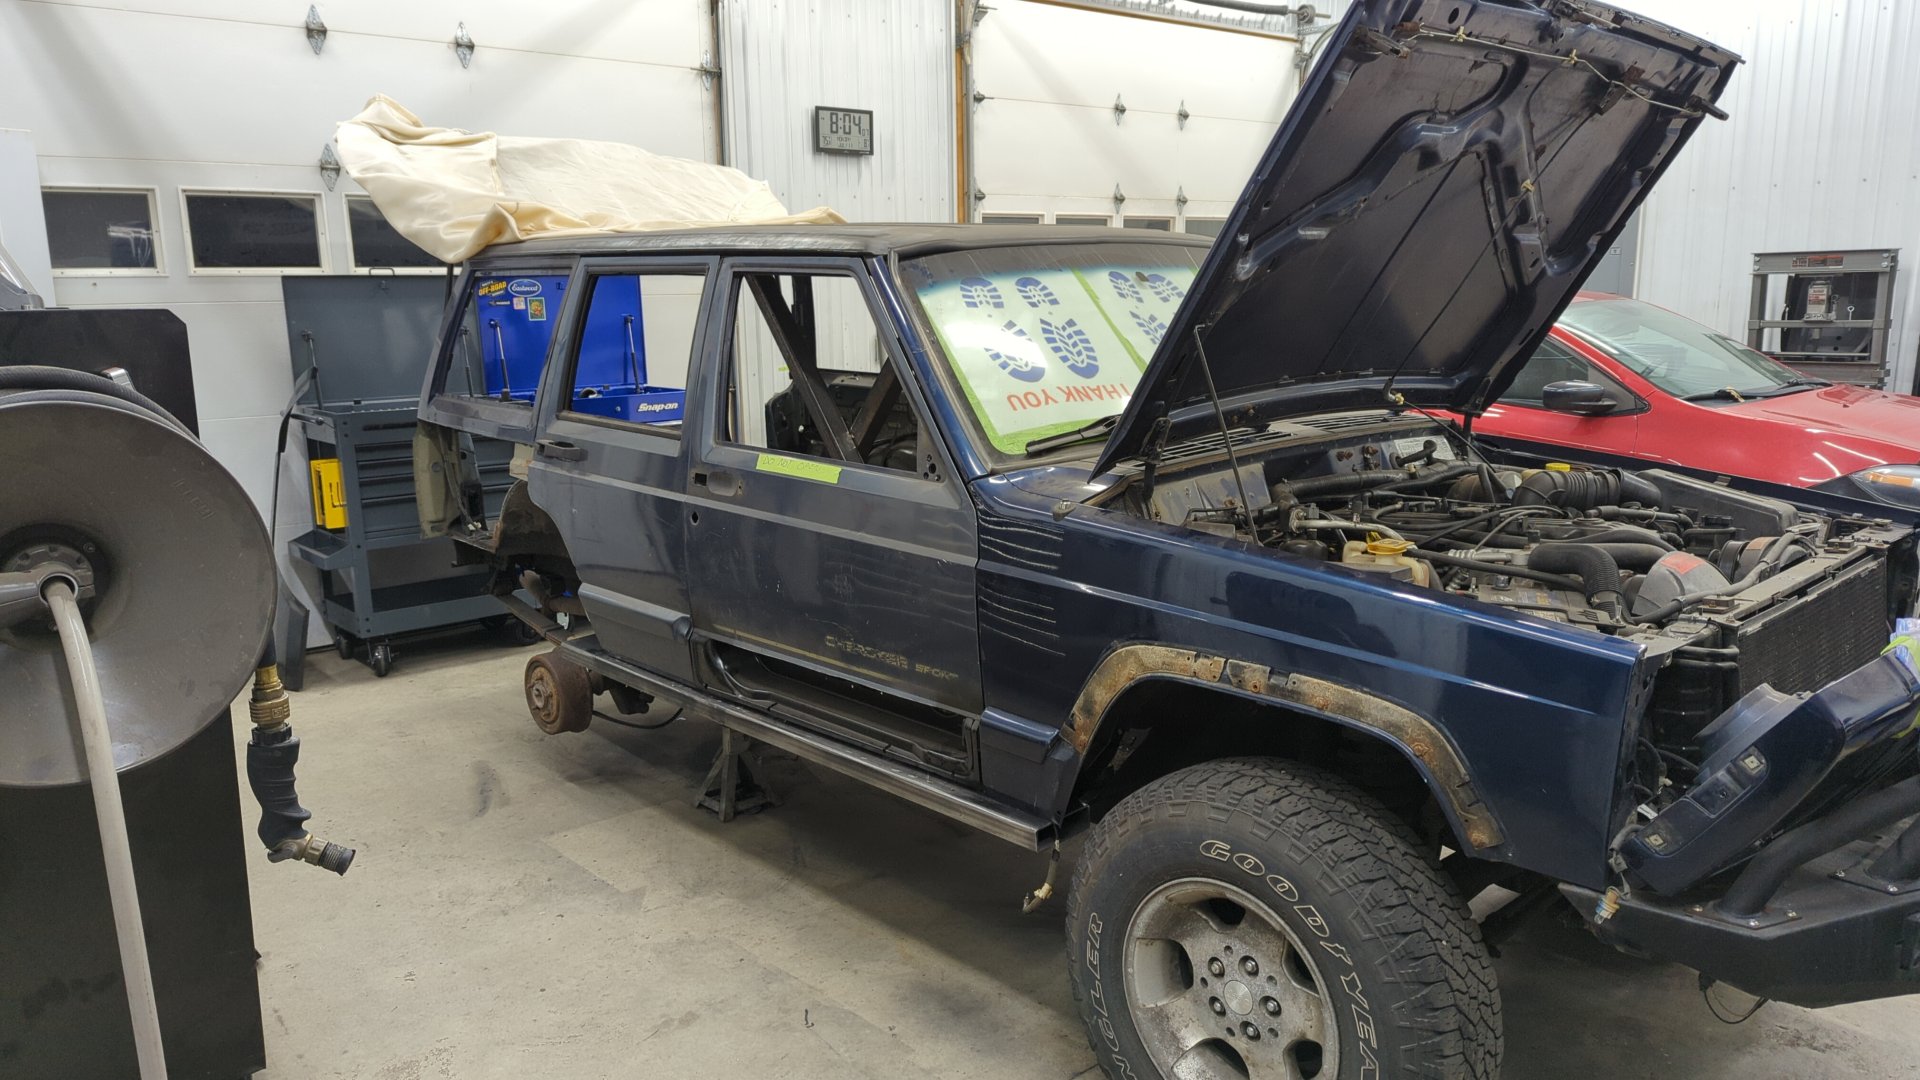
Even though I’m making progress it sure feels like the parts pile is getting bigger as each week passes.
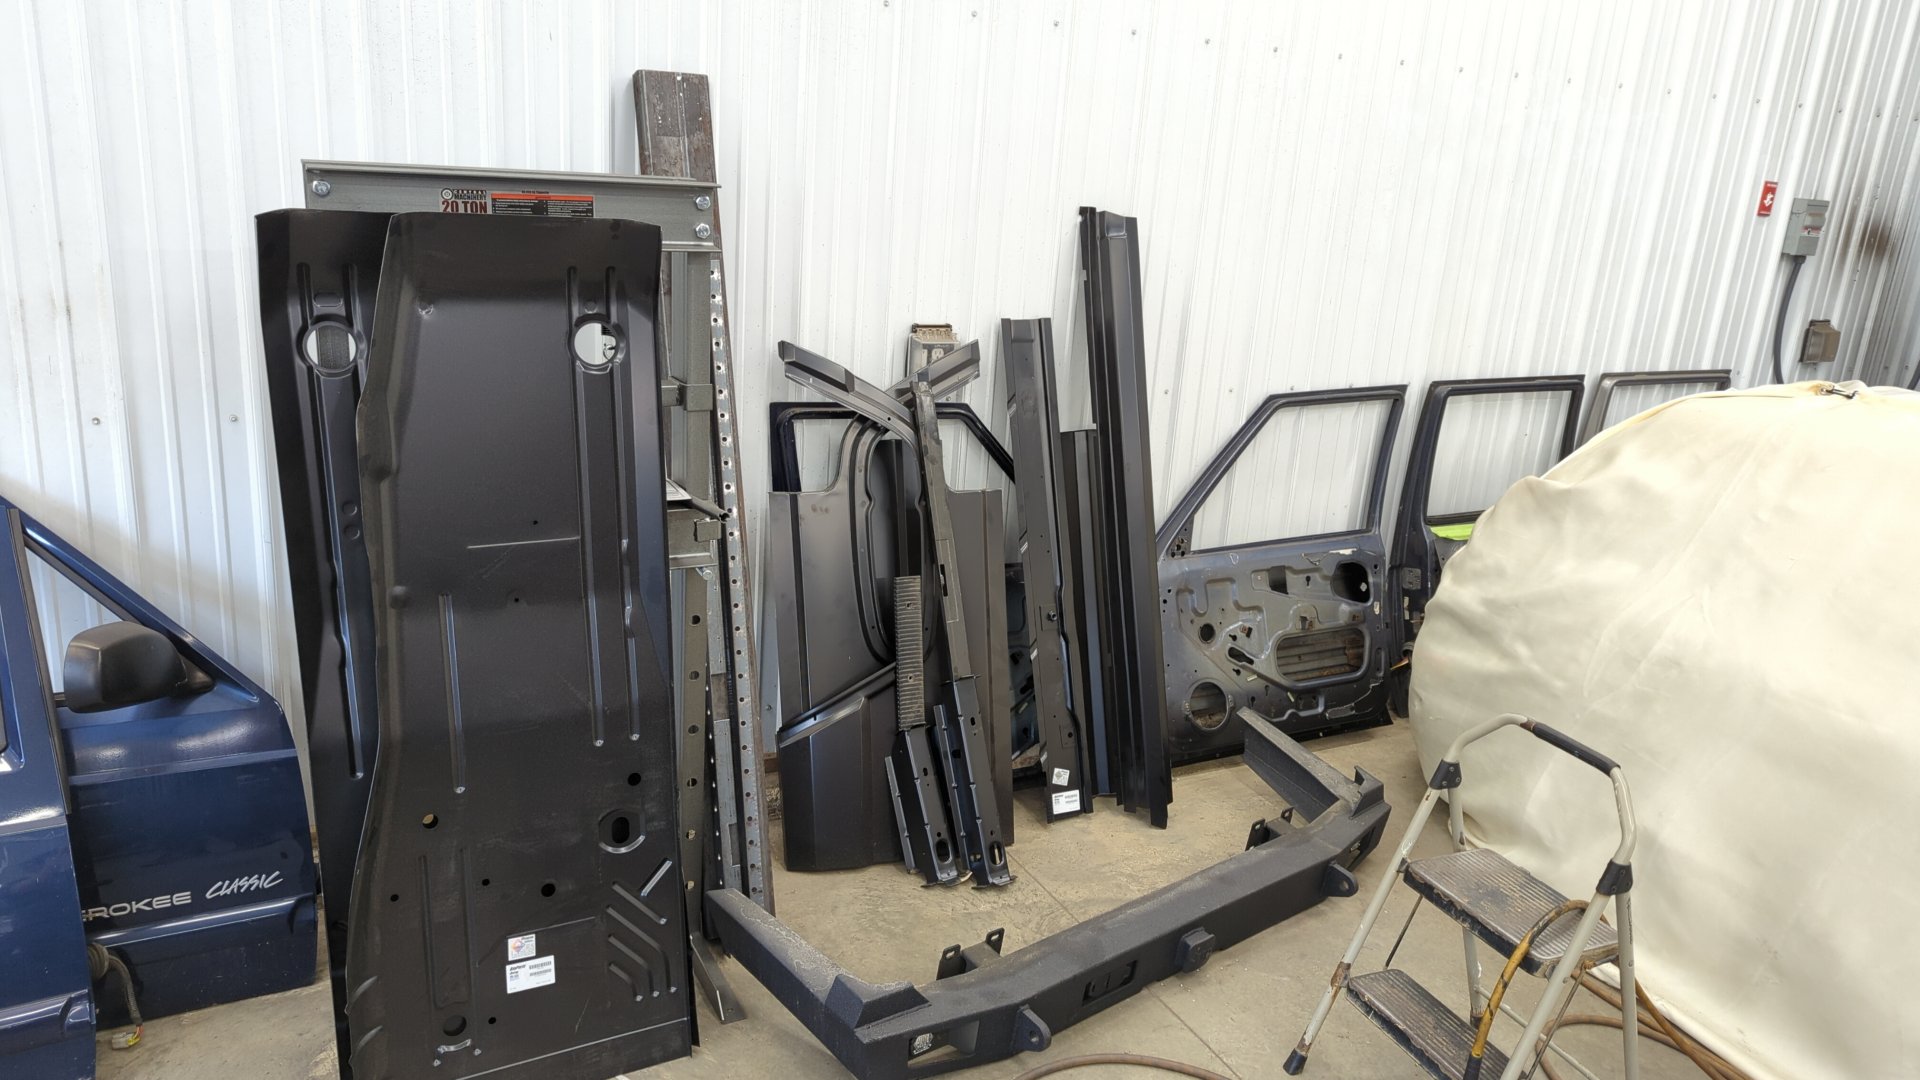
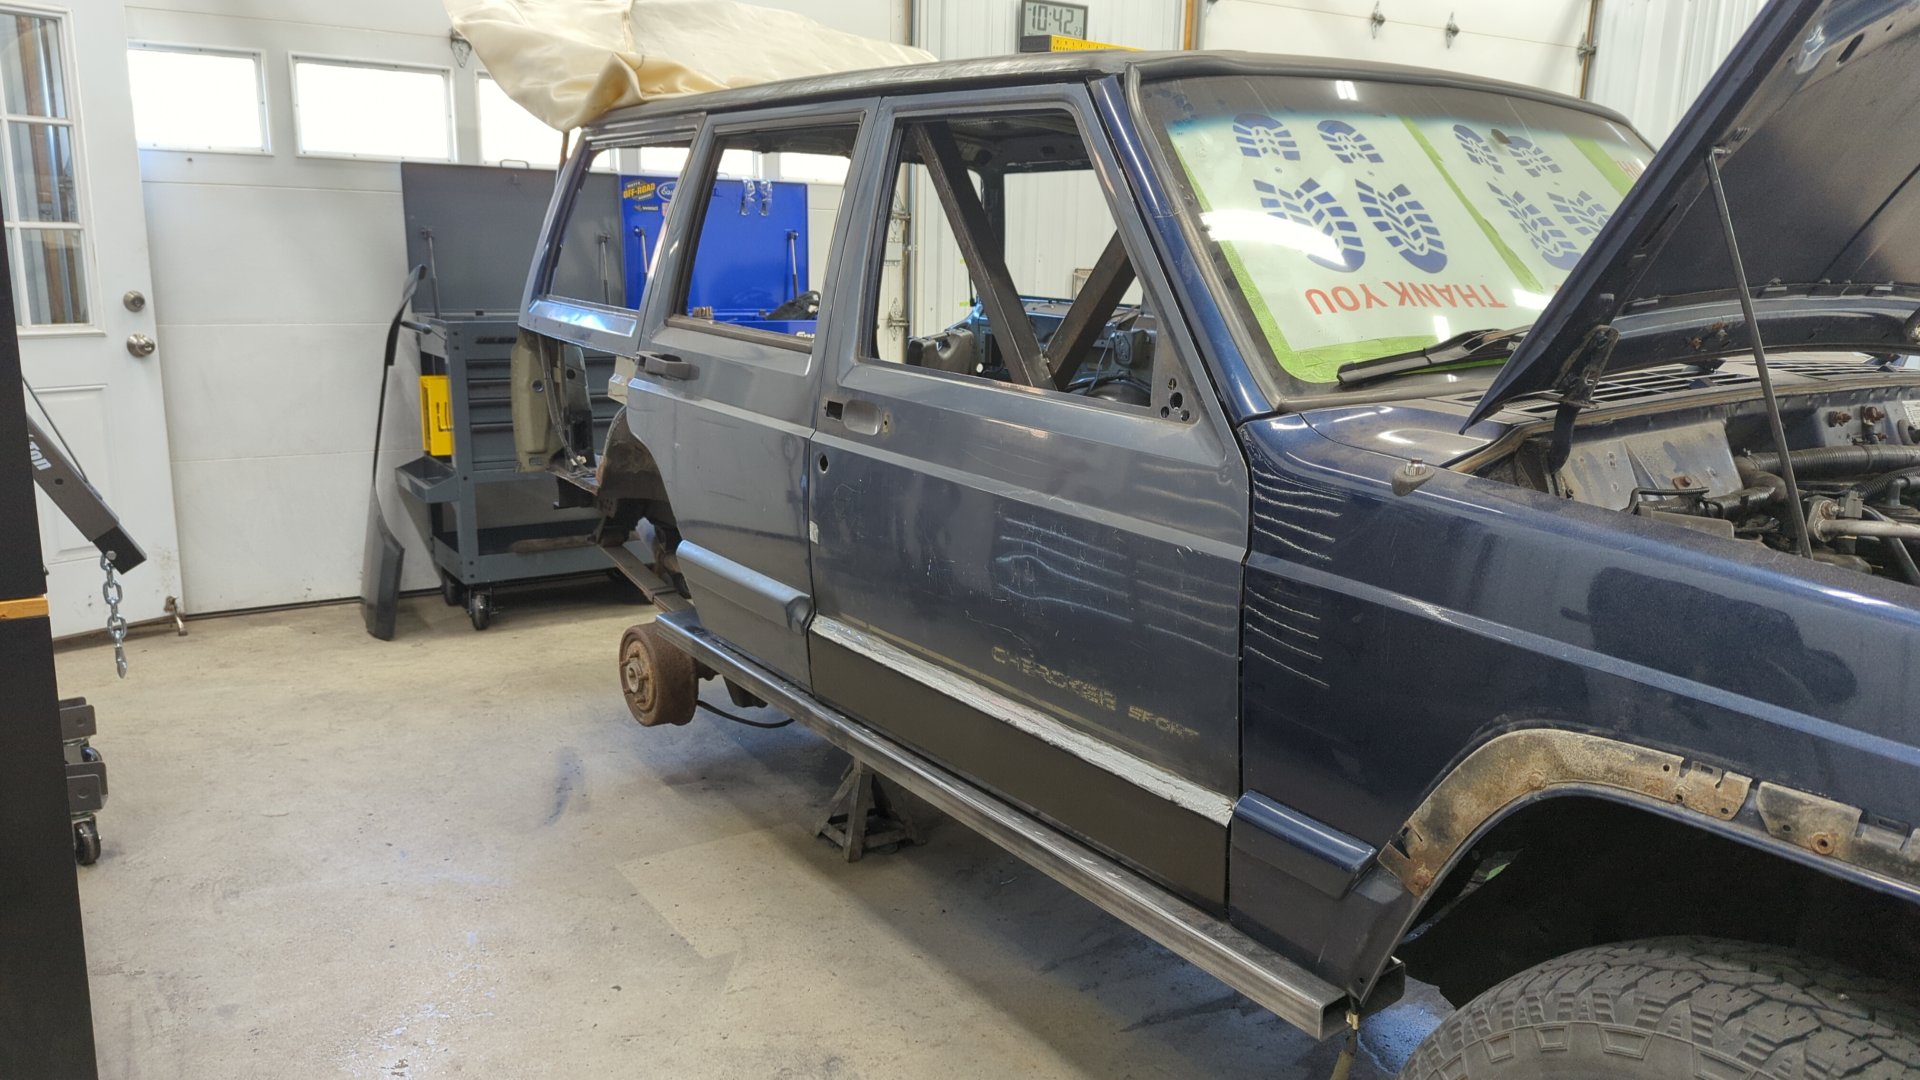
The doors on the left are the old ones and will eventually be scrapped once I remove all the parts I want to salvage off them, but everything else is waiting to be installed. I also still need to order fenders.
Patching the B Pillar
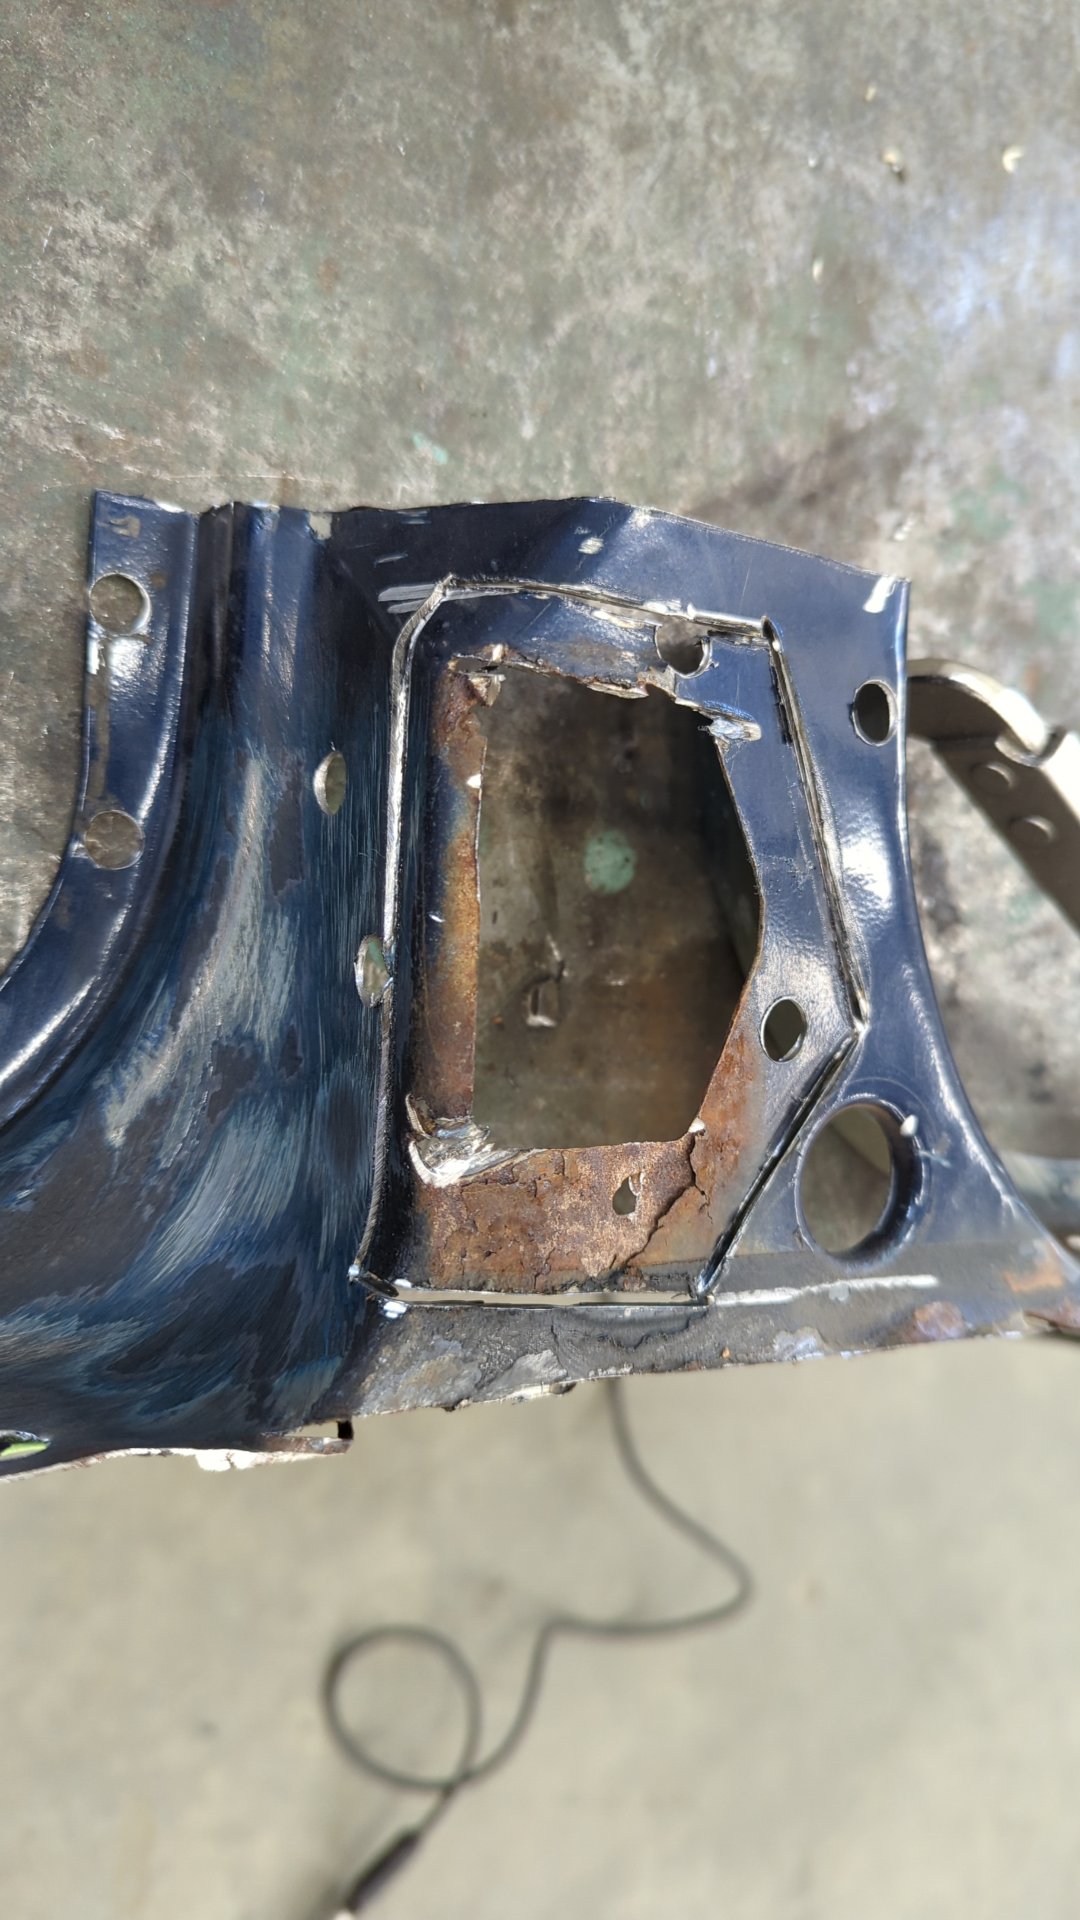
The bottom of the B pillar between the two doors was in pretty rough shape, but I really wanted to try to save it.
I figured cutting out the rusted portions and welding in patches would save me 4 - 6 hours of work vs if I built a new one from scratch.
I started off by cutting out all the rusty metal surrounding where the lower rear door hinge mounts.
Then I made a patch out of 18ga to weld in.
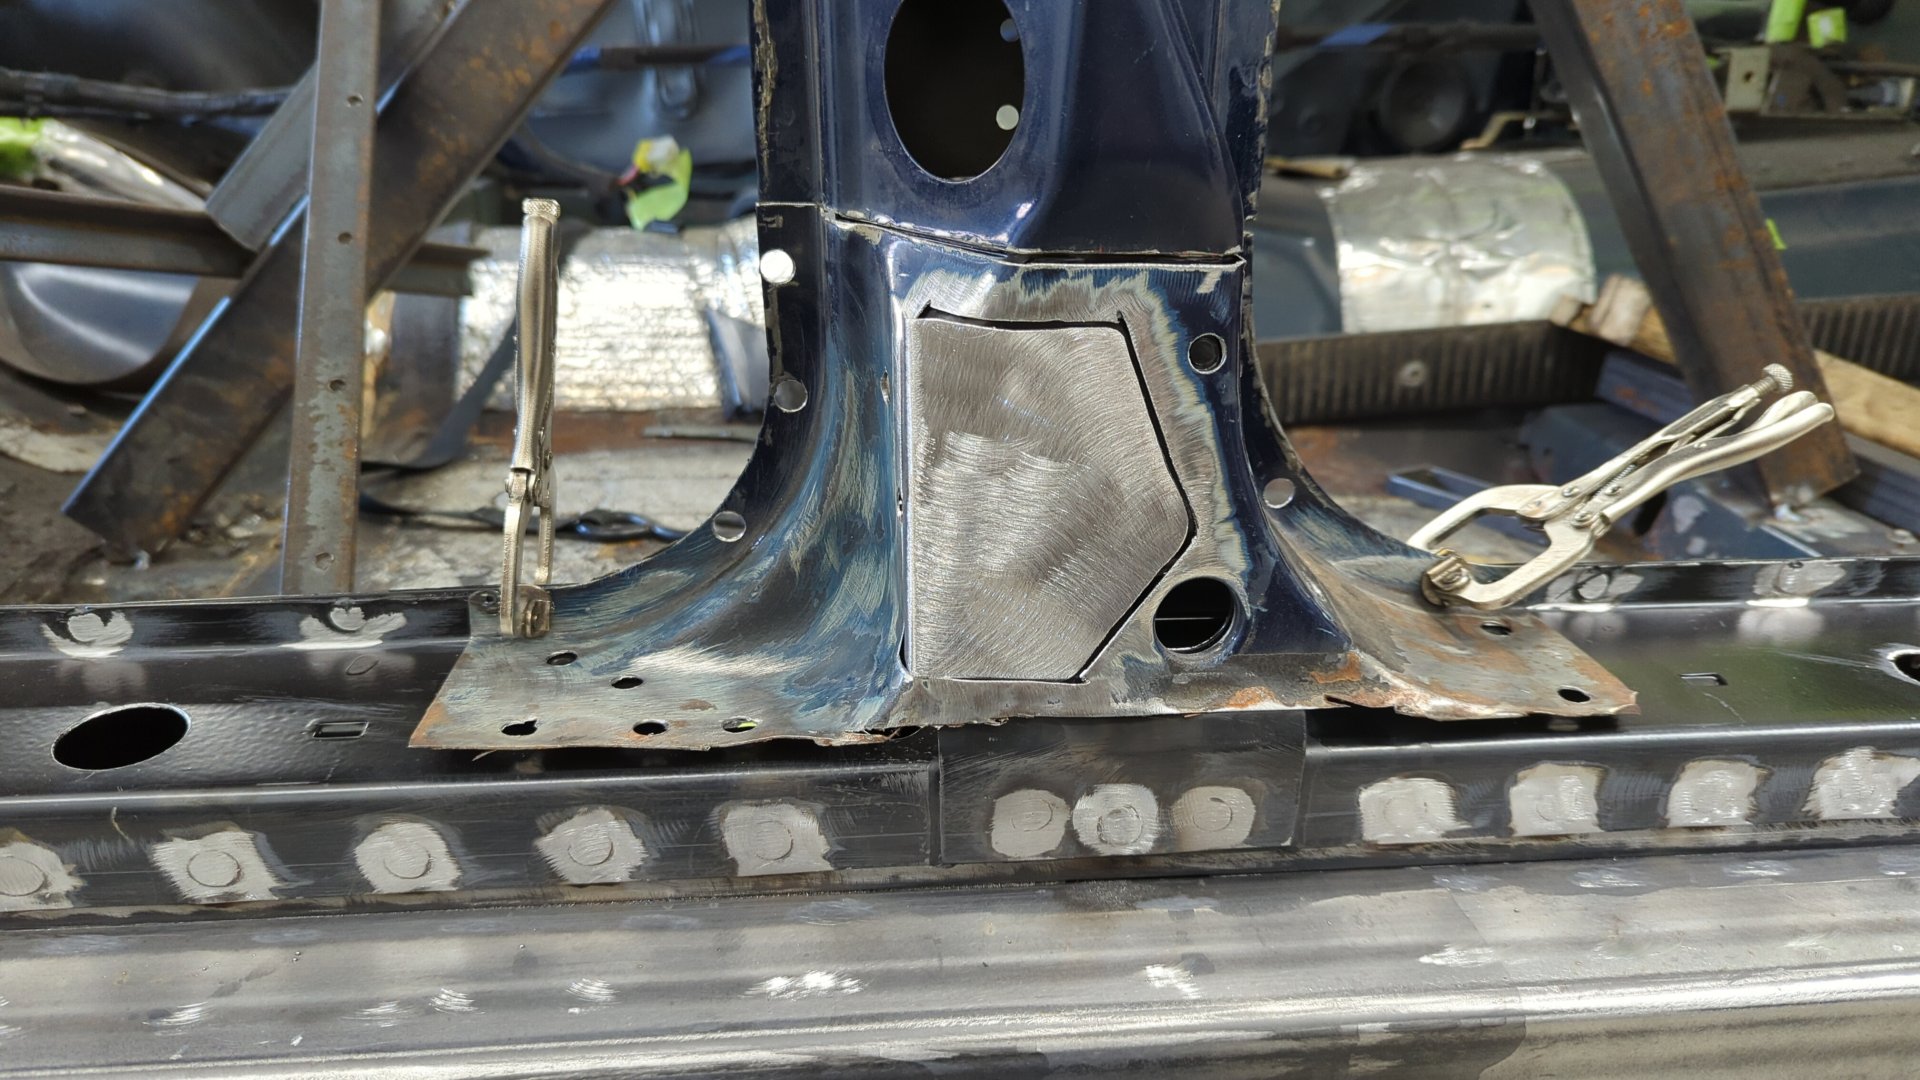
Once welded in, I used a die grinder to rough in the hole and finished it up by filing it to shape by hand.

After that I started building the curved sides.

And lastly, I made a patch to replace the lower portion that was completely missing at this point.
It’s gonna need a bit of bodywork to hide the weld seams, but all in all it should look good once finished.

Not bad!

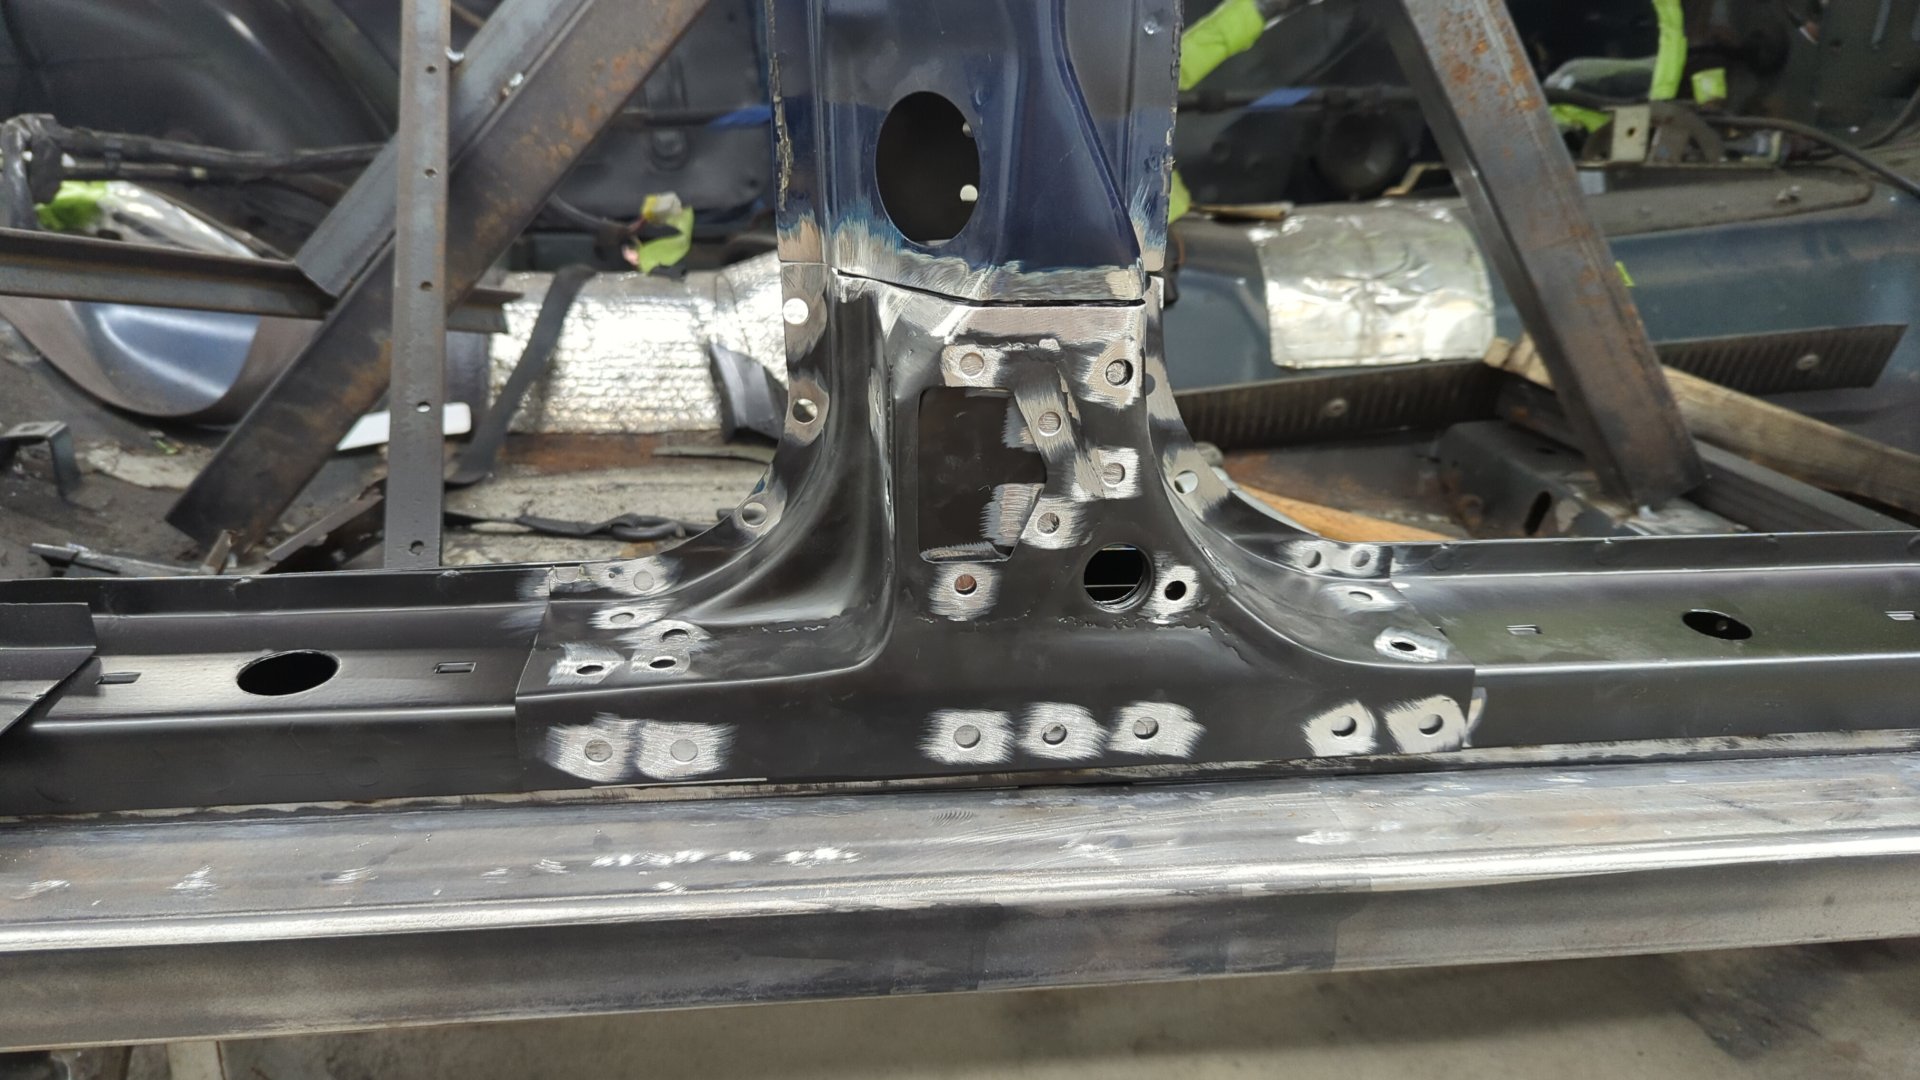
Patching the C Pillar
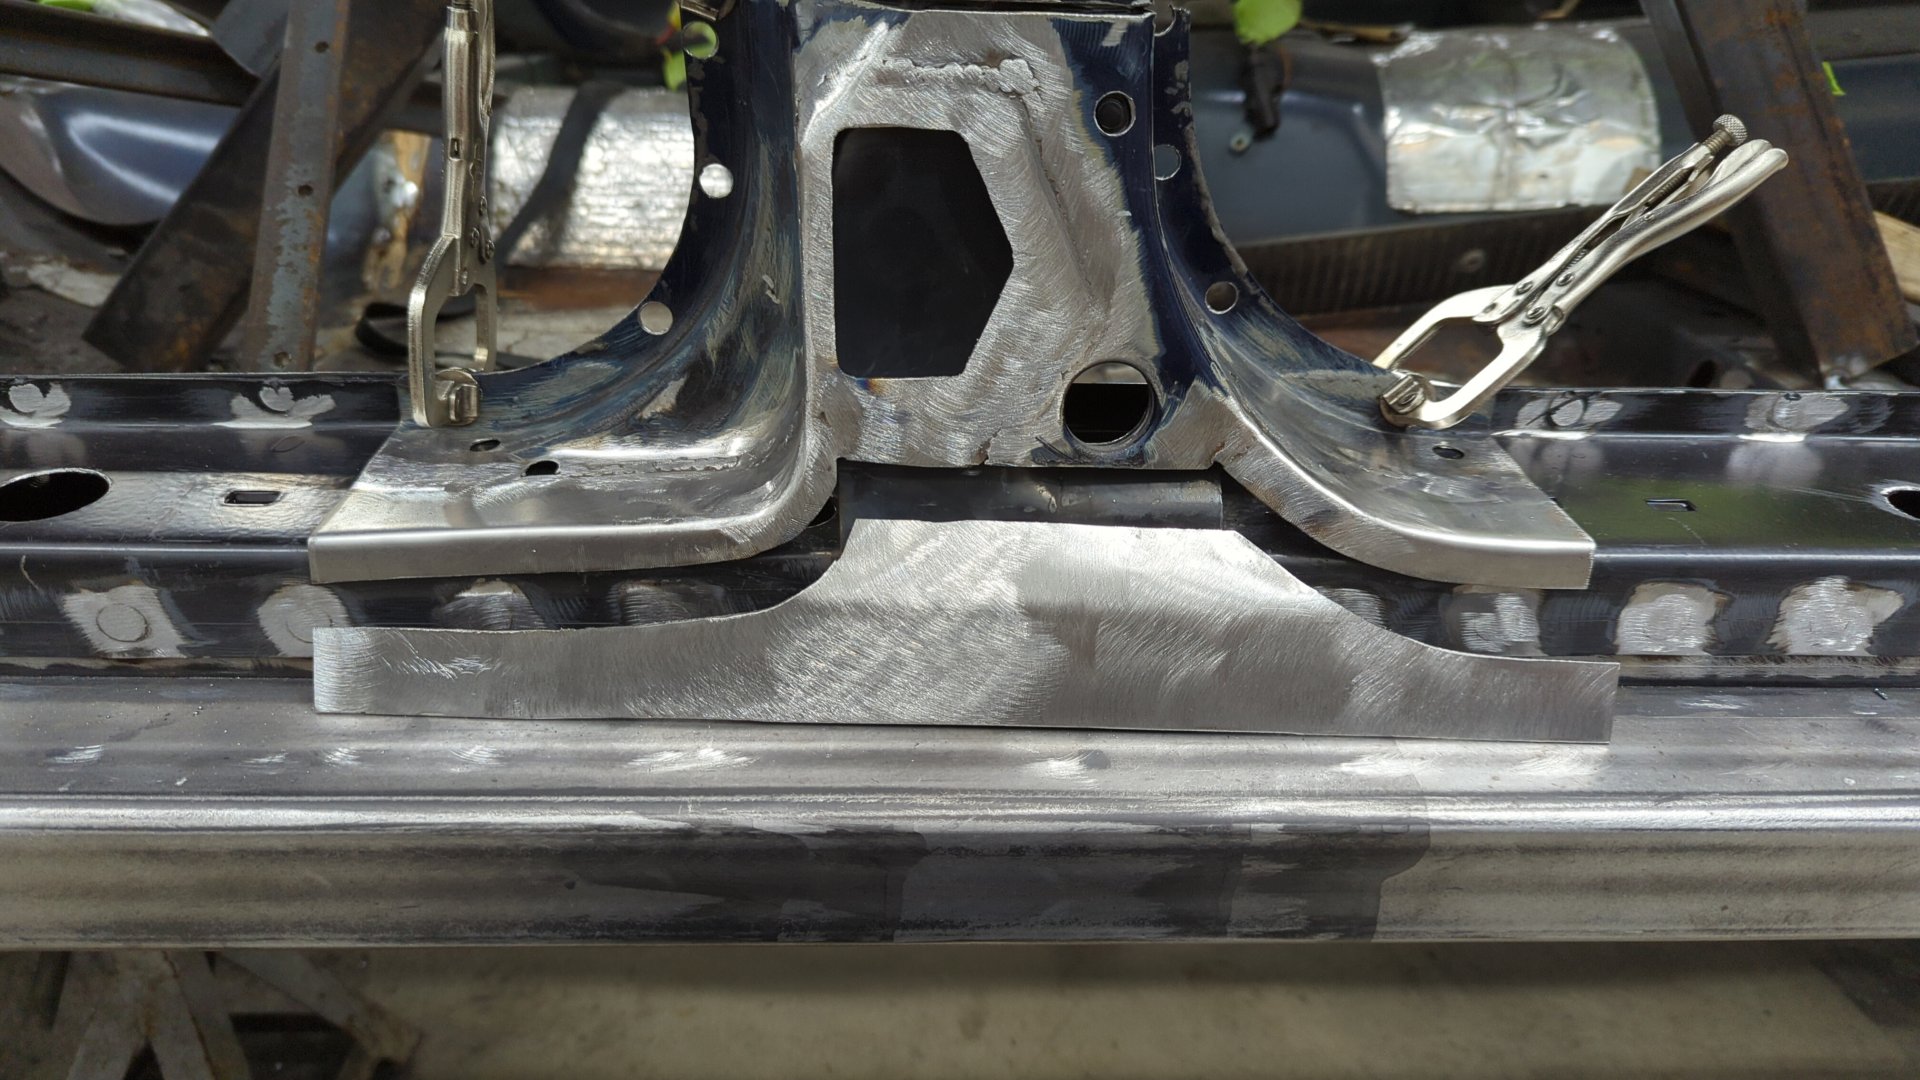
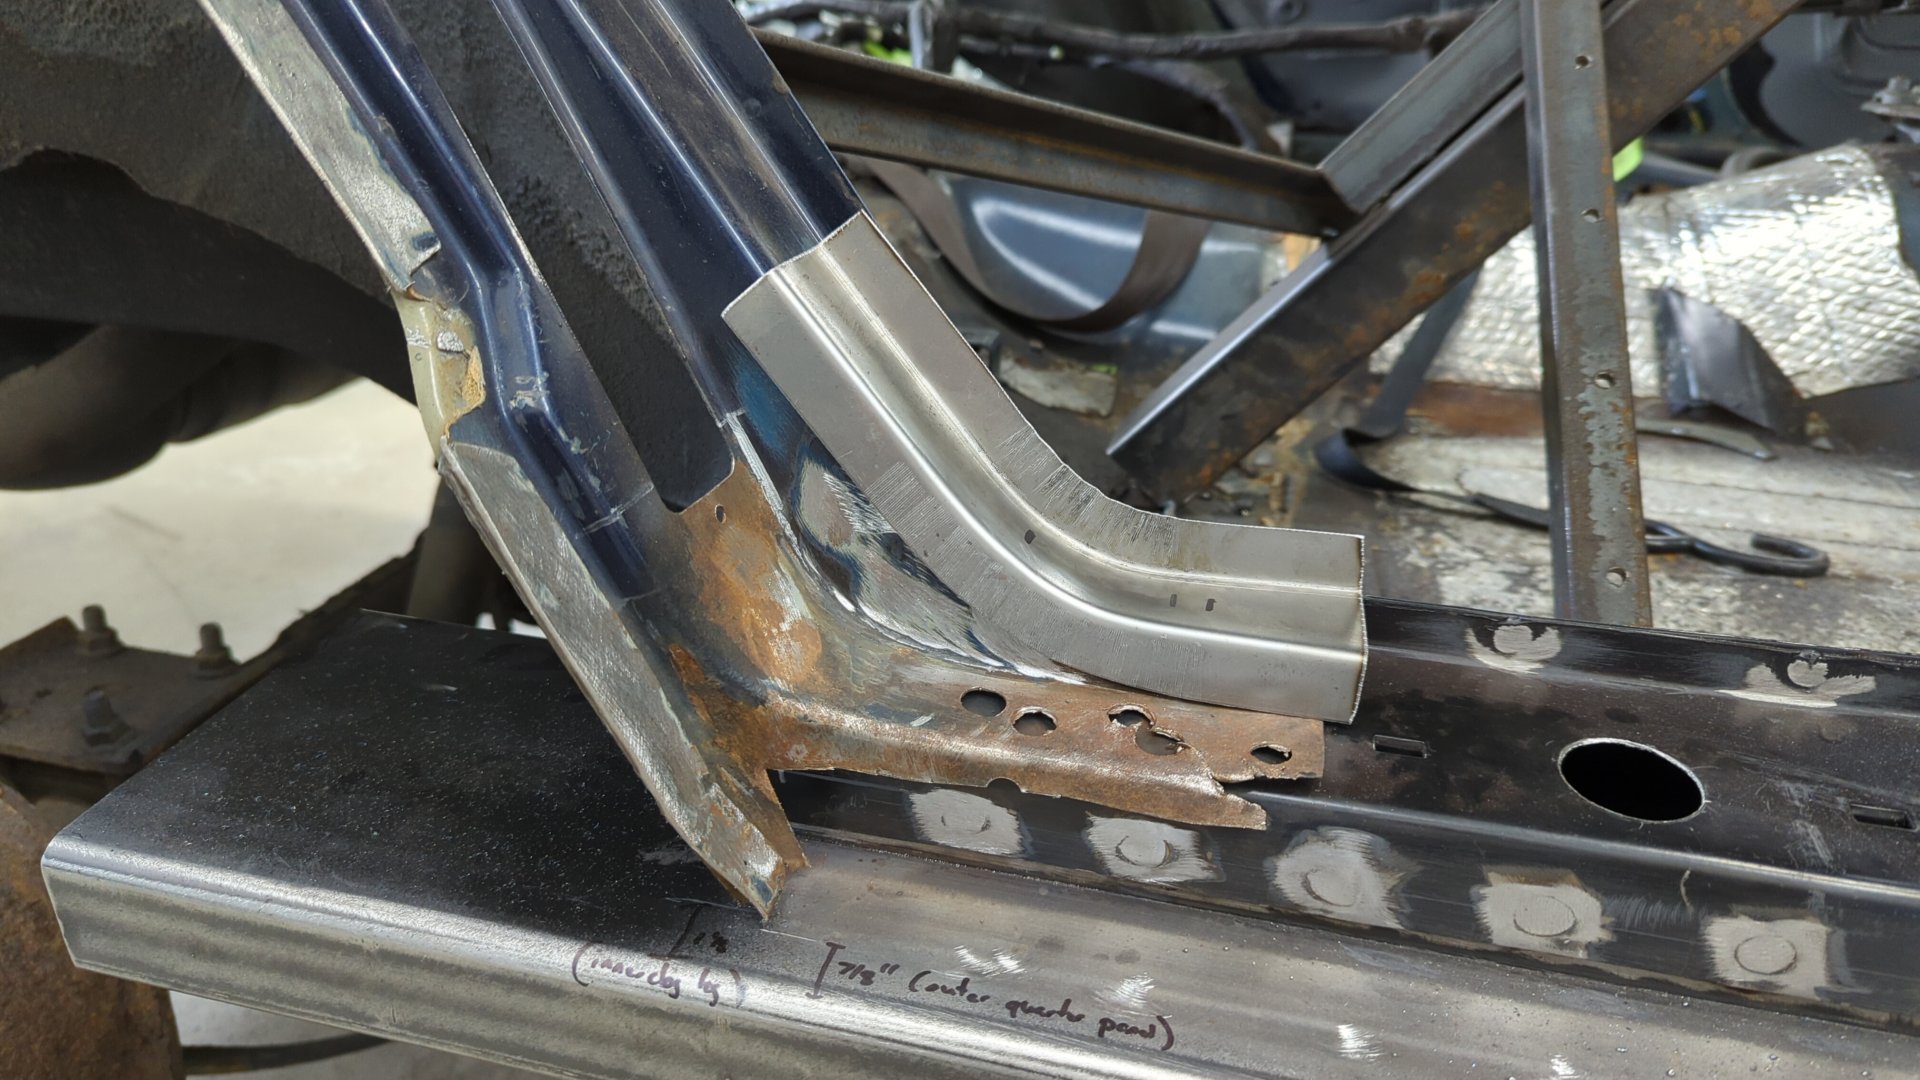
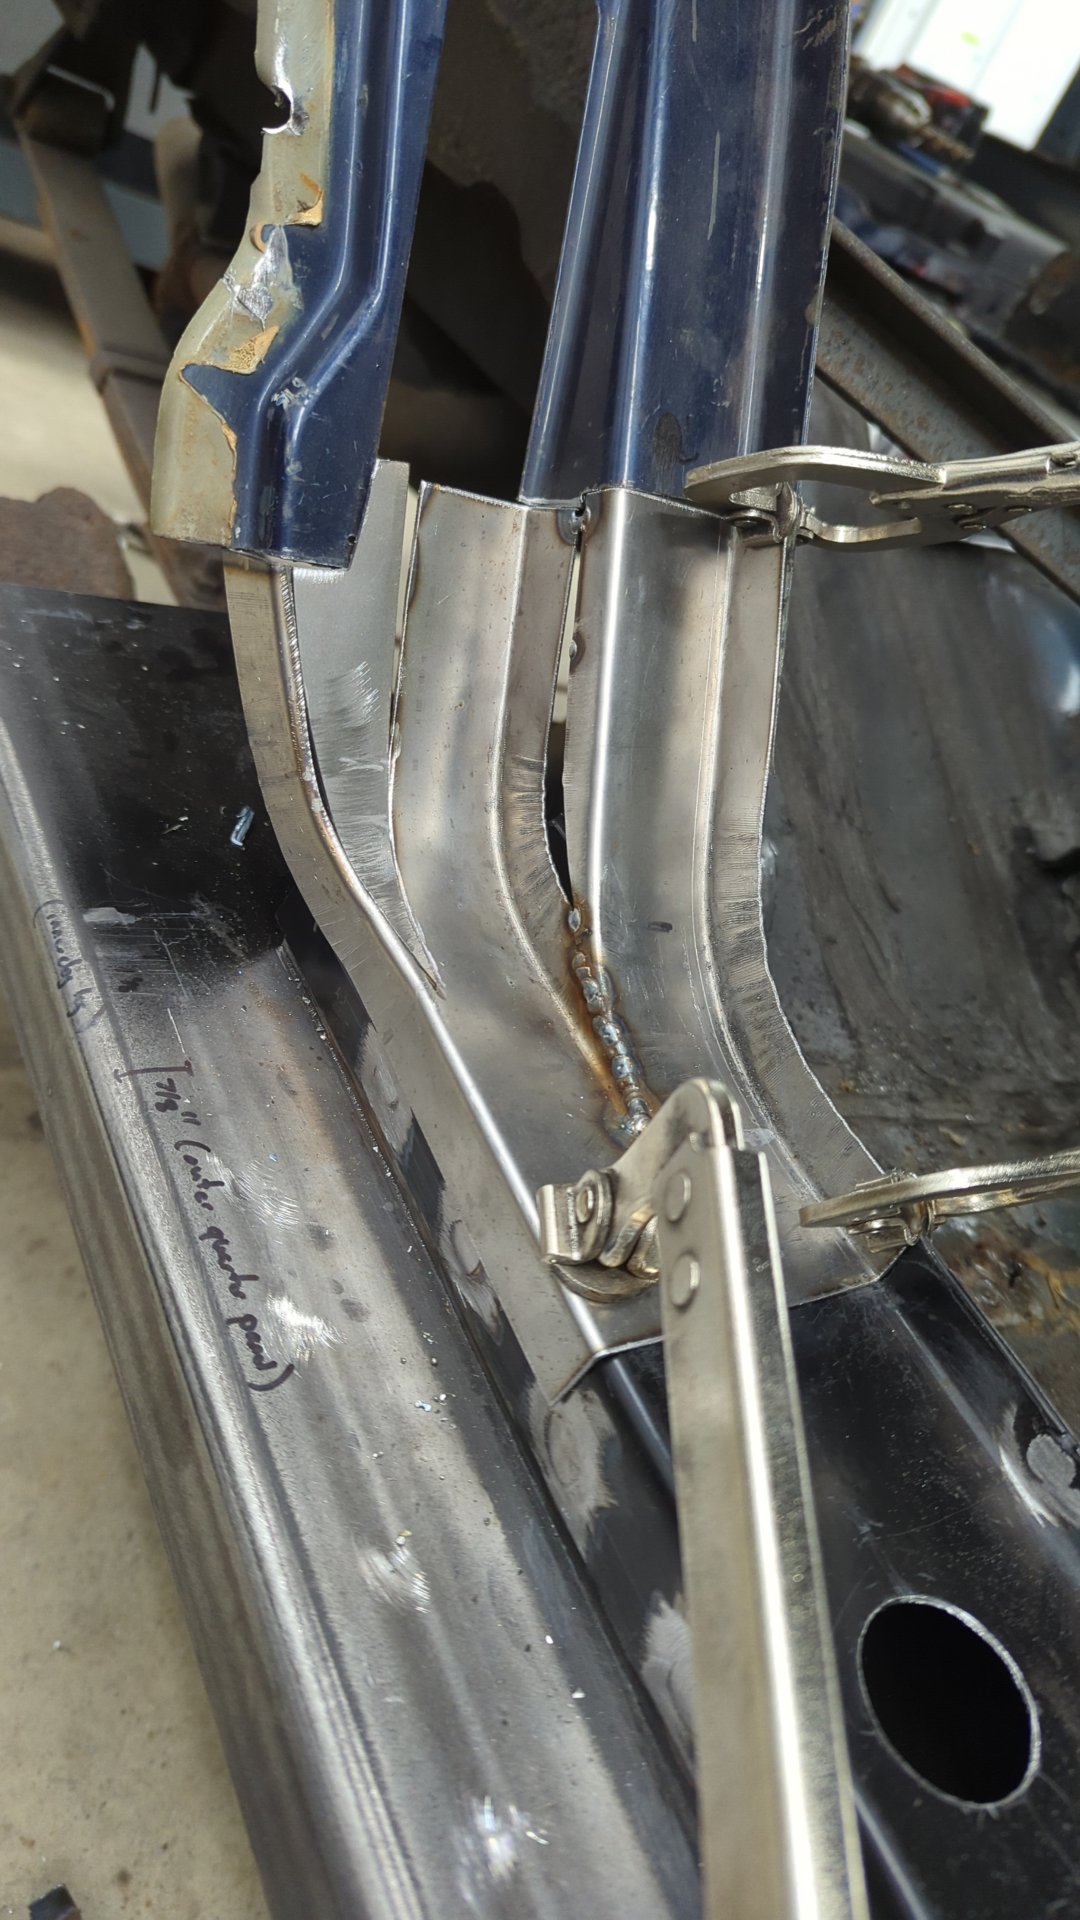
Building a patch panel for the bottom of the C pillar where the lower quarter panel meets the rocker panel was by far the most difficult piece I’ve had to make so far.
It was a fun challenge though, and I’m pretty glad I finally got to learn how to use my metal shrinker / stretcher.
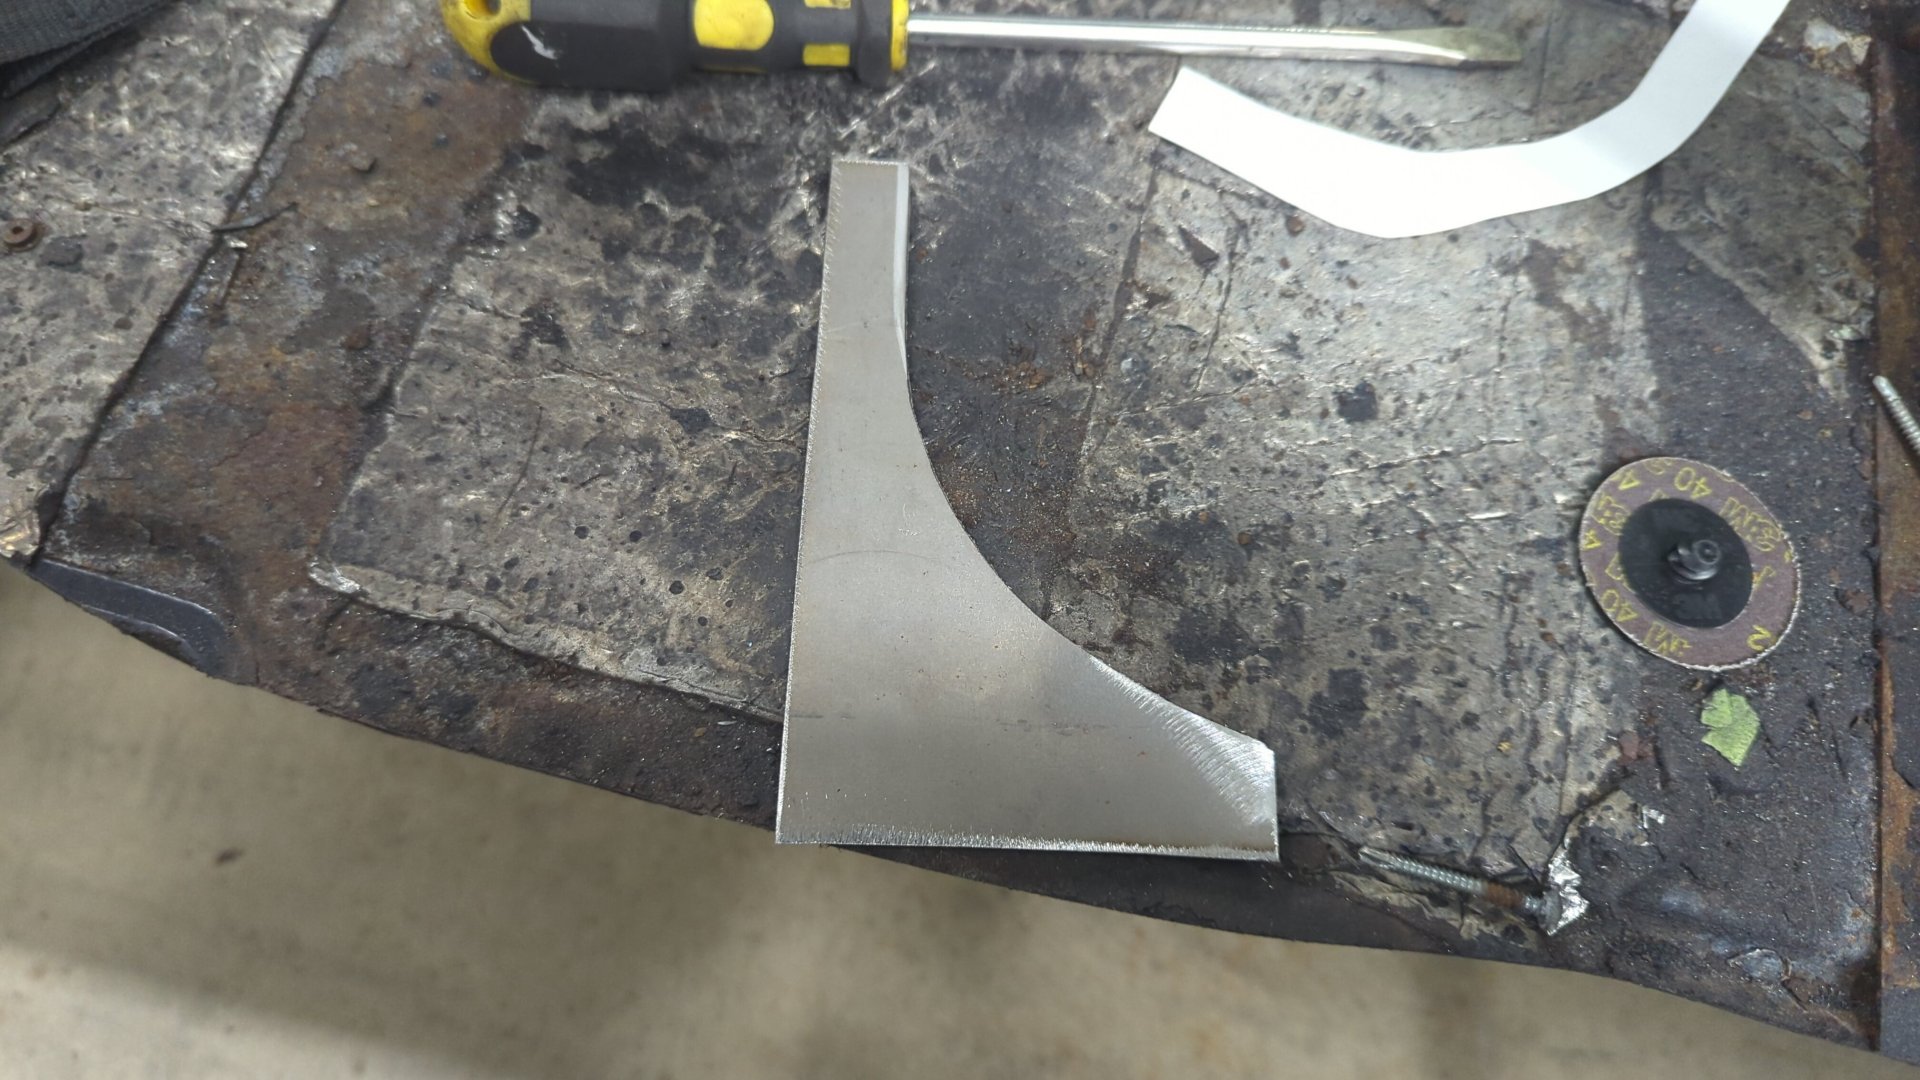
I started off with a couple 3"x8" squares and made 2 90* bends in them approximately 3/4" from each edge.
Then using my shrinker / stretcher I curved them until they matched the shape of the body.
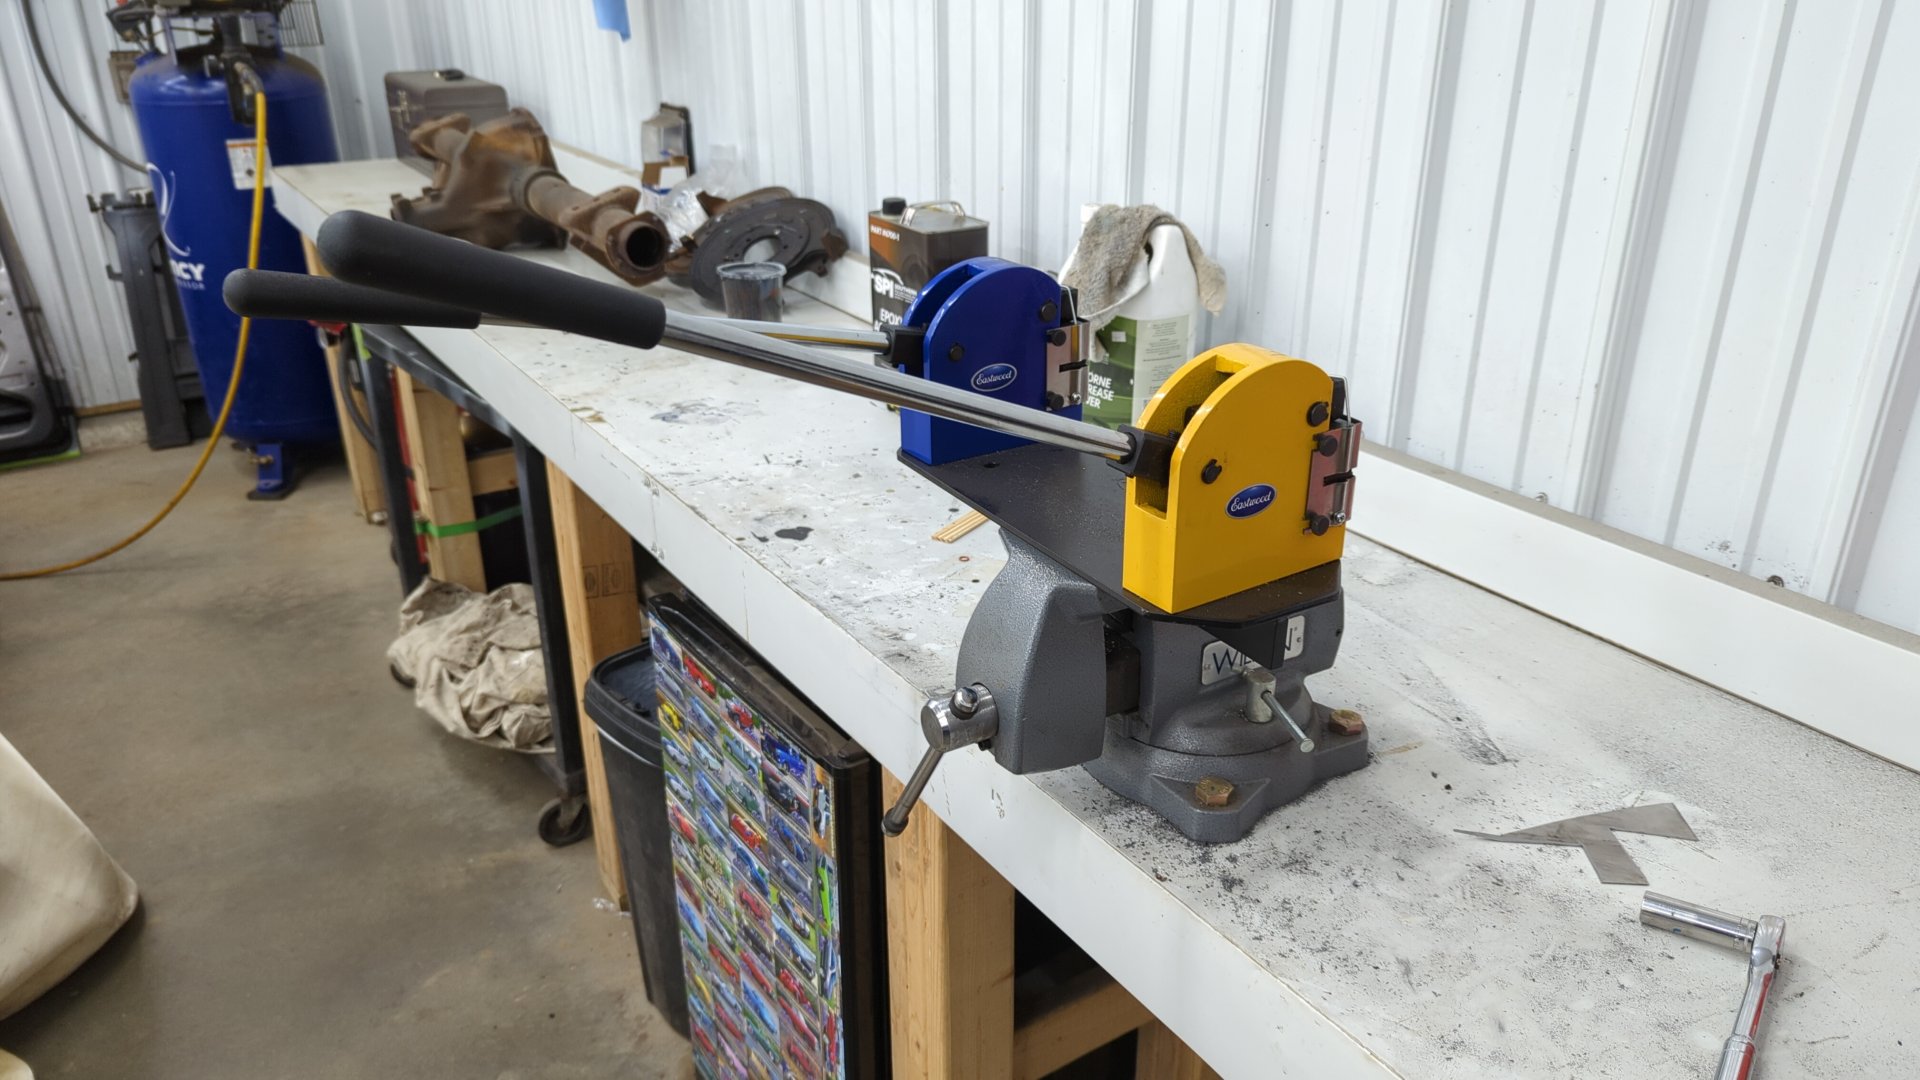
For reference I use the metal shrinker / stretcher combo kit Eastwood sells. They’re good for up to 18ga.
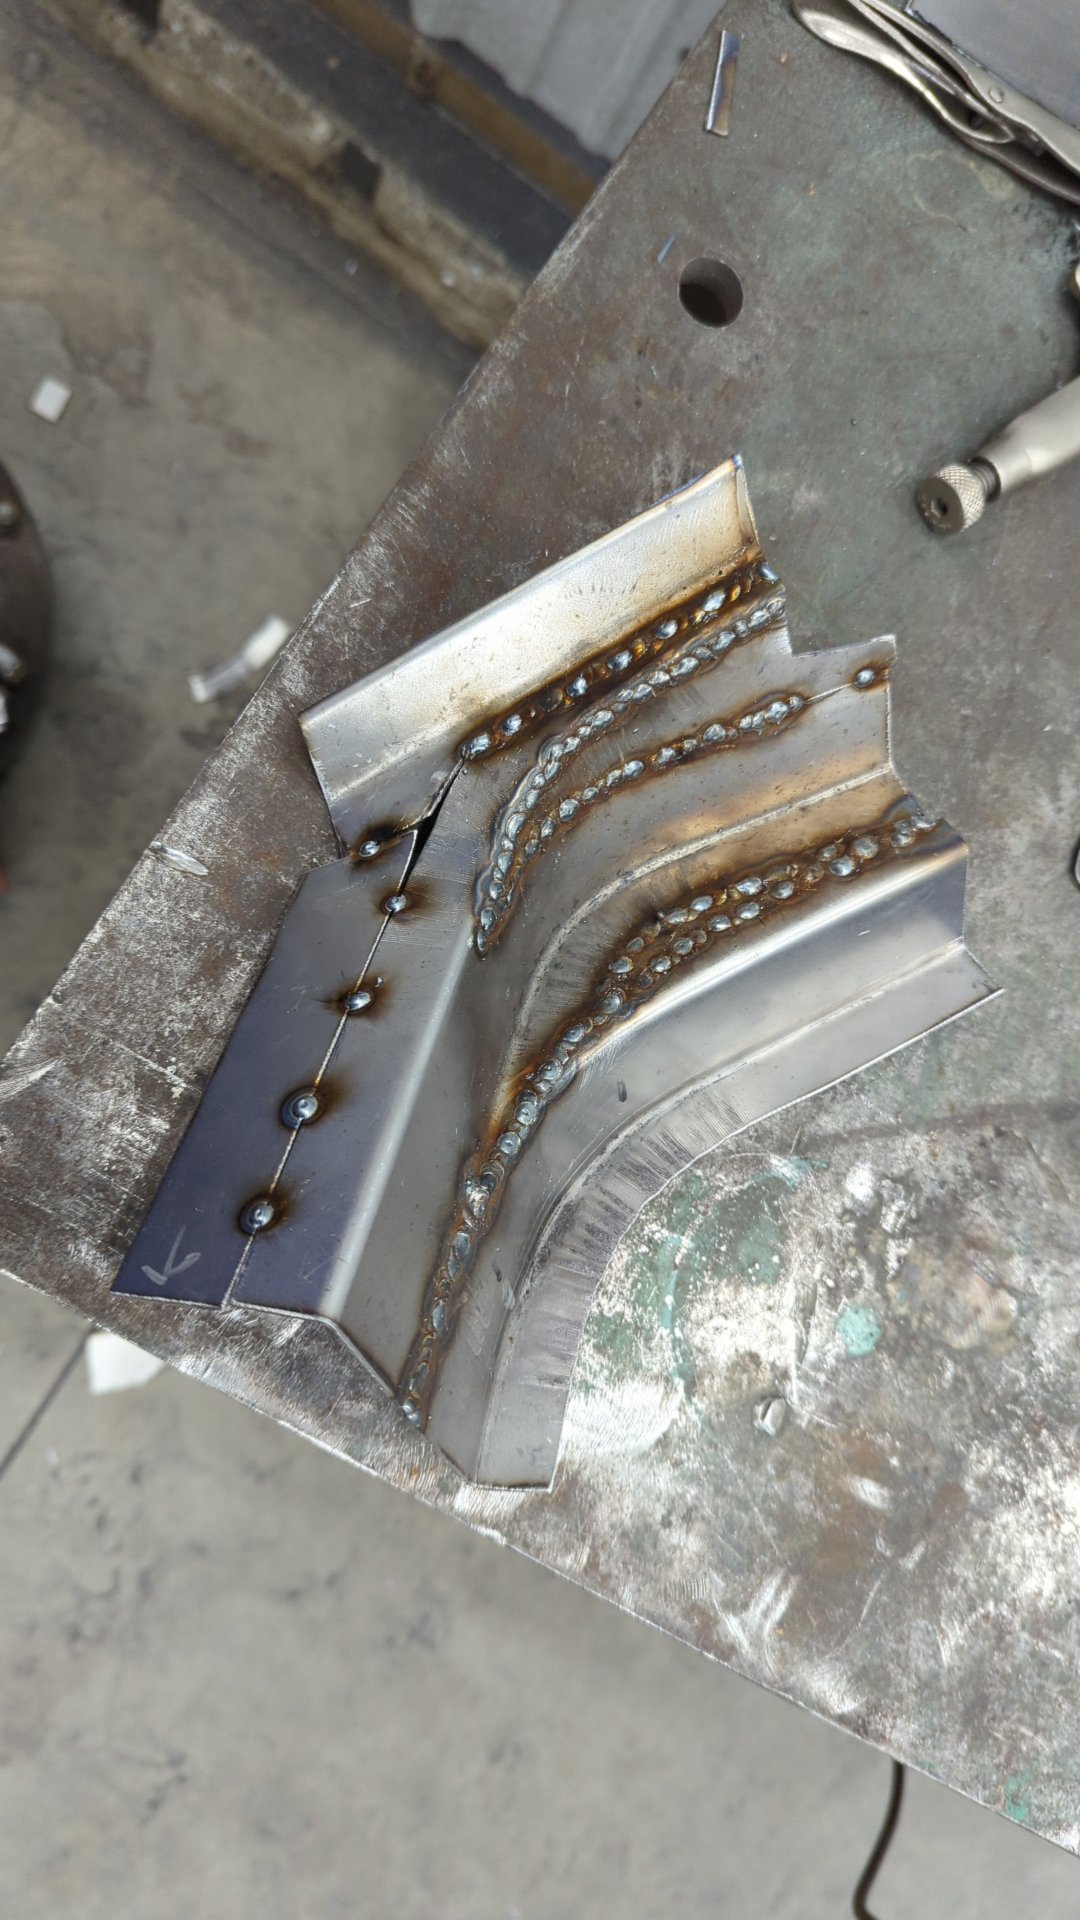
Once the curve was matched up nicely, I cut off some of the lower lip since I wouldn’t need it.
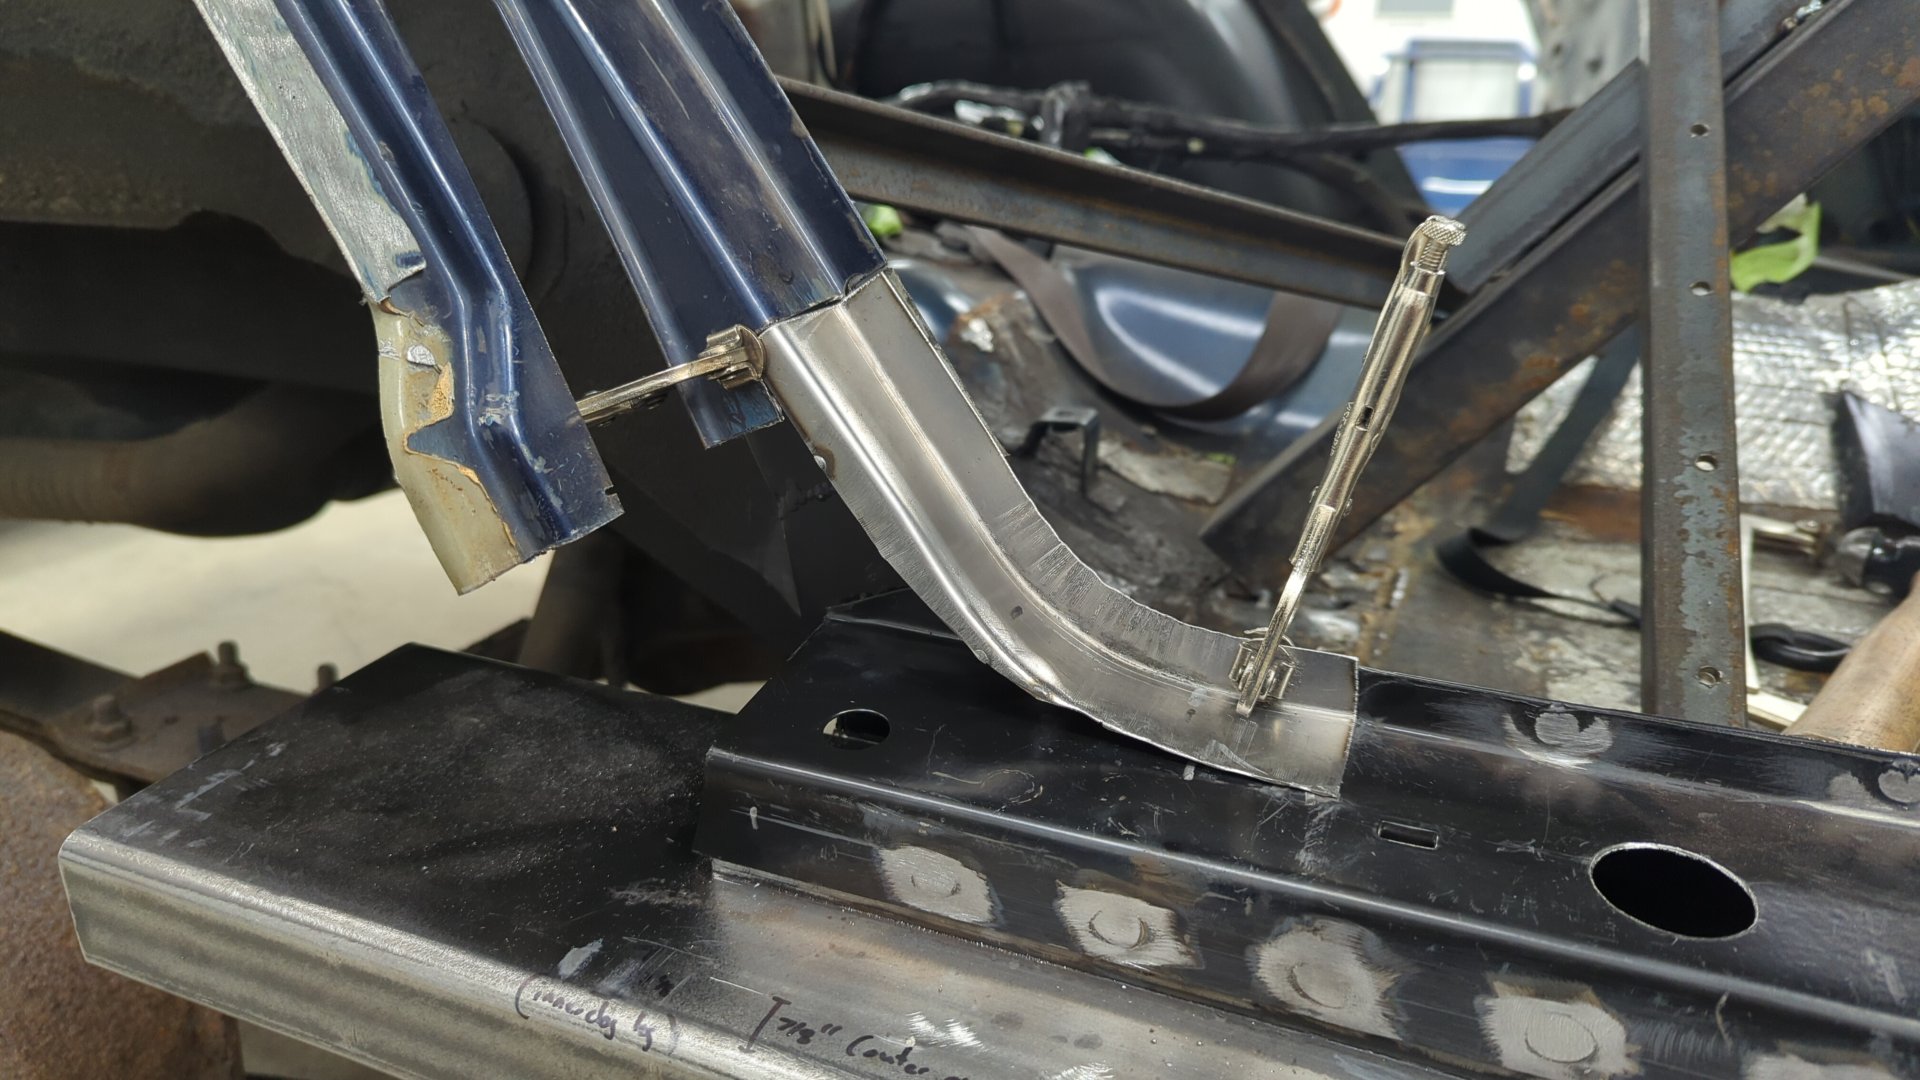
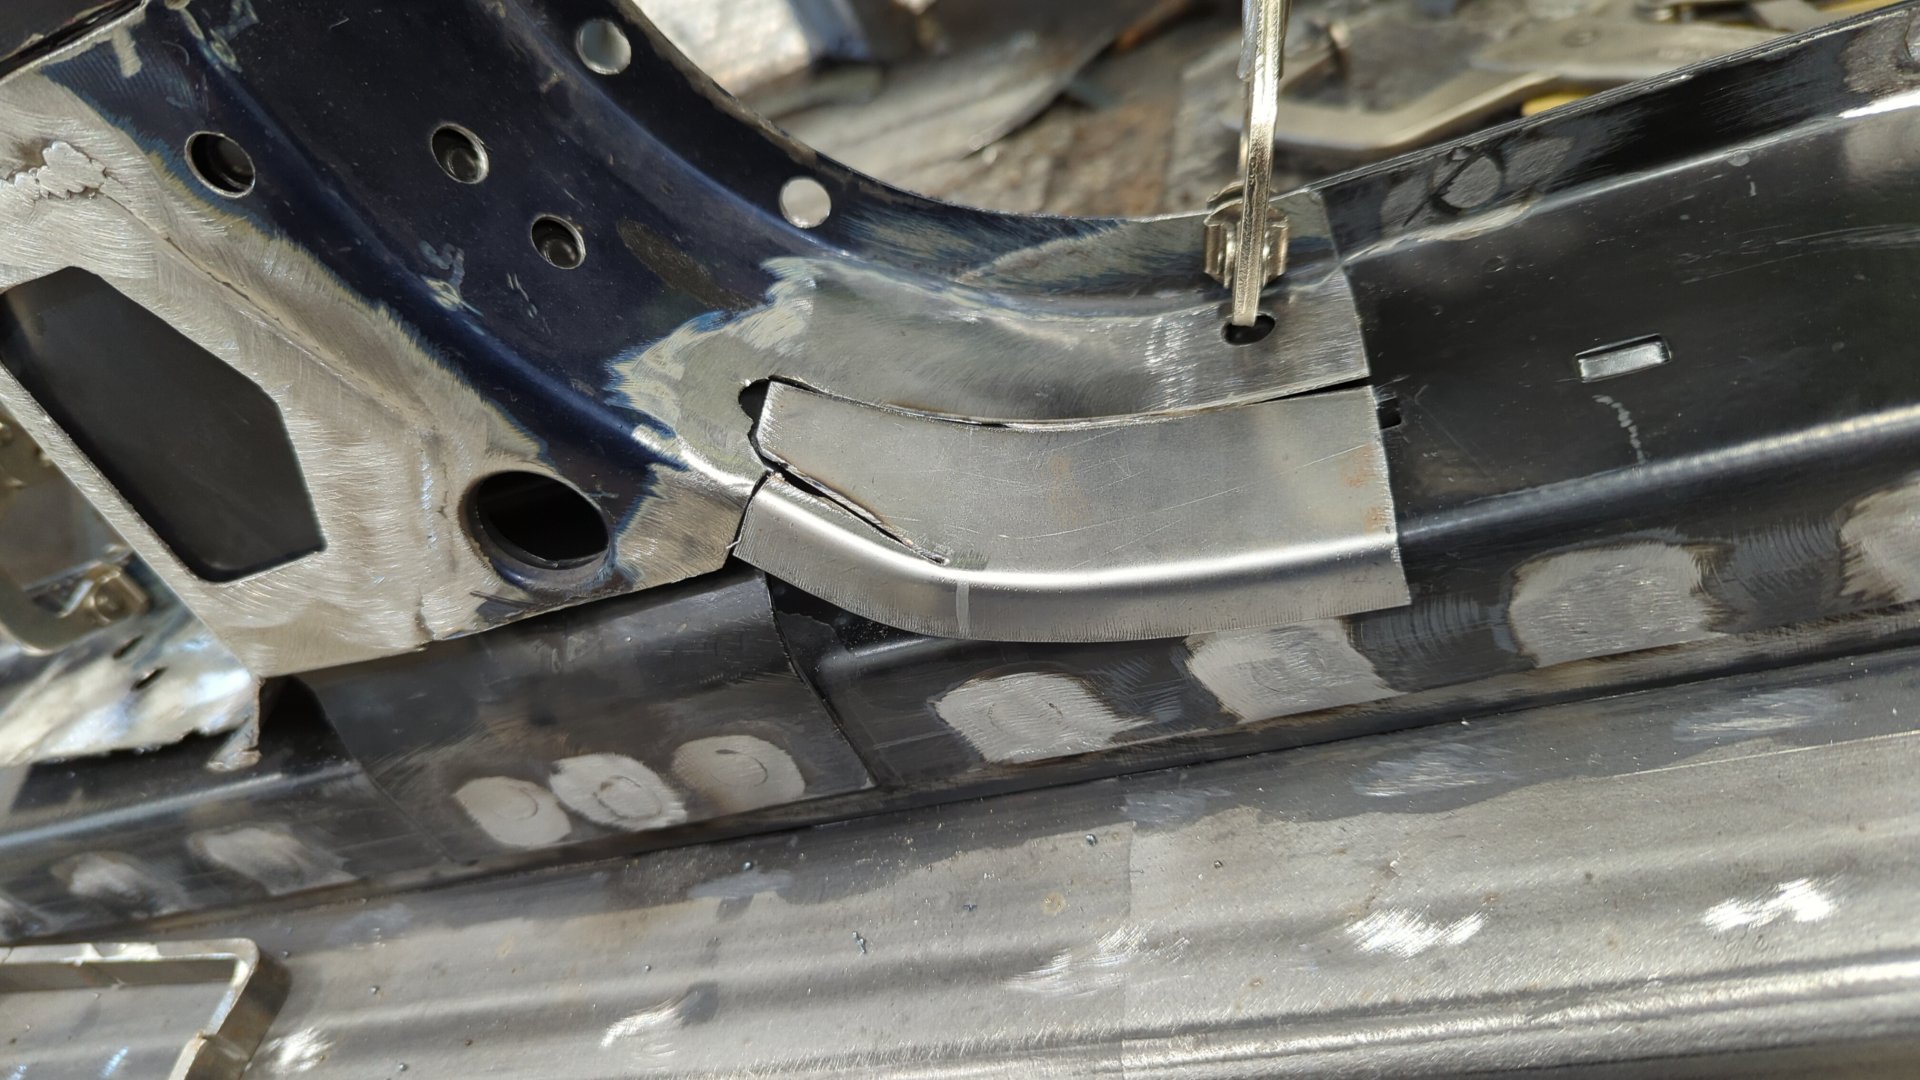
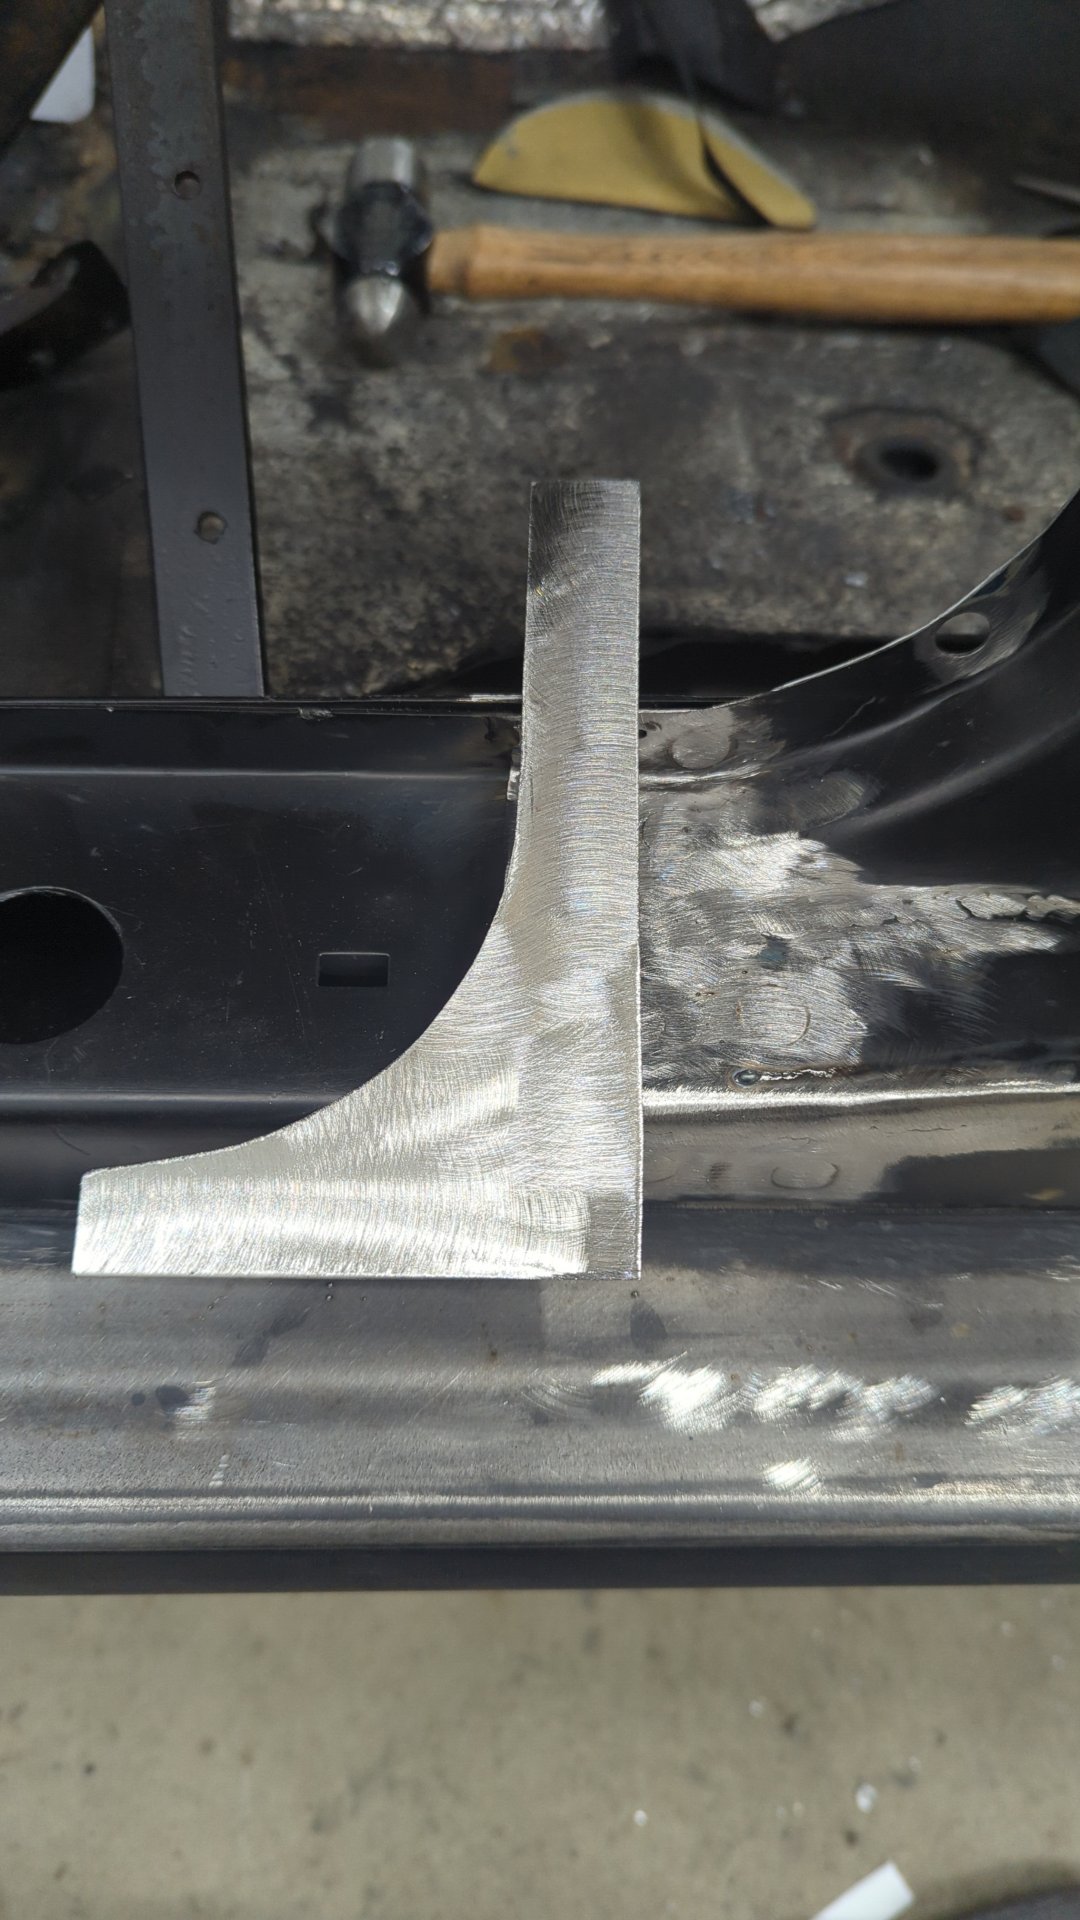
Using another 3"x8" square I made the next portion. It also turned out I cut a bit too much of the lip off from the first piece.
From there I cut a relief in the lower piece so I could bend the left edge outwards and welded in a wedge.

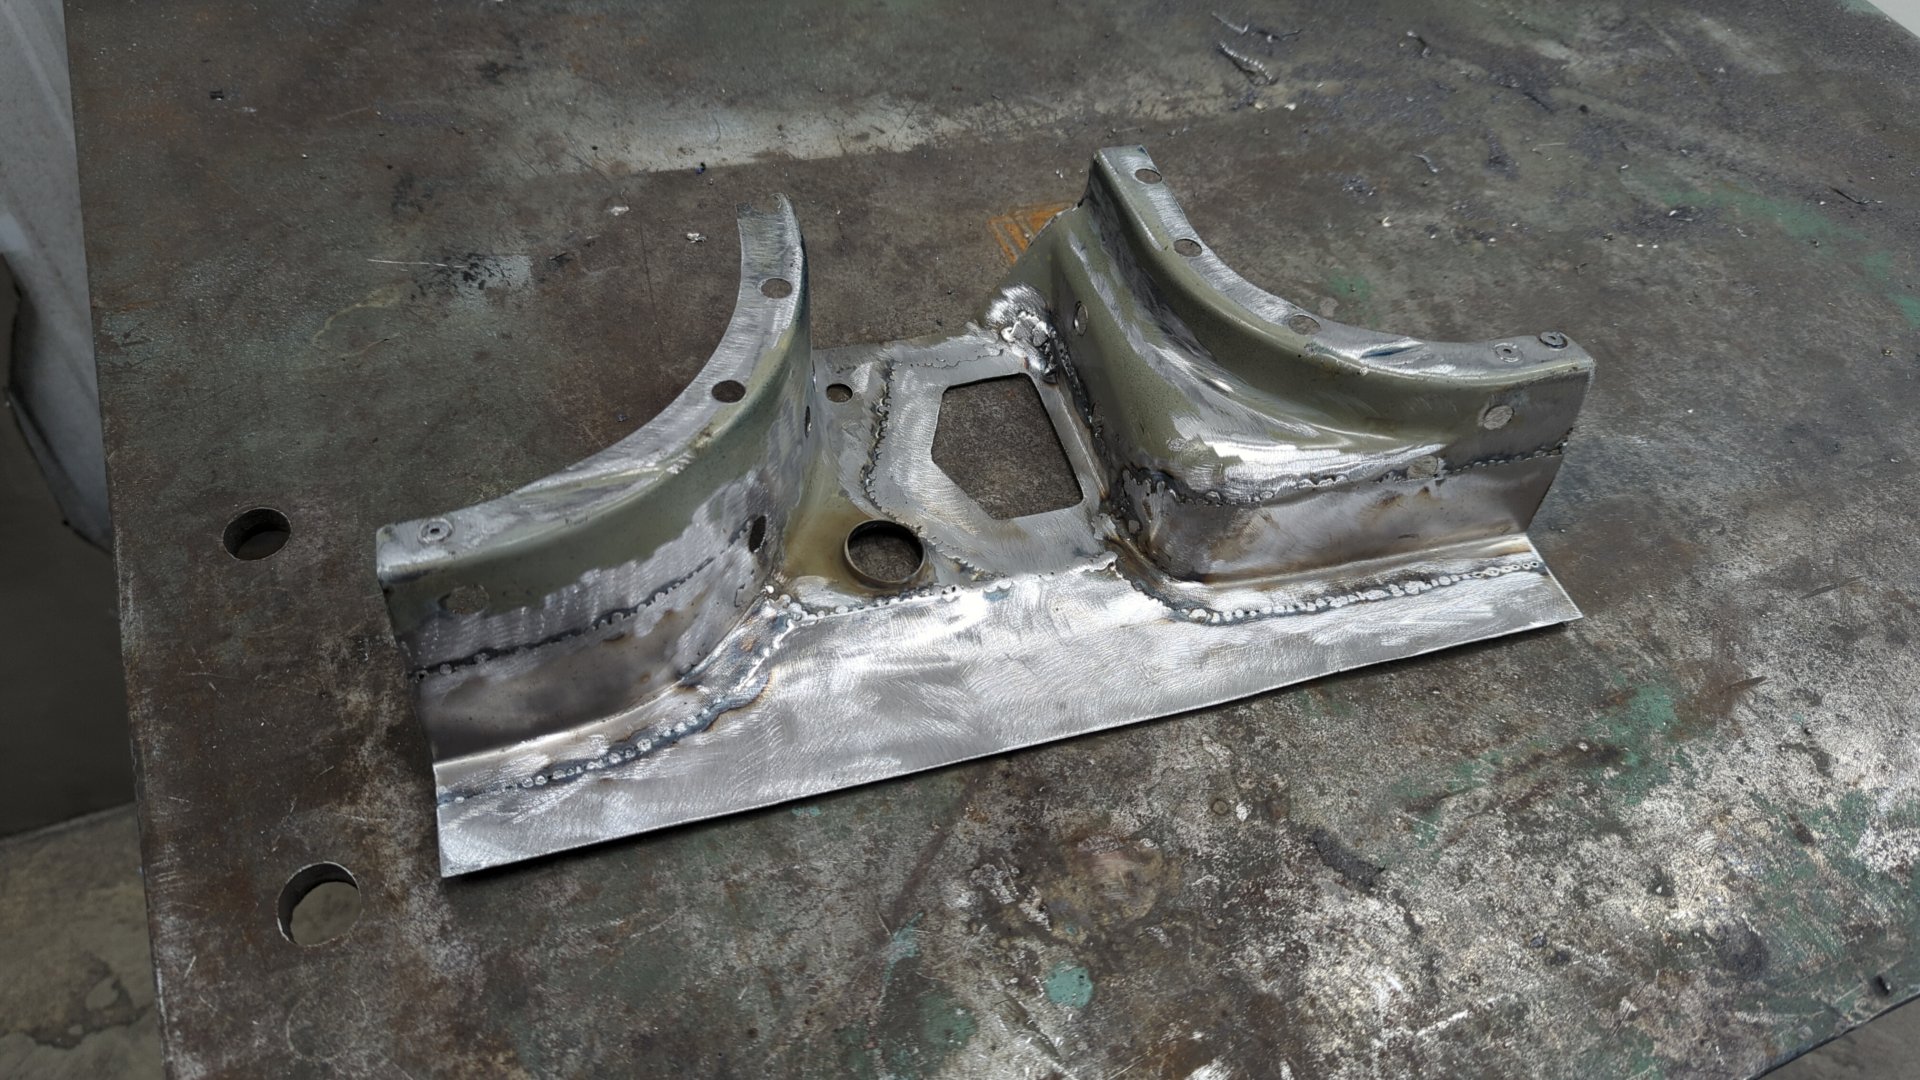
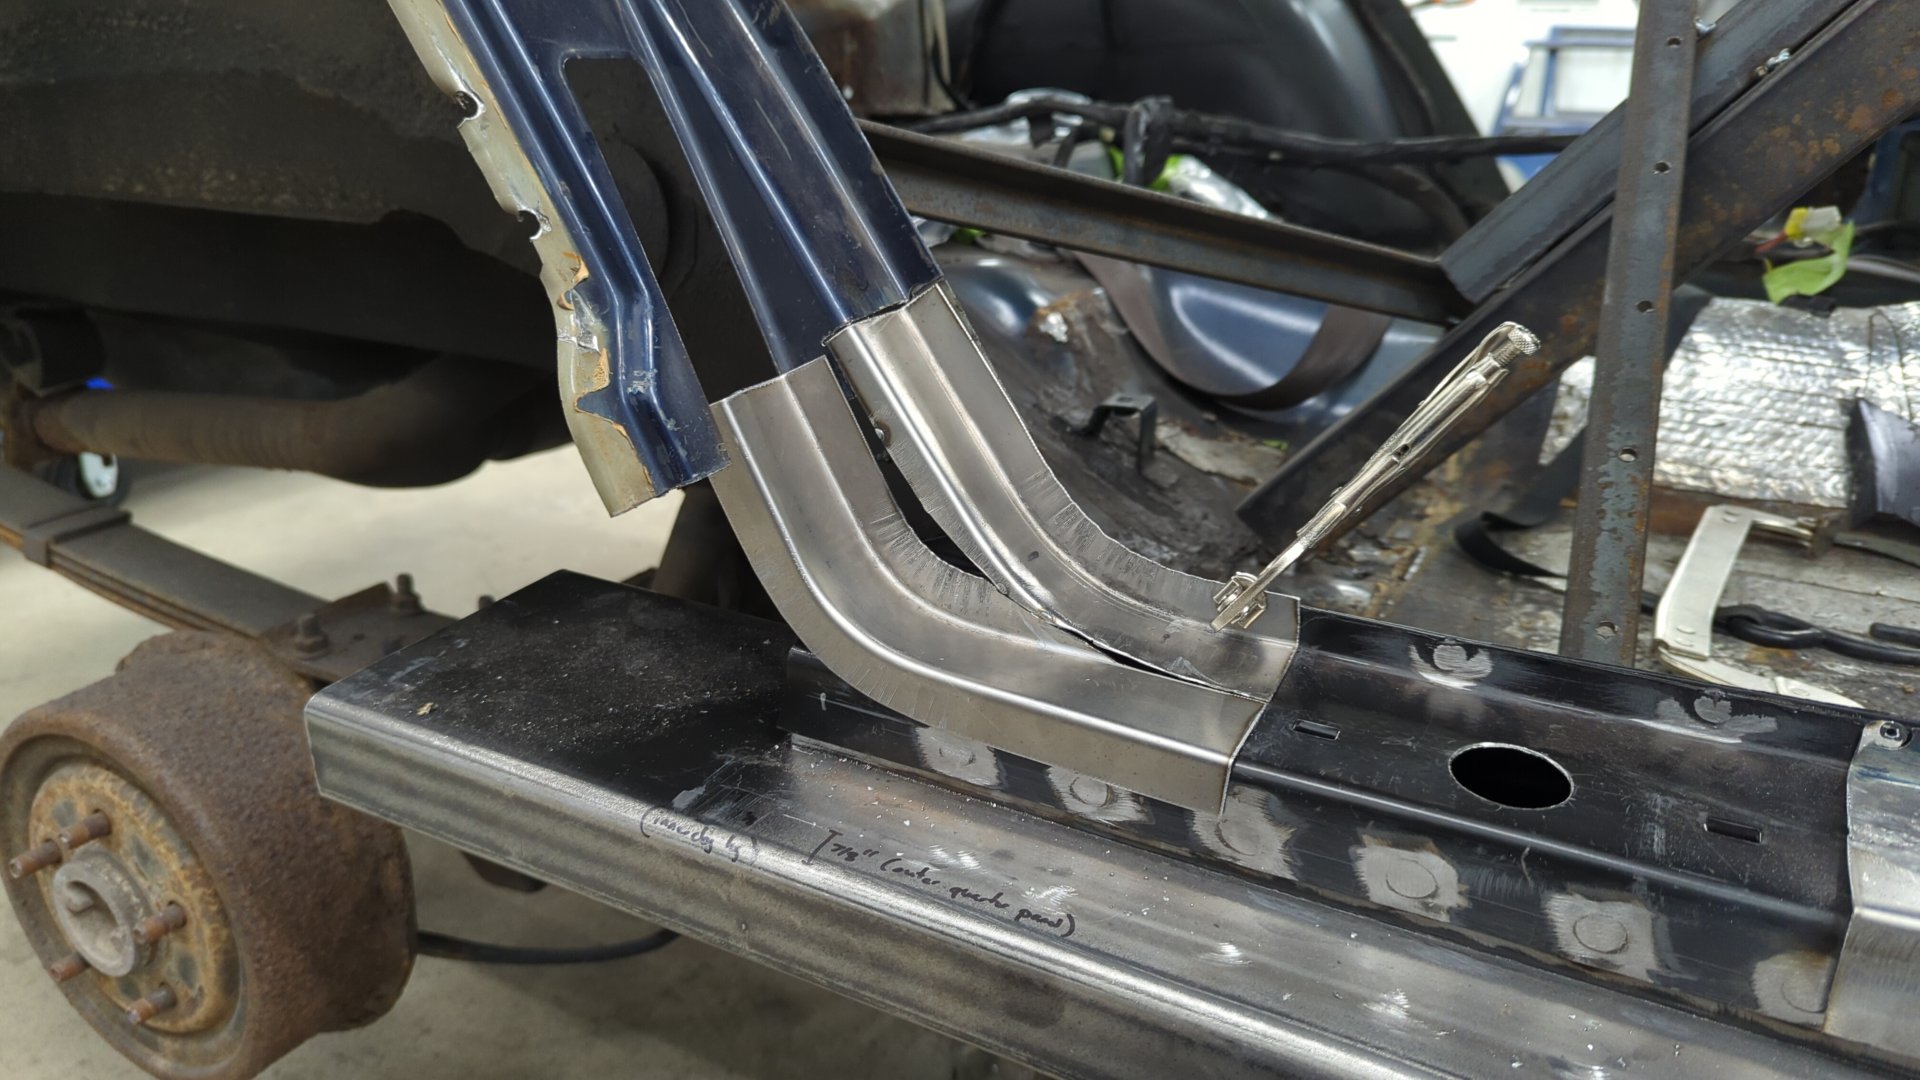
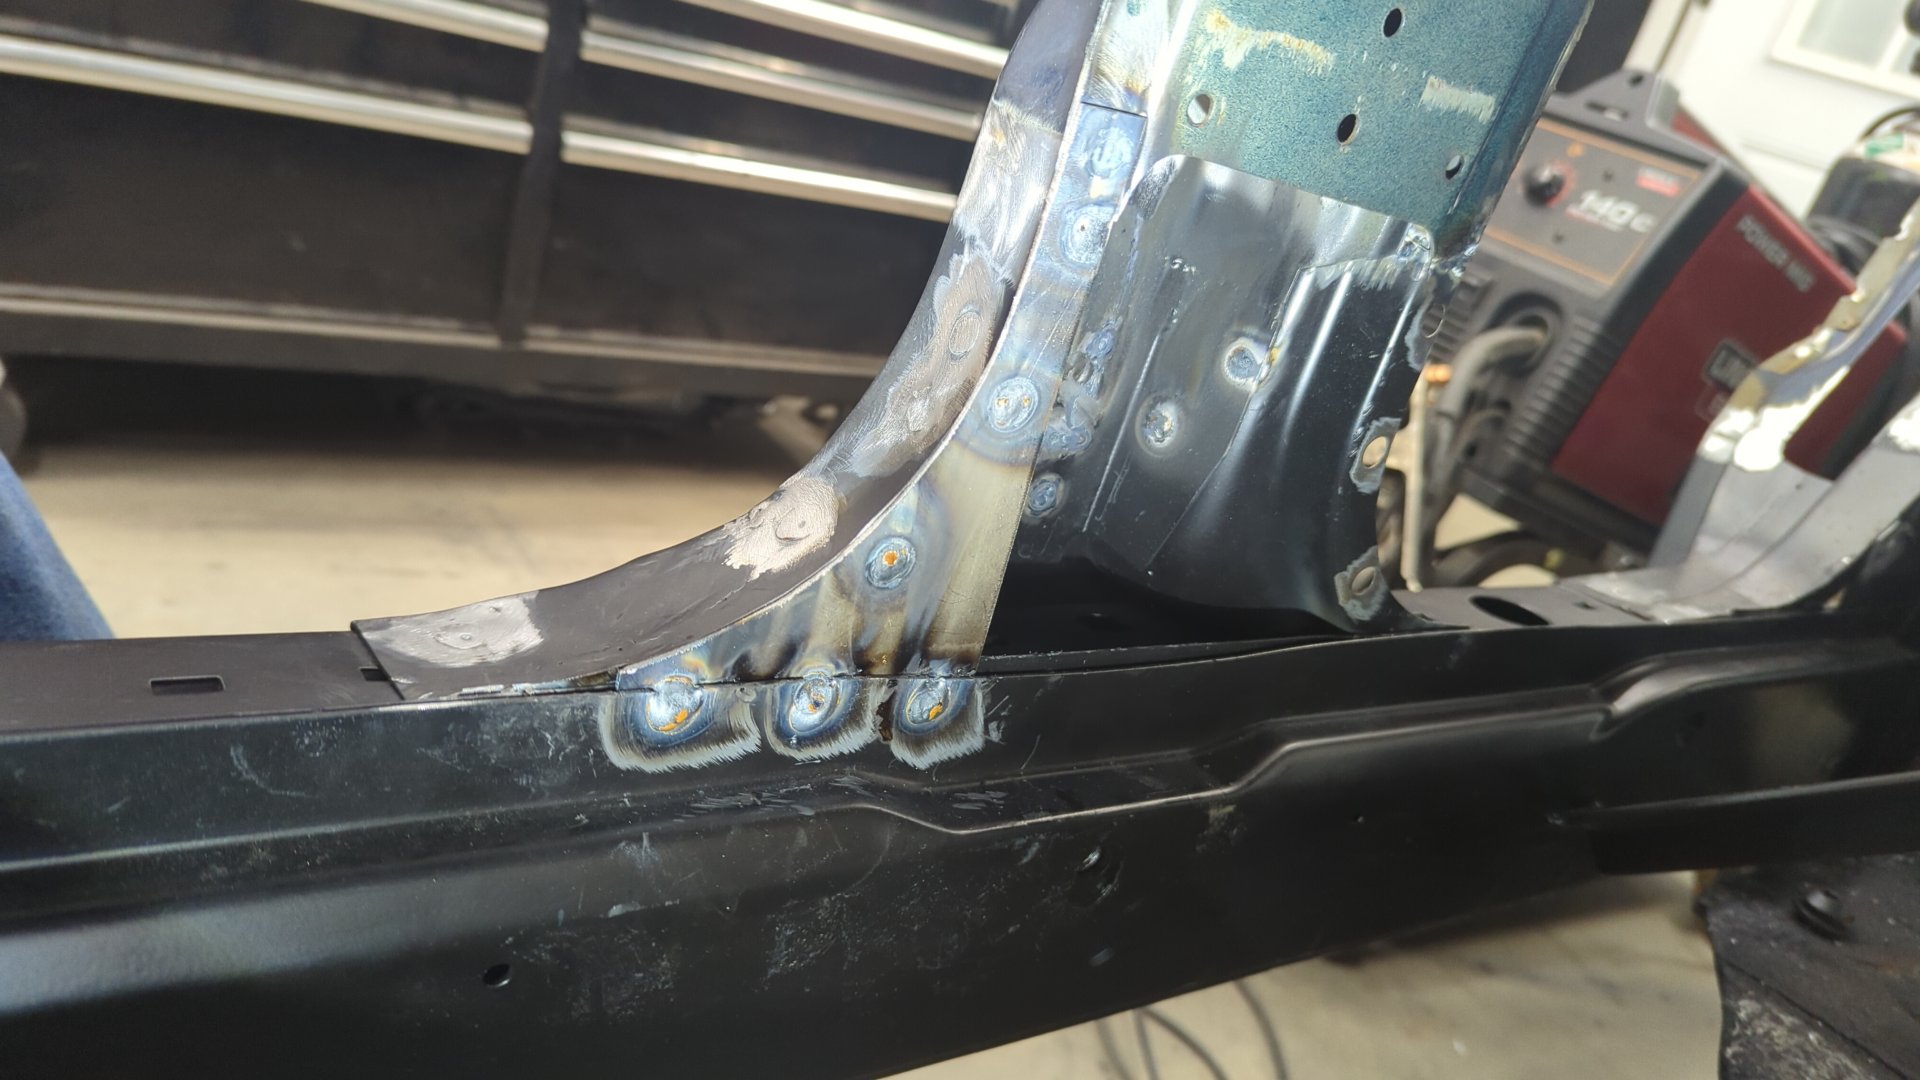
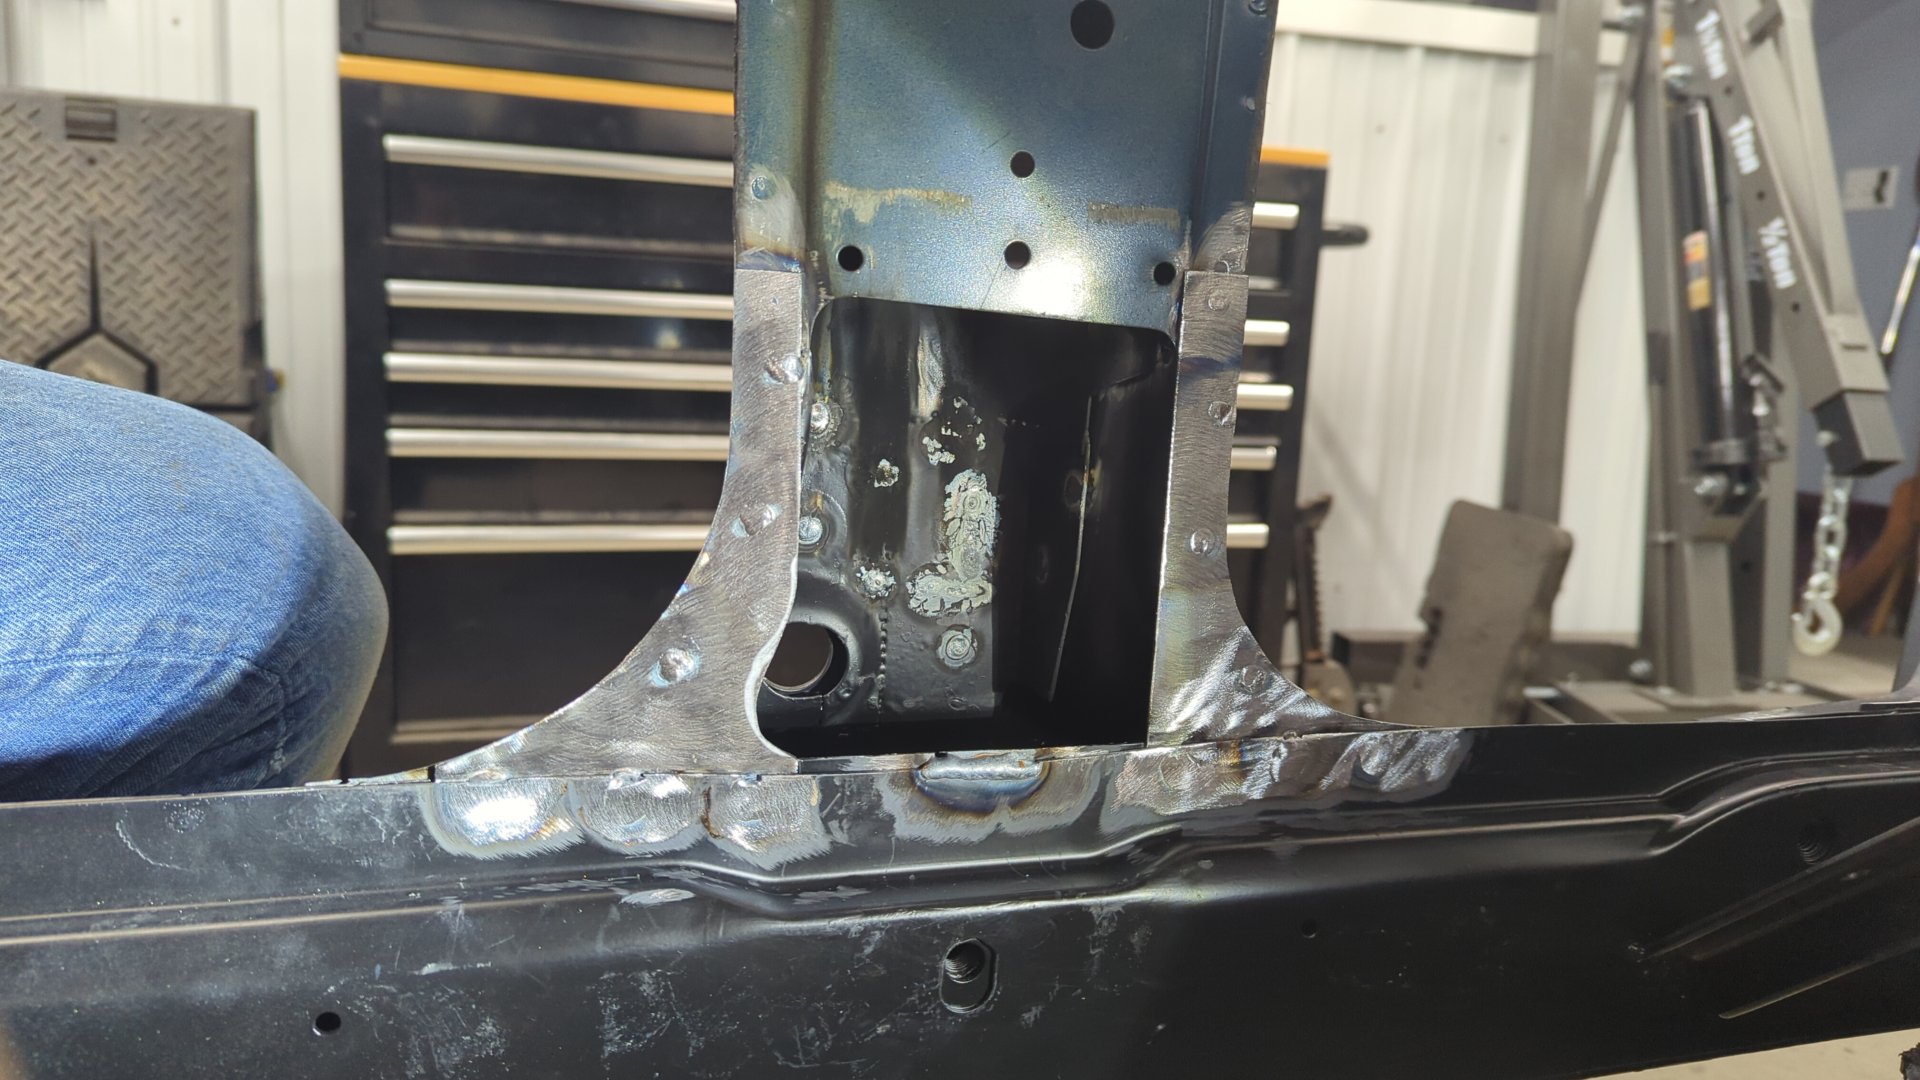
All in all, I made mine out of 6 pieces welded together. If I could do it over, I’m pretty certain I could make it with just 4 pieces.
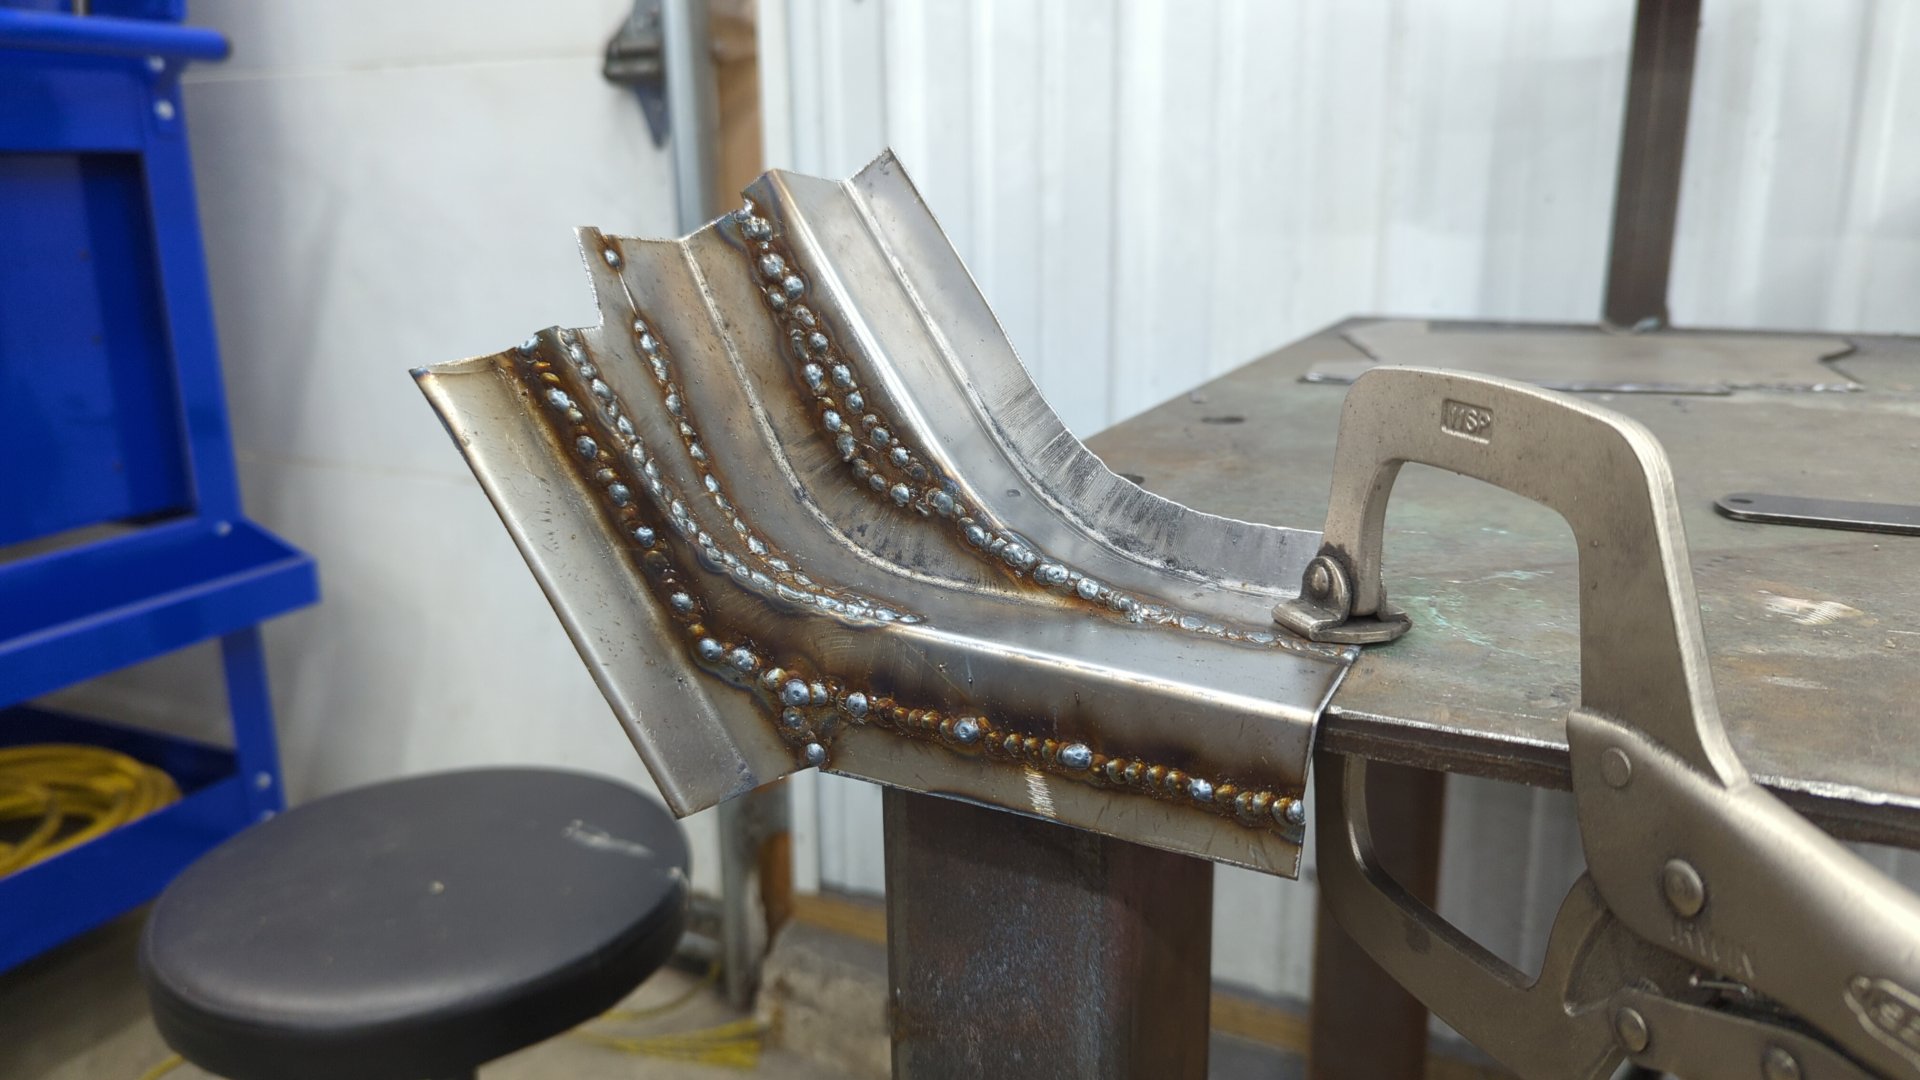
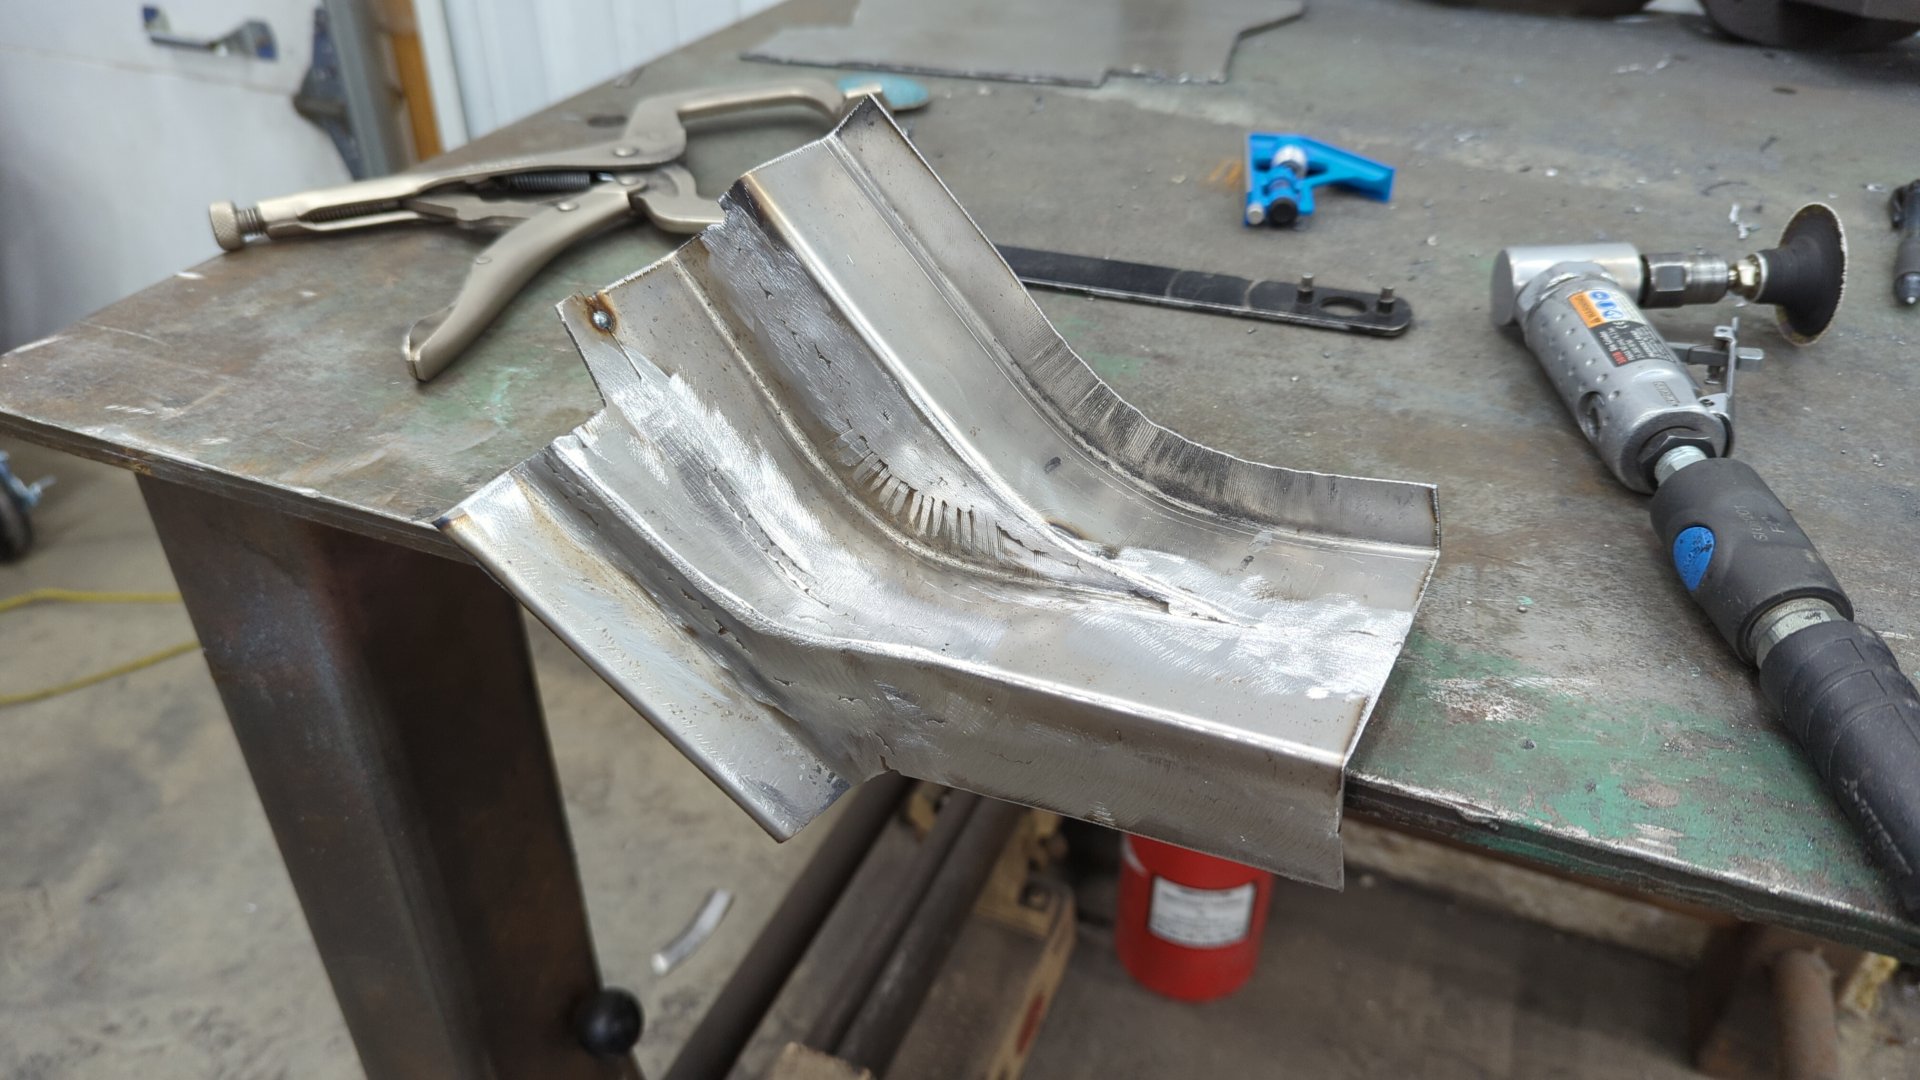
A lot of grinding later and it actually looked pretty good!

Painting Everything Up
One of the nice benefits of doing metal work in the fall is that the humidity around here is pretty low. This means bare metal won’t rust as fast when it sits so I get about a week of leeway before I need to paint.
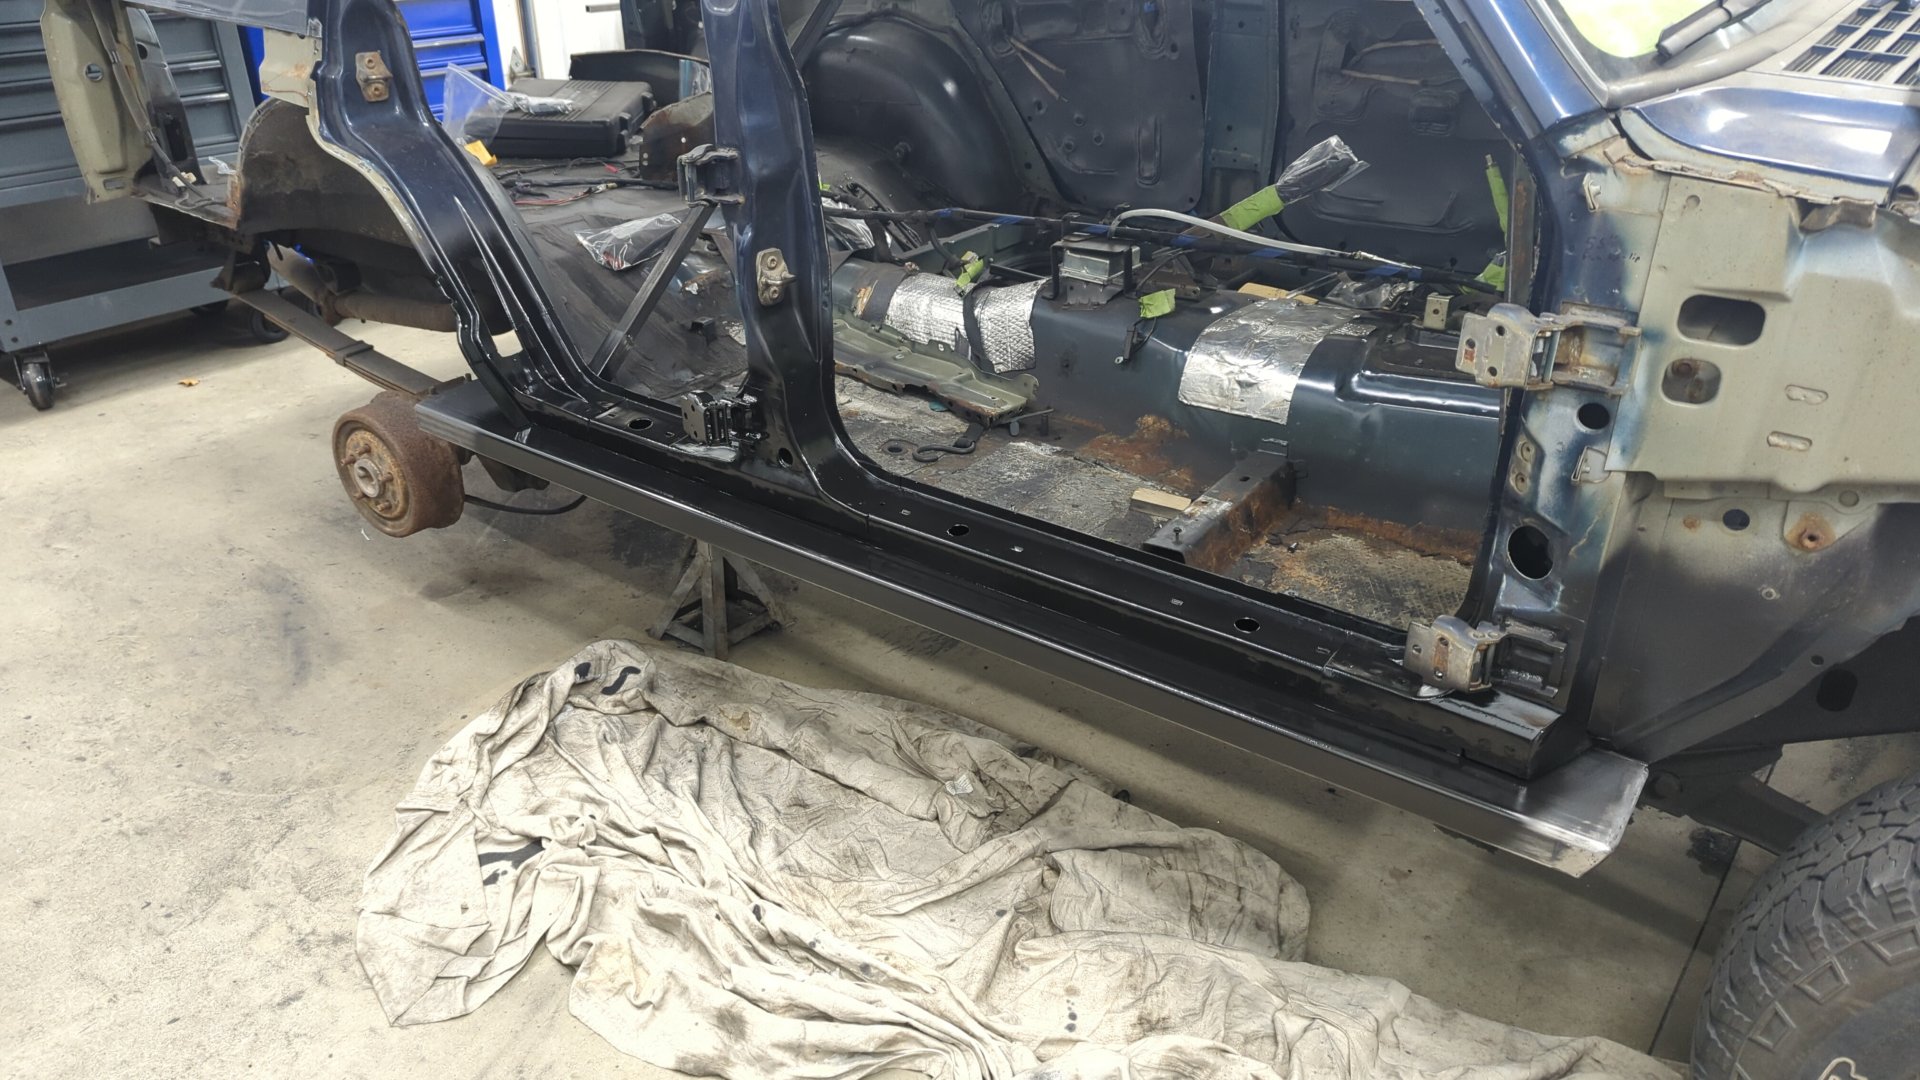
Given it had been about a week since I wrapped up welding in the 2x6 I figured it was time to finally put some paint over all the plug welds I had left bare after having finished welding in the 2x6 rocker.
There was a lot of exposed welds on the backside too.
Since I already had the paint gun out, I took the time to spray both of my patch pieces for the B and C pillars.


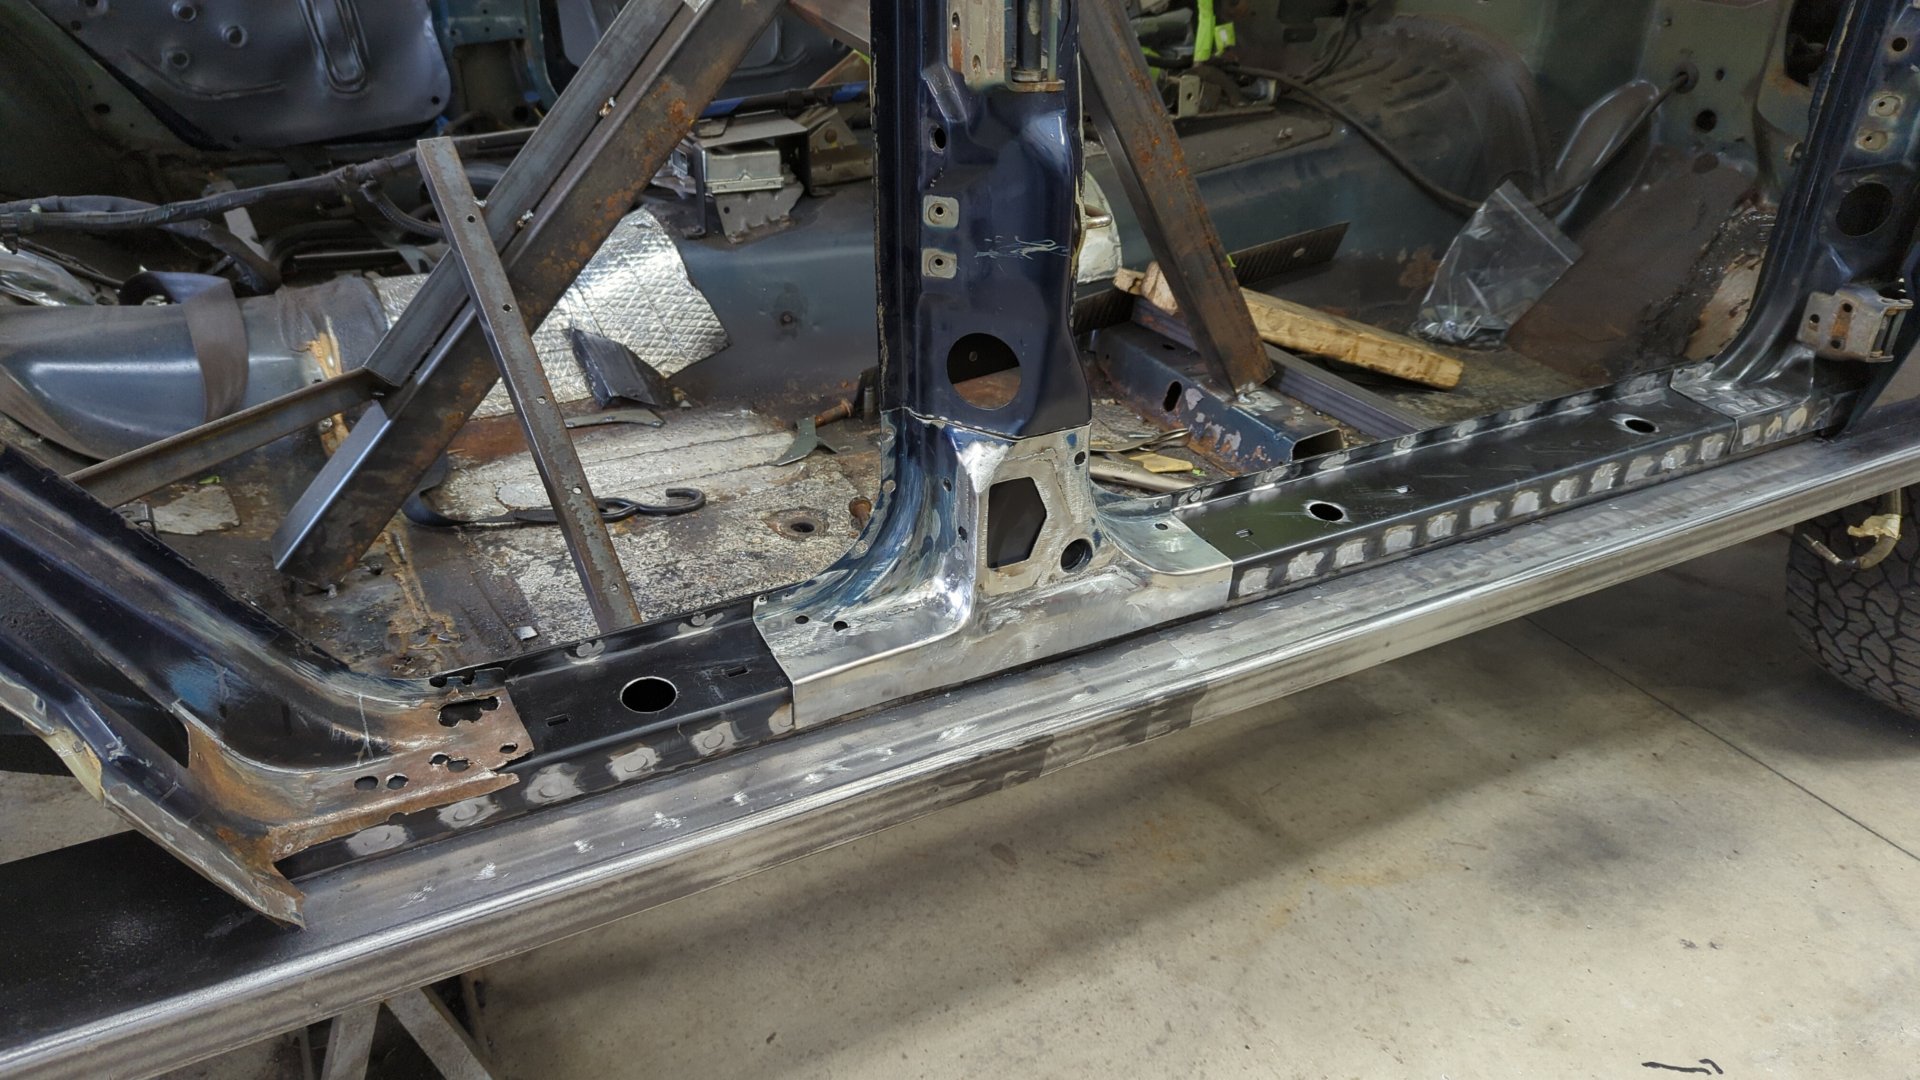
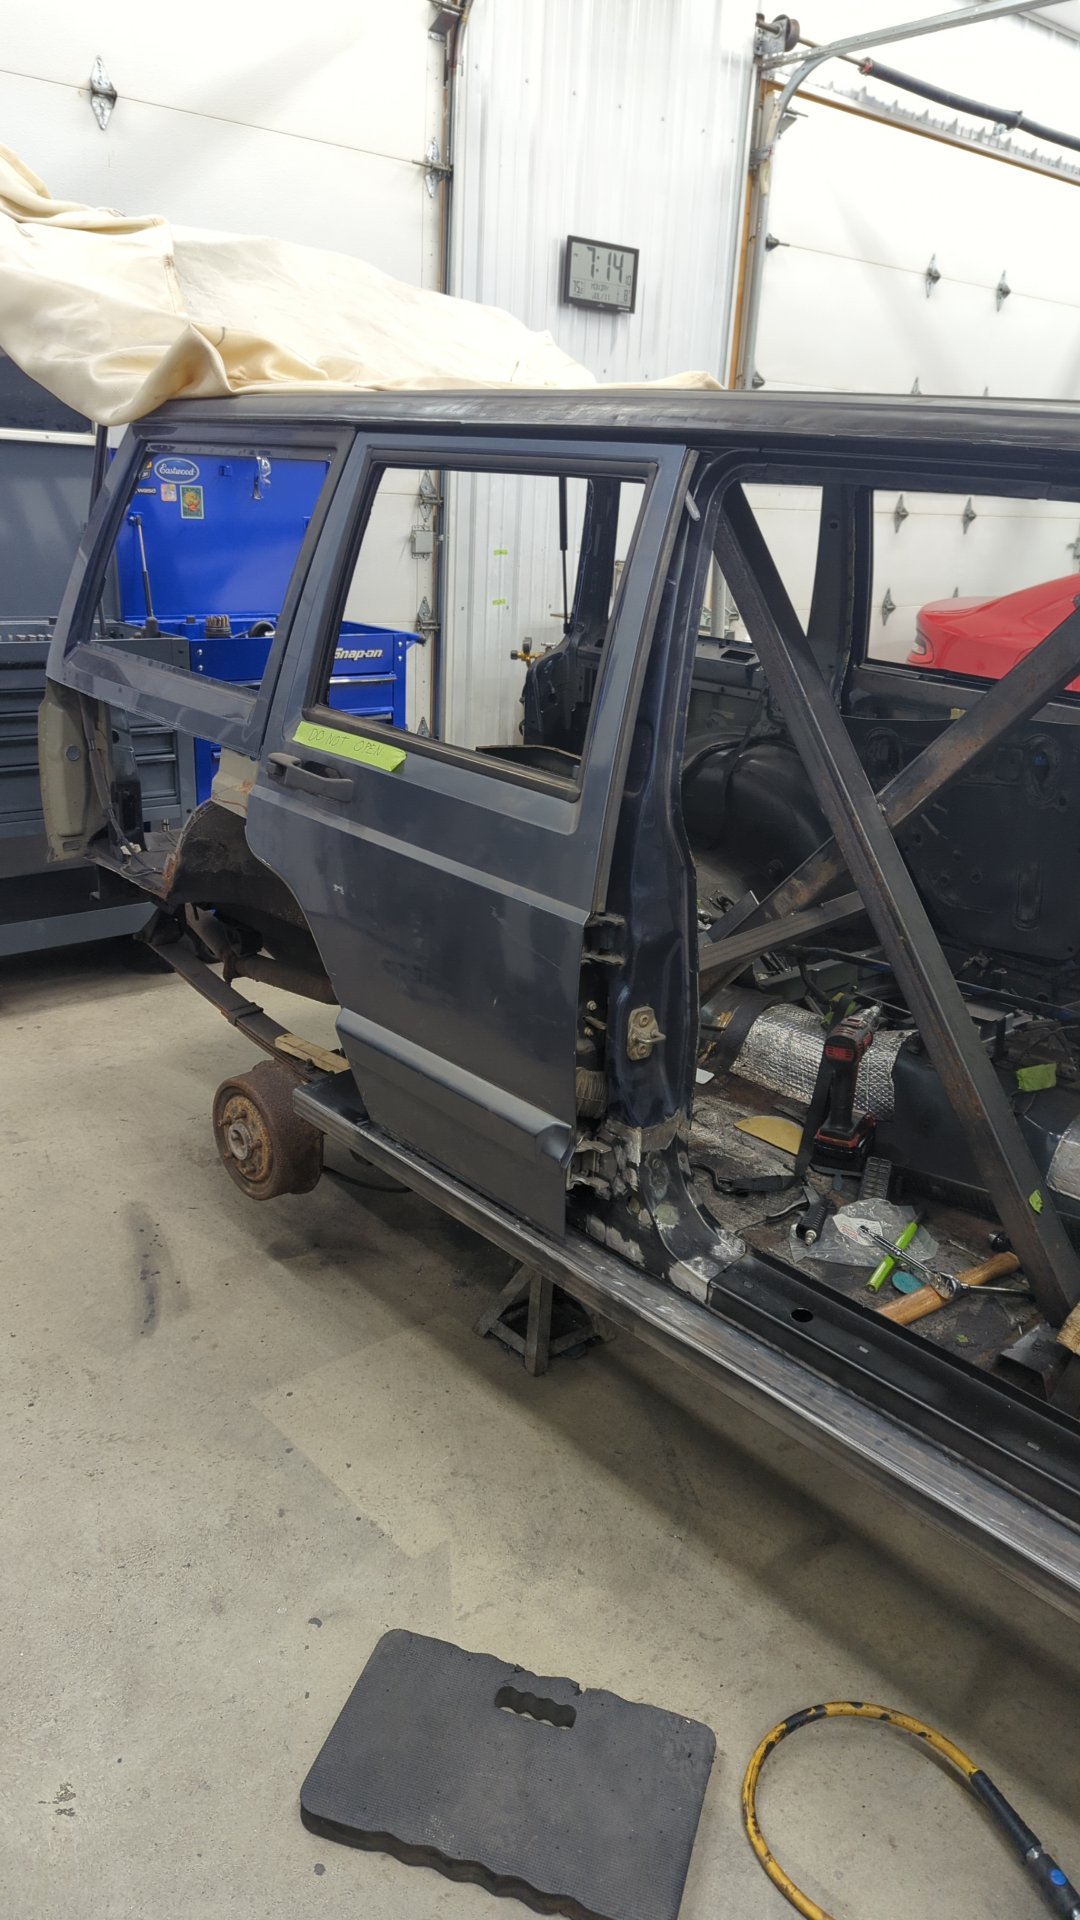
The passenger side is starting too look whole again.
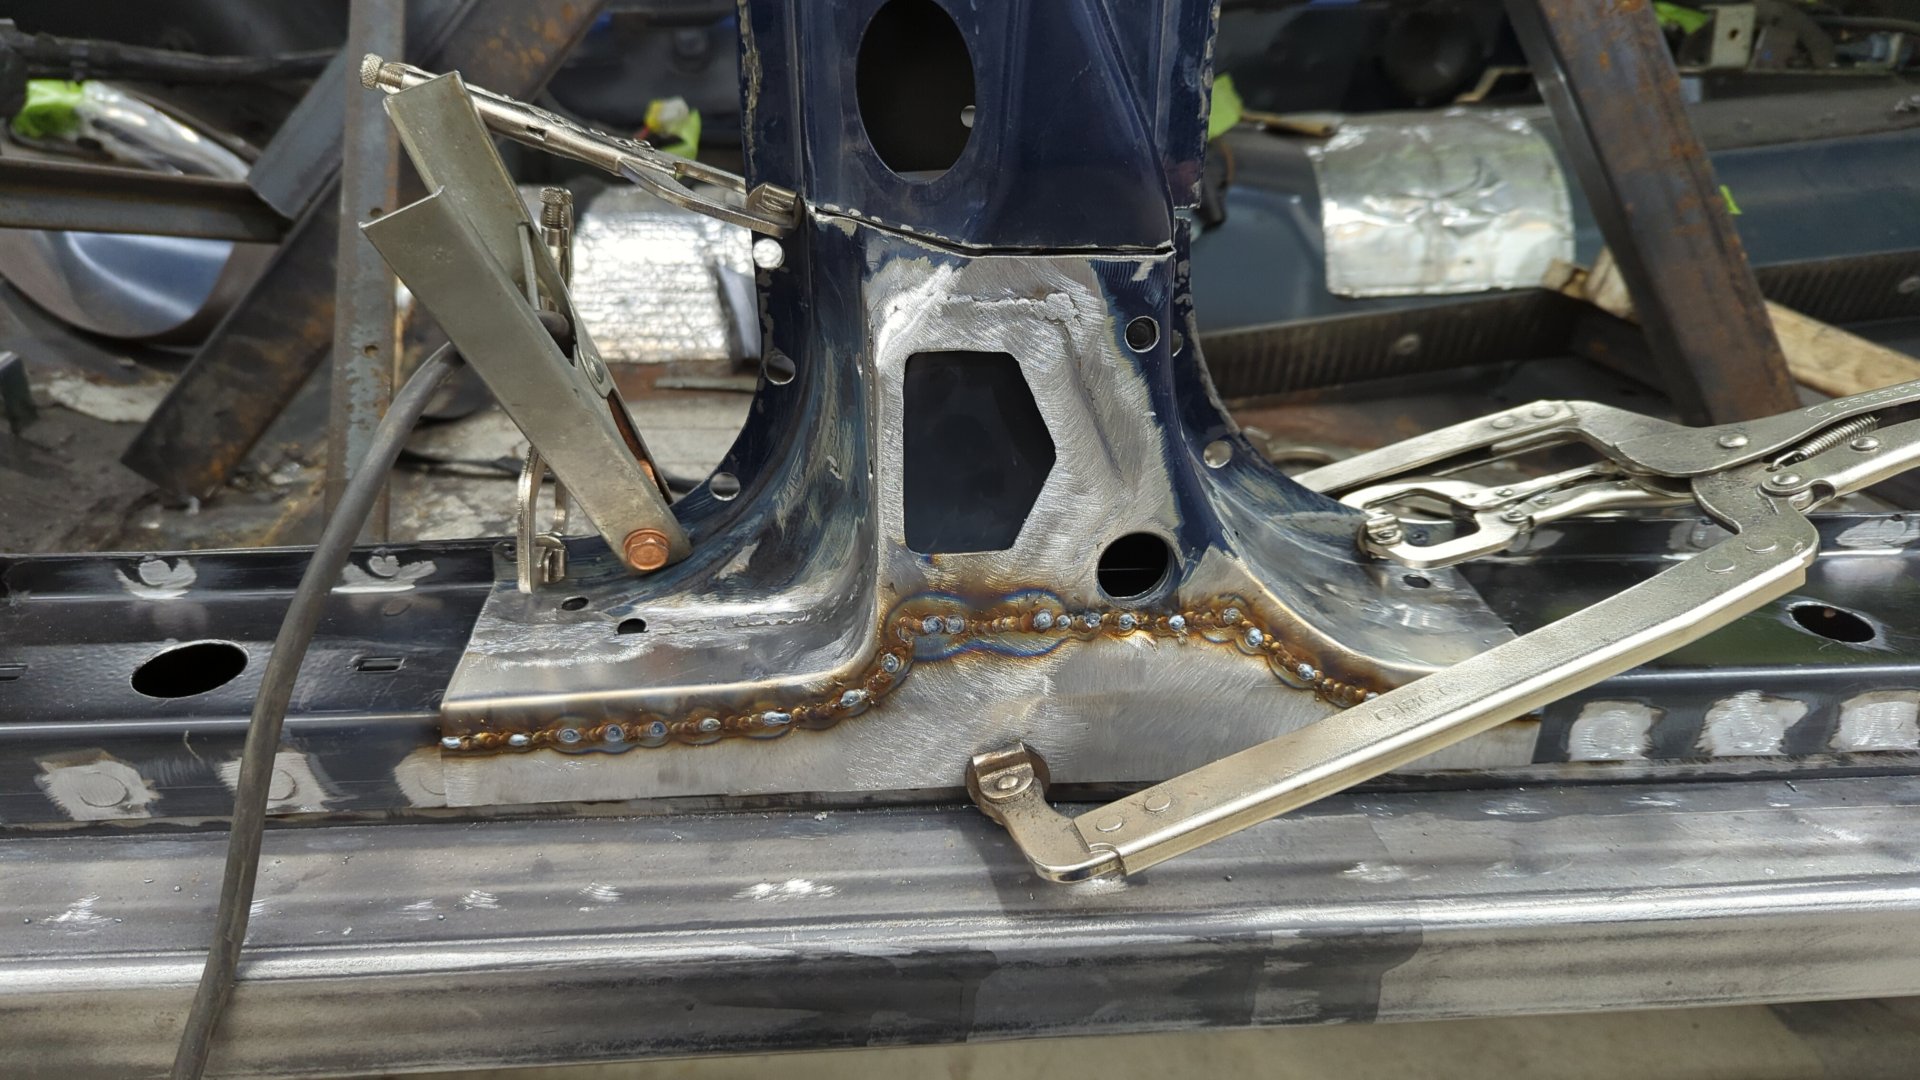
Spot Welds All Around
I gave the fresh paint an extra day to cure before deciding it was time to start welding in my patches. I find letting the paint sit for a day or so reduces how much of it will catch fire from the heat of the welds.
I used a 3/8" drill bit for all the holes.

The secret to good fitment is lots of clamps lol.
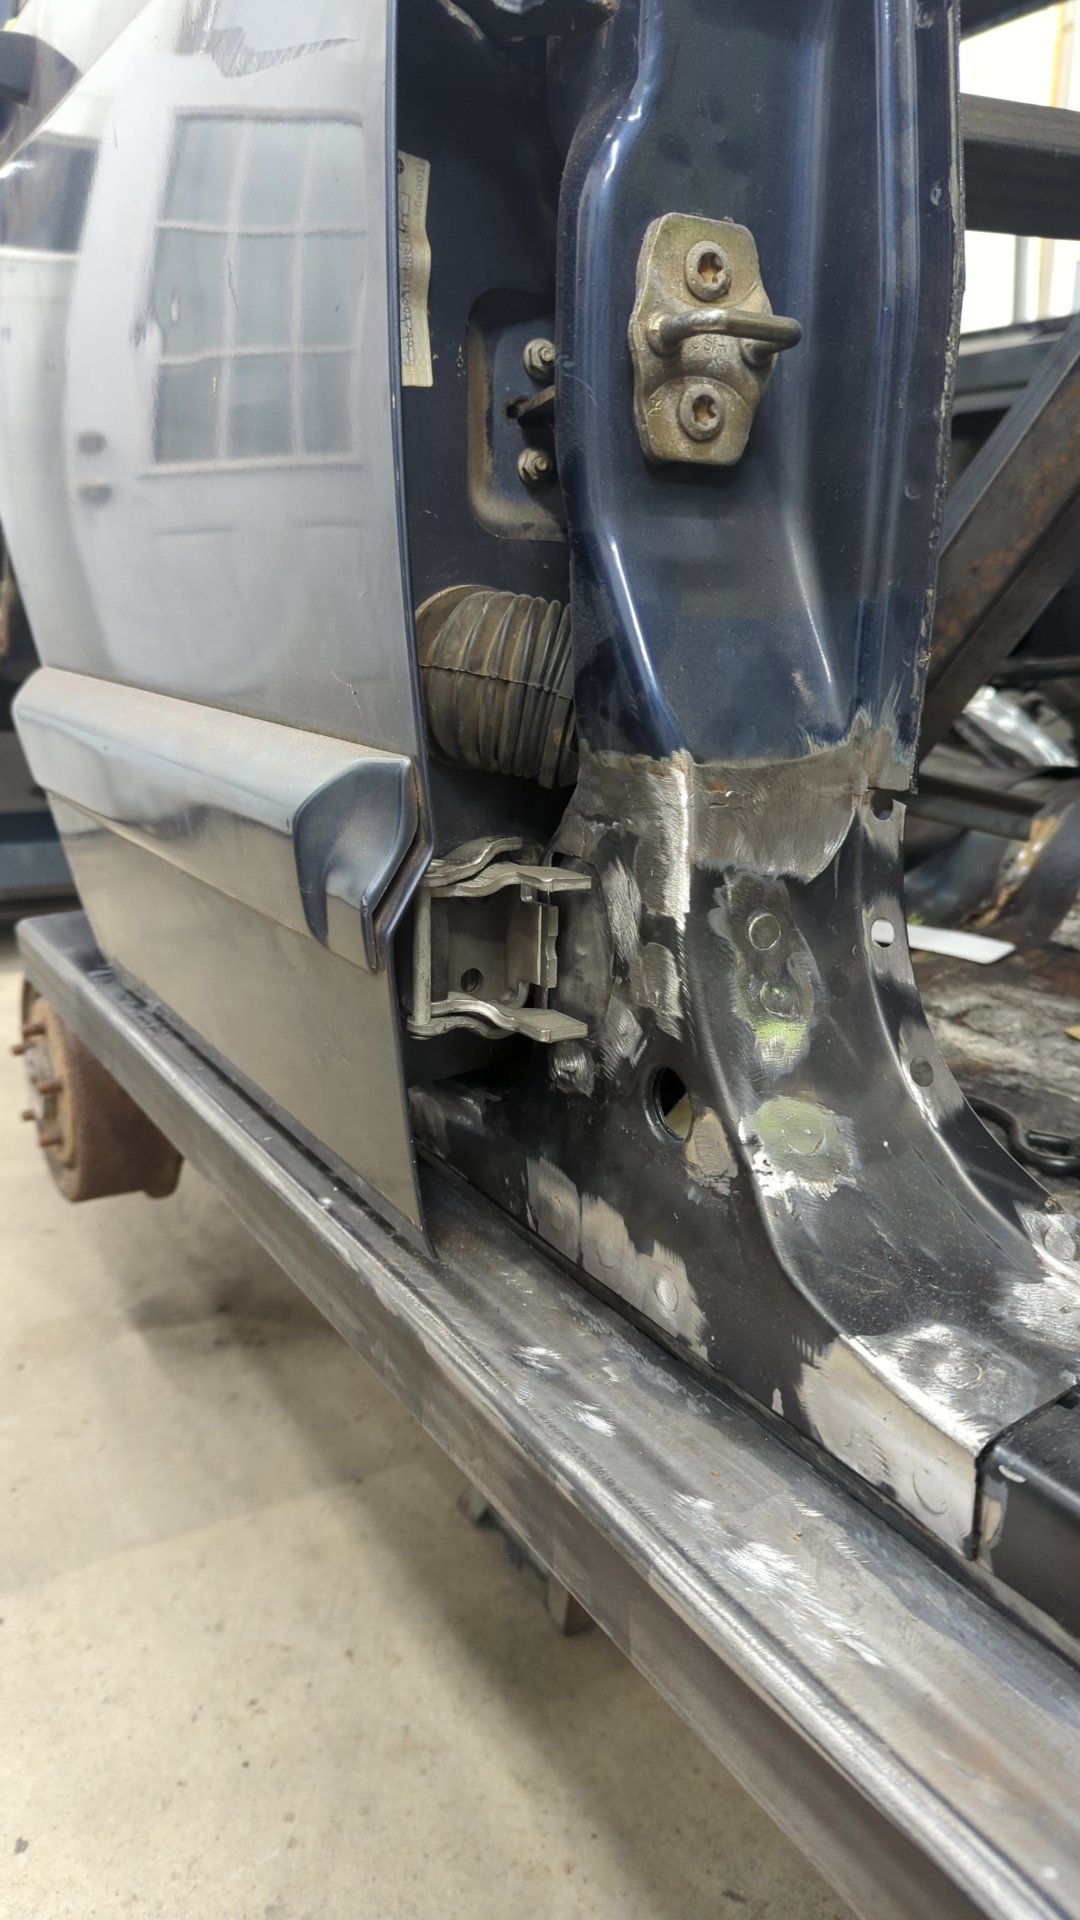
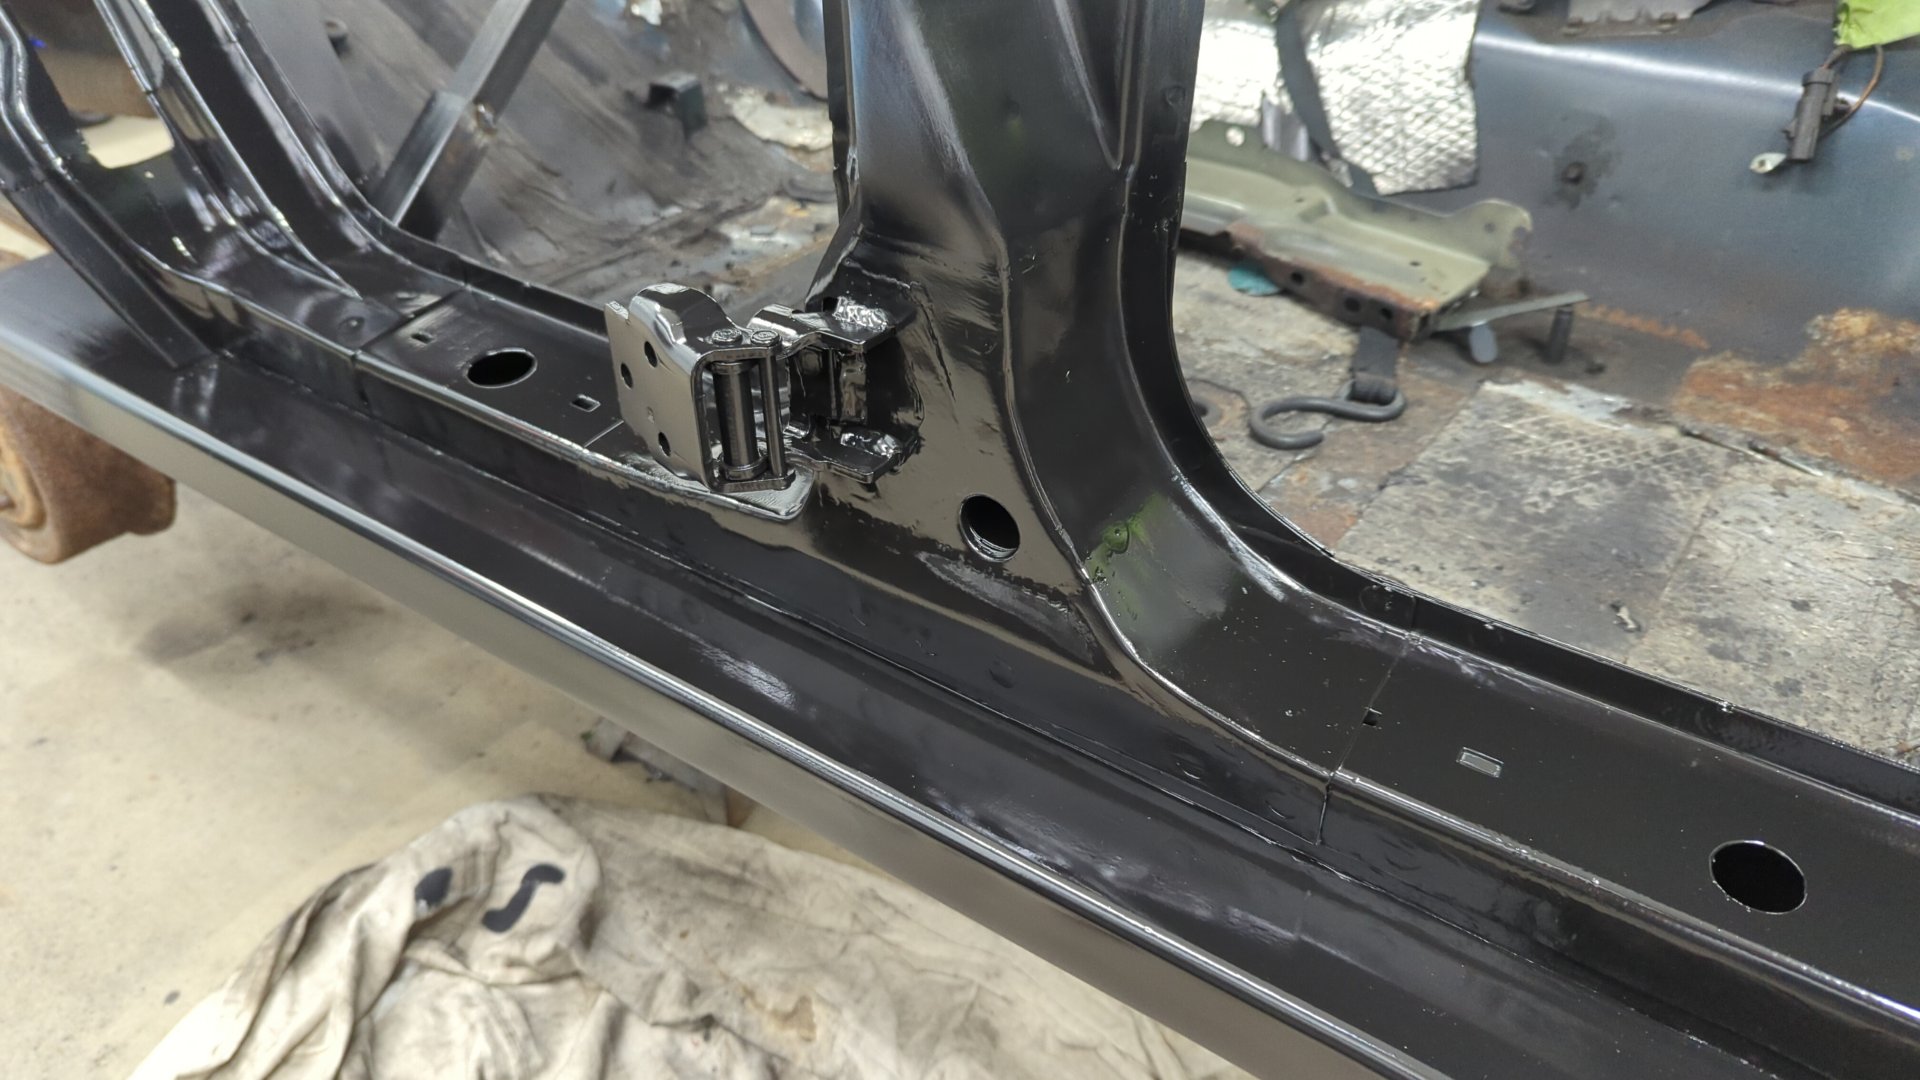
A New Door Hinge for the Rear Door
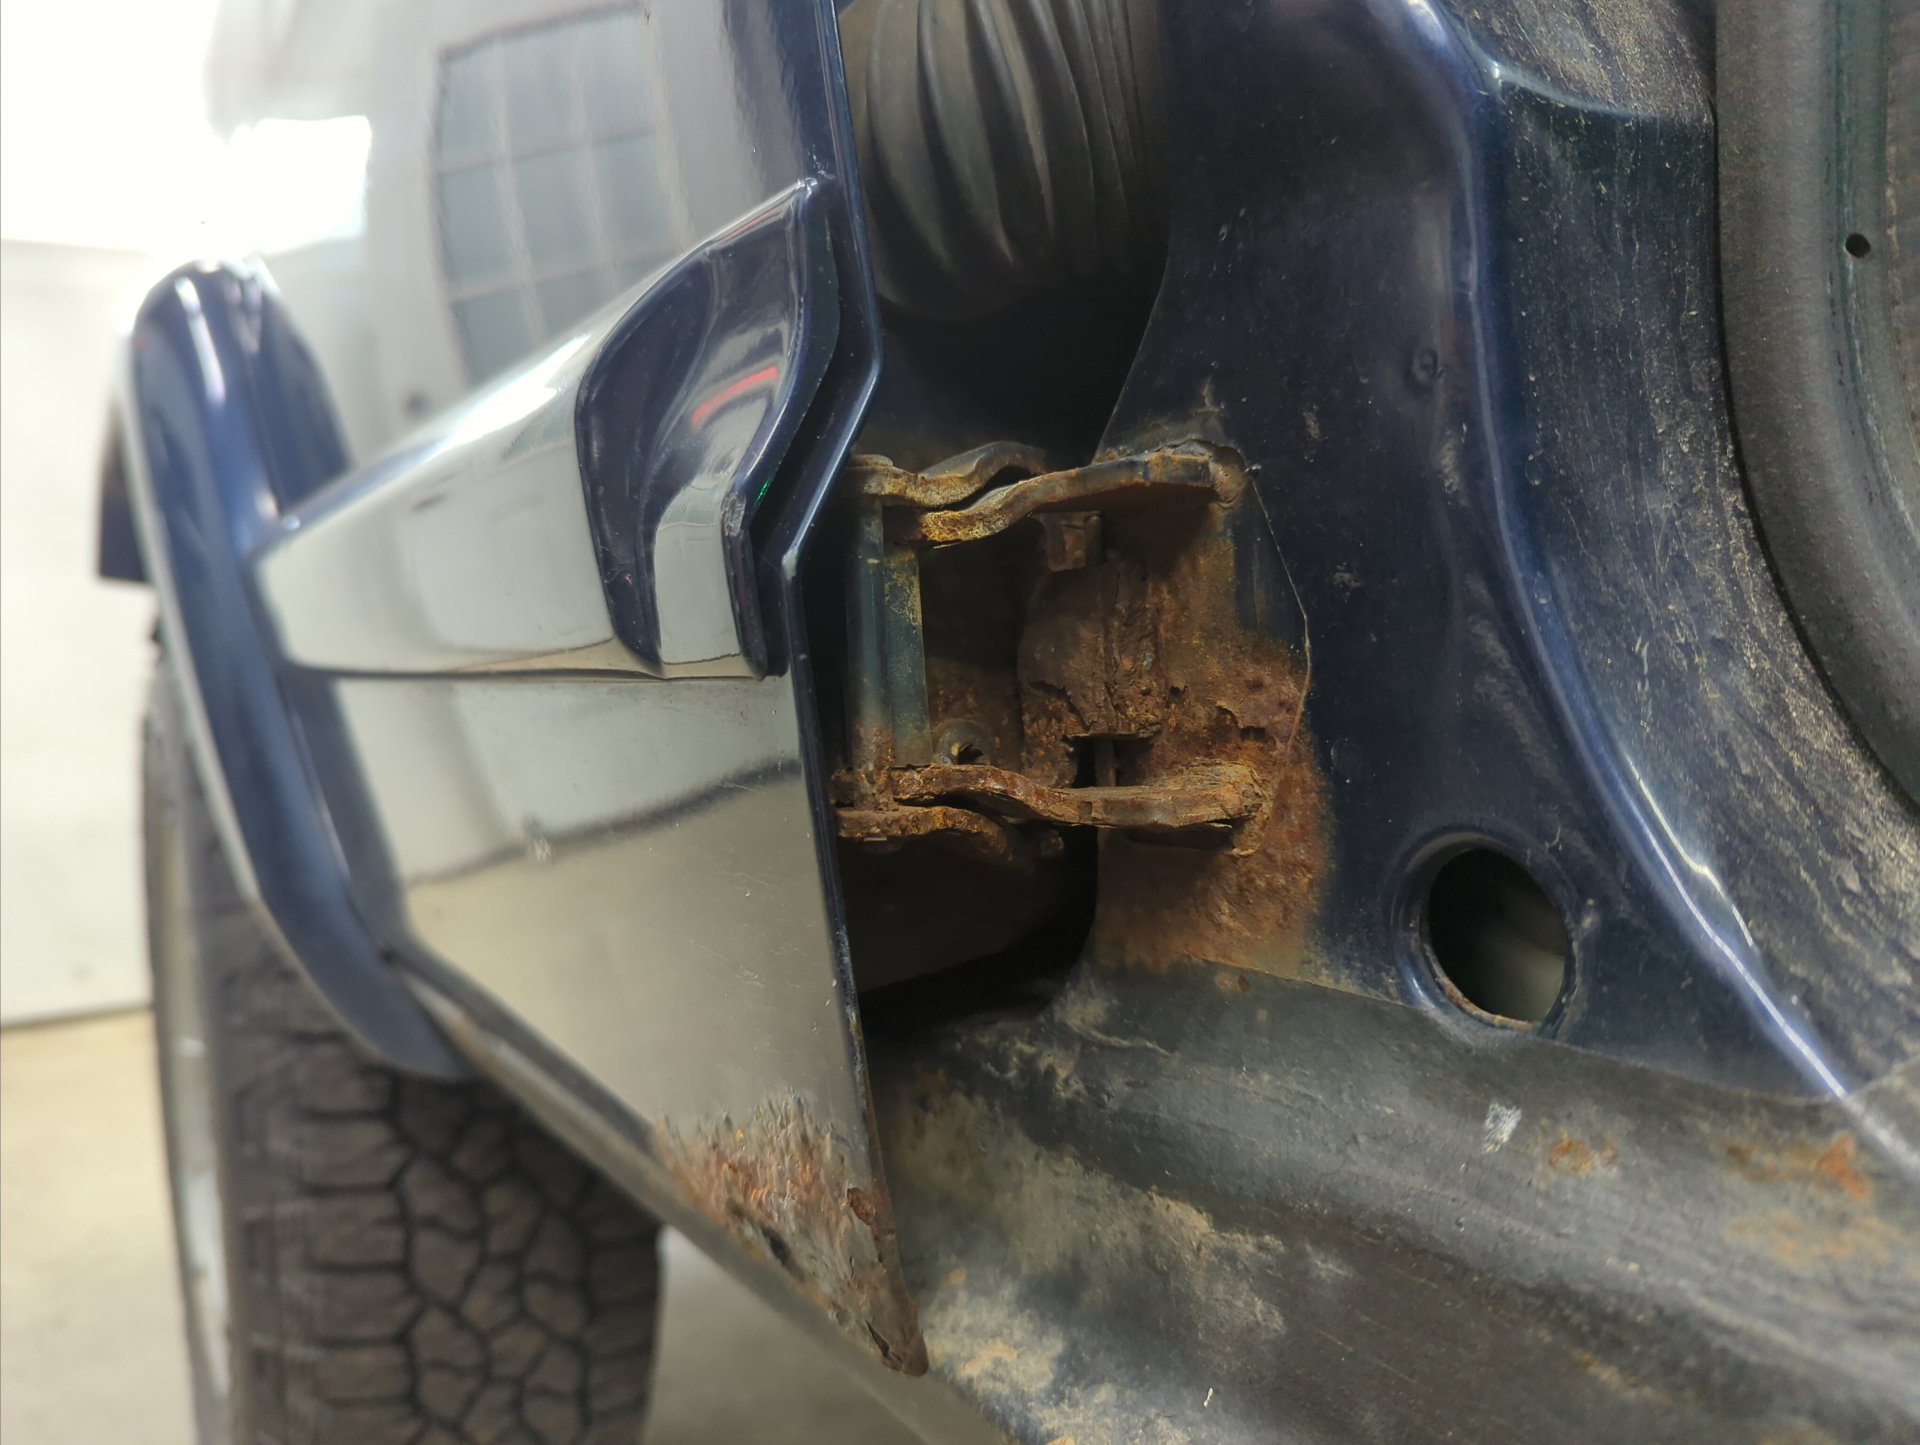
With all of the pillars finished up, it was time for me to start on the finishing touches. Earlier on when I first started digging into this project I had cut off the lower hinge on the rear door because the rust had done to much damage to it.
Thankfully, I was lucky and managed to snag 4 NOS (new old stock) hinges that a seller had listed on Ebay.
Surprisingly it wasn’t actually that hard to position the door. Once I liked the door gaps I put 3 tack welds to hold the door hinge in place so I could open / shut the door to see if it would bind up or anything.
The new hinge felt great and the doors swings so smoothly that it can be opened / shut with just 1 finger.
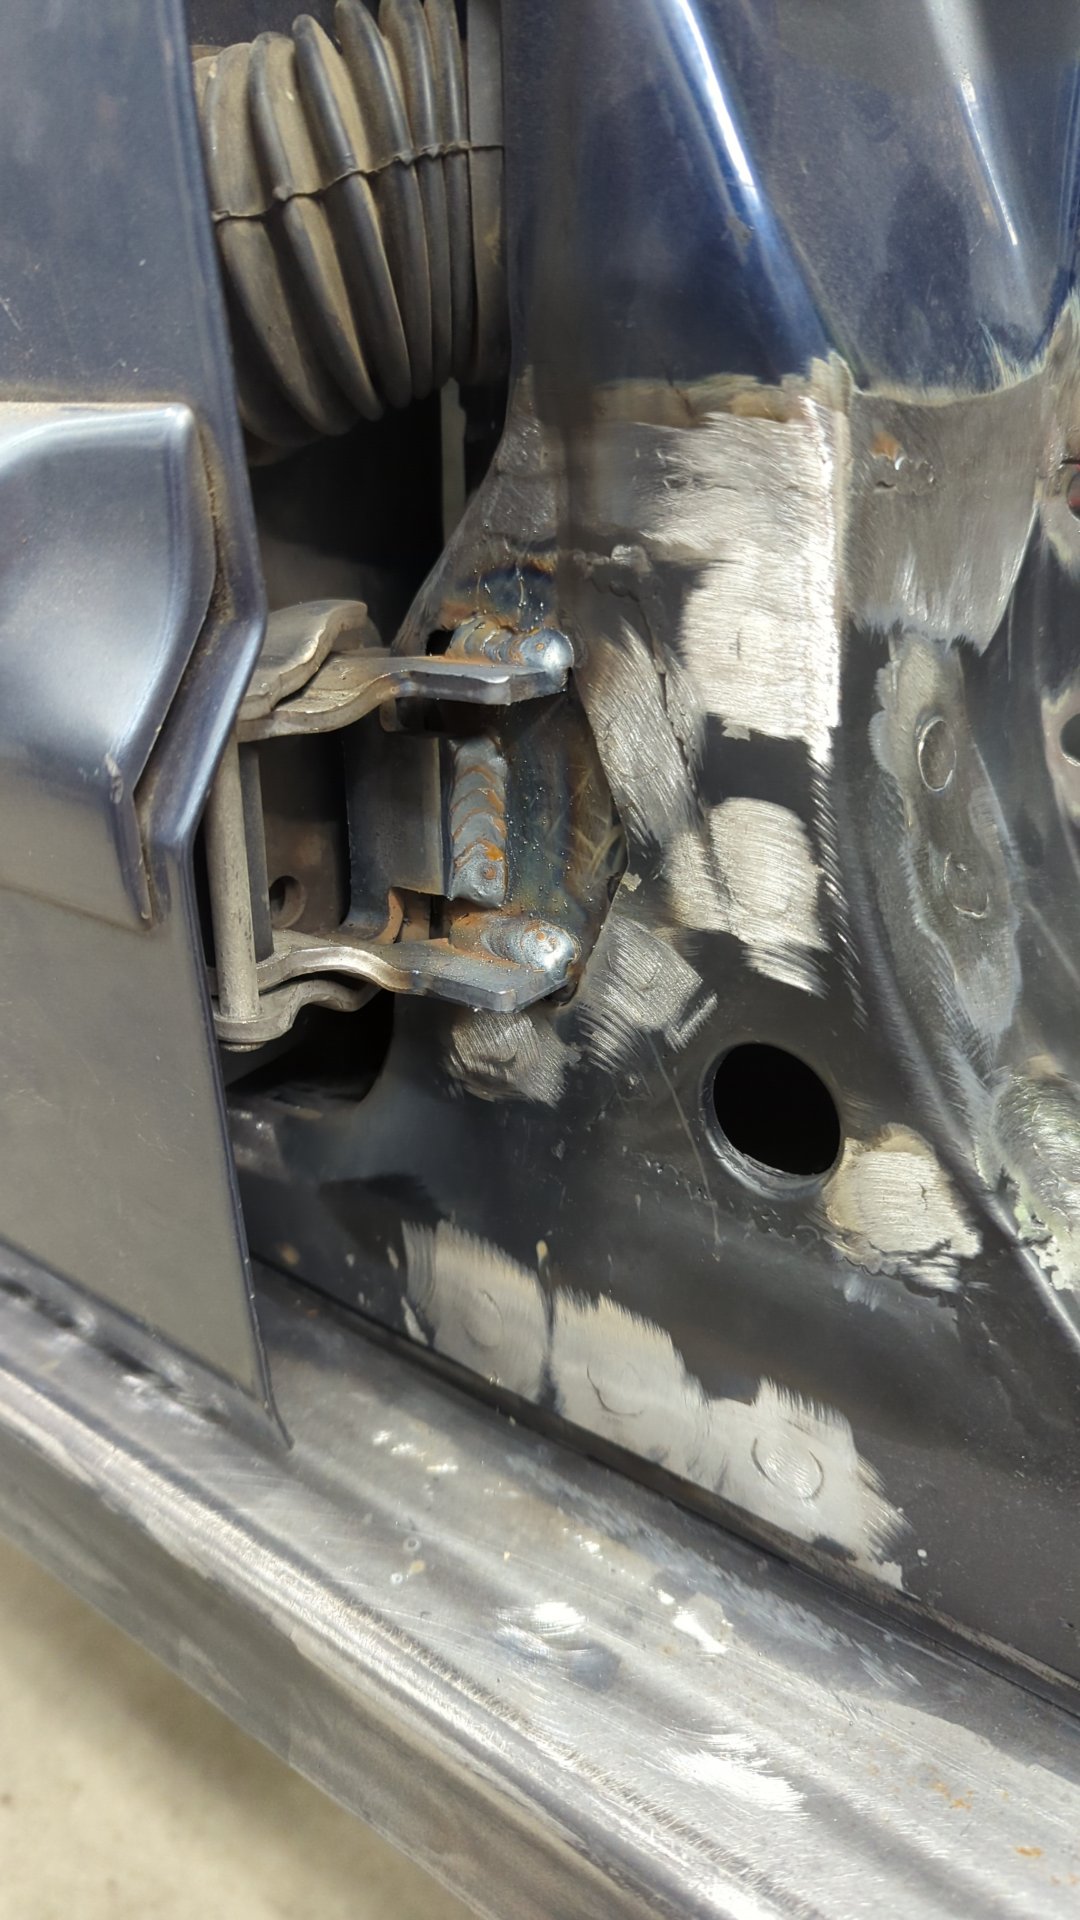
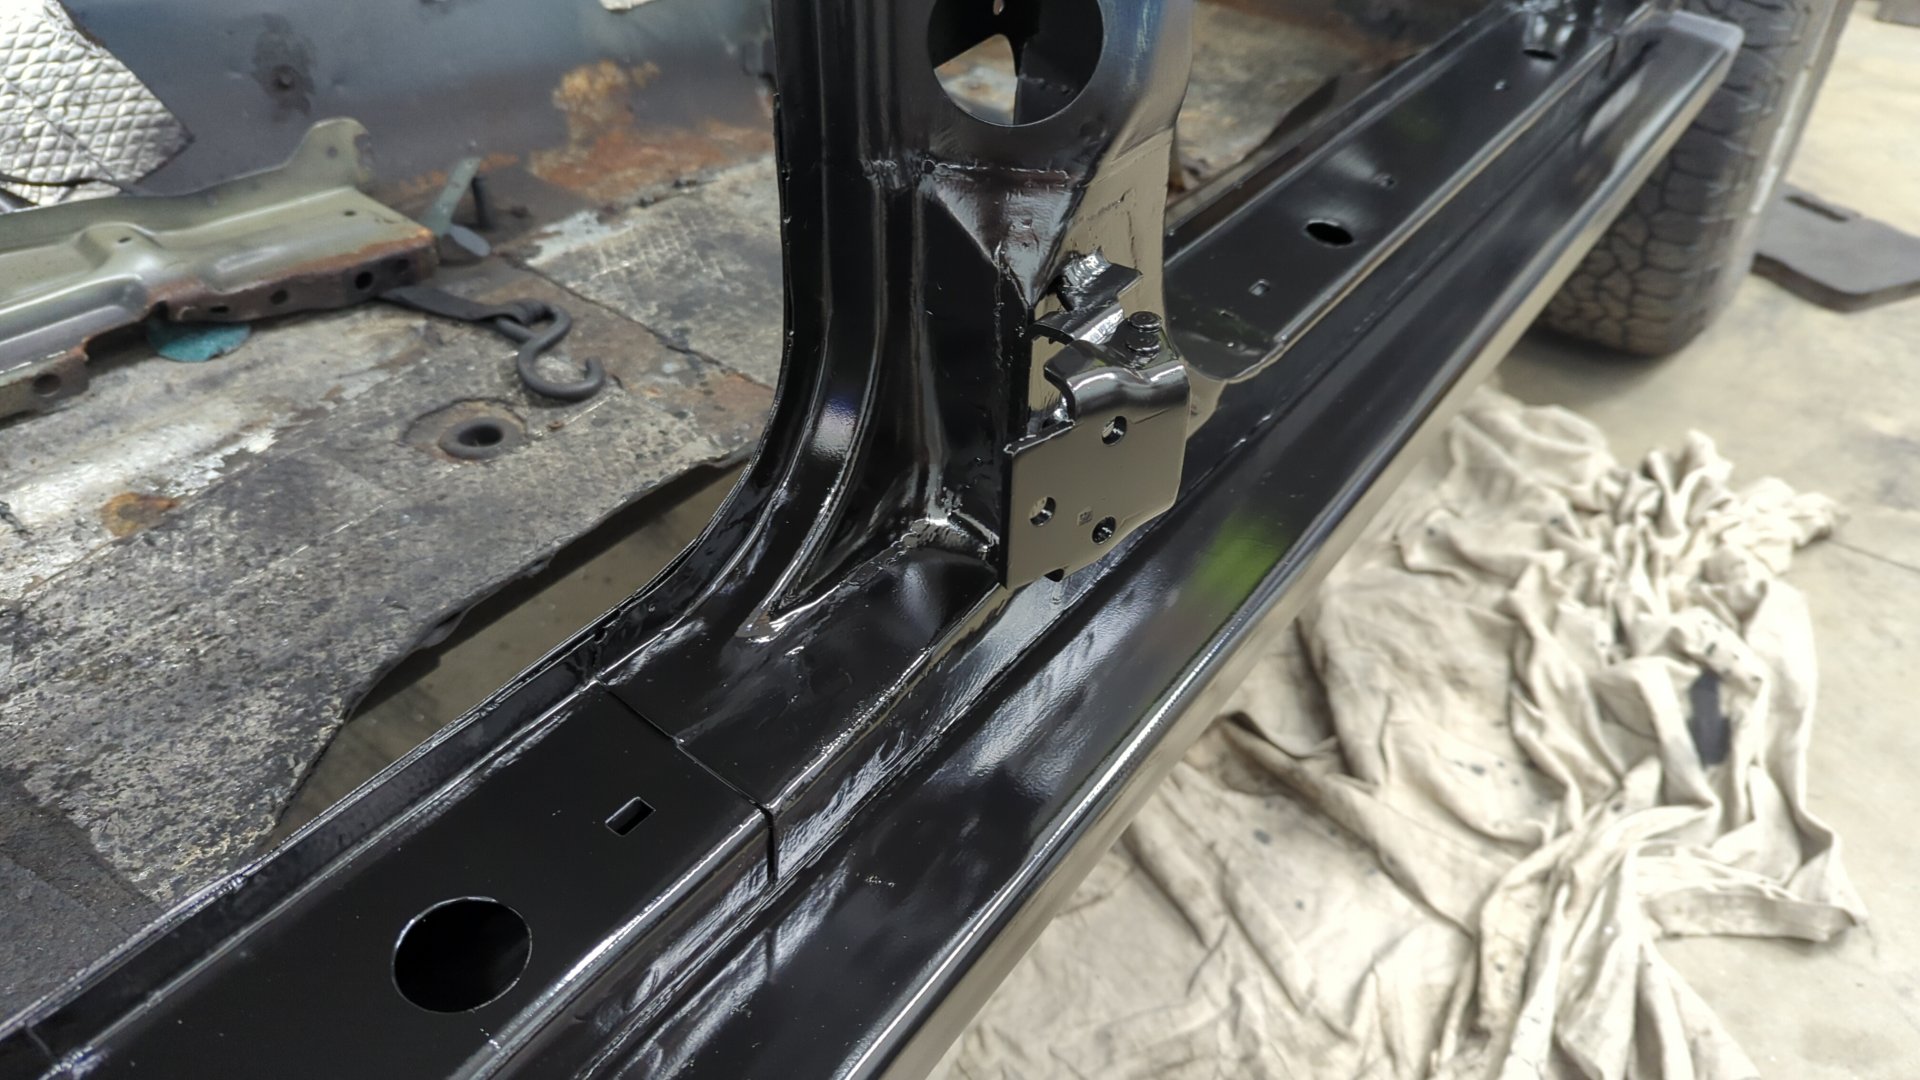
Since it felt good I figured I may as well make it permanent and officially welded it in.
For reference here’s what the old hinge looked like:
I added an extra weld on the inner edge of the hinge to make it extra strong.

Cleaning up the New (to Me) Front Door
There’s a story behind how I obtained the new front doors for the Jeep. About 6 months ago, someone posted up on the XJ subreddit that they had a pair of stripped down front doors they were looking to sell for $40. Having been on the hunt for a good pair of doors that I could fix up, I couldn’t pass on the deal.
The only catch was that the seller was located in New York which is about a 6 hours drive from here.
The drive didn’t deter me though, as I actually like going on road trips and my girlfriend was willing to tag along.
We made a small trip out of it, and camped out in a state park down in New York for the night so we wouldn’t have to drive all 12 hours in one day.

All in all, the doors weren’t in bad shape. One of them had ants in it, and looked like it had sat outside for awhile but overall they didn’t have too much rust.
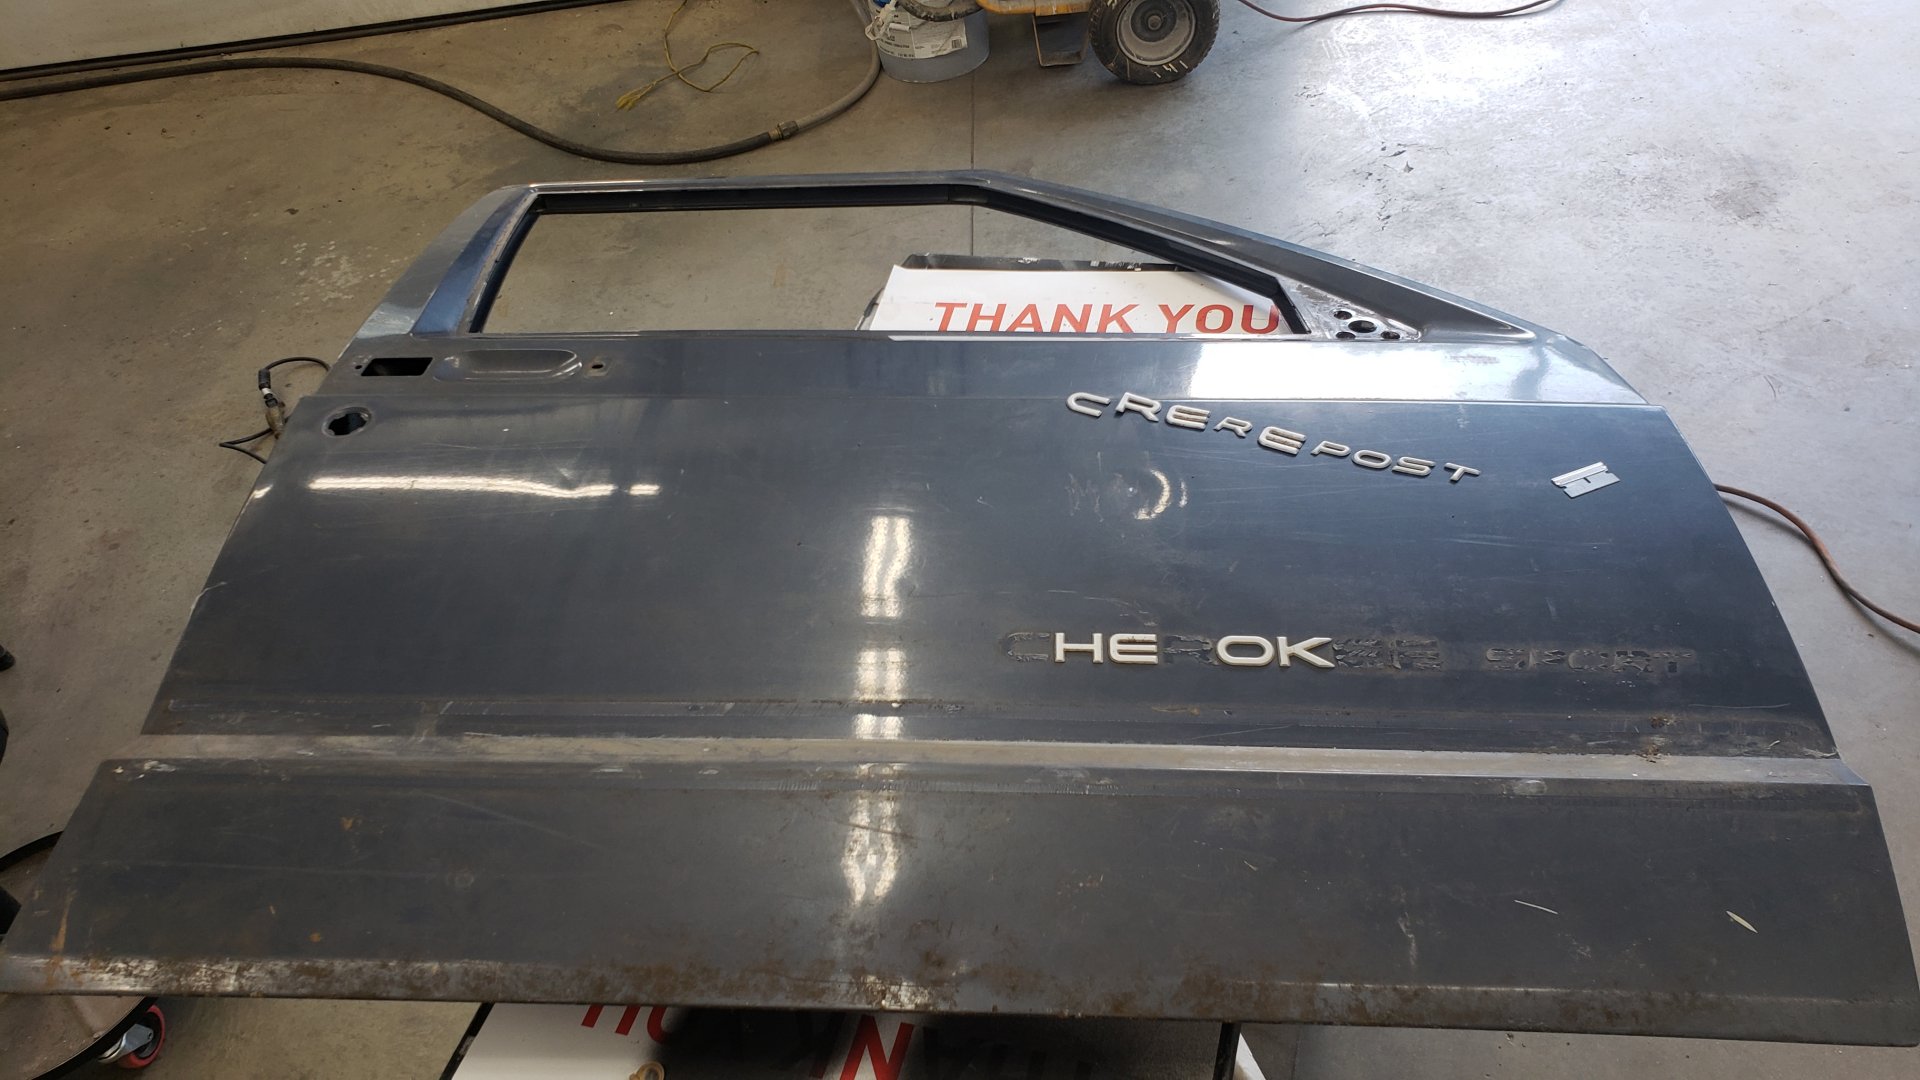
They did have some dents but that doesn’t bug me.

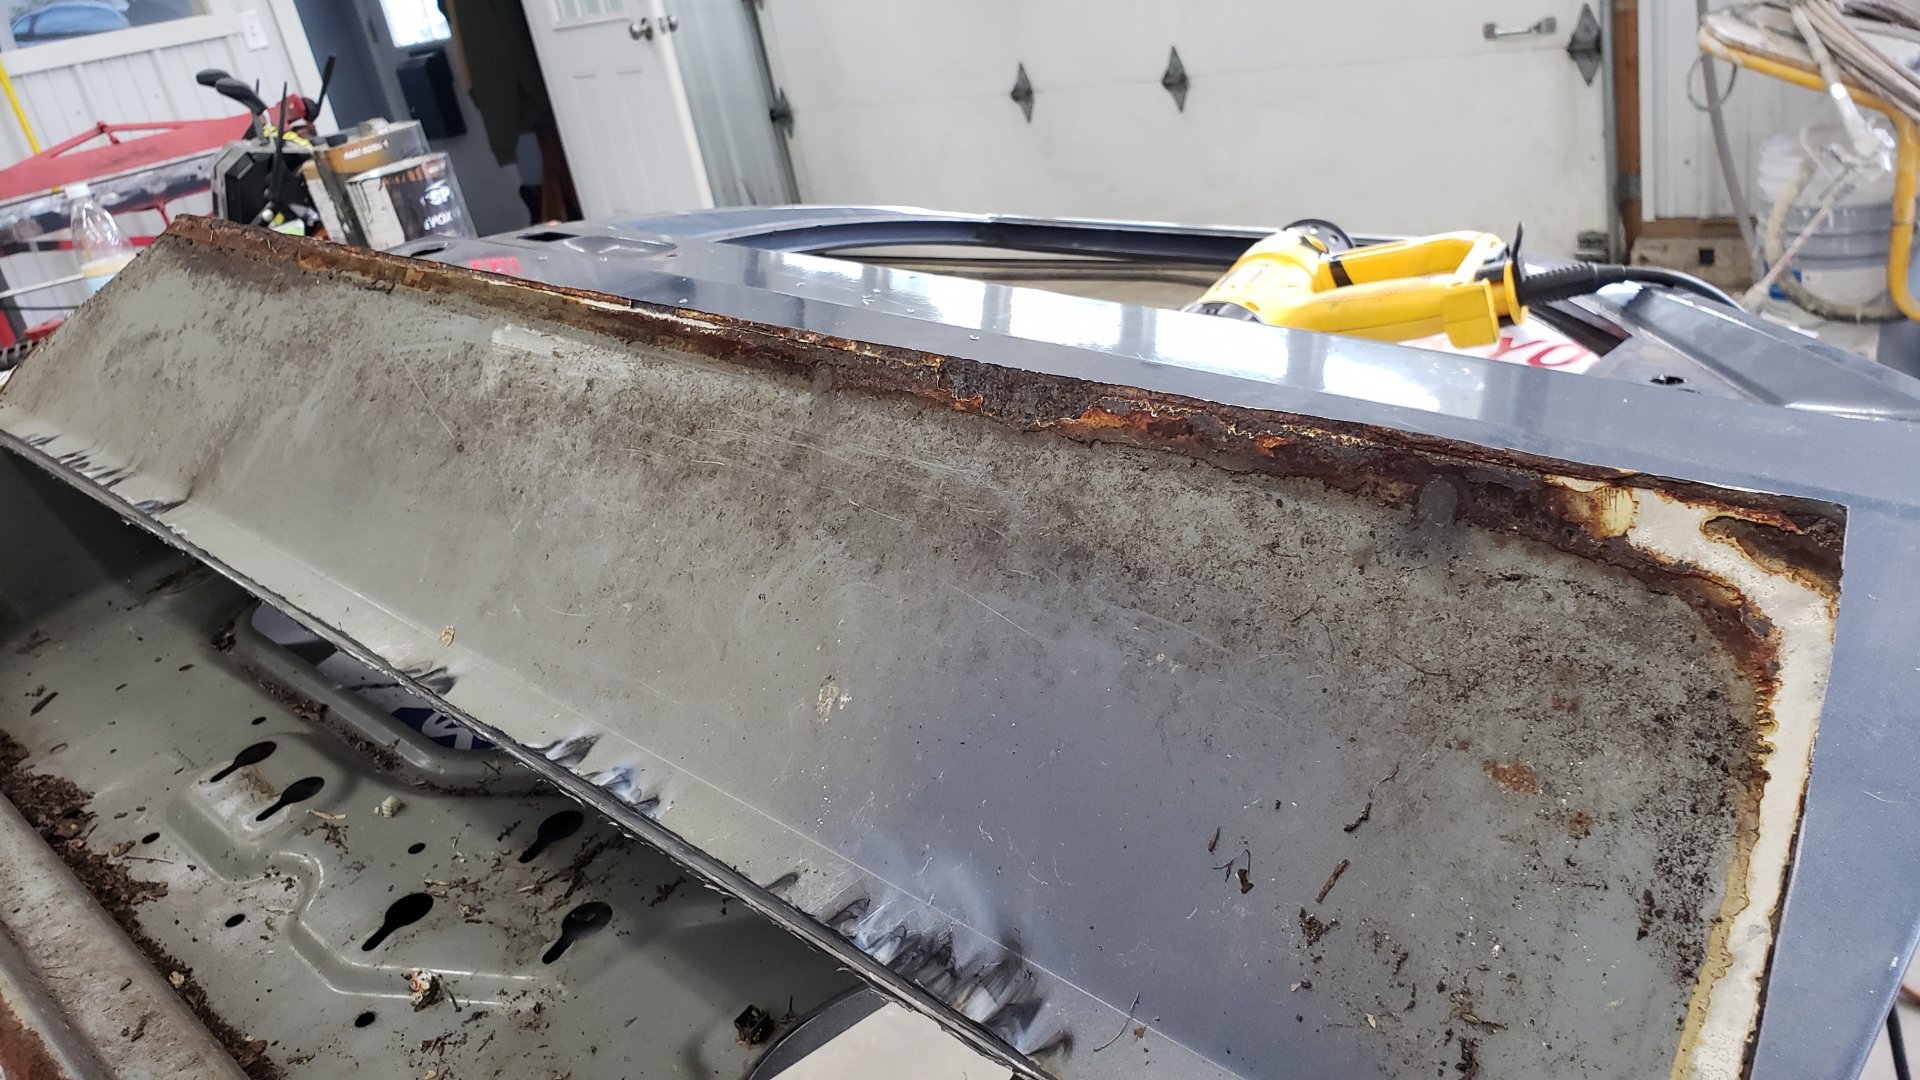
To start cleaning up the passenger door I cut off the lower door skin so I could clean up some of the rust I could see from the inside.
I learned a neat trick for removing door skins with a grinder by grinding away the metal on the edges until you’ve worn through the outer layer.
Then you just need to make a cut along the edge you want to stop at.
And just like that, the skin flips open like a lid.

From the outside the door wasn’t showing any rust, but when peeking into the inside from the back I could see some rust creeping out from the pinch seam.
What’s crazy is that this door still had dirt stuck in it. Prior to cutting it open I used compressed air and my vacuum to remove as much debris as I could.
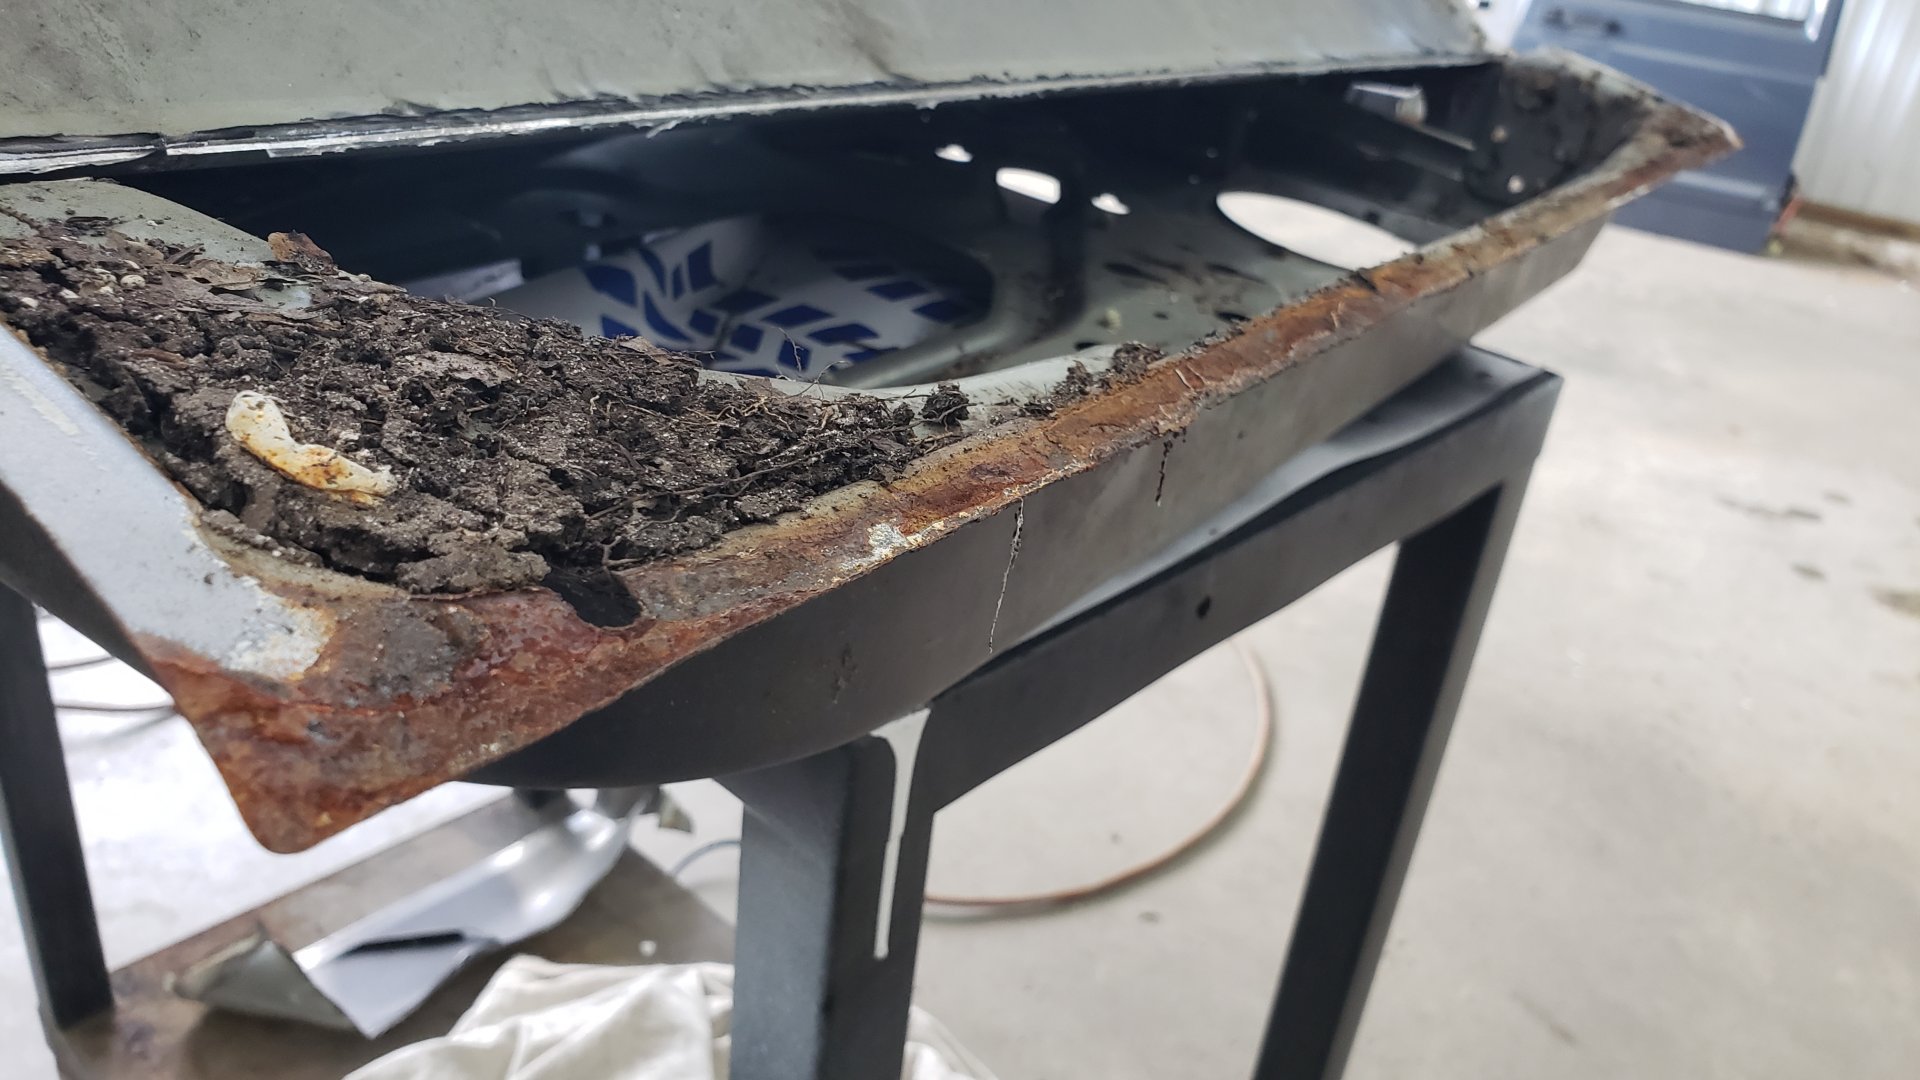
A bit of work with the sand blaster cleaned everything up nicely though!
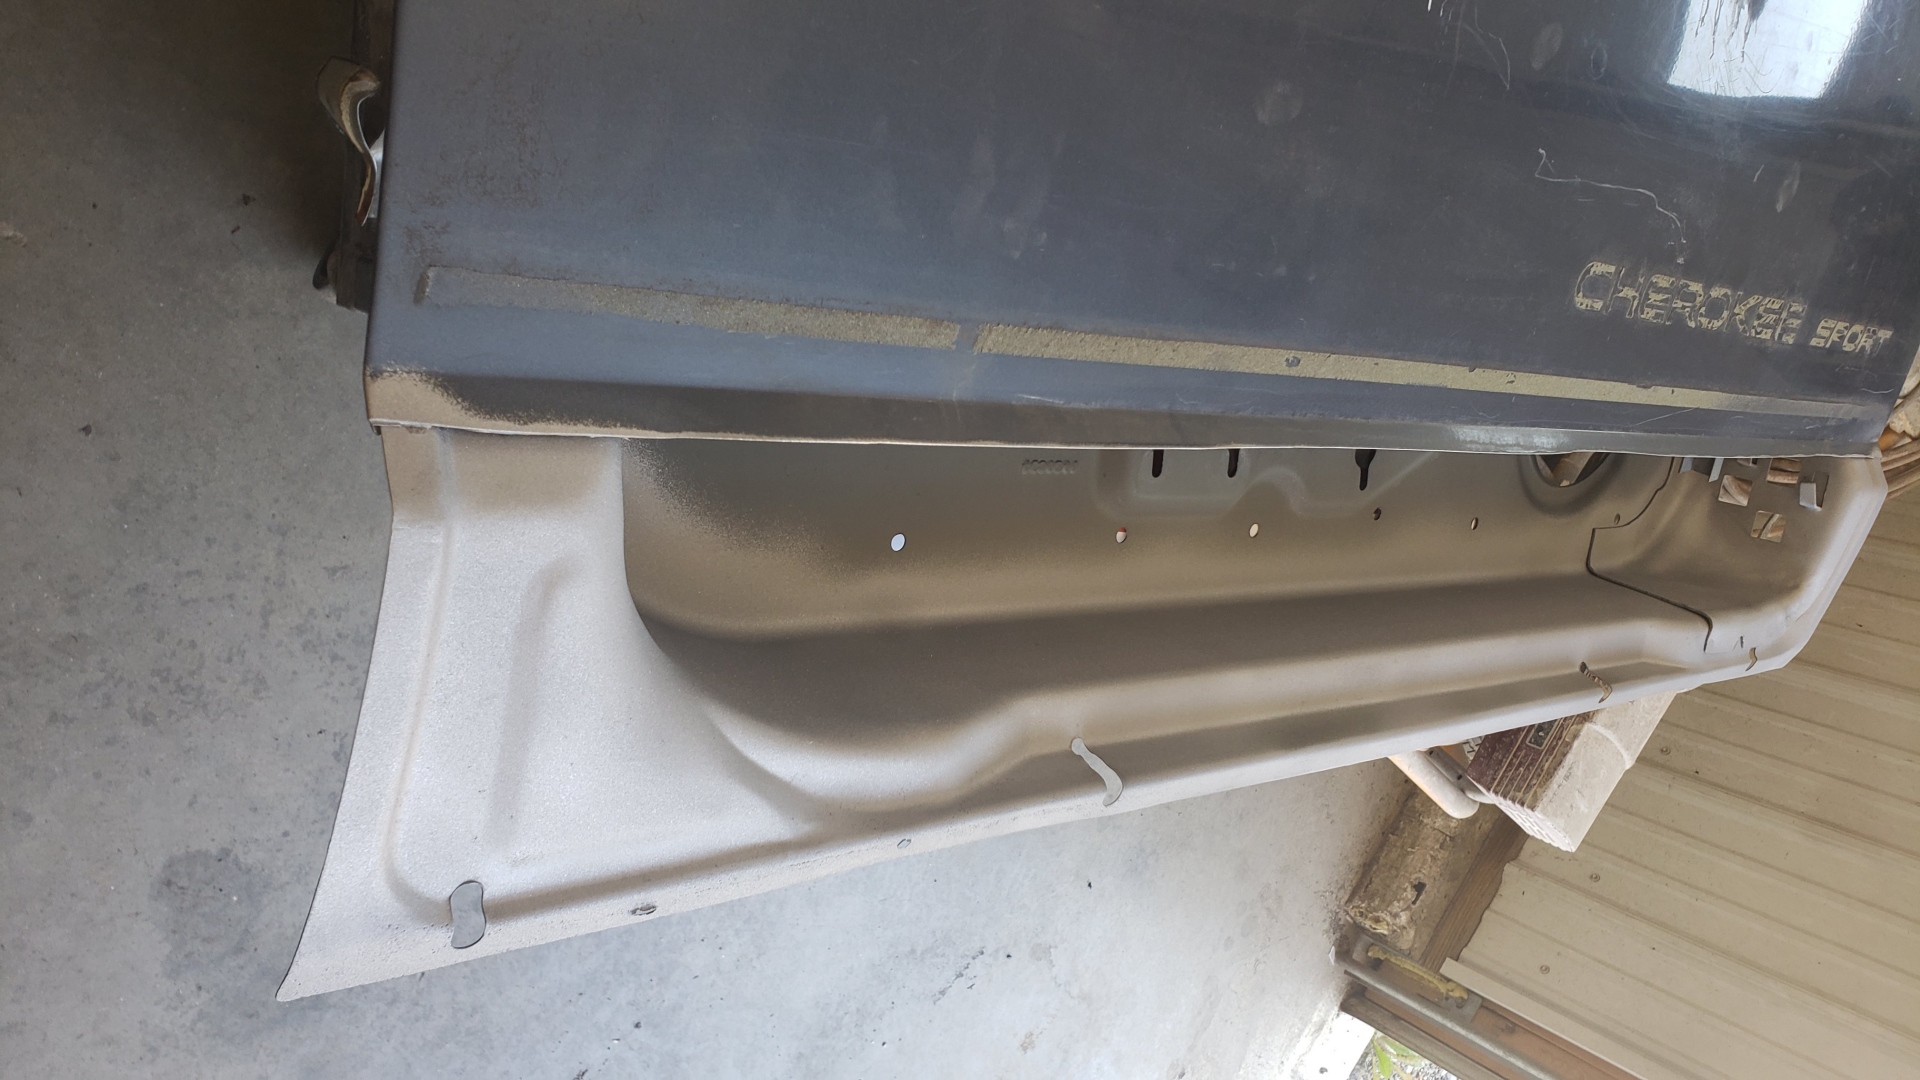
And as fate would have it, I never snagged a picture of the inside of the door once I finished priming it. So let’s jump forward in time to welding on the new lower door skin.
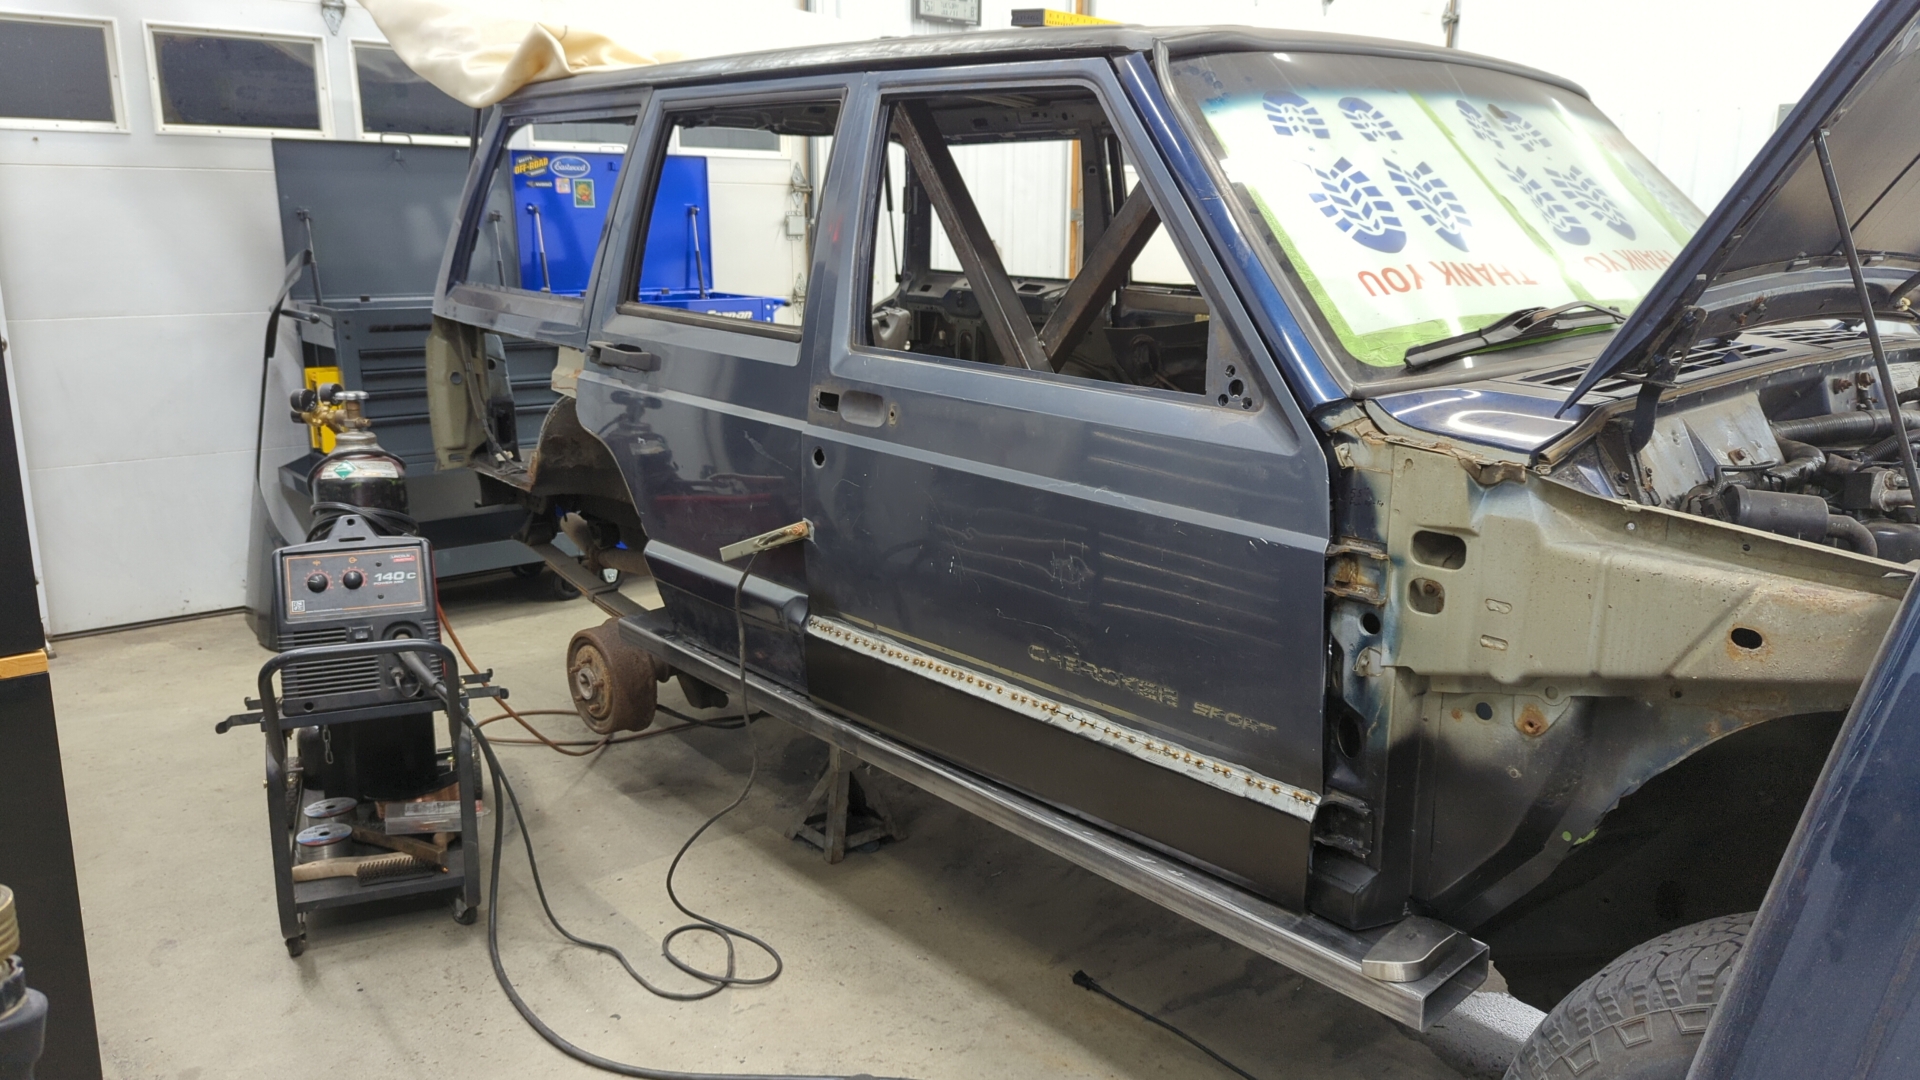
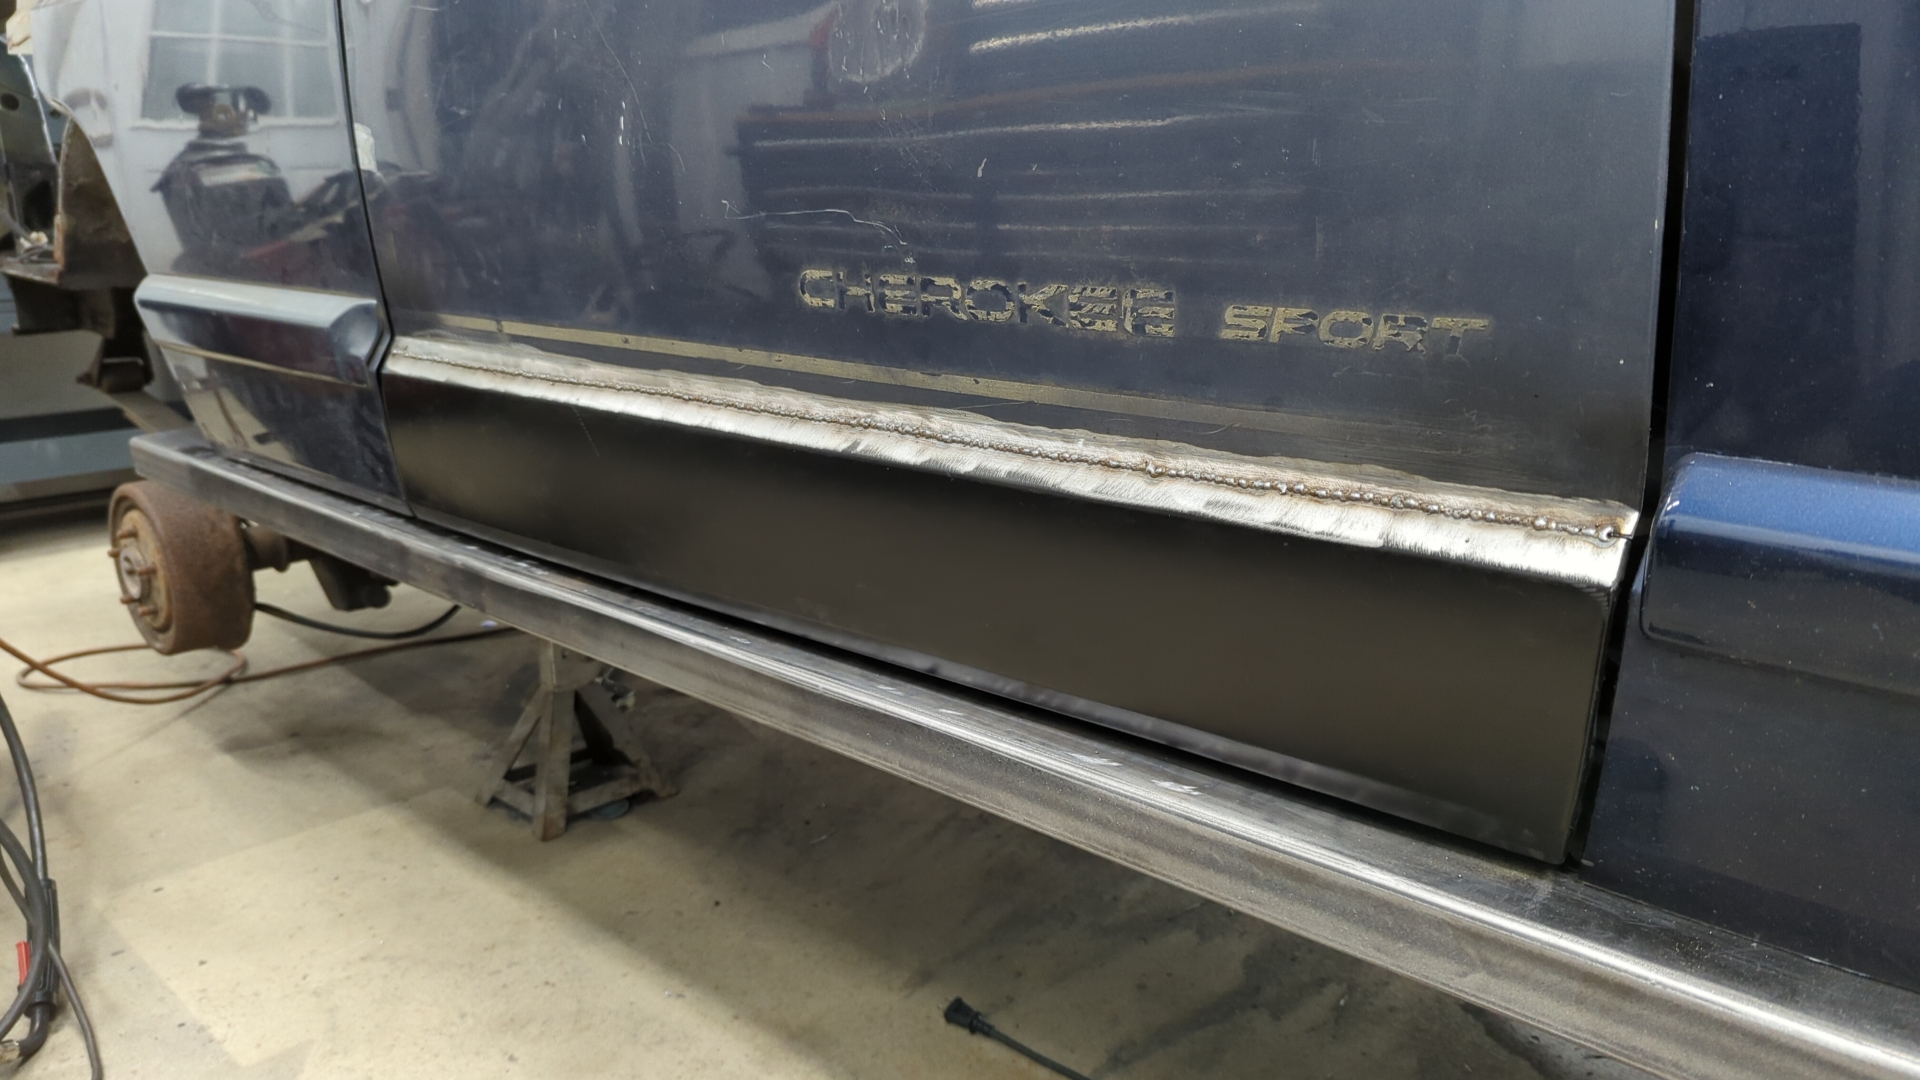
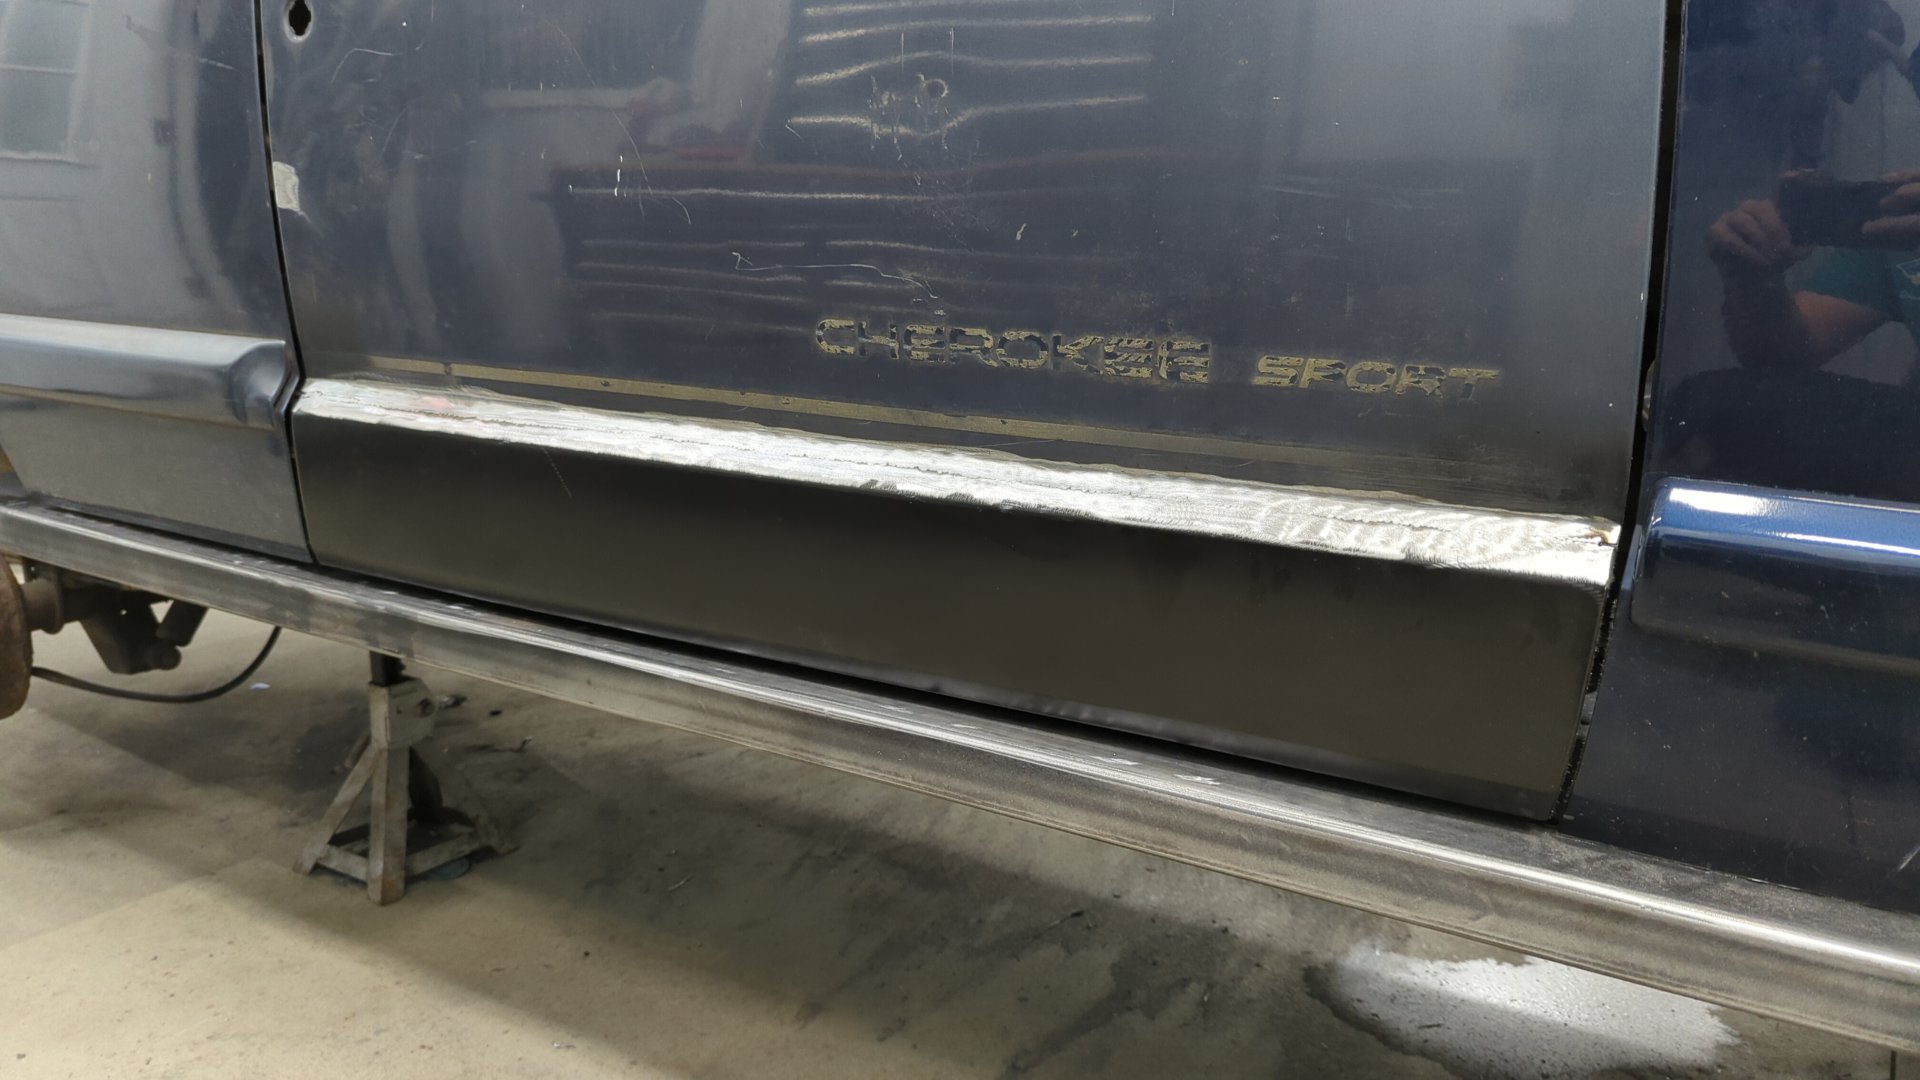
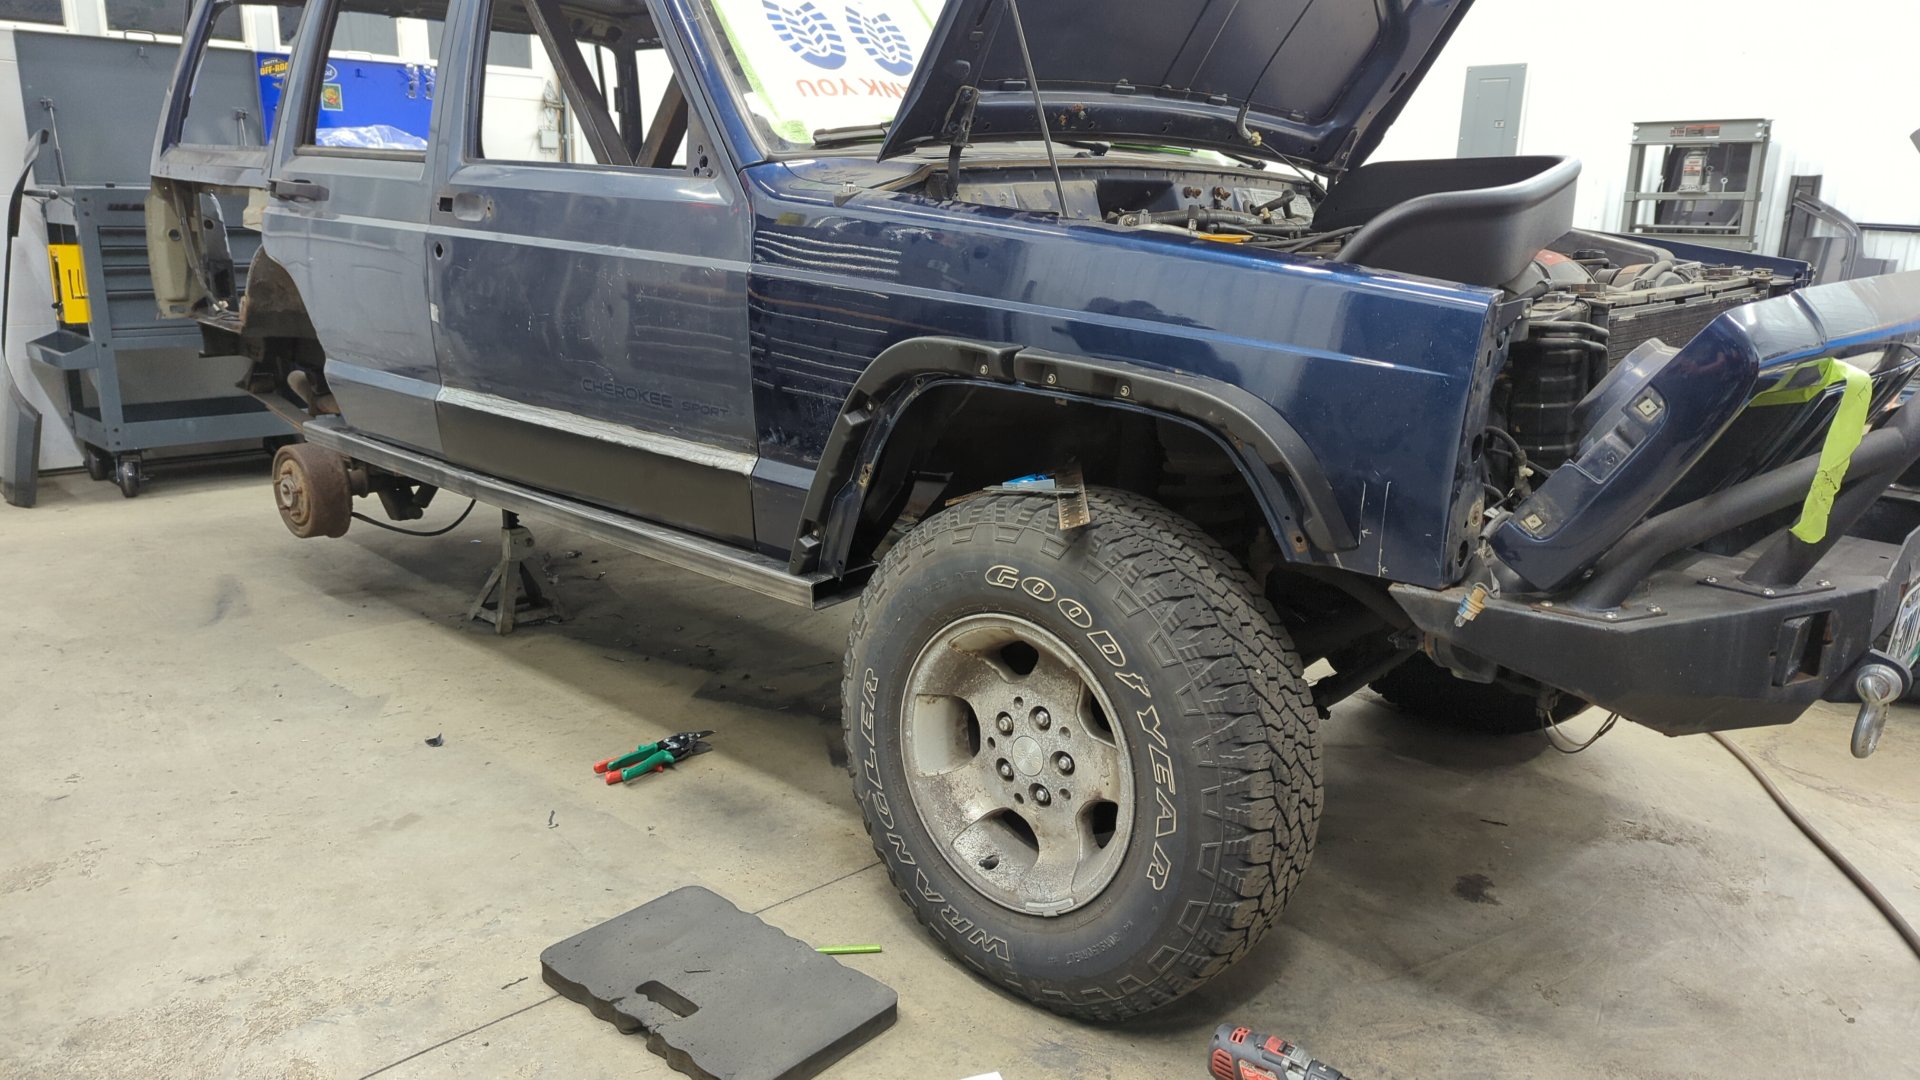
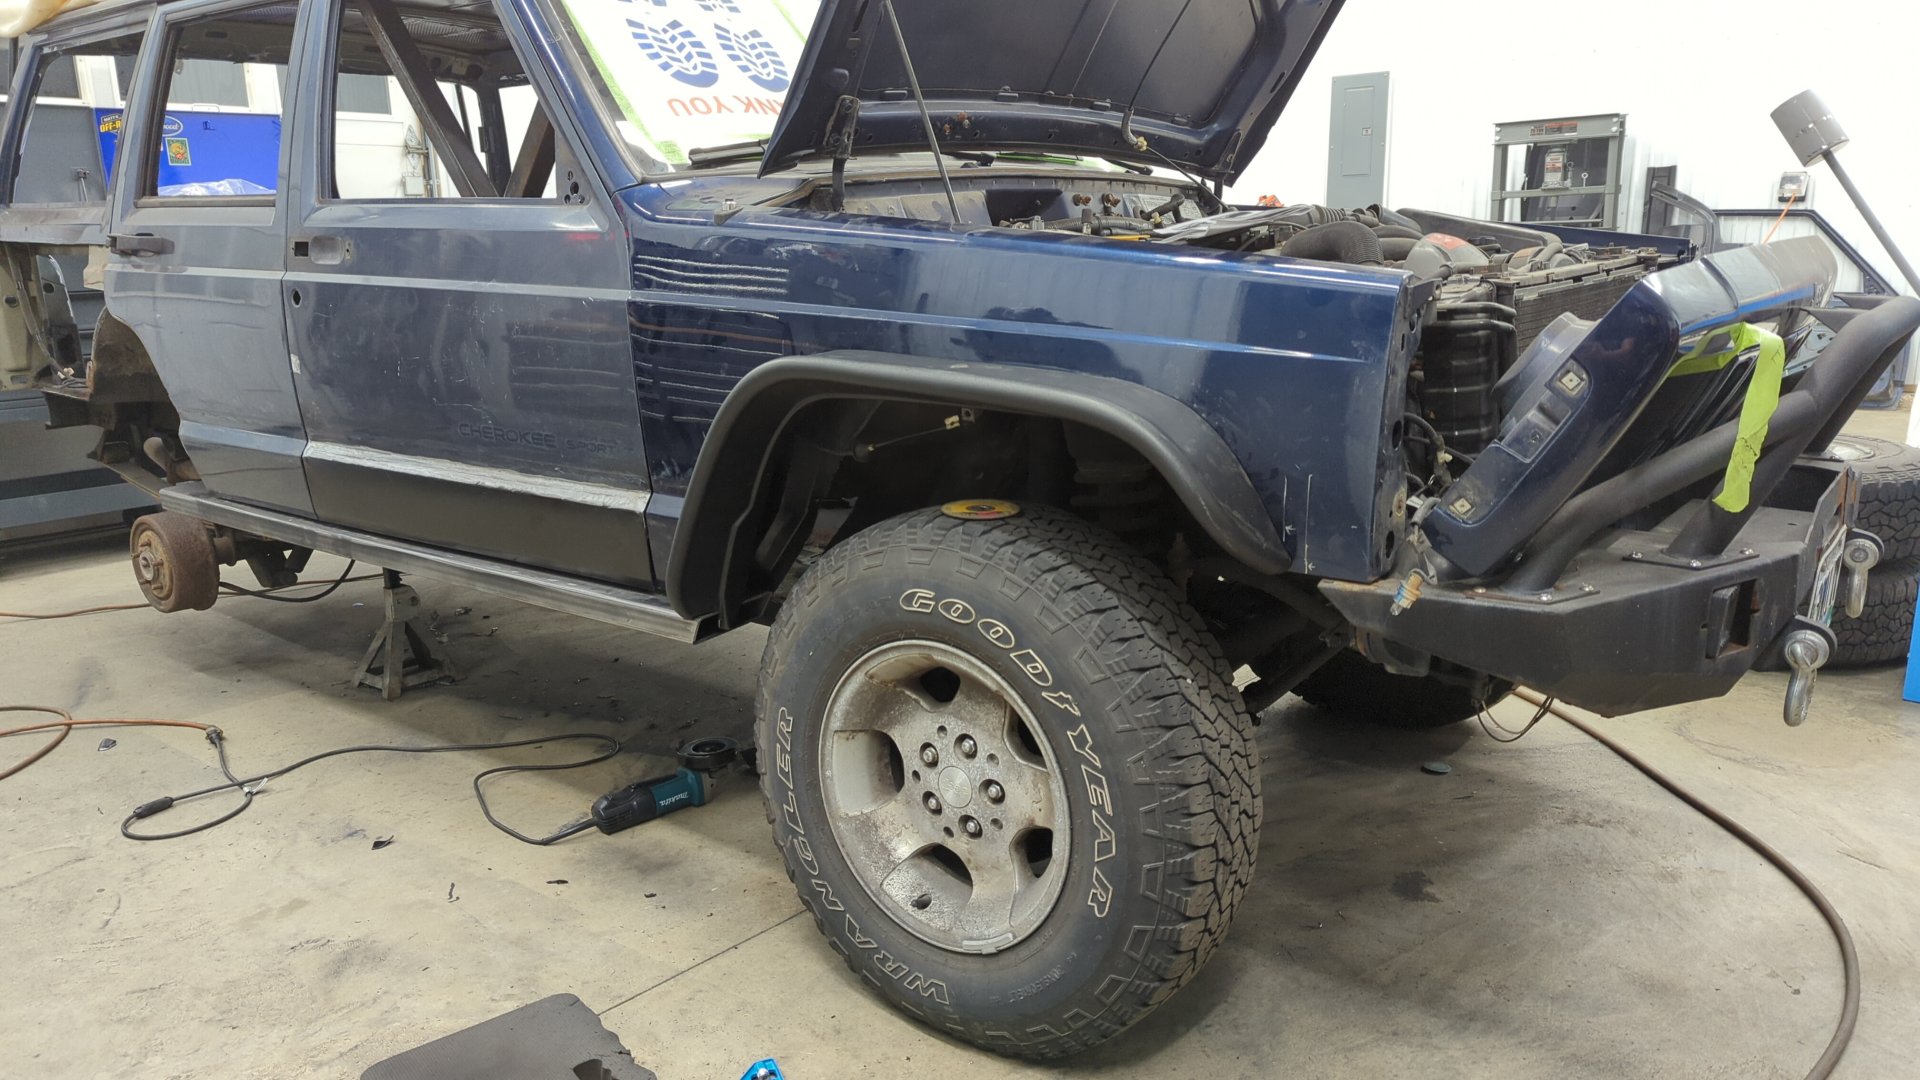
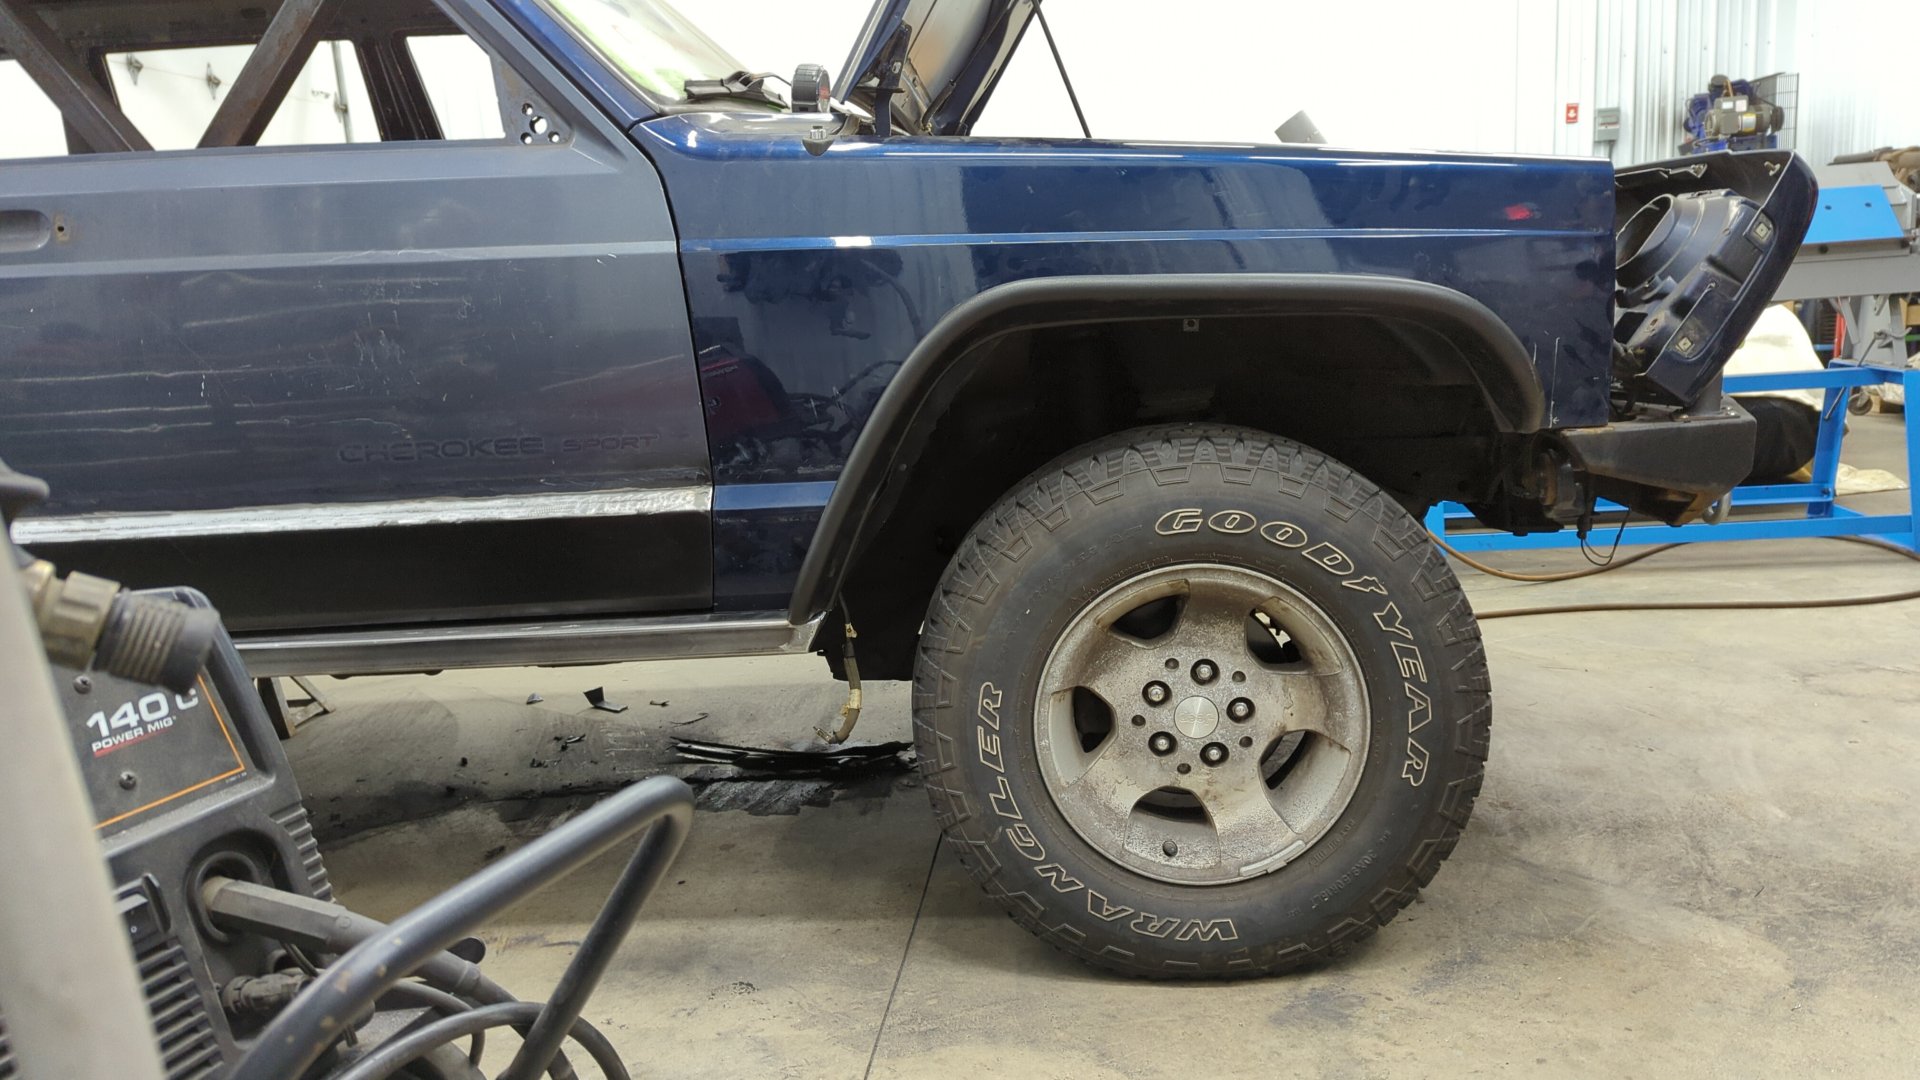
Trim Delete and New Flares
I’ve always loved the bare look of XJs without door trim but have never felt comfortable deleting the trim on mine because I was concerned about door dings.
But now that I’ve got the 2x6 rocker to protect the door from other car doors I think it’s time for me to finally delete the trim.


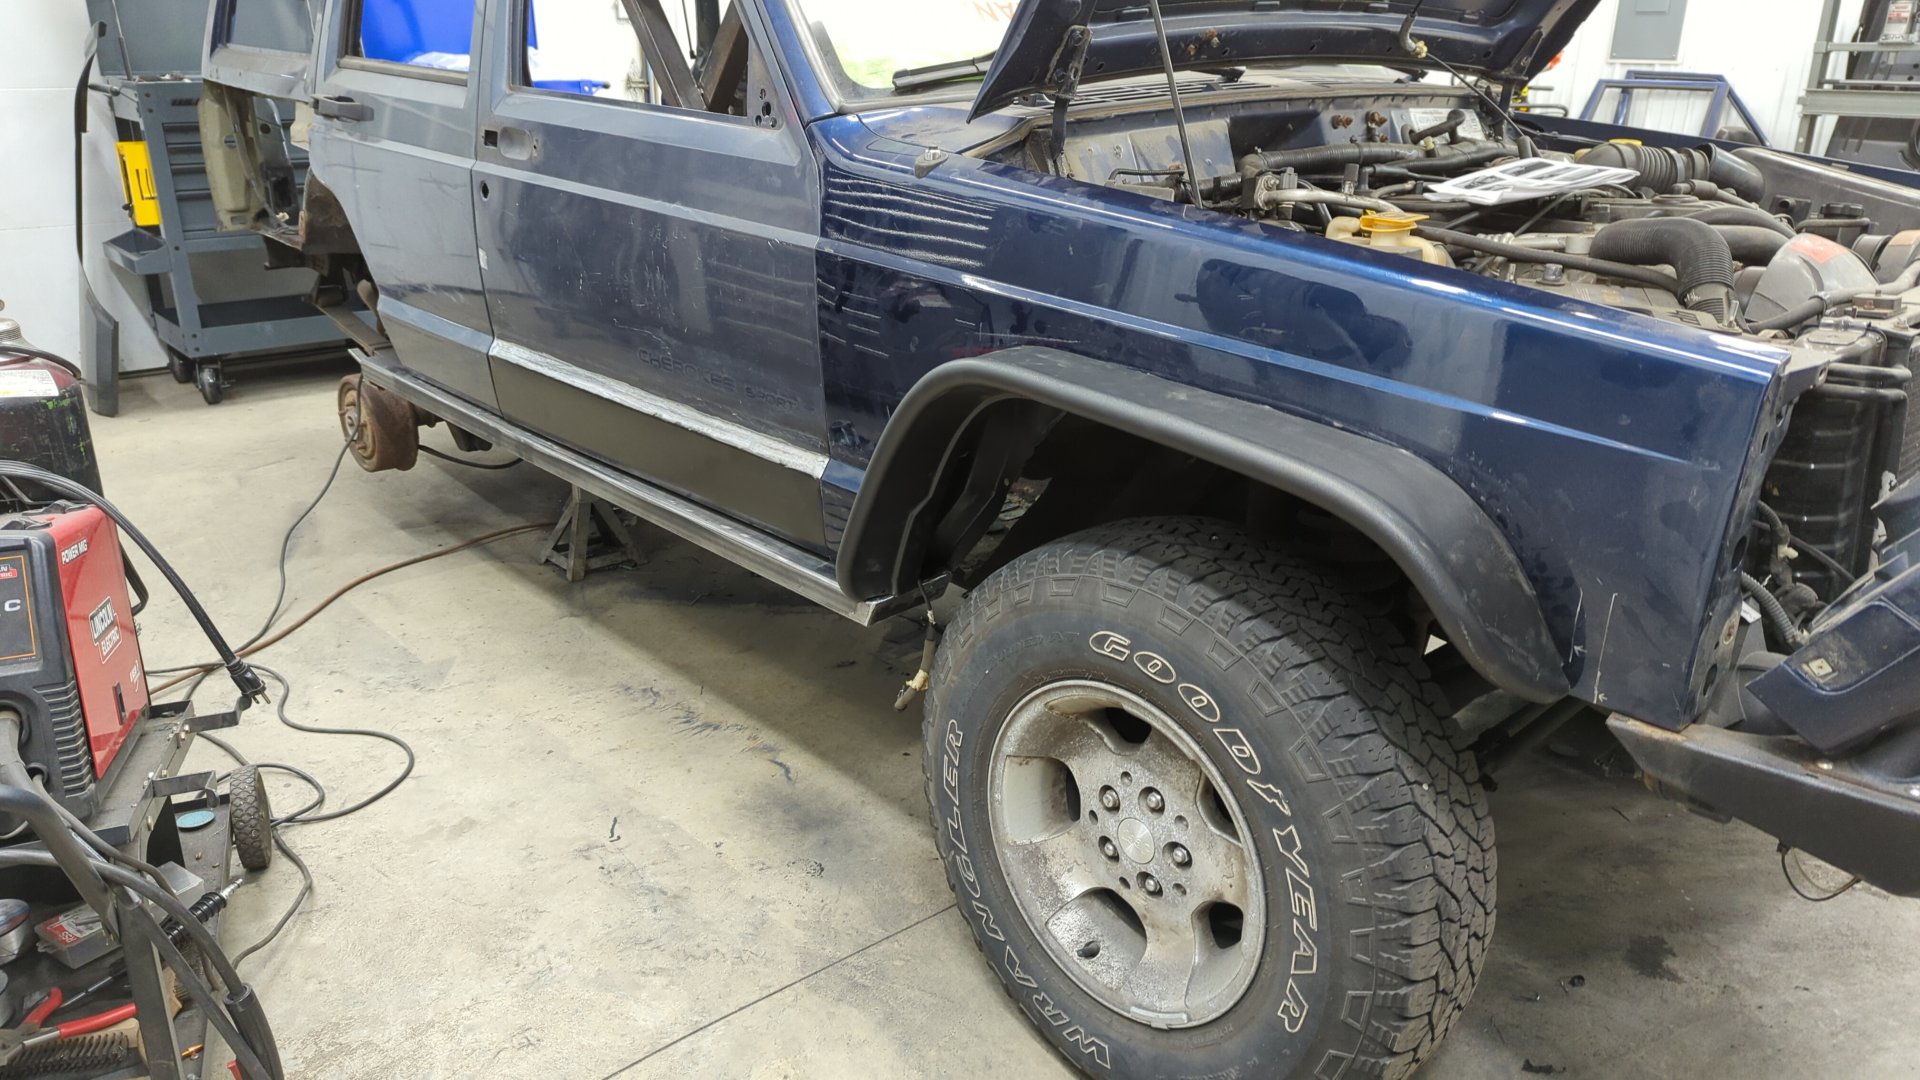
And if you’re wondering why I ended my 2x6 rocker at an odd spot below the fender, it’s because I had planned on switching to Bushwacker flat flares instead of the OEM ones. They require a bit of trimming to open up the fender so I purposely didn’t extend the 2x6 to the end of the fender lip.
When the XJ gets closer to being road ready I plan on bumping up to 31s (or maybe 32s if the flares make them look small).
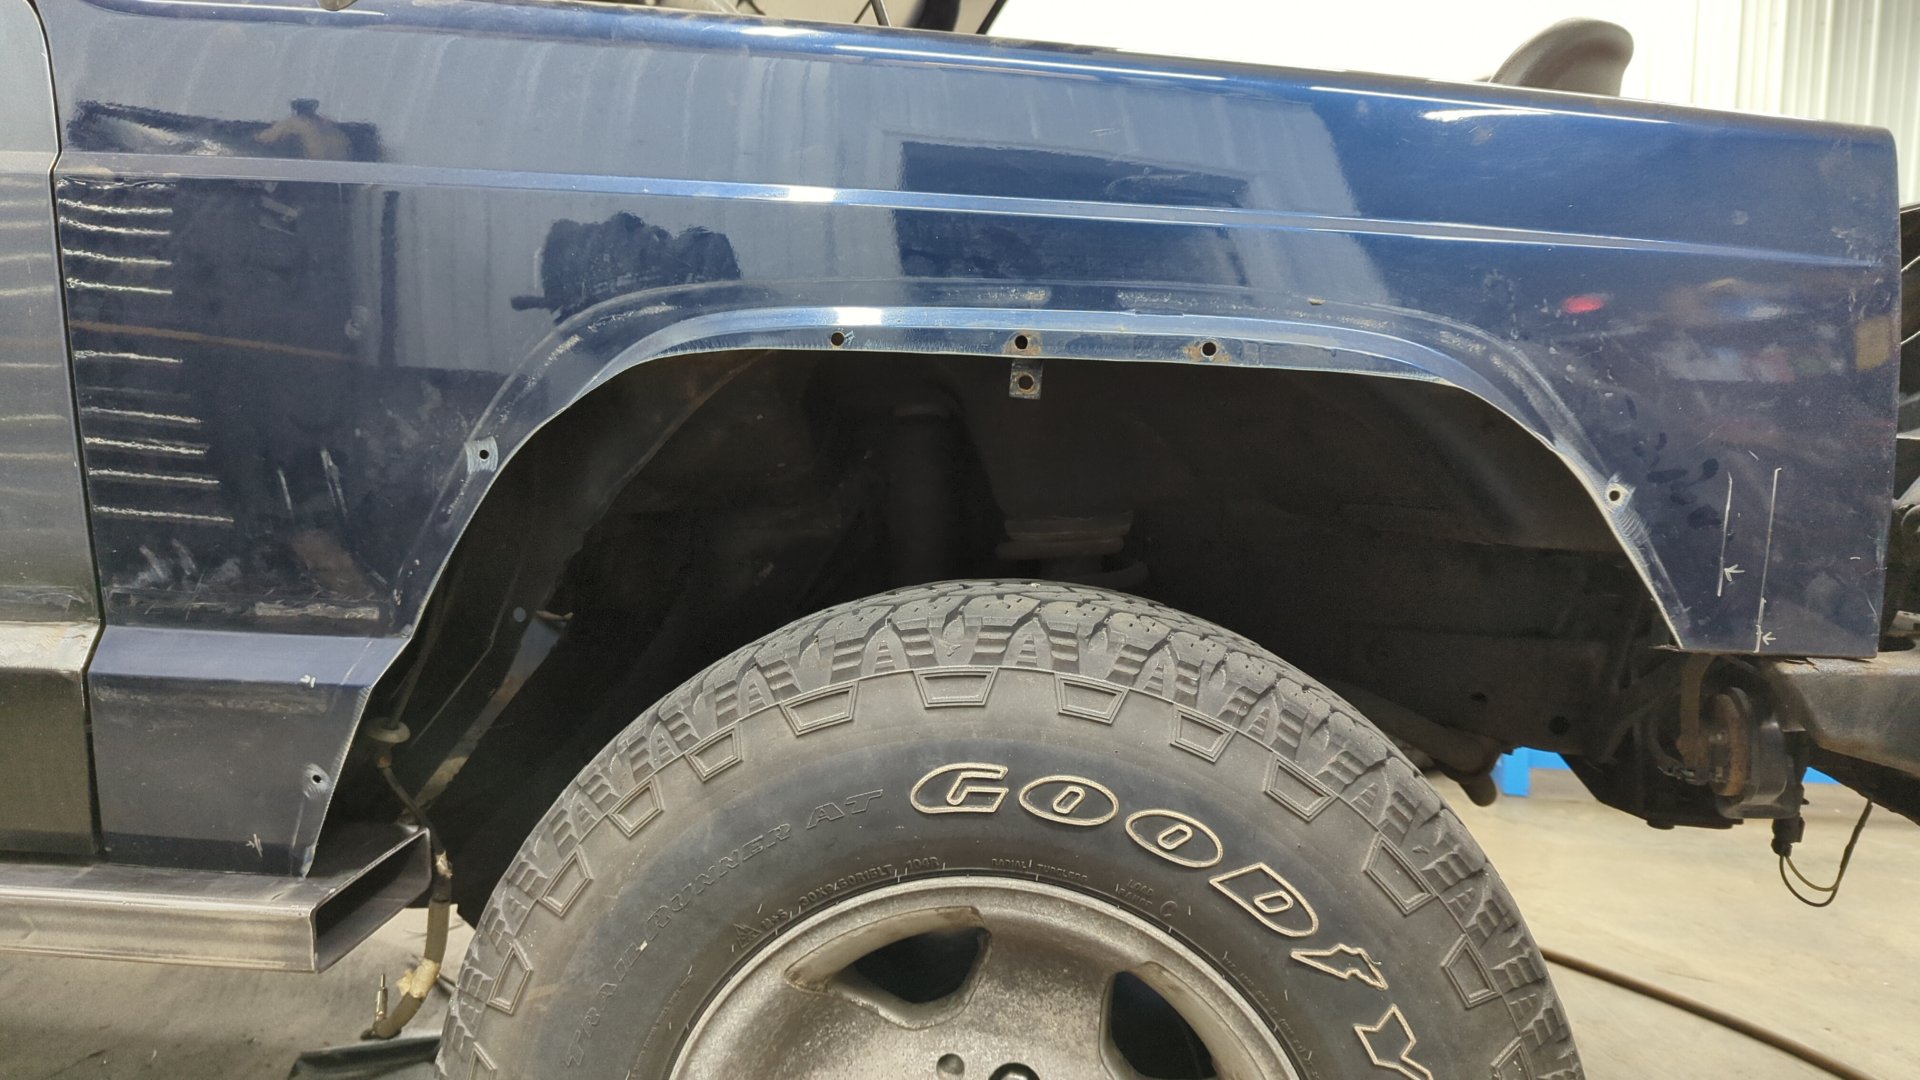
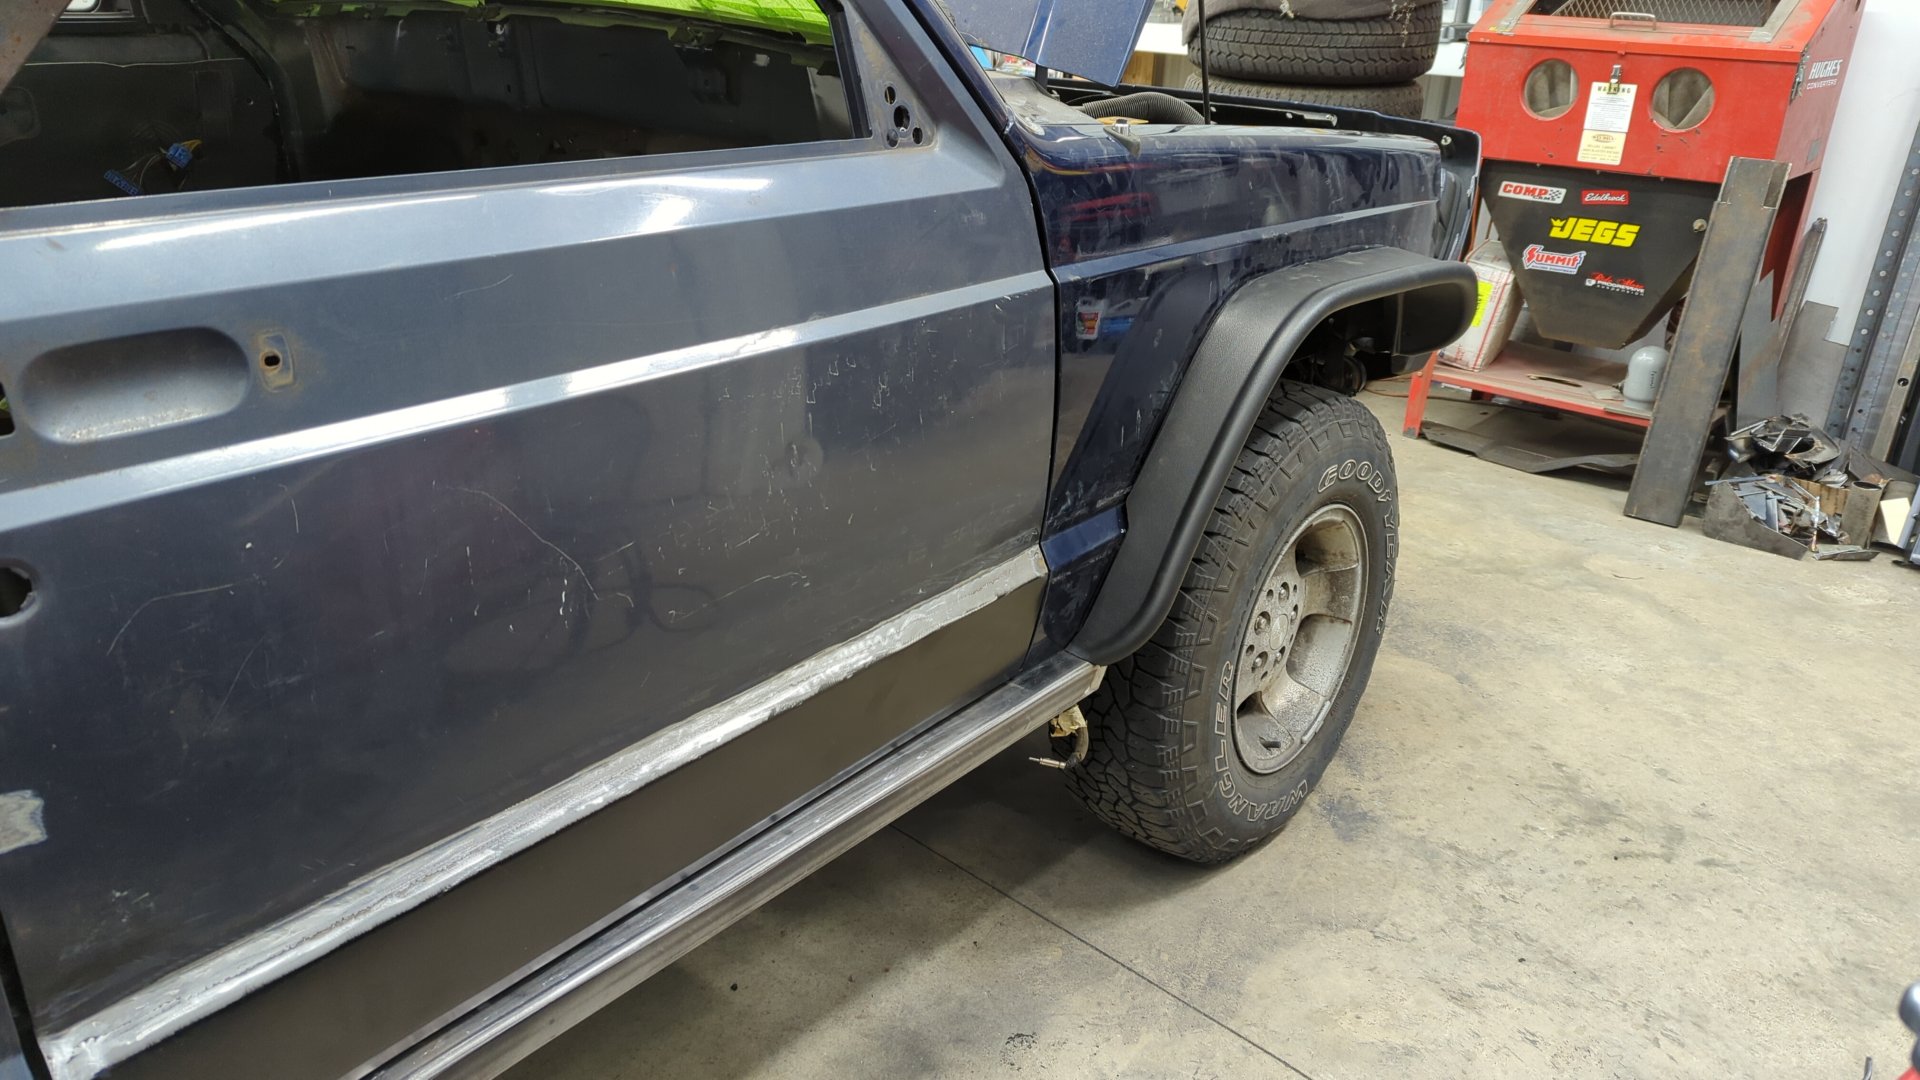
I had to do some trimming on the flare mounting bracket, and the flare itself to clear the 2x6.
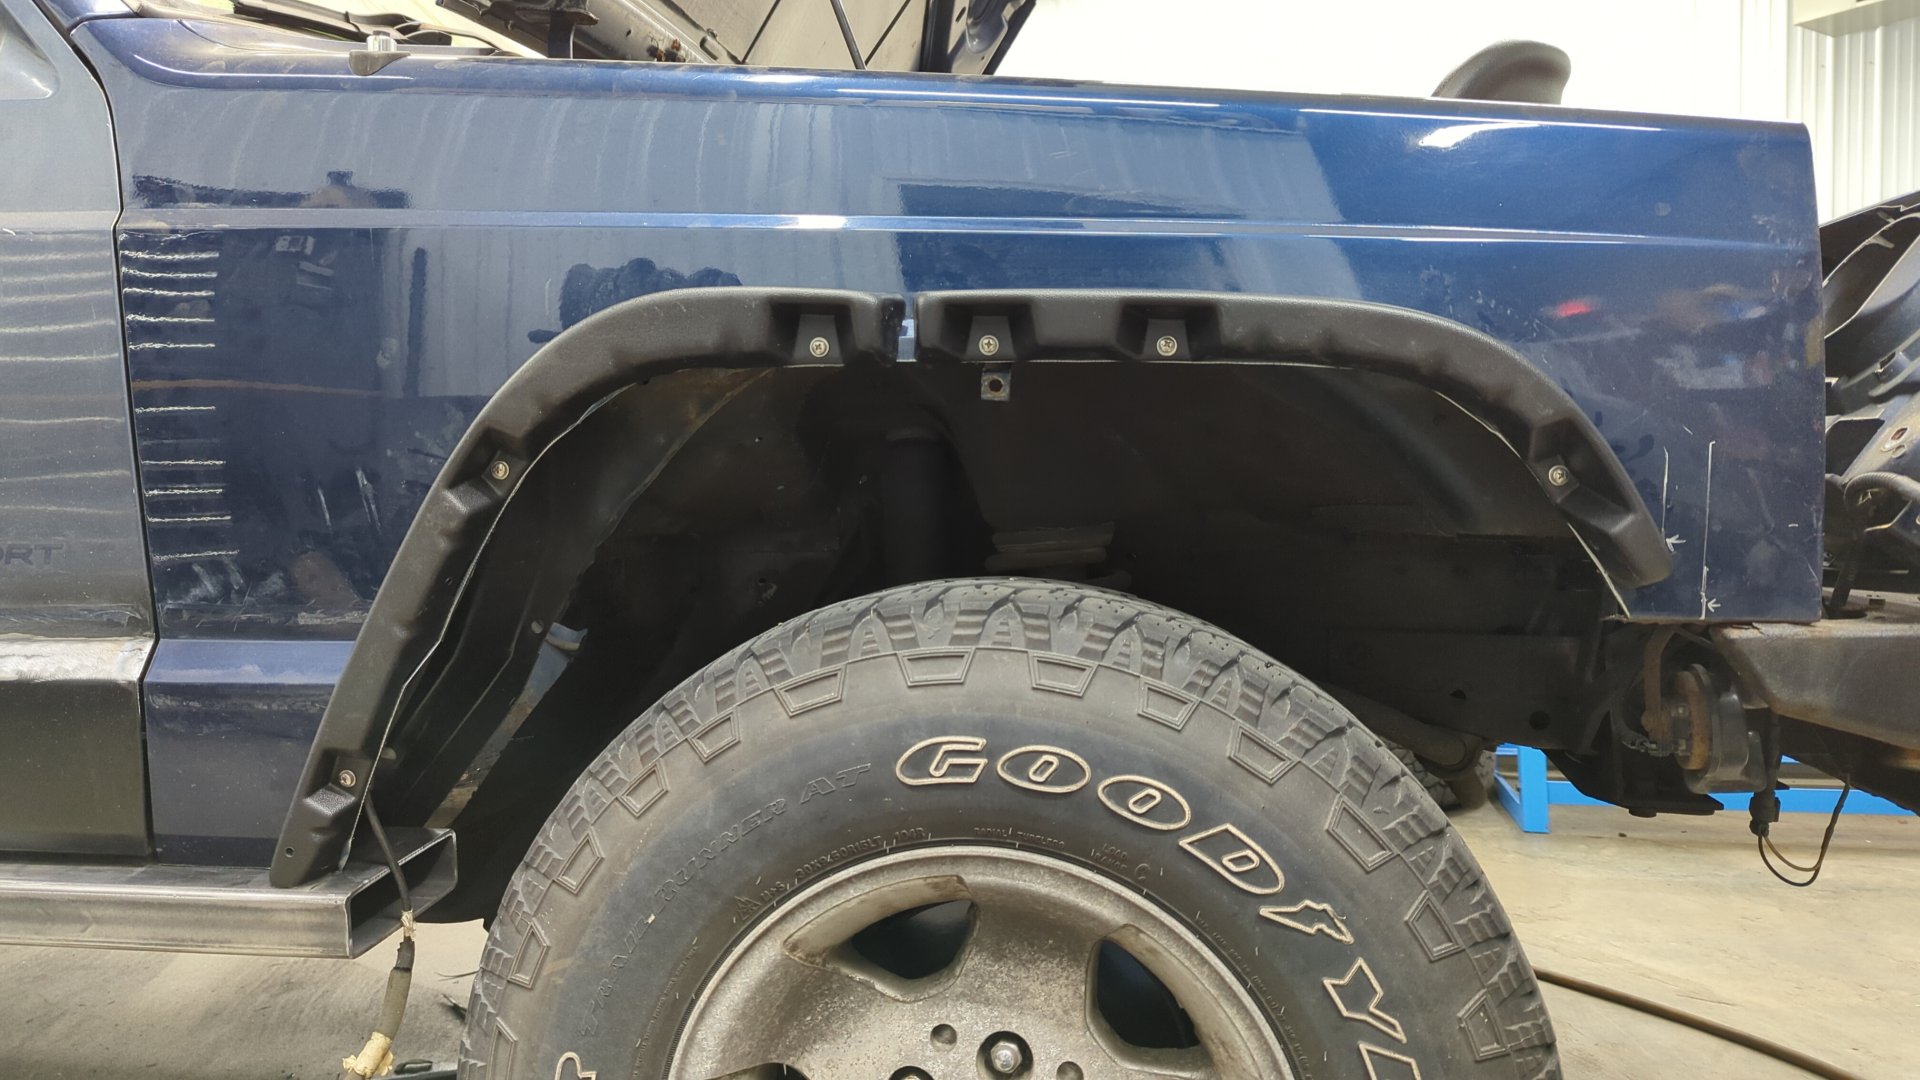
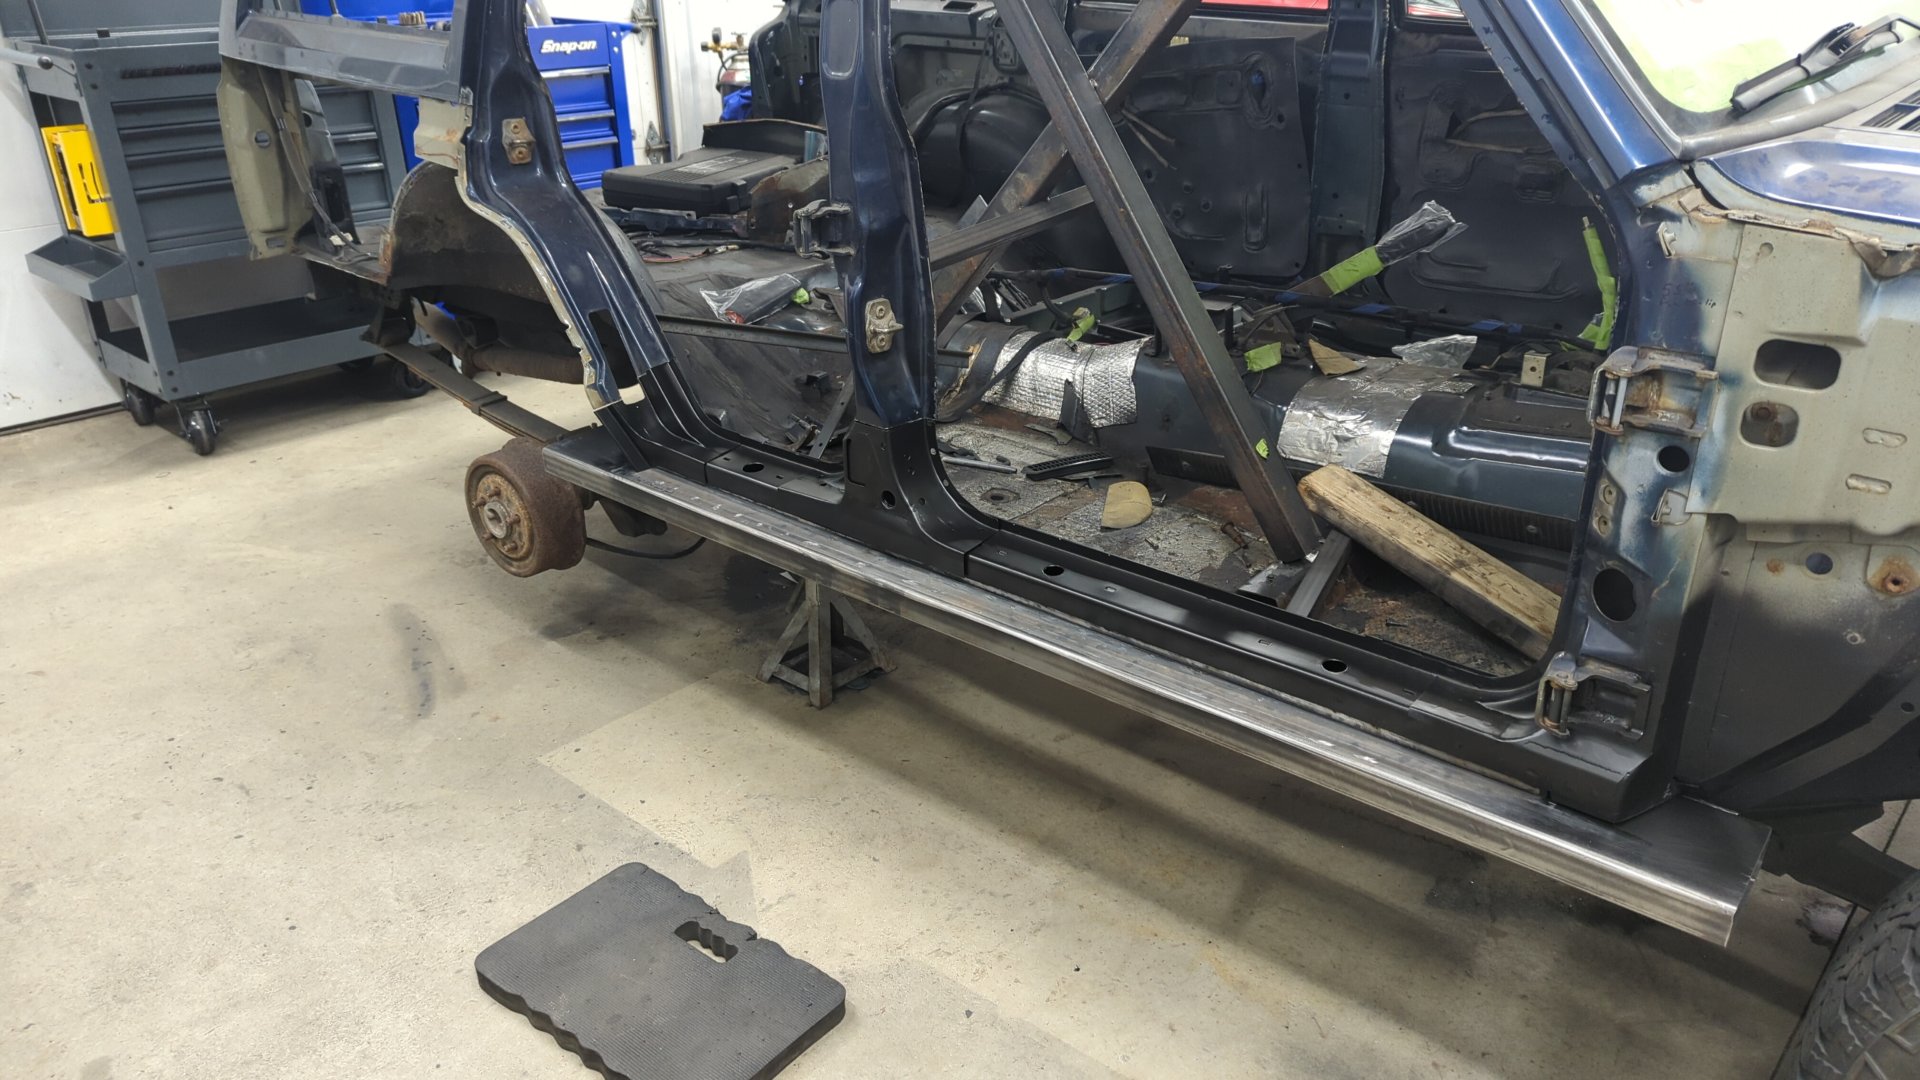
Once the flare fit nicely, I trimmed down the 2x6 and gave it a slight angle to compliment the flare.
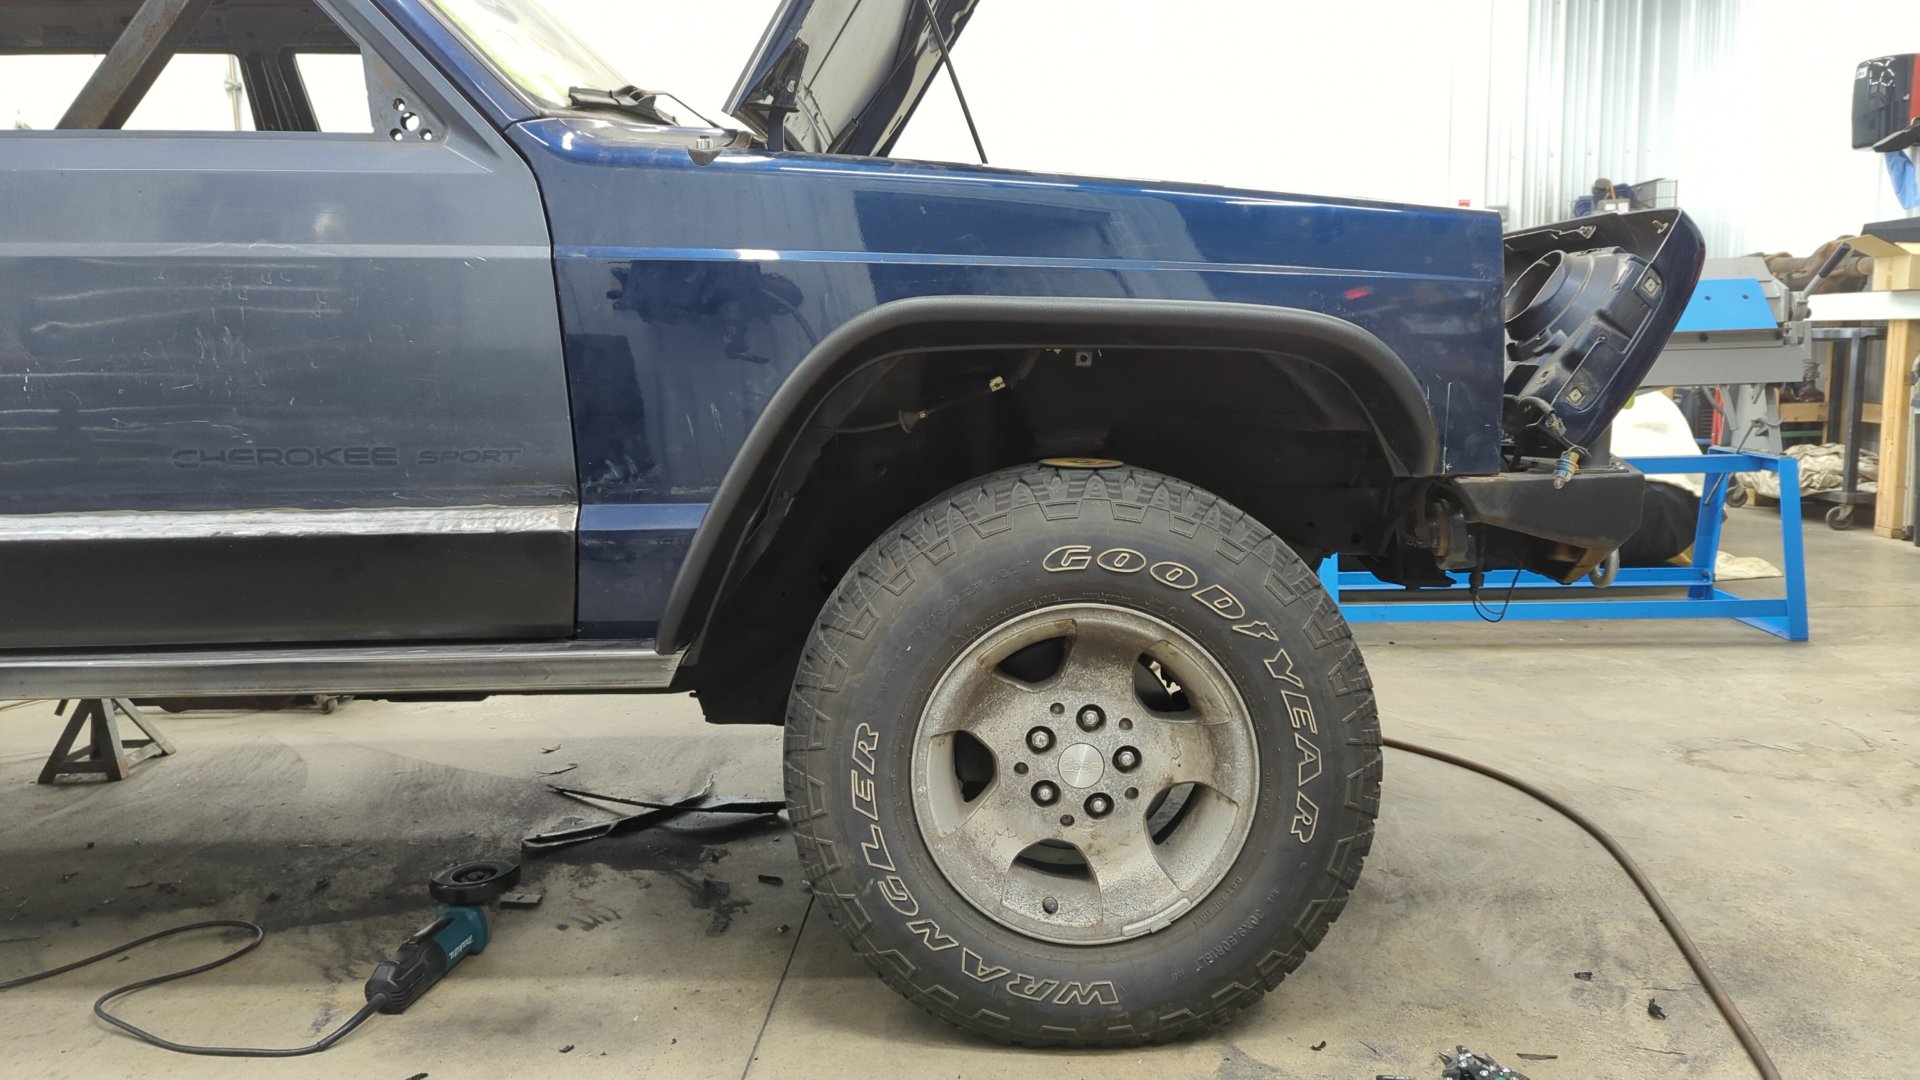
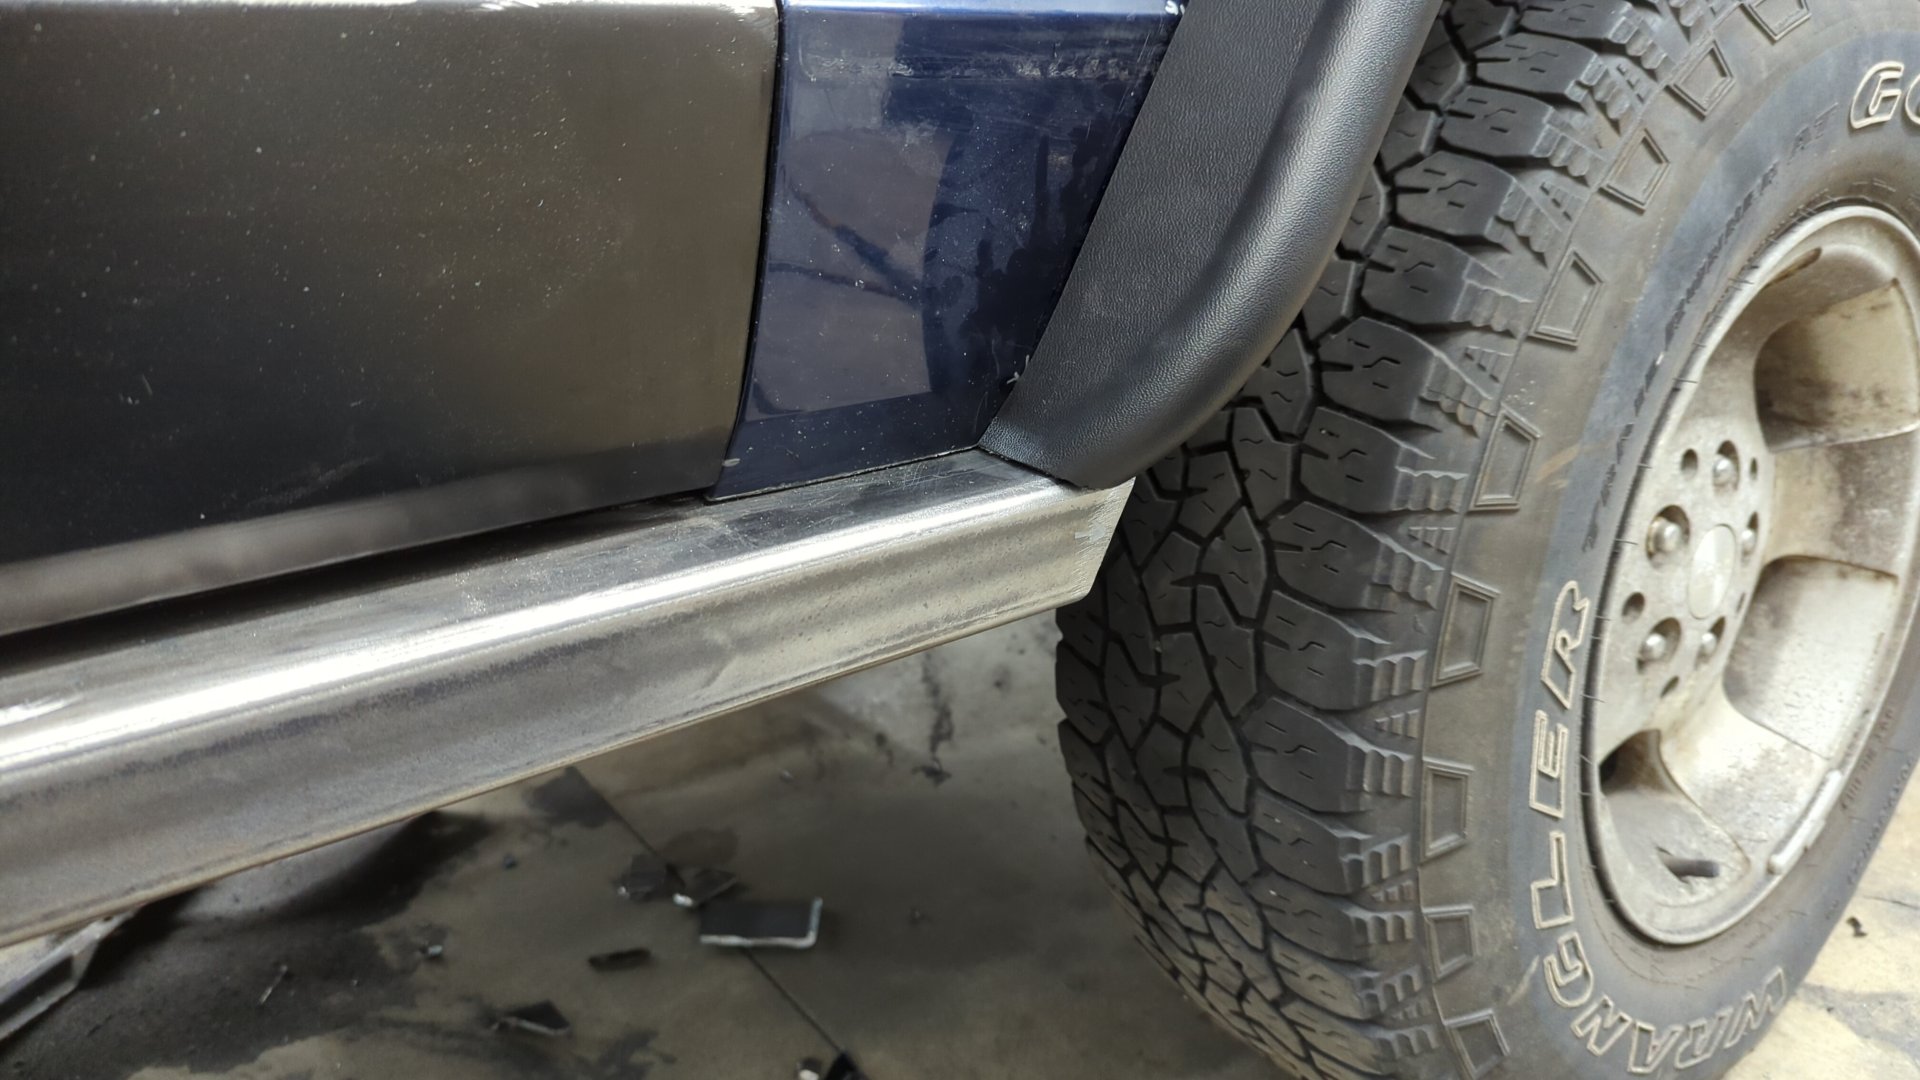
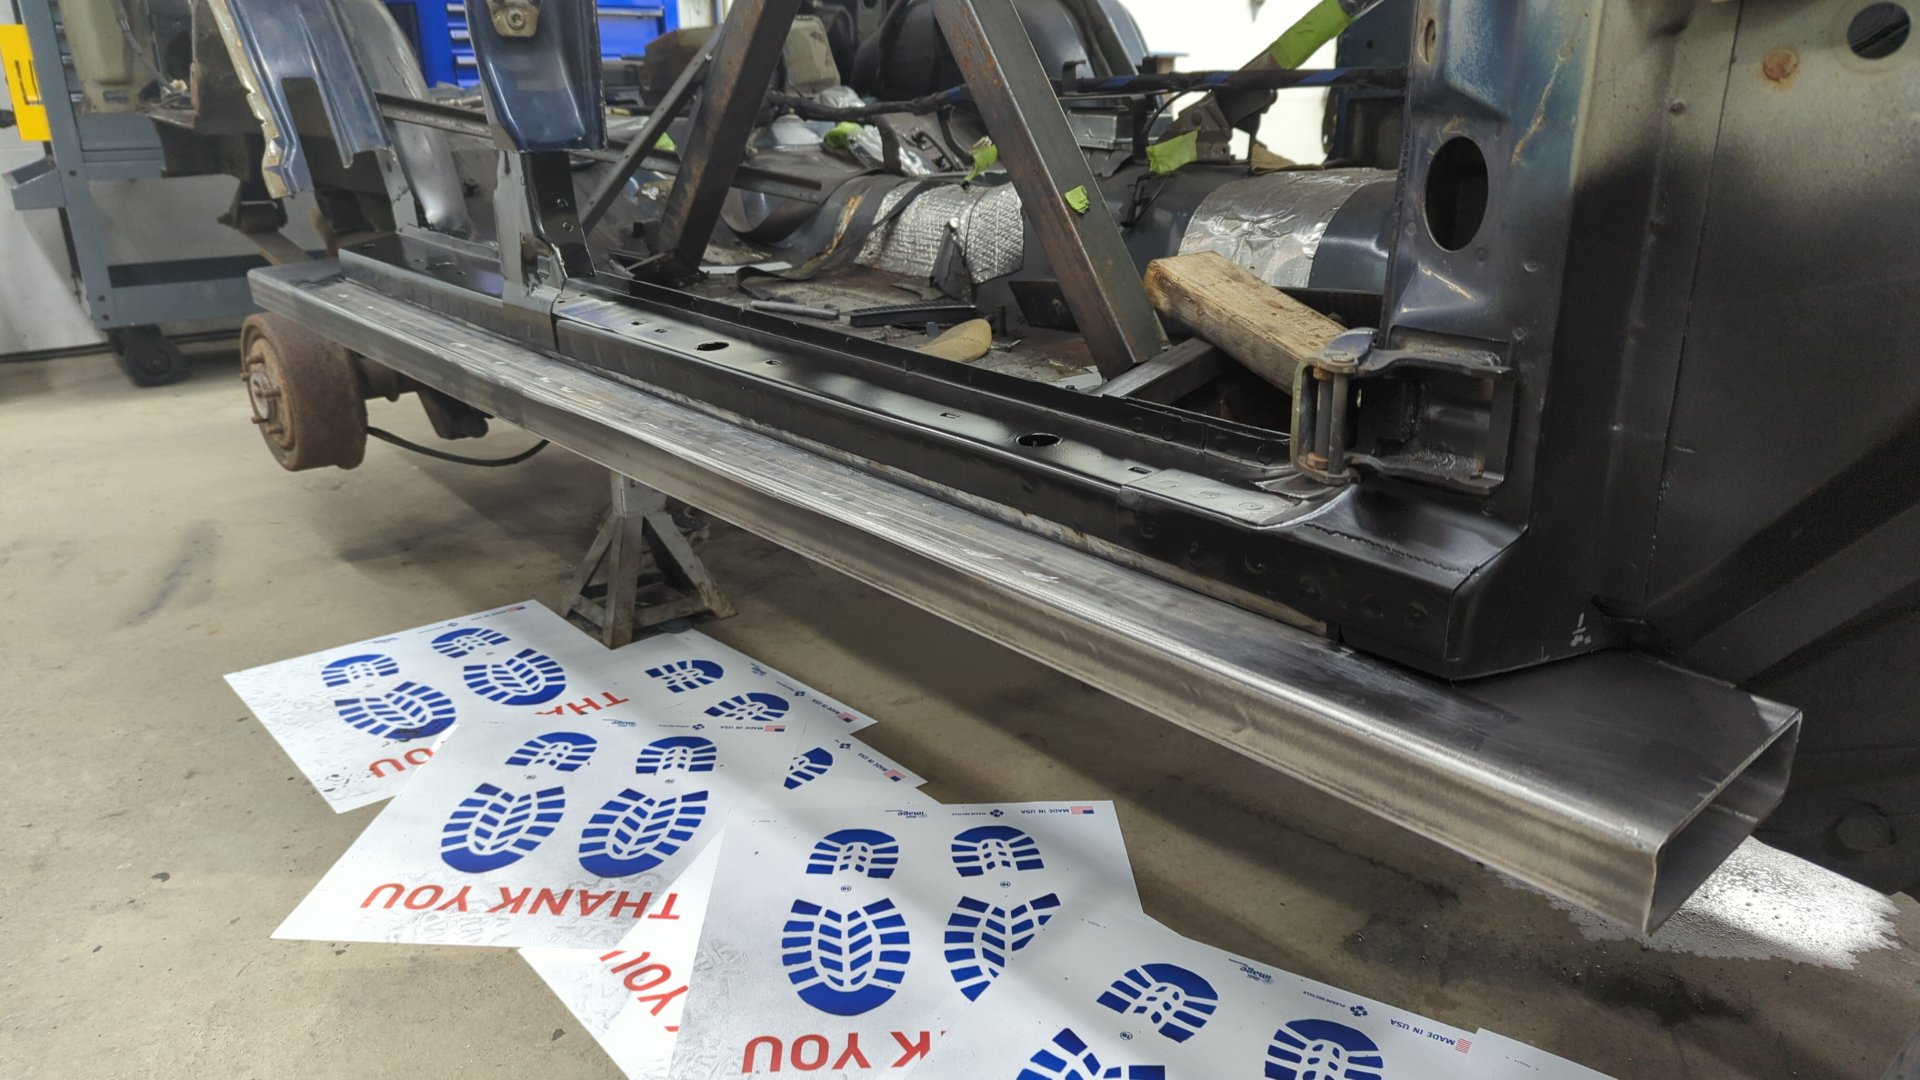
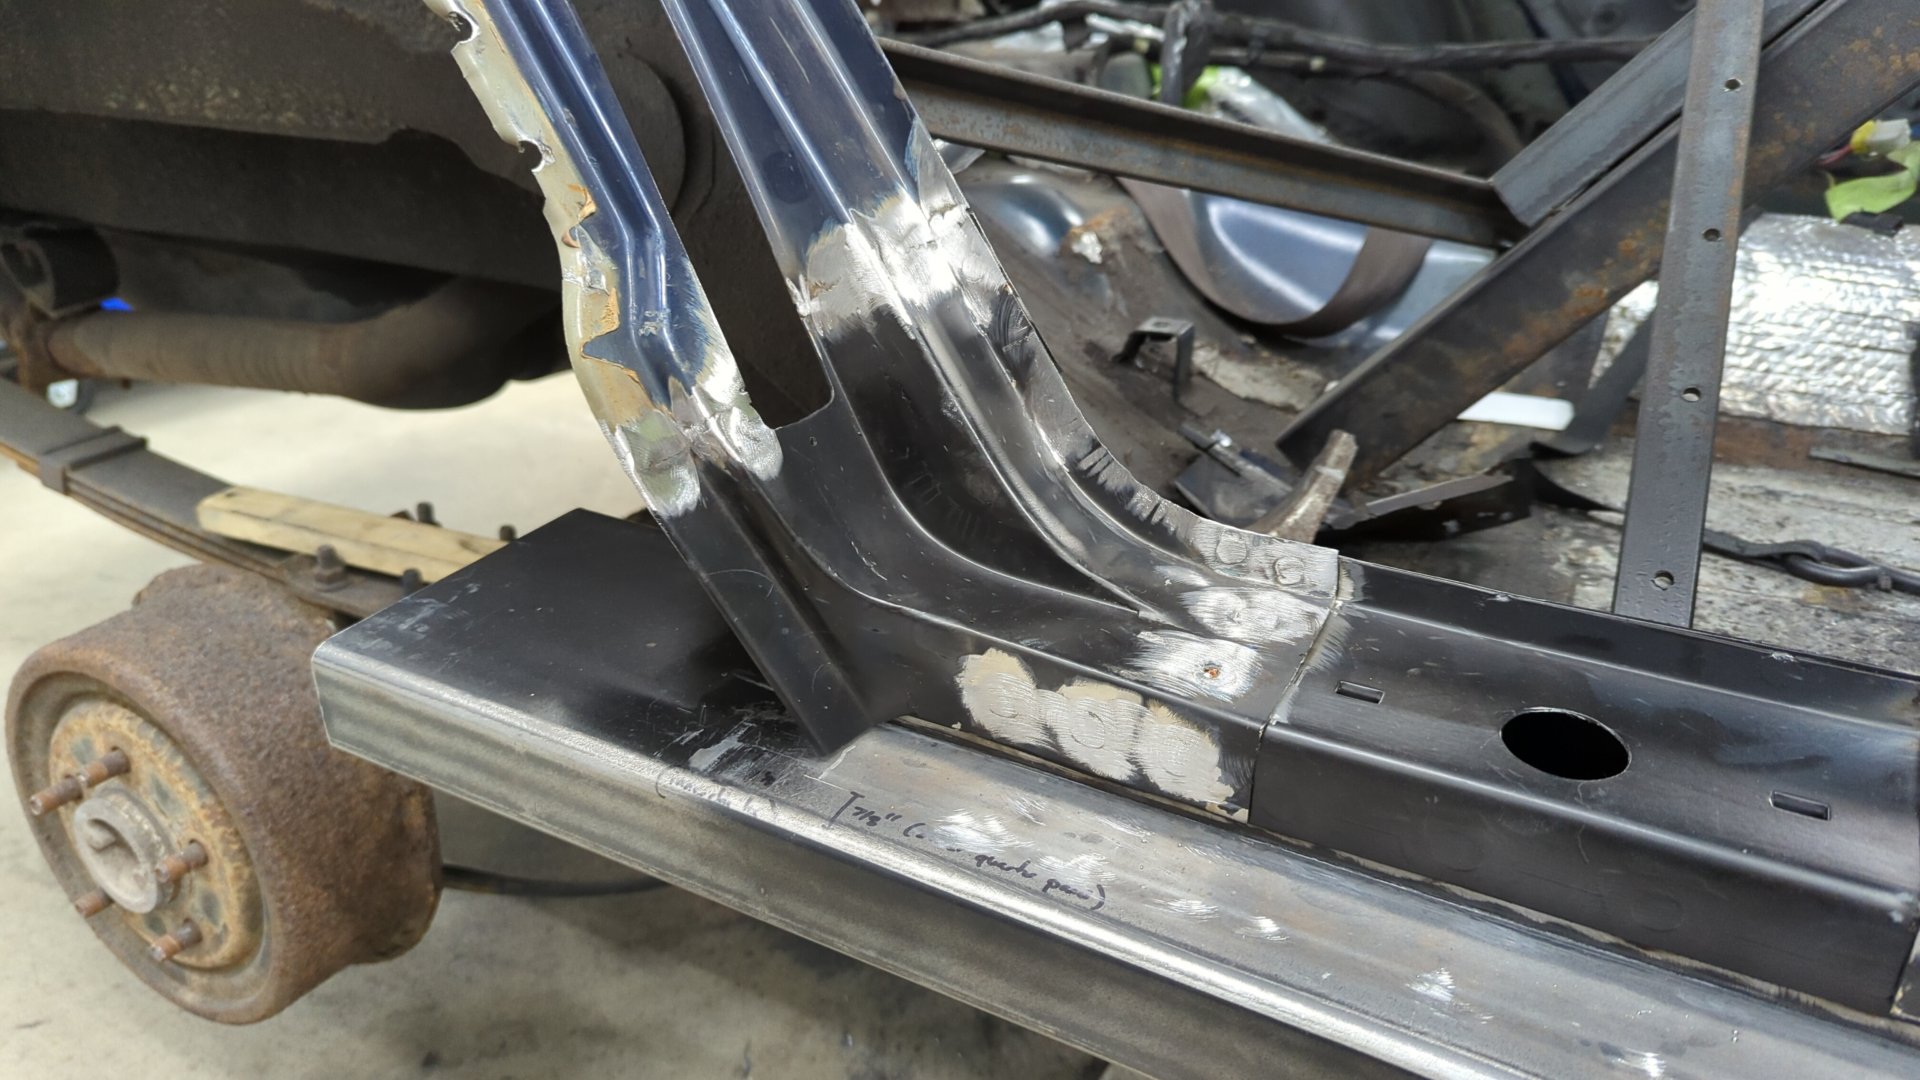
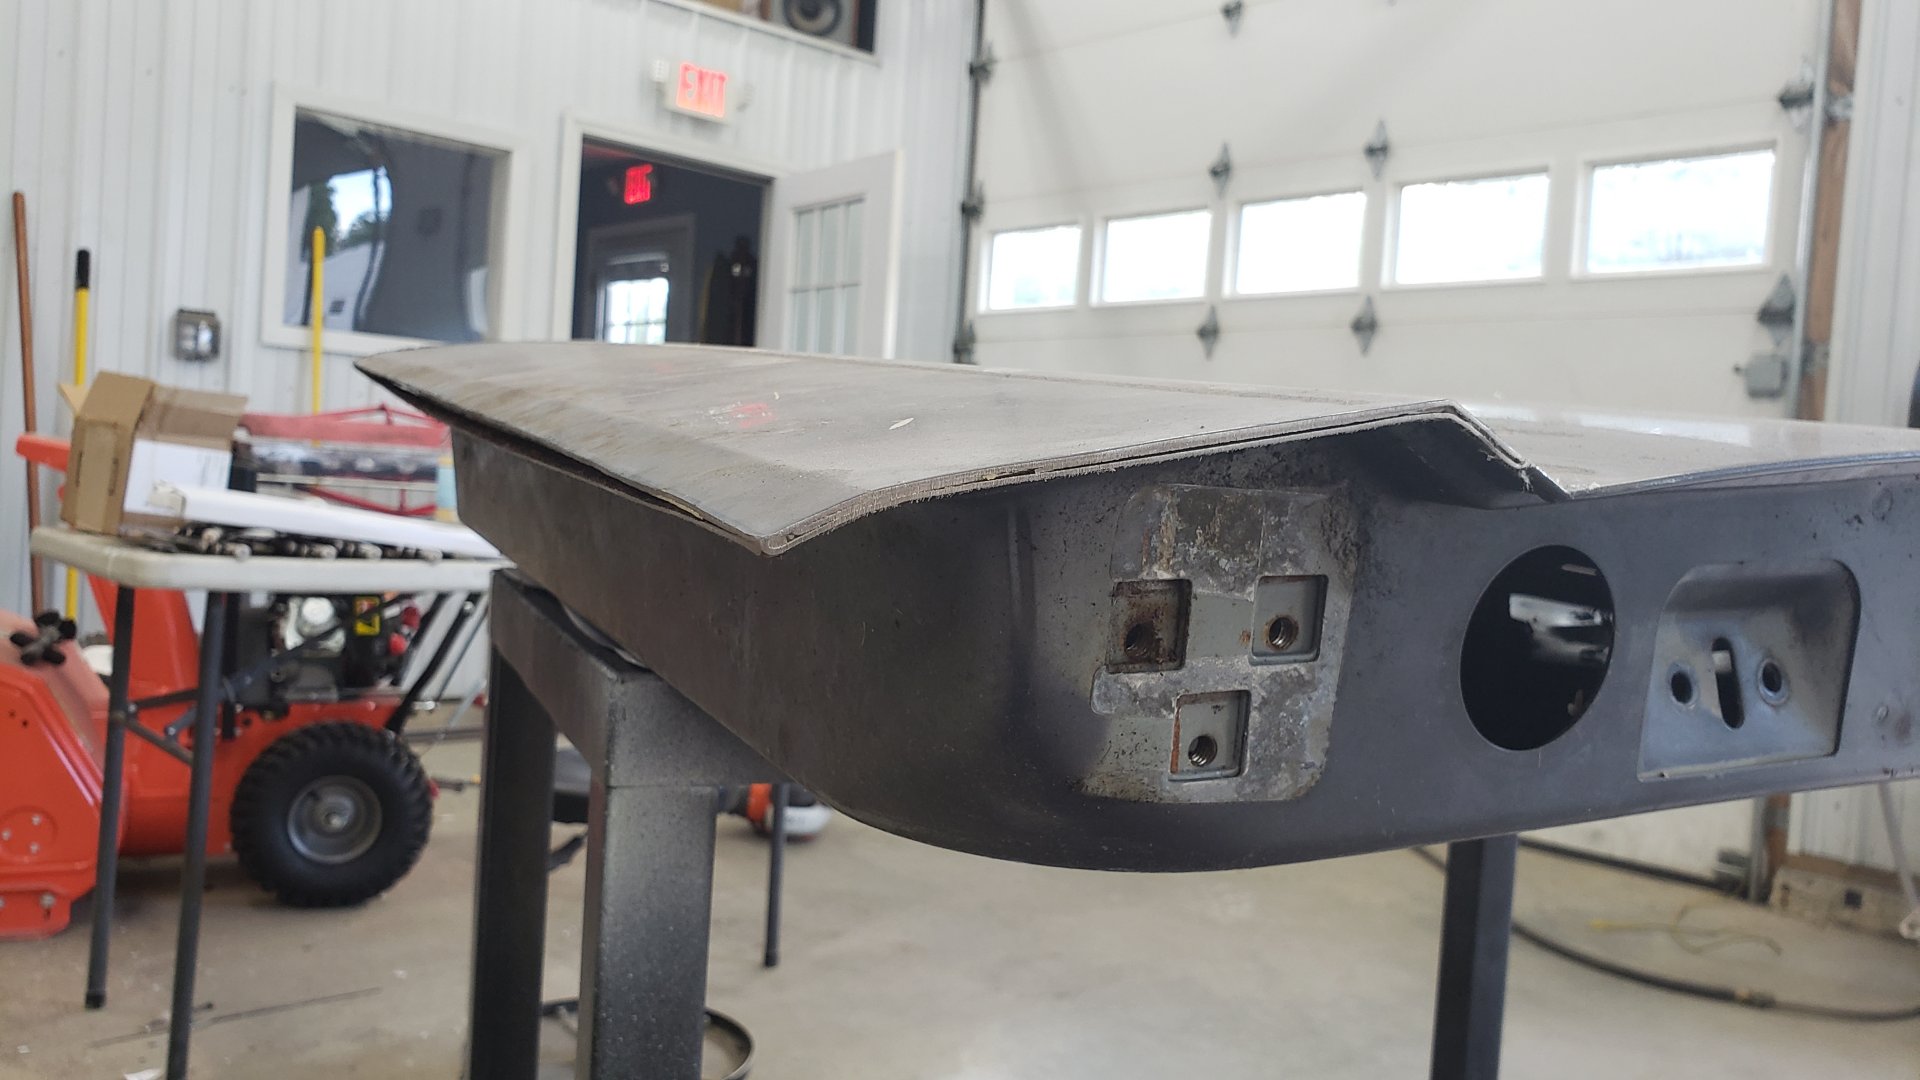
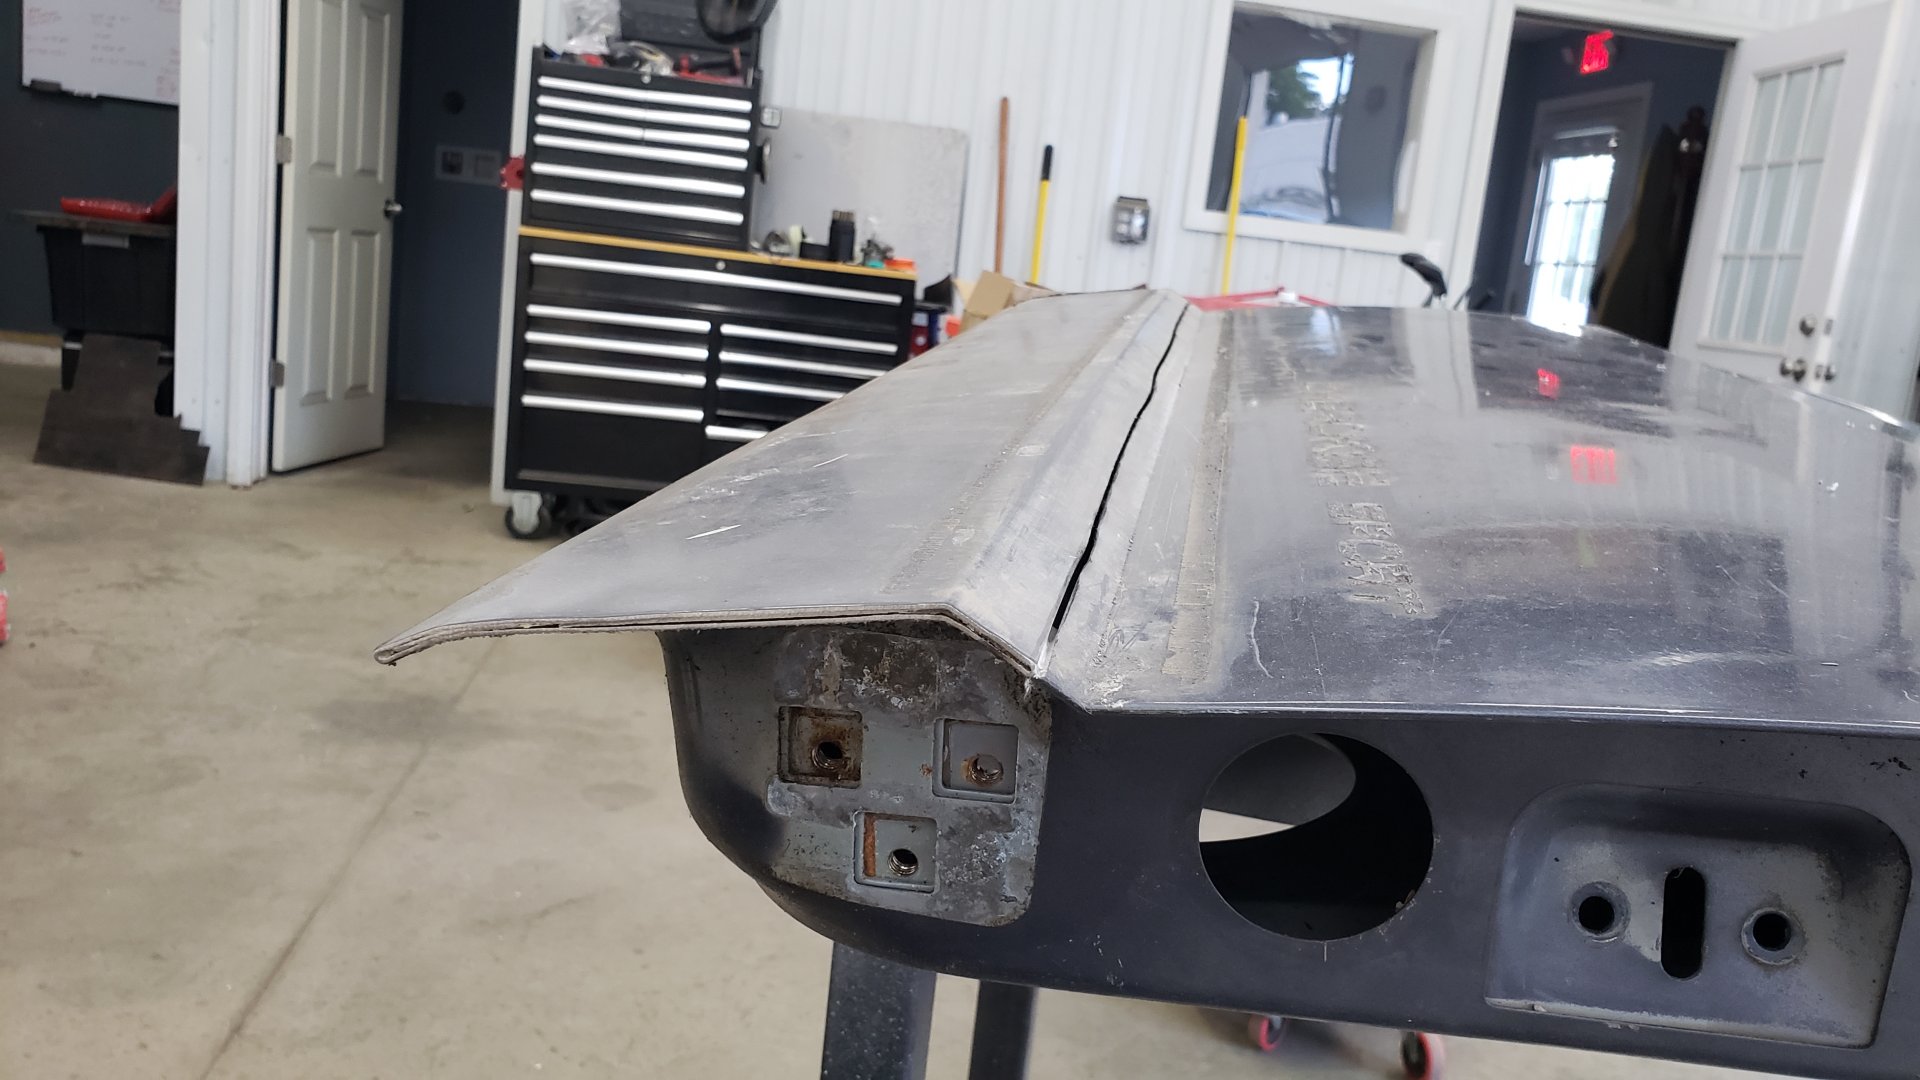
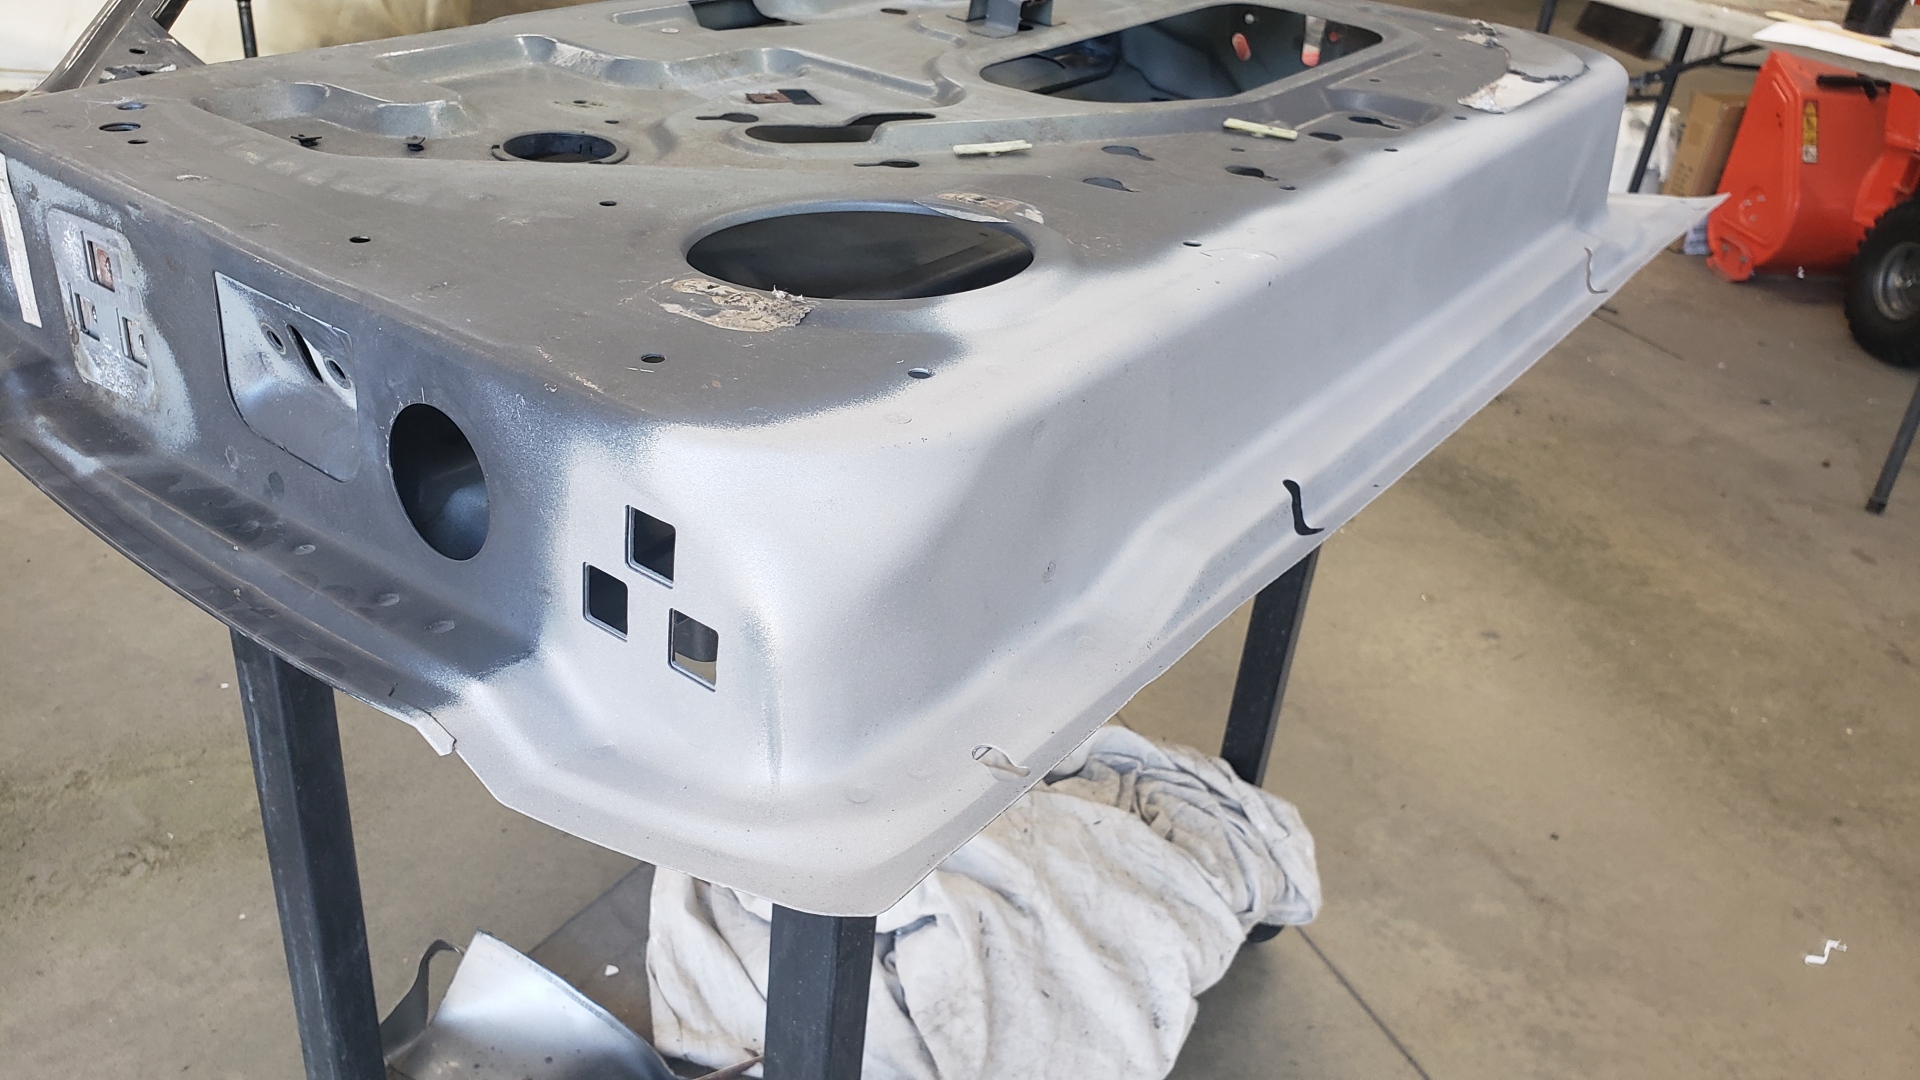
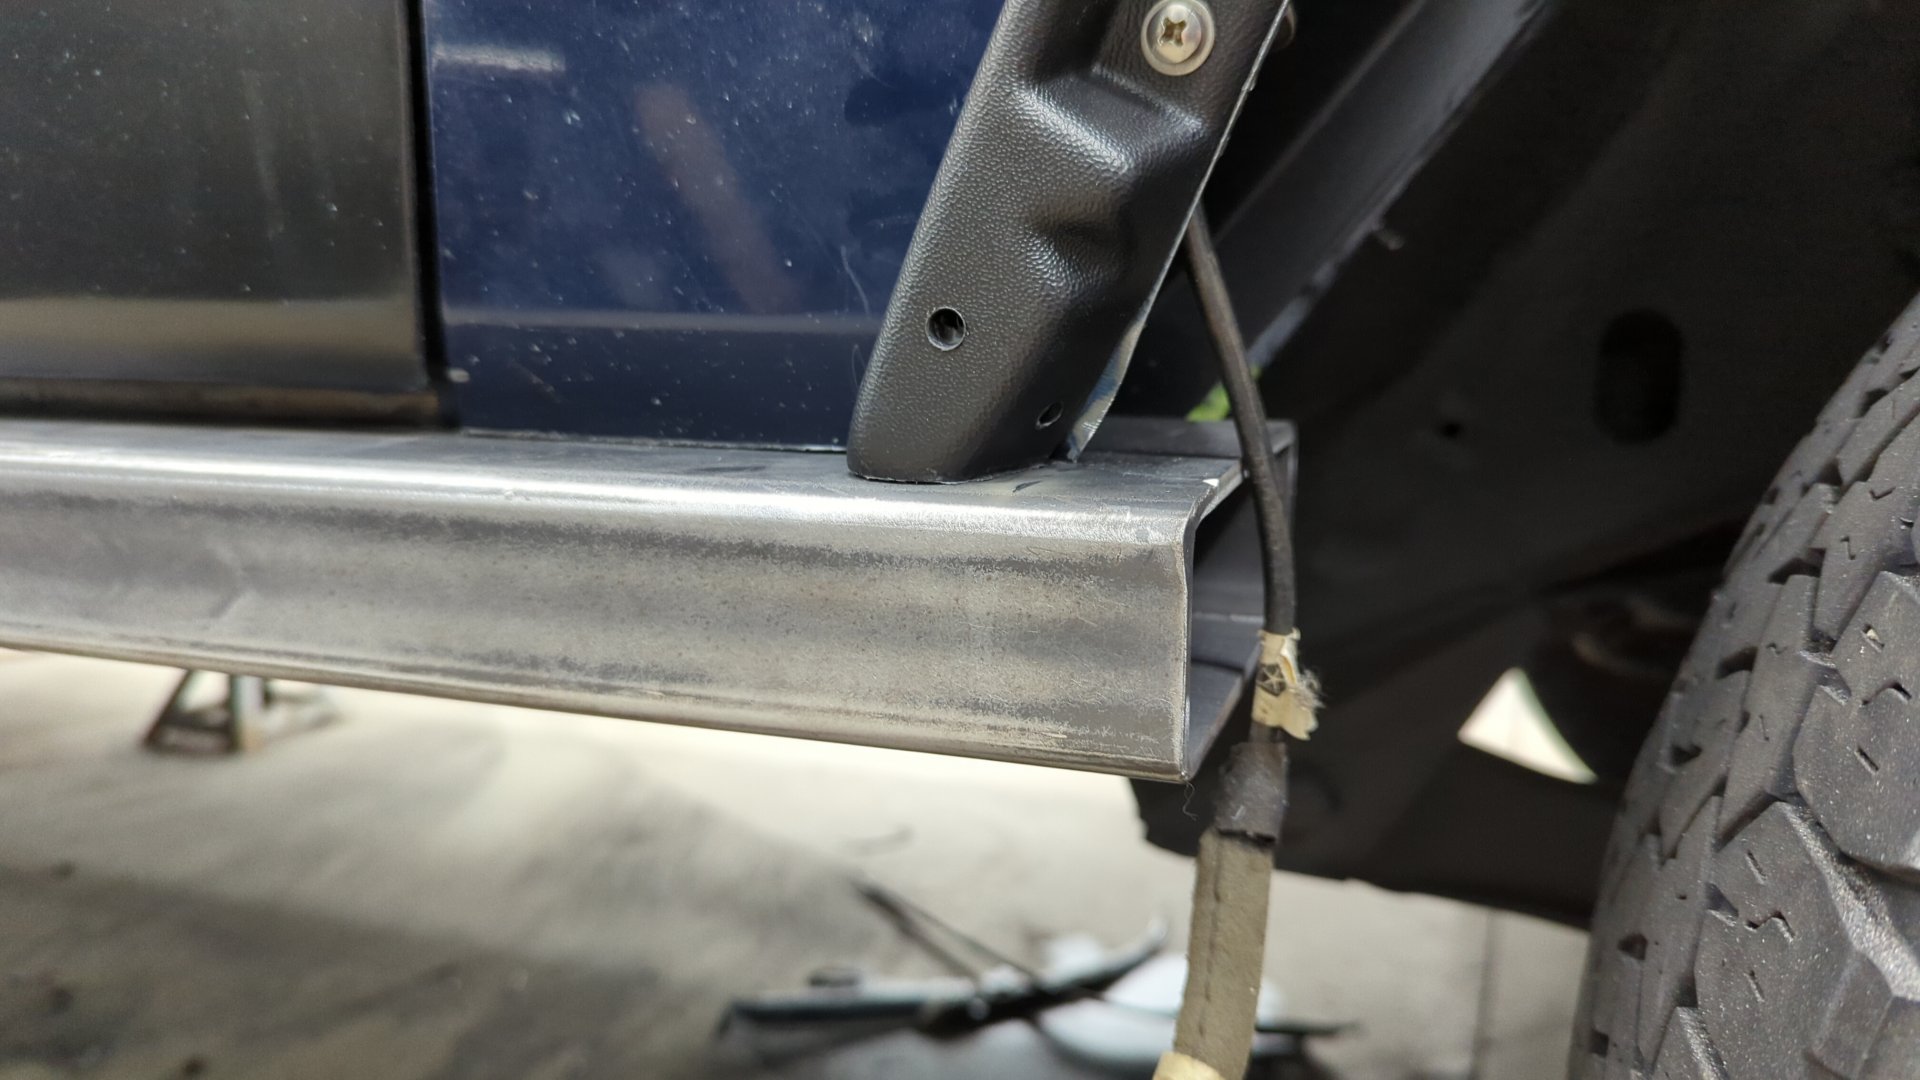
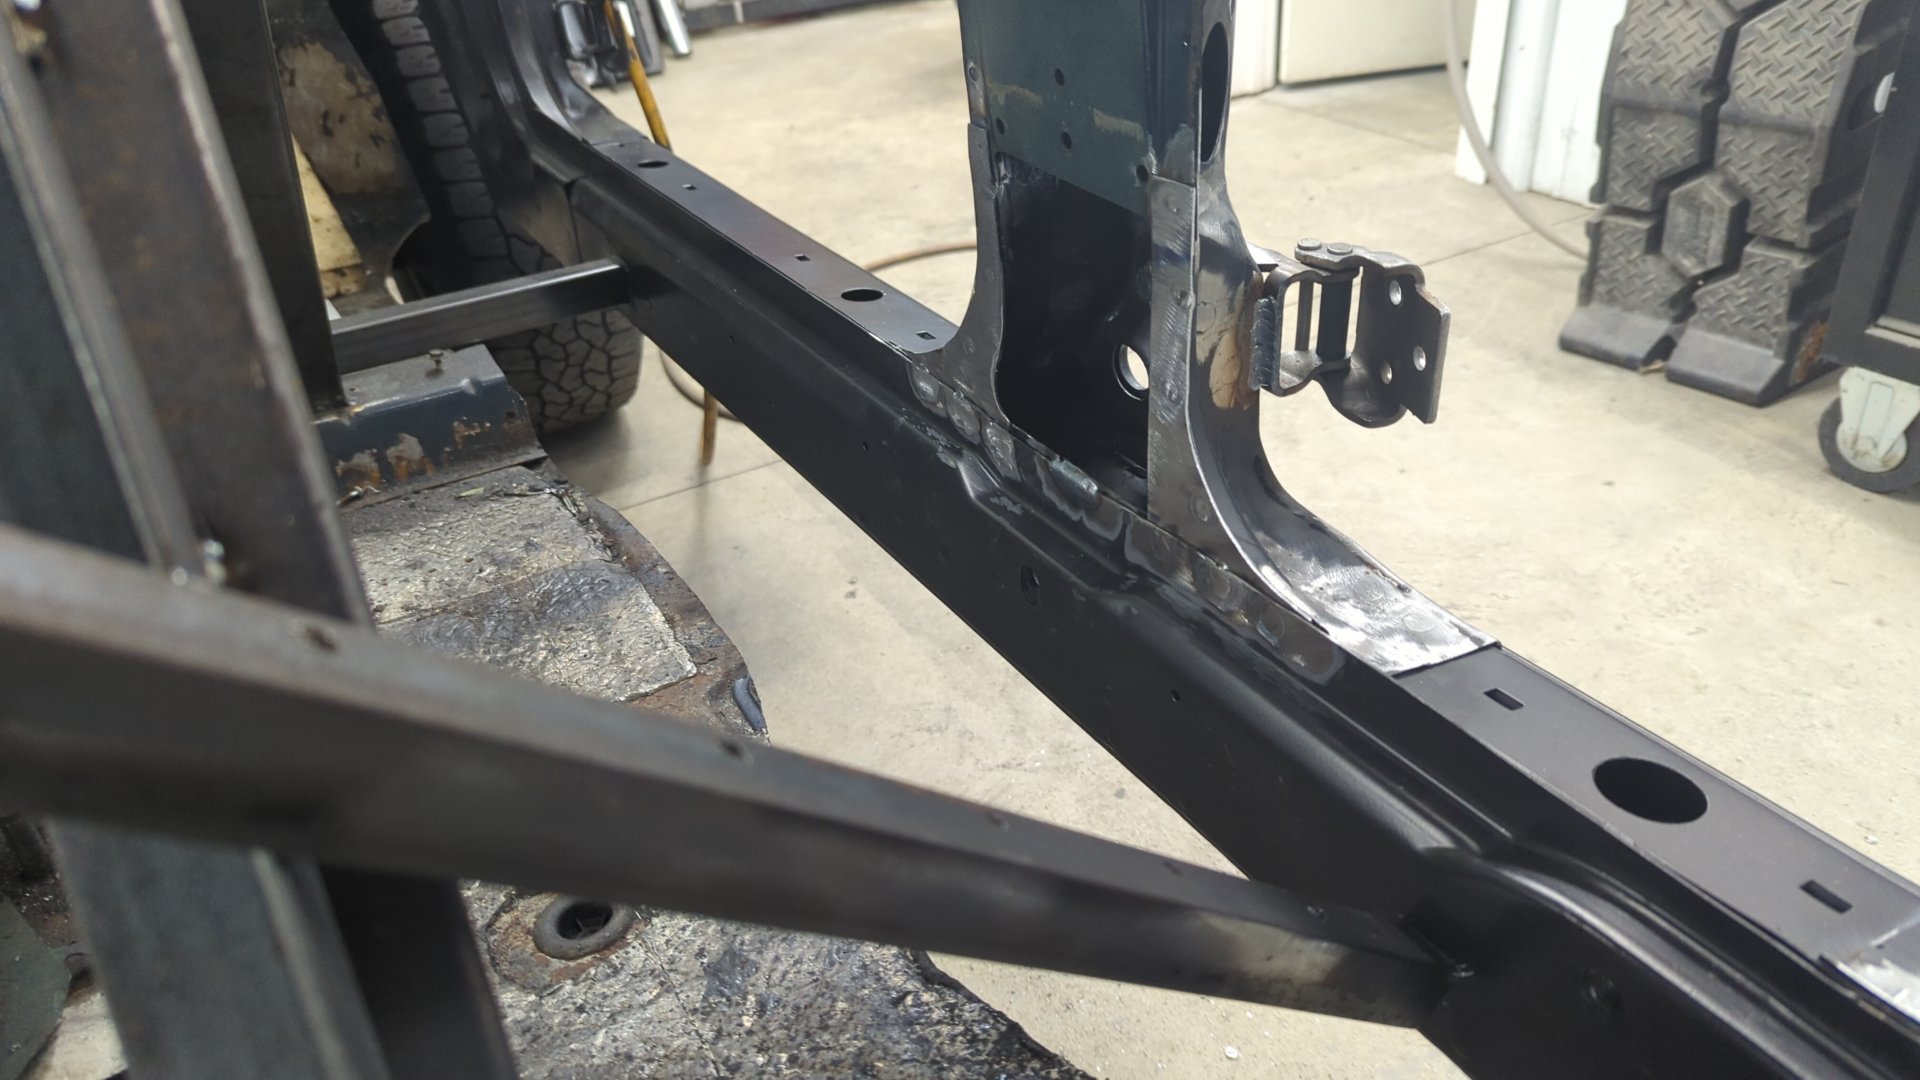
Capping the Front of the 2x6
Not wanting the front tire to shoot dirt and mud up into the 2x6 I figured I should cap it off.
I made a cap for it out of some 3/16 steel I had laying around.
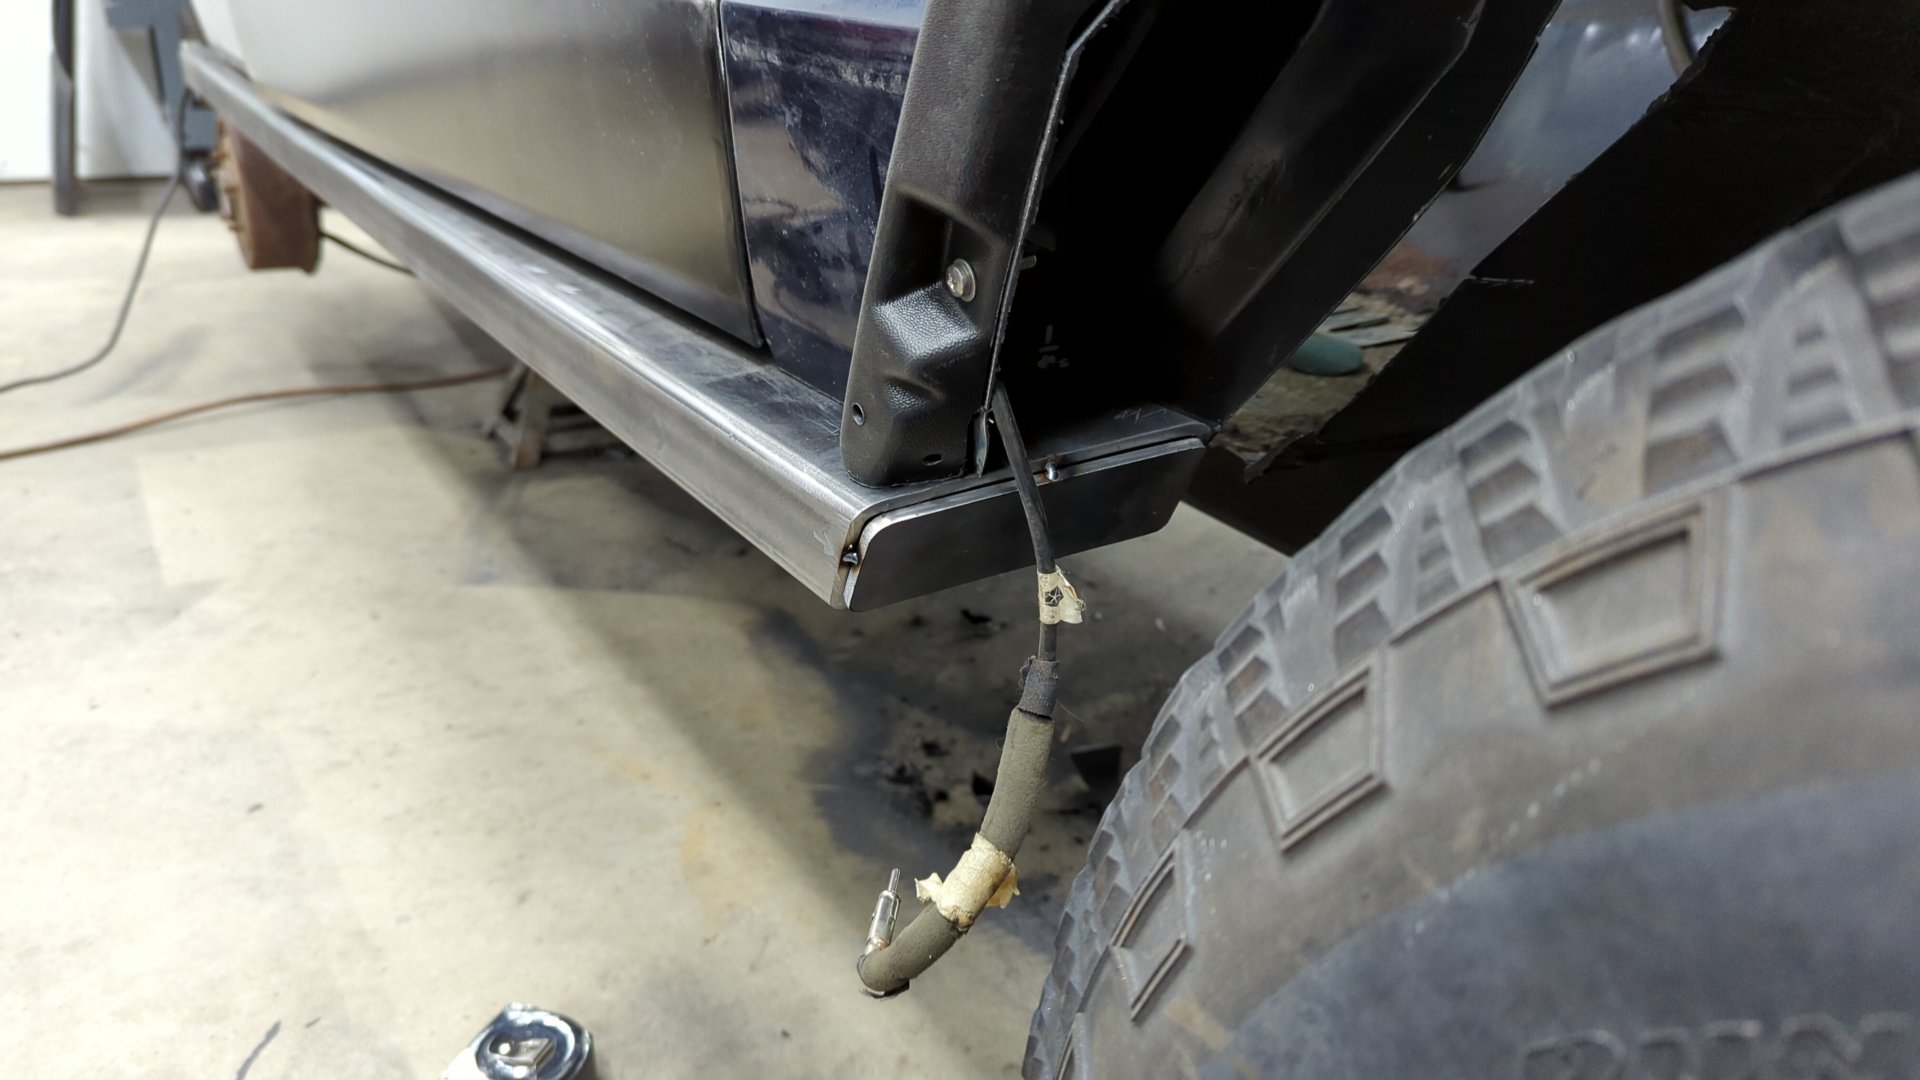

Not bad!
Finalizing the B Pillar
With the exterior all set having finished up the doors, and planning out the front fender I figured it was time to put the finishing touches on the inside of the B pillar.
All that was really left was to add a couple side braces to the backside.

Using some 16ga I made some braces that could be plug welded to the B pillar and sandwiched between the seam of the outer / inner rocker.
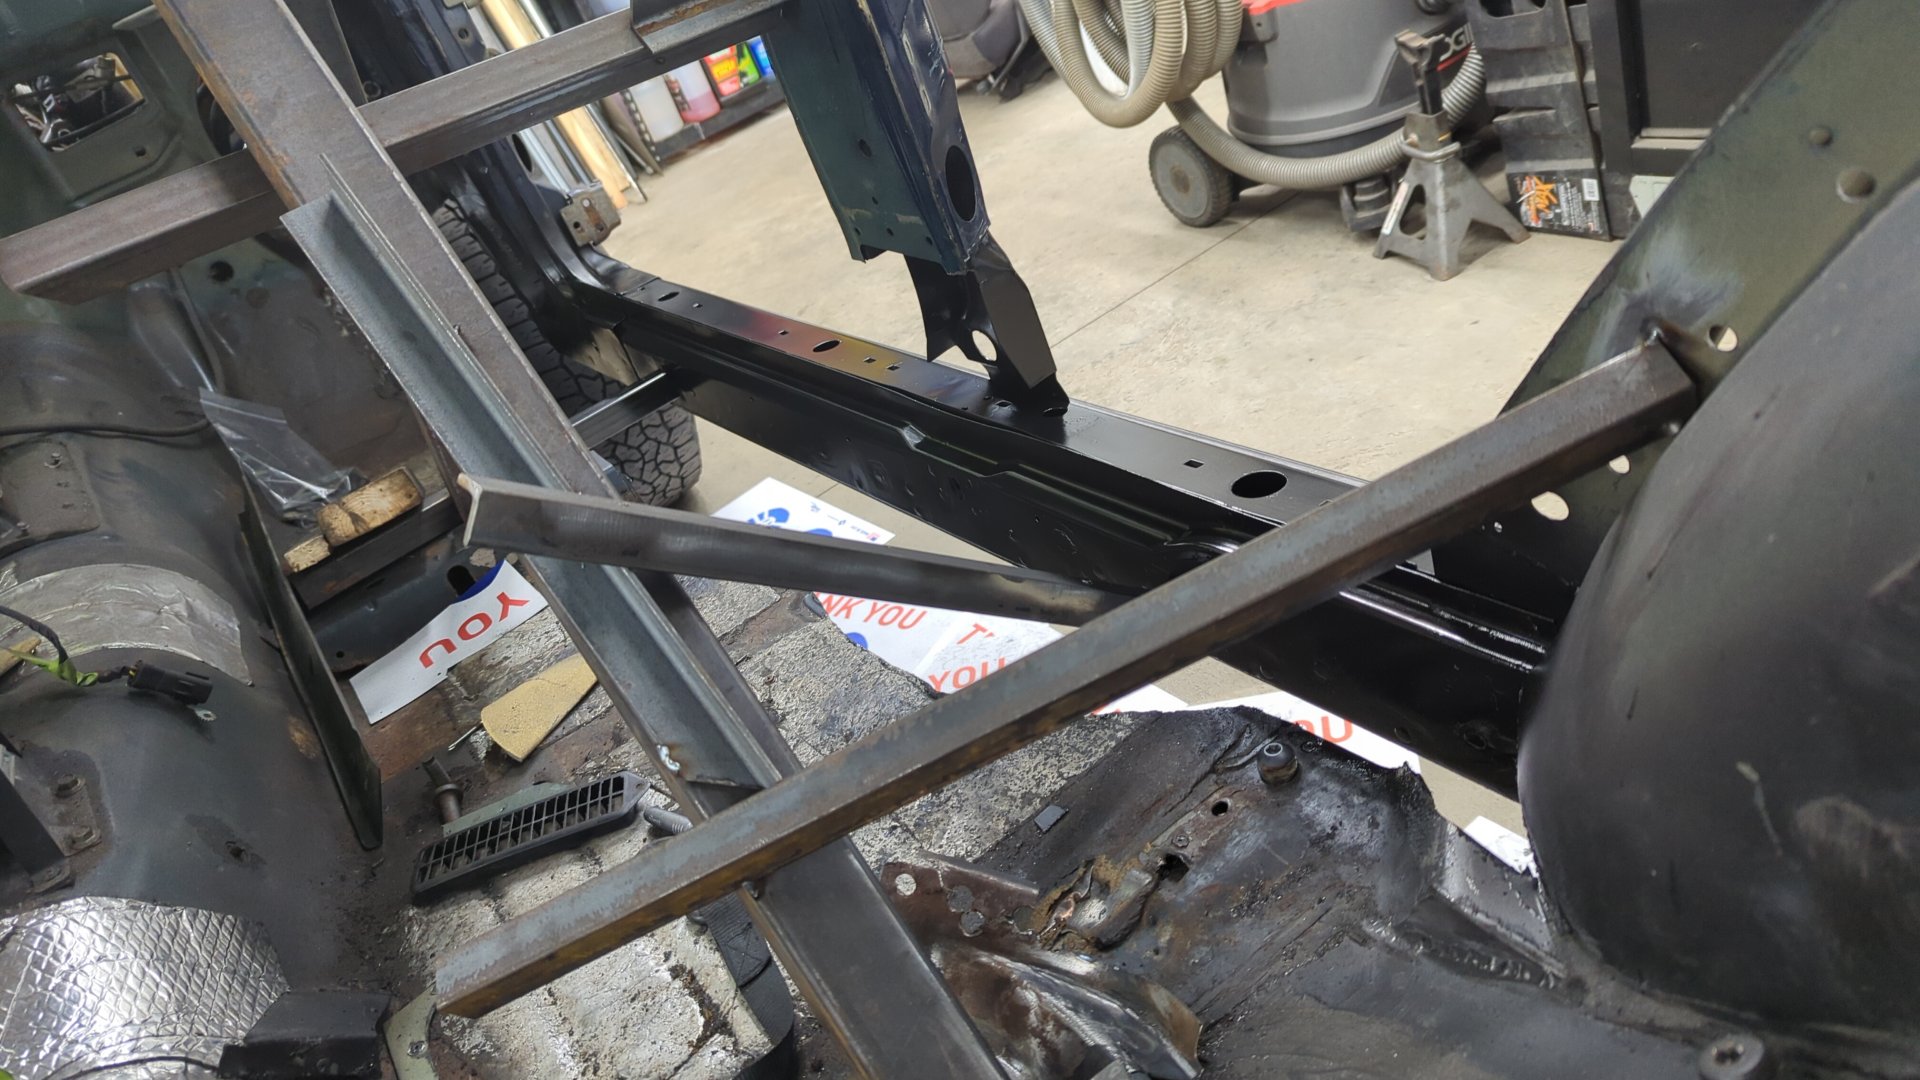
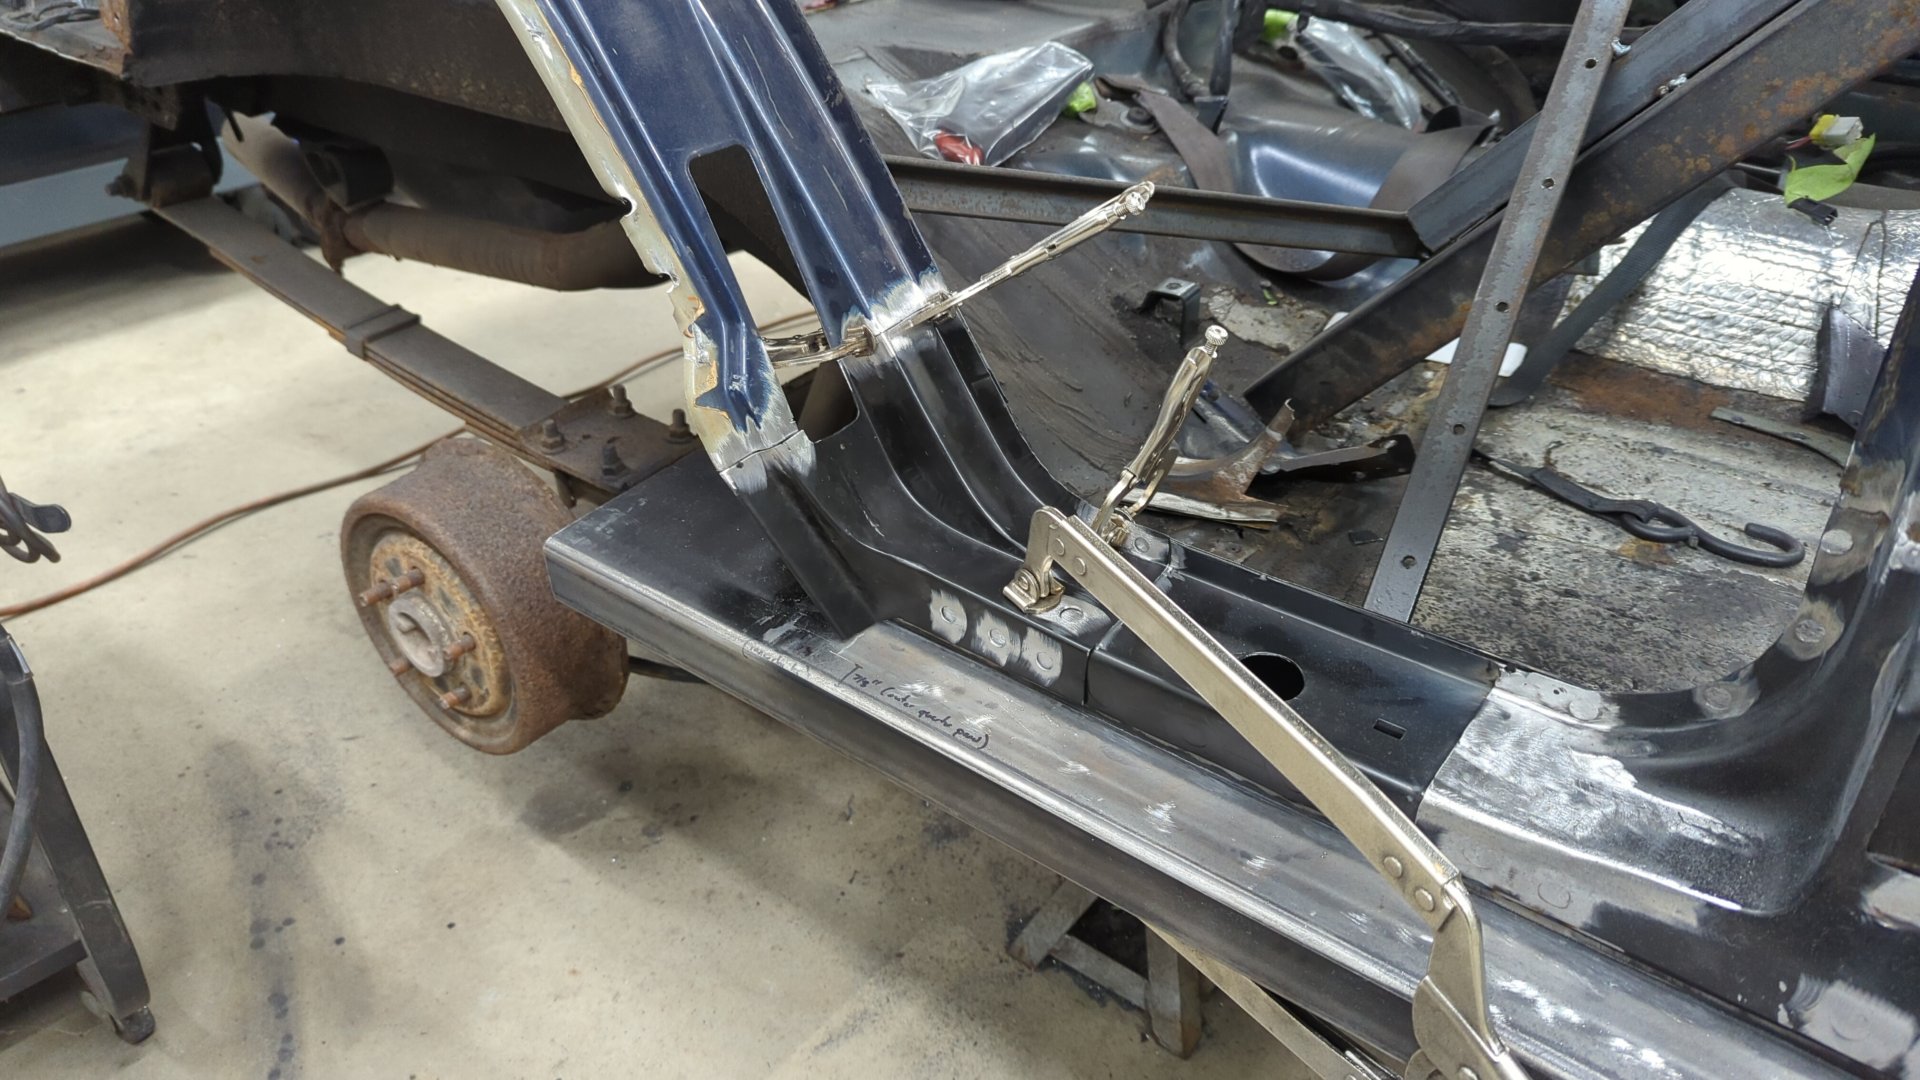
Revising my Temporary Braces
The old bracing I had welded in to keep the unibody from going out of sqaure, was starting to get in the way, and was also a bit of a chaotic mess so I decided it was time to revise things.
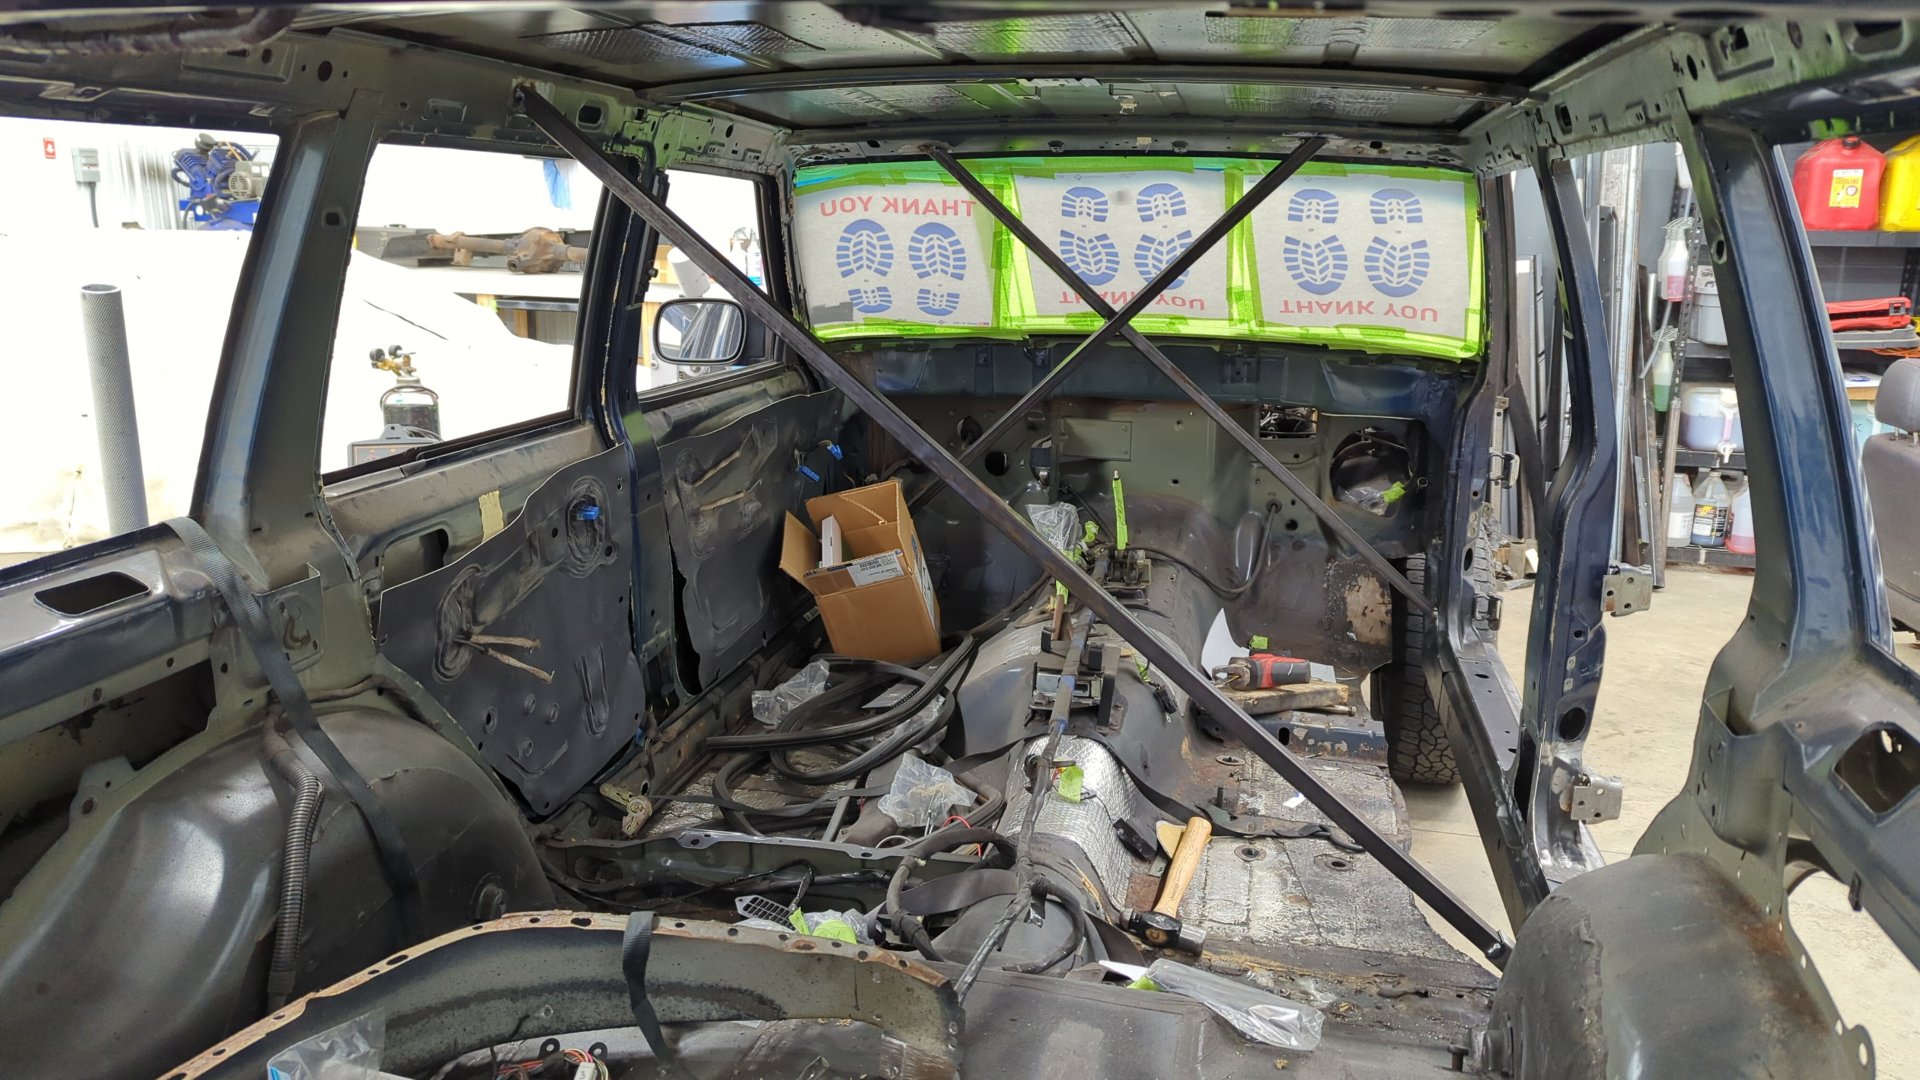
I ended up picking up some 1" 16ga square tube so I could make an X brace by the windshield, and also by the rear quarters.
I’m not able to complete the brace in the rear yet, because the brace is welded to the inner rocker and I haven’t replaced the driver side inner rocker yet.
The new bracing will allow me to replace the floor without it getting in the way, and also sets the stage for me to tear into the driver side.
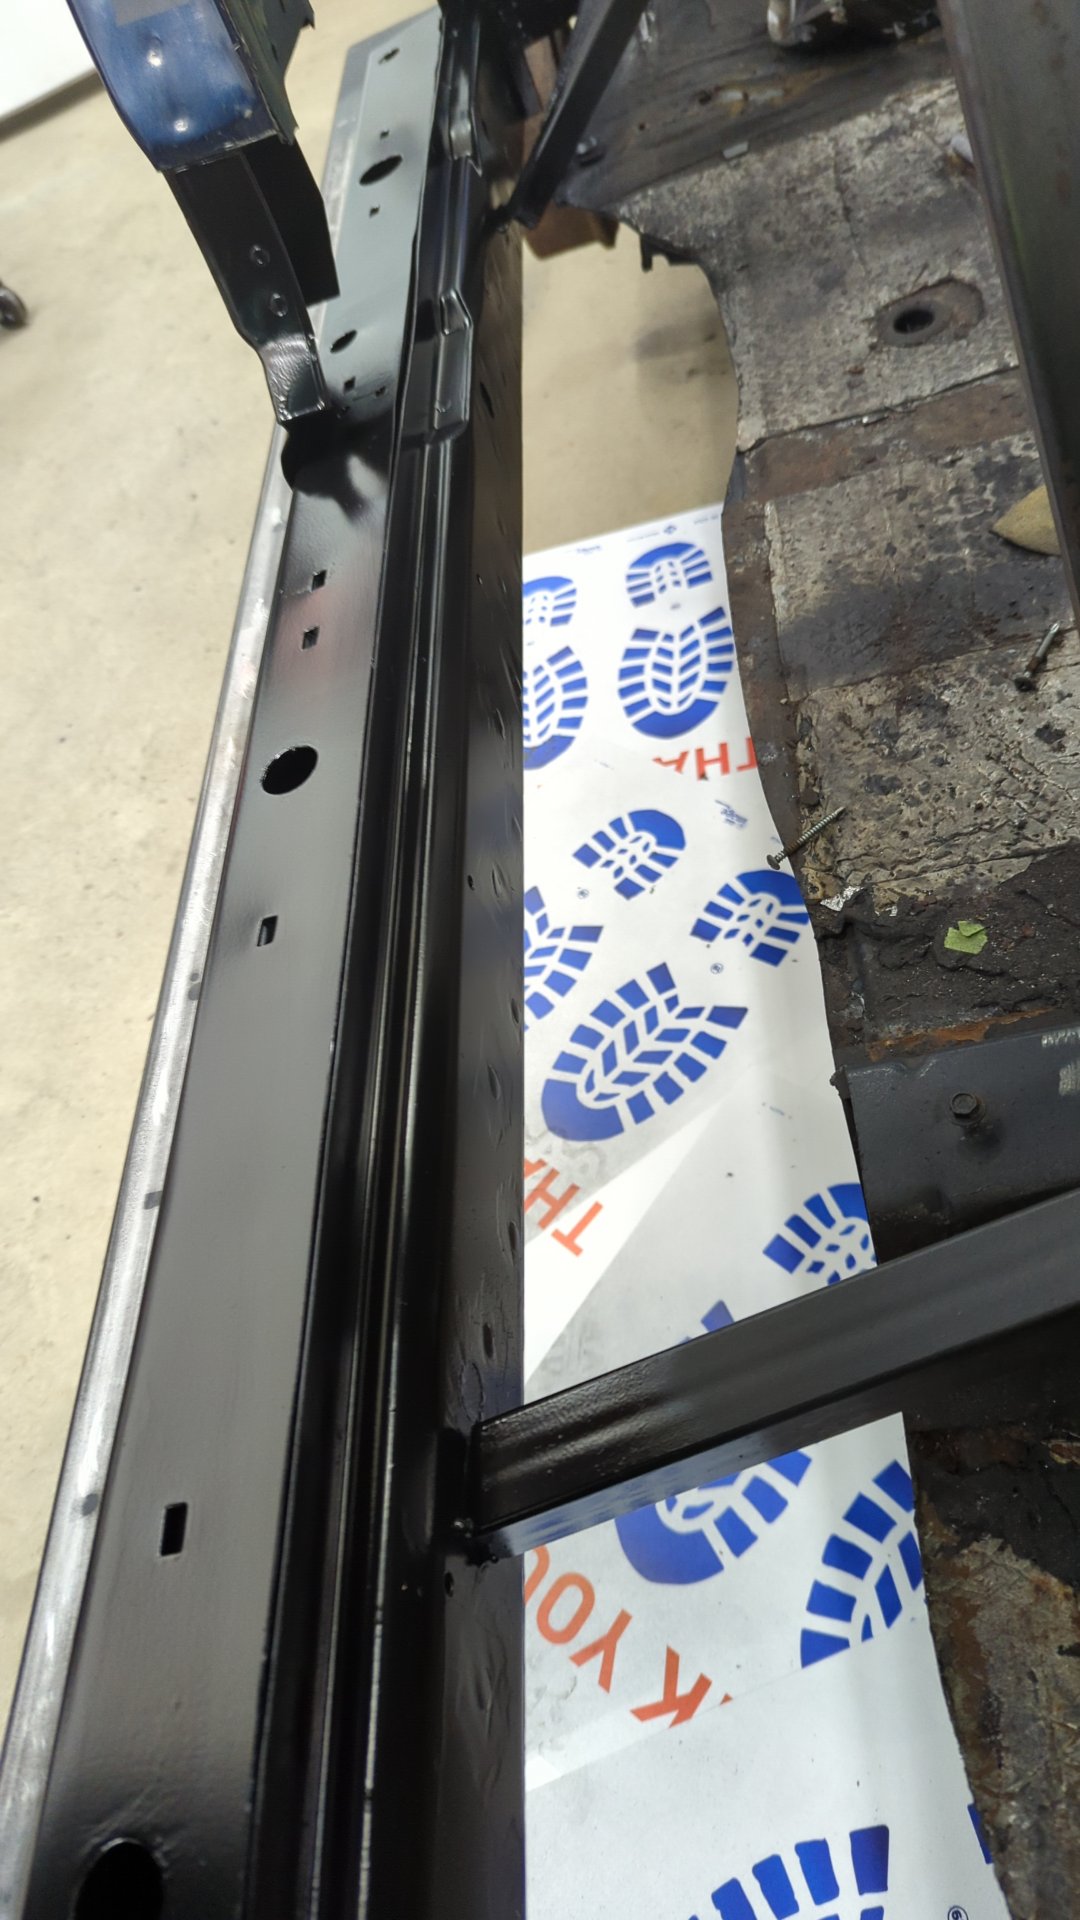
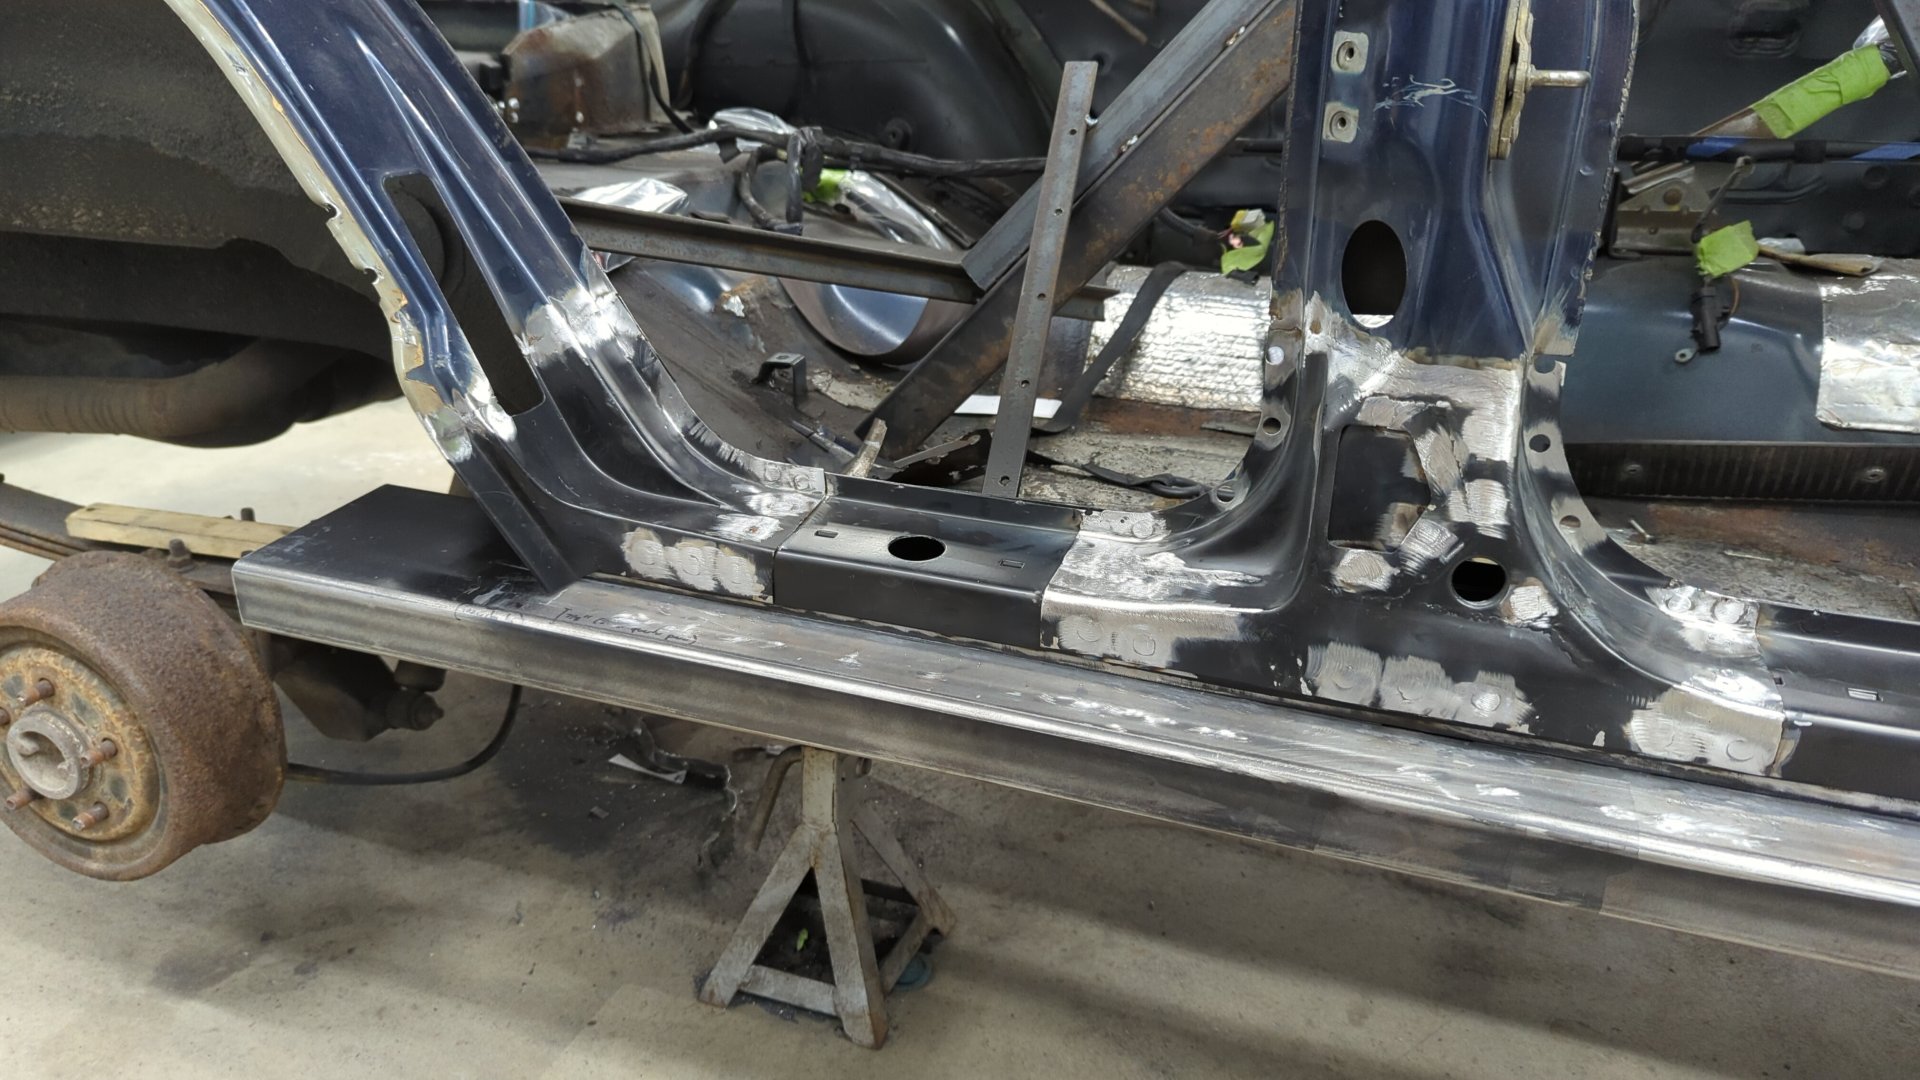
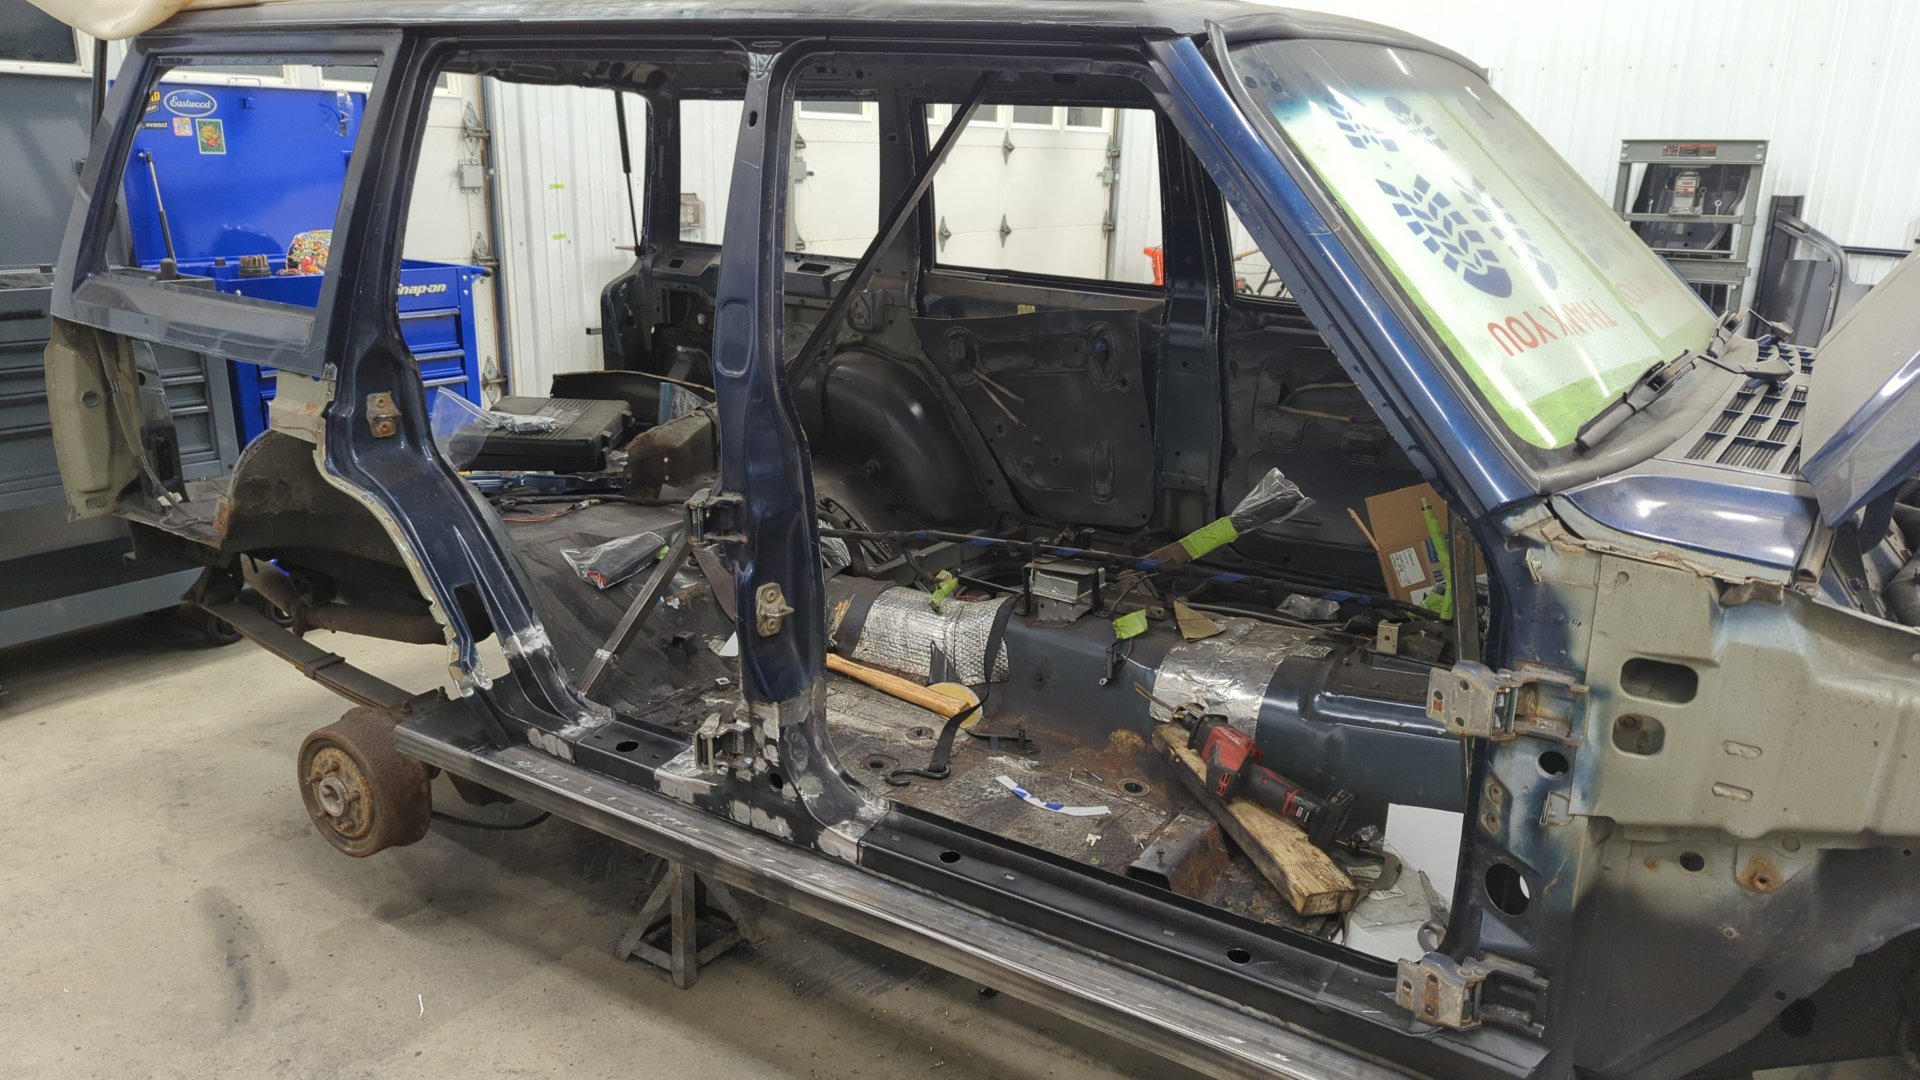
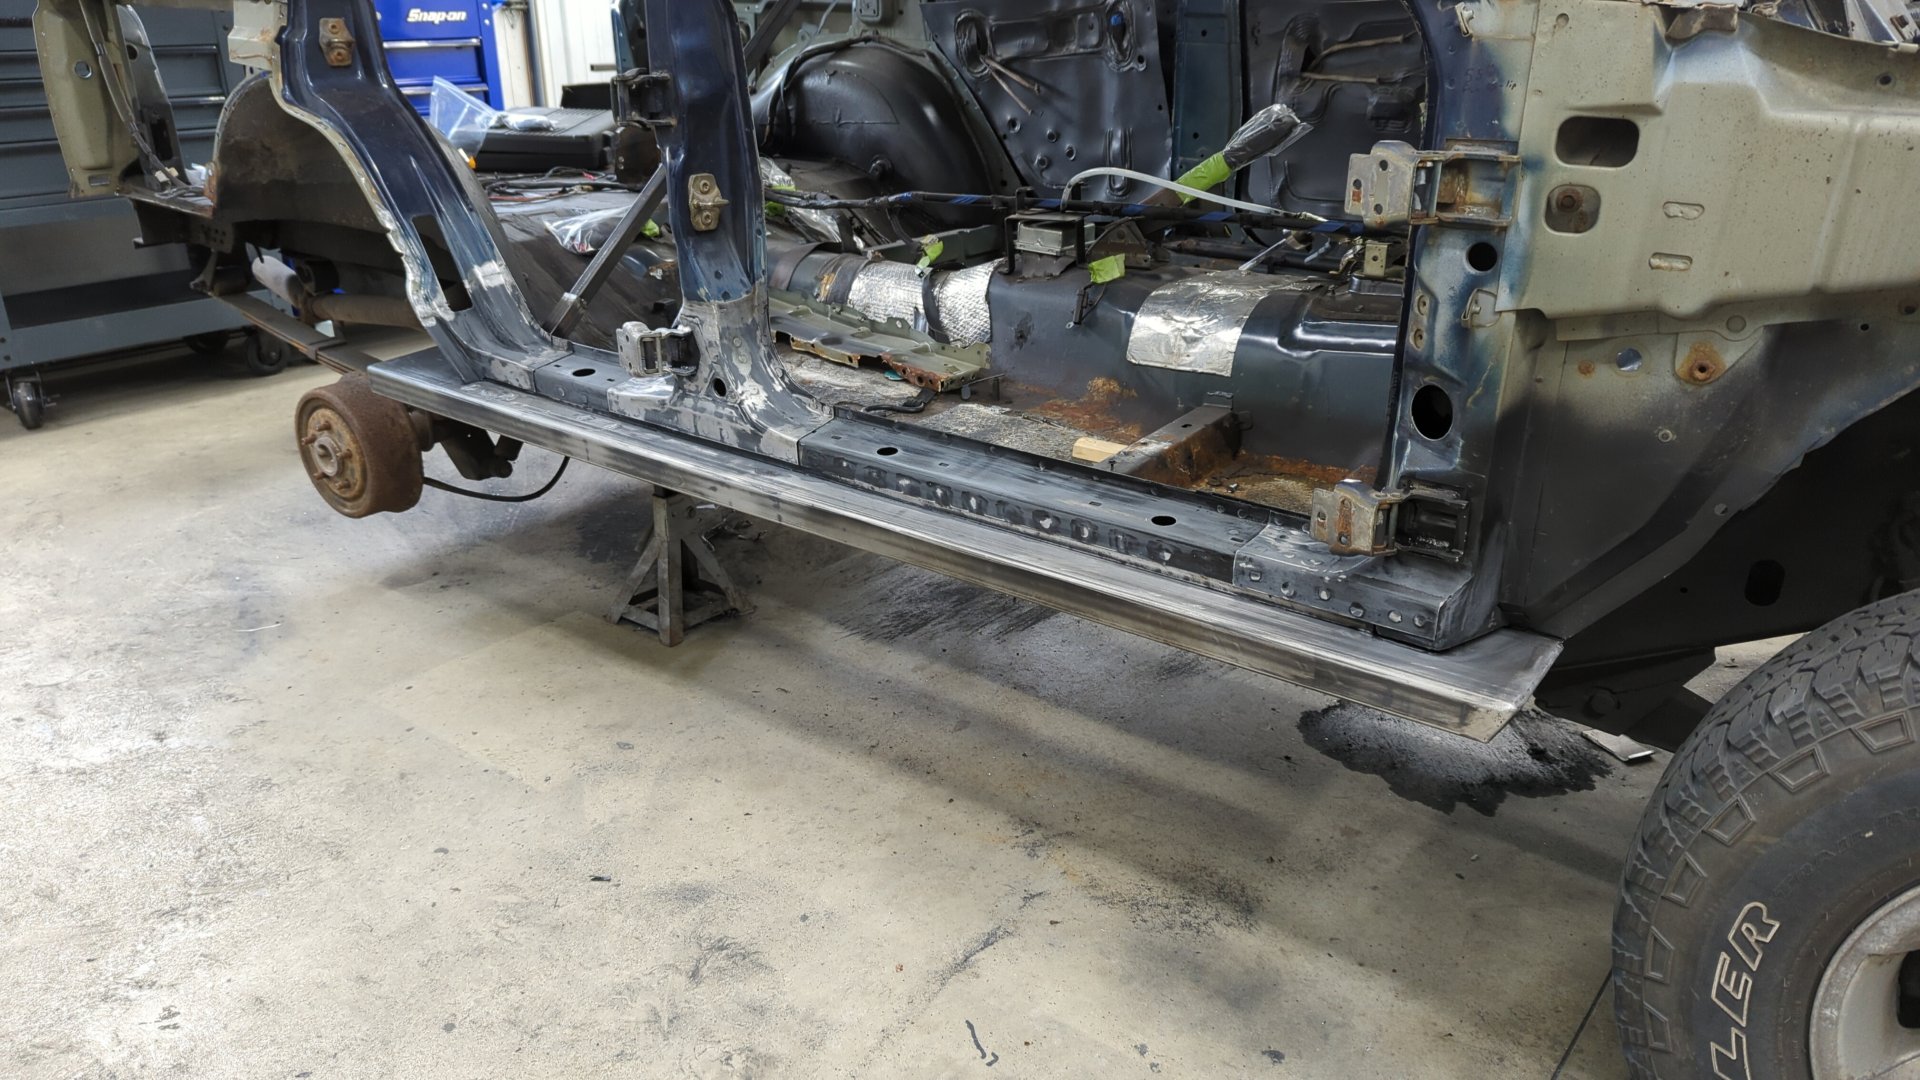
More Paint
After making a royal mess dripping paint down into the lap seams where each pillar meets the rocker, I figured it was time to prep the outer rocker for some paint.
Spraying a door hinge isn’t as hard as I thought it’d be.

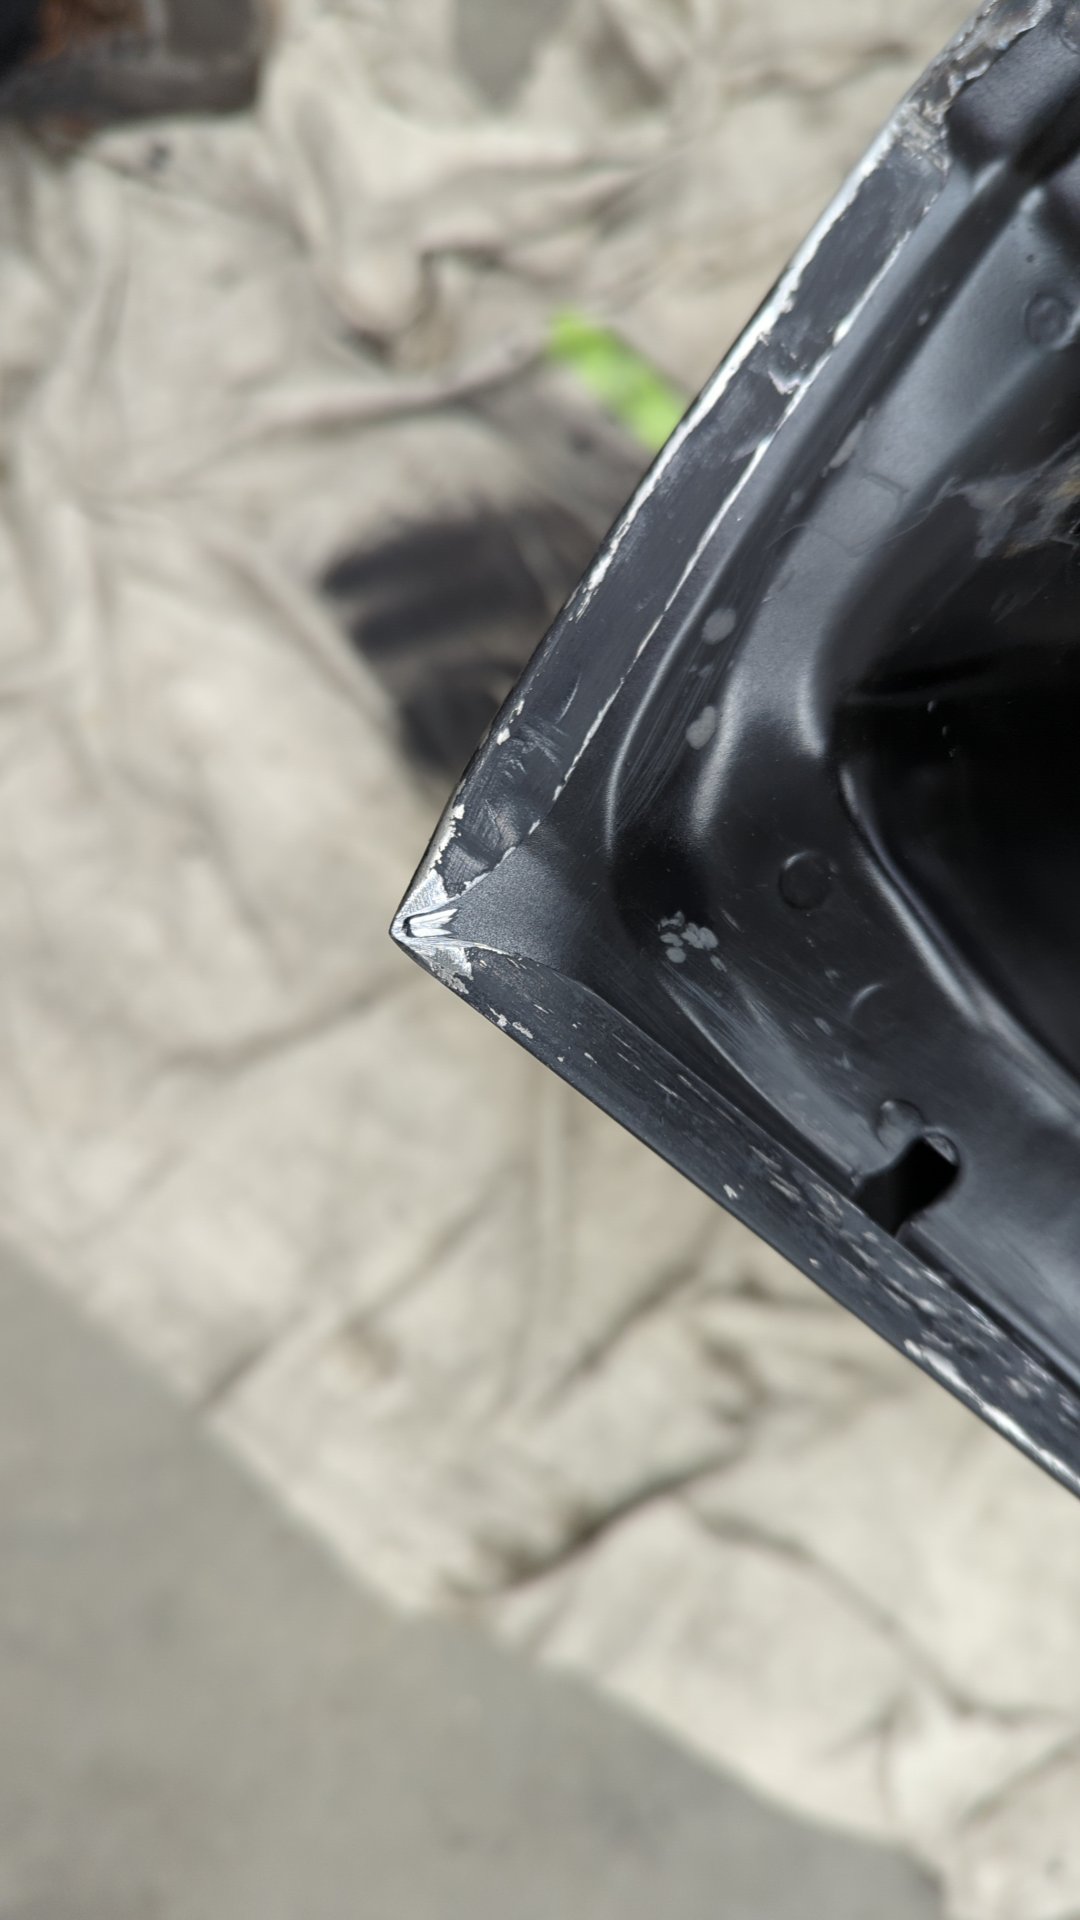
While prepping the door for paint I realized the new door skin didn’t leave any gap at the corner for water to drain out so I opened them up a bit. I’d hate to see water pool up in my door and eventually ruin them all over again.

All in all, I’m excited to be wrapping up the passenger side as it’s just down the rear quarter / inner wheel well now but I’m also partially dreading doing the driver side since it’s gonna feel really redundant repeating the whole process.
On the bright side though, I’ve been fabricating pieces for the driver side as I worked on the passenger side so it shouldn’t take nearly as long to do the other side.
I’m hoping to have metal work completed by March-ish so I can get started on bodywork.