Unity - How to Create a Basic Server / Client With LiteNetLib
LiteNetLib already provides a good example for creating a basic server / client set up in their documents, but if we want to use it with Unity there’s a few extra steps we’ll need to take. This article intends to cover the missing steps, and assume you already have LiteNetLib added to your Unity project. If you need guidance on adding LiteNetLib check out: How to Setup LiteNetLib With Unity
Implementing the Client
Let’s start by creating our client script. We’ll call it (wait for it) Client.cs
// Client.cs
using System.Collections;
using System.Collections.Generic;
using UnityEngine;

public class Client : MonoBehaviour {
    // Start is called before the first frame update
    void Start() {
    }

    // Update is called once per frame
    void Update() {
    }
}
We’ll need to give the client a NetManager that interacts with the network, and an EventBasedNetListener that will be used to trigger events any time input is received from the network.
// Client.cs
using System.Collections;
using System.Collections.Generic;
using UnityEngine;
using LiteNetLib;

public class Client : MonoBehaviour {
    NetManager netManager;
    EventBasedNetListener netListener;

    // Start is called before the first frame update
    void Start() {

    }

    // Update is called once per frame
    void Update() {
    }
}
In Start() we’ll go ahead and prepare the netListener, and then initialize the netManager by passing it our listener. The netListener provides several different events we can subscribe to such as OnPeerConnected, OnPeerDisconnected, OnNetworkRecieve and more. Since this is a basic server / client set up, we’re only going to listen for the OnPeerConnected event.
// Client.cs
void Start() {
    netListener = new EventBasedNetListener();
    netListener.PeerConnectedEvent += (server) => {
        Debug.LogError($"Connected to server: {server}");
    };

    client = new NetManager(netListener);
}
With the netManager set up, we’ll call Start() to fire it up and then Connect() to pass it the IP address of our server (localhost in this case).
// Client.cs
void Start() {
    netListener = new EventBasedNetListener();
    netListener.PeerConnectedEvent += (server) => {
        Debug.LogError($"Connected to server: {server}");
    };

    netManager = new NetManager(netListener);
    netManager.Start(); // Don't forget to call .Start()!
    netManager.Connect("localhost", 9050);
}
The client is all set up, and can now connect to the server, but there’s one last thing we need to add. LiteNetLib expects us to manually poll for events from the network as it doesn’t know how often we want to check for these. This can be accomplished by adding a call to PollEvents() in `Update().
// Client.cs
void Update() {
    netManager.PollEvents();
}
Implementing the Server
With the client all ready, let’s go ahead and create another MonoBehaviour called Server.cs.
// Server.cs
using System.Collections;
using System.Collections.Generic;
using UnityEngine;

public class Server : MonoBehaviour {
    // Start is called before the first frame update
    void Start() {
    }

    // Update is called once per frame
    void Update() {
    }
}
Just like the client, the server will also need a NetManager and NetListener. Let’s add these as fields.
// Server.cs
using System.Collections;
using System.Collections.Generic;
using UnityEngine;
using LiteNetLib;

public class Server : MonoBehaviour {
    NetManager netManager;
    NetListener netListener;

    // Start is called before the first frame update
    void Start() {
    }

    // Update is called once per frame
    void Update() {
    }
}
And again we’ll initialize our netListener and netManager in Start(). However, this time we’ll need to listen for a new event: ConnectionRequestEvent. Like its name implies, this event is fired off when a new client wants to connect to the server. Here we can decide if we want to allow the client to connect, or reject them. For now we’ll just always accept the connection.
// Server.cs
using System.Collections;
using System.Collections.Generic;
using LiteNetLib;
using UnityEngine;

public class Server : MonoBehaviour {
    EventBasedNetListener netListener;
    NetManager netManager;

    // Start is called before the first frame update
    void Start() {
        Debug.LogError("starting server");
        netListener = new EventBasedNetListener();

        netListener.ConnectionRequestEvent += (request) => {
            request.Accept();
        };

        netListener.PeerConnectedEvent += (client) => {
            Debug.LogError($"Client connected: {client}");
        };

        netManager = new NetManager(netListener);
    }
}
With the server ready to accept new clients that wish to connect we just need to add a call to PollEvents() in Update().
// Server.cs
// Update is called once per frame
void Update() {
    netManager.PollEvents();
}
Running Unity as a Client and Server
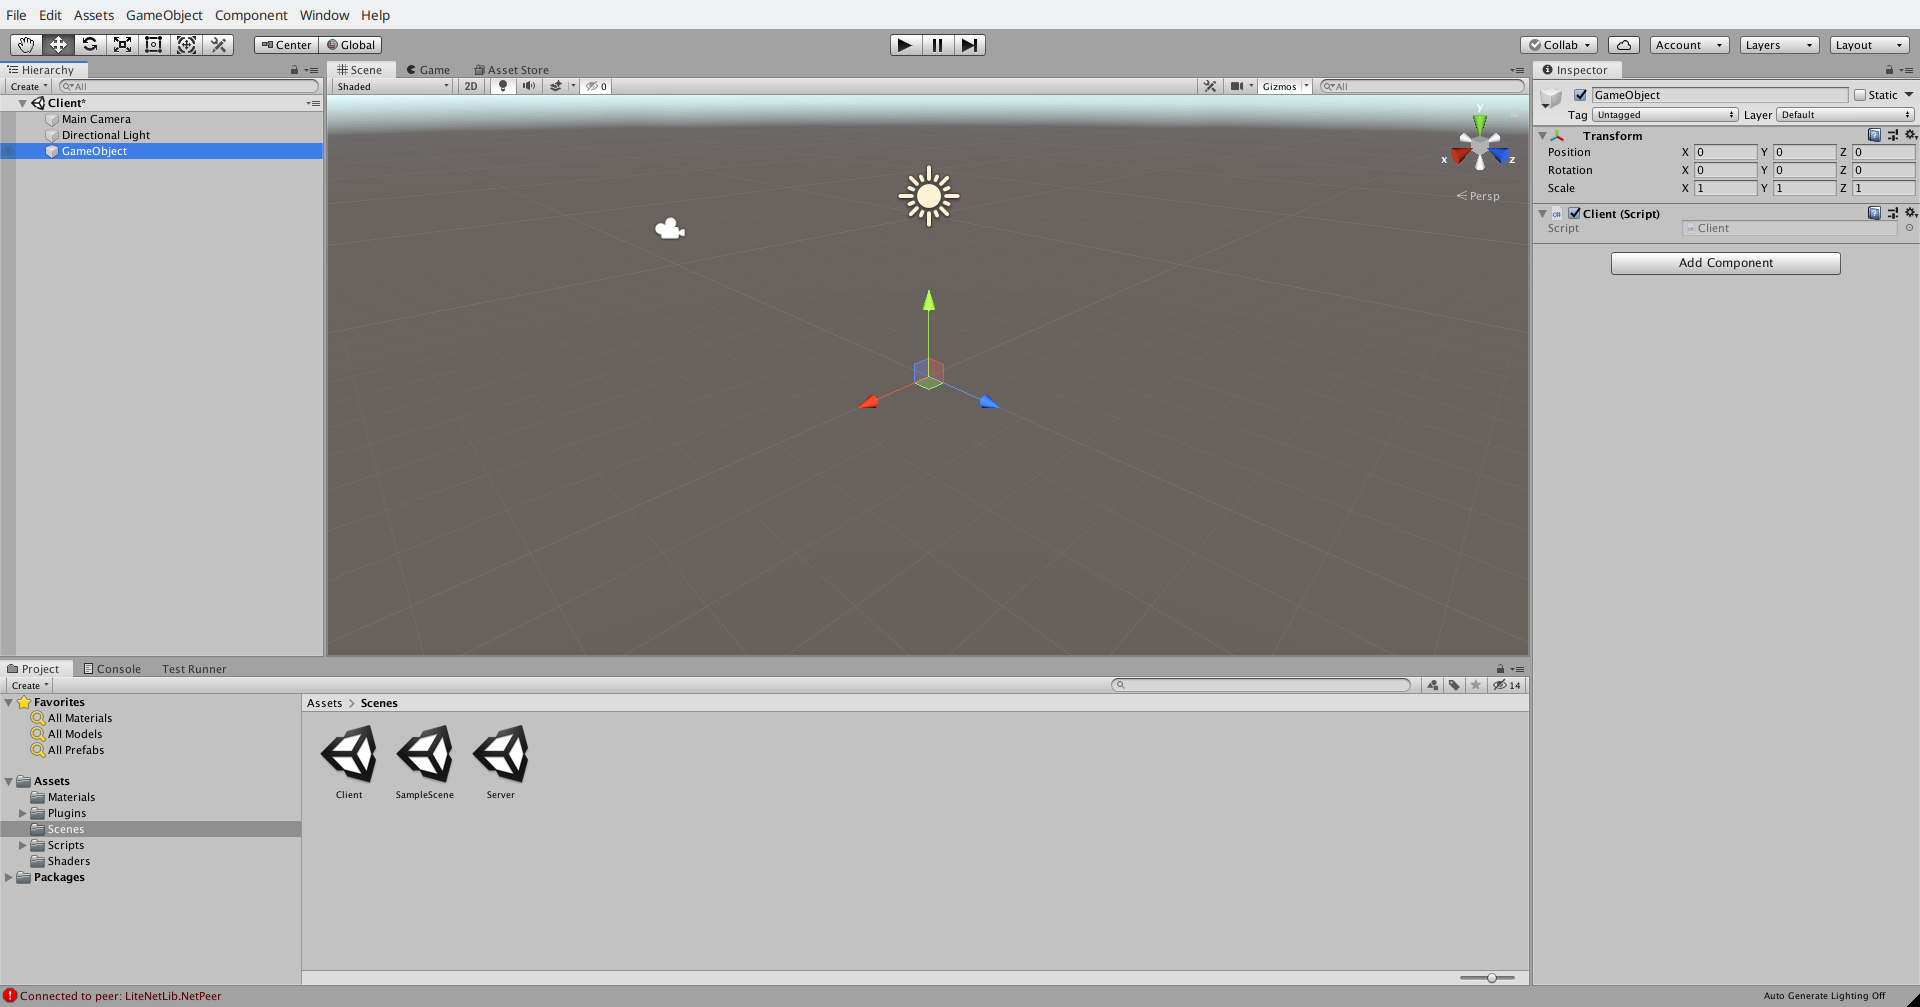
With the scripts all set, we need to set up Unity so it can run as either a server, or a client. The easiest way to do this would be to take advantage of scenes. Create a new scene and save it off as Client.unity. Then in the new scene add a new empty GameObject and add the Client script to it.
After that create a second scene and save it off as Server.unity. Then add an empty GameObject to it and attach the Server script.

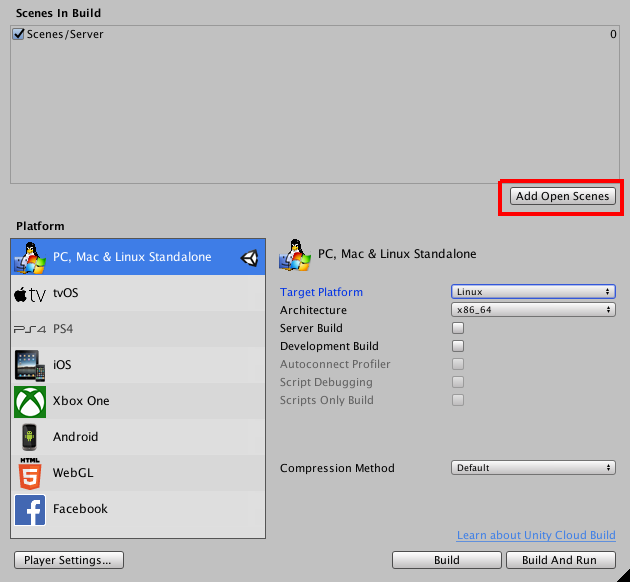
With both scenes prepared, keep the server scene open and bring up the Build Settings (Shift+Ctrl+B) window. We need to add the server scene to the build by clicking “Add Open Scenes”.
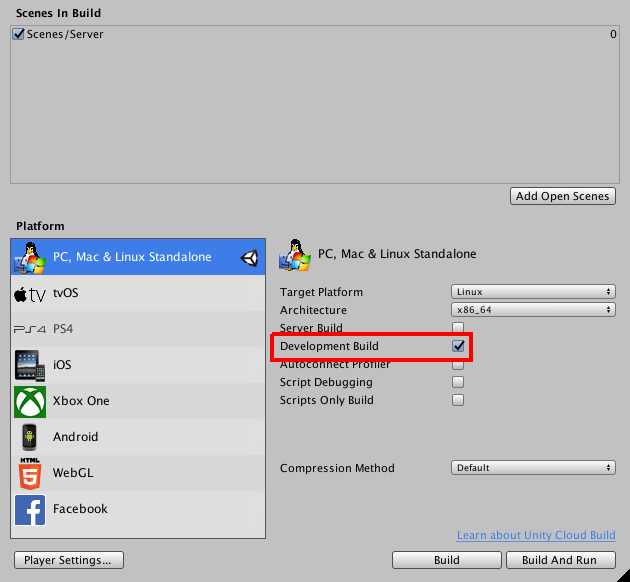
Also ensure that the “Development Build” checkbox is checked otherwise we wont see any of our Debug.LogError() messages.
Close out of the Build Settings window and switch Unity back to the client scene. We’re ready to test things out. We’ve set things up so anytime we build and run the app Unity will fire up a server instance for us. Then once that’s running we can simply hit play in the editor to start our client.
It comes down to user preference if the client or server should run within the editor, or the standalone build. I personally find that until a menu is added to control when the client connects to a server that it’s better to have the server running in the build since we need it active first.
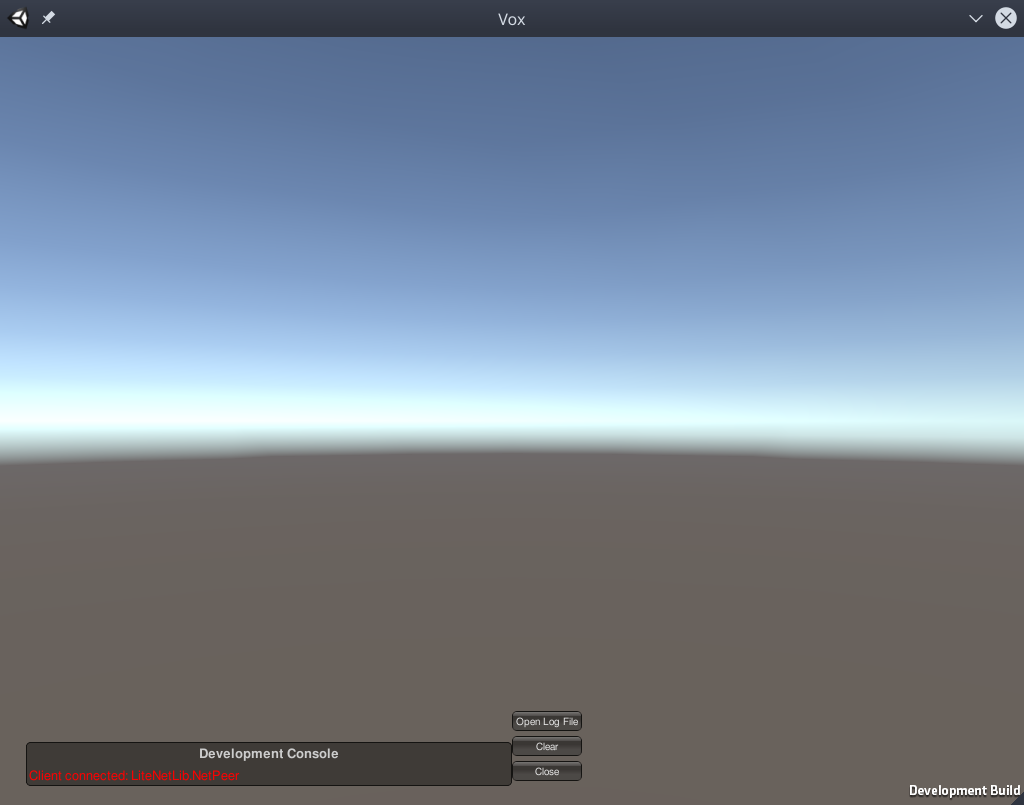
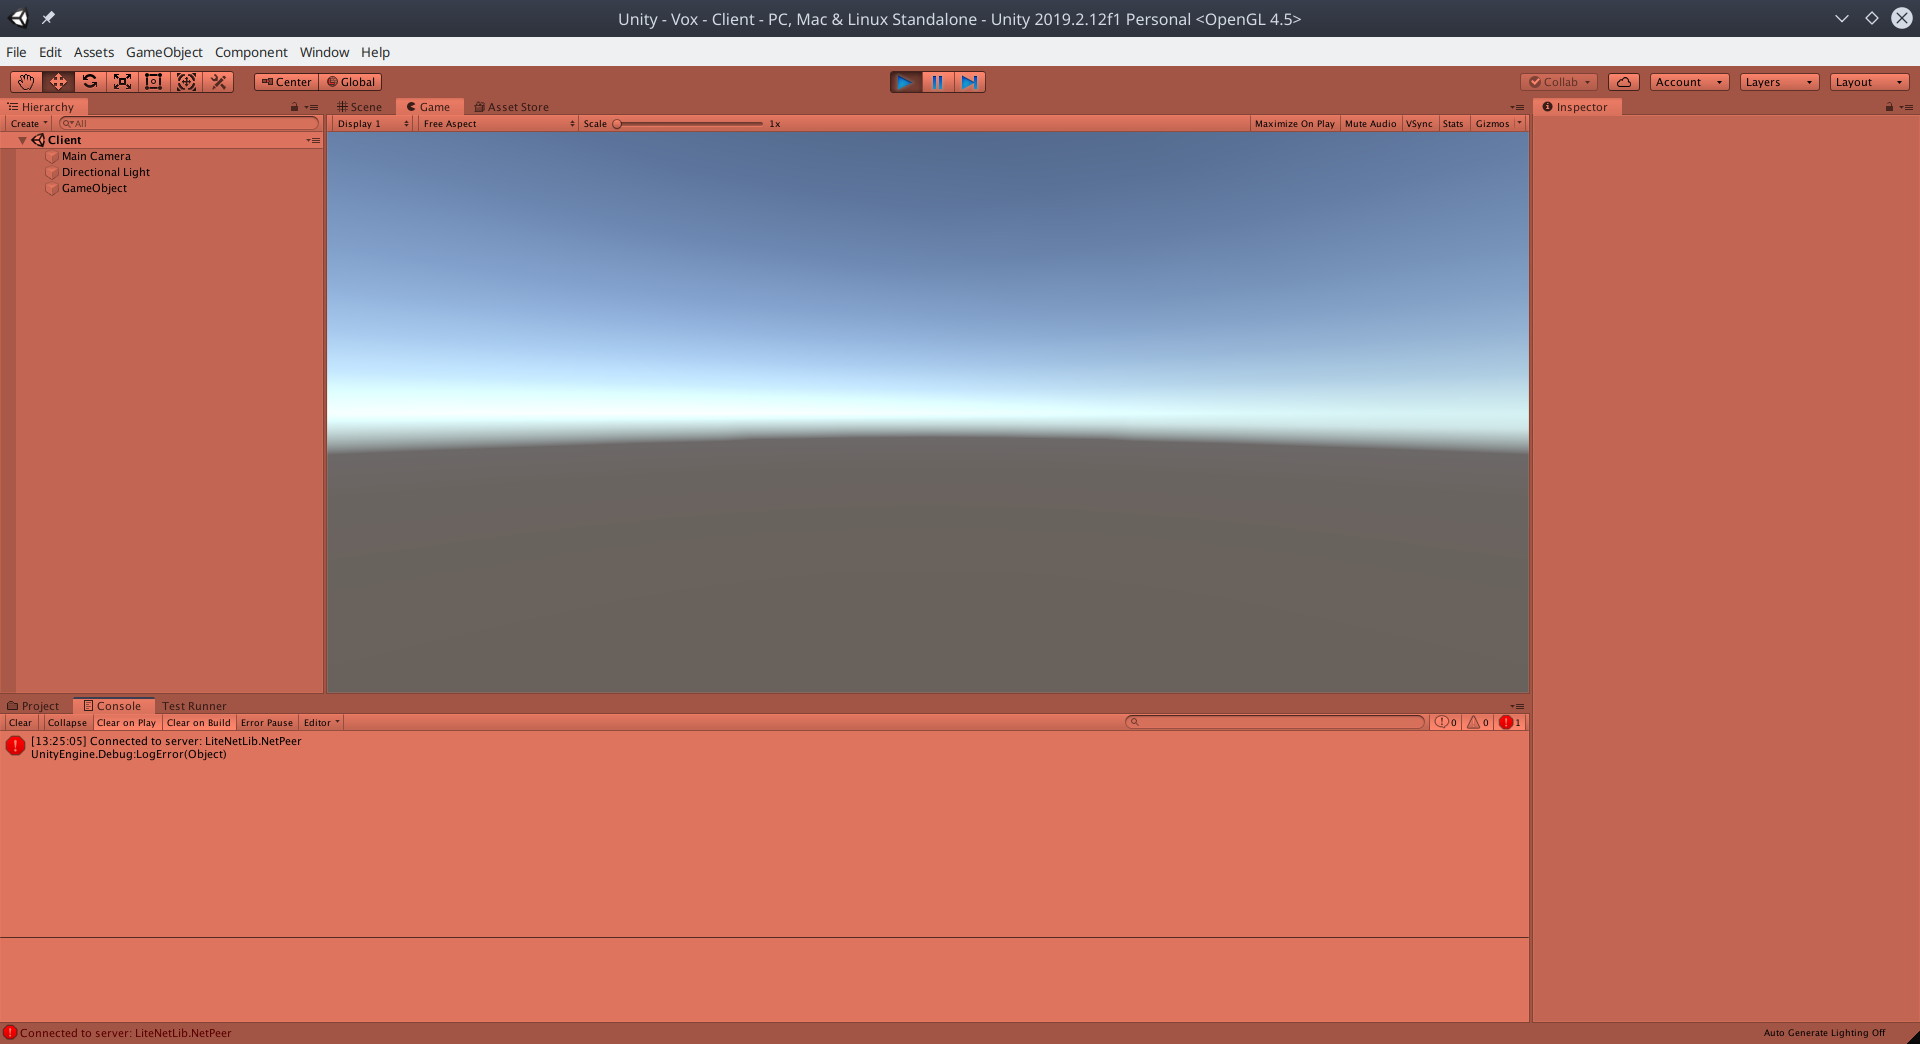
Build and run the server by hitting Ctrl+B. Unity will popup a loading bar and after a few seconds our server will appear. Now hit play in the editor.
It’s not much, but the server and client will print out their “error” messages showing that they connected to each other.
Connection Limit
Adding a connection limit to the server is an easy to add feature that only requires a few extra lines. Jump back over to Server.cs and adjust the event handler for ConnectionRequestEvent to:
netListener.ConnectionRequestEvent += (request) => {
    int connectionLimit = 5; // Arbitrary connection limit.

    if (netManager.PeersCount > connectionLimit) {
        request.Reject();
    } else {
        request.Accept();
    }
};
Connection Key
Another quick feature we can add to the server is a connection key. We can set it up so the server requires this key from clients before accepting them. This is useful if we wanted to ensure only instances of our game are connecting, or if we want to ensure the client is running a specific version.
Again we’ll apply a quick tweak to the event handler for ConnectionRequestEvent in Server.cs.
netListener.ConnectionRequestEvent += (request) => {
    request.AcceptIfKey("SECRET_KEY");
};
And when we call Connect() in Client.cs we’ll need to pass the key as an extra parameter.
netManager.Connect("localhost", 9050, "SECRET_KEY");
Wrapping Up
This tutorial is only the tip of the iceberg in what LiteNetLib can do and offer. It’s library is a low level API but it provides the building blocks needed to bring a multiplayer game to life.
LiteNetLib doesn’t have the most detailed documentation but it’s still worth taking a read.