Revival of the Hatch Part 7: Re-Adding Power Steering, a Full-Sized Radiator and More
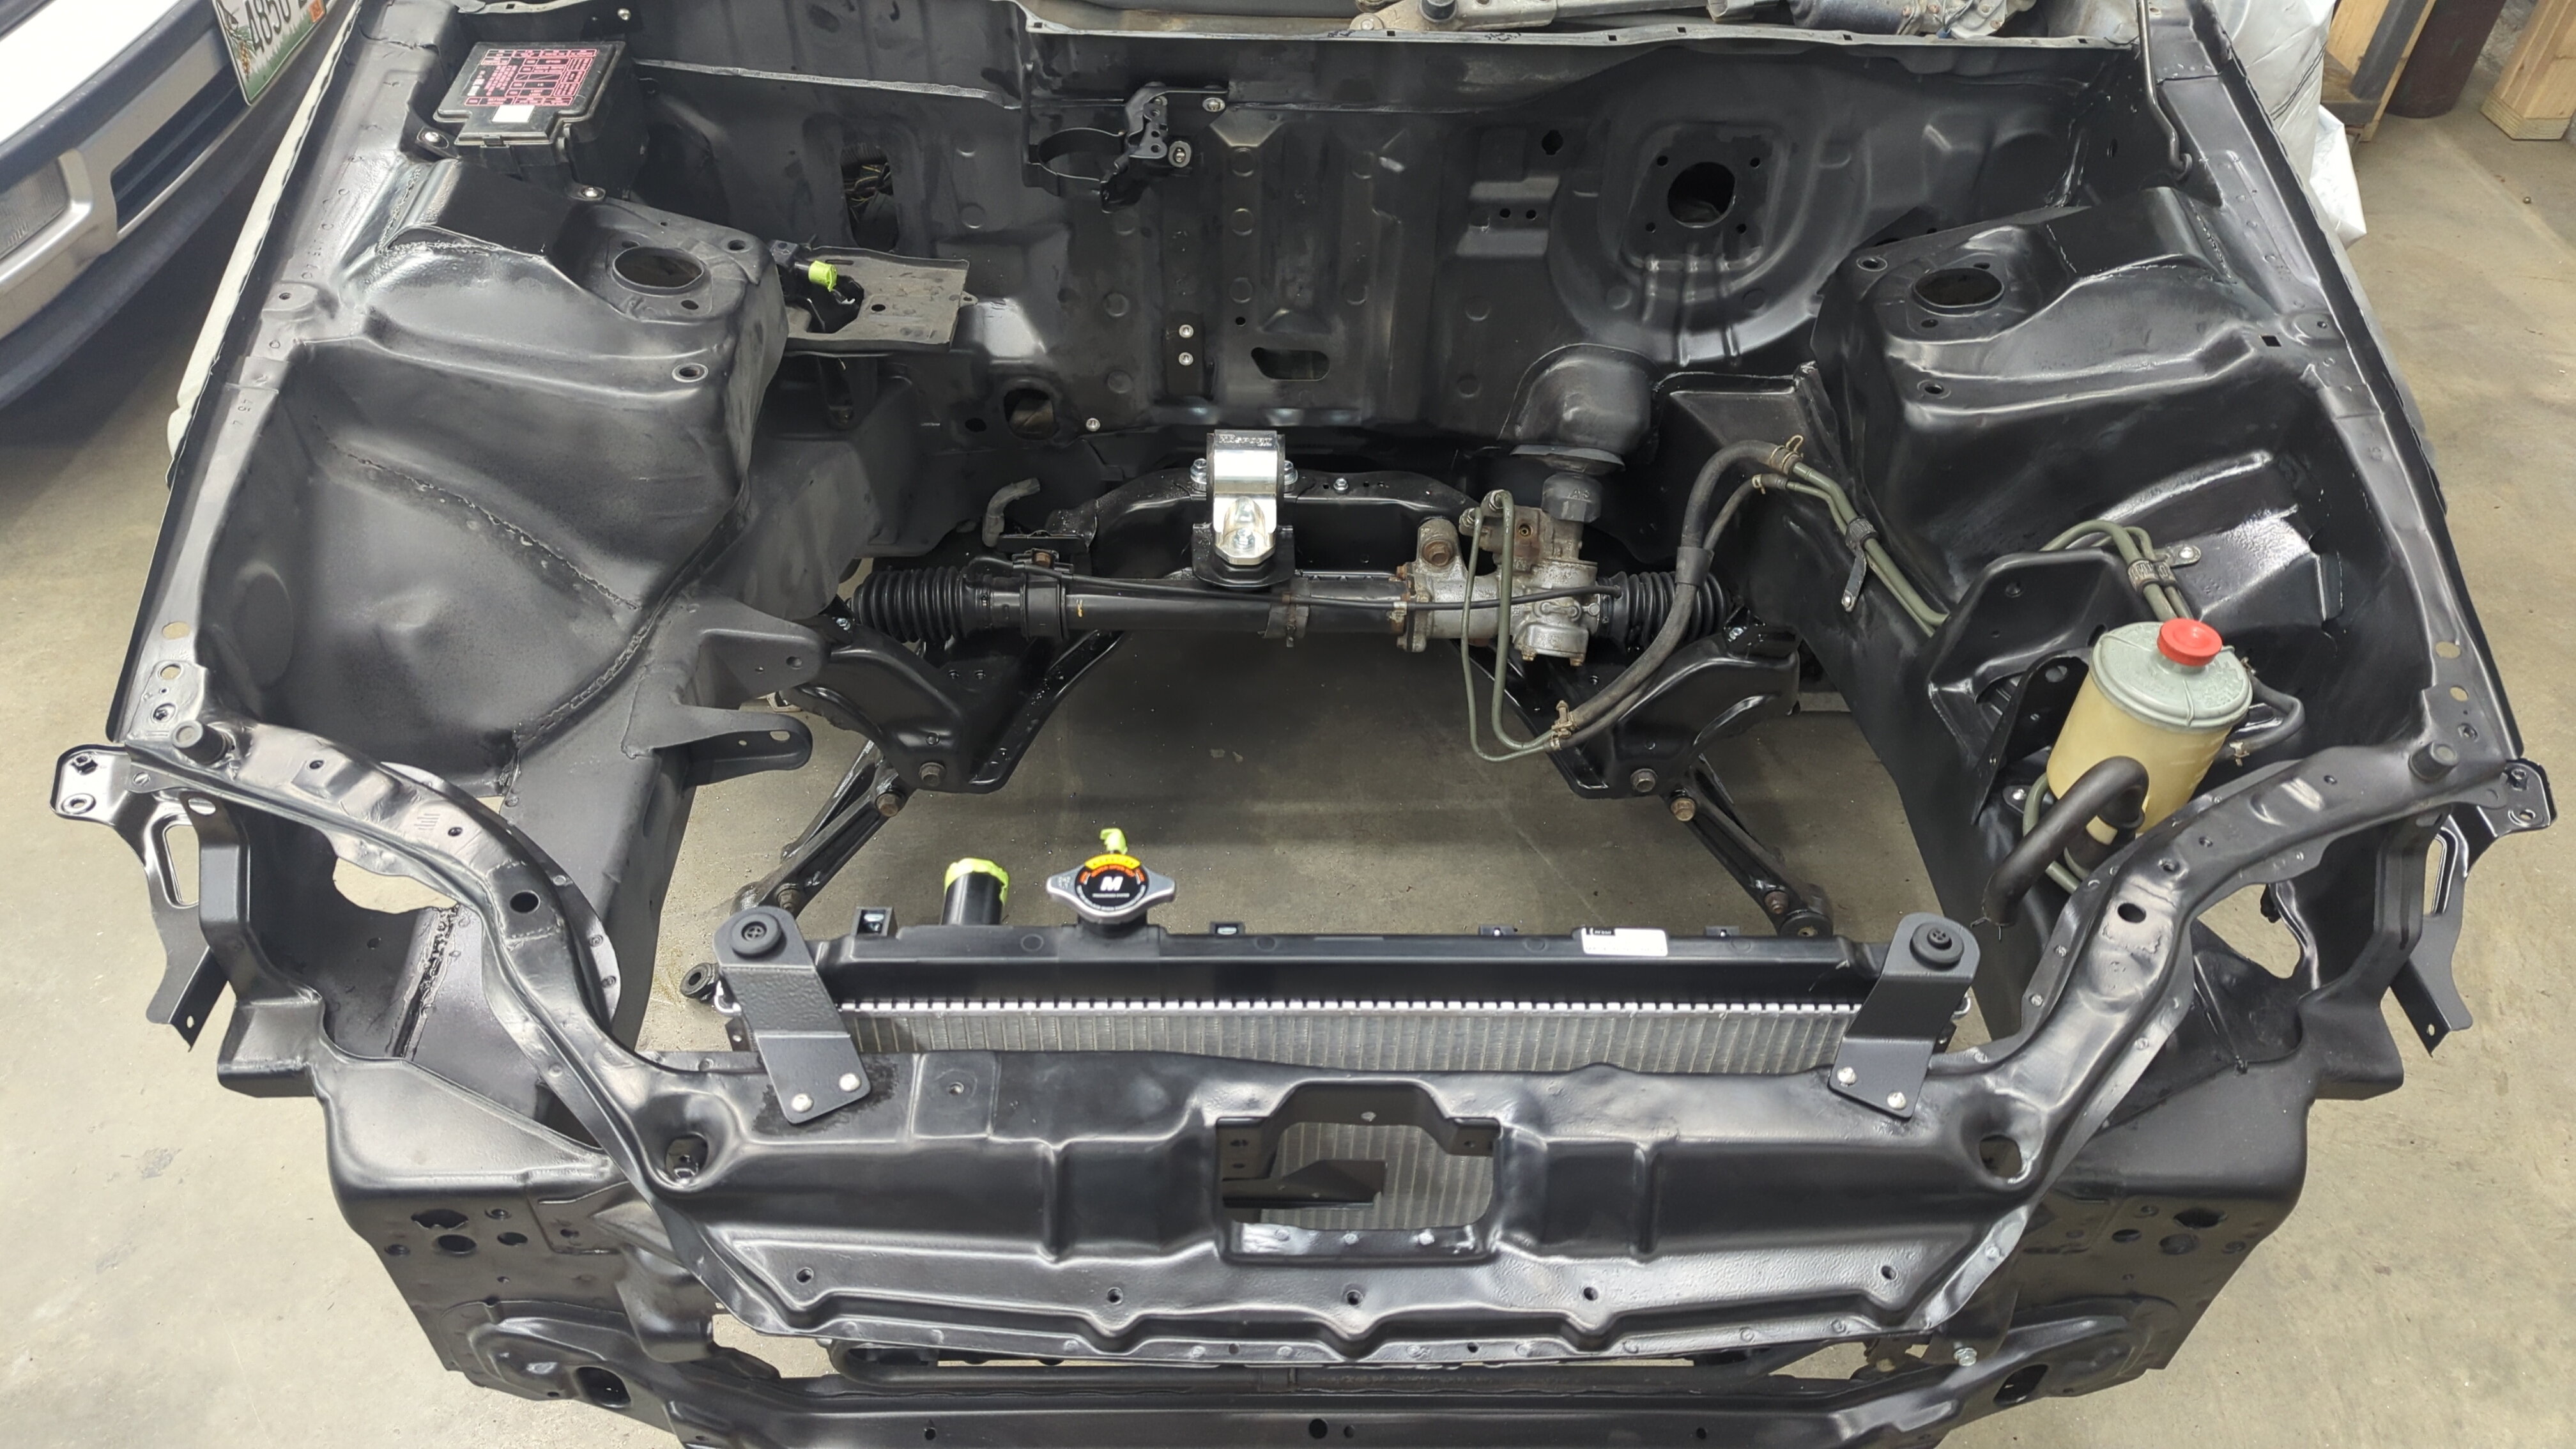
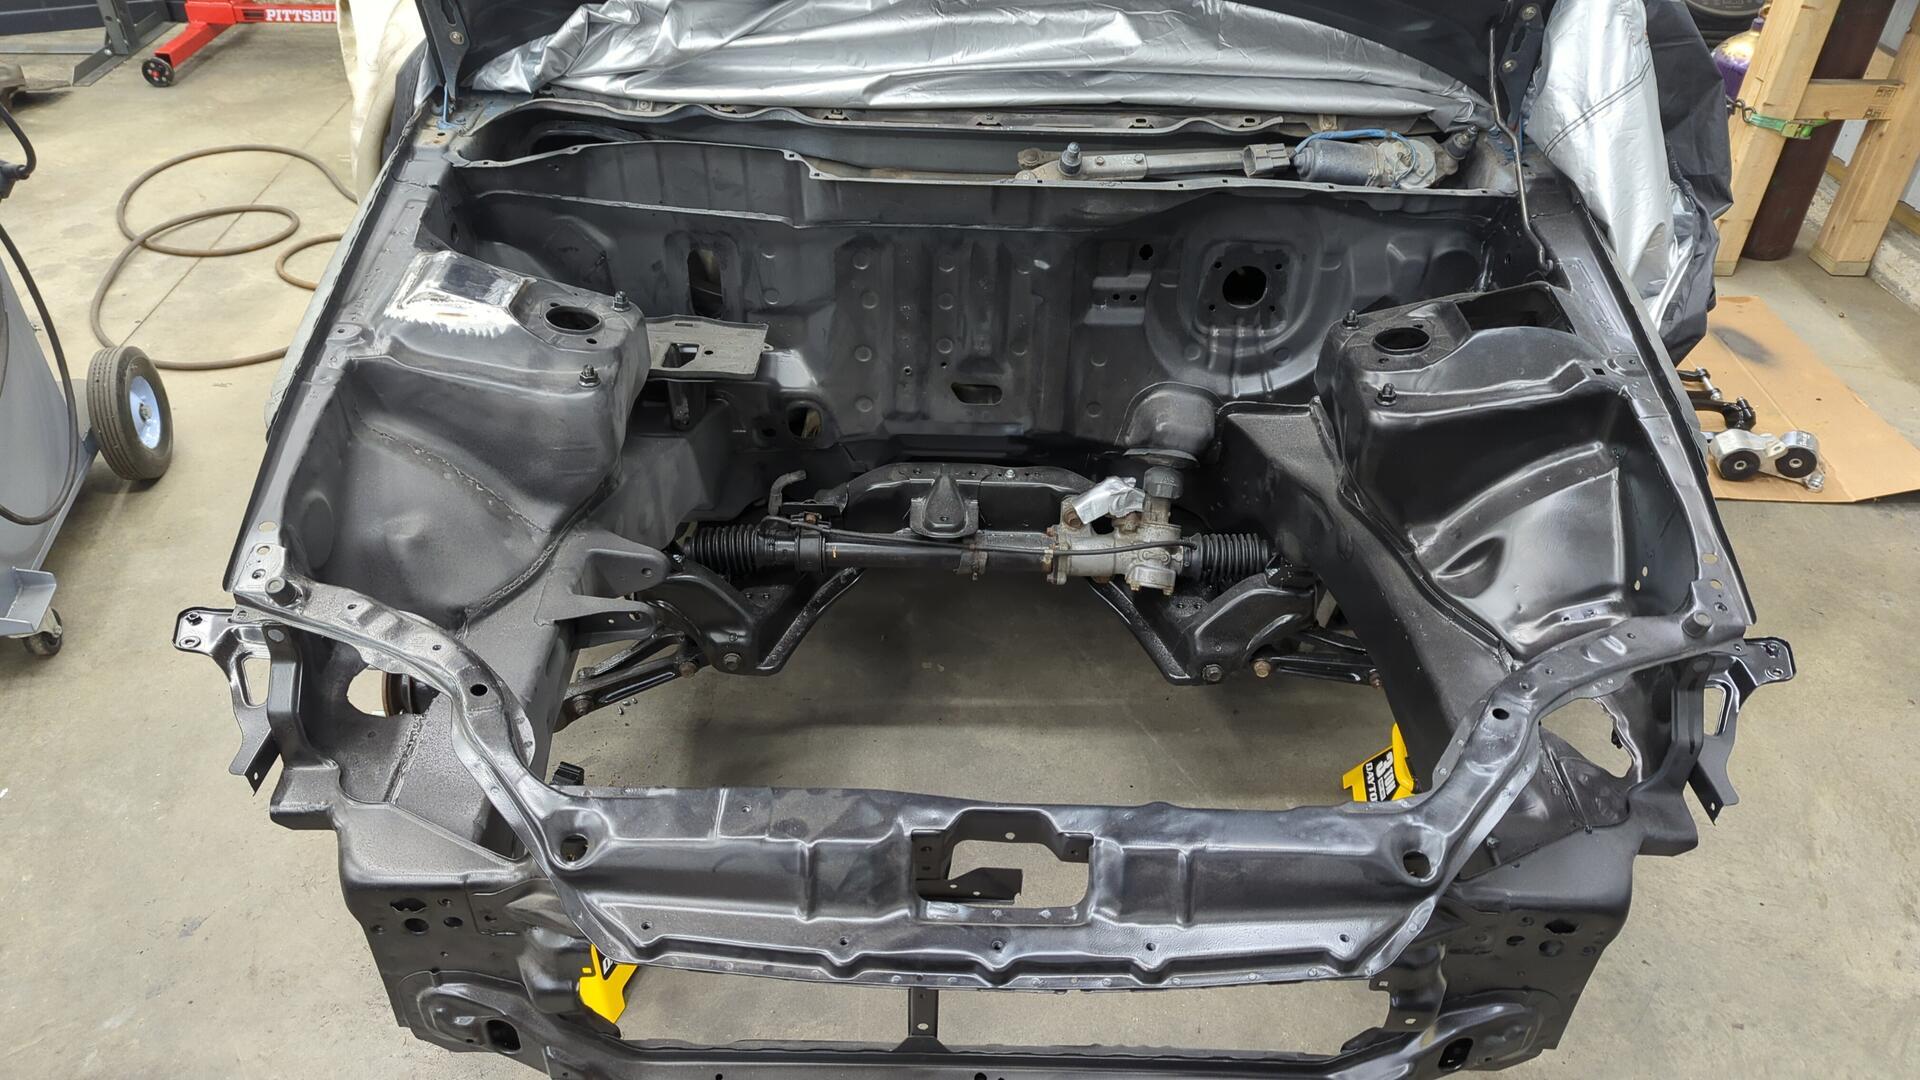
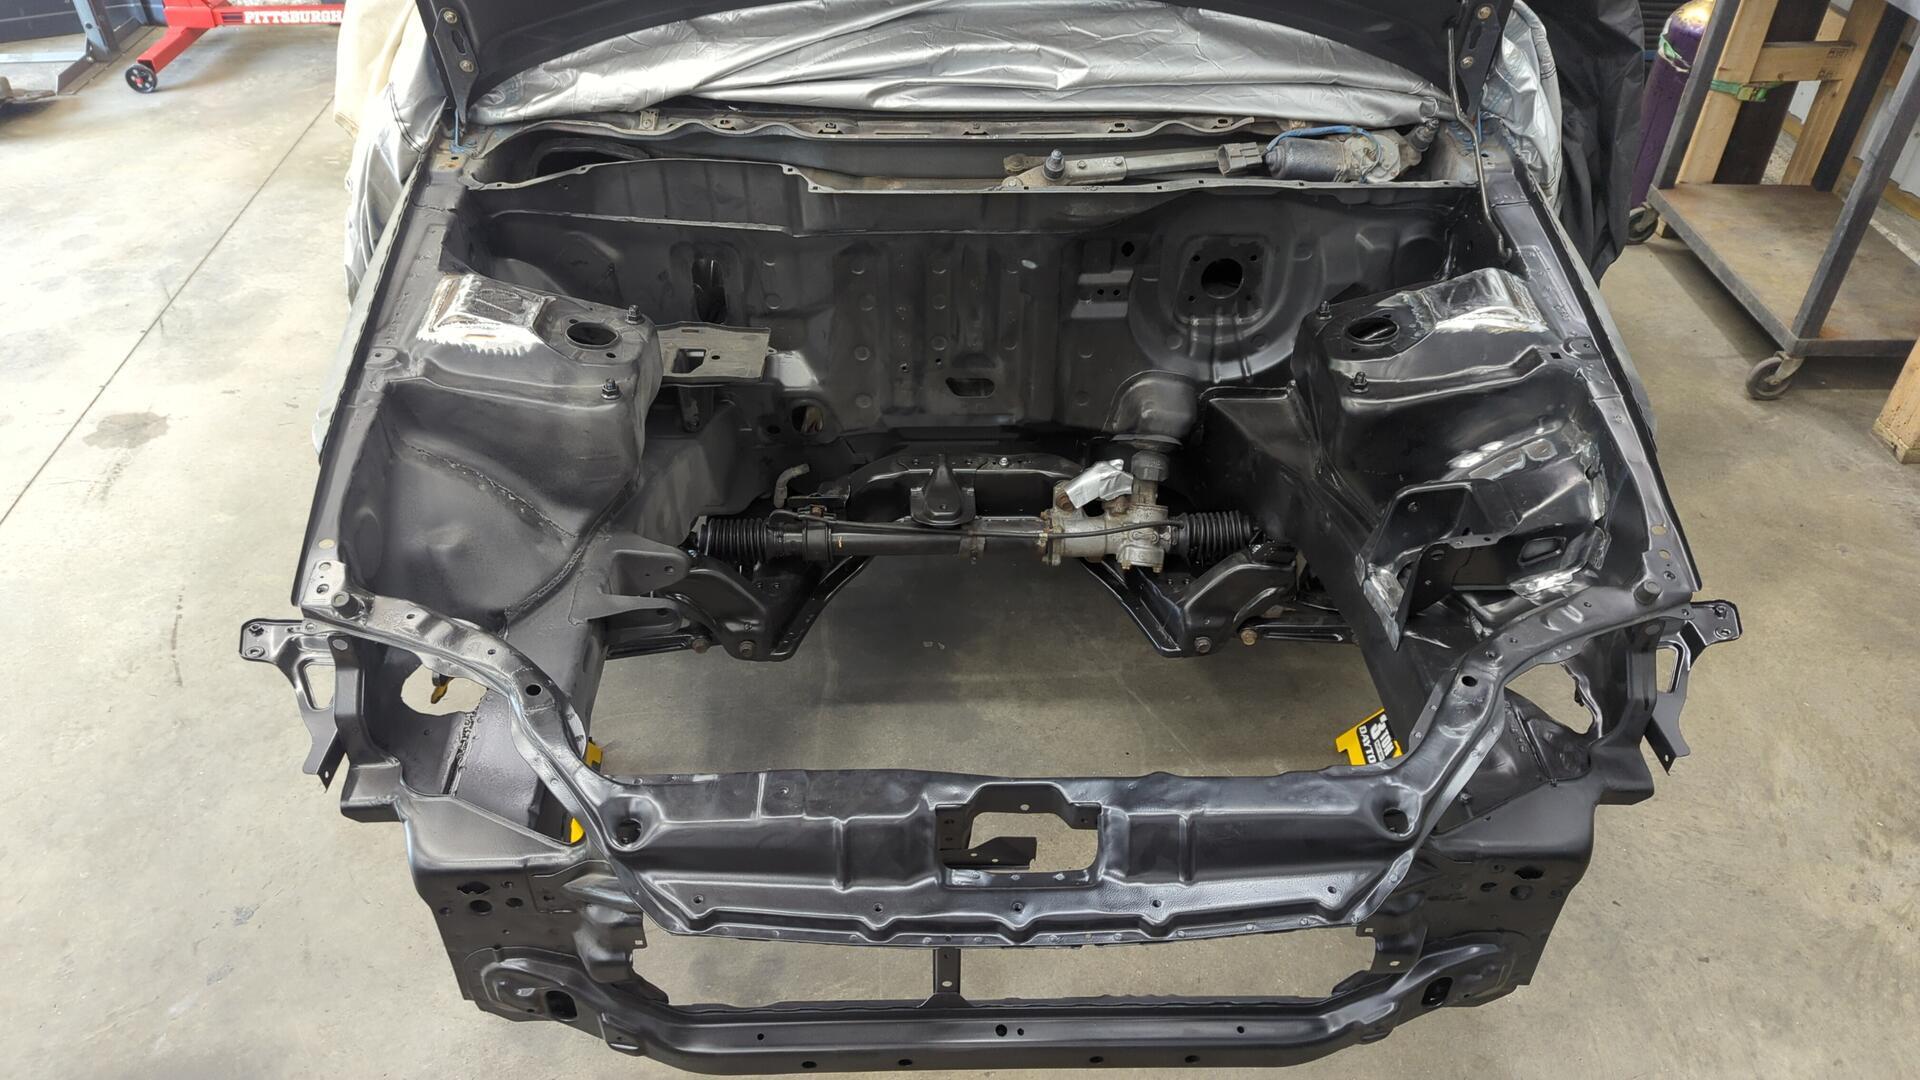
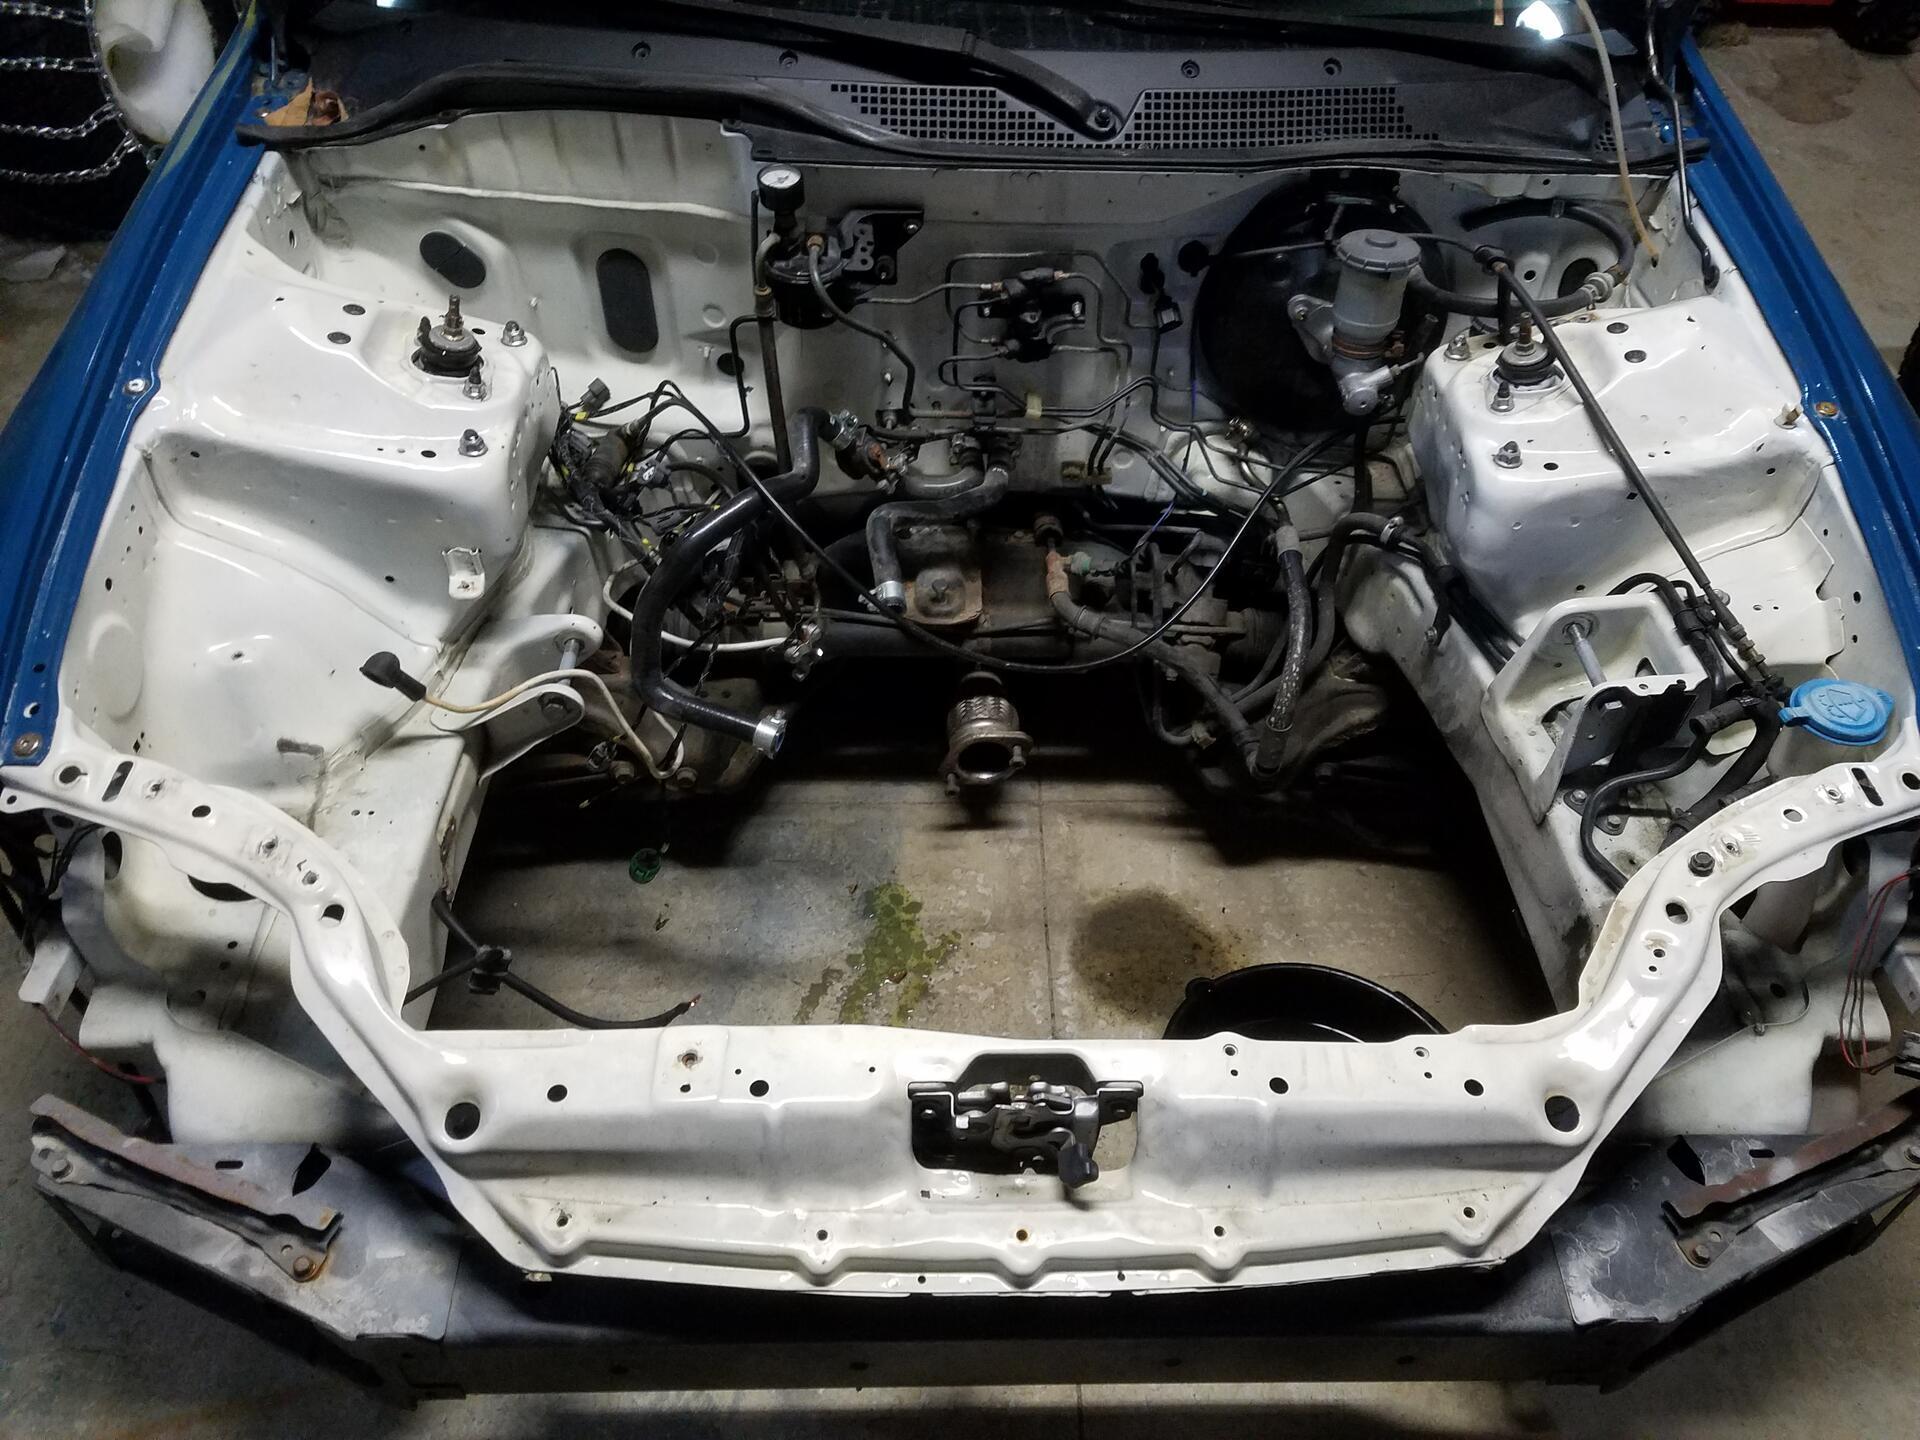
Having finished up the suspension (minus coilovers) I figured the next logical step would be to dive into the engine bay. I’m itching to start on the engine bay body work but I felt it’d be smarter to address every existing issue, and figure out how/where everything would mount up prior to spraying any paint.
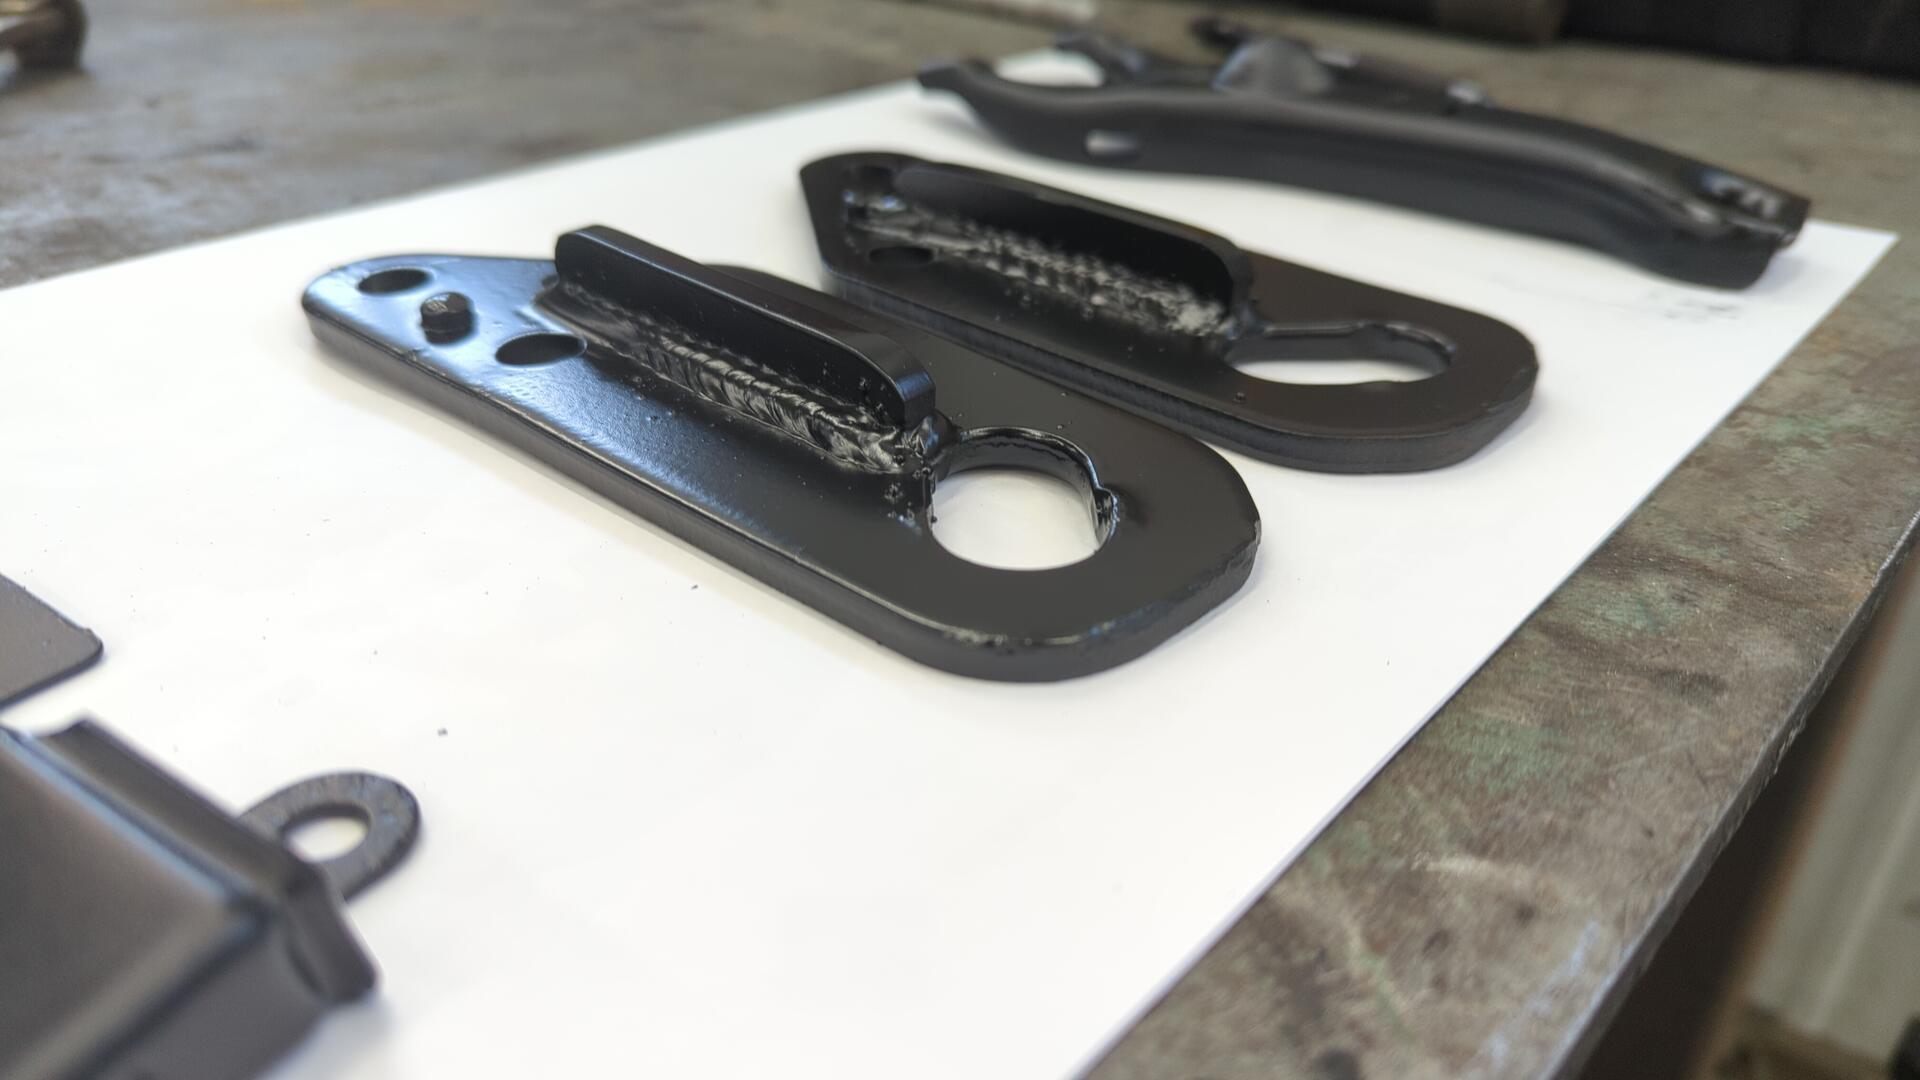
Reinforcing the Tow Hooks
The front tow hooks have definitely seen better days. They were both bent from some past abuse and covered in a moderate coating of rust.
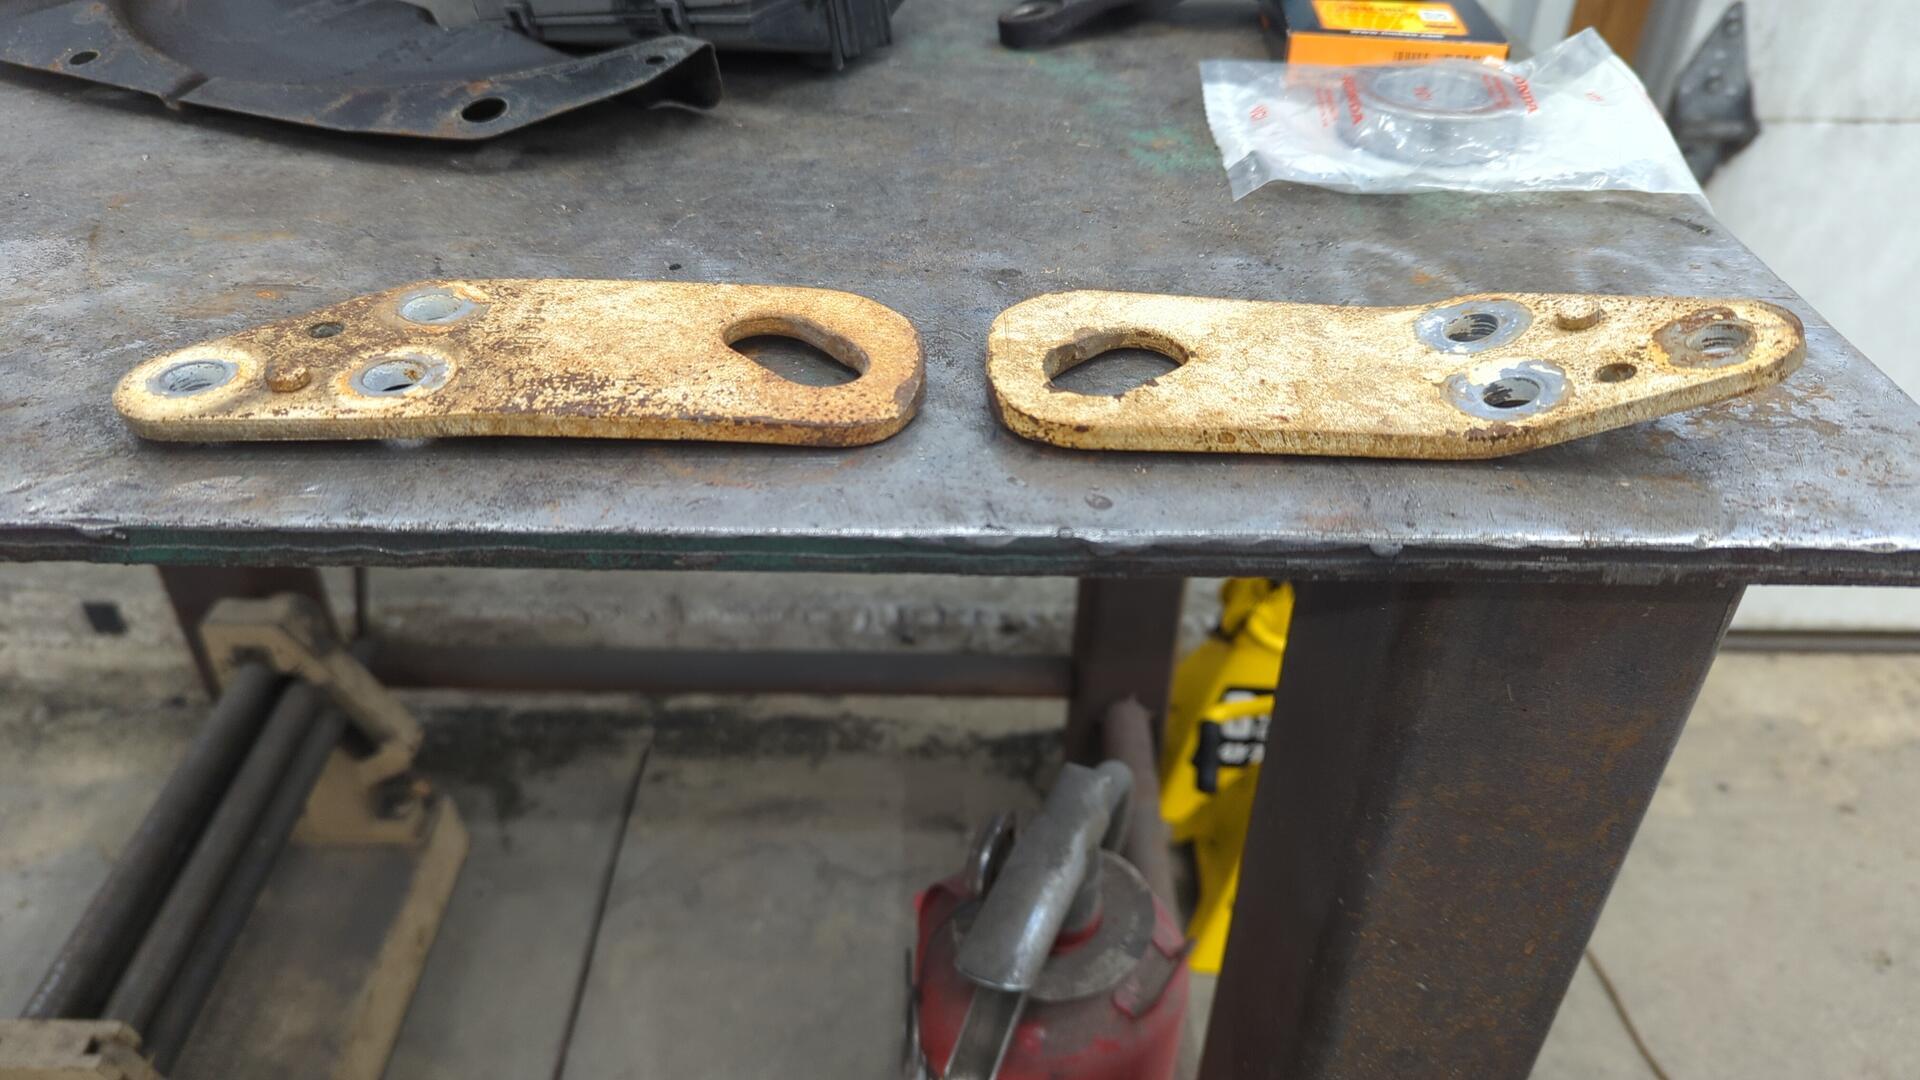
Using my sandblaster and bench vise I was able to clean them up and get them as straight as possible.
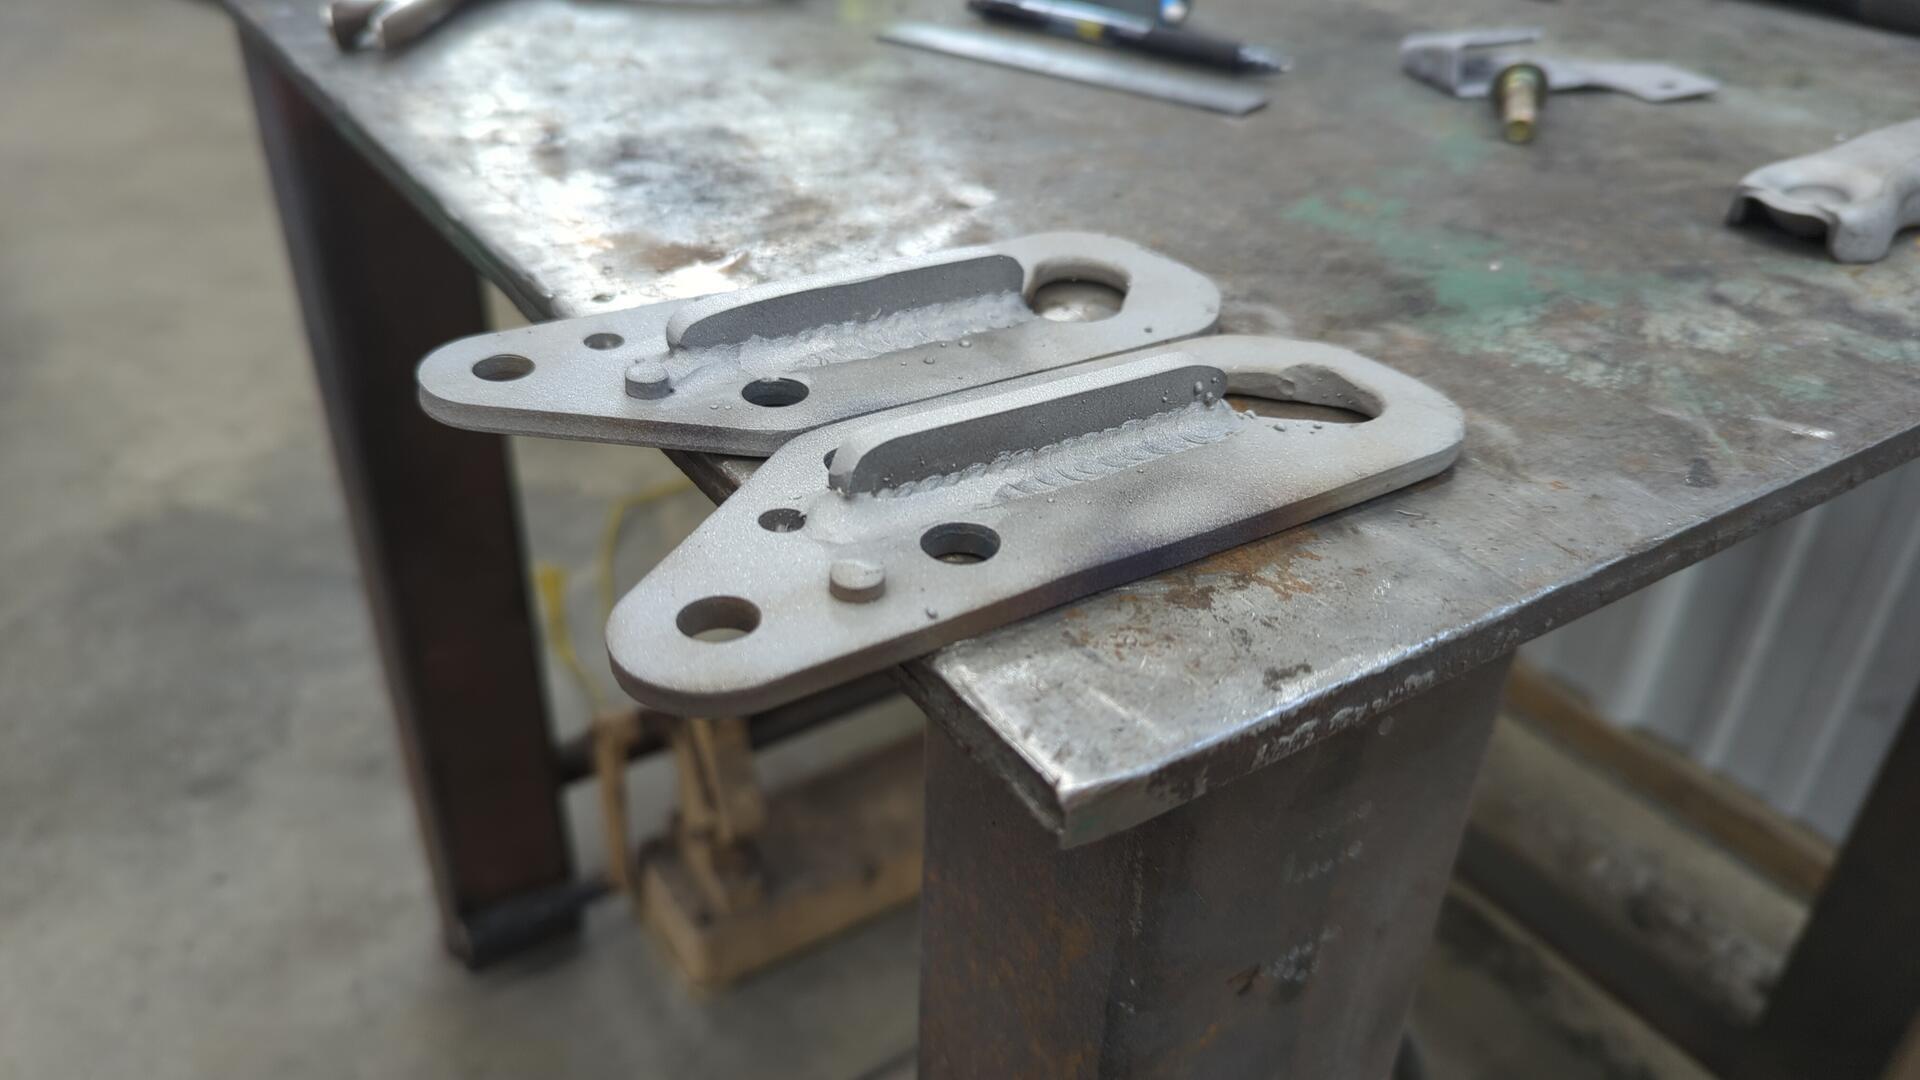
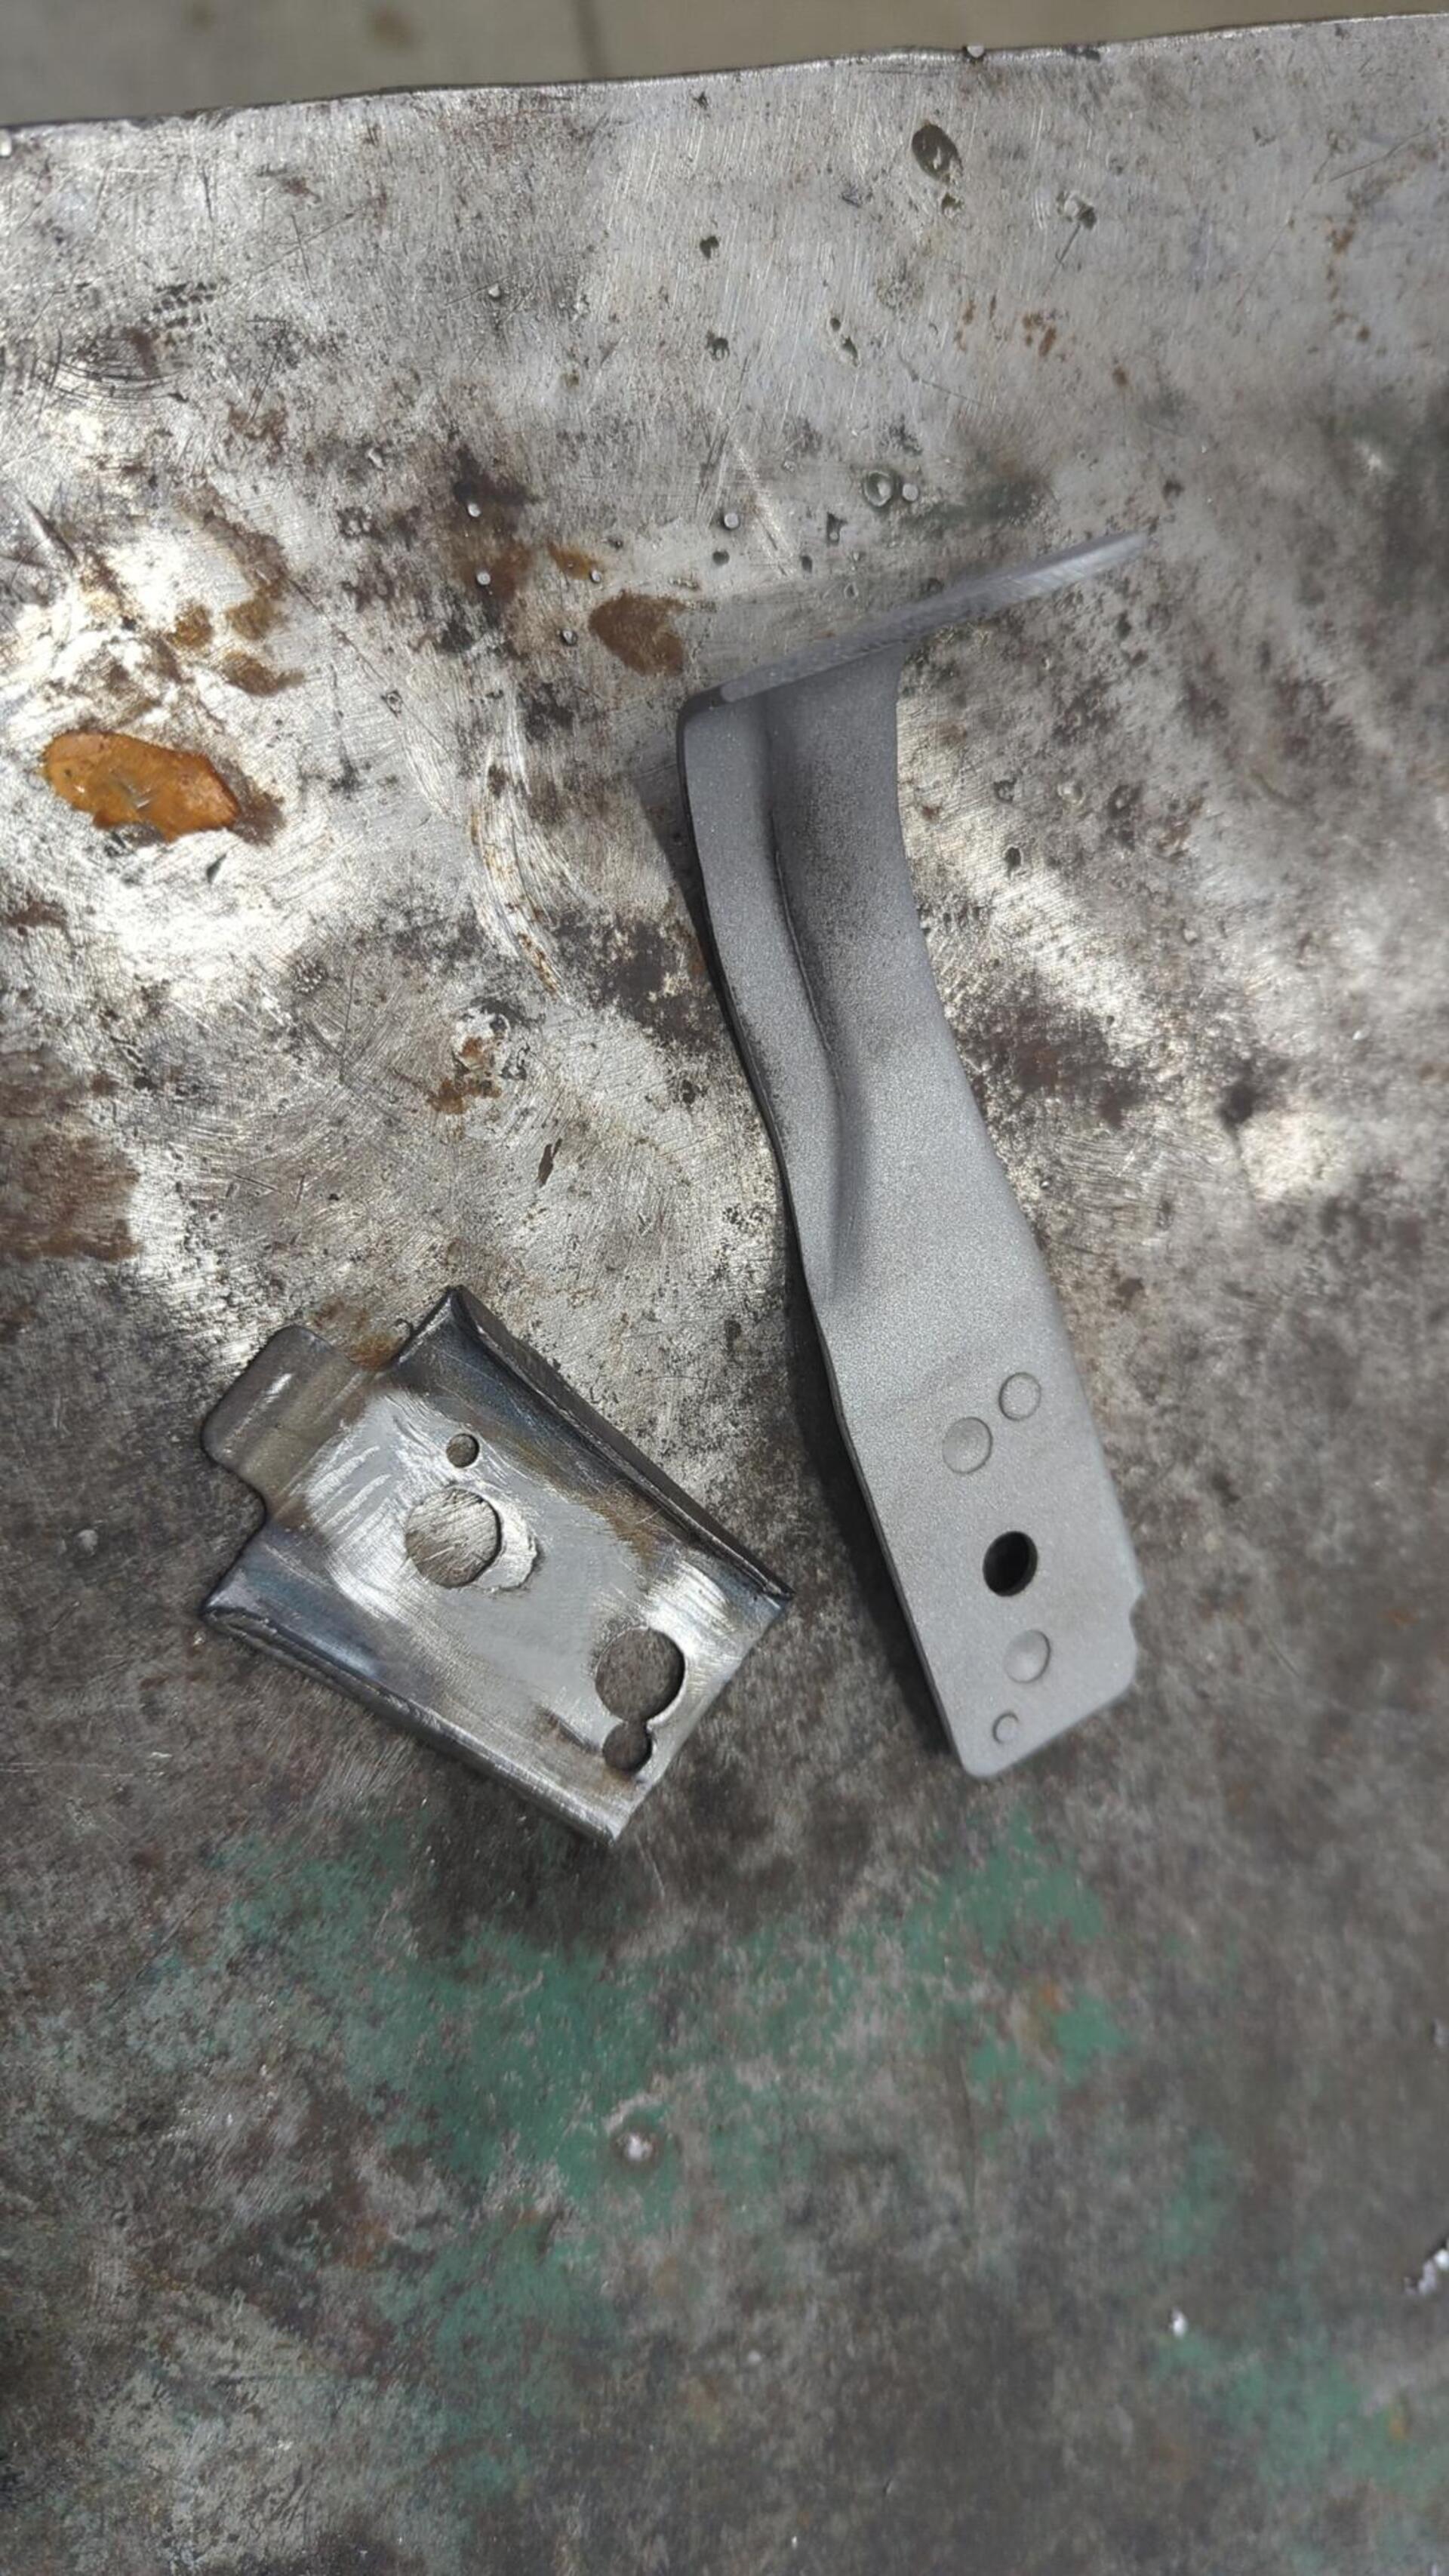
Not wanting the bends to come back I tried welding on some extra bracing to beef them up.
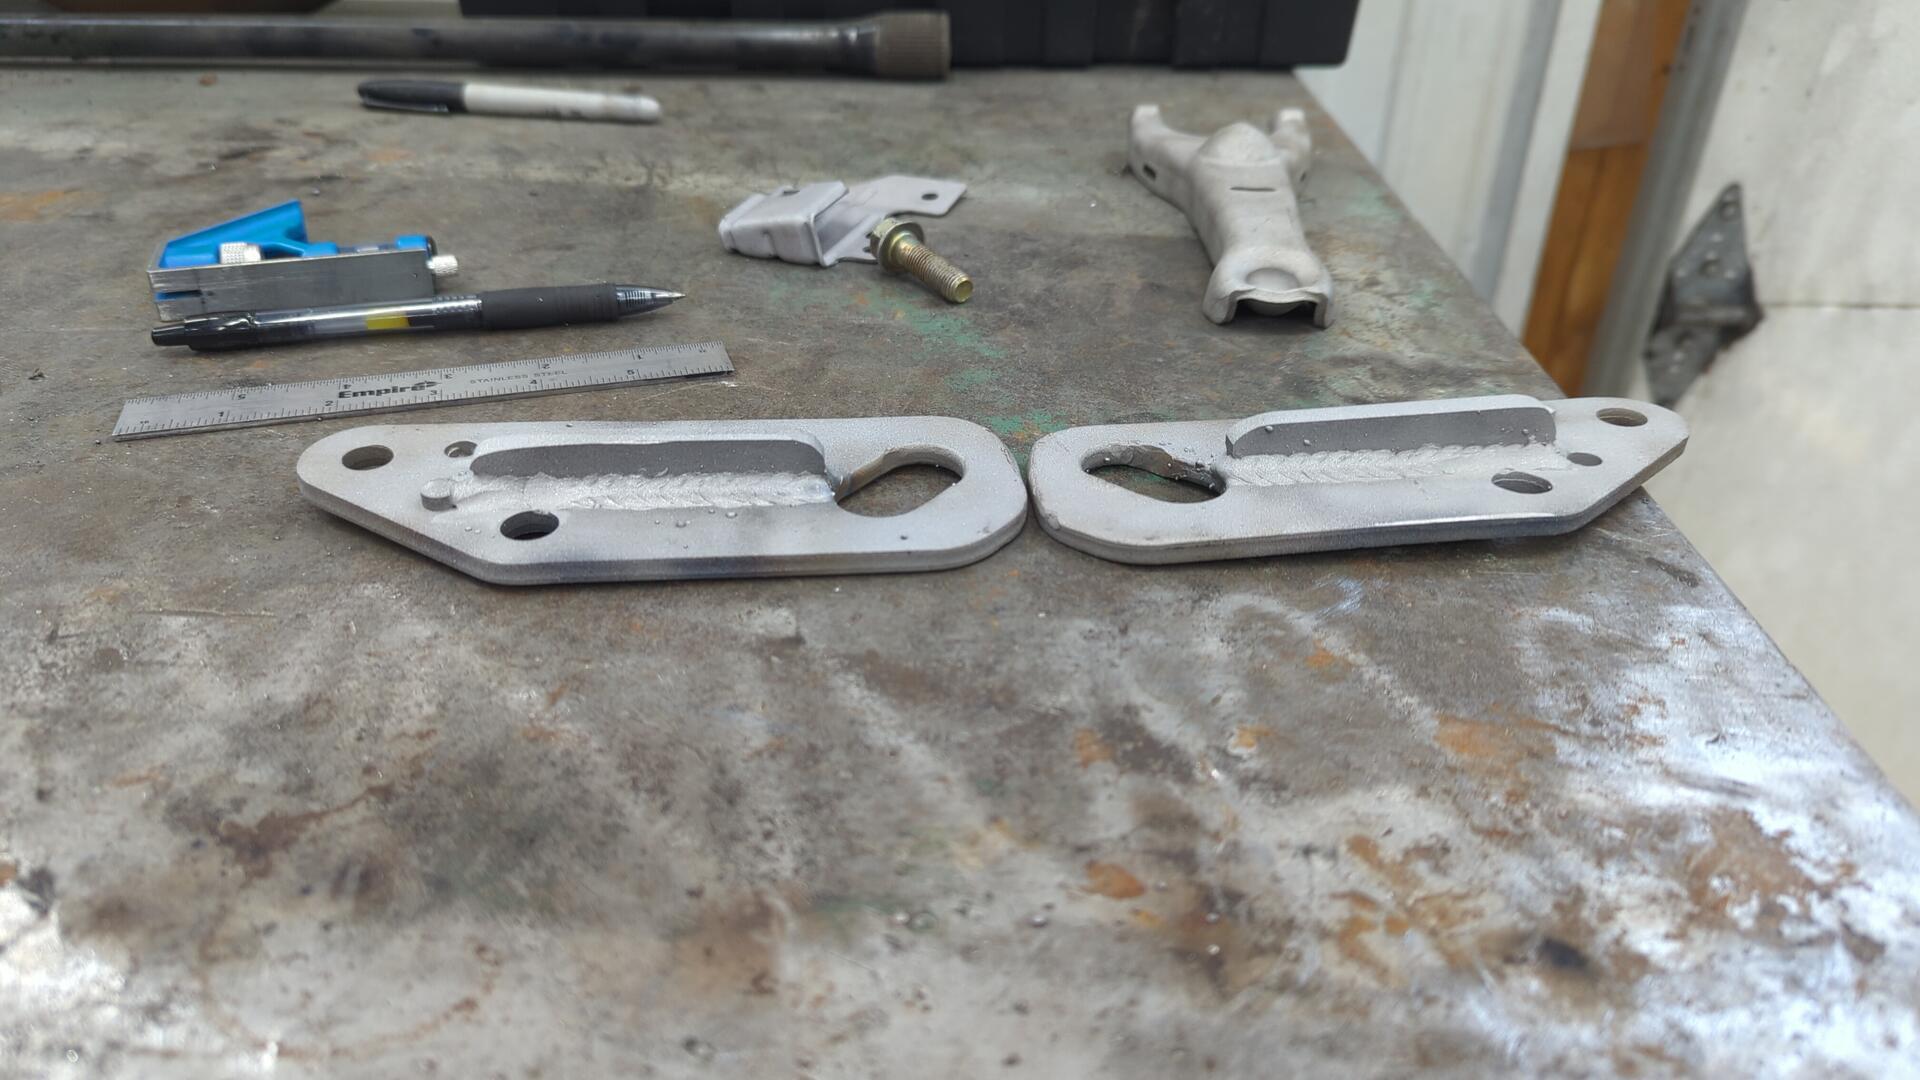
The welds ended up being too close to the bolt holes though and had to be ground back.
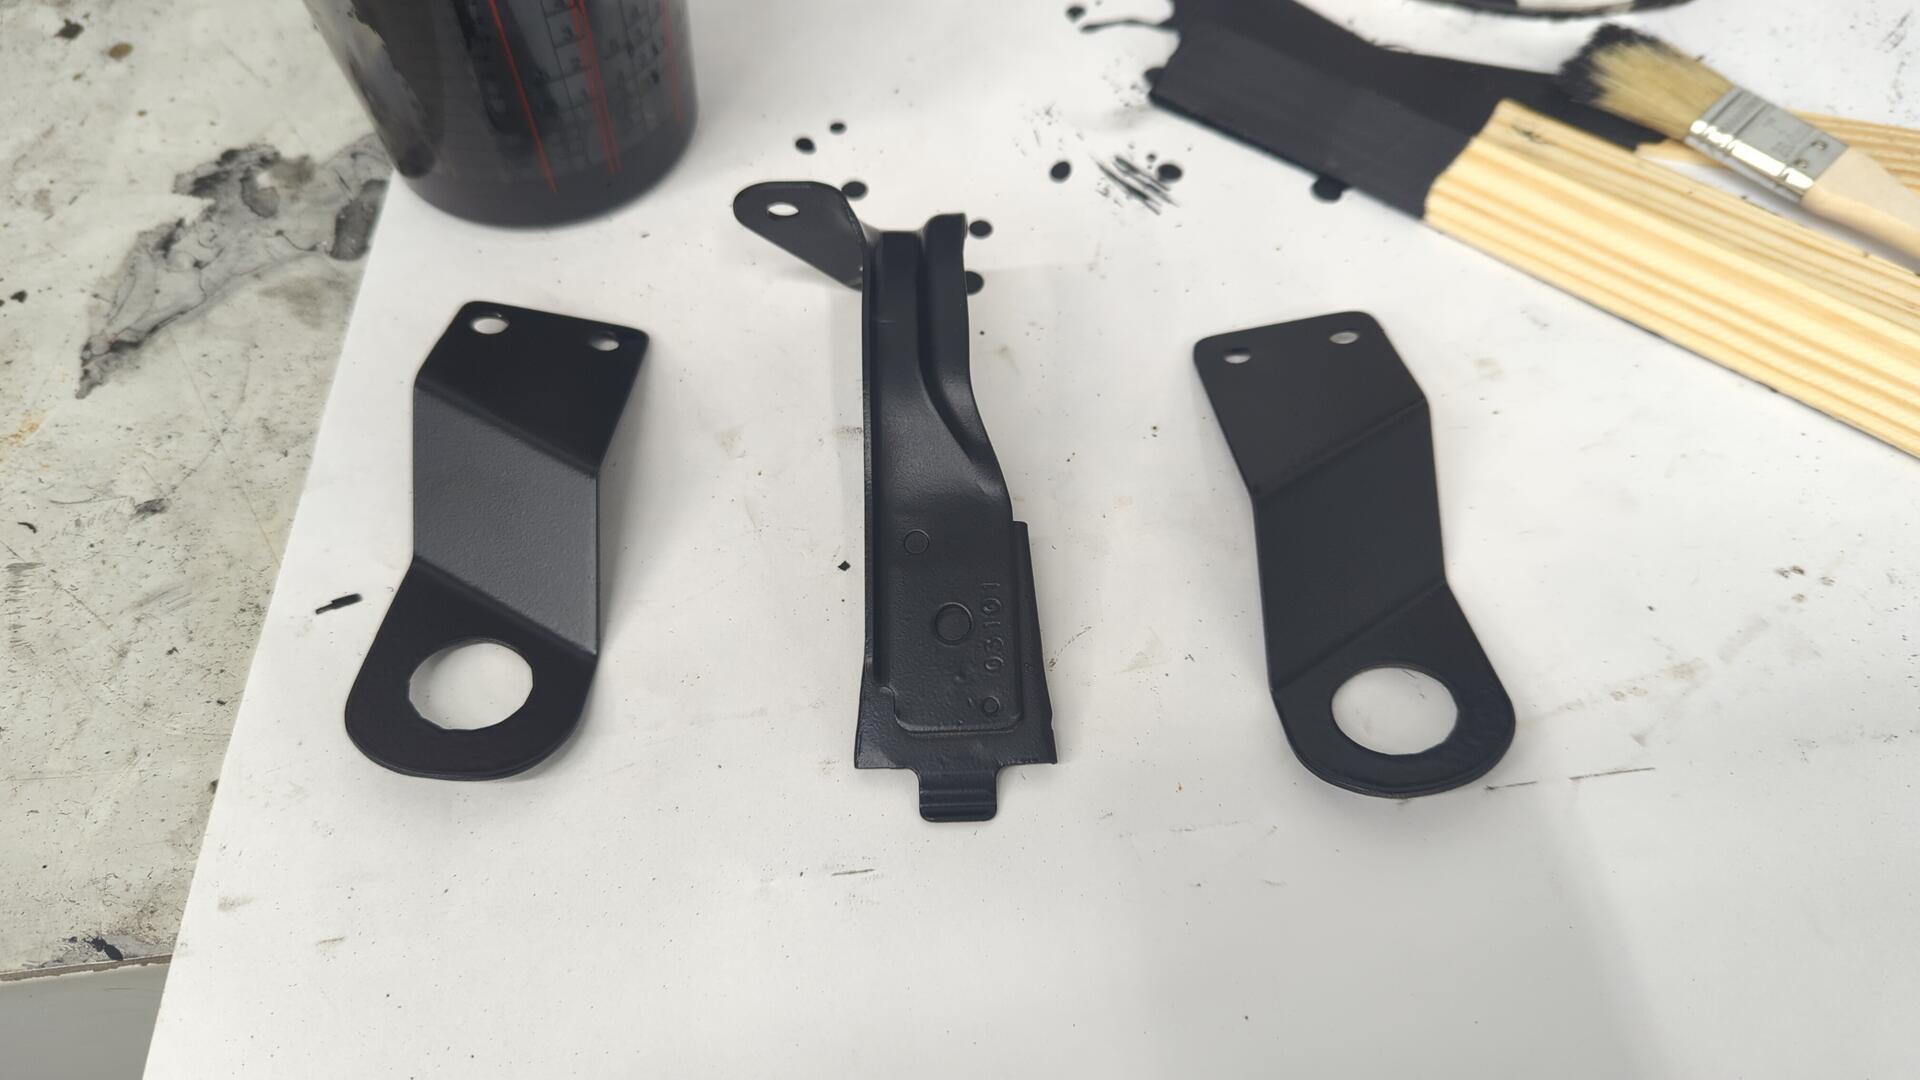
Painted! They look pretty good.
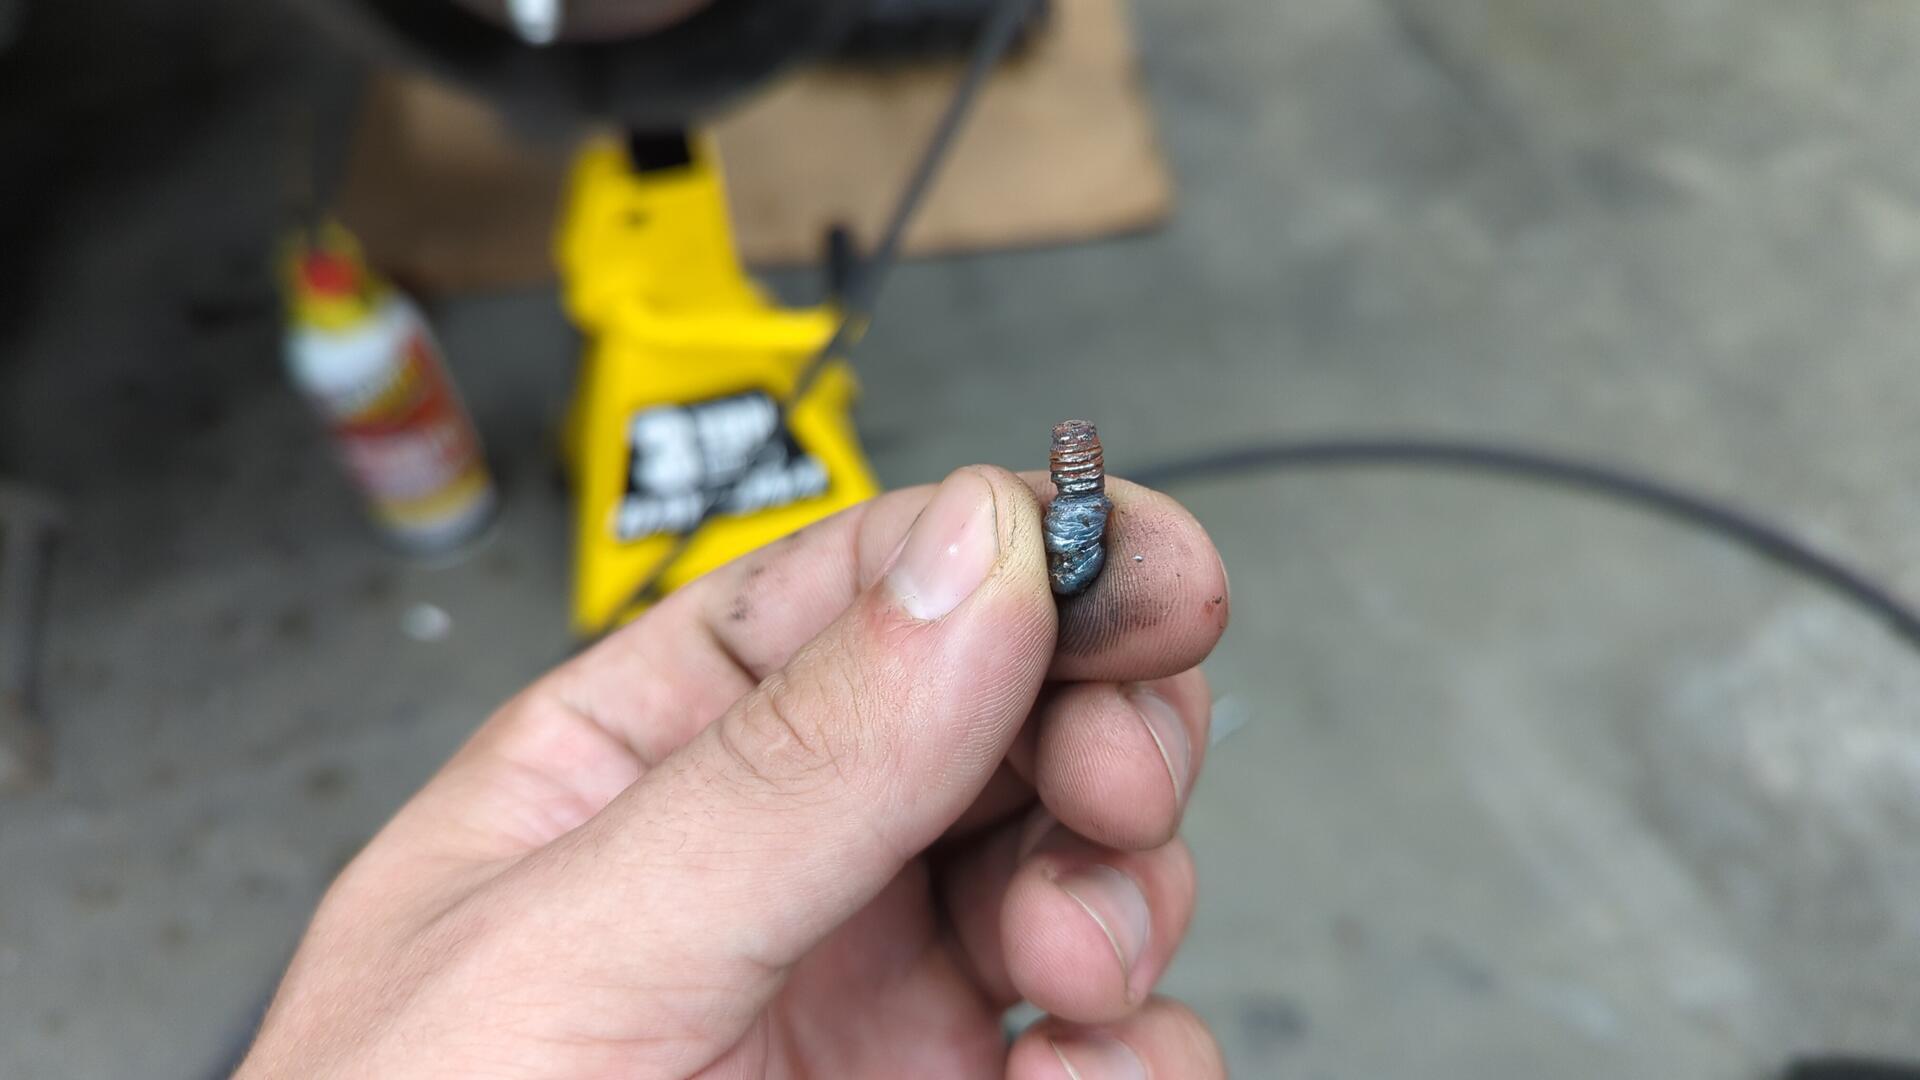
Removing a Few Pesky Snapped Bolts
Over the years the Honda has accumulated a few snapped bolts. Having recently learned how to remove stuck exhaust header bolts from an LS I decided to try using the same technique with the welder on the Honda.
Two of the snapped bolts on the bottom of the radiator support.
Success!
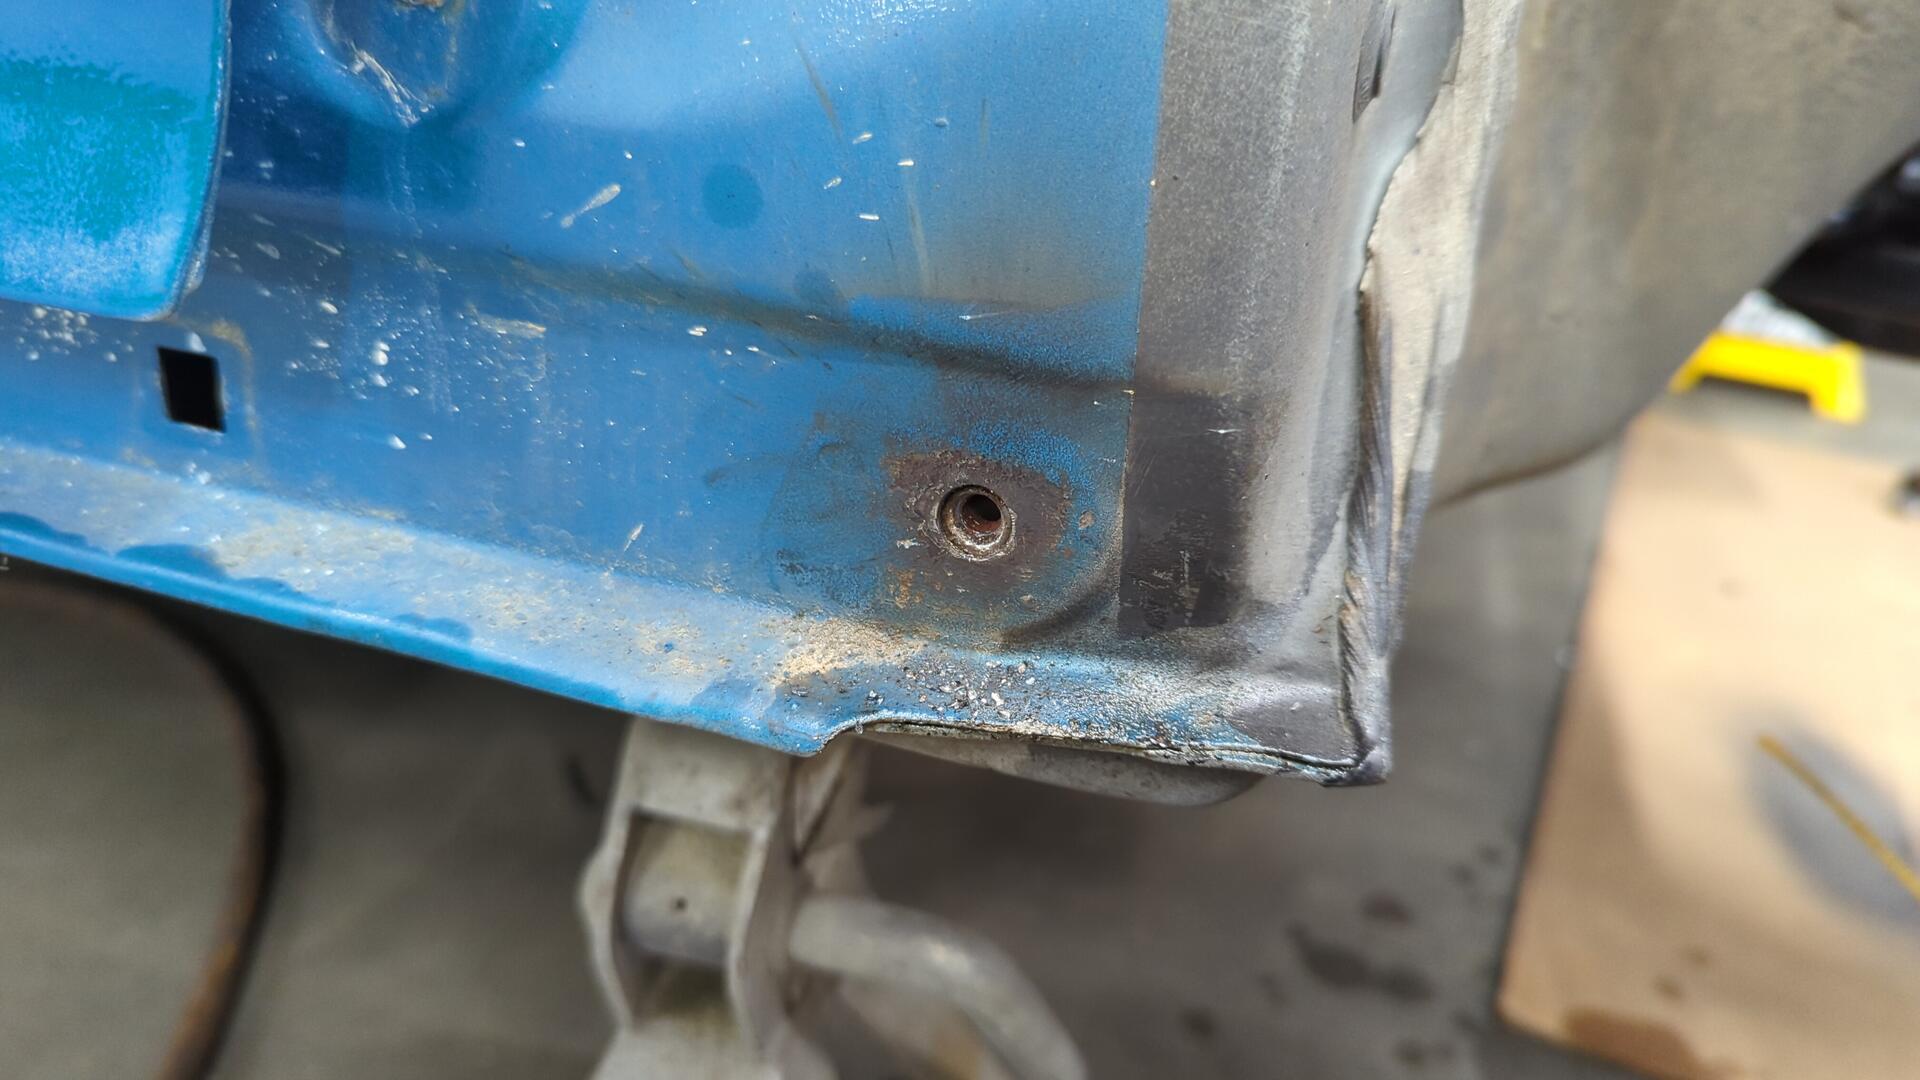
Feeling lucky I decided to try removing the lower fender bolt that snapped on the passenger side.
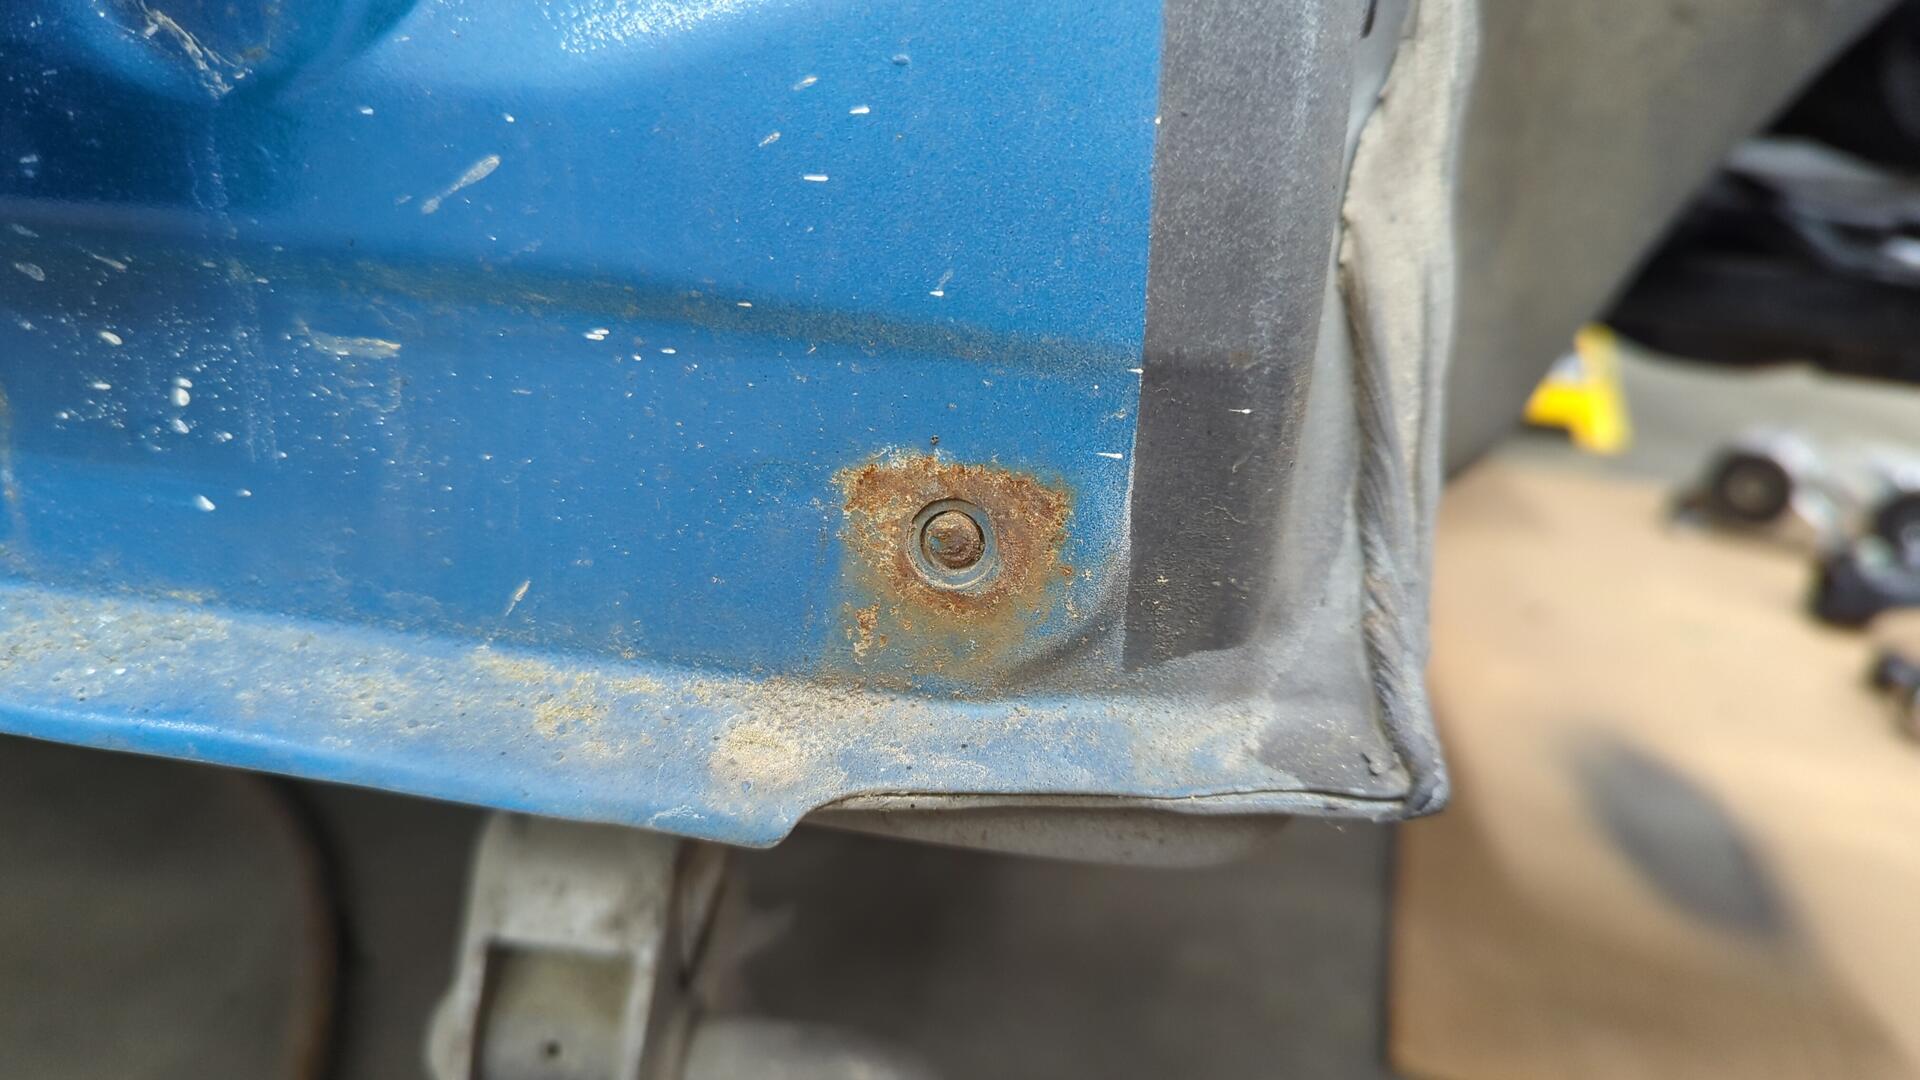
Amazingly that one came out too. It had been stuck in there ever since the car was repainted.
Shock Tower Extensions
Back when I sandblasted the engine bay I cut off the tops of the shock towers because they were all dented up and had holes in them from the upper control arms banging into them due to the car being lowered.
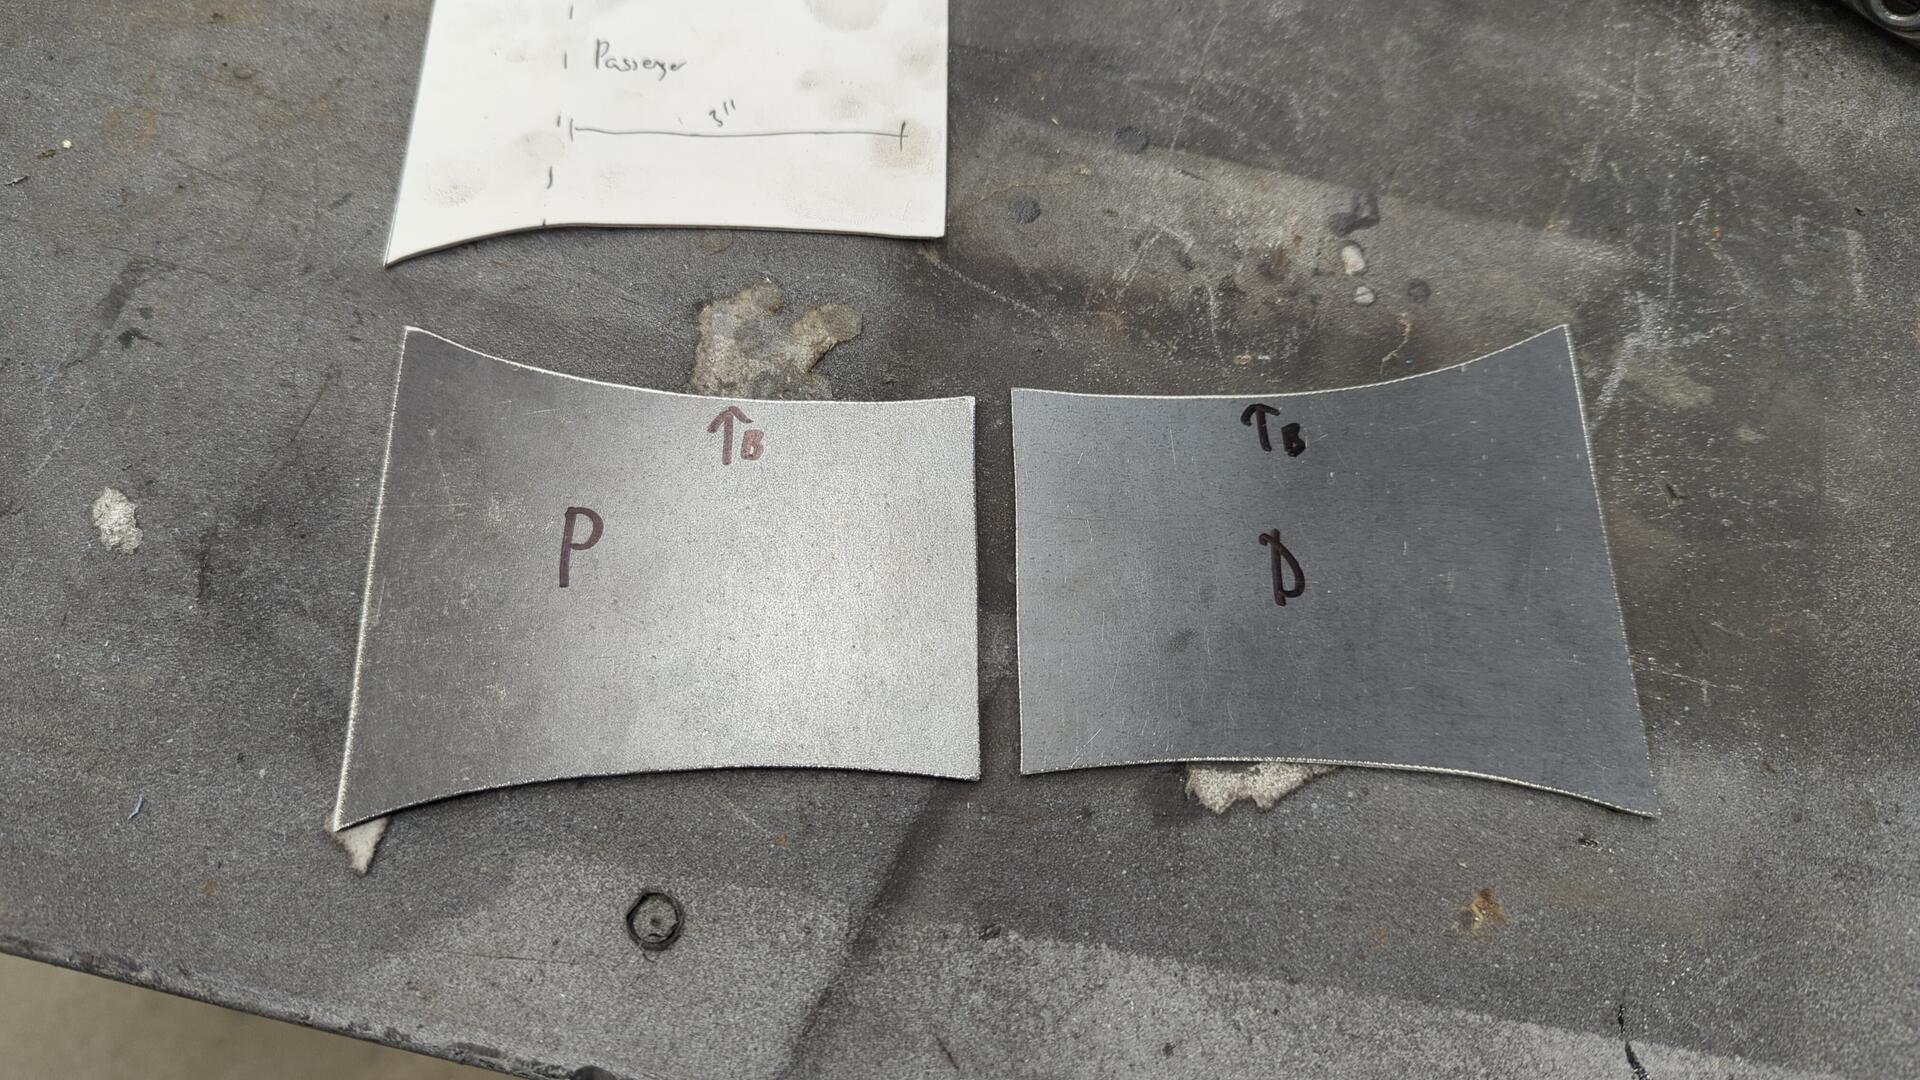
Not wanting that to happen again I decided to borrow a technique from the stance guys and make some shock tower extensions to give the upper control arms more travel.
There’s a company out there that sells pre made extensions for about ~$85 a pair but I wanted to save a buck and had some steel laying around so I decided to make my own.
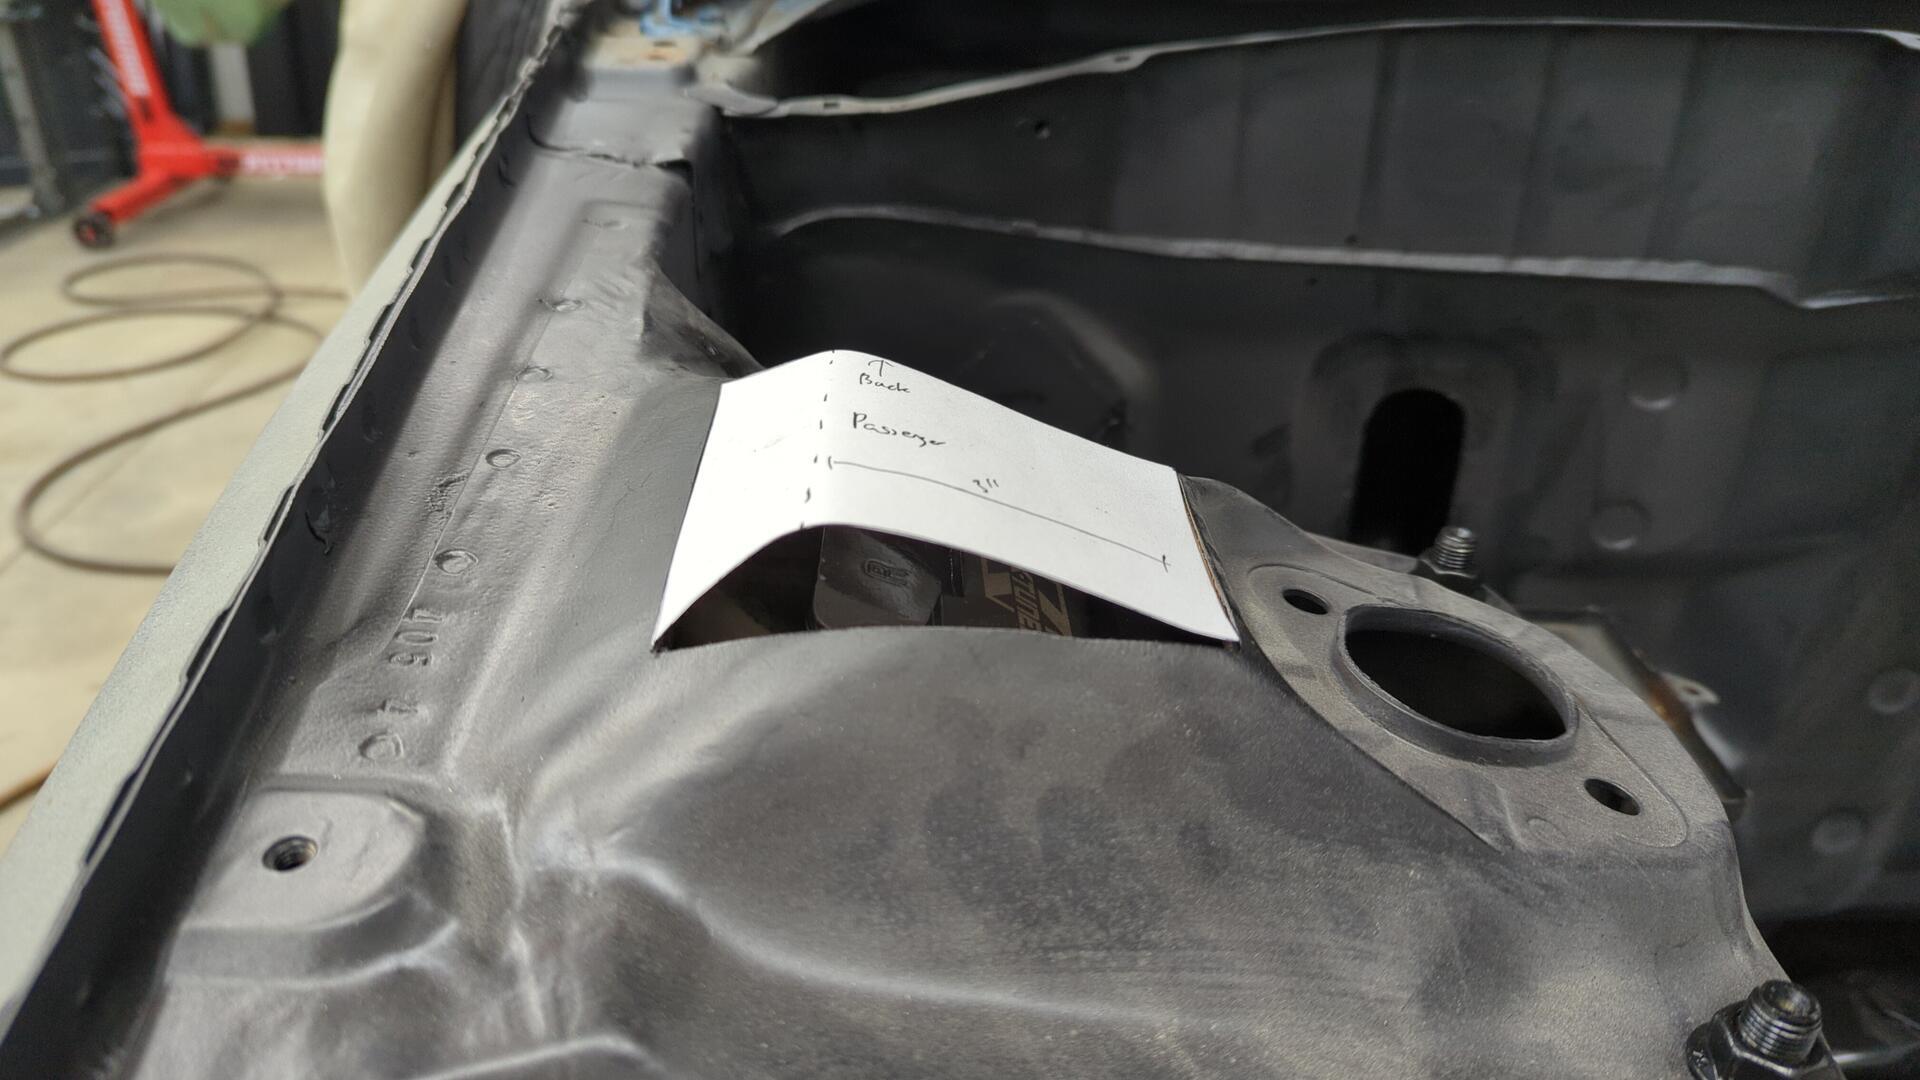
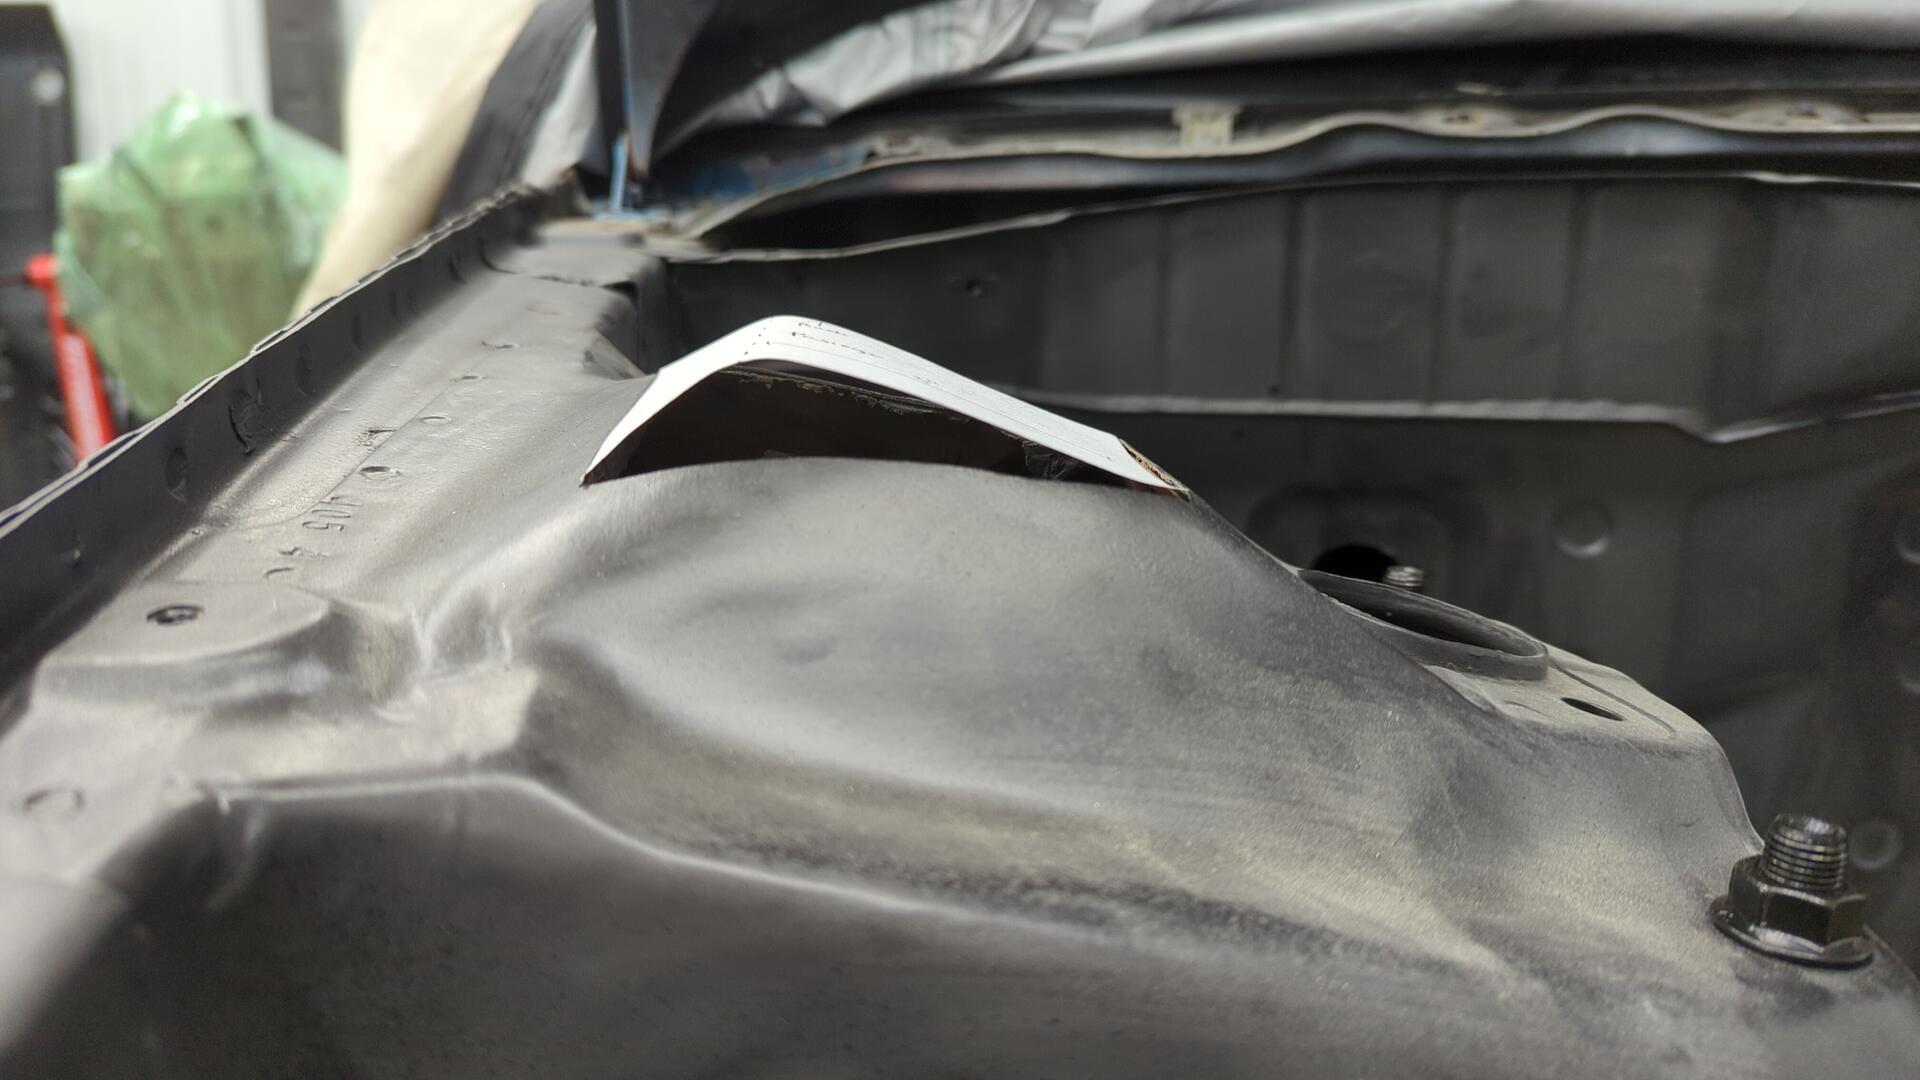

Once I was happy with the overall look I transferred the design to steel.
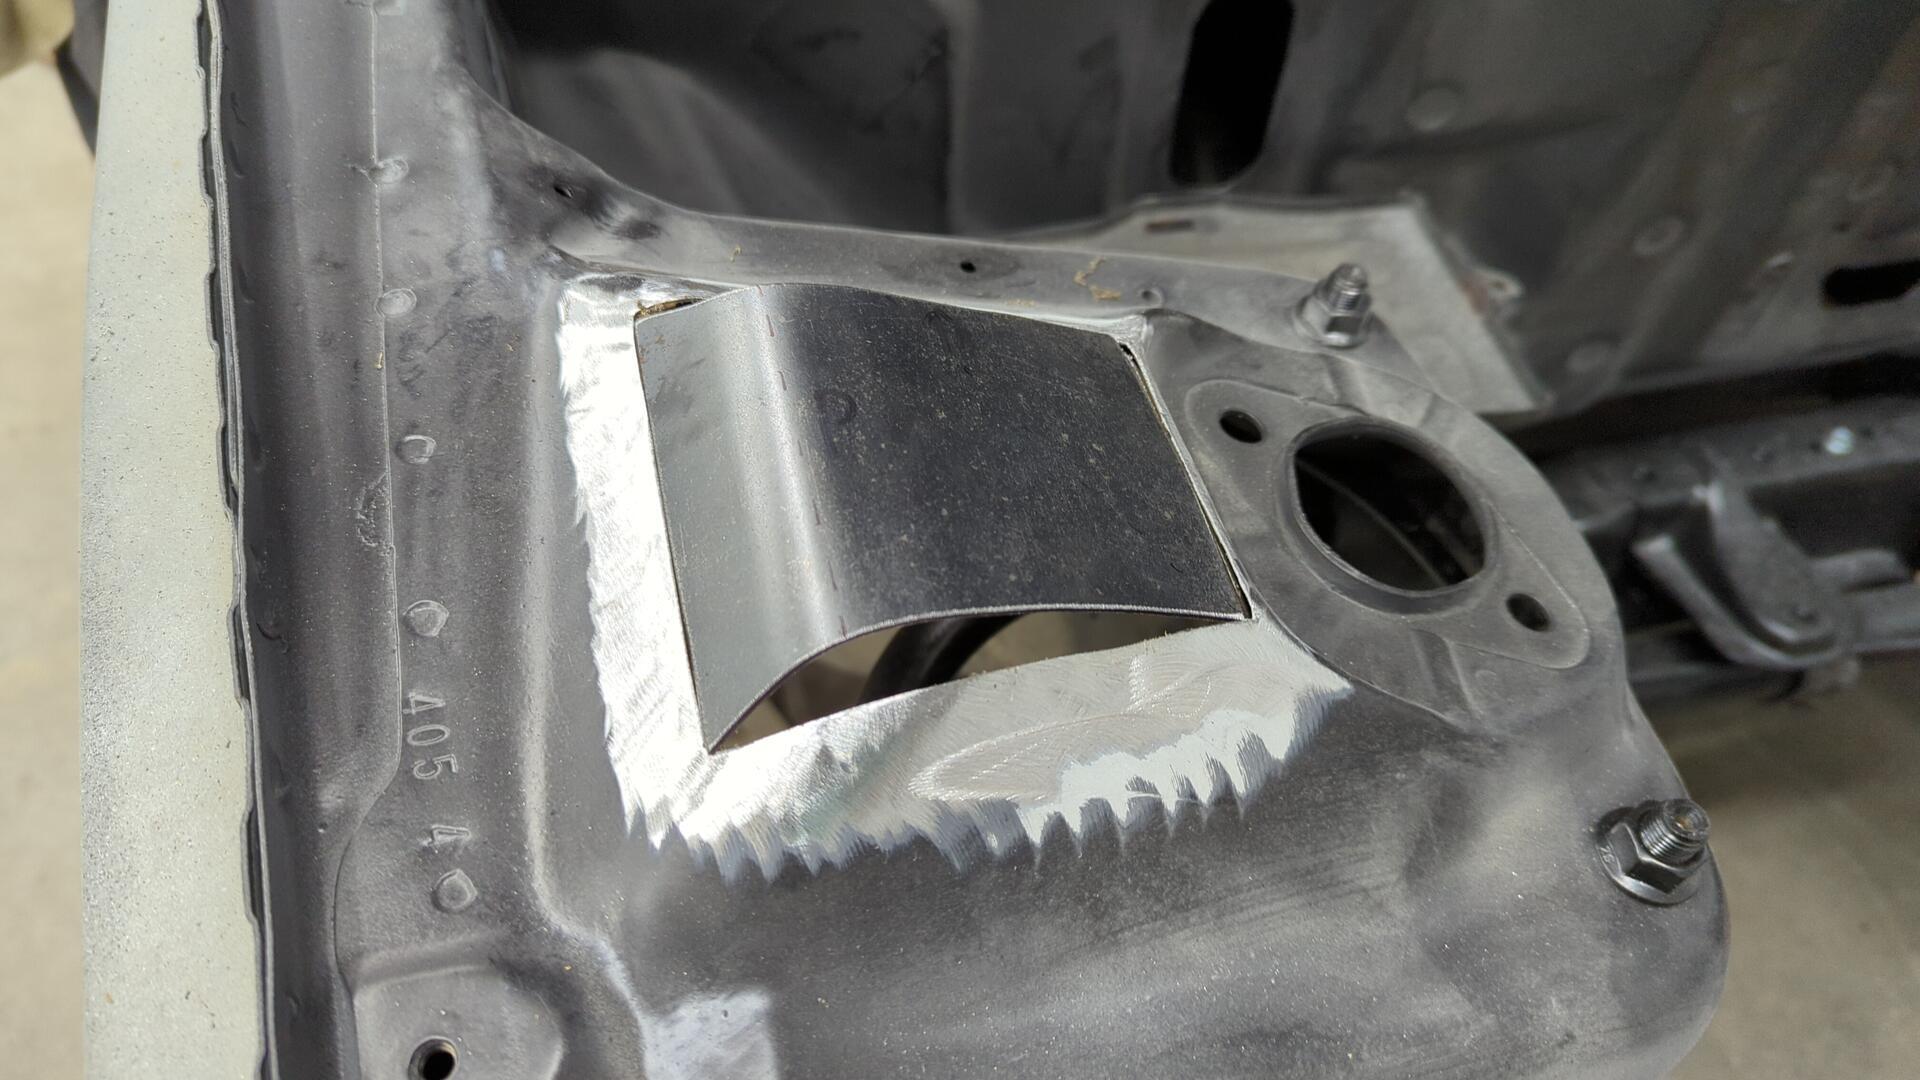
And a bit of welding later the first one was installed.
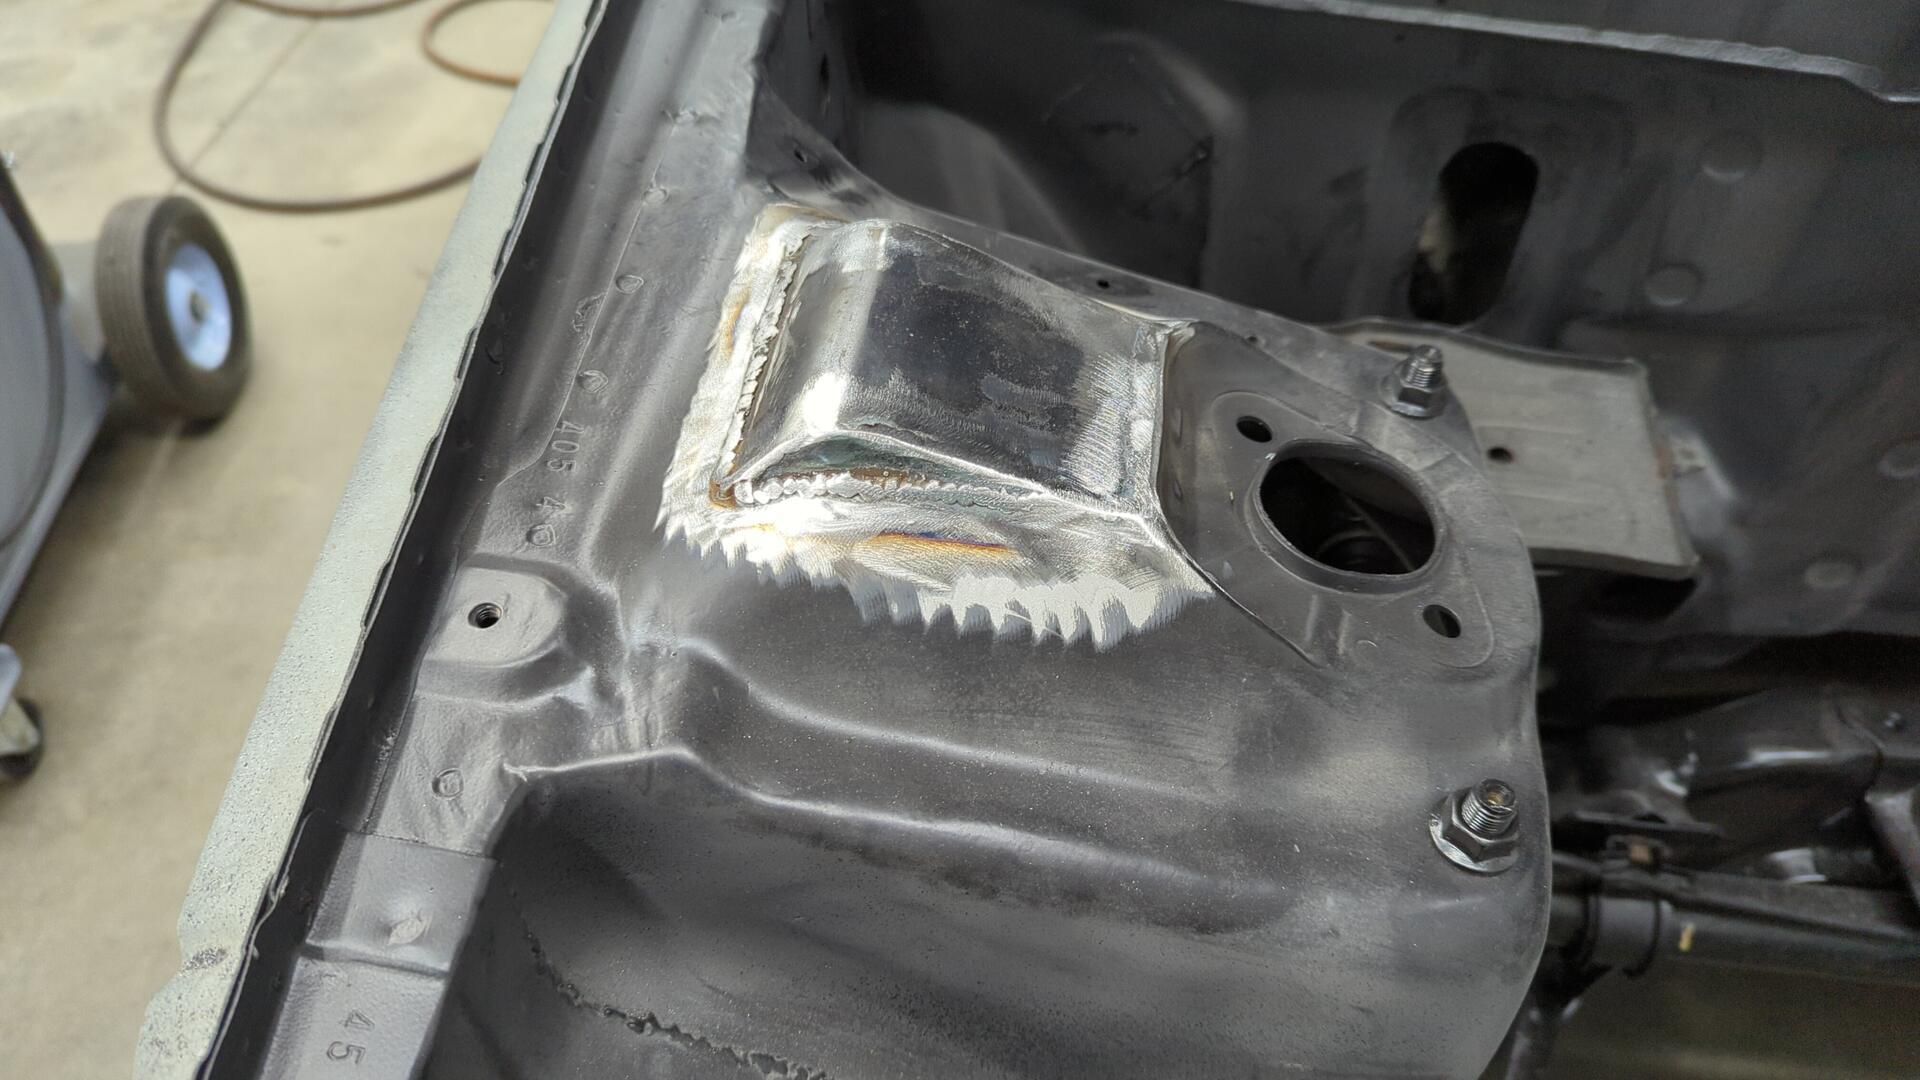
Halfway done.
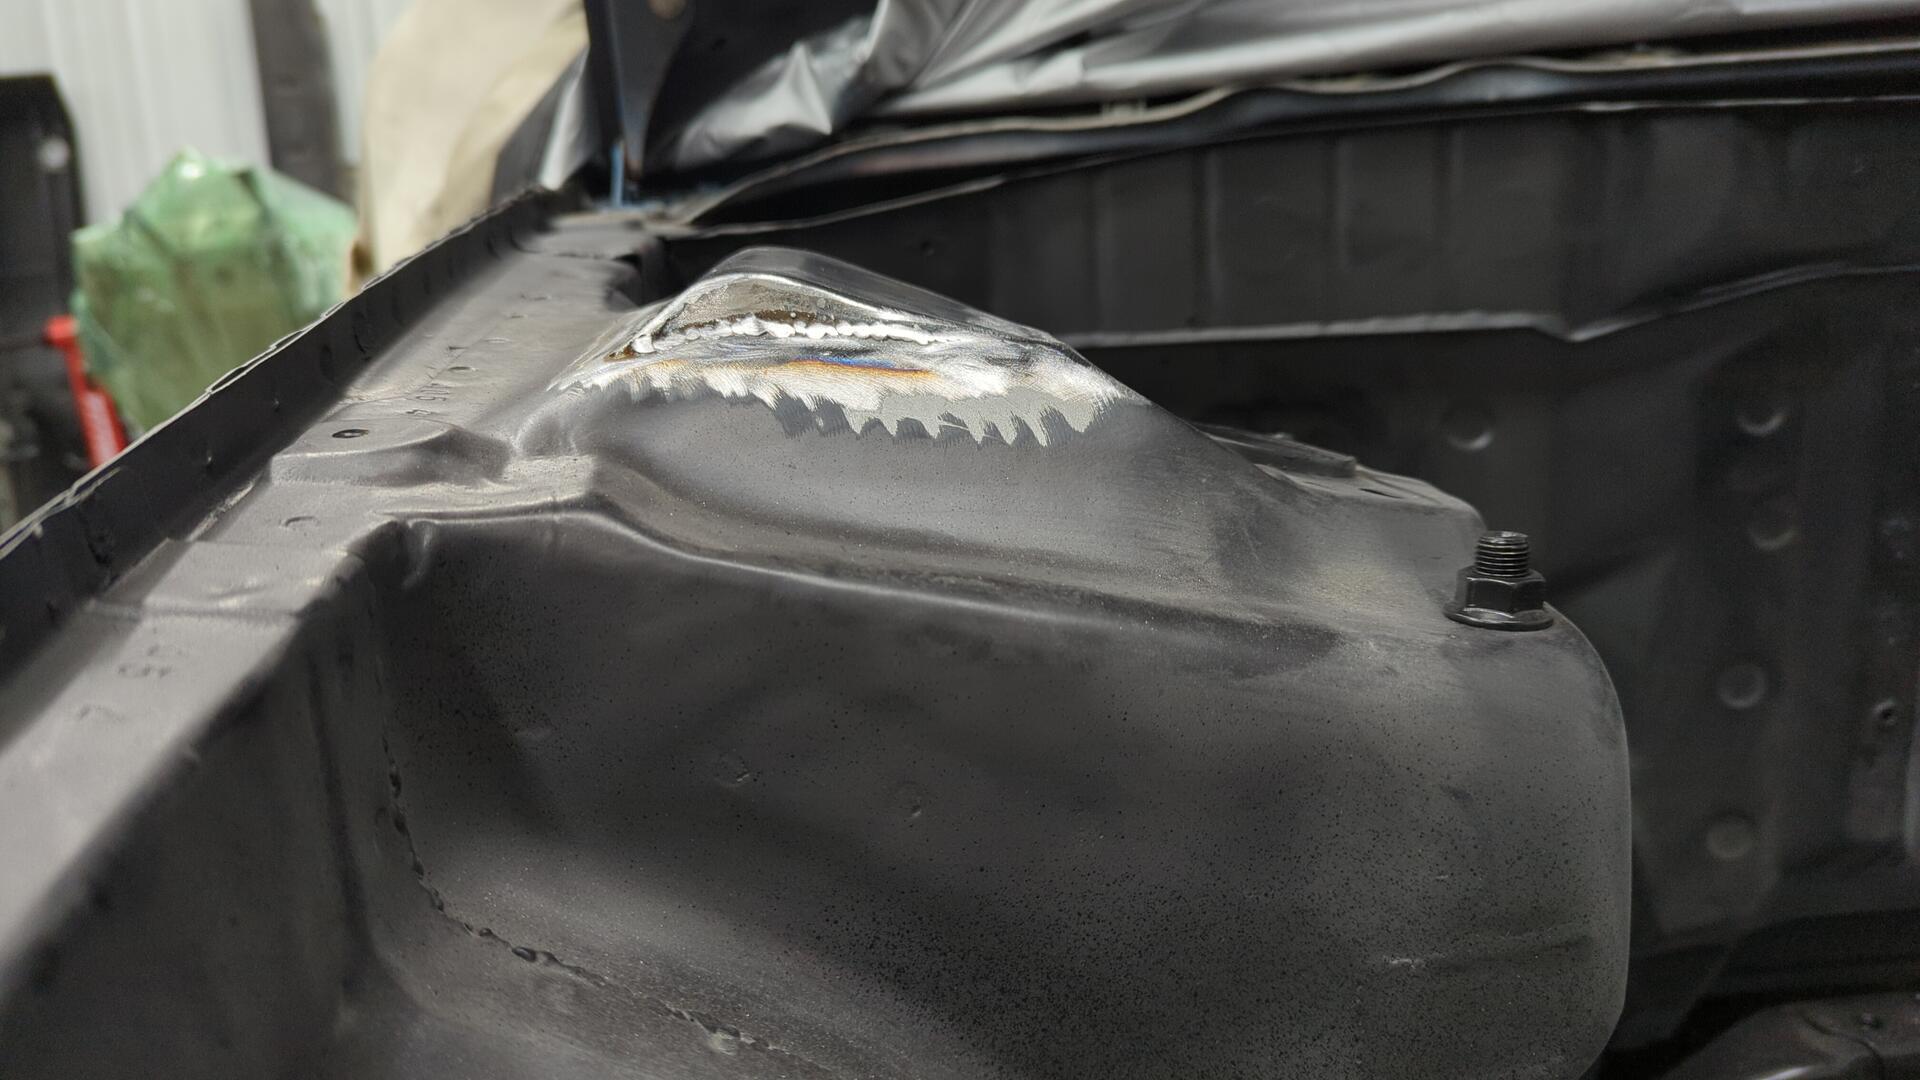
Driver side done.
With a bit of body filler I think they’ll blend in quite nicely.
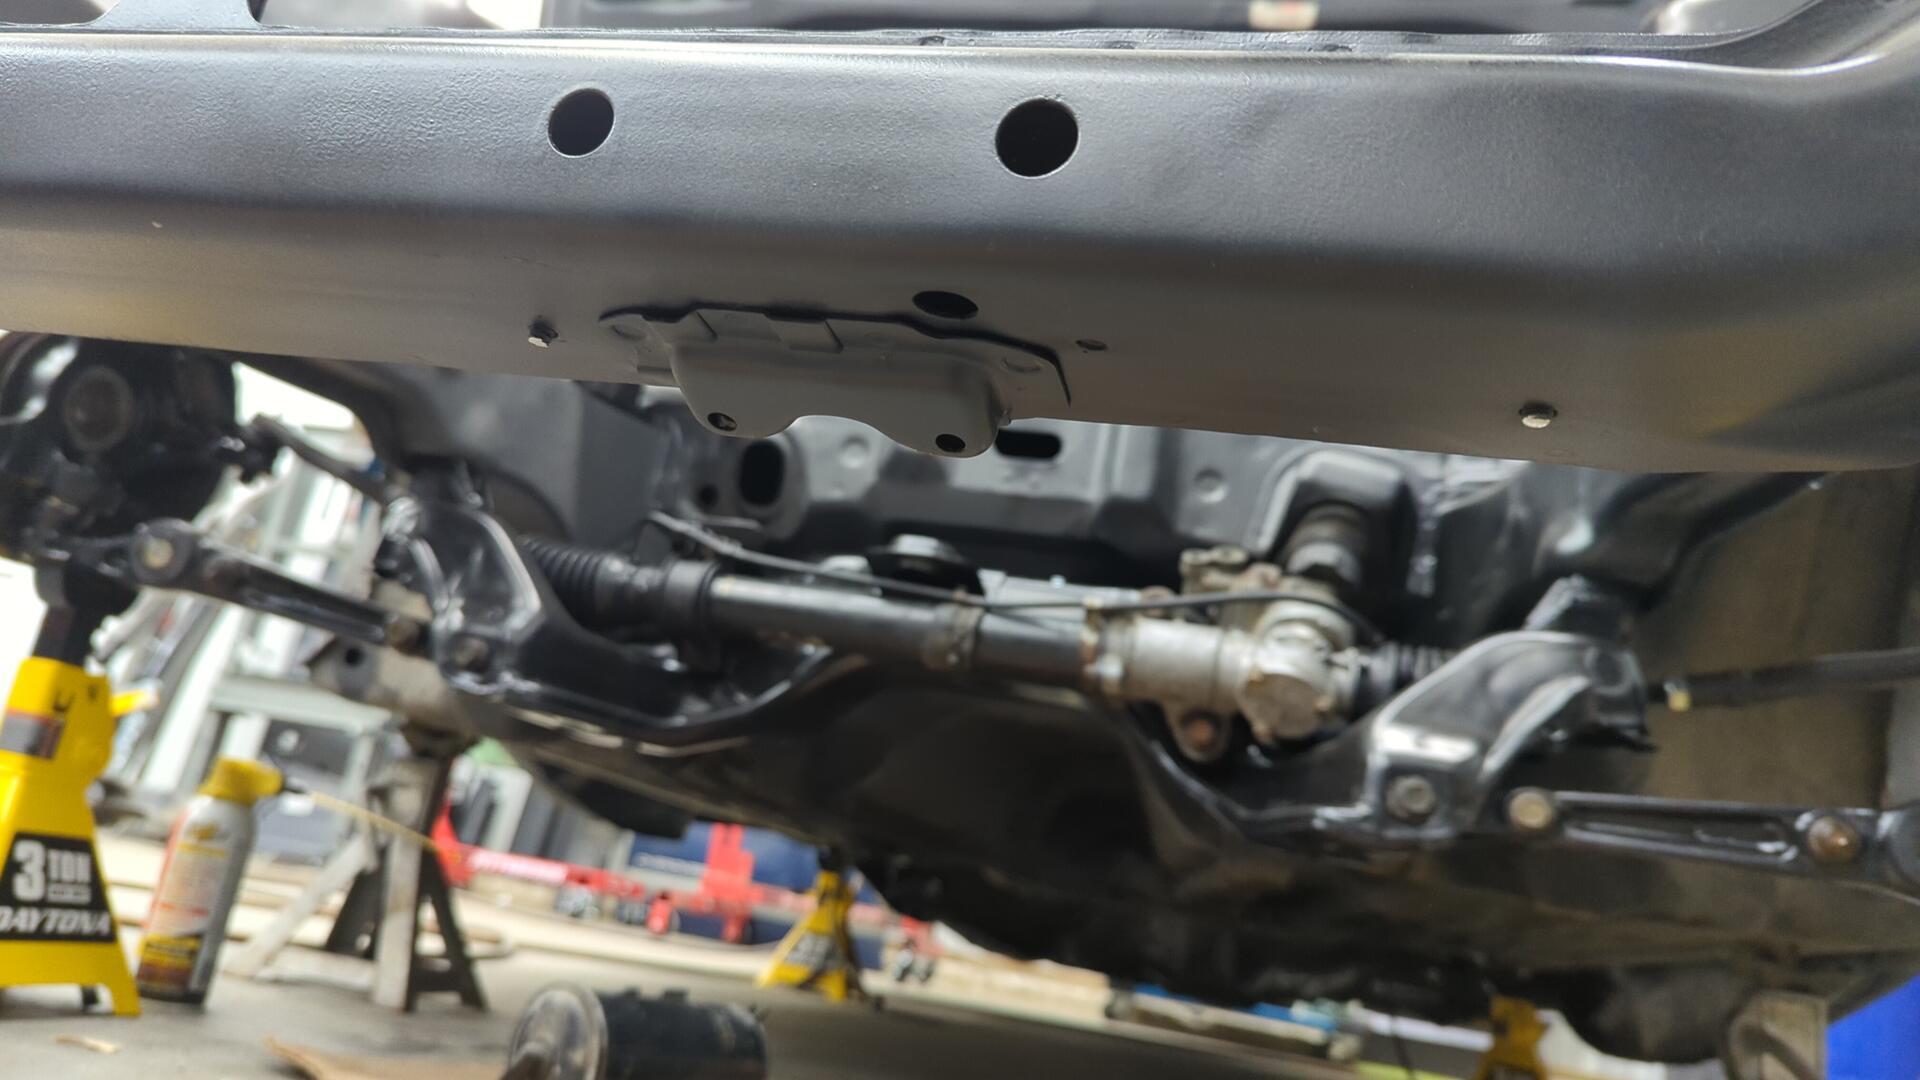
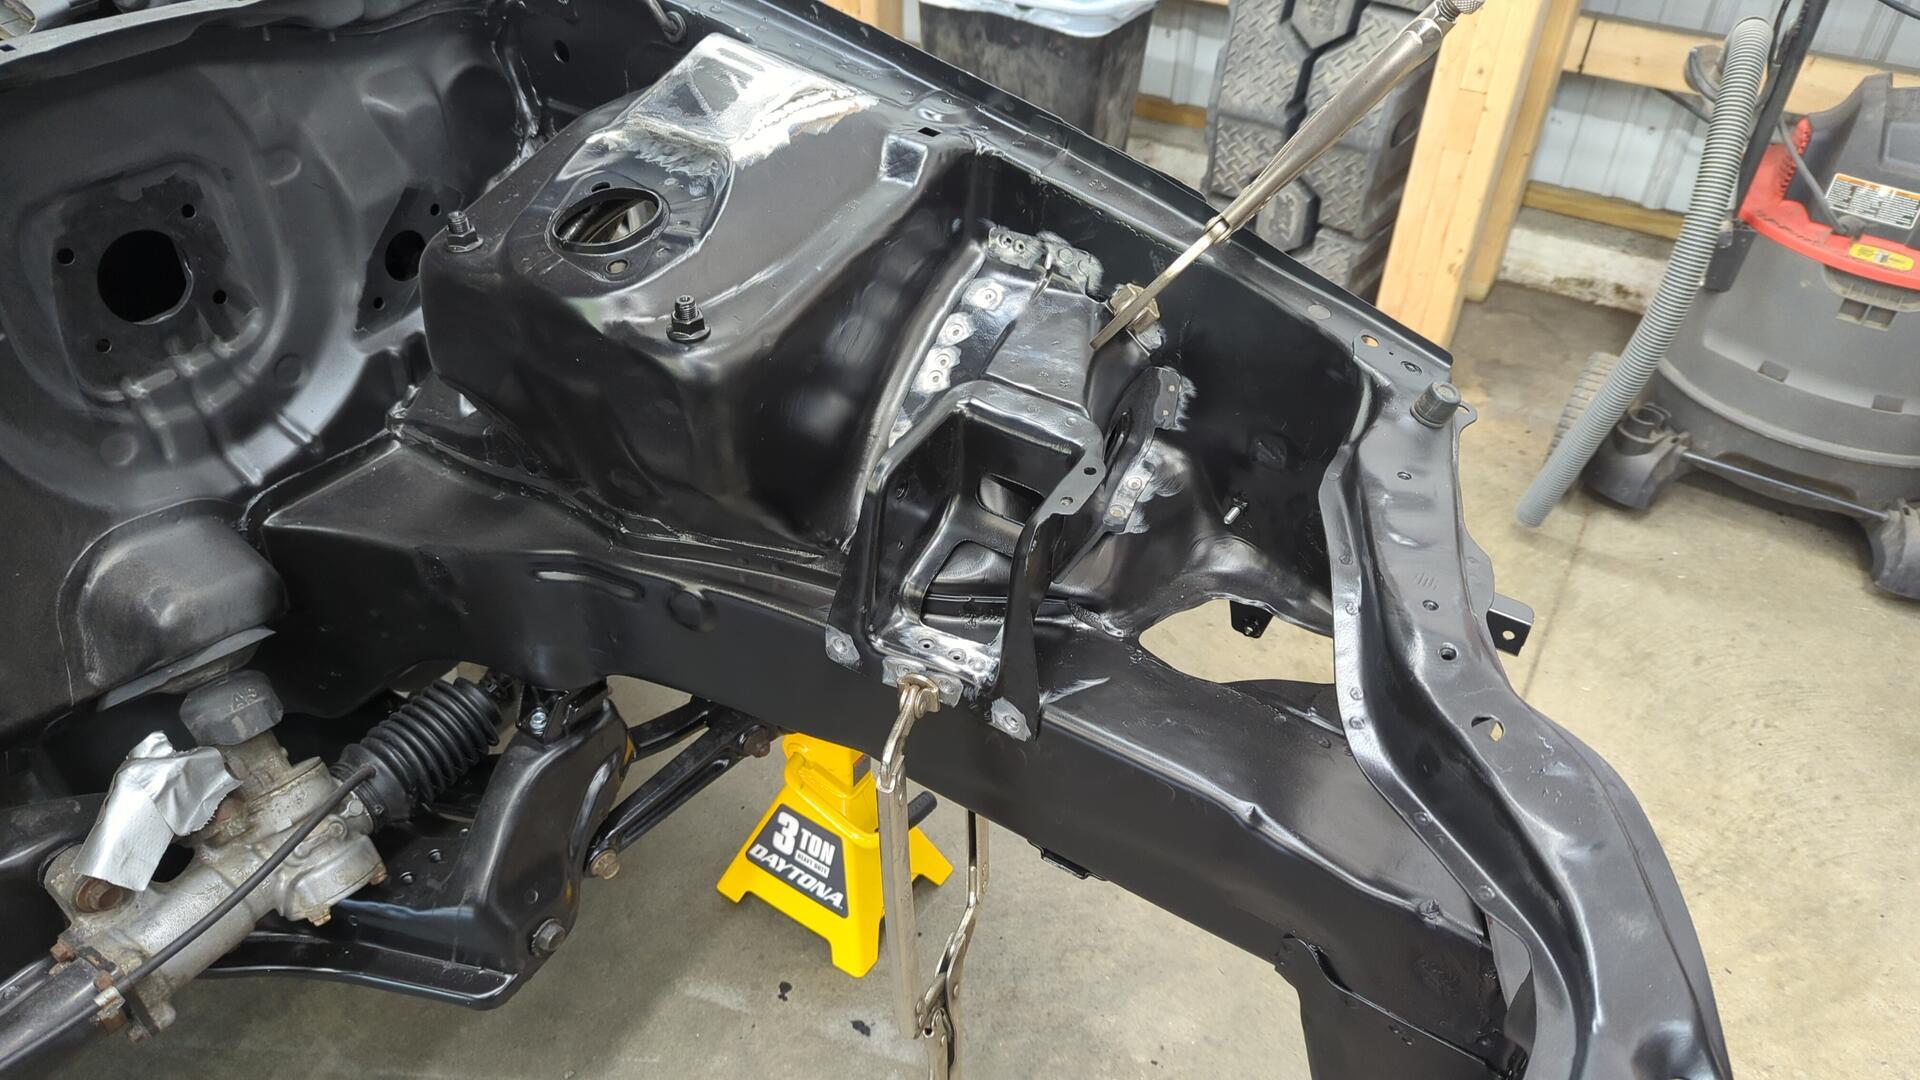
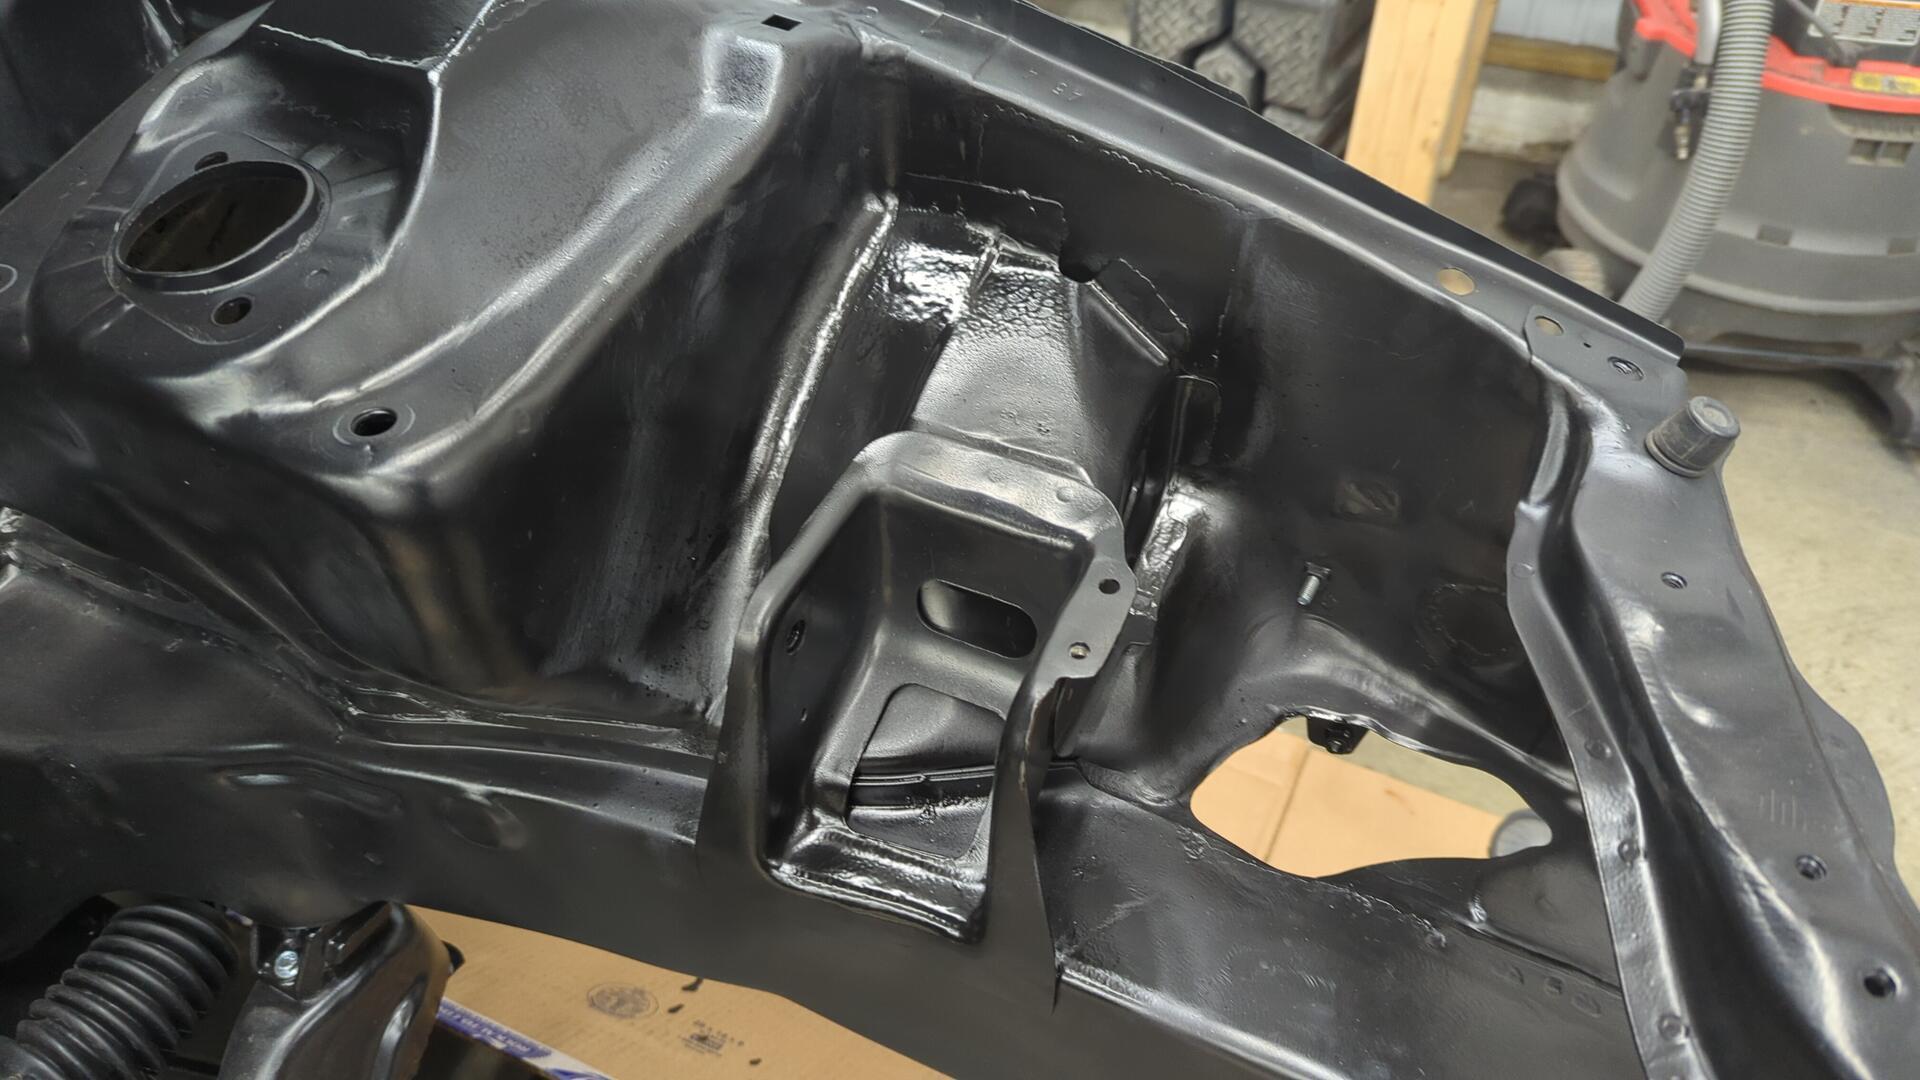
Welding the Driver Side Engine Mount Bracket Back In
Re-installing the driver side engine mount was pretty easy as all the welds were easy to get to.
I also took a ton of measurements prior to removing it so I’m confident it’s positioned perfectly.
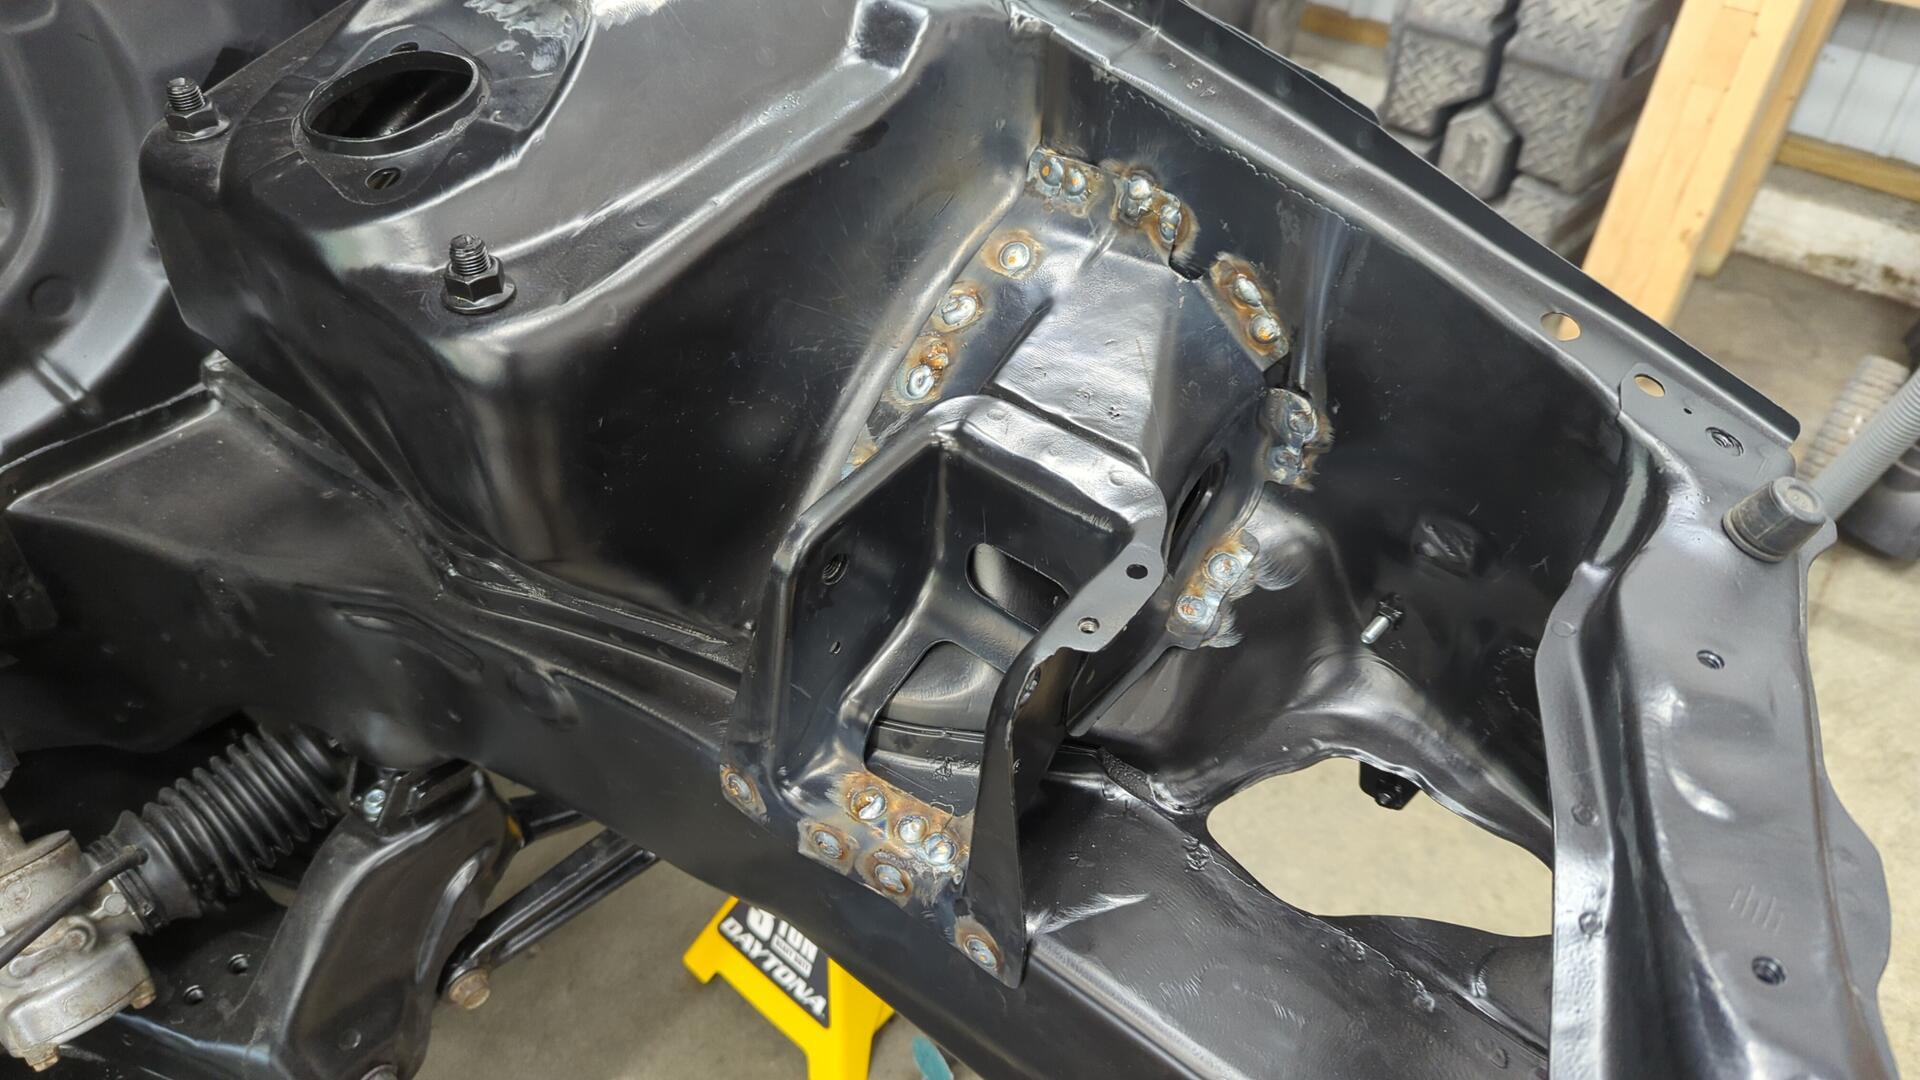
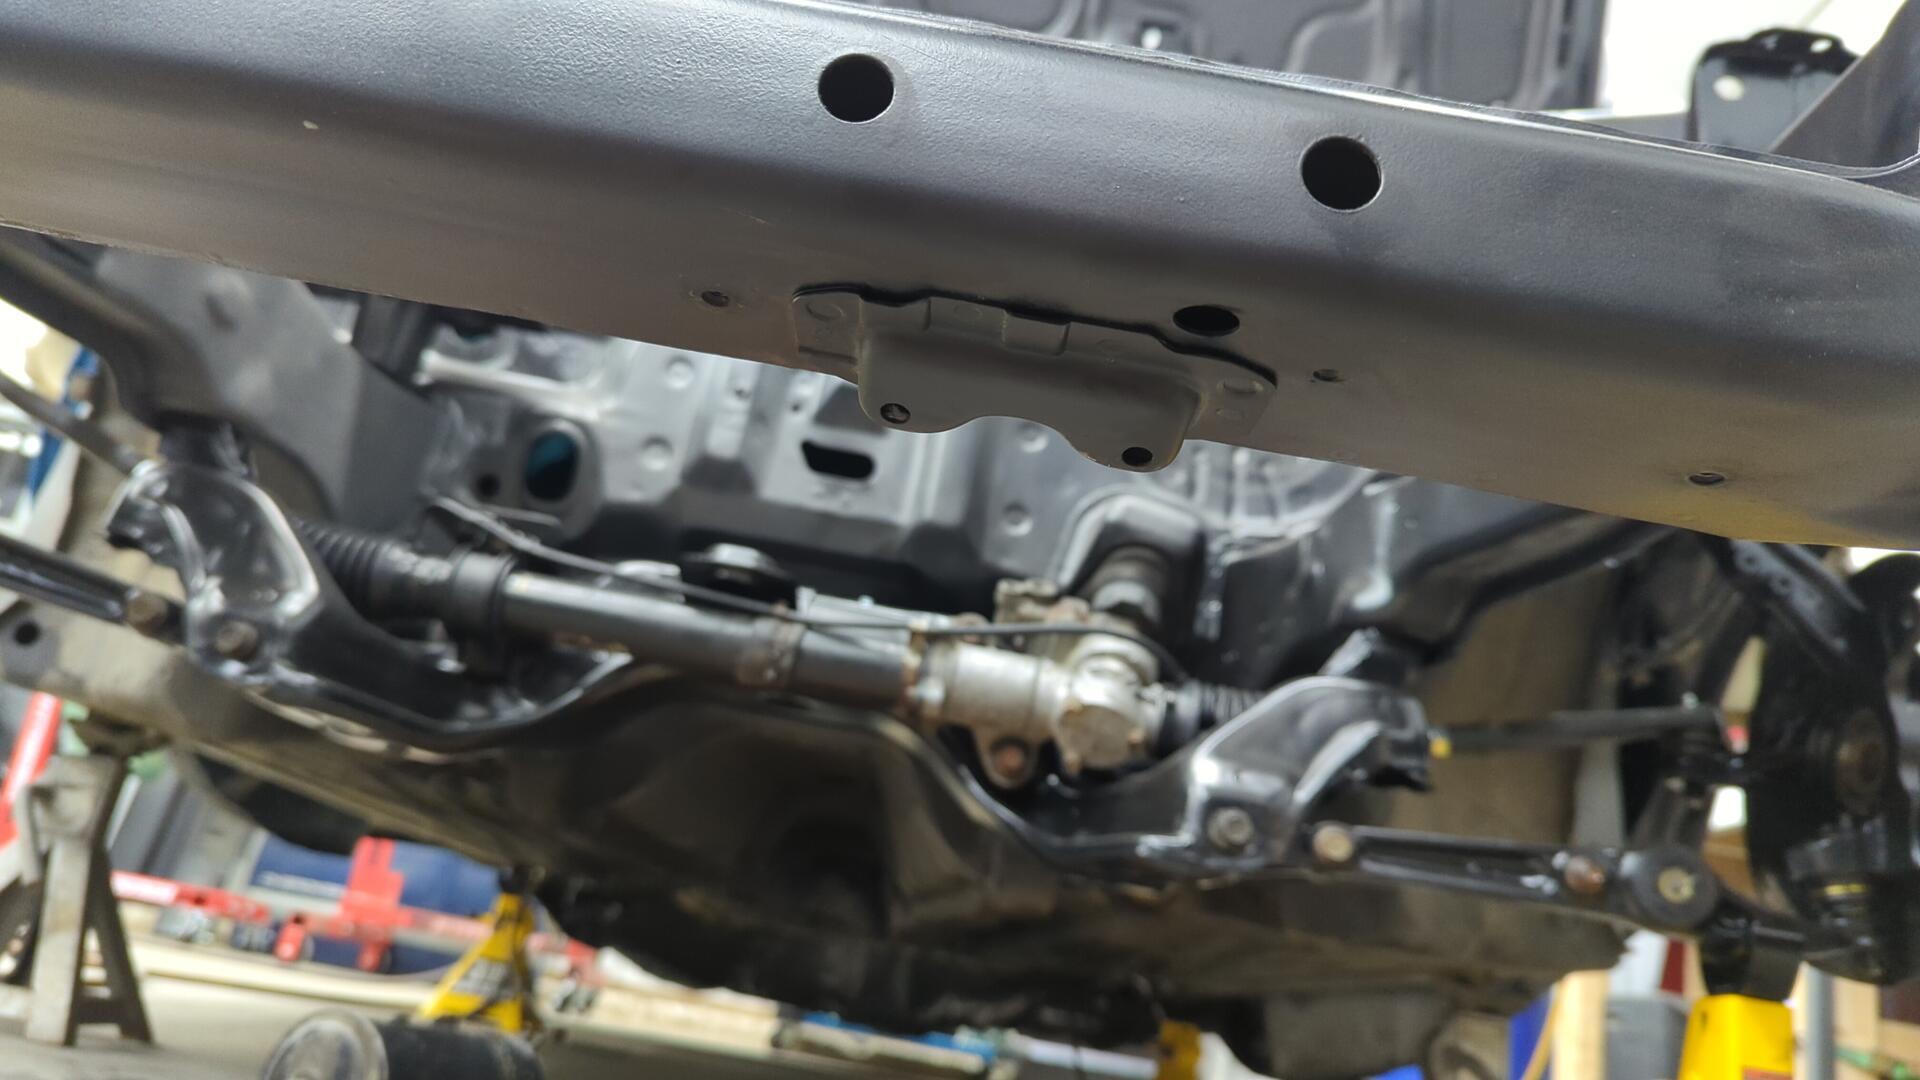
A bit of grinding cleaned everything up nicely.
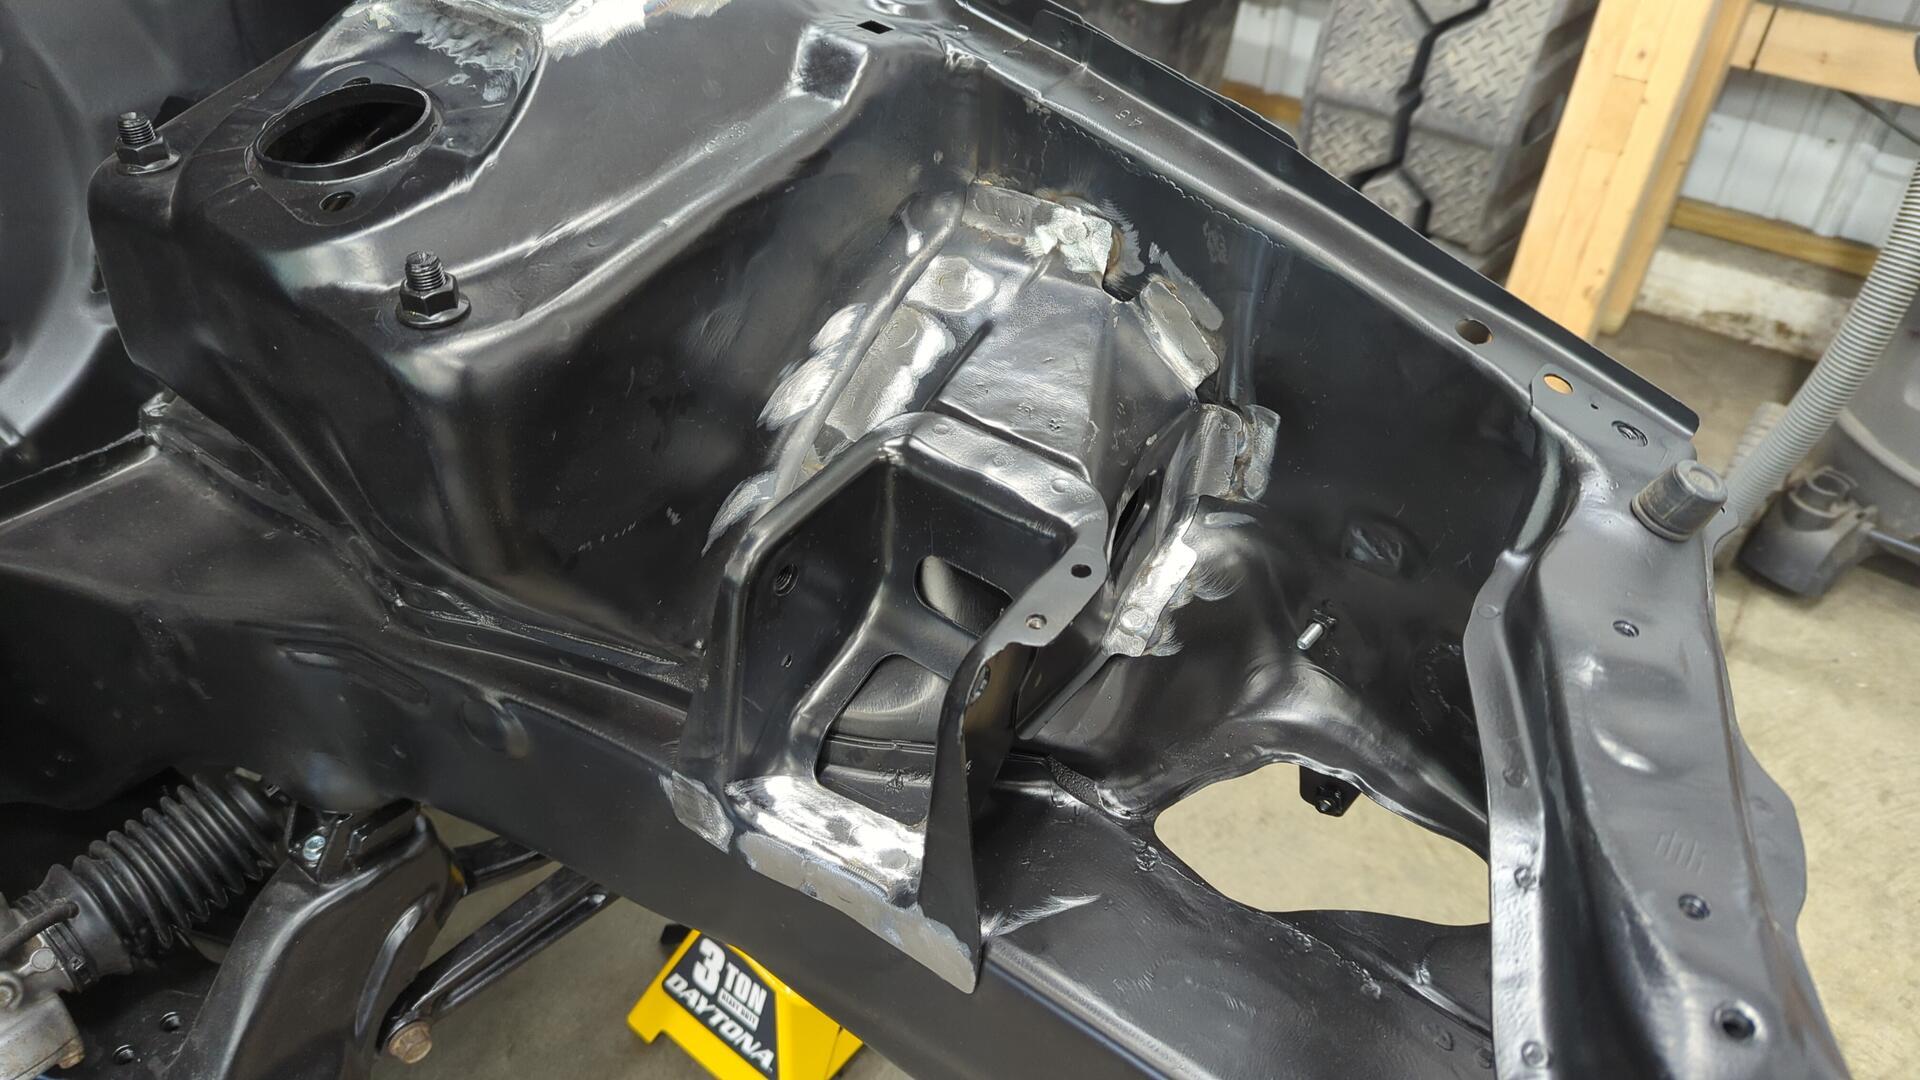
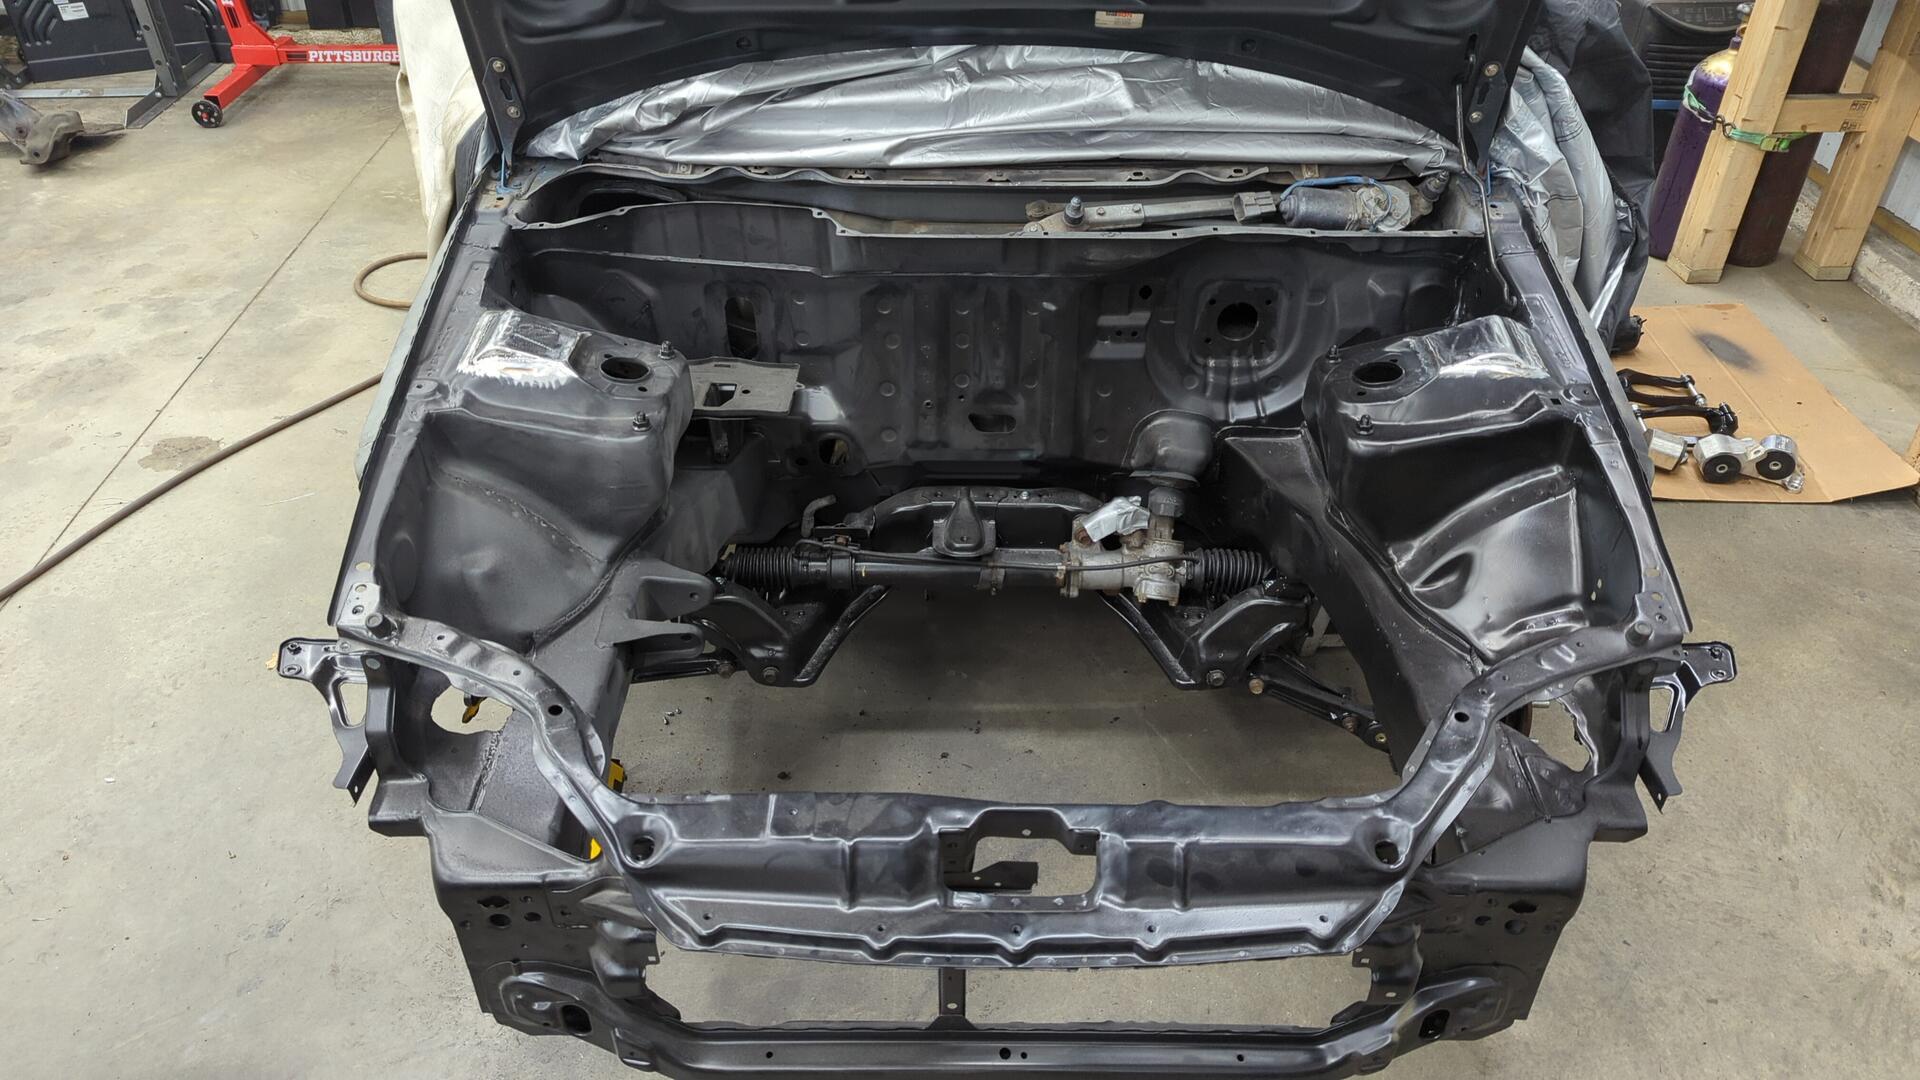
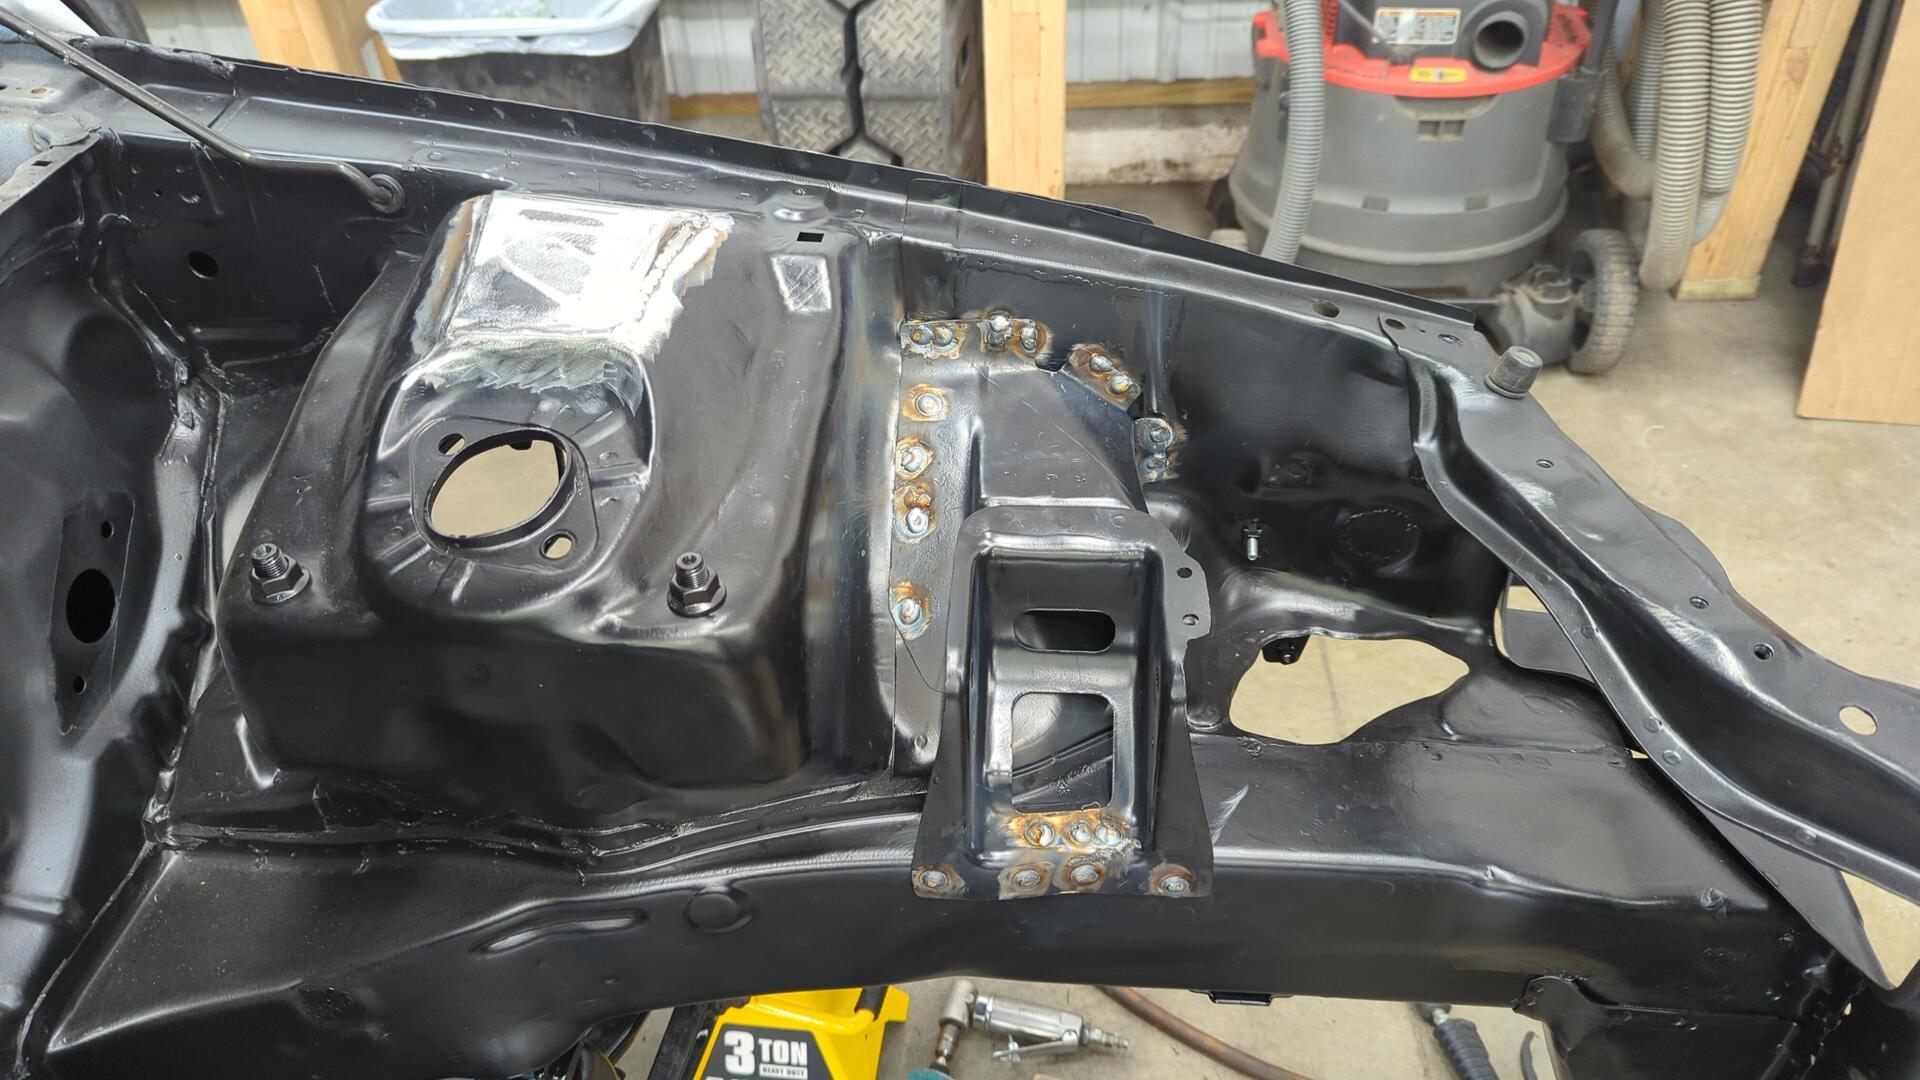
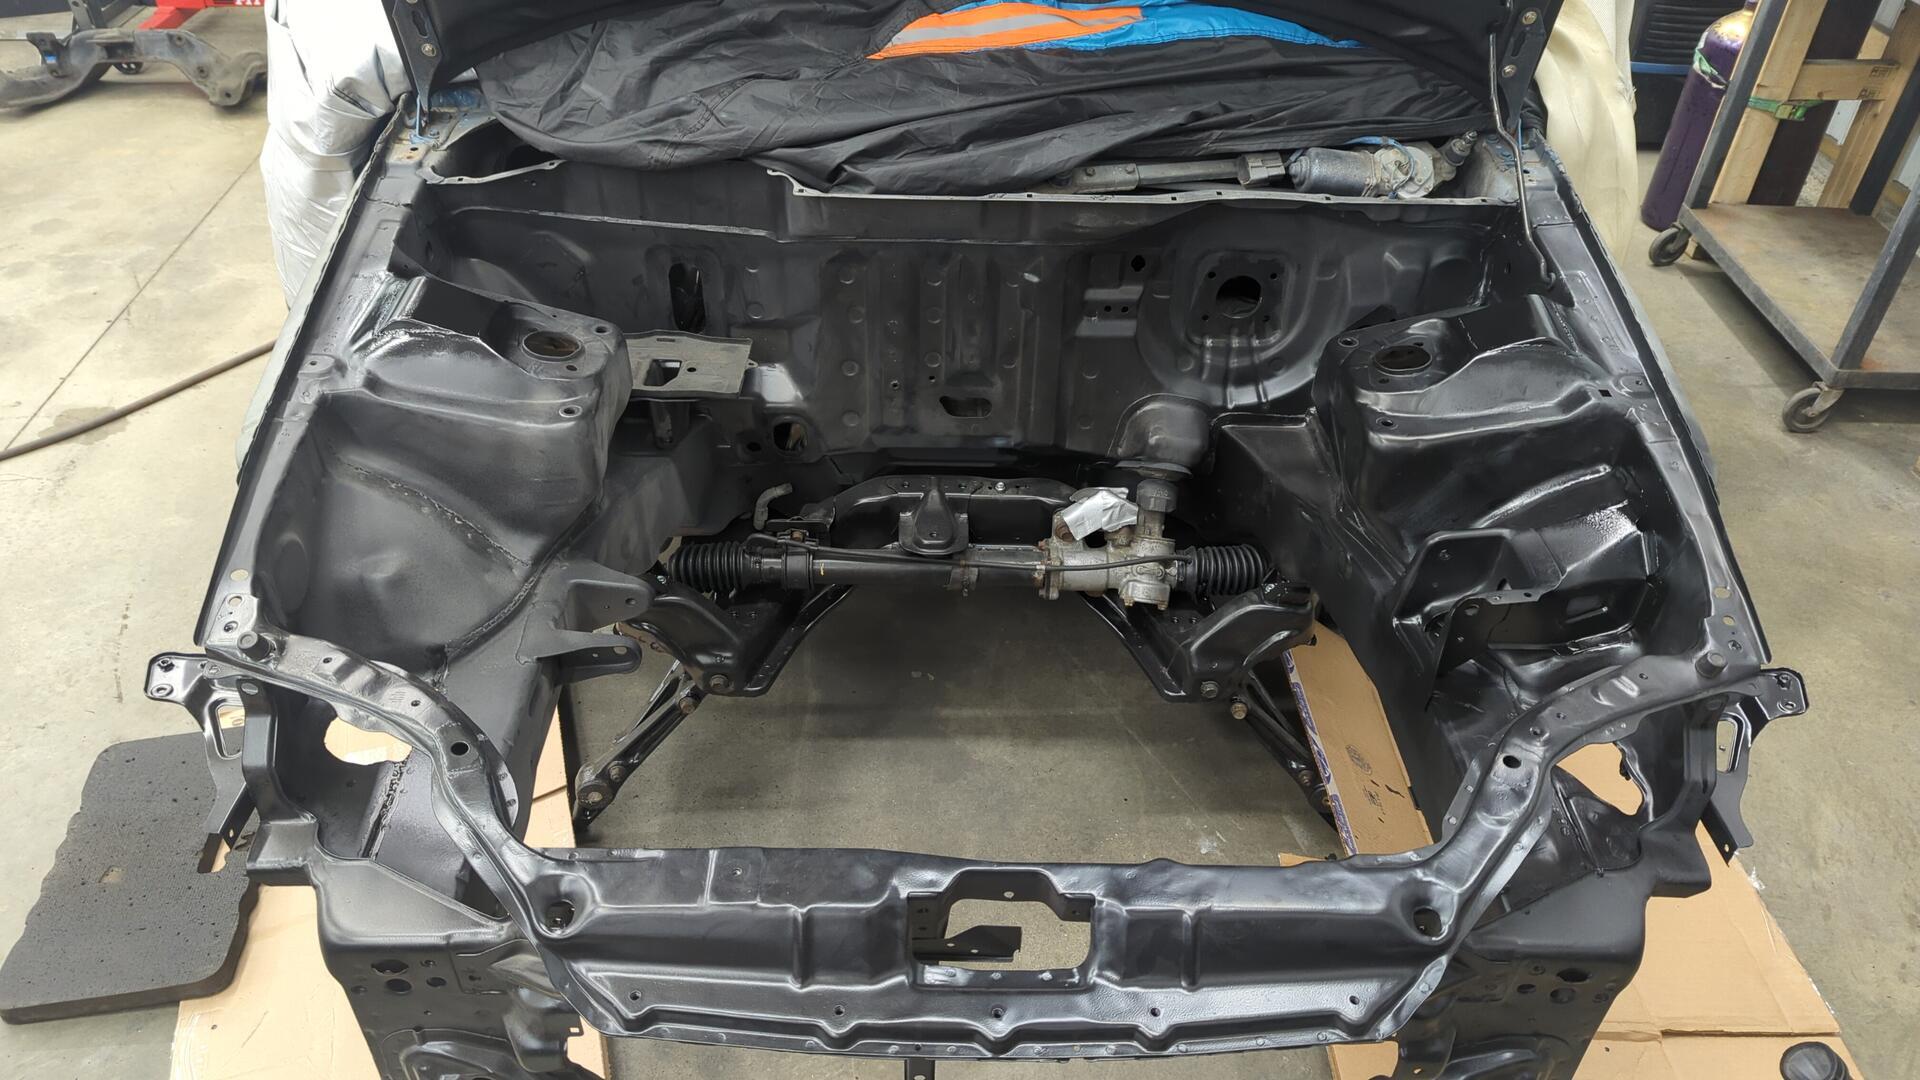
With the mount back in place and the shock towers closed up the engine bay is starting to look normal again.

I didn’t go too crazy on grinding the backside of the welds because I was worried about grinding the metal too thin. I’m planning on undercoating the backside of the wheel wells so the welds should be nice and hidden.
Painted.
Don’t mind the paint blemish at the top of the engine mount. The epoxy currently in the bay is a sacrificial coat and will be sanded prior to starting any body filler.

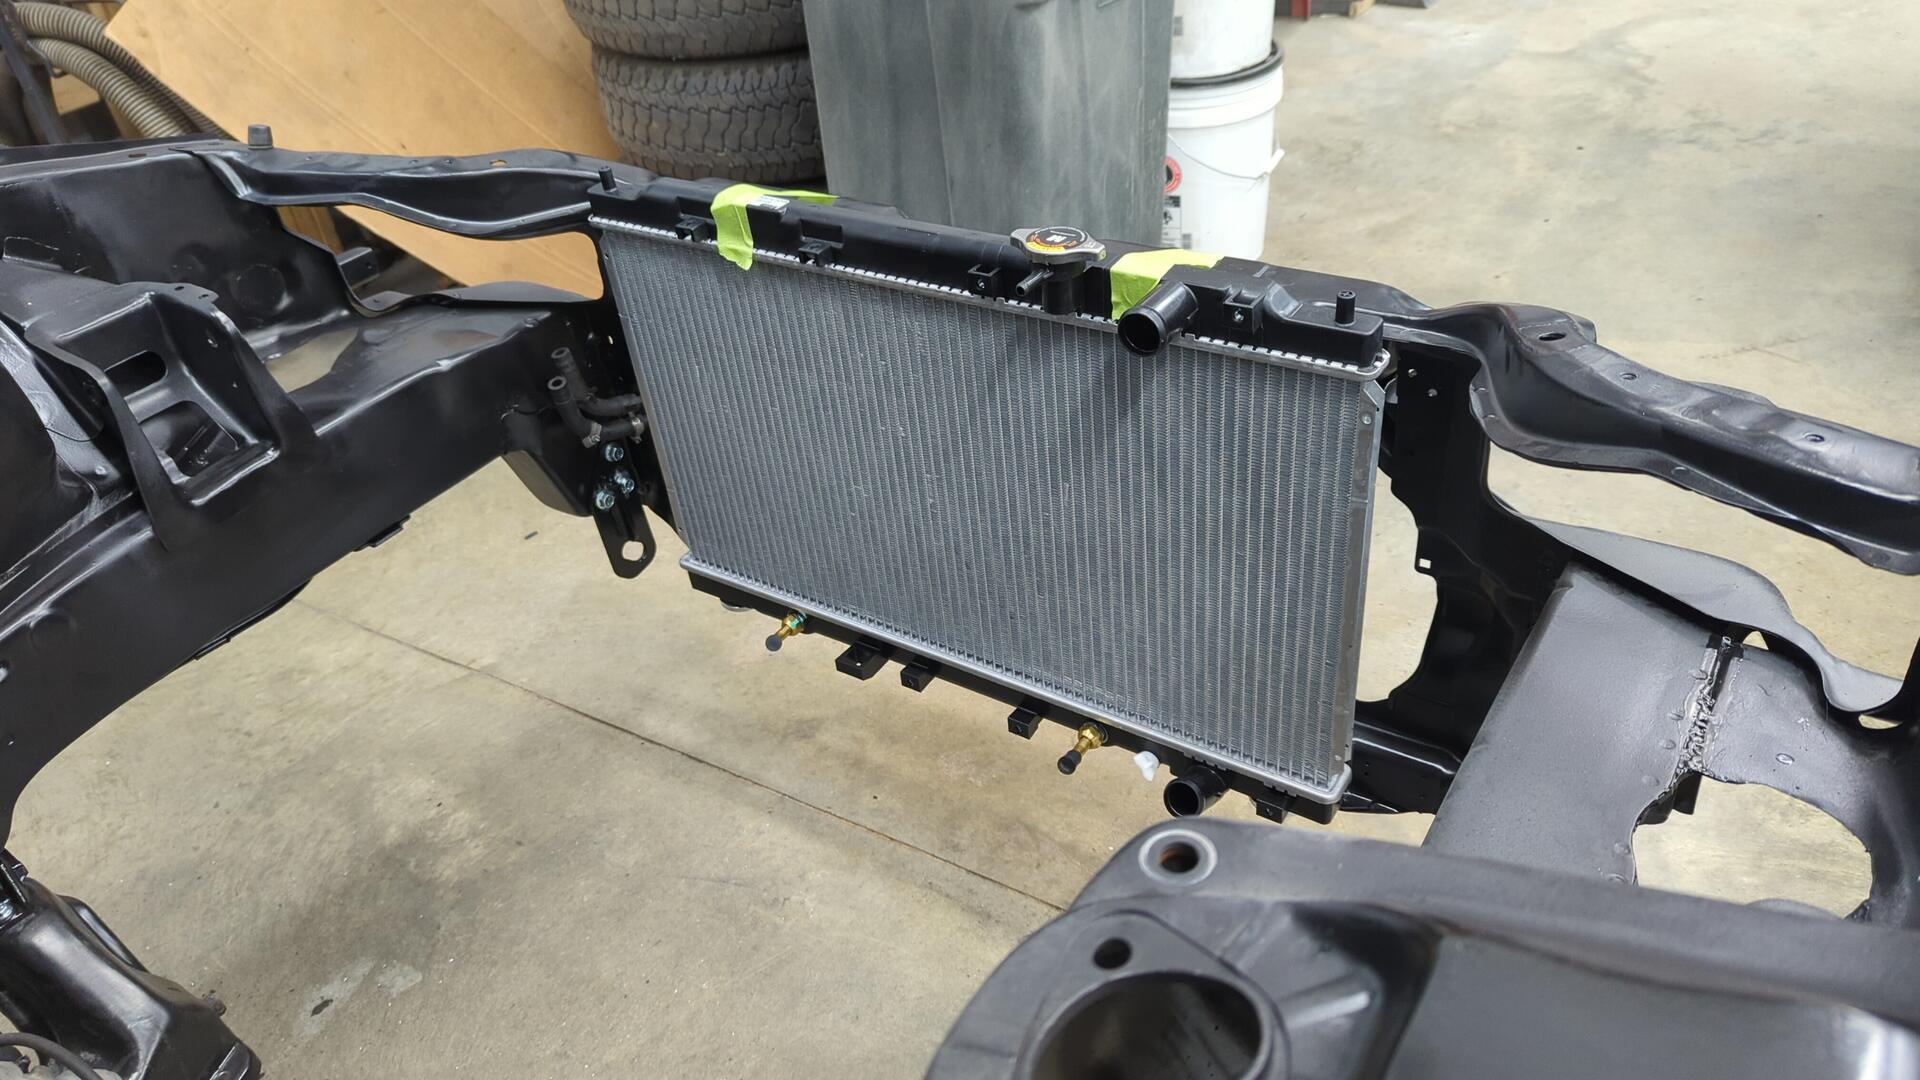
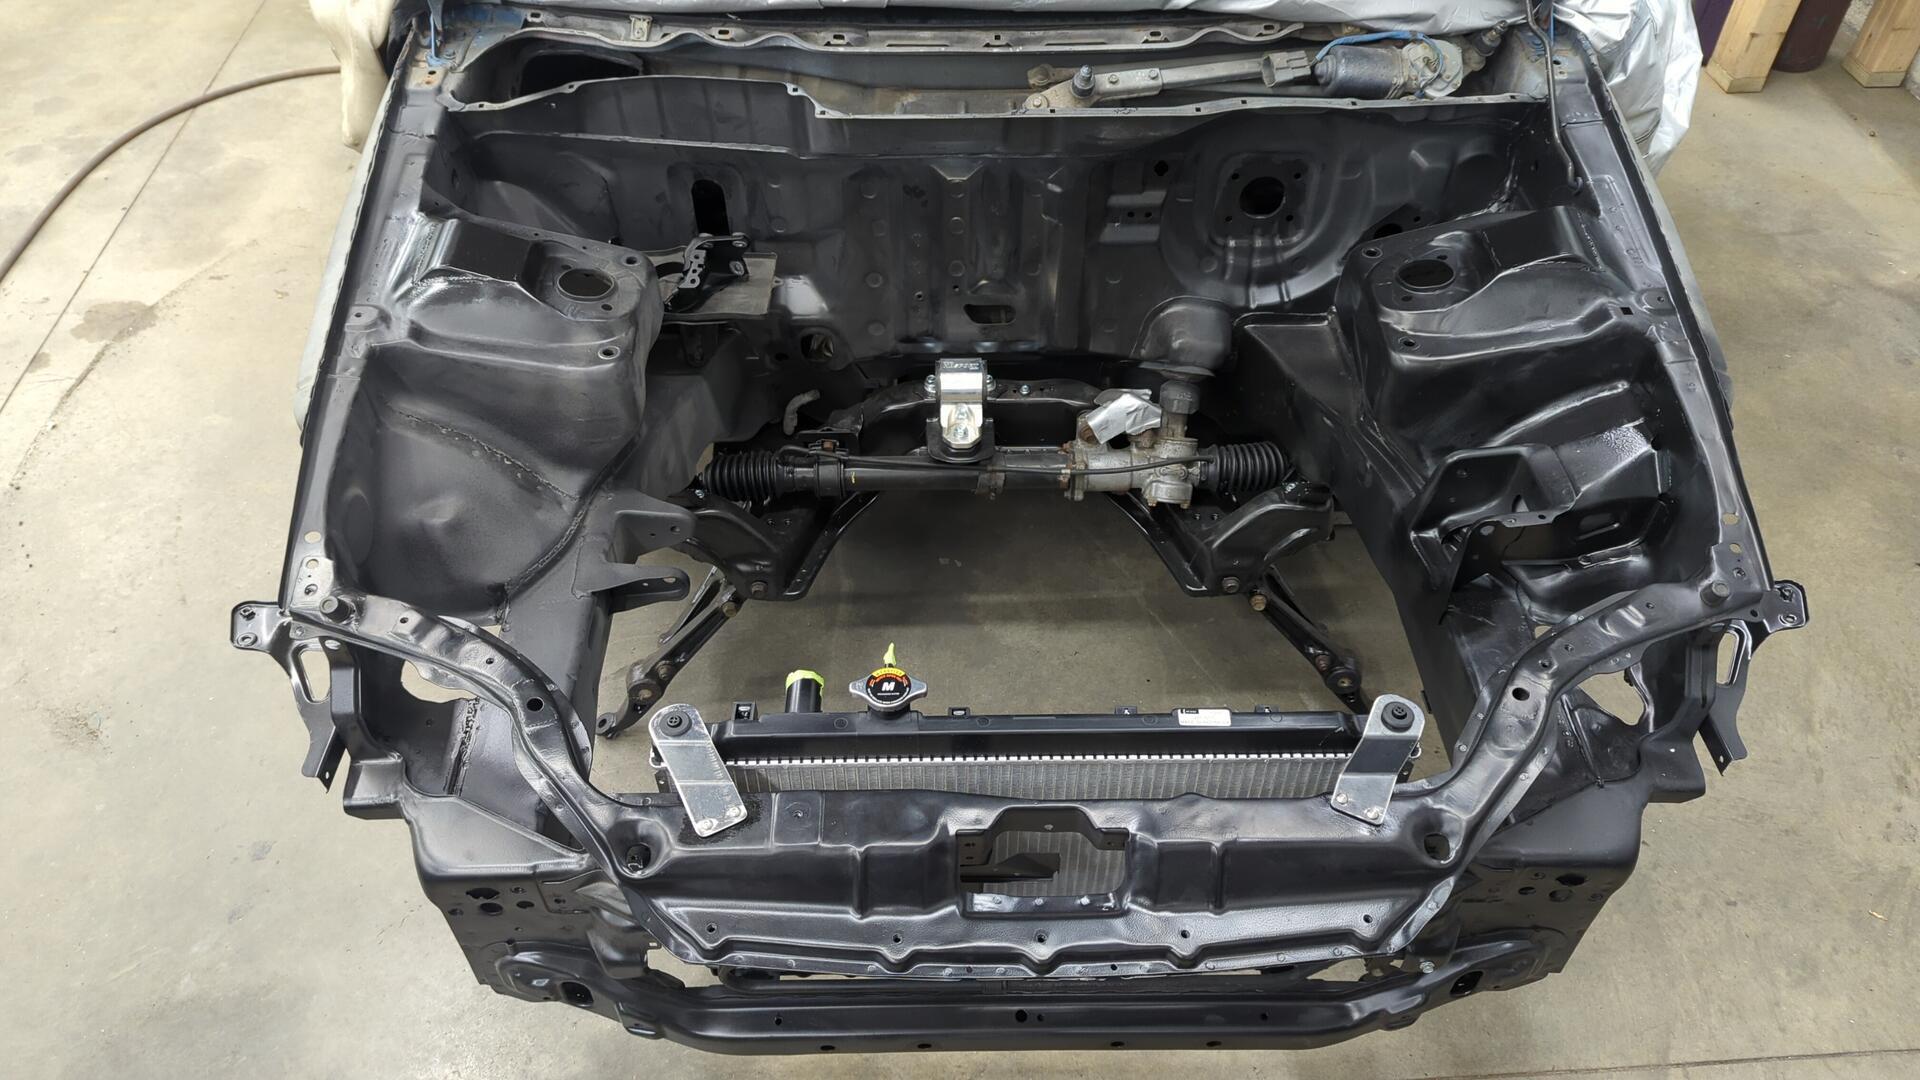
Mounting Up a Full Size Integra Radiator
I thought it’d be fun to upgrade the radiator from a half size to a full size one and since I’ll be auto crossing this car pretty heavily a little extra cooling capacity couldn’t hurt.
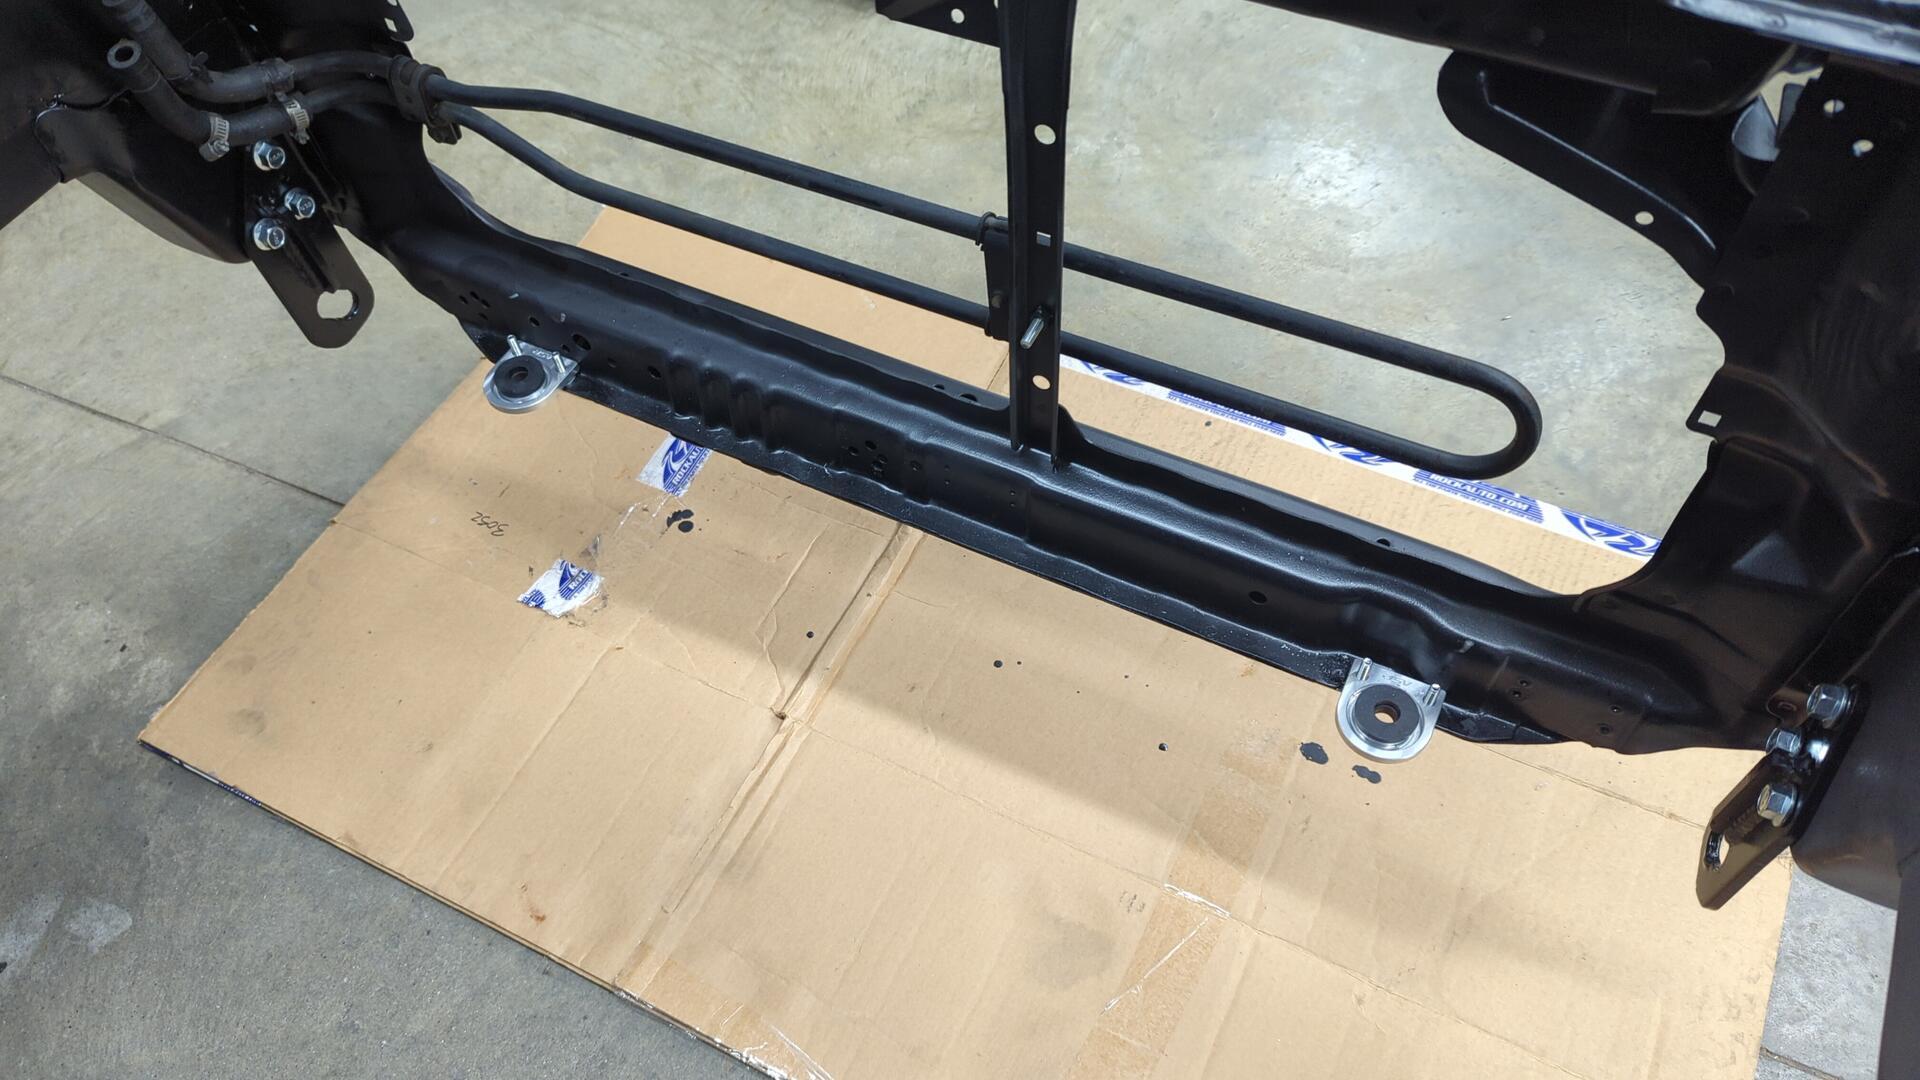
ASR sells a lower mount kit that’s super easy to install.
Don’t mind how long the install bolts are. Those are placeholders till I can get a bunch of m6x1.00 bolts for the engine bay.
Tape works great for holding the radiator while you figure out where you want to position it.
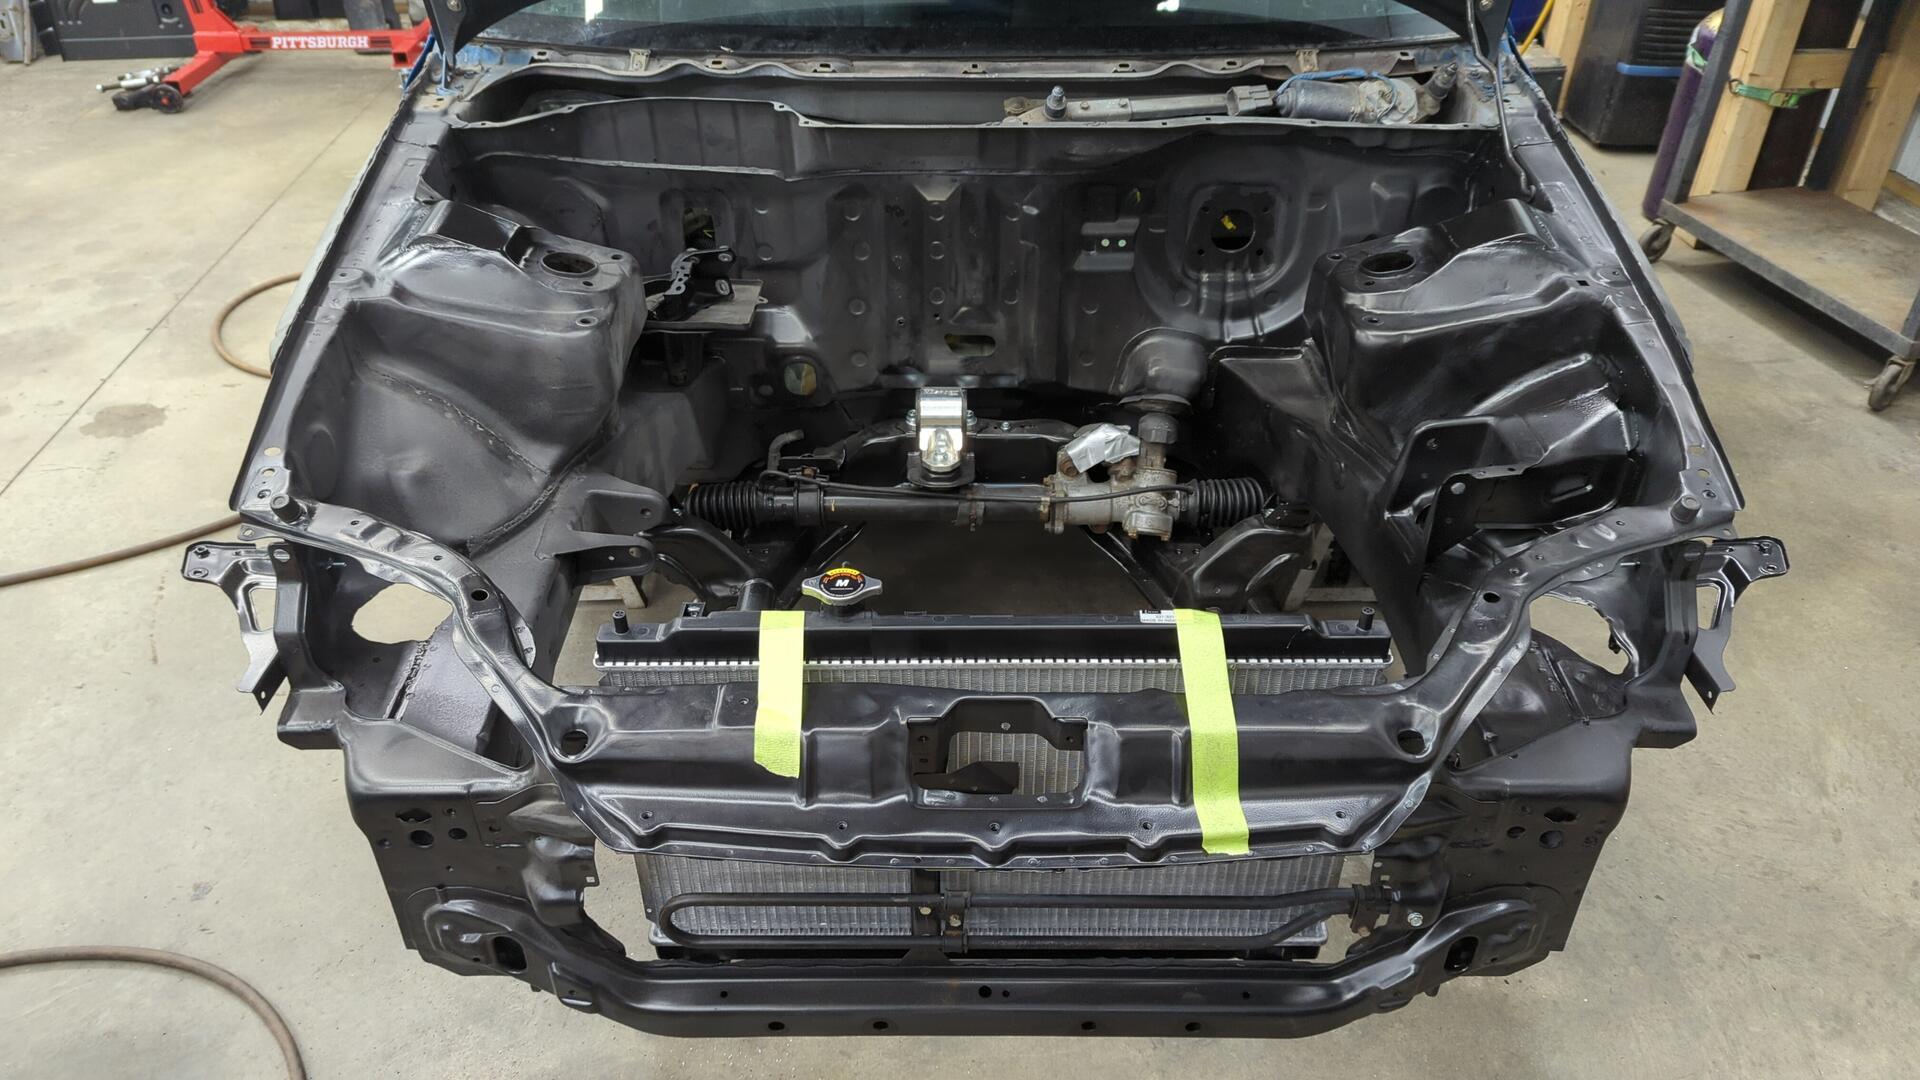
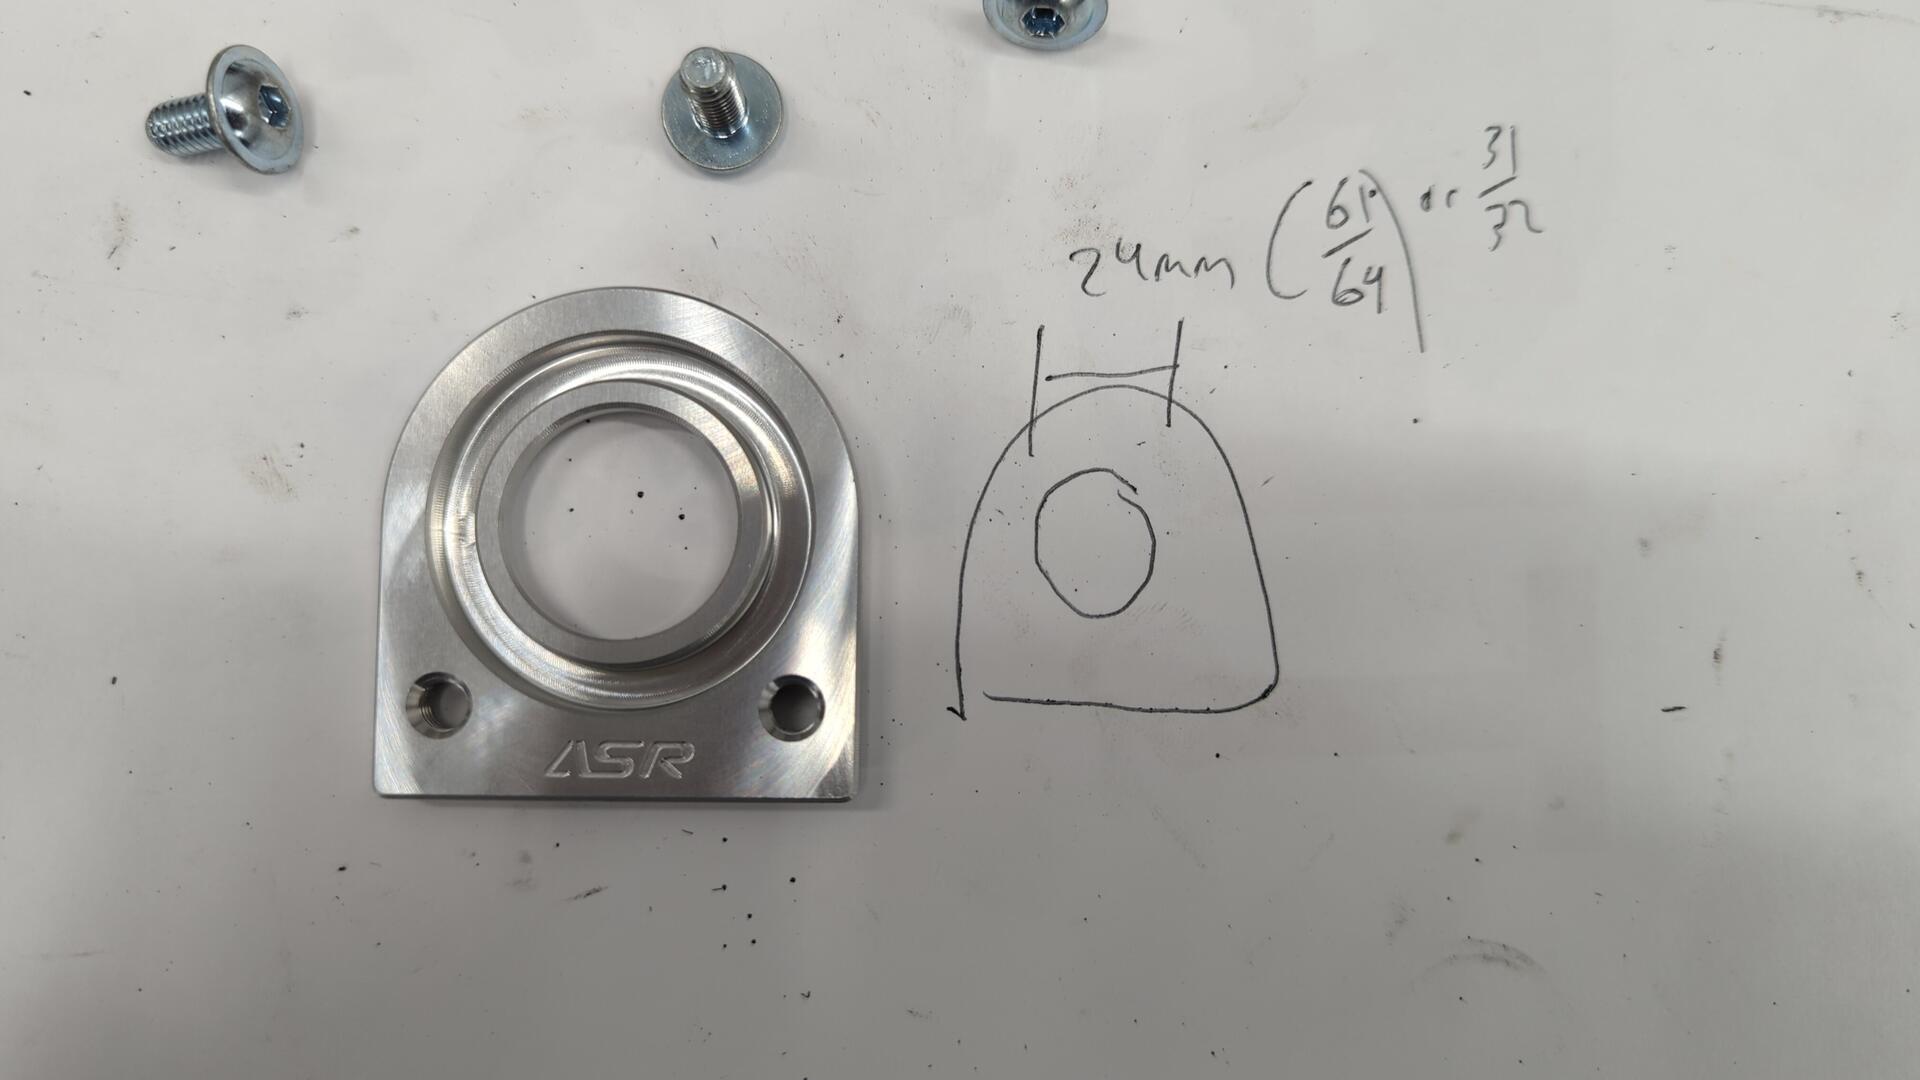
My custom mounts. They’re angled at 37.5* from the radiator for a cool flush look. The bushings are ASR low profile bushings.

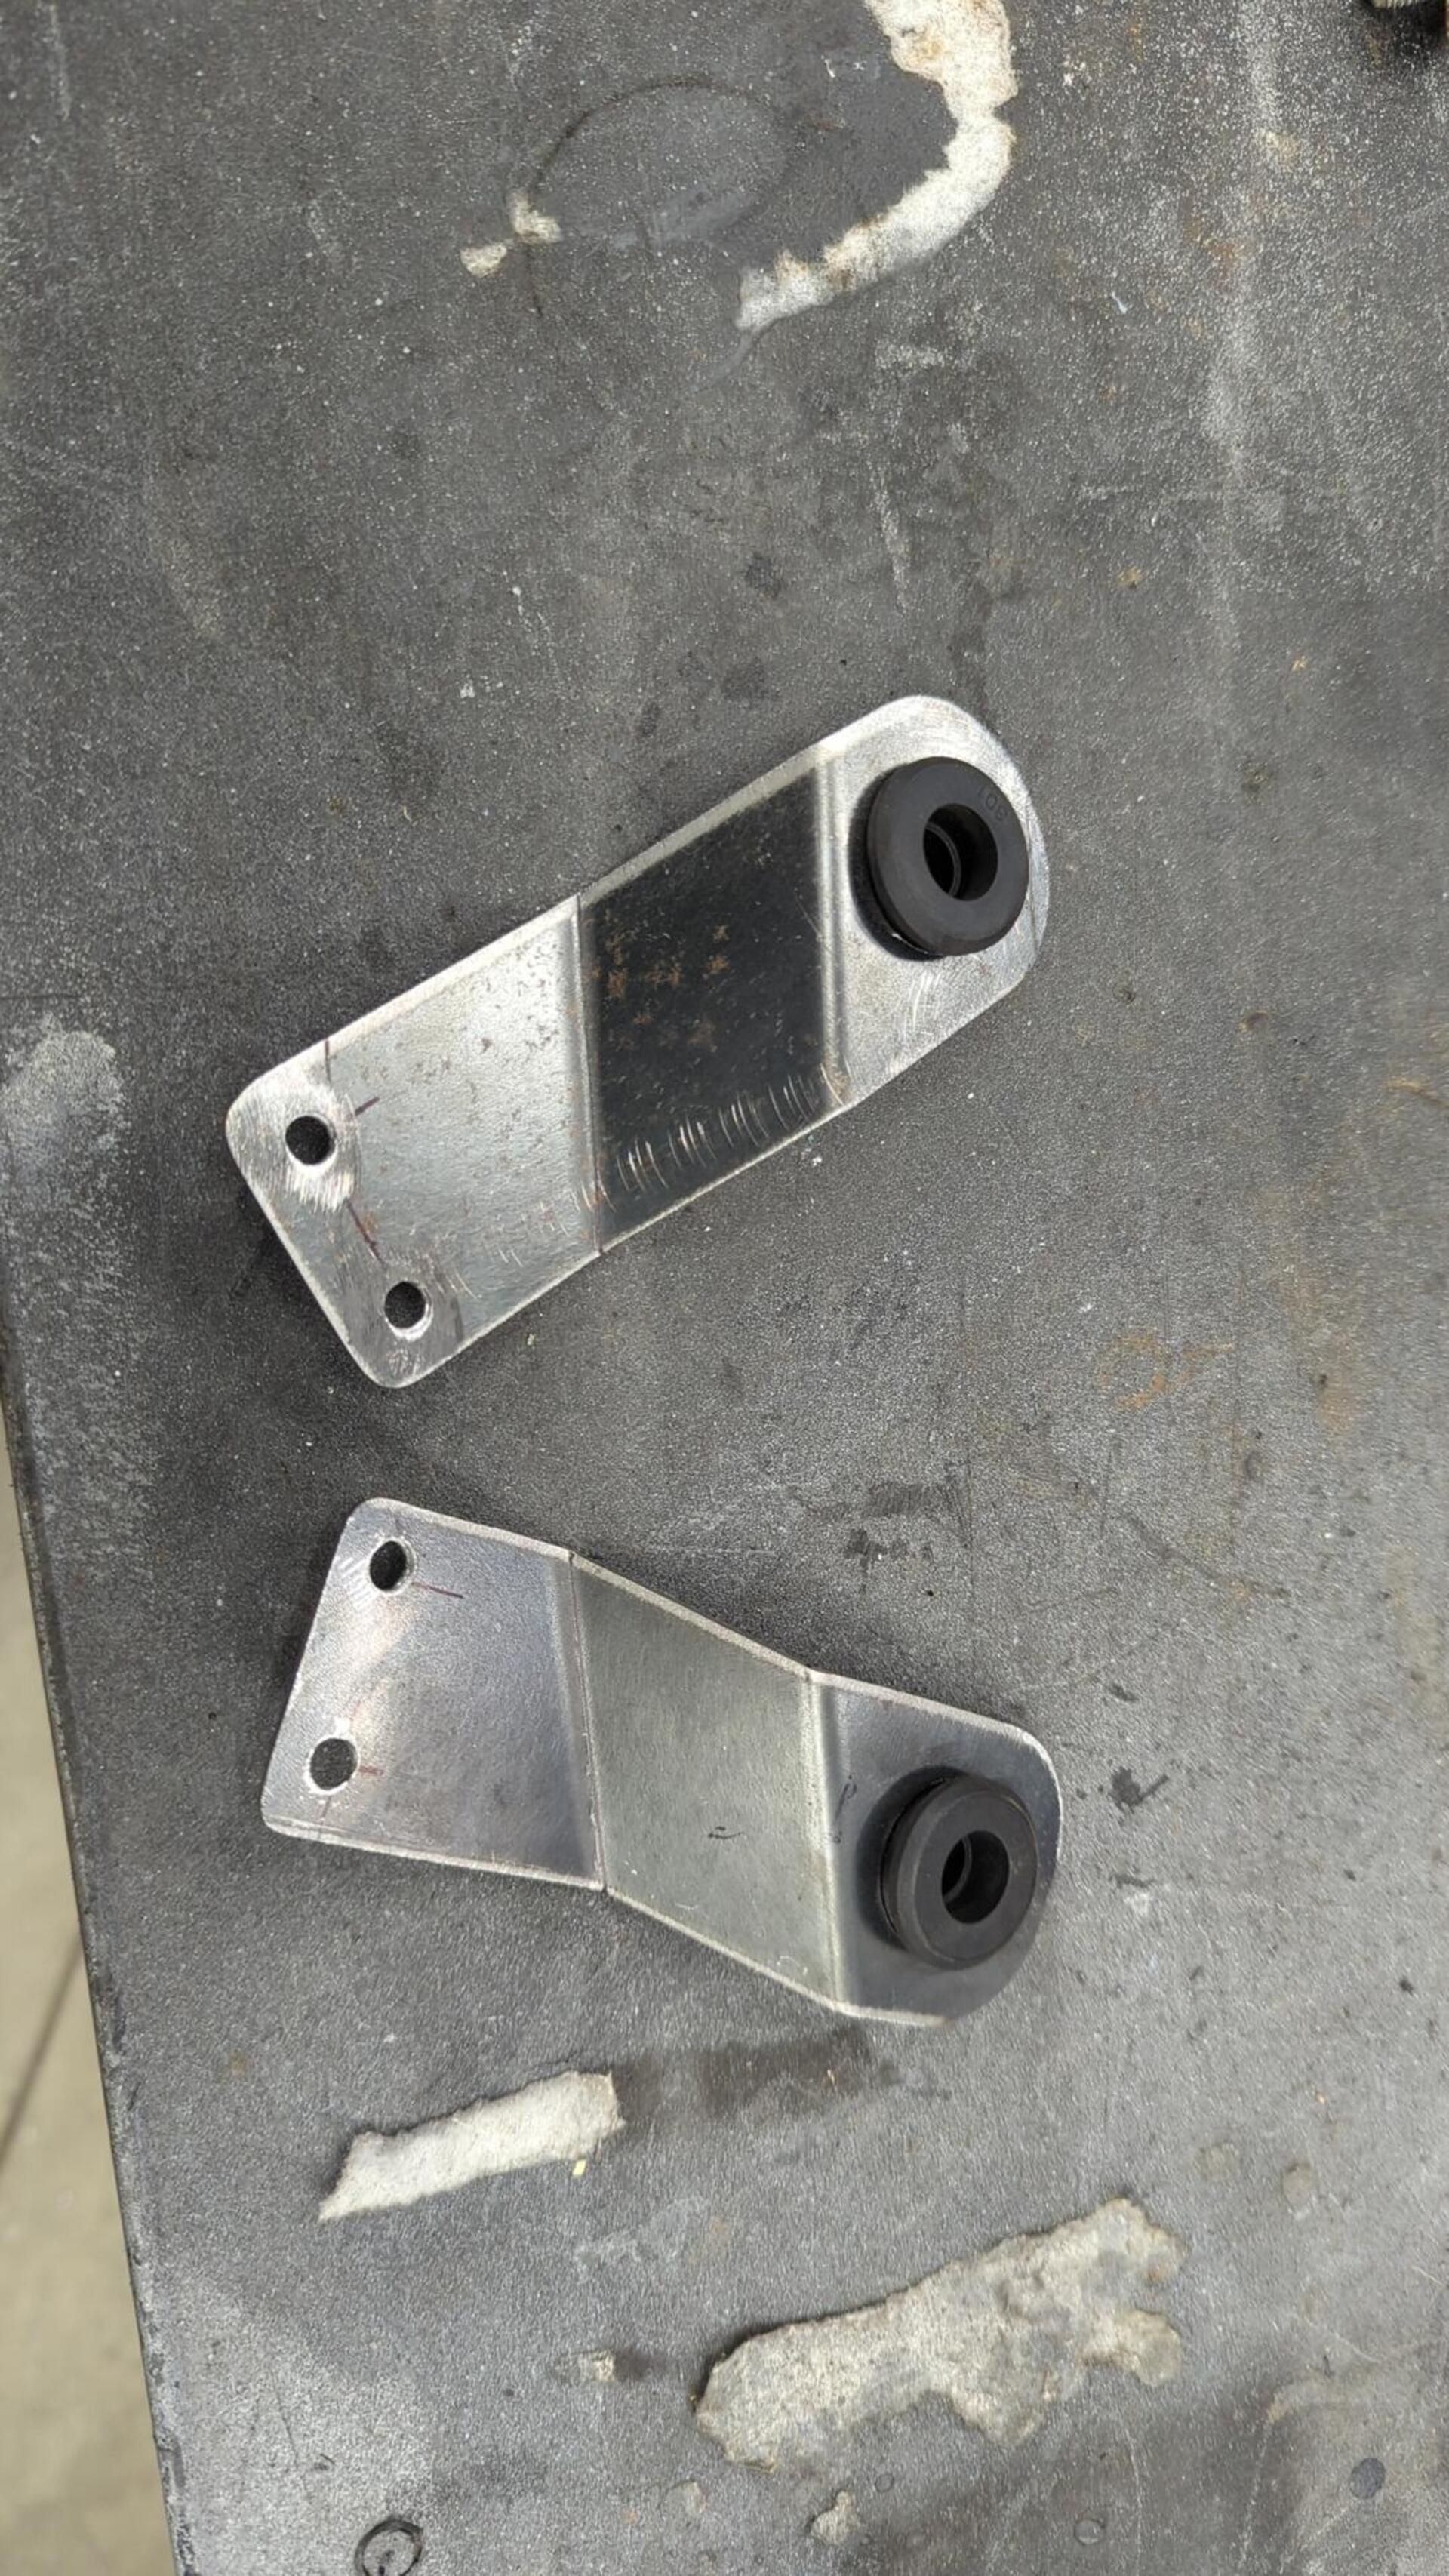
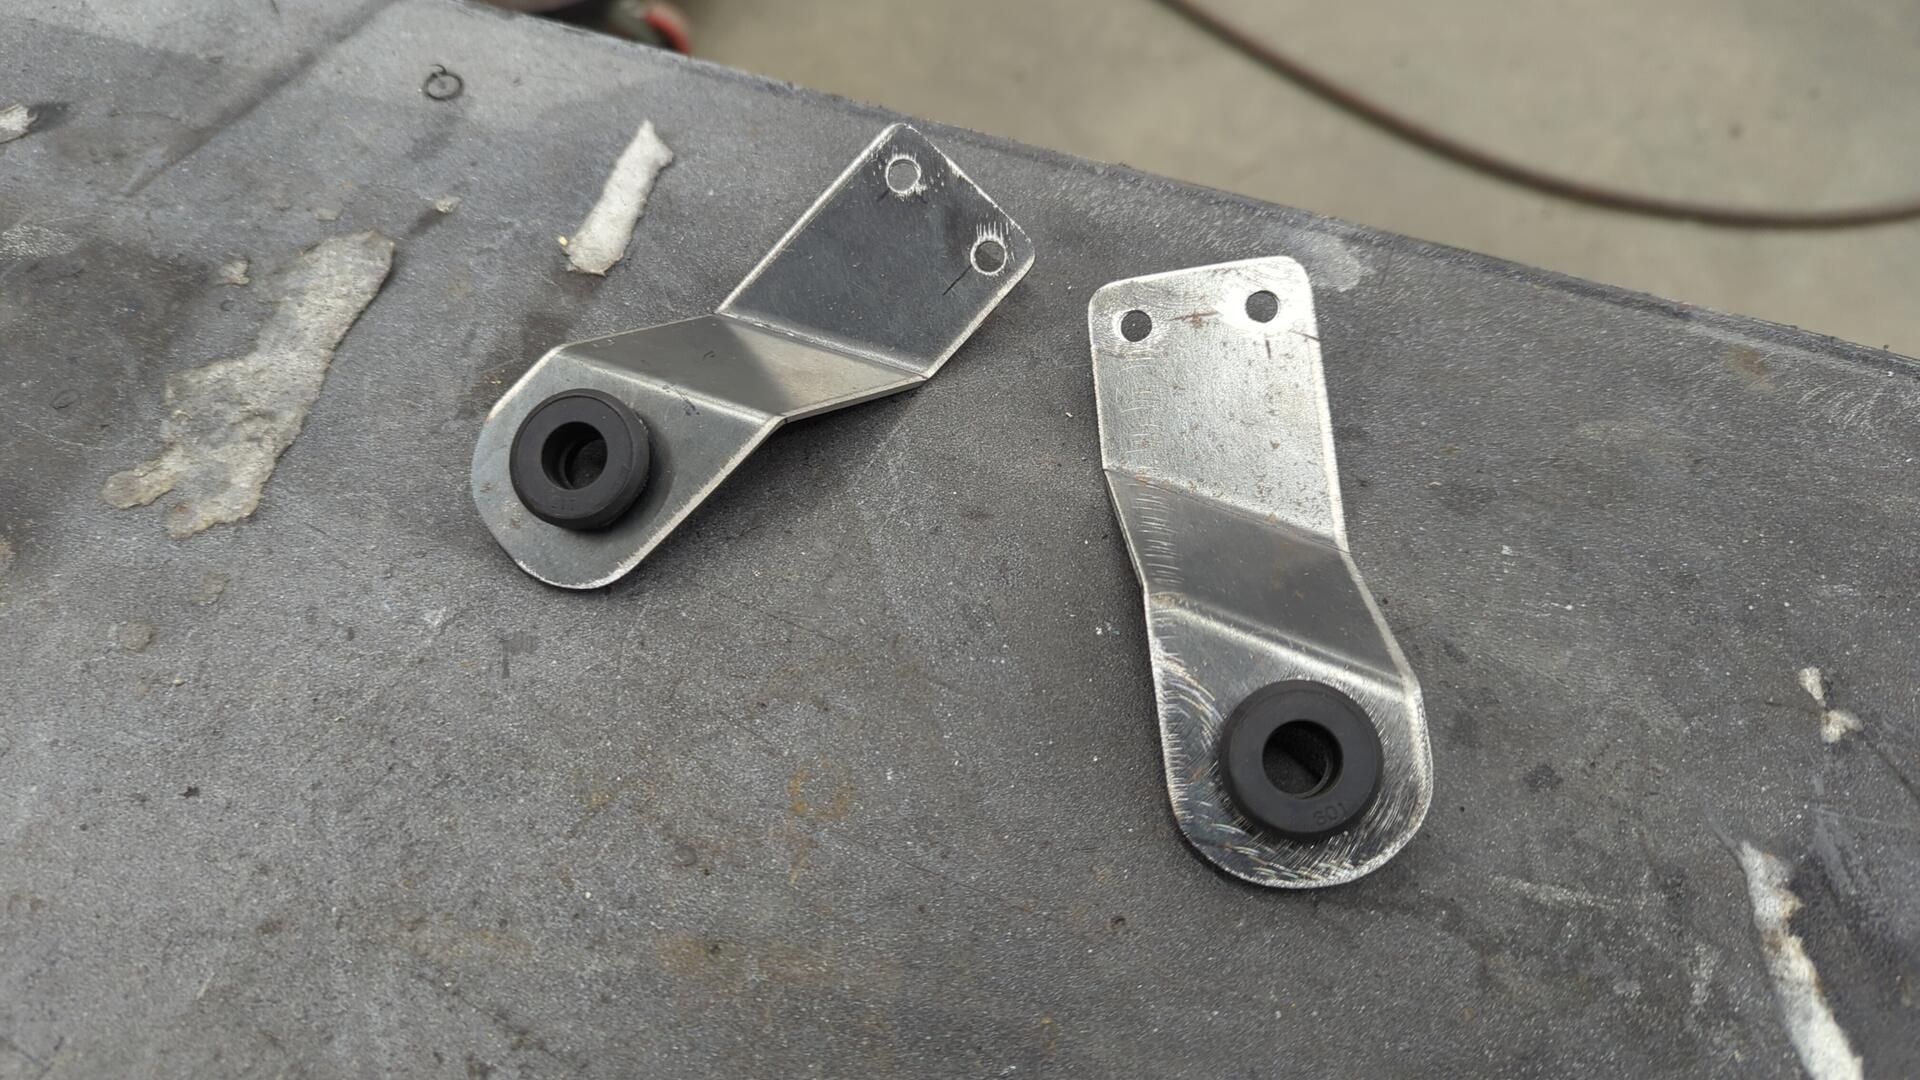
I used rivet nuts for the mounting points.
Officially bolted up.
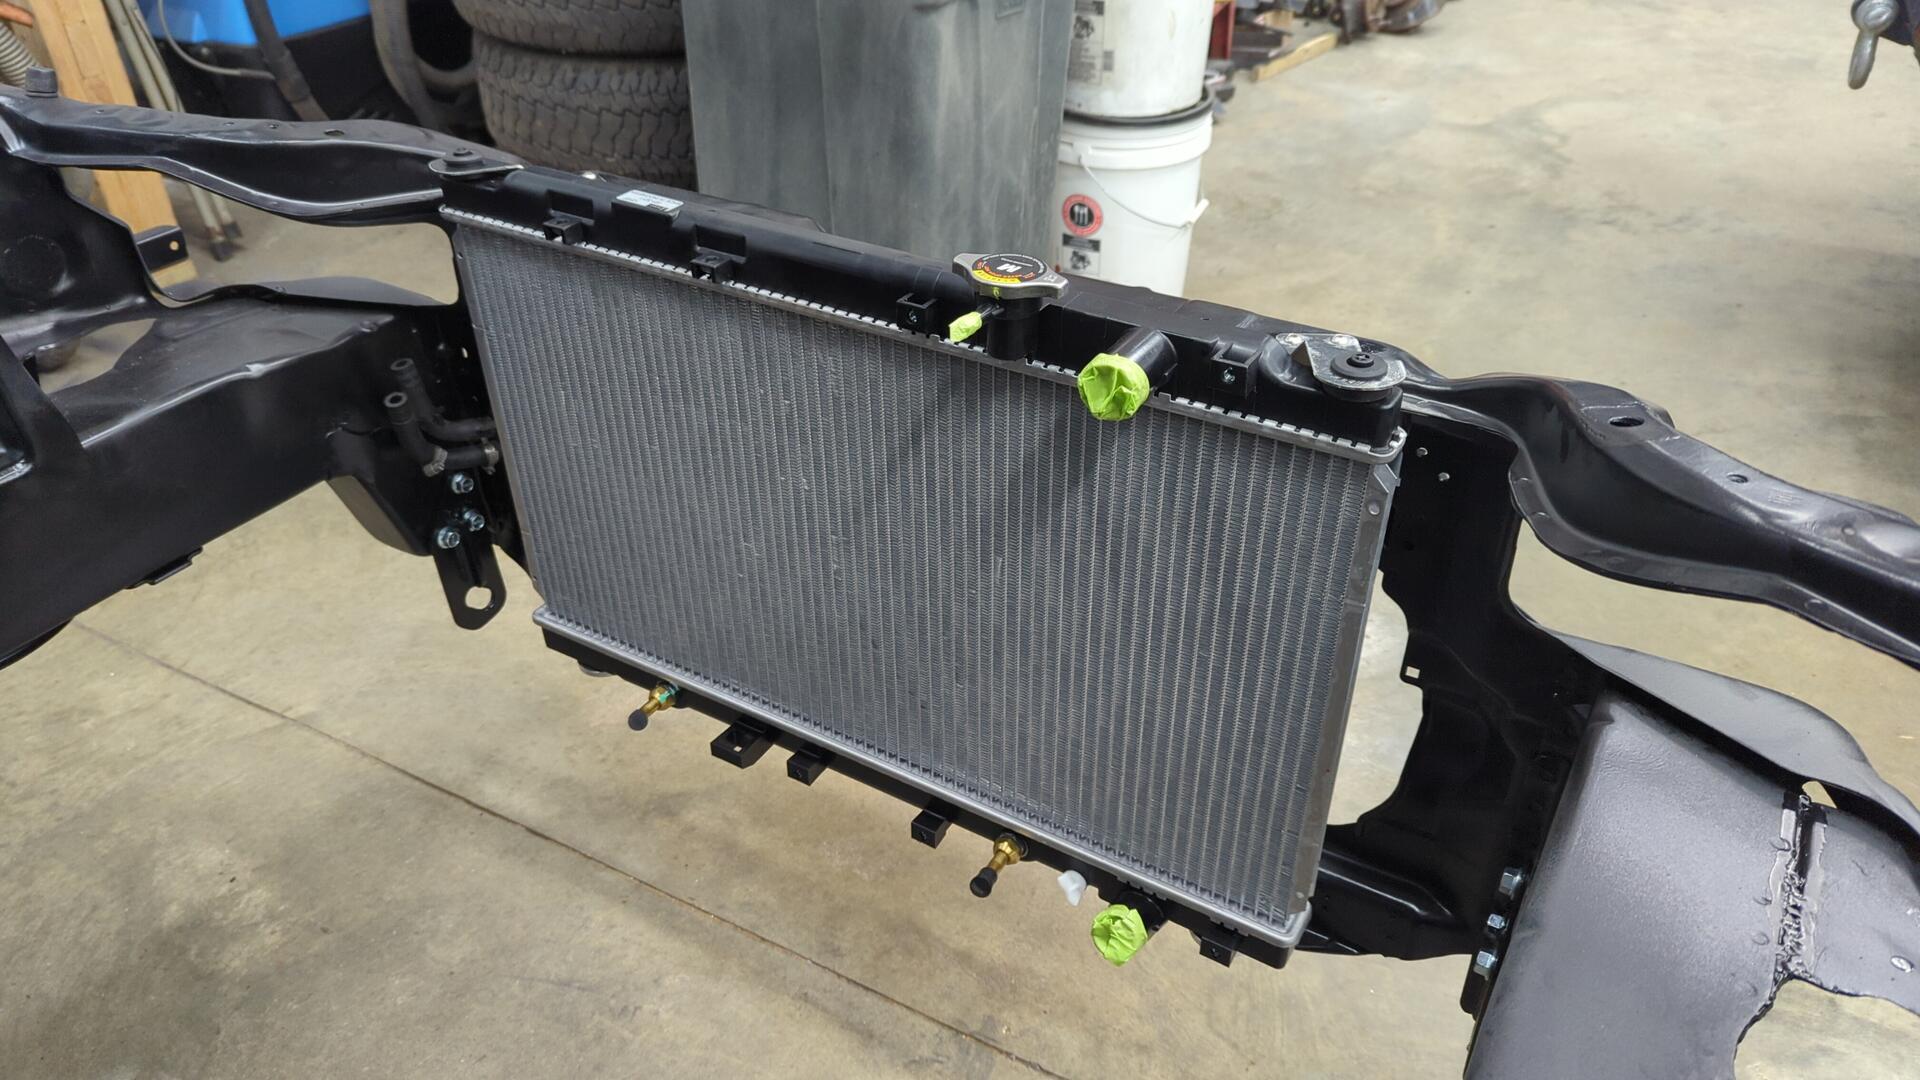
In terms of a radiator fan I’m currently considering a SPAL 12" fan and making a custom shroud but haven’t 100% decided yet.
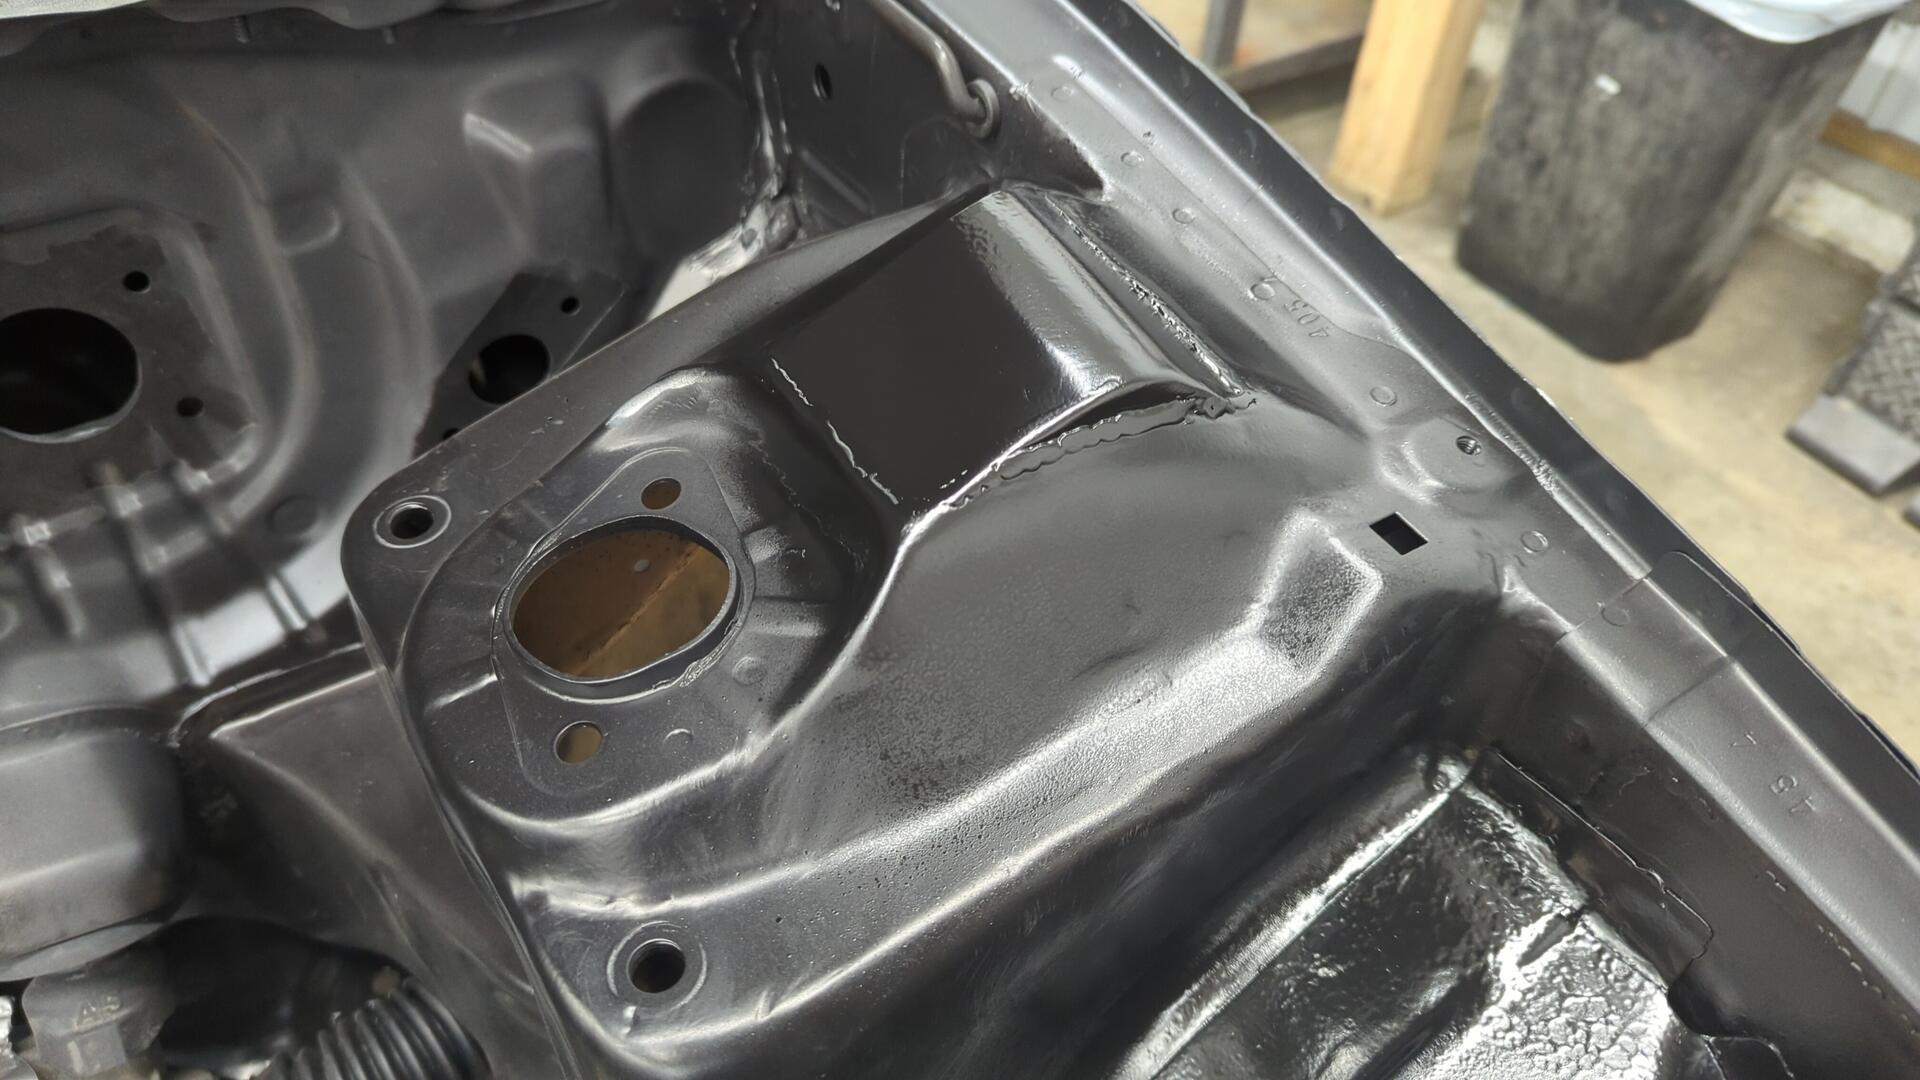
Un-Tucking the Fuel Filter
I used to run a small inline fuel filter that was mounted to the input on the fuel rail and was originally planning on keeping it but I changed my mind and decided to go back to the OEM setup. I imagine the OEM fuel filter lasts longer and does a better job plus I don’t really care if it’s sitting up on the firewall since my bay is no longer tucked.
I had to drill out the upper nuts that I had previously welded up and weld in new nuts from the back side. The lower mounting point isn’t accessible from the rear as the firewall is dual layered there so I used a sealing rivet nut to prevent any water leaks.
Past me did me a solid and saved off the original OEM bracket that I powder coated way back when. Truth be told I didn’t even realize I still had it. I found it while digging through an old parts bin I hadn’t touched in years.
Making a PS Reservoir Bracket and Planning the Lines
This ended up being a lot more work than it needed to be. I still had my original PS reservoir bracket but couldn’t find where it used to be mounted. Since I didn’t want to risk drilling holes in the wrong spot on the frame rail I figured I should make a custom bracket.
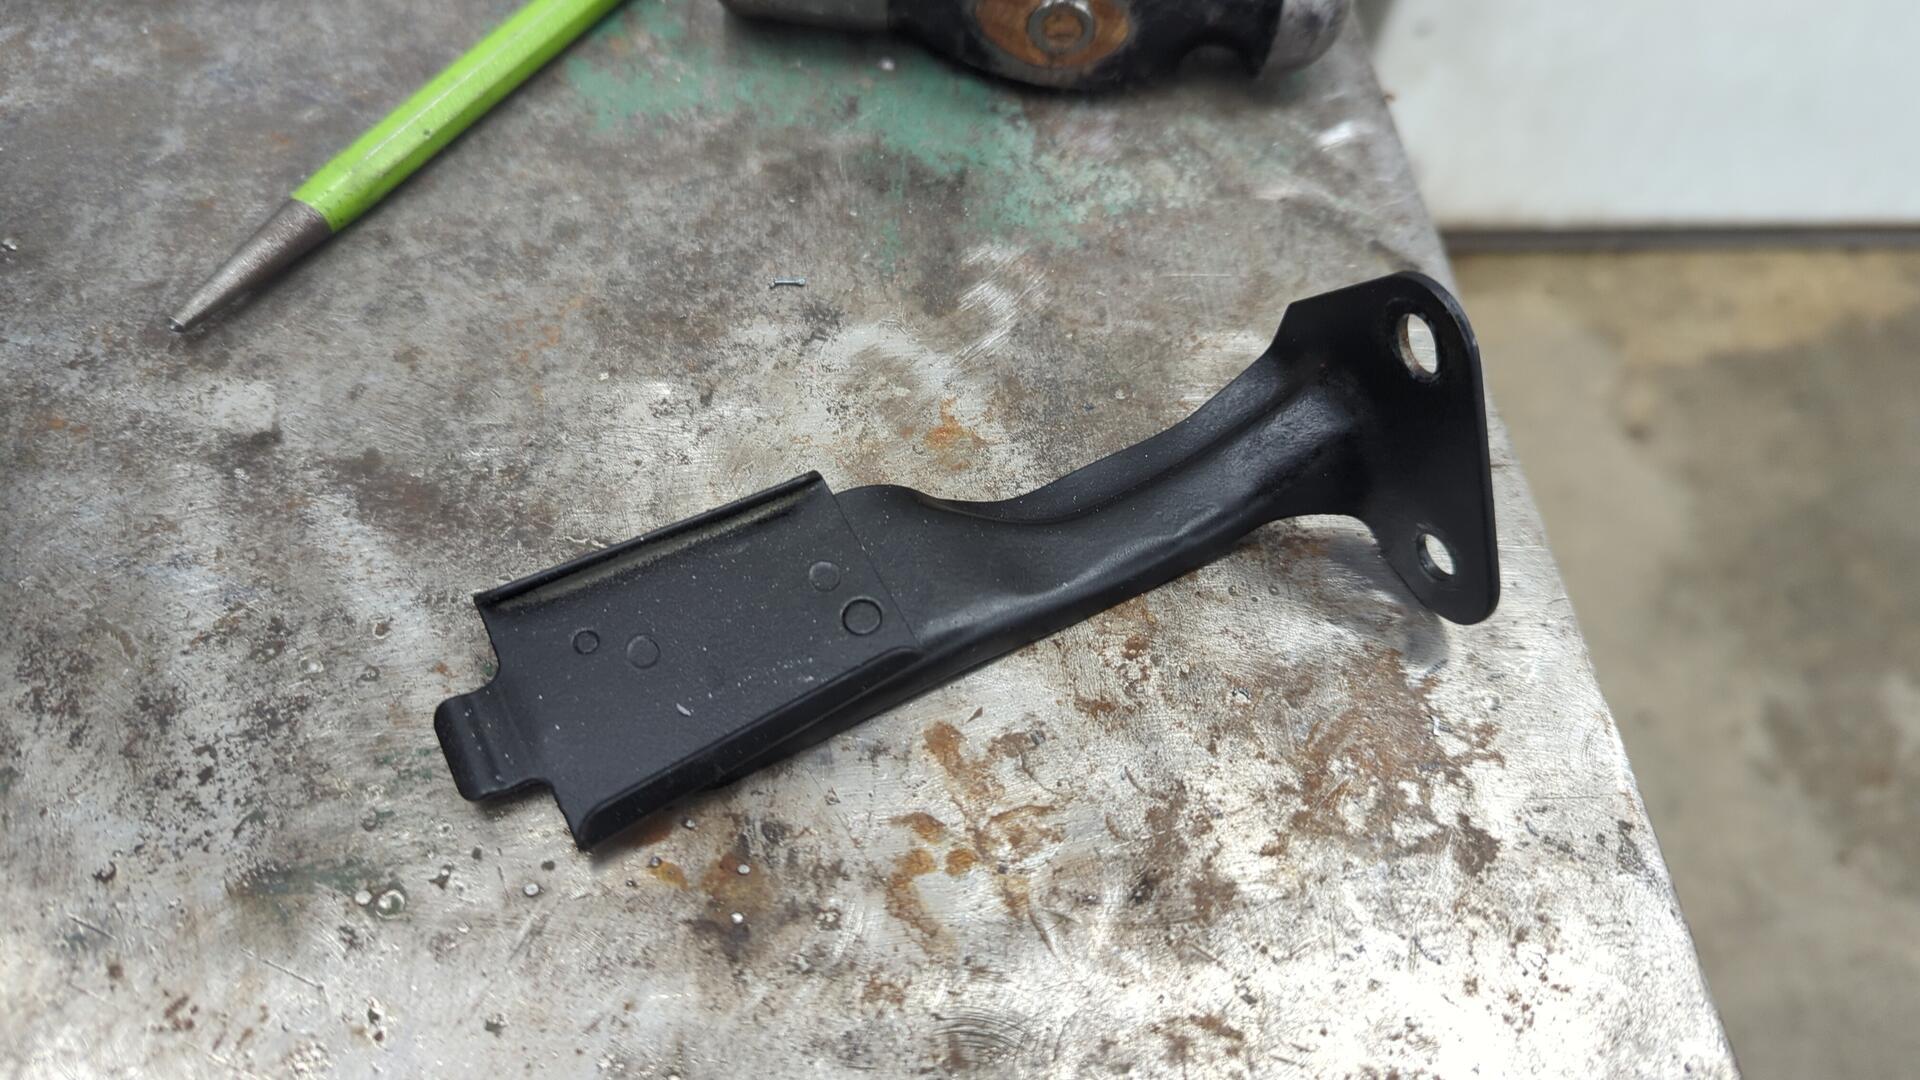
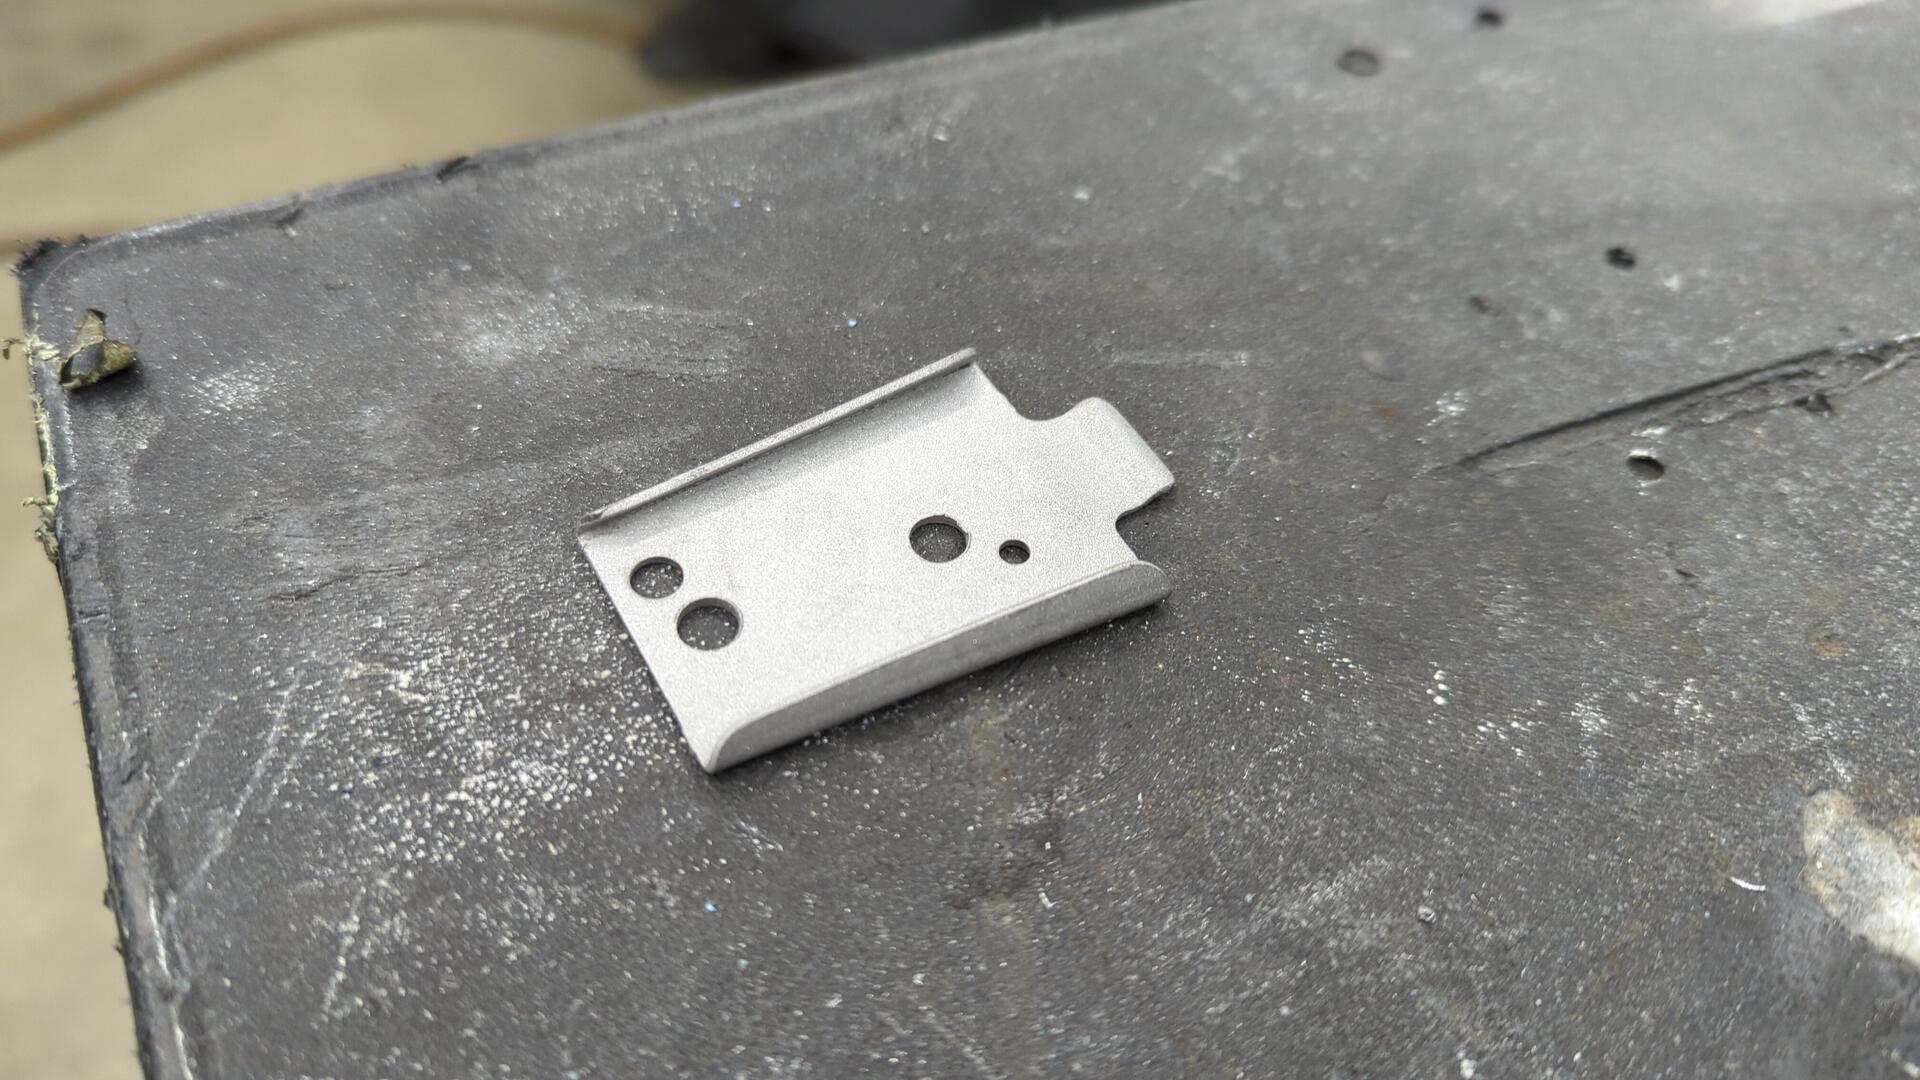
I stole the mount portion off the original bracket.
Overall it fit up real nice but I wasn’t 100% happy with it. It just didn’t look right to me.
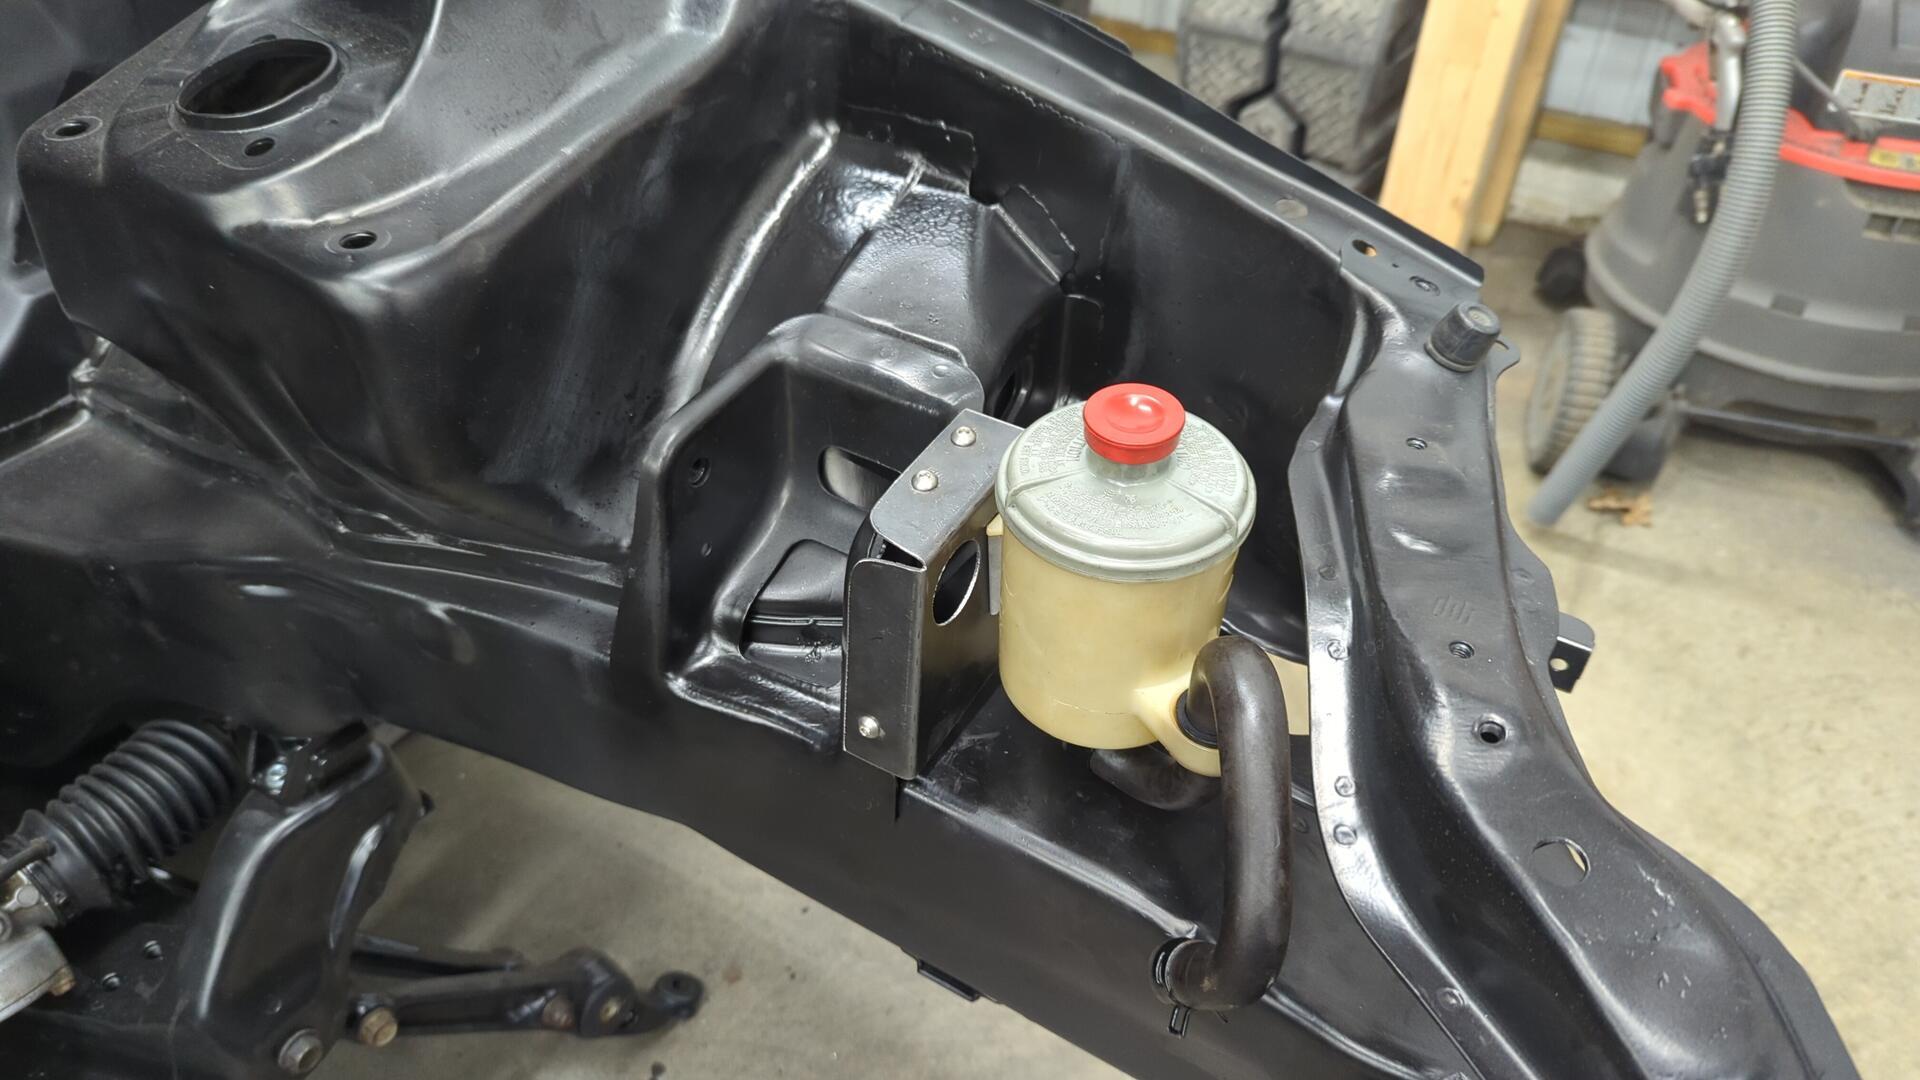
Test fitting my old PS lines so I could work on making new mounting holes.

For PS line mounting hole down on the frame rail I was able to salvage the original hole + threads. The other mounting hole up on the engine bracket was long gone though and I had to use a rivet nut there.
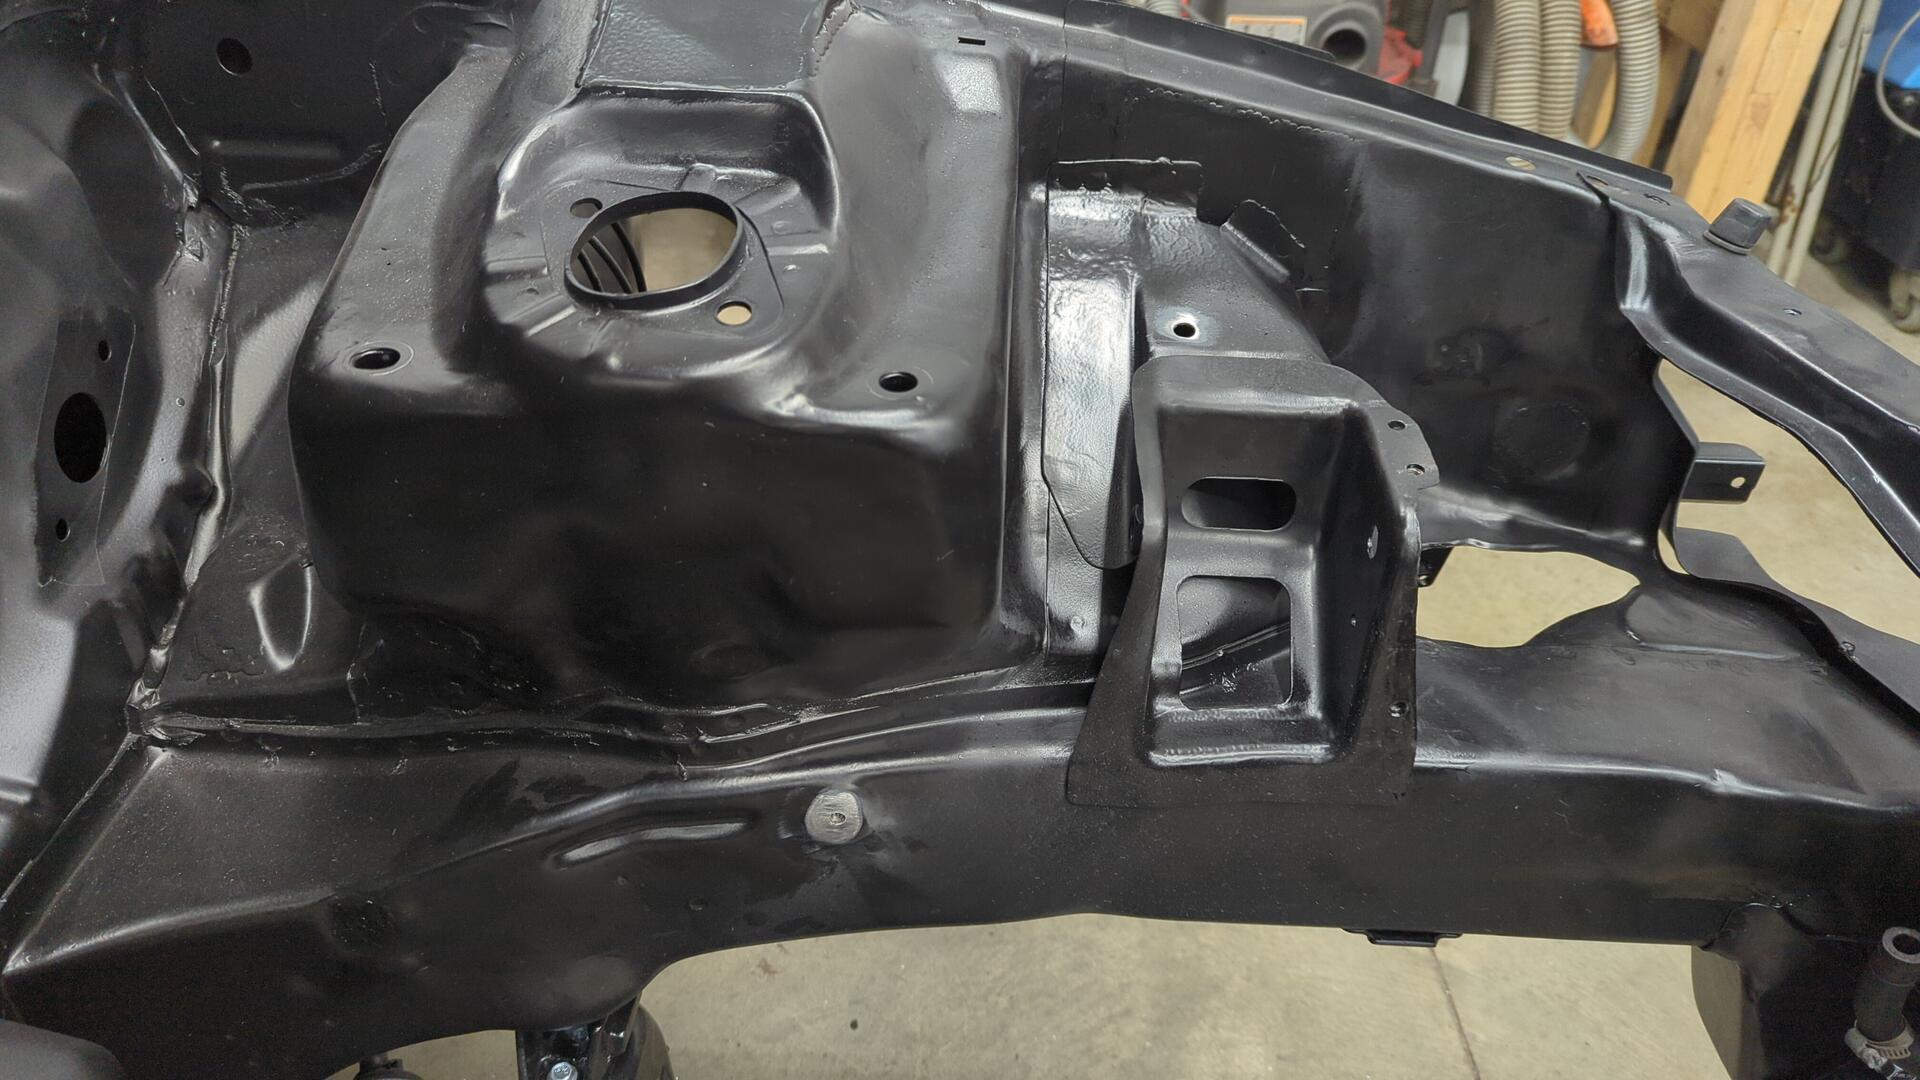
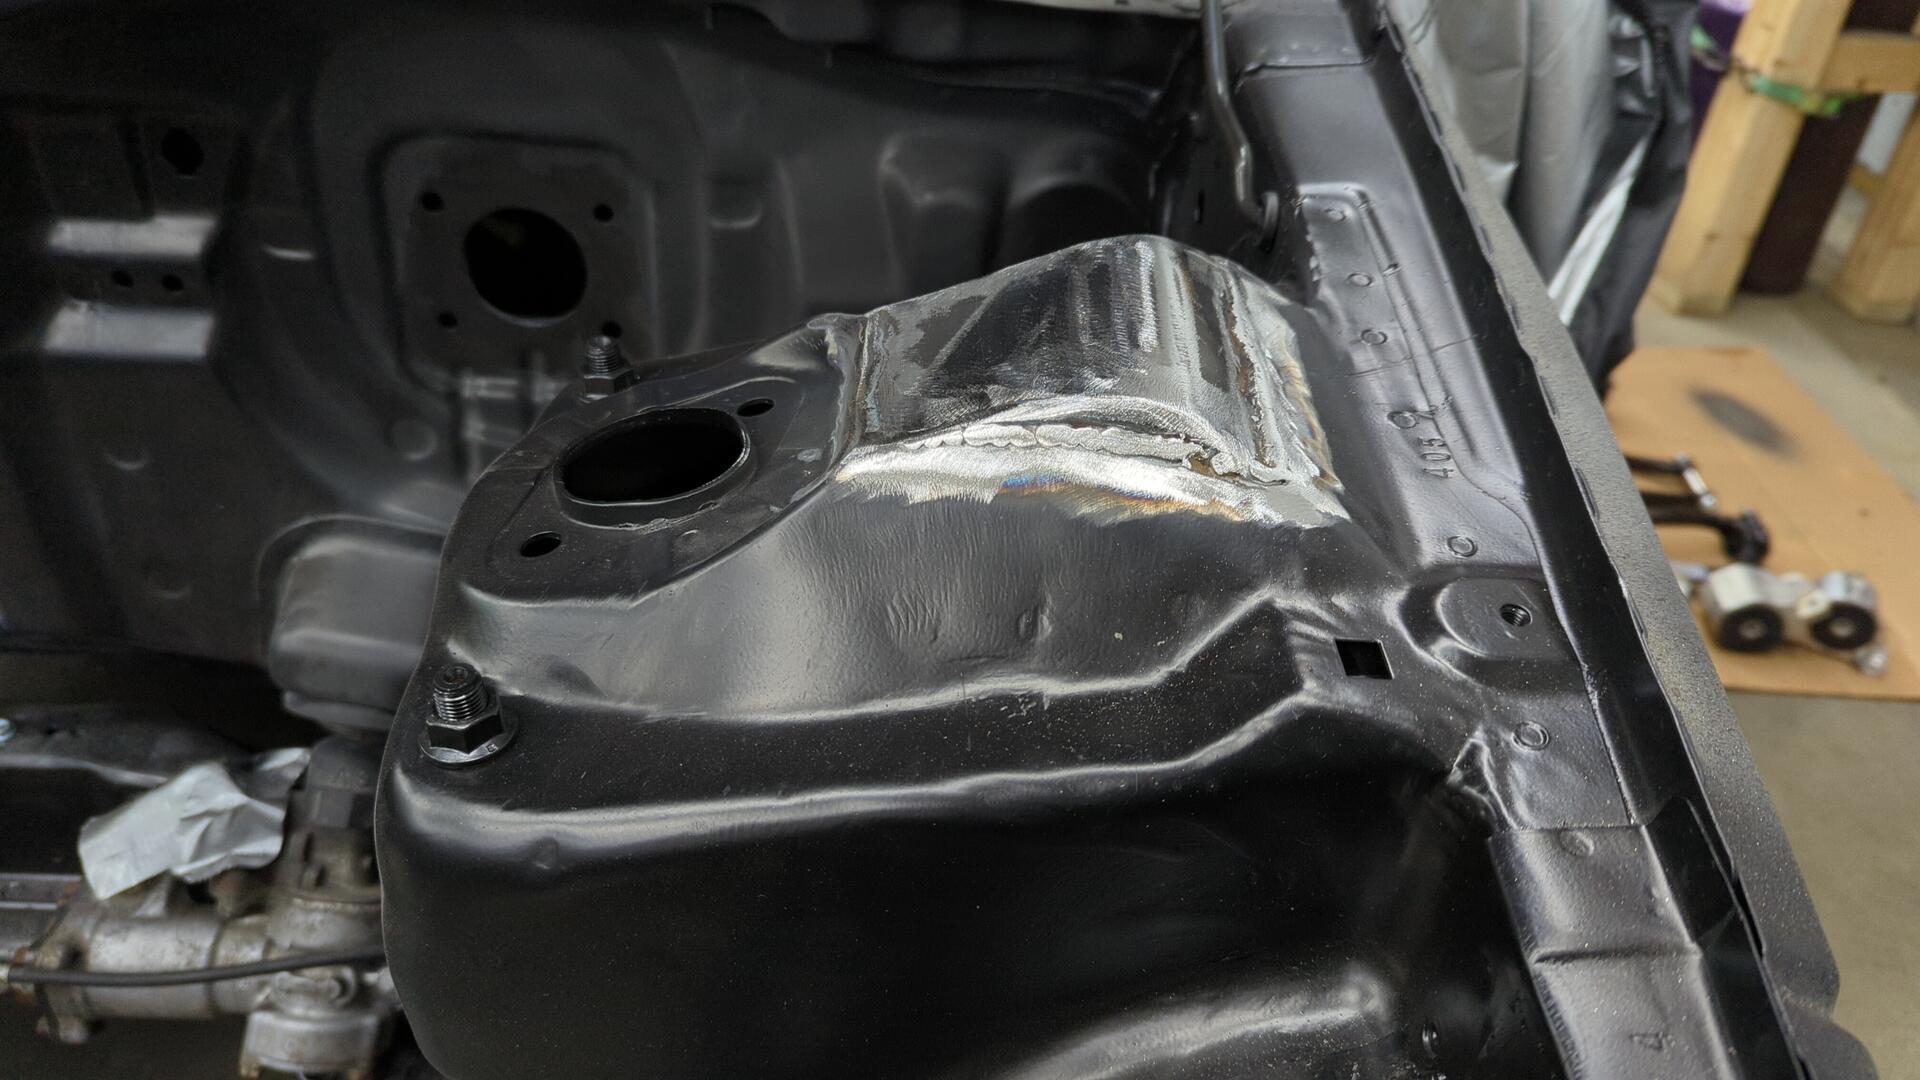
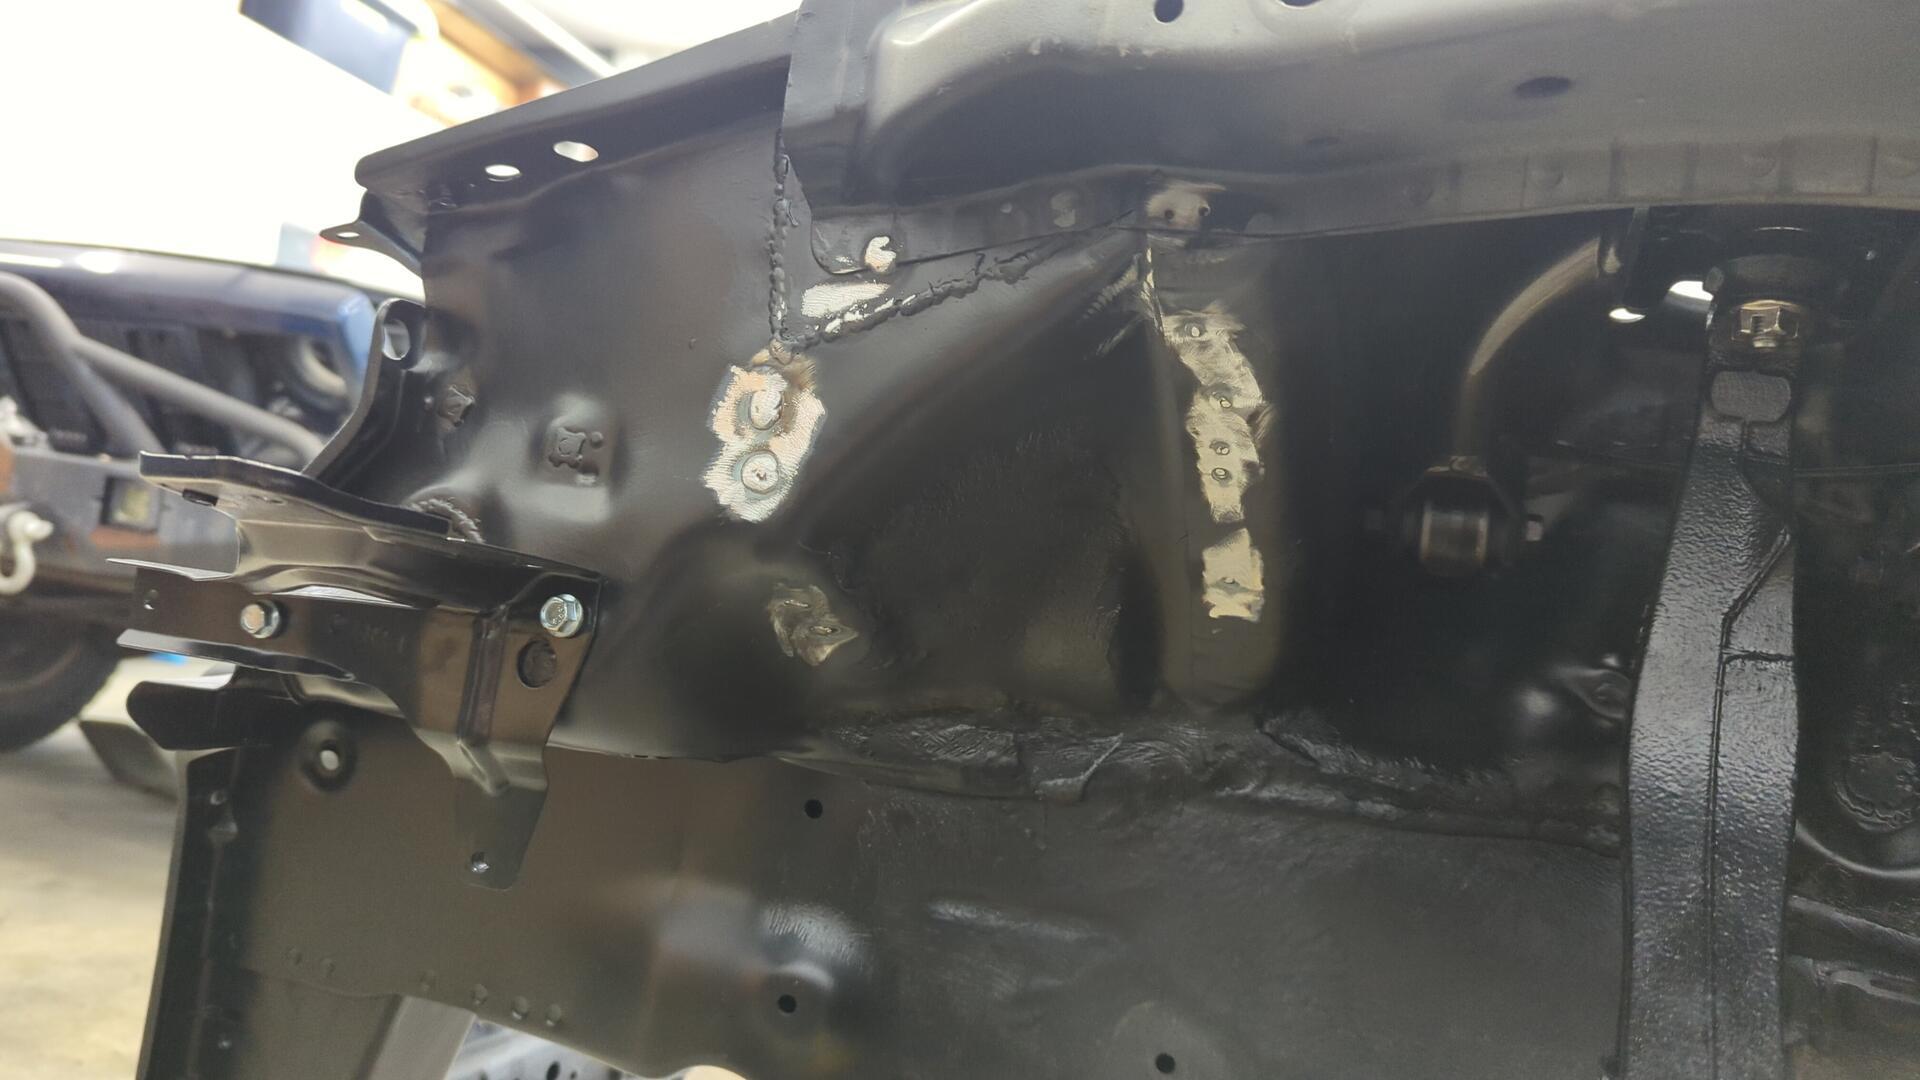
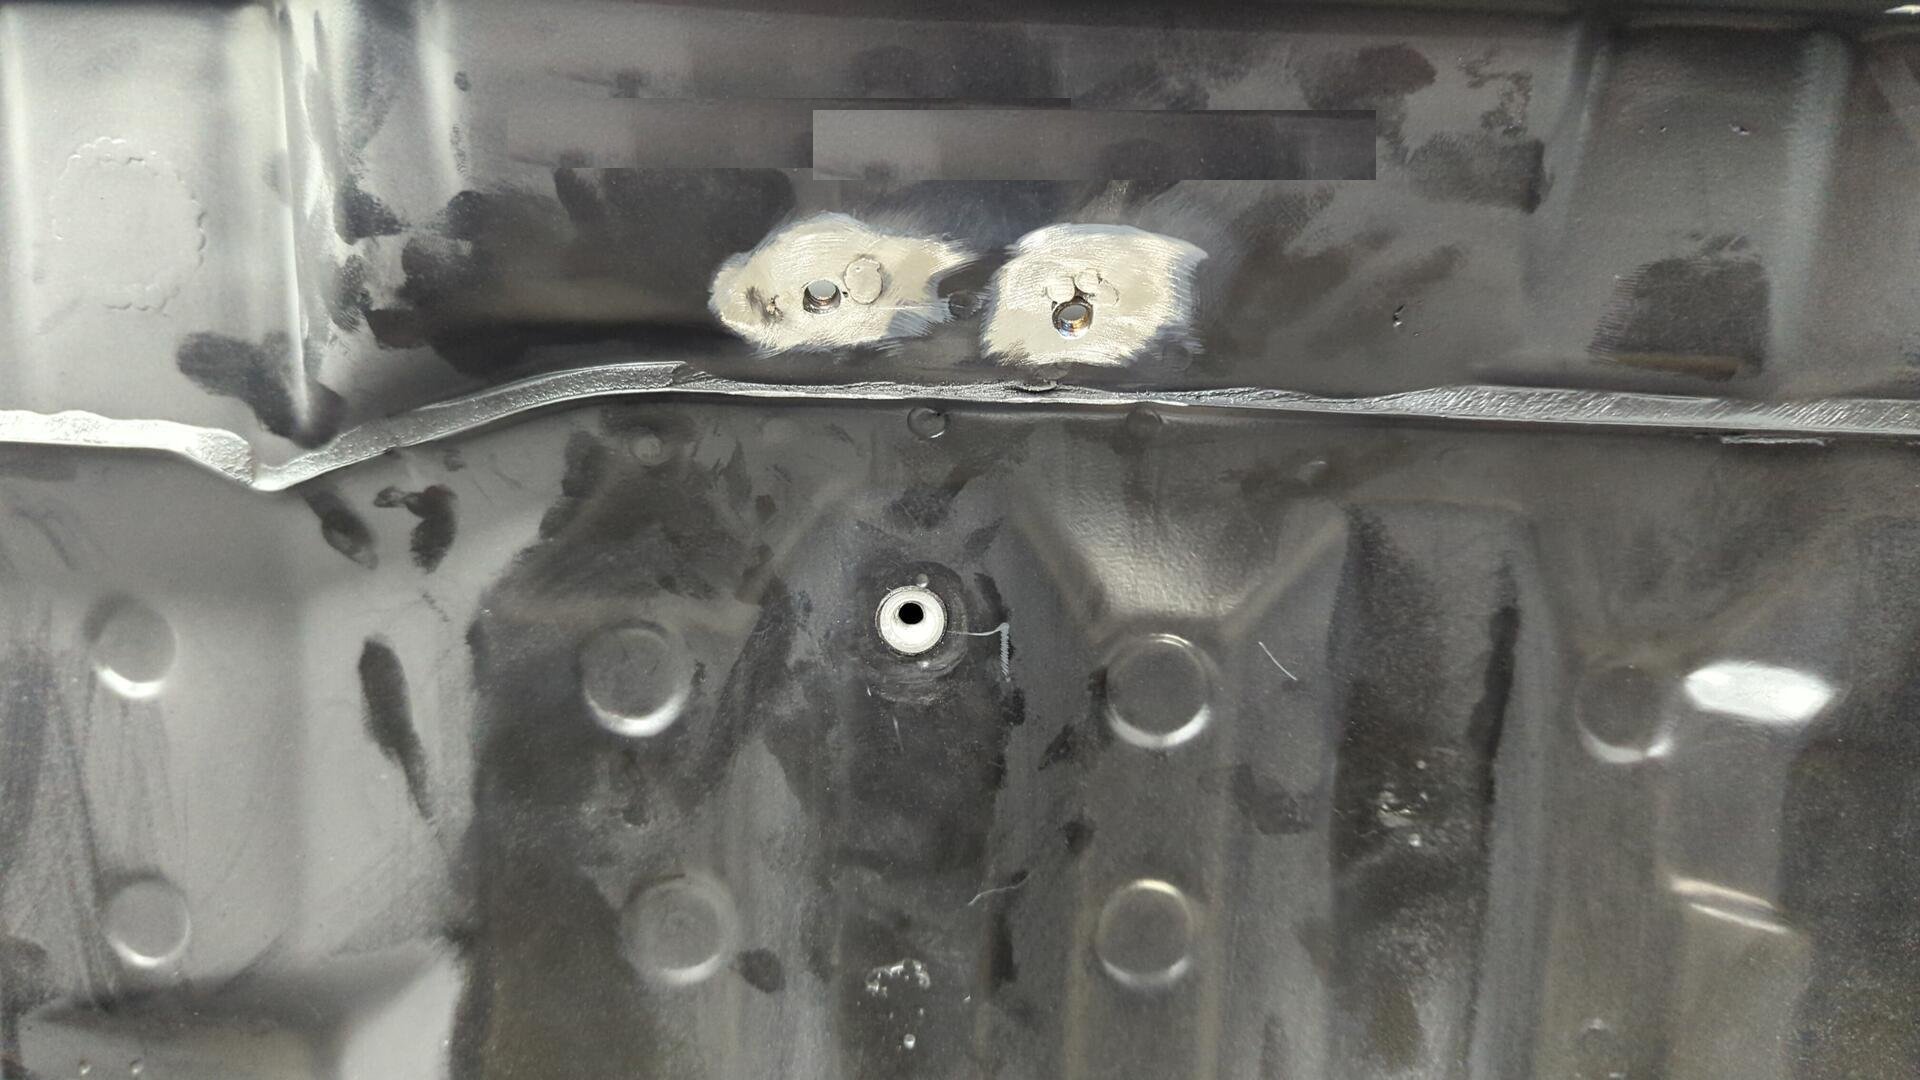
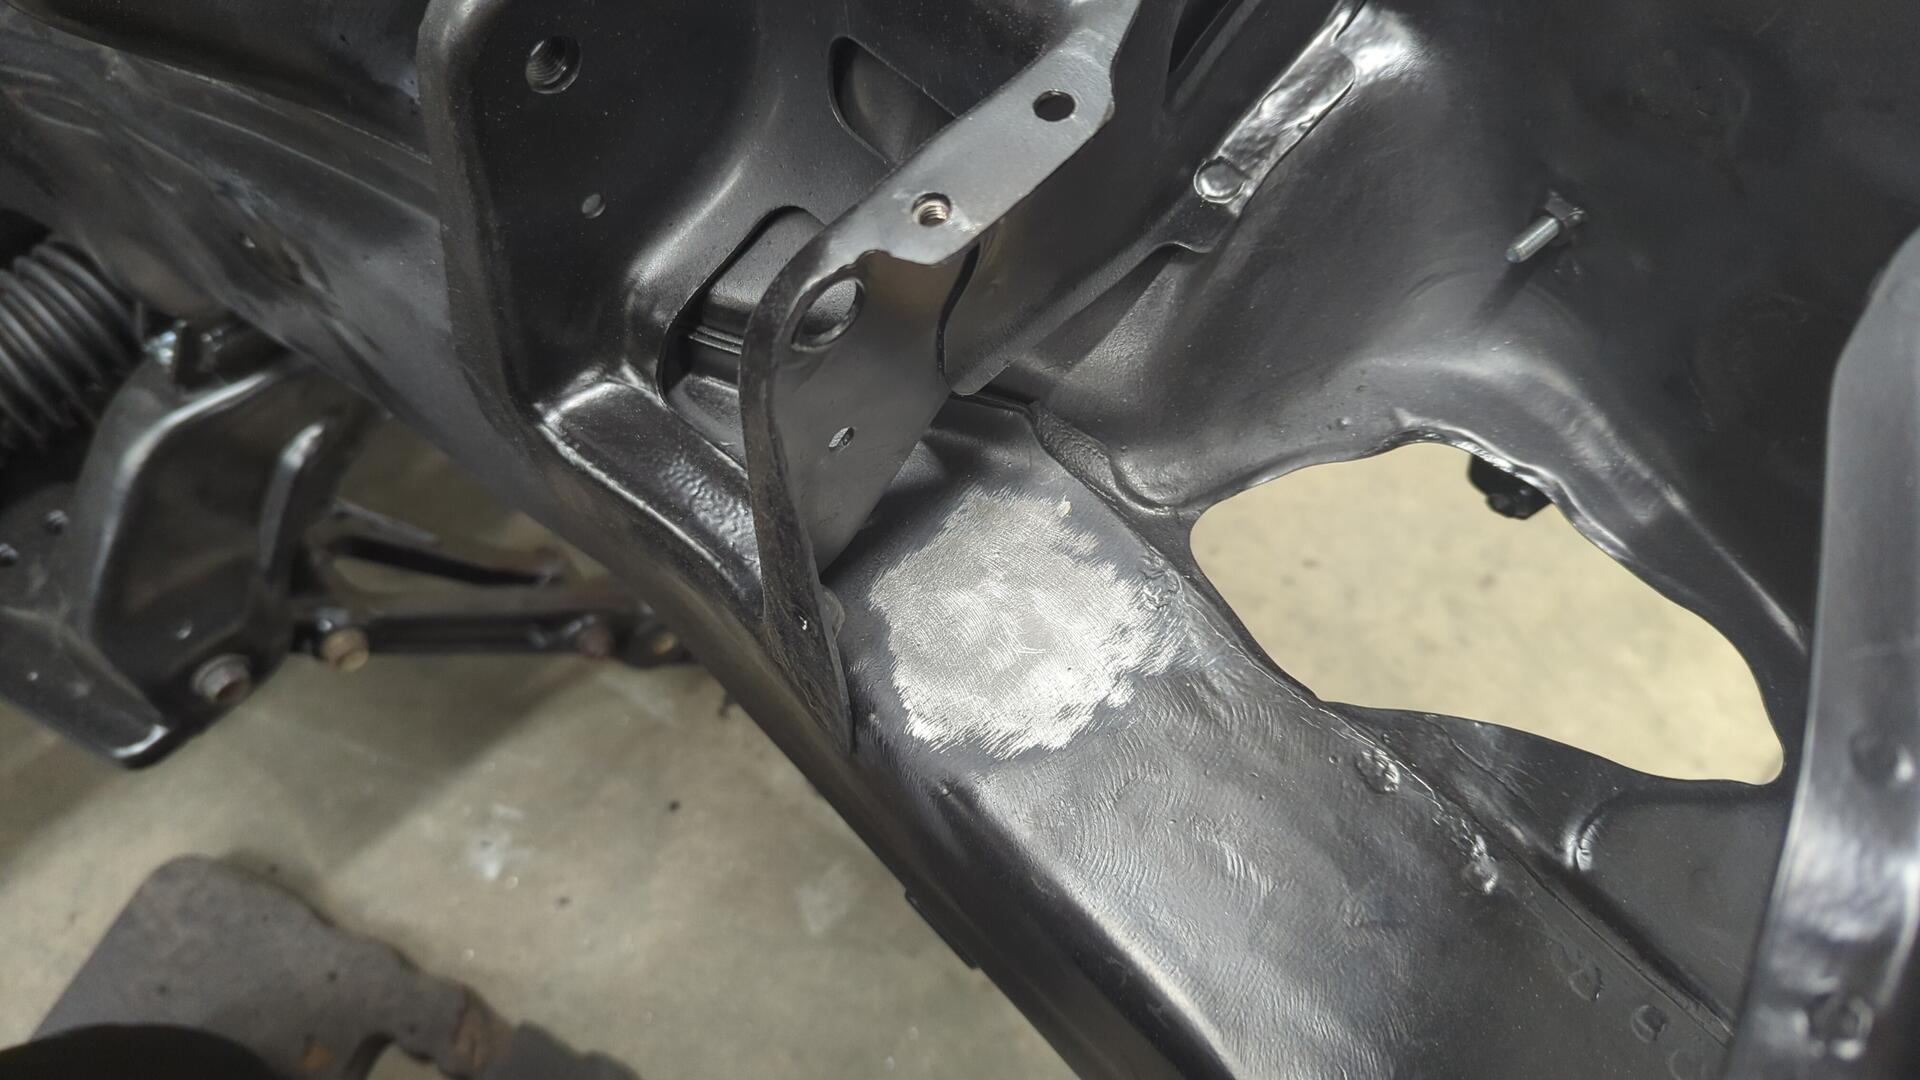
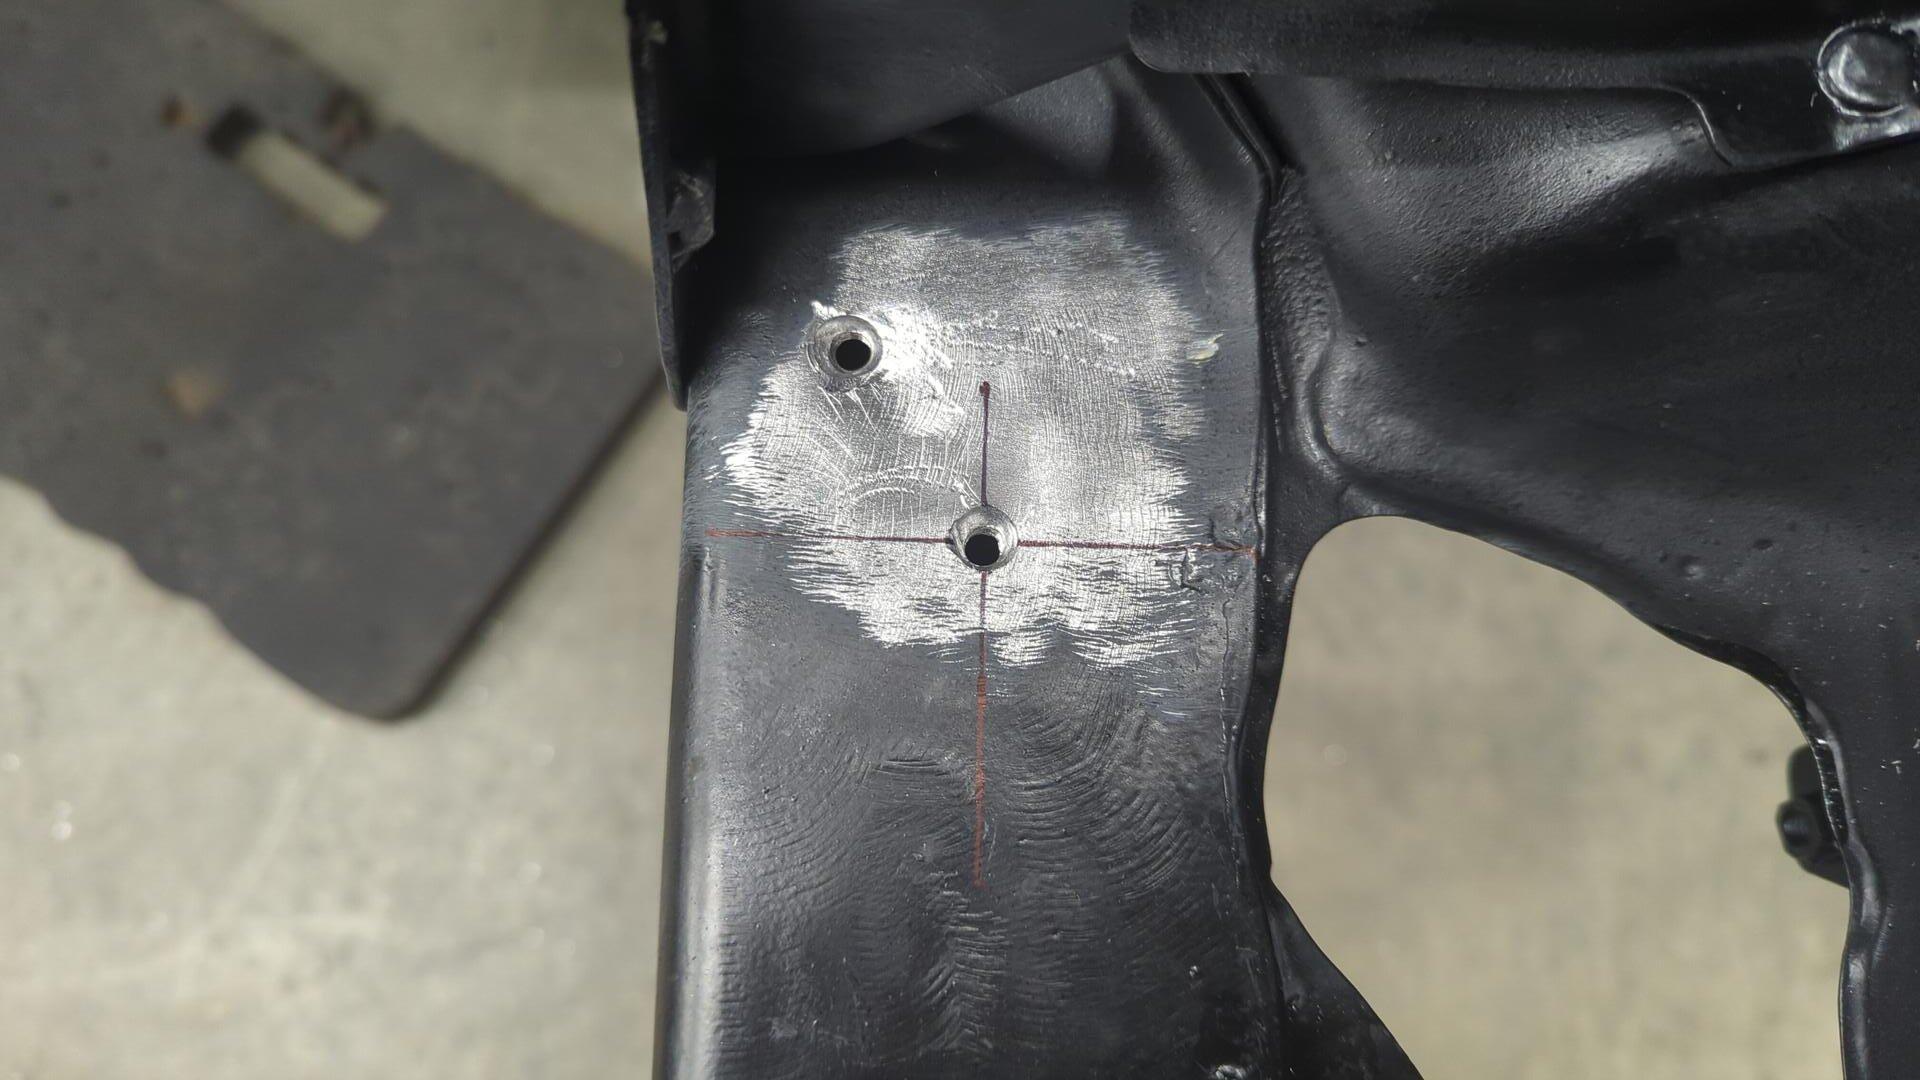
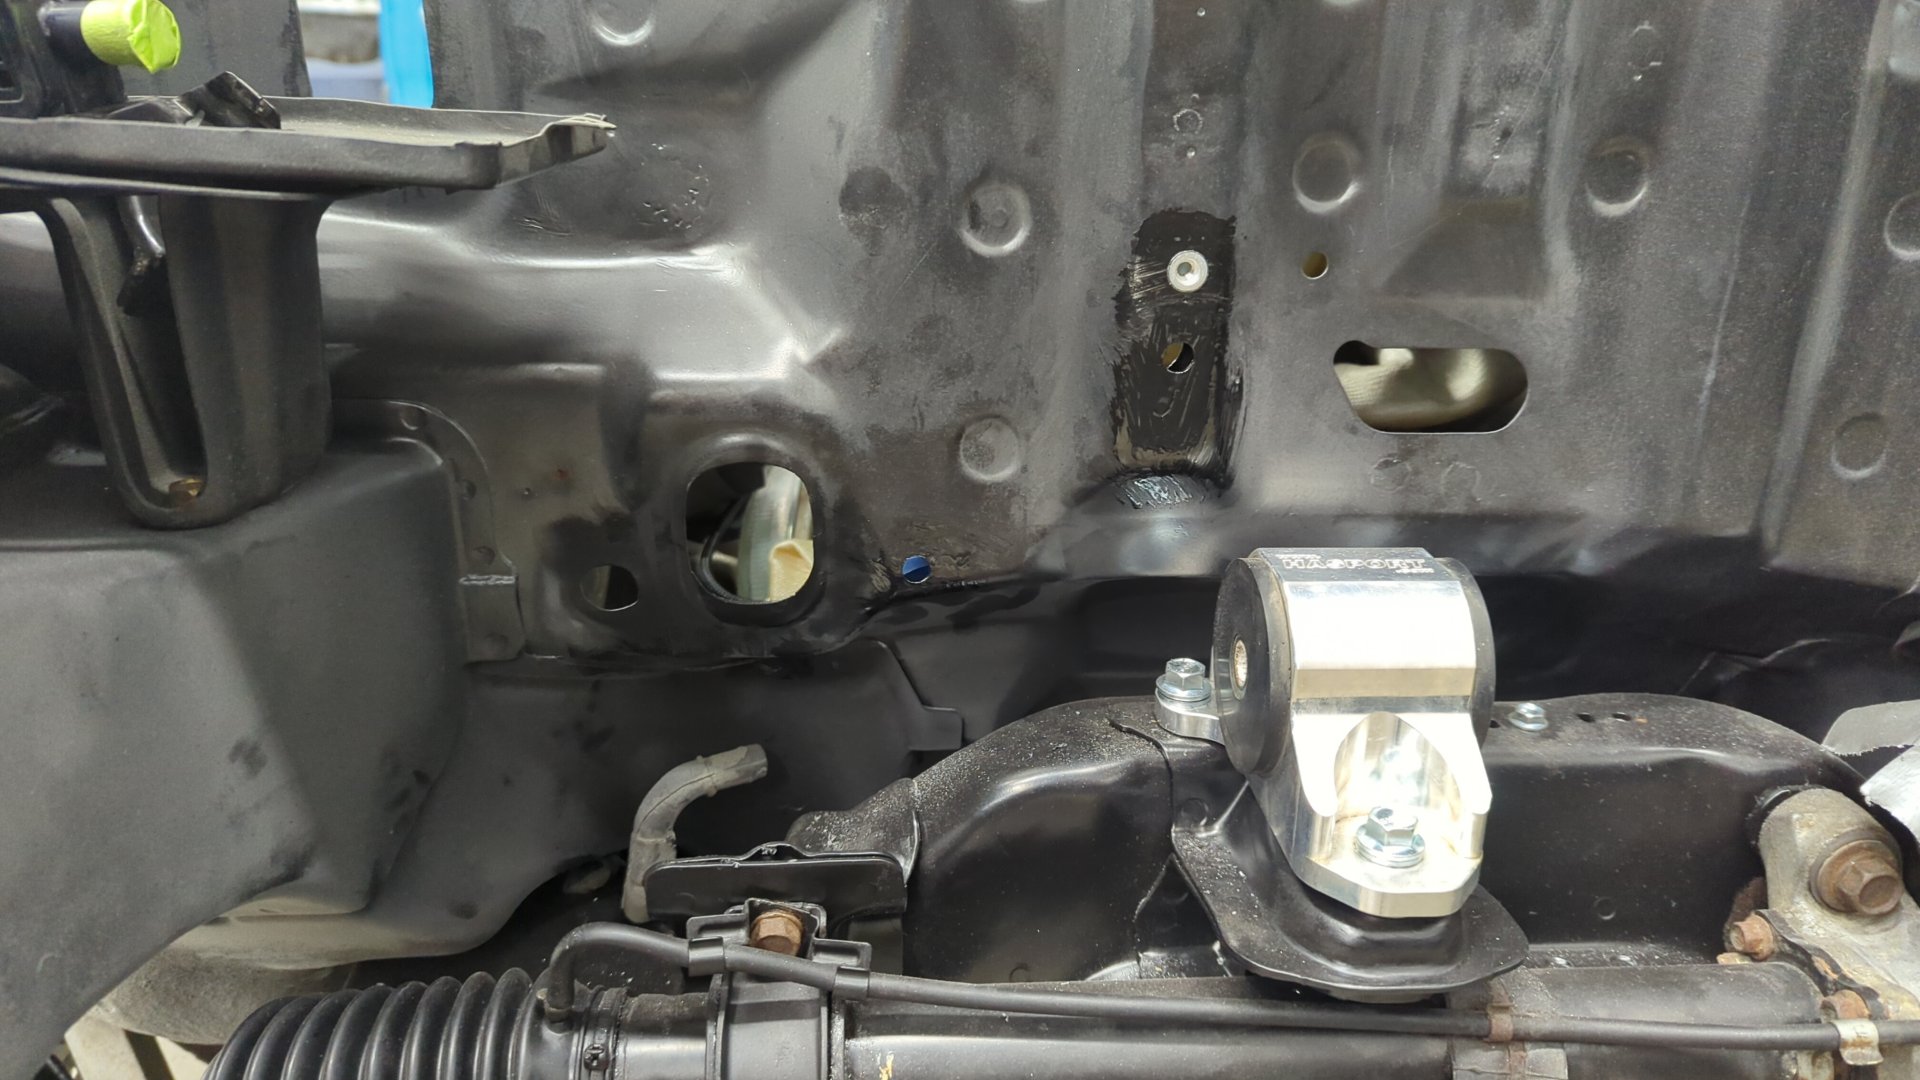
I was gonna leave the power steering setup as-is, but while digging through some old backups I stumbled across an old photo of my engine bay prior to tucking / shaving it.
This made me realize it wouldn’t actually be that hard to find the original mounting holes for the reservoir bracket.
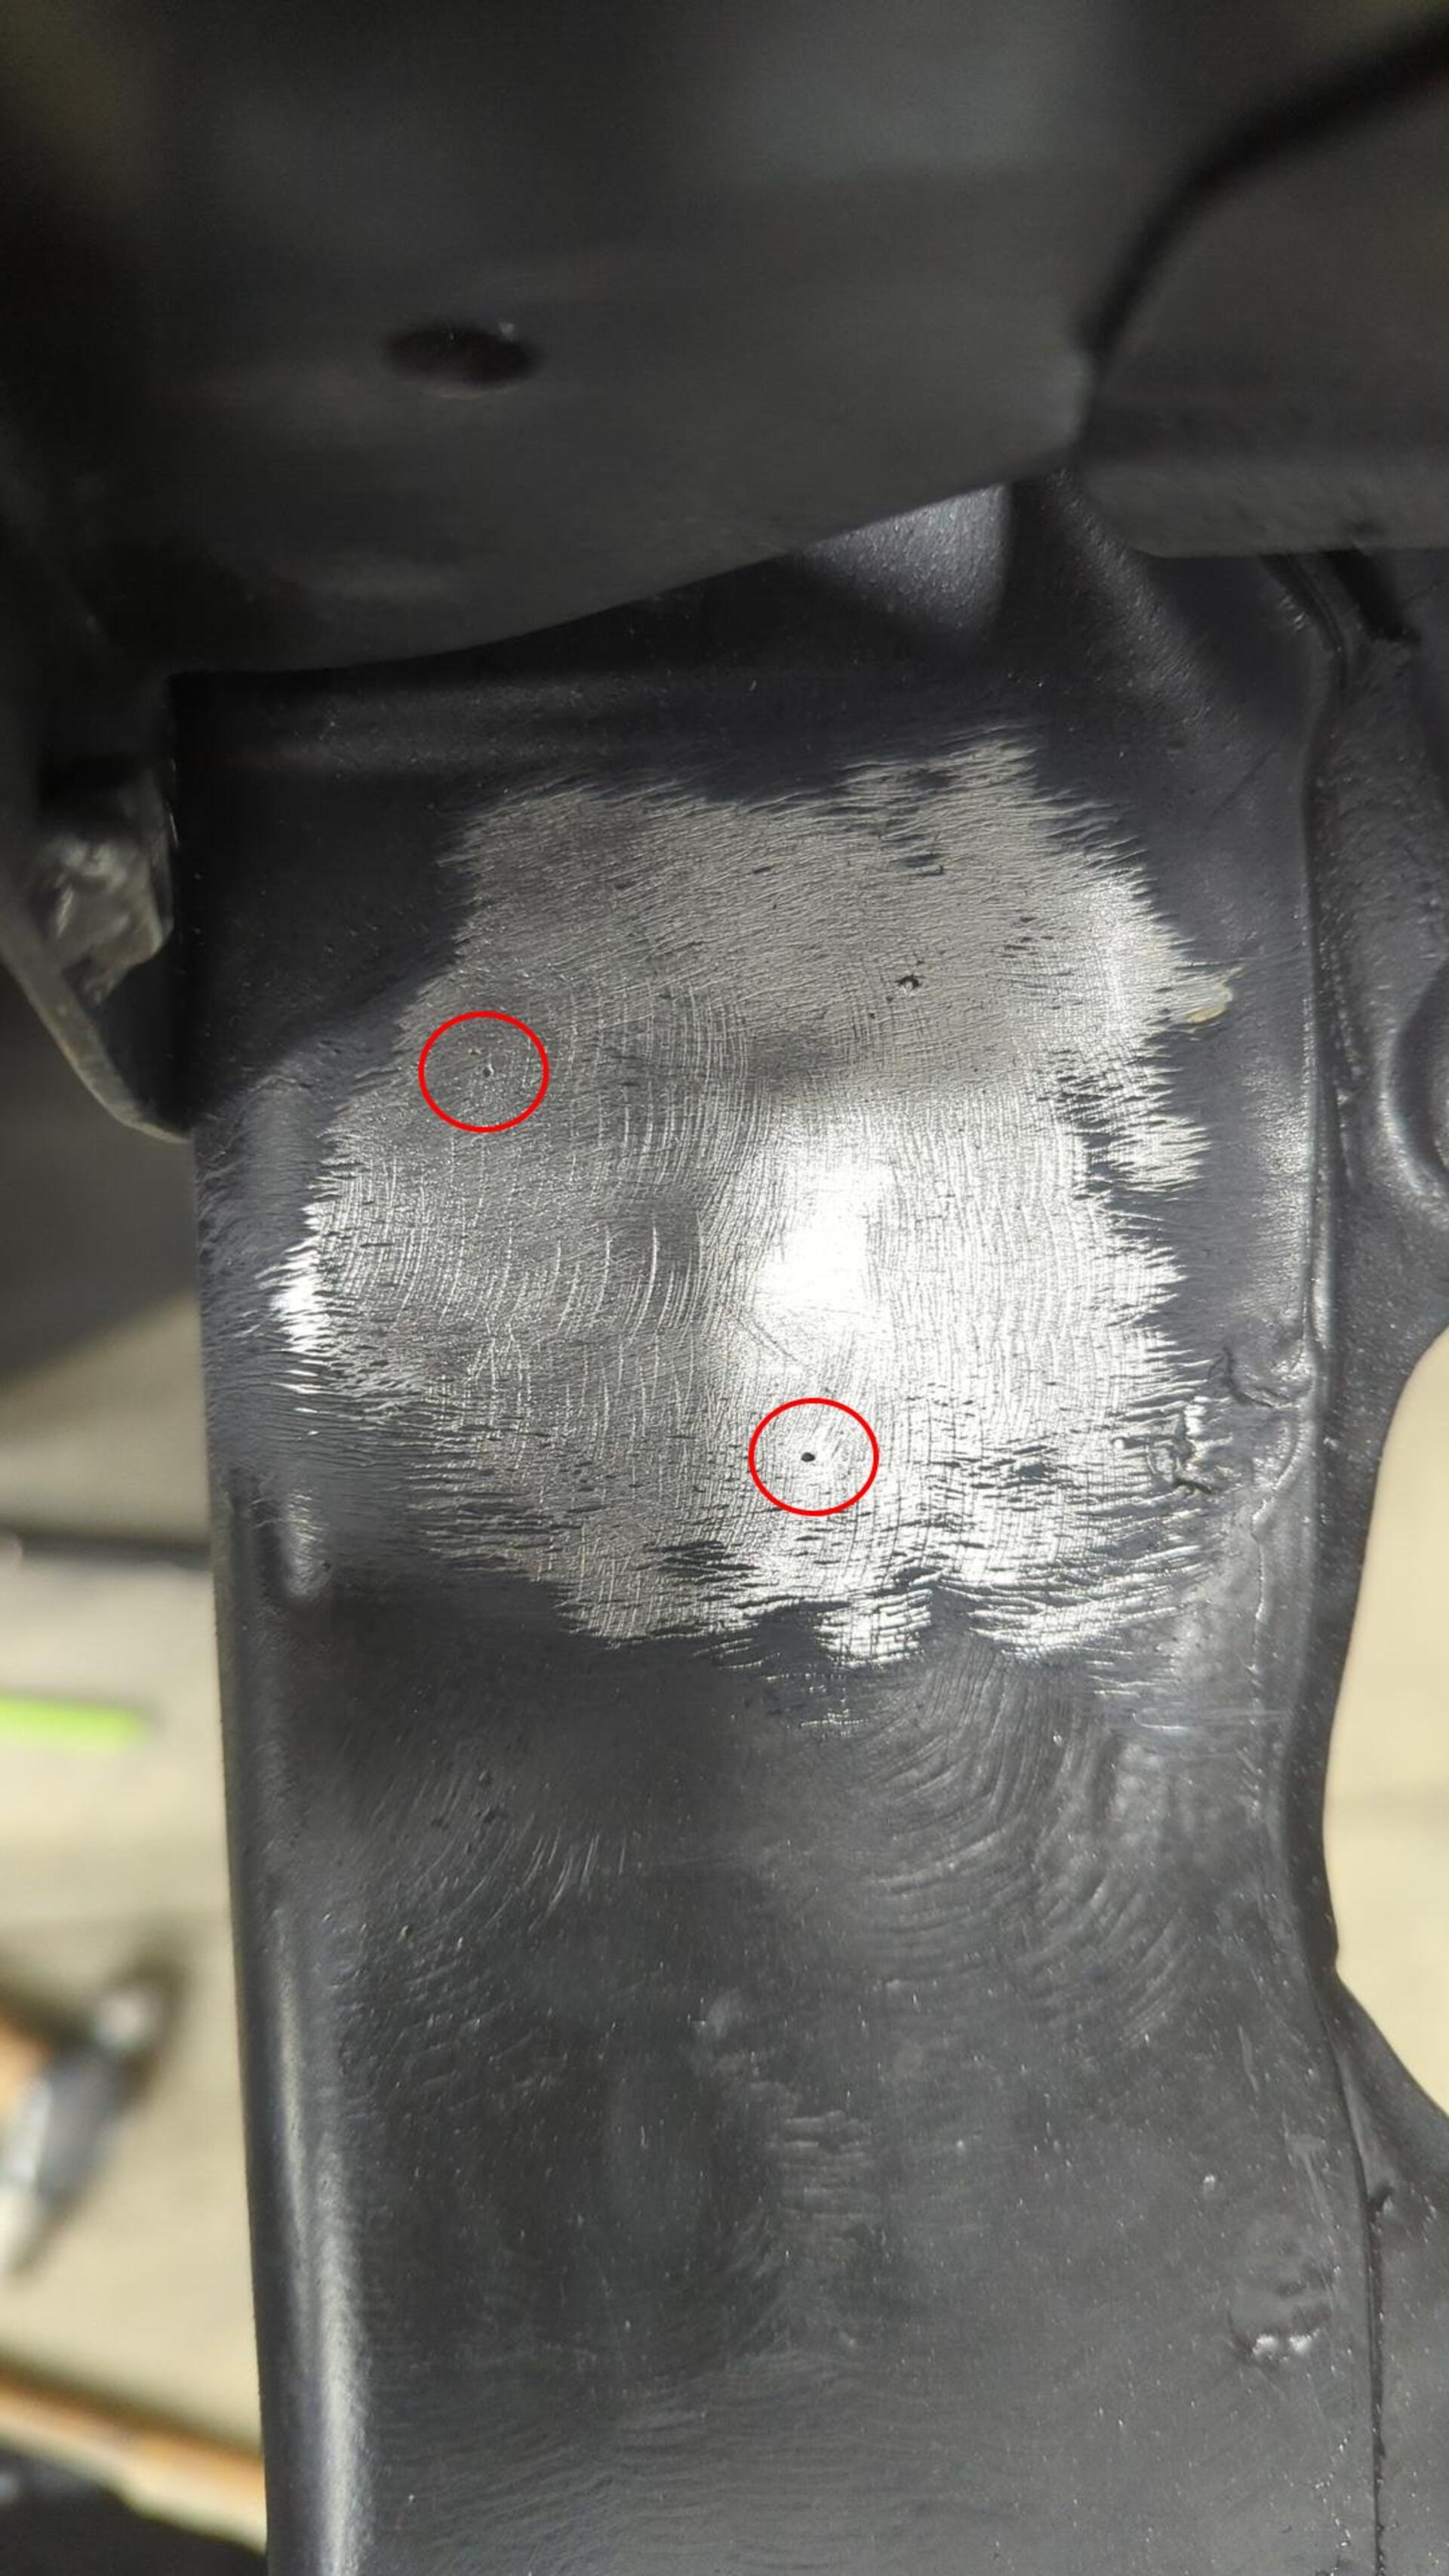
Can you spot them?
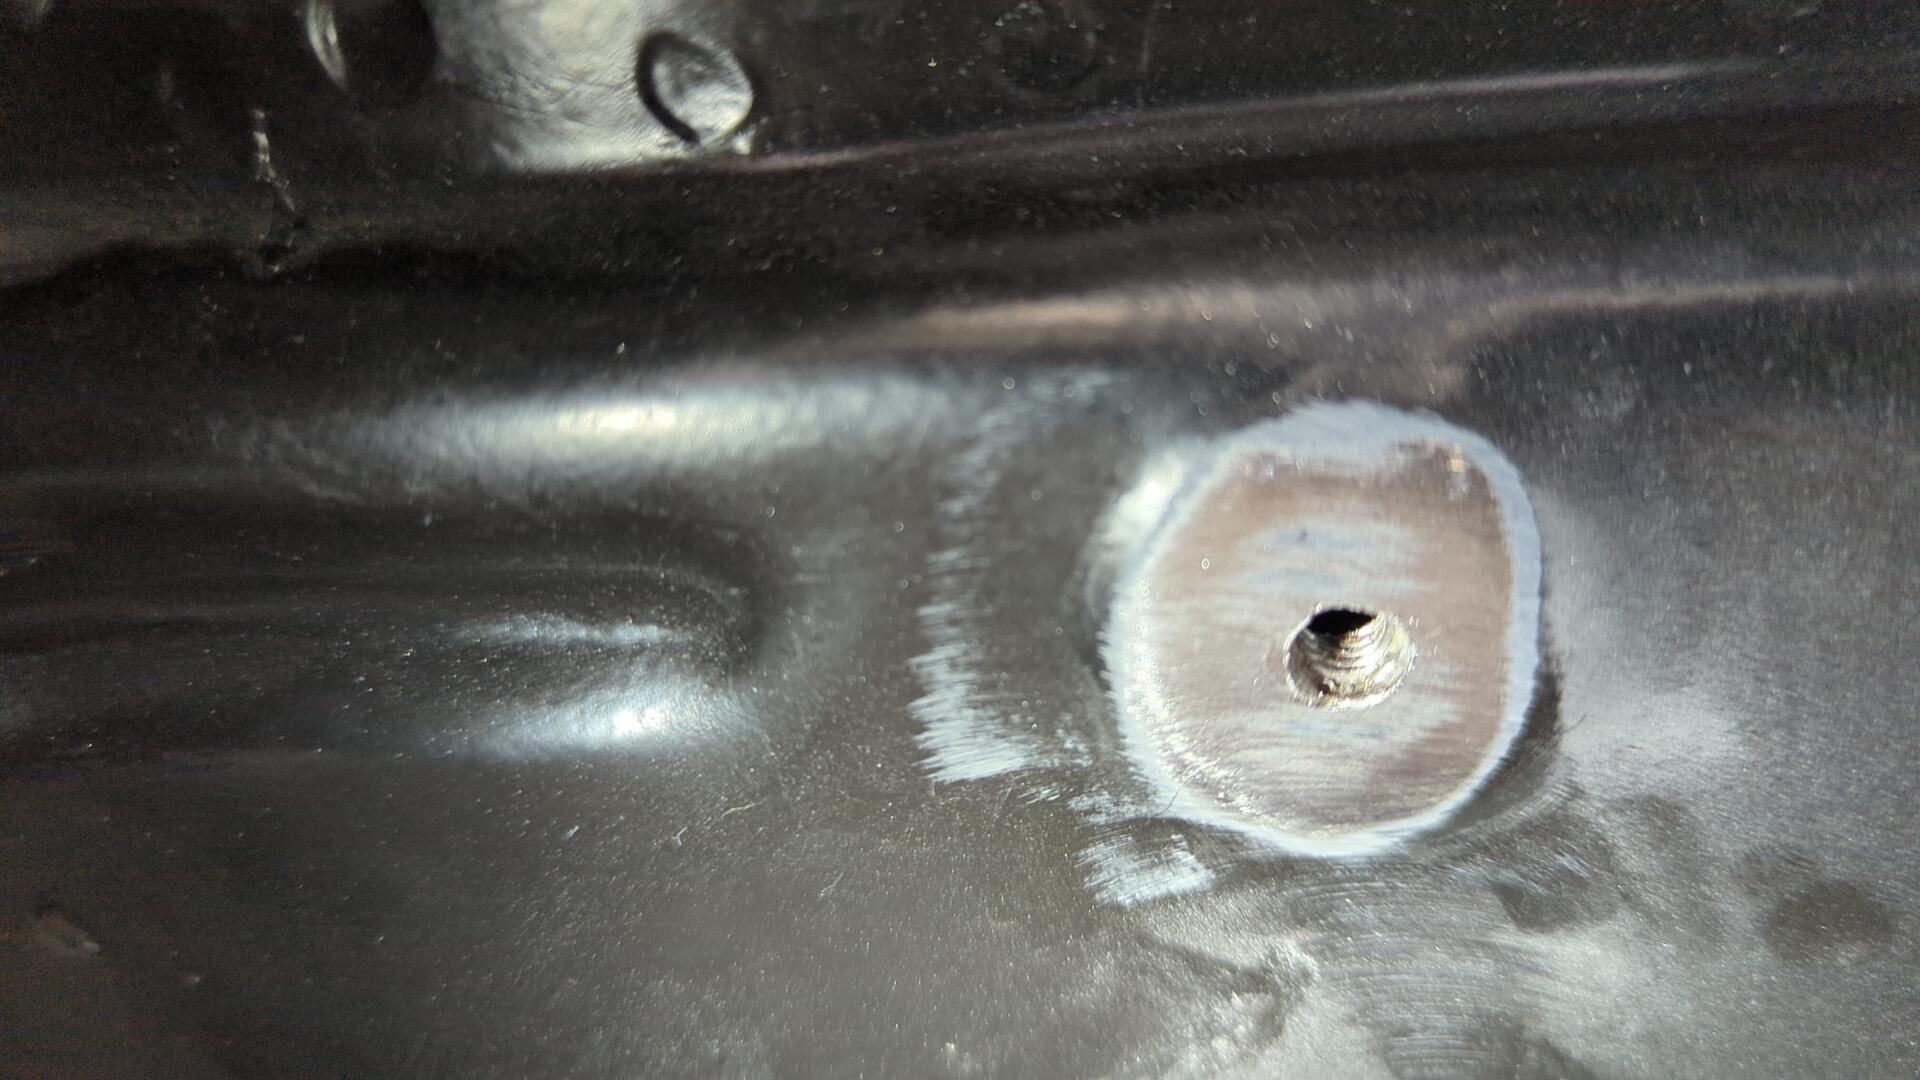
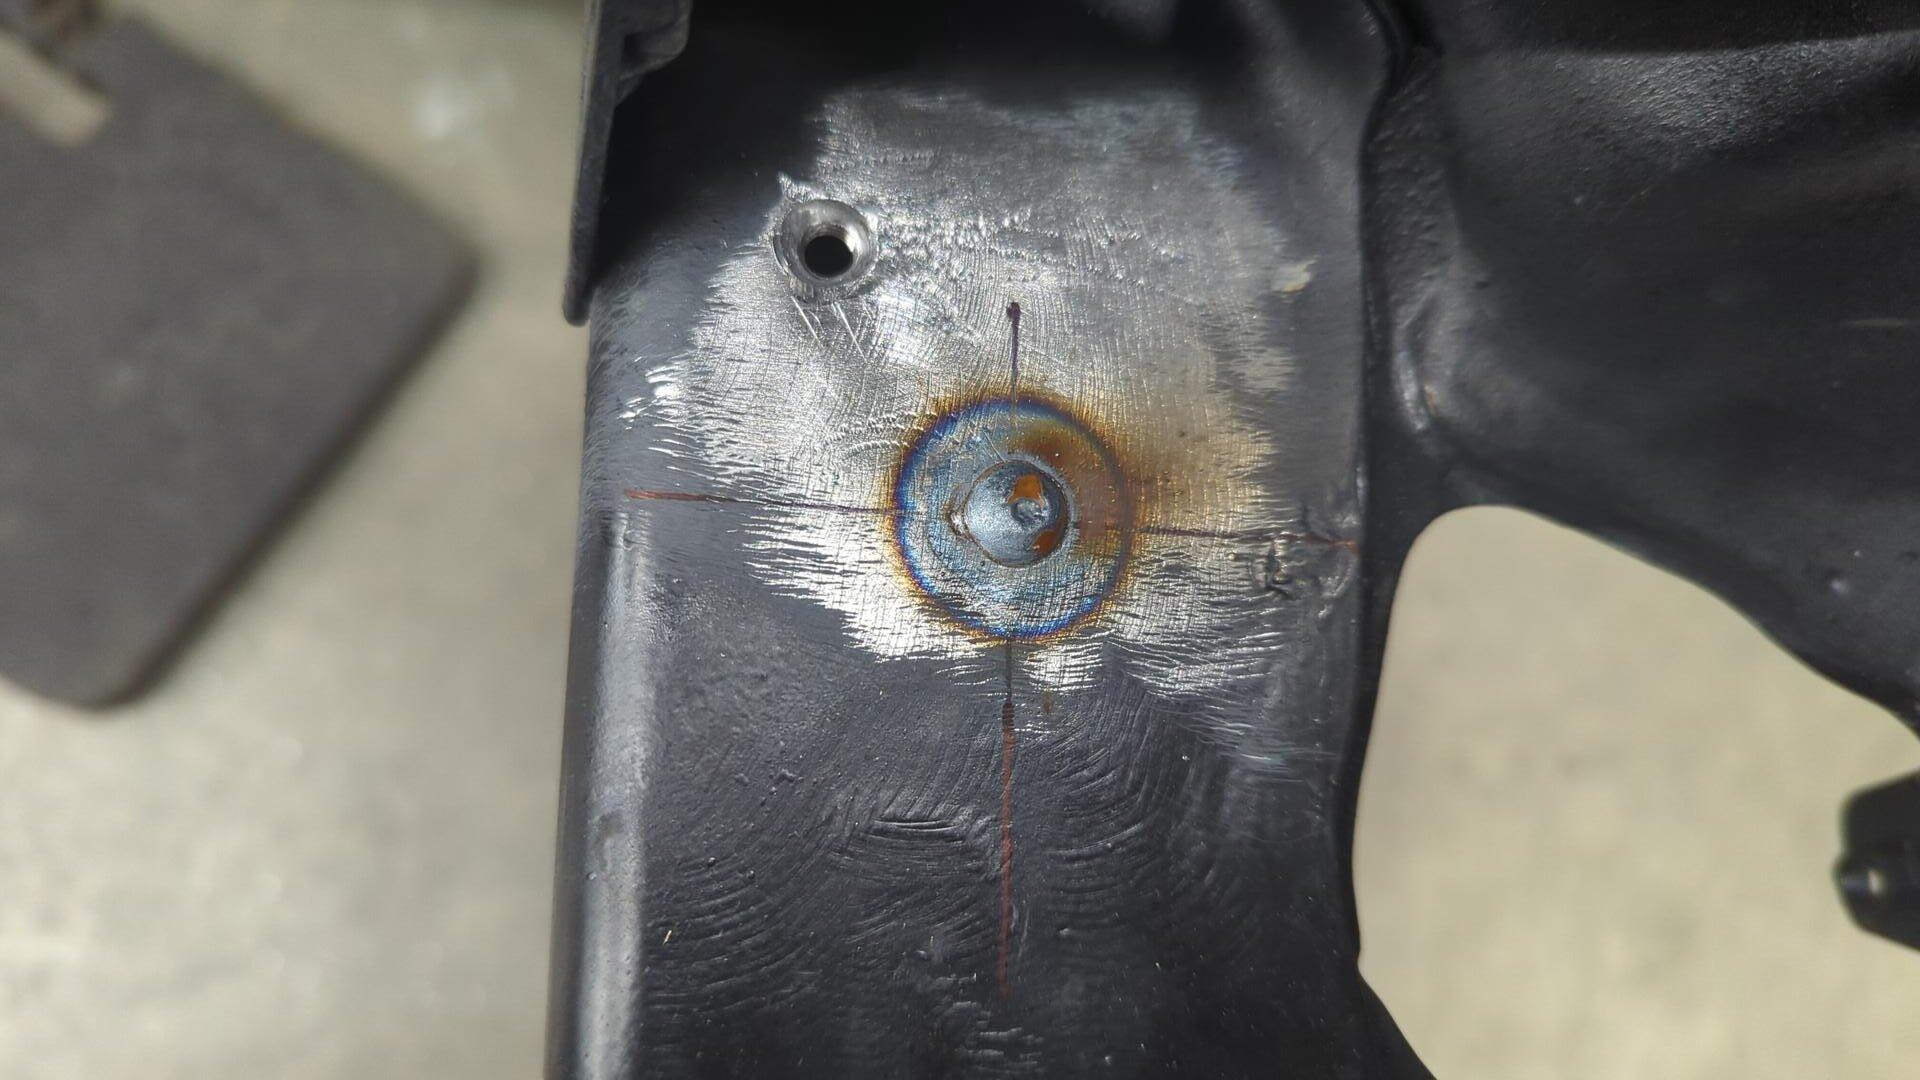
I’ll give you a hint, the welds were a little porous.
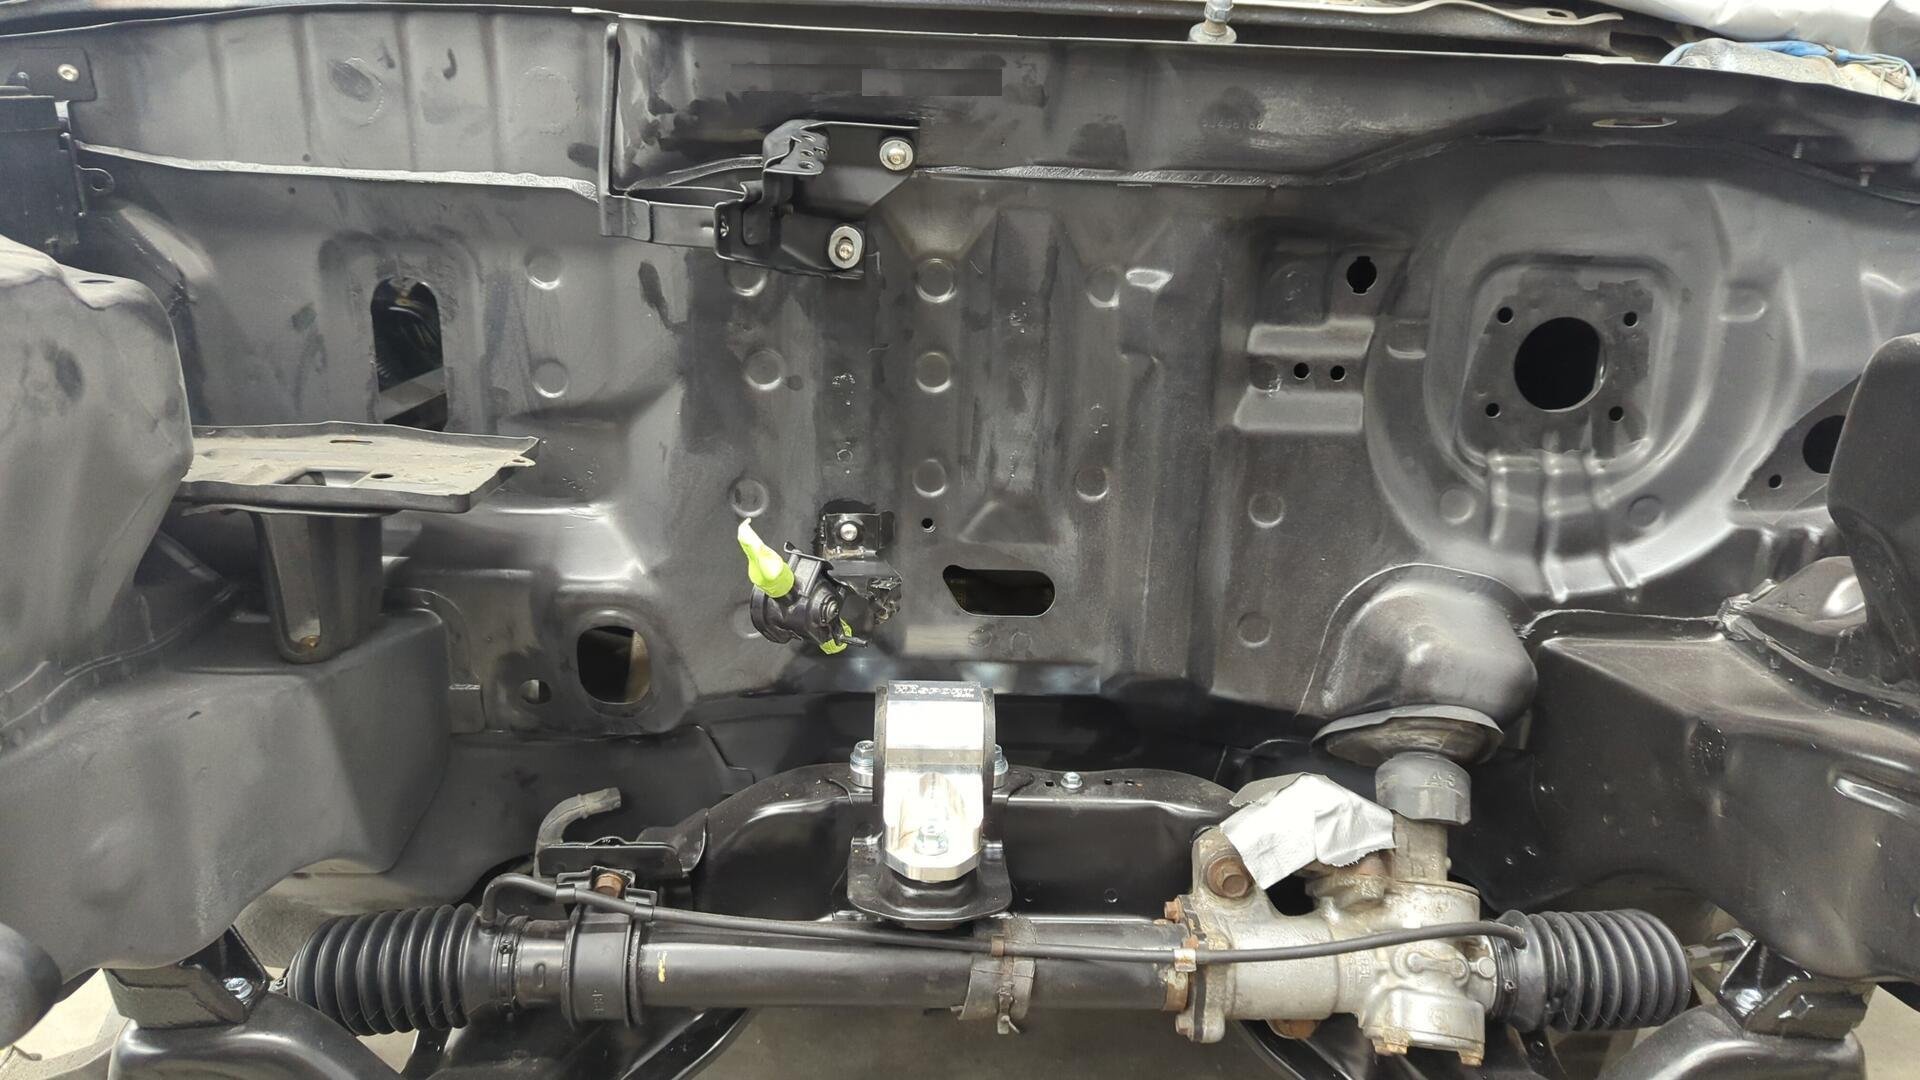
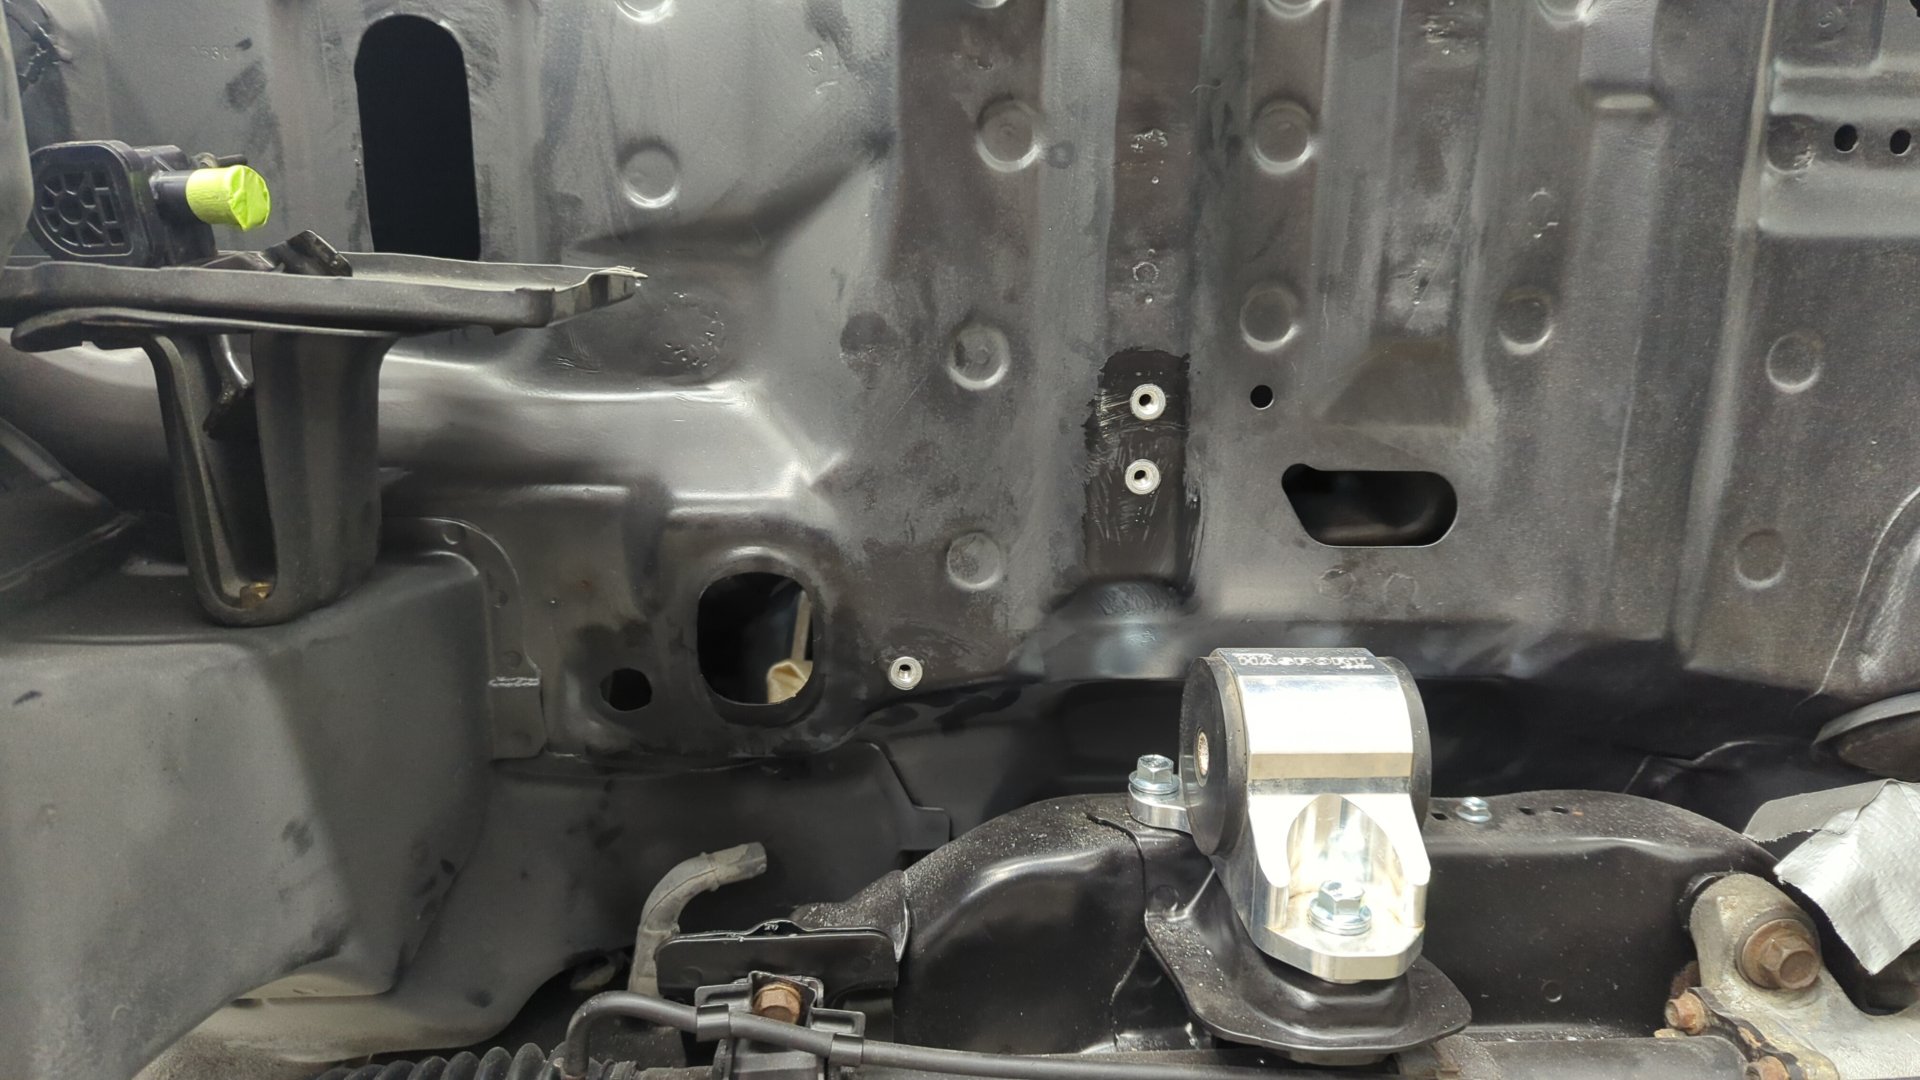
Boom! There’s still enough original thread to use it too.
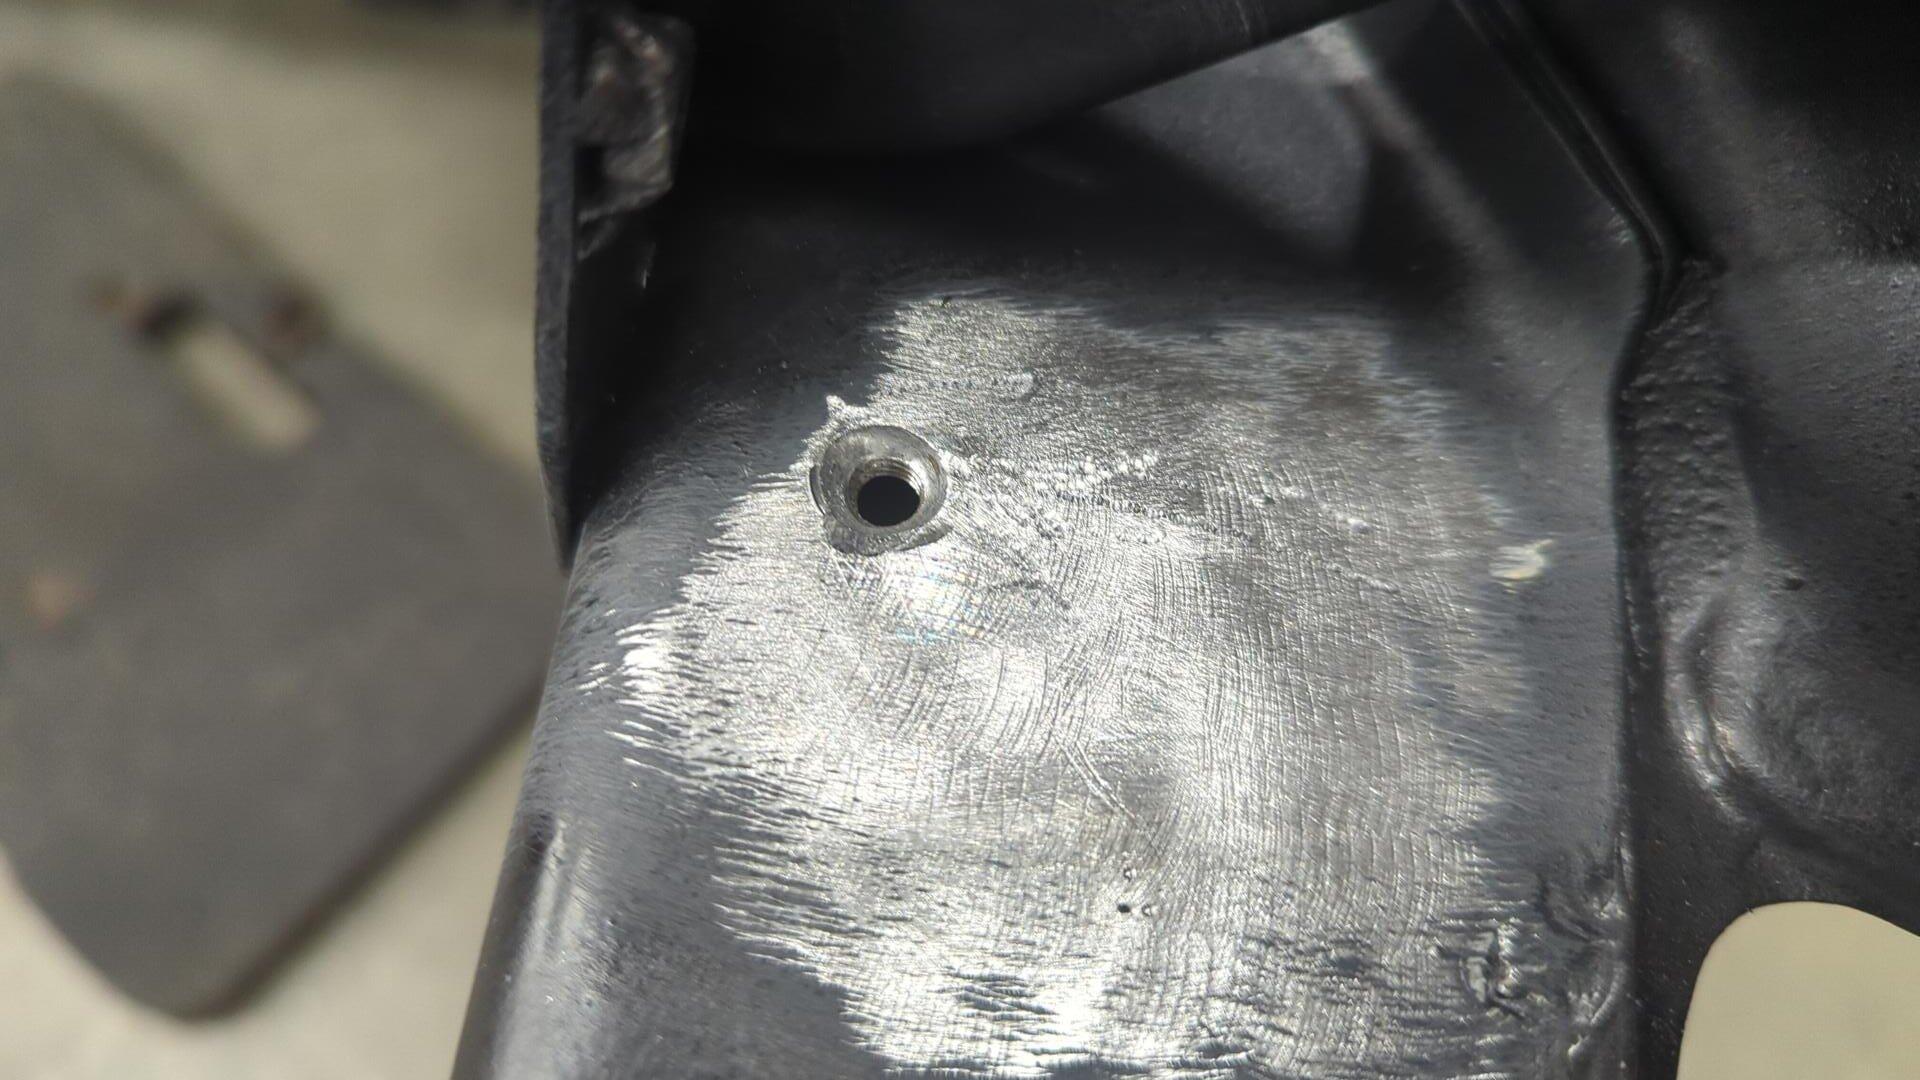
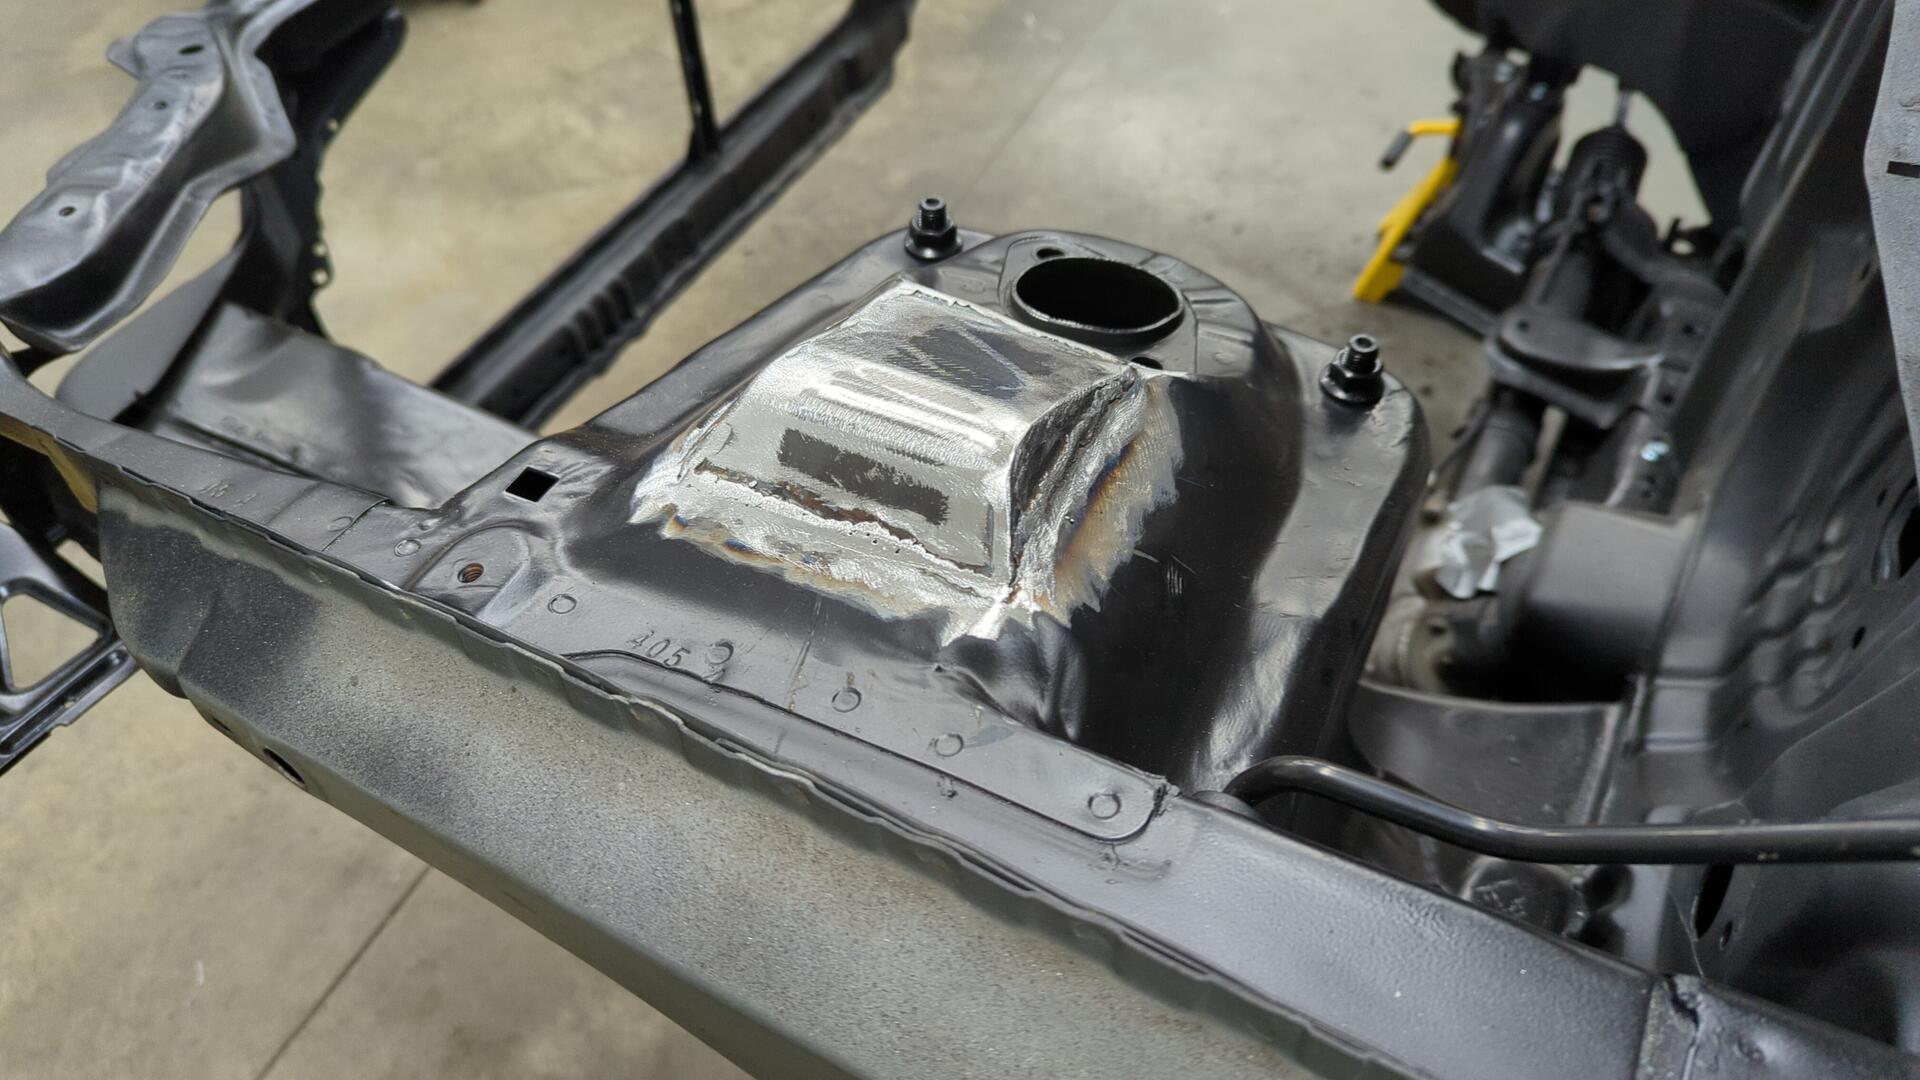
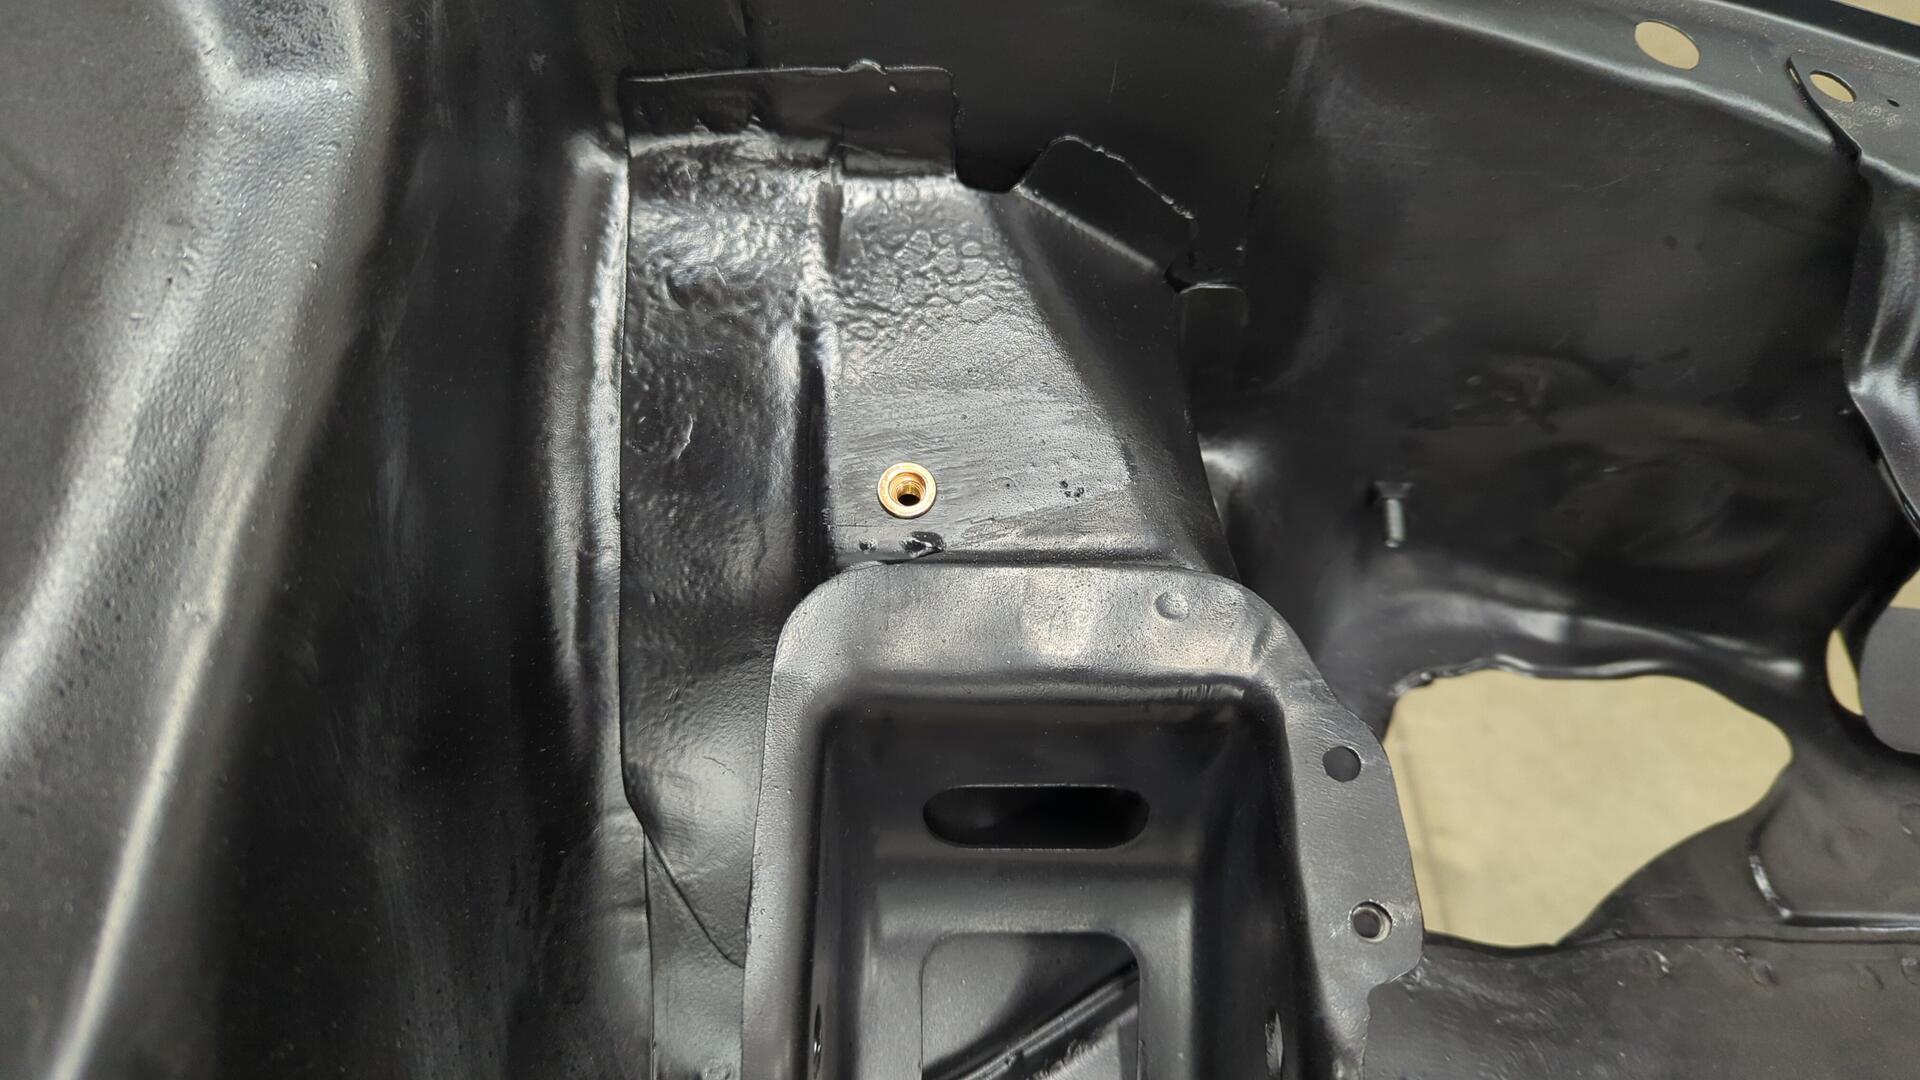
Unfortunately the other hole was too far gone so I ended up having to weld over it, redrill and tap new threads.
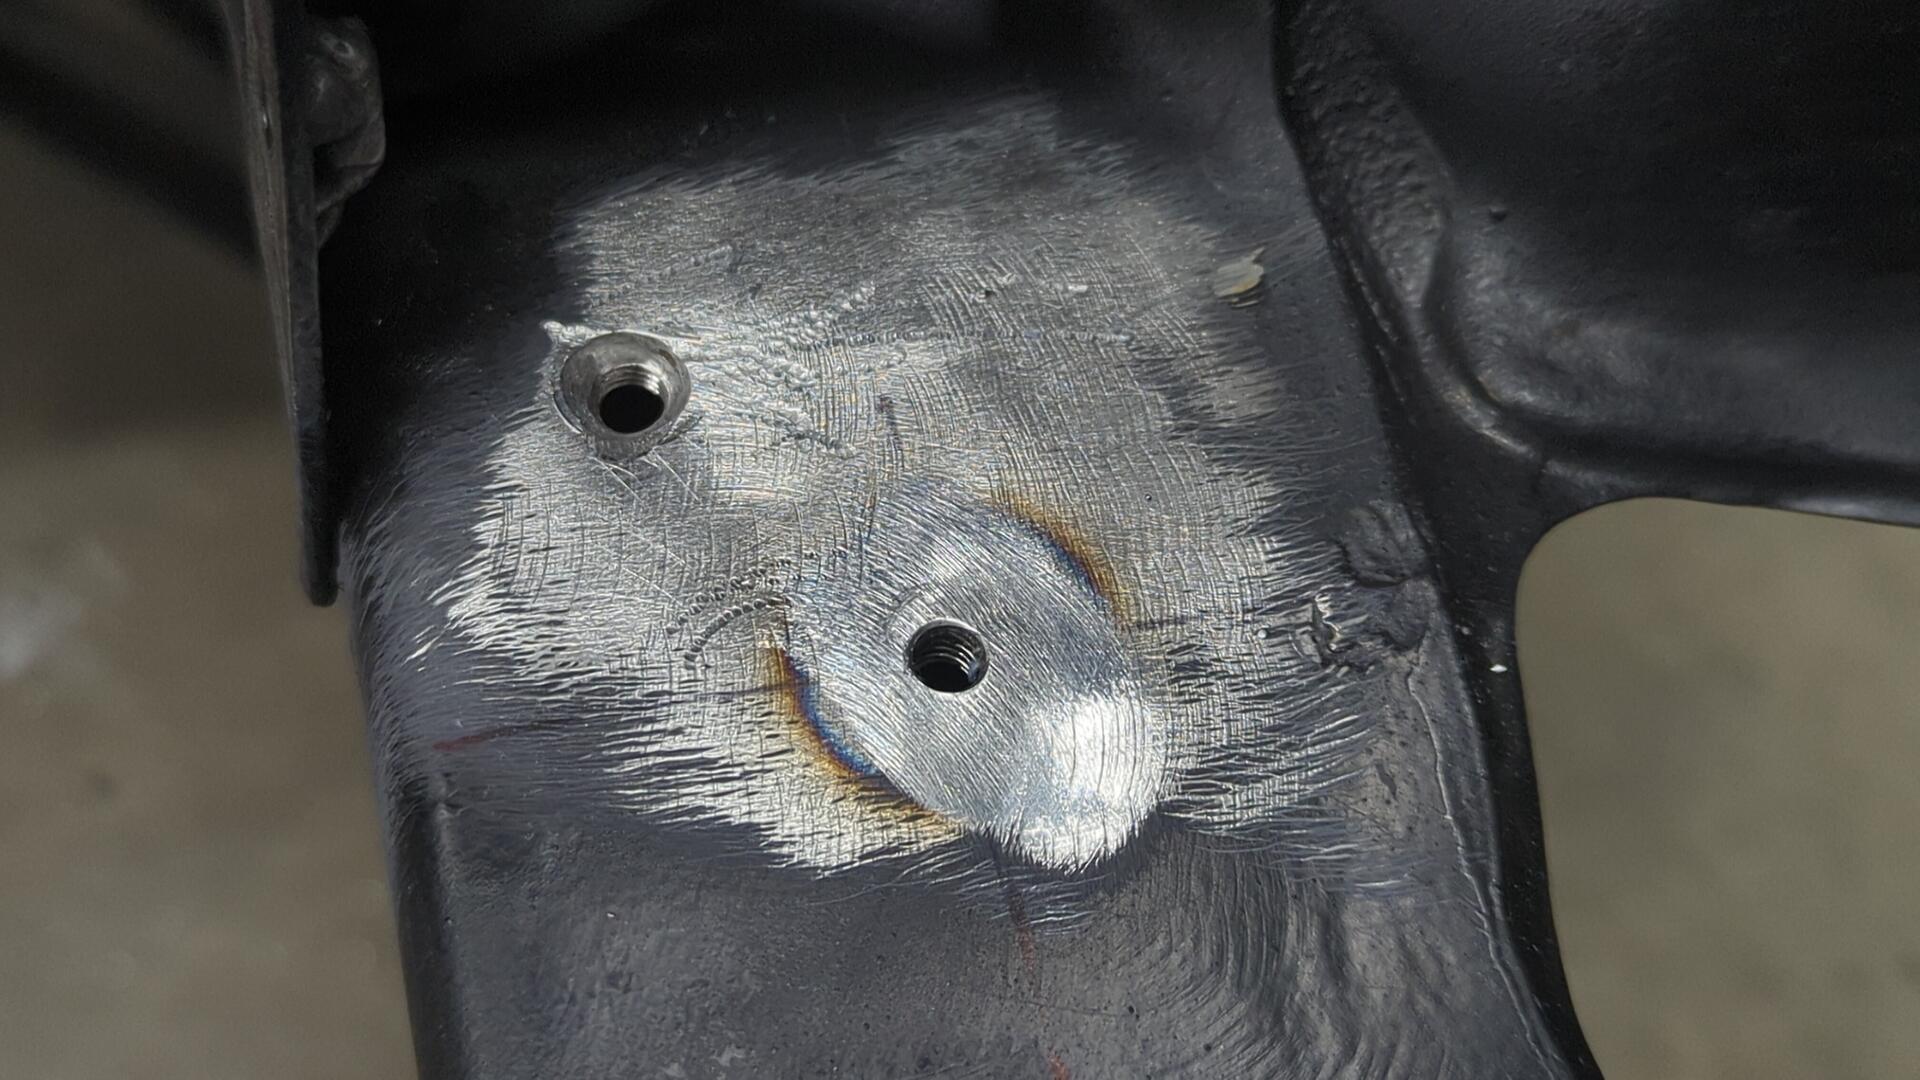
Ideally I would have done the same from the first hole but the engine mount bracket is in the way so I’m stuck with it.
If I had thought of salvaging these holes before welding in the engine mount bracket I could have totally done that. Hindsight is 20/20 though.
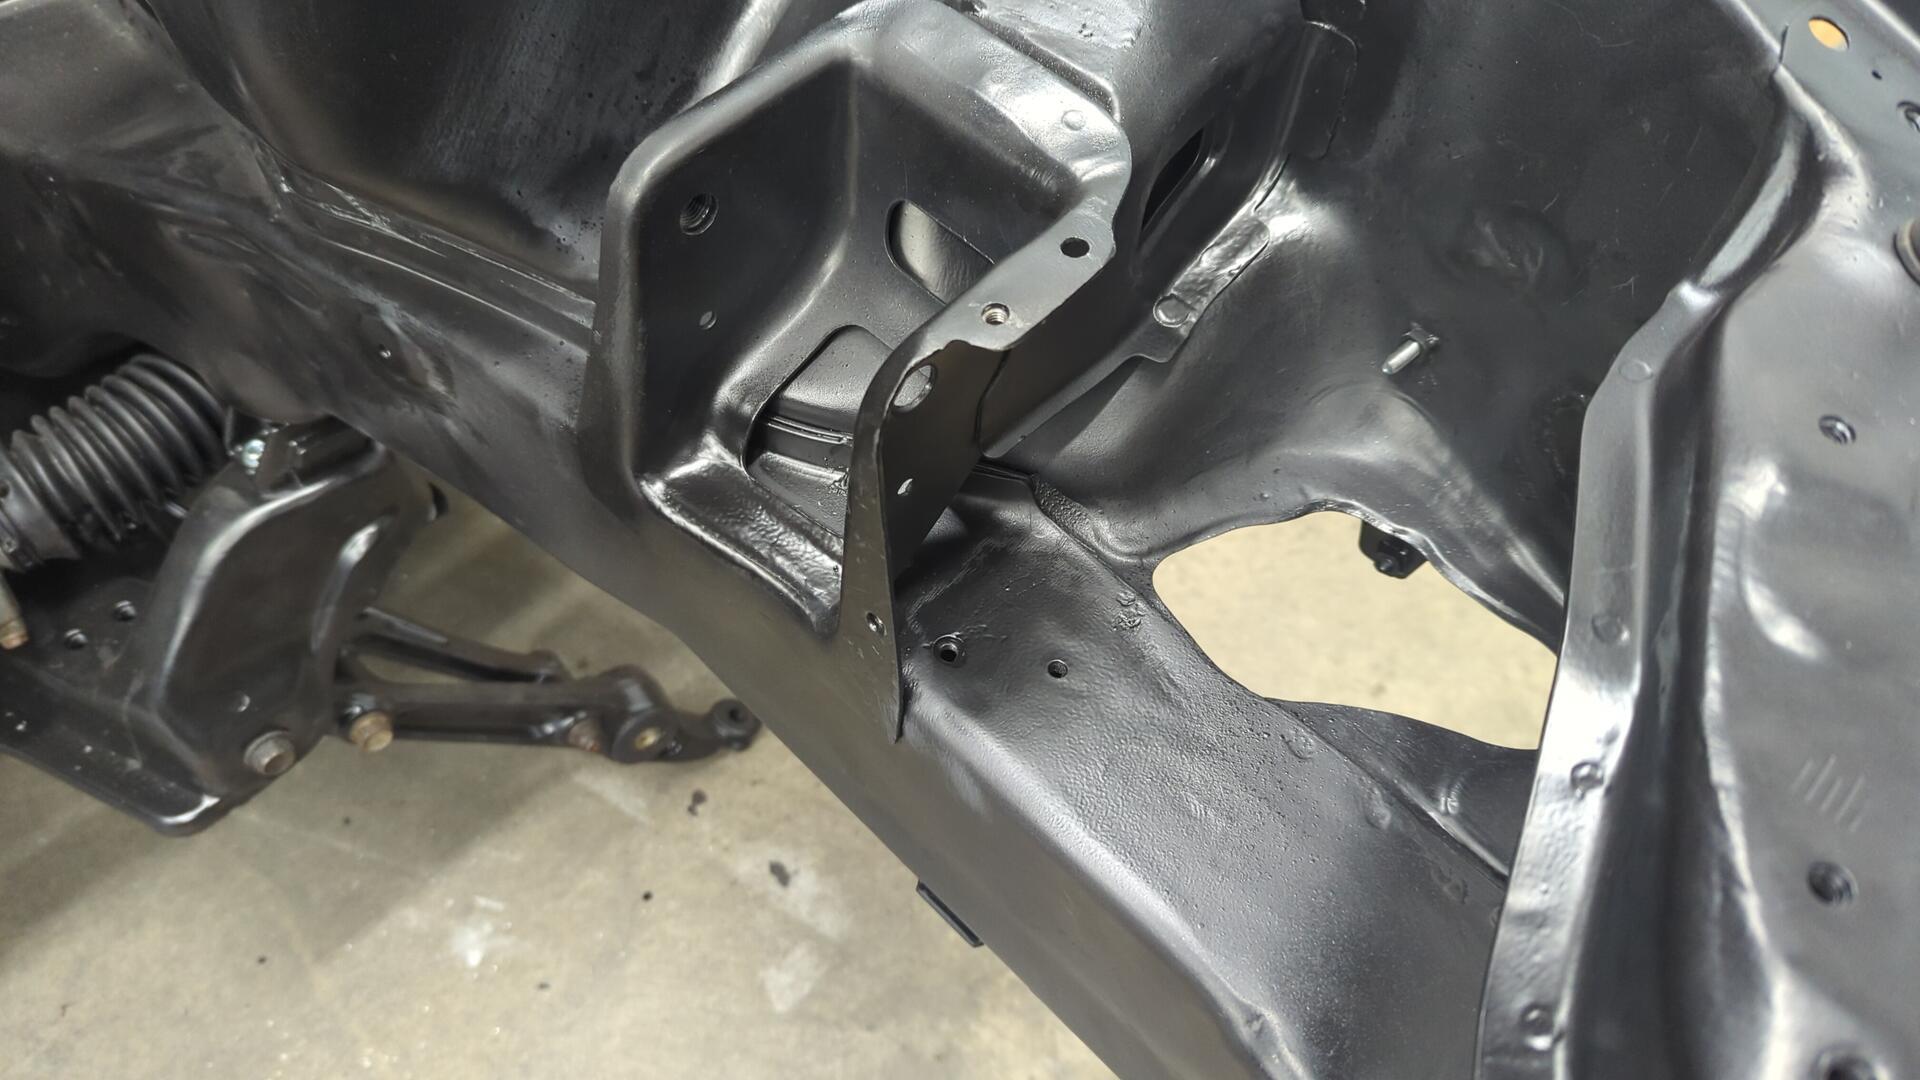
Painted.
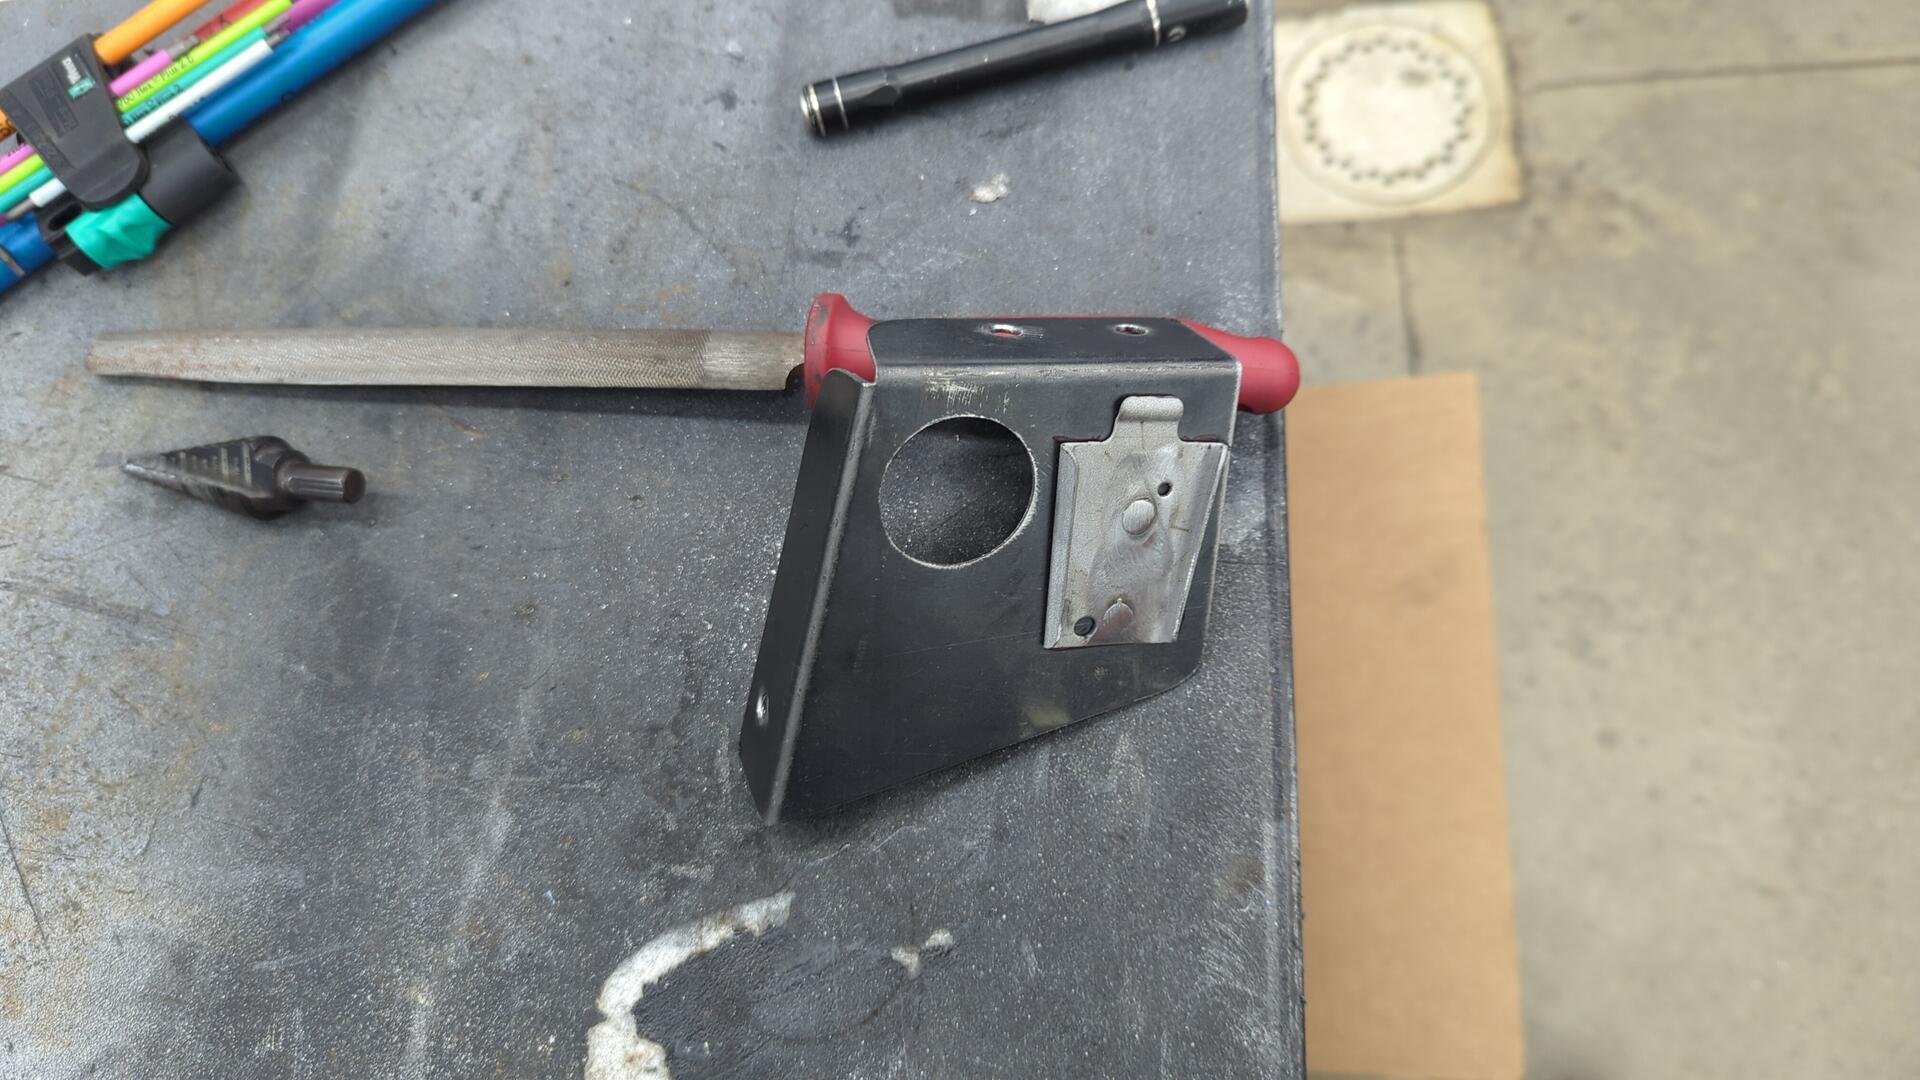
Now all that was left was to fix the bracket I had split apart.
It’s like nothing happened at all!
I’m pretty excited about this but I was able to find a seller selling all of the original lines. I was missing some of the lines and most of the lines I did have were pretty damaged so this was an awesome score.
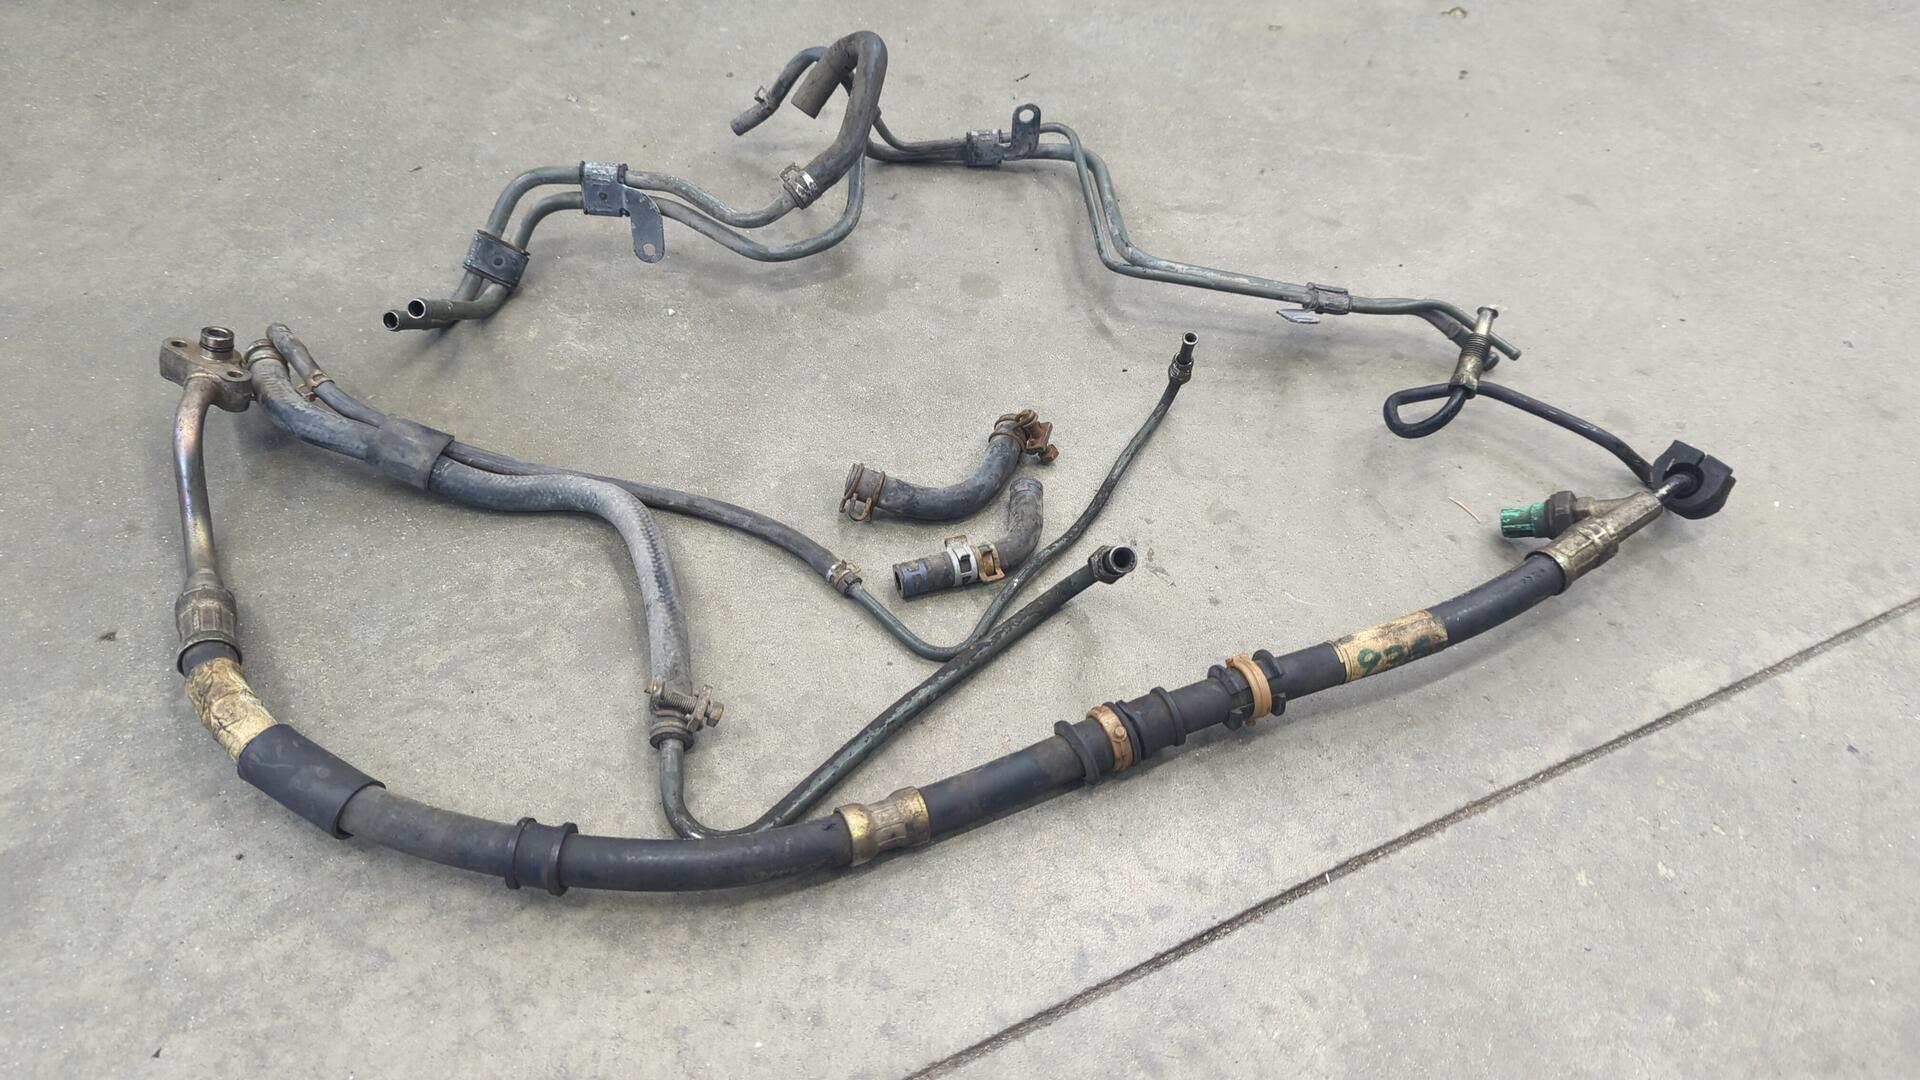
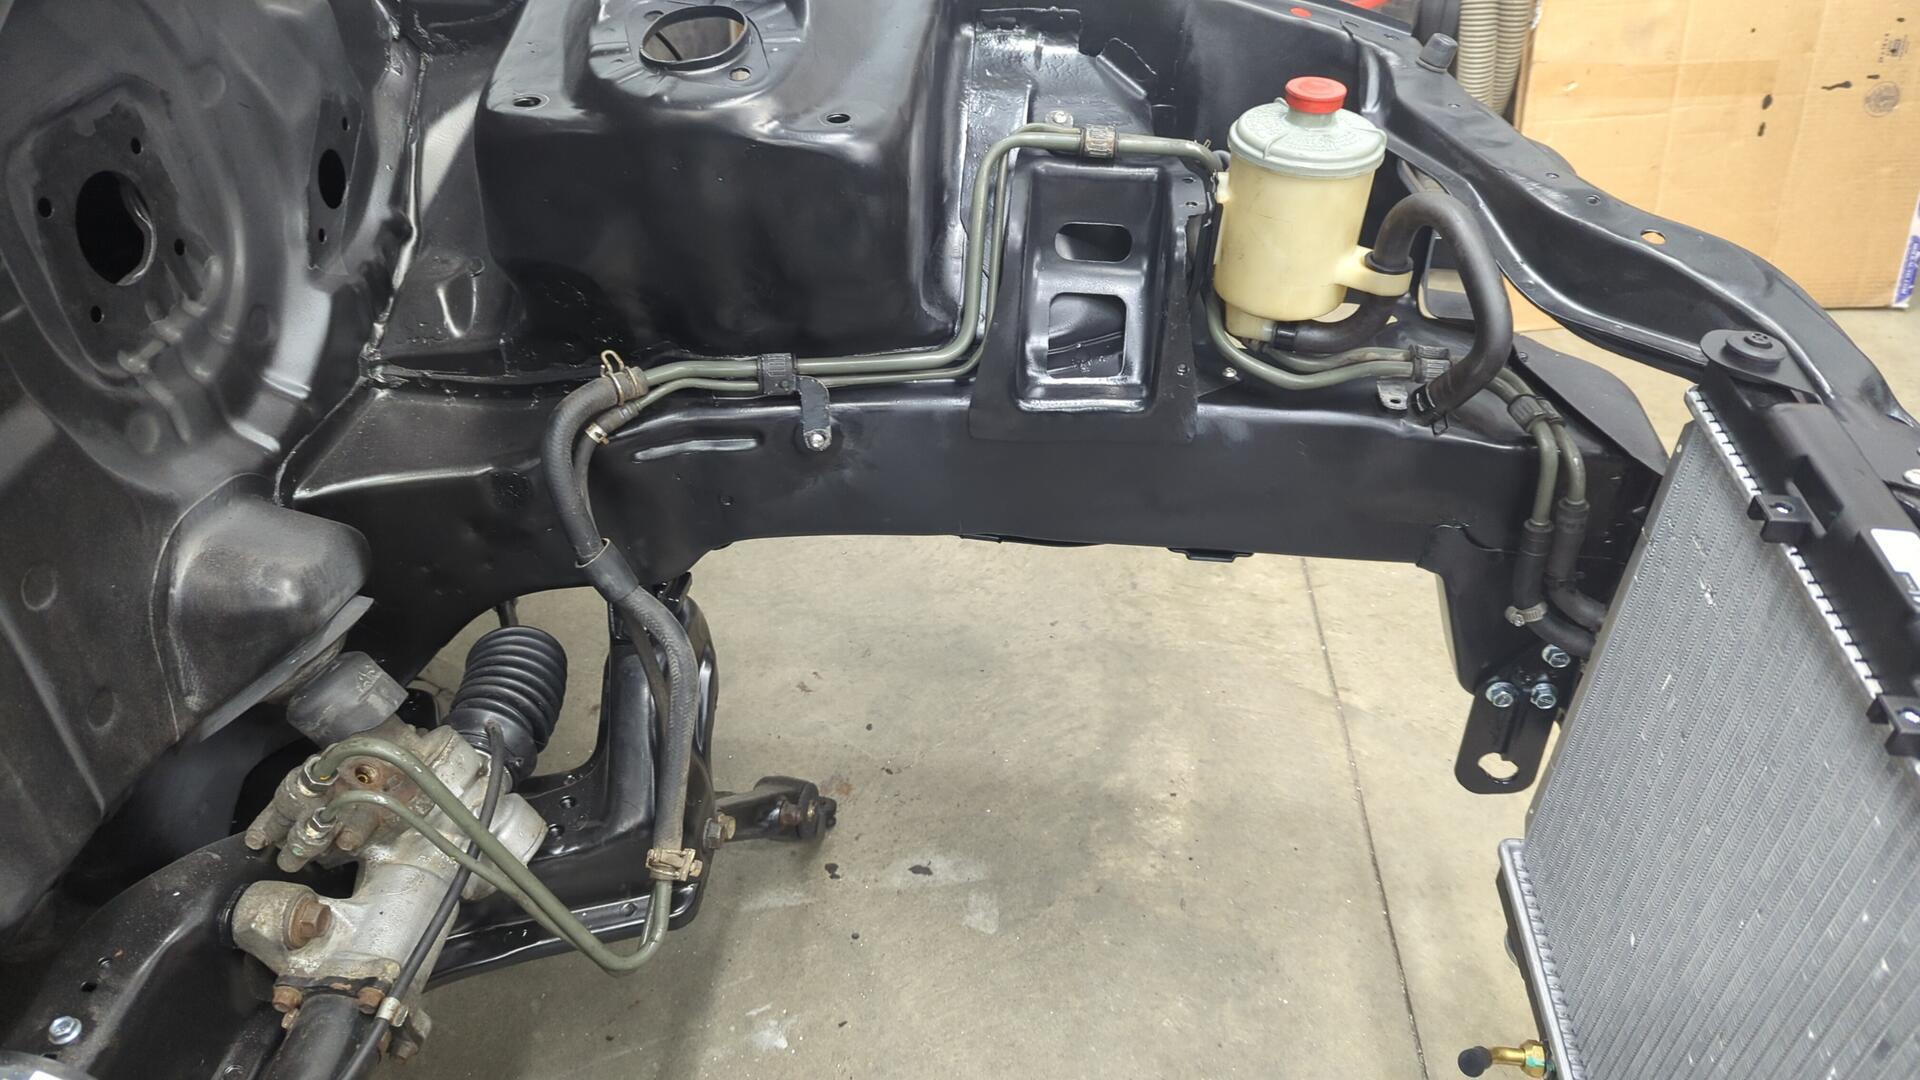
Just like that the civic has a full PS line setup again.

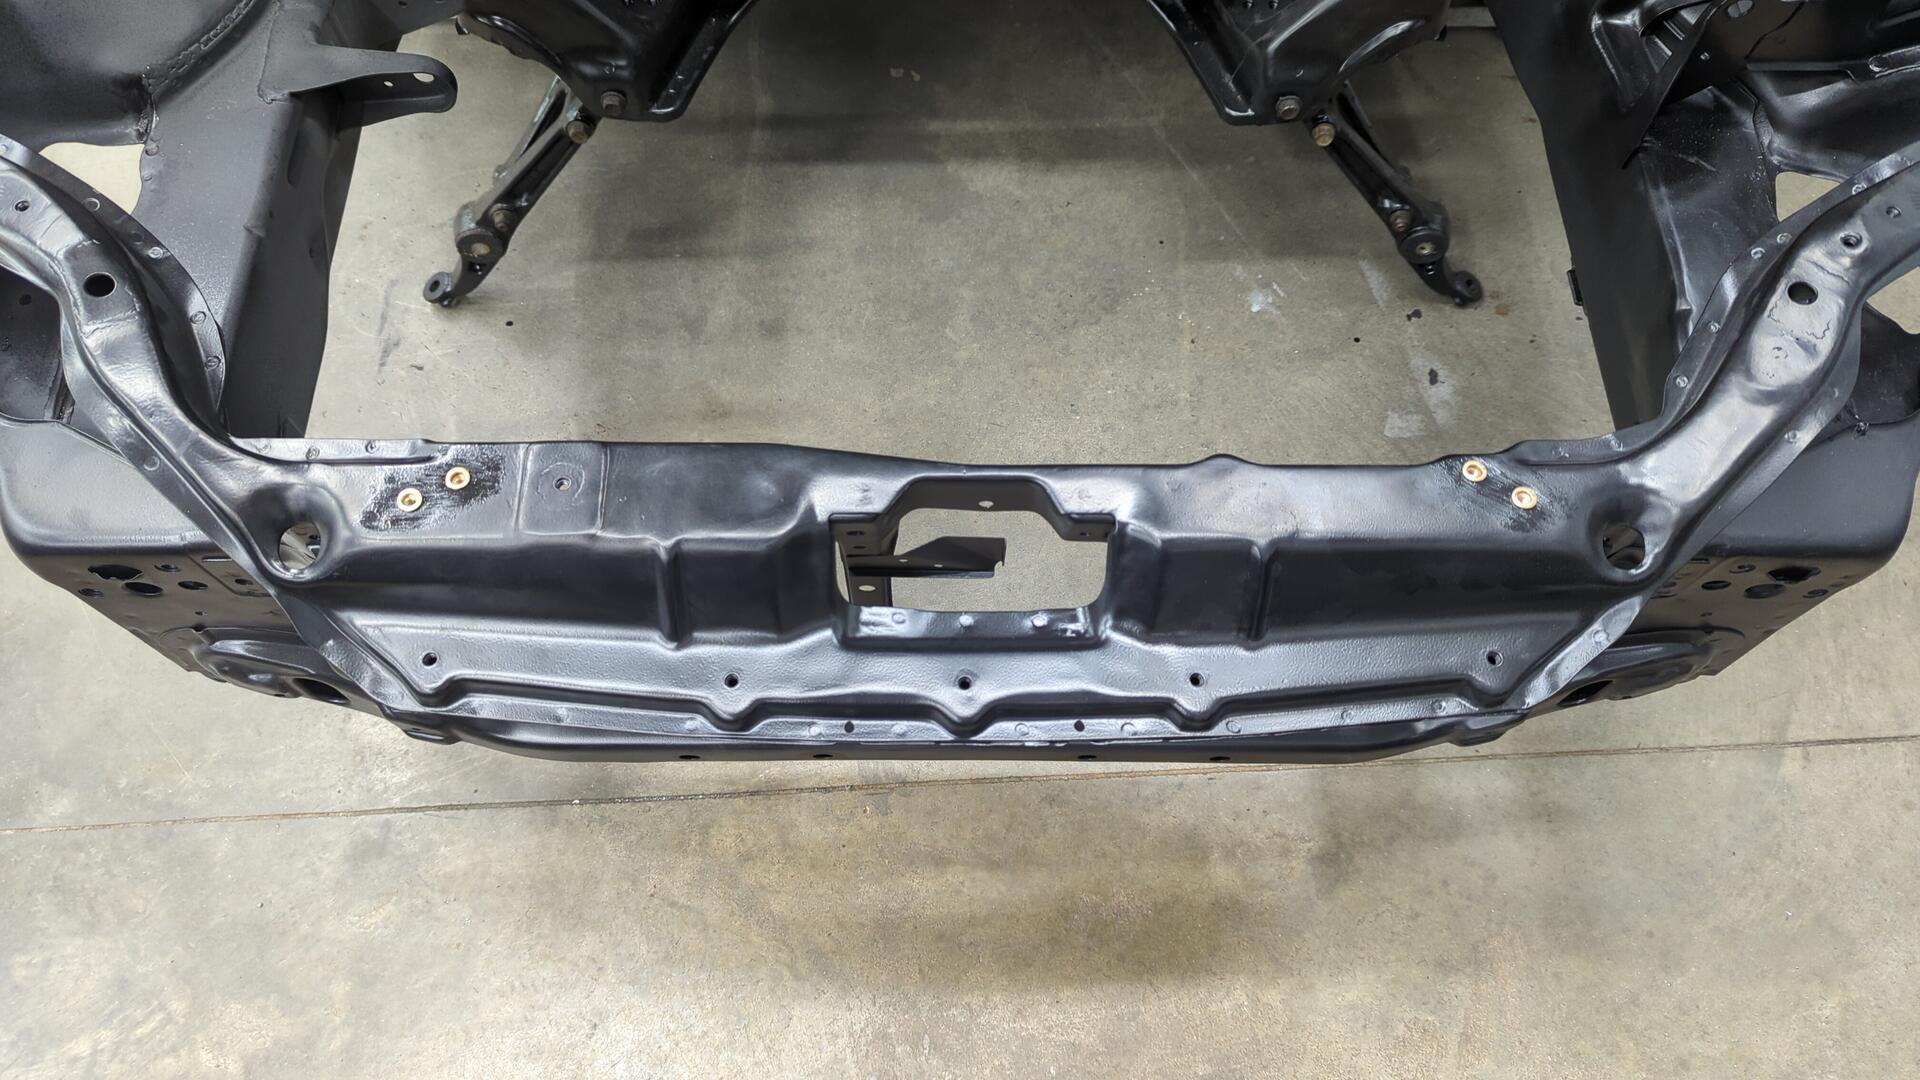
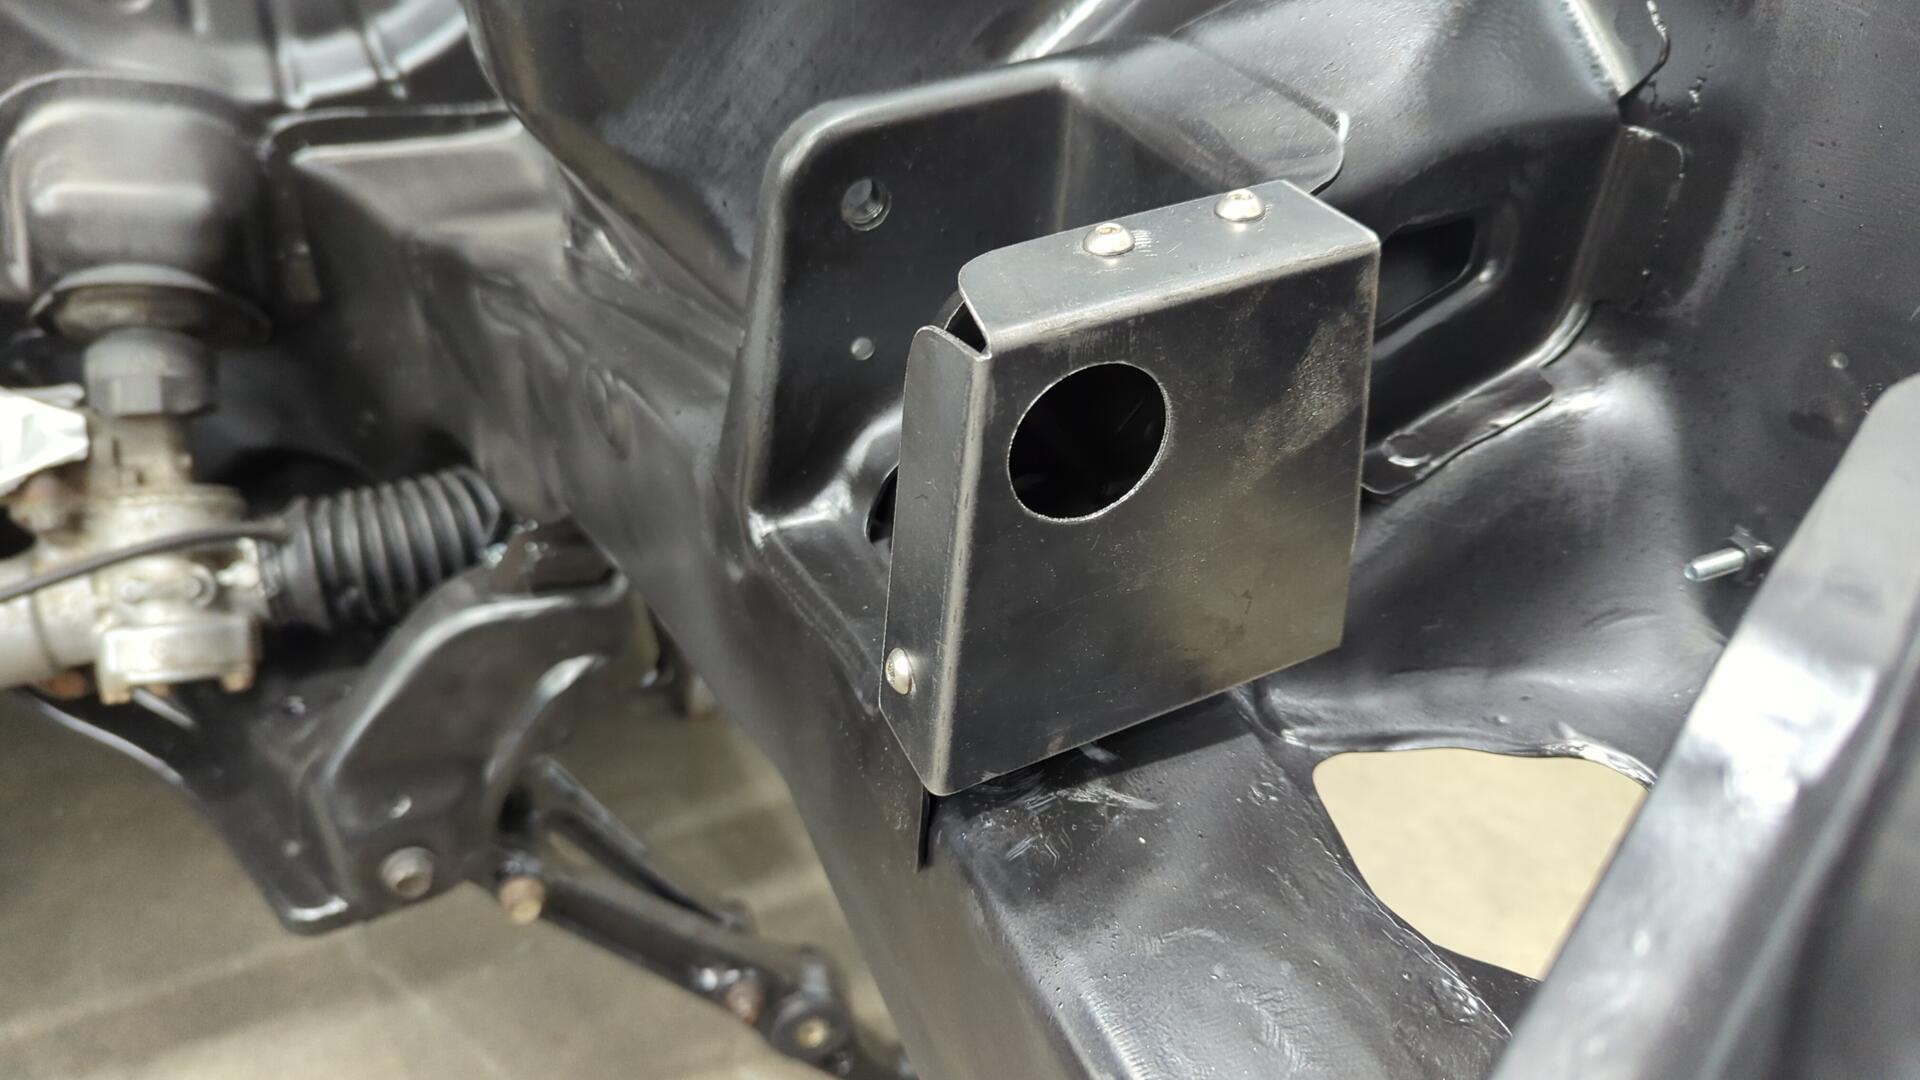
Prepping for a Charcoal Canister
I’m still waiting on some parts and can’t make an bracket for the charcoal canister yet but I knew where I wanted to put the mounting points. The original mounting studs are gone so I figured the next best bet would be to use some of the special sealing rivet nuts I had.
Good enough for now.
At this point I’d wager I’m basically ready to start the bodywork.