Rust Repair Part 20: Blowing Off the Dust a Year Later
I can’t believe it’s a been a year since I last worked on the XJ. When I first paused working on the XJ to get my EG hatch back on the road I didn’t think it’d be for more a few months but sure enough here we are a year later.
At this point I’ve basically forgotten where I left off, what the next steps were, and can’t remember where most of the parts are. But, I’m motivated to finally finish it so I’m not gonna let any of that hold me back.
Some of the work in this post was actually done last year but I never posted it before I stopped on the XJ.
Welding in the driver outer rocker
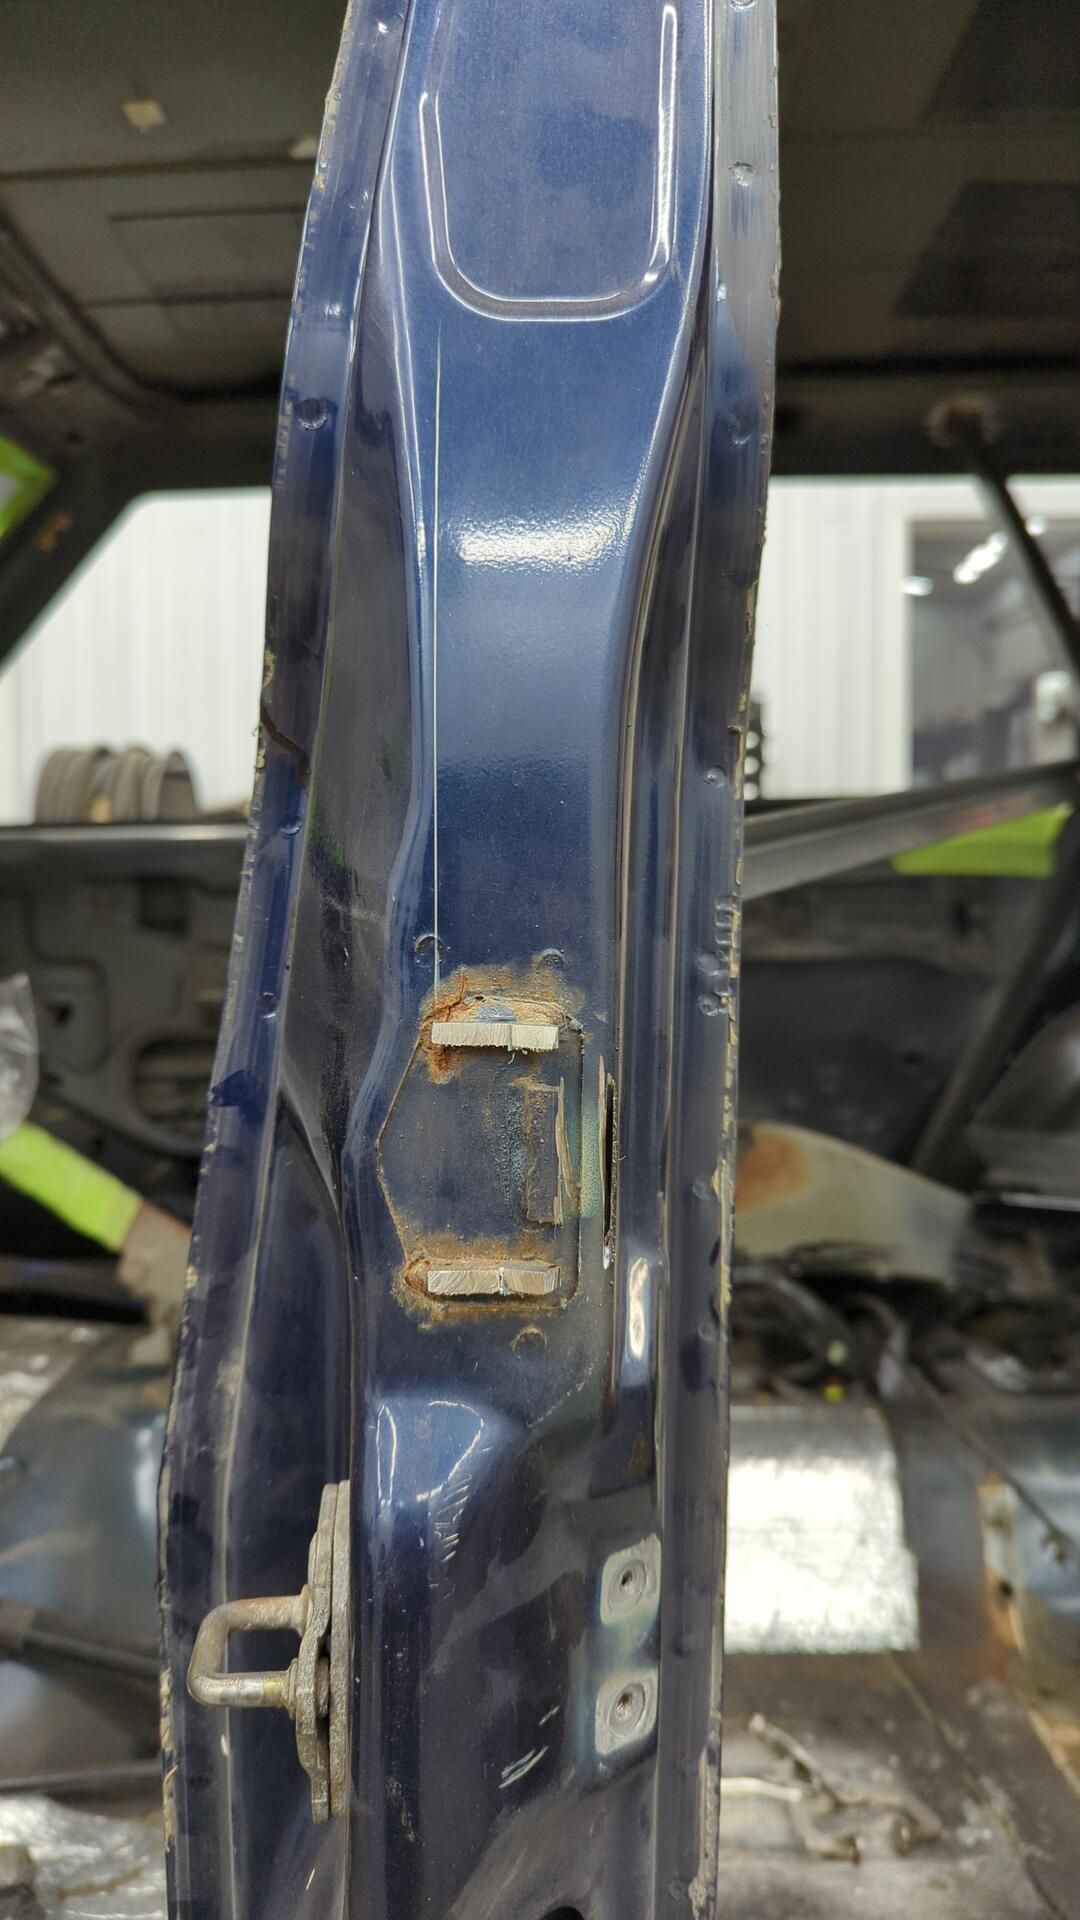
One of the last todos needing to be addressed before I could weld in the new outer rocker was the B pillar.
It was pretty rusted on the bottom and needed some patches so I opted to temporarily remove it.
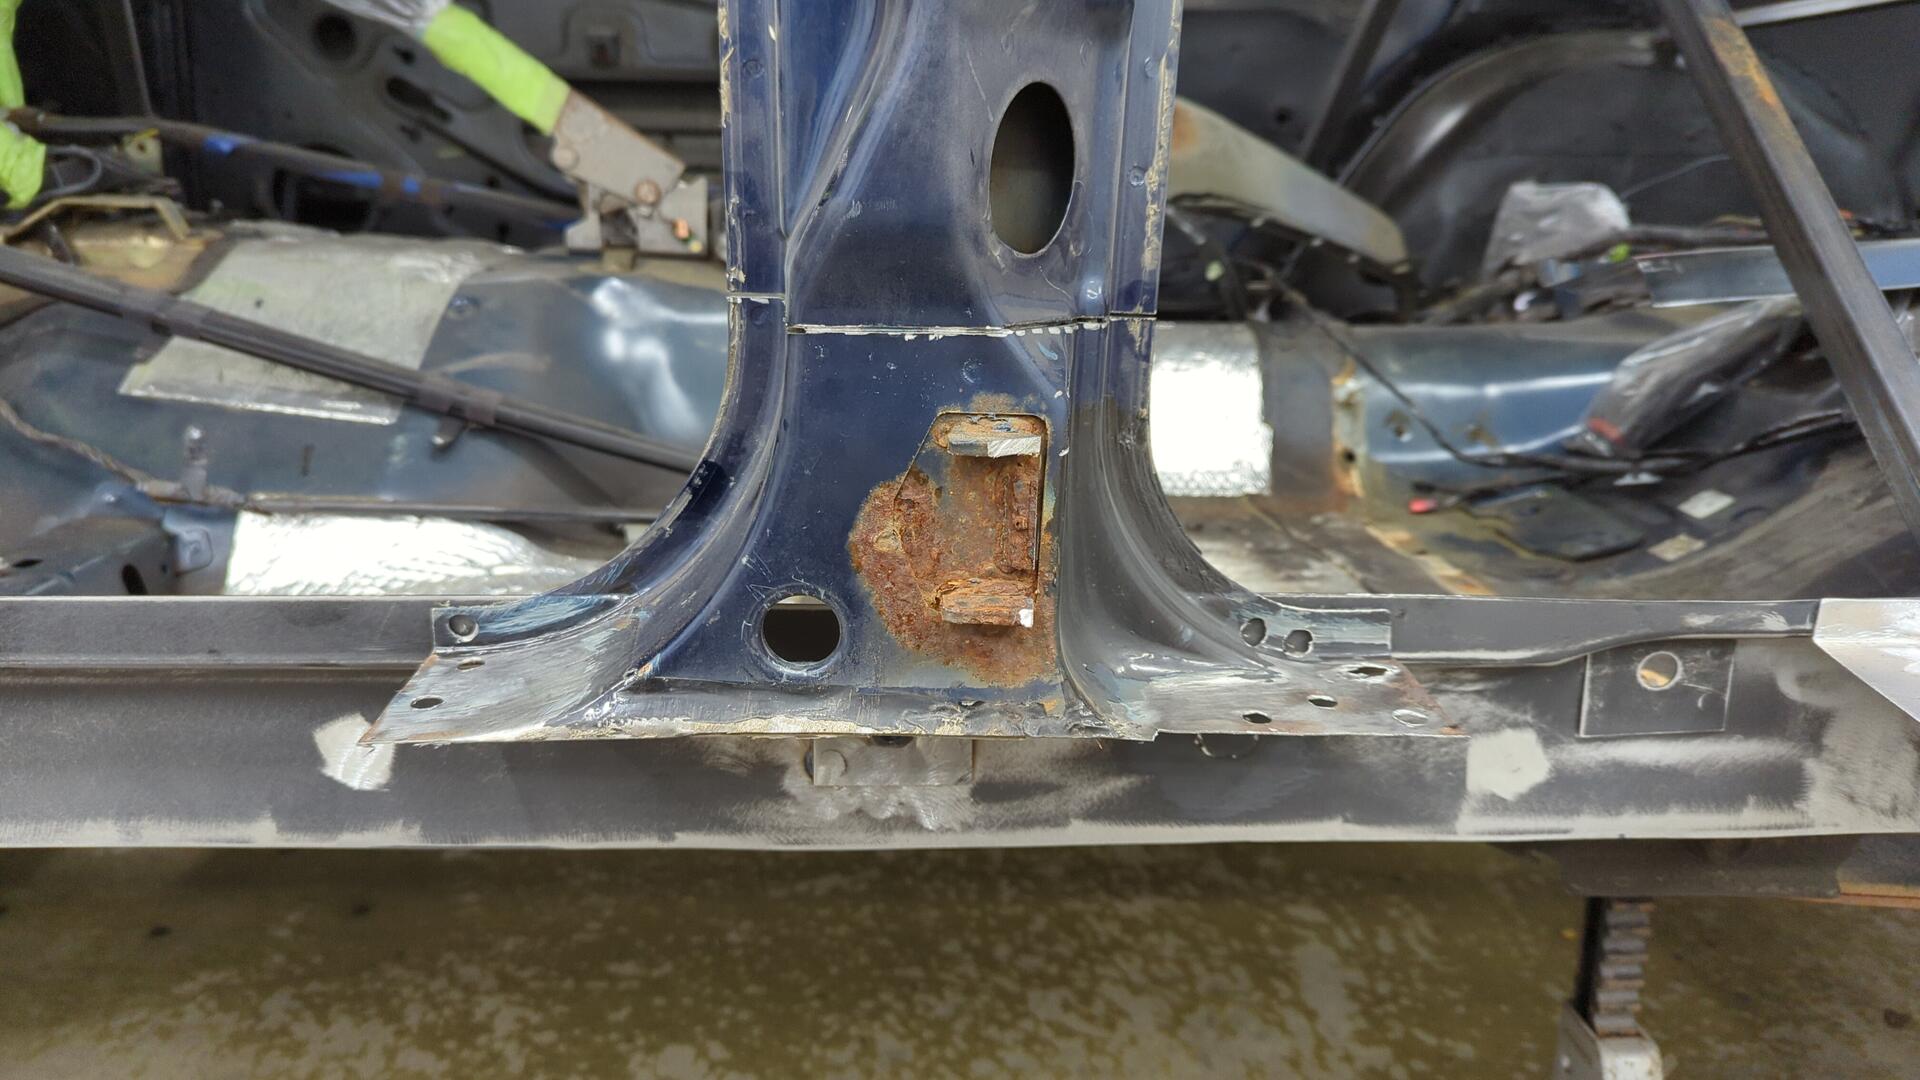
The rust on the inner layer was a little deeper than I had hoped, but it’s still salvageable.
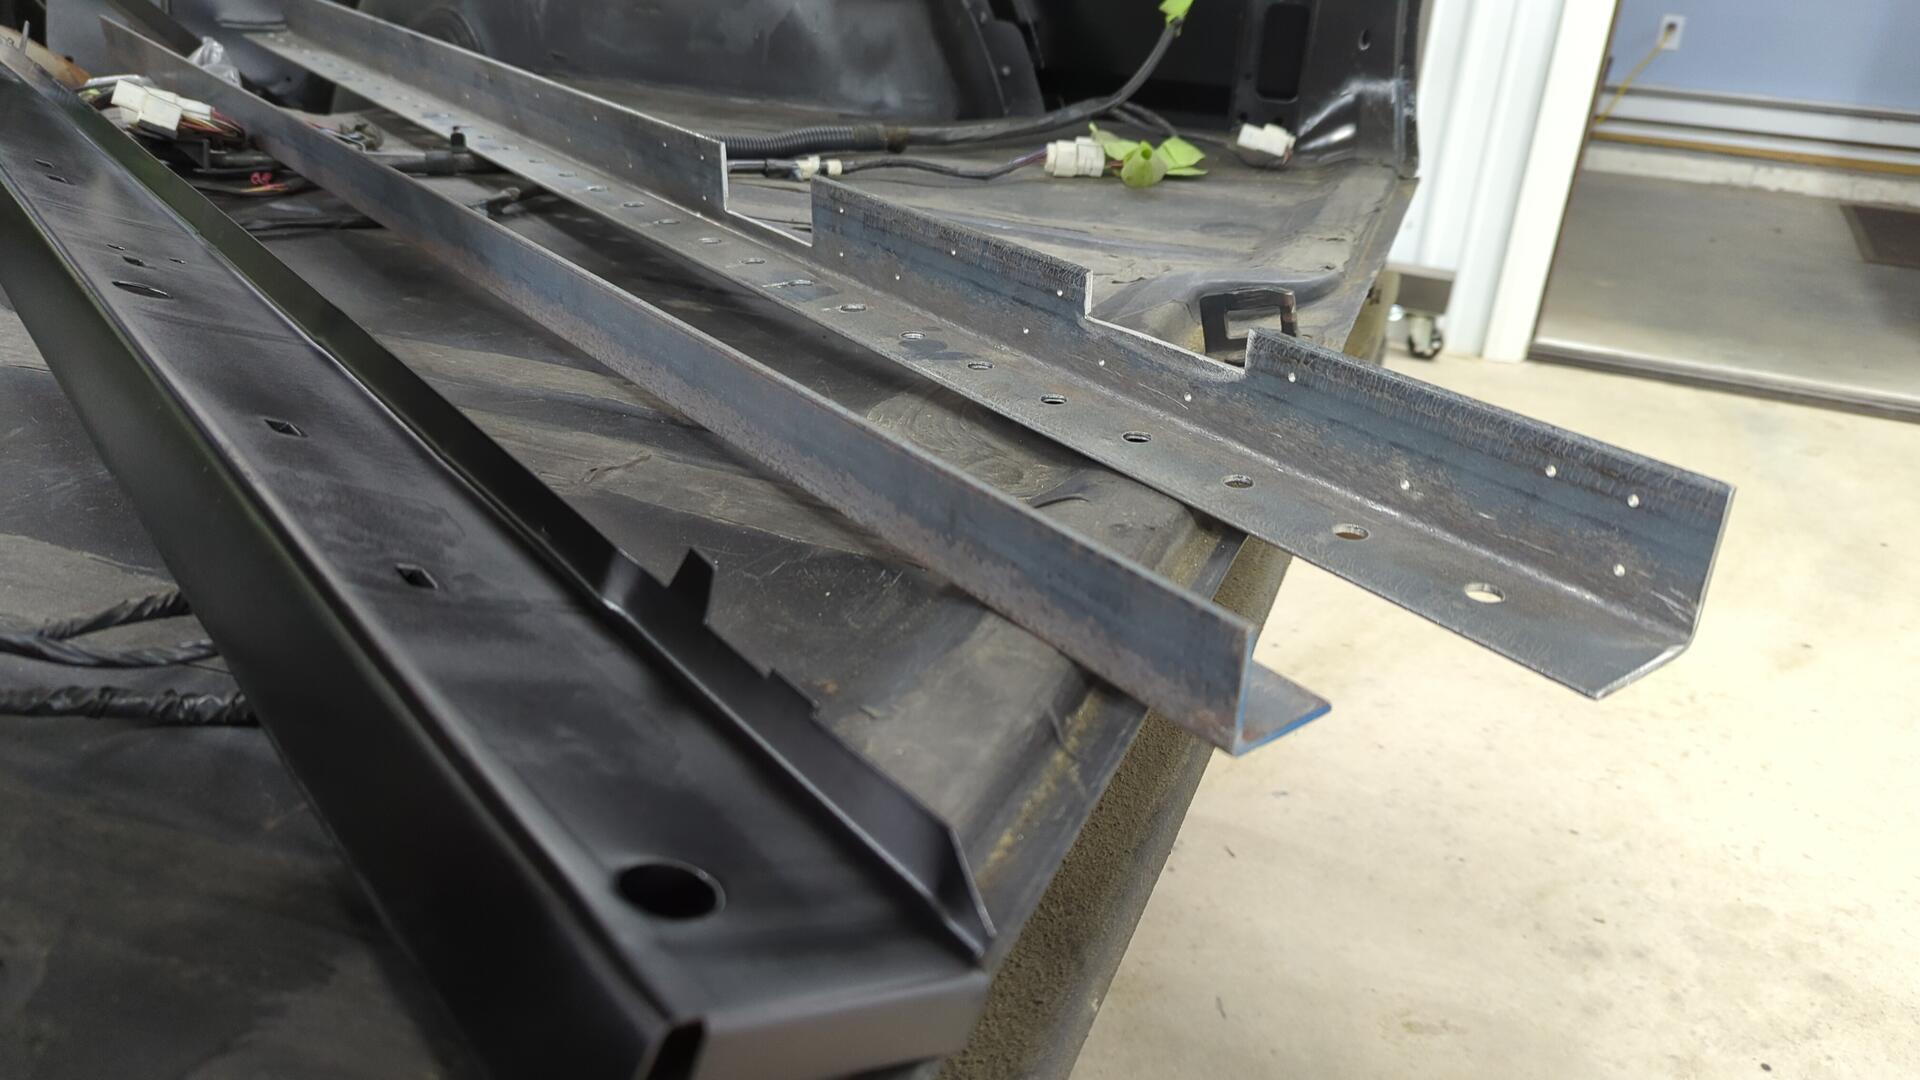
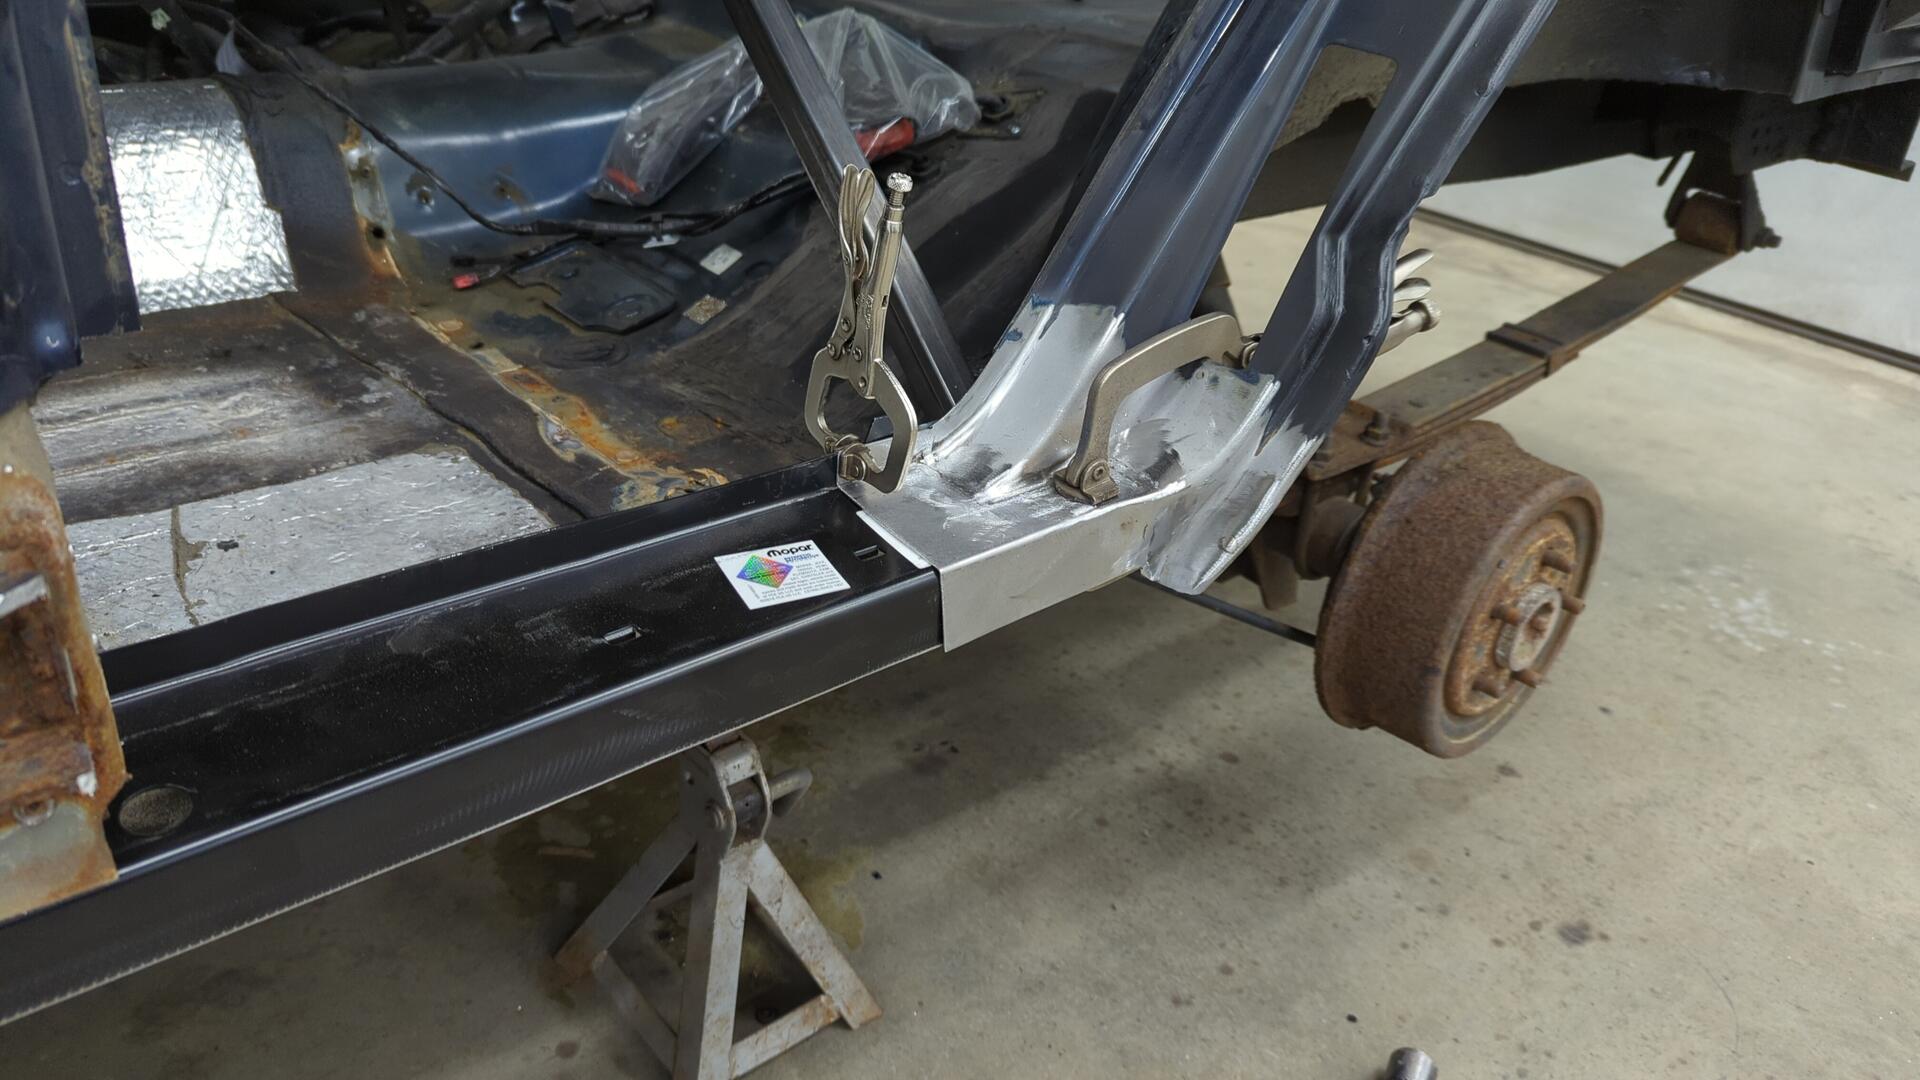
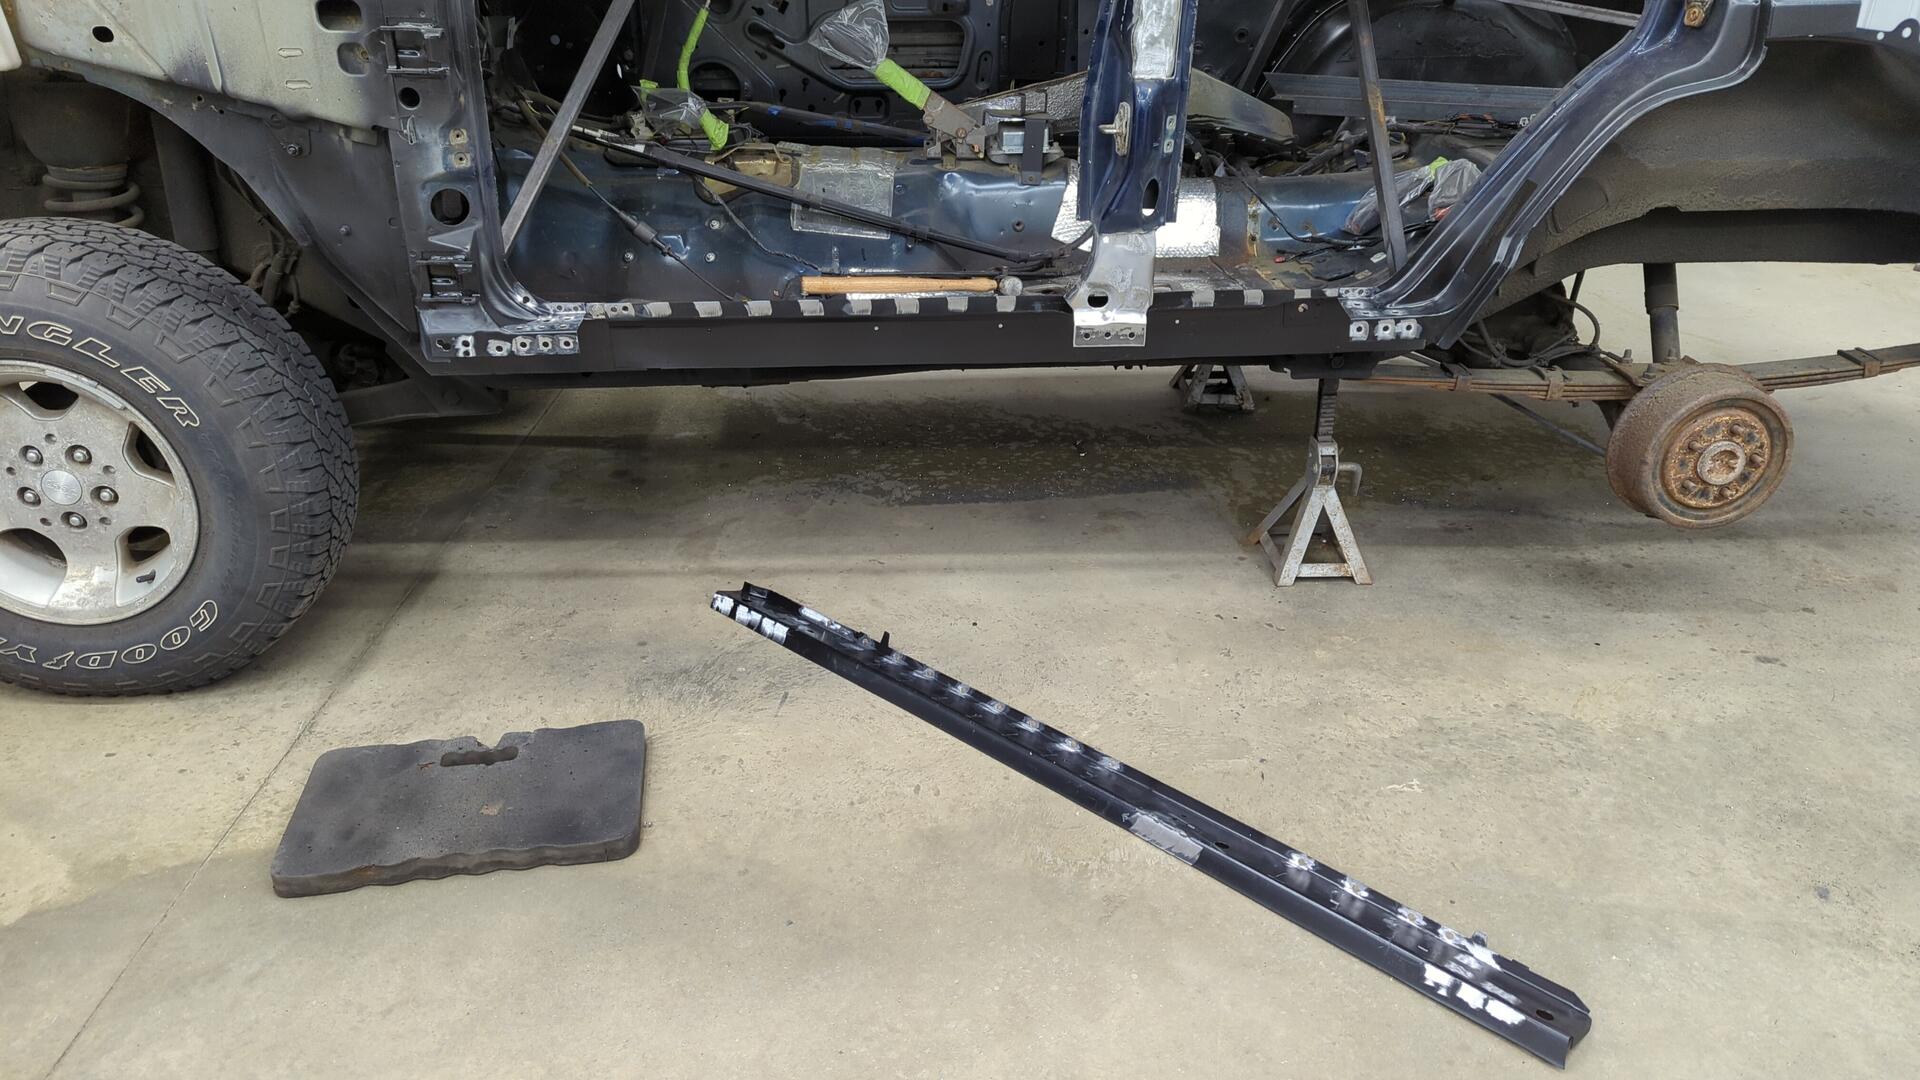
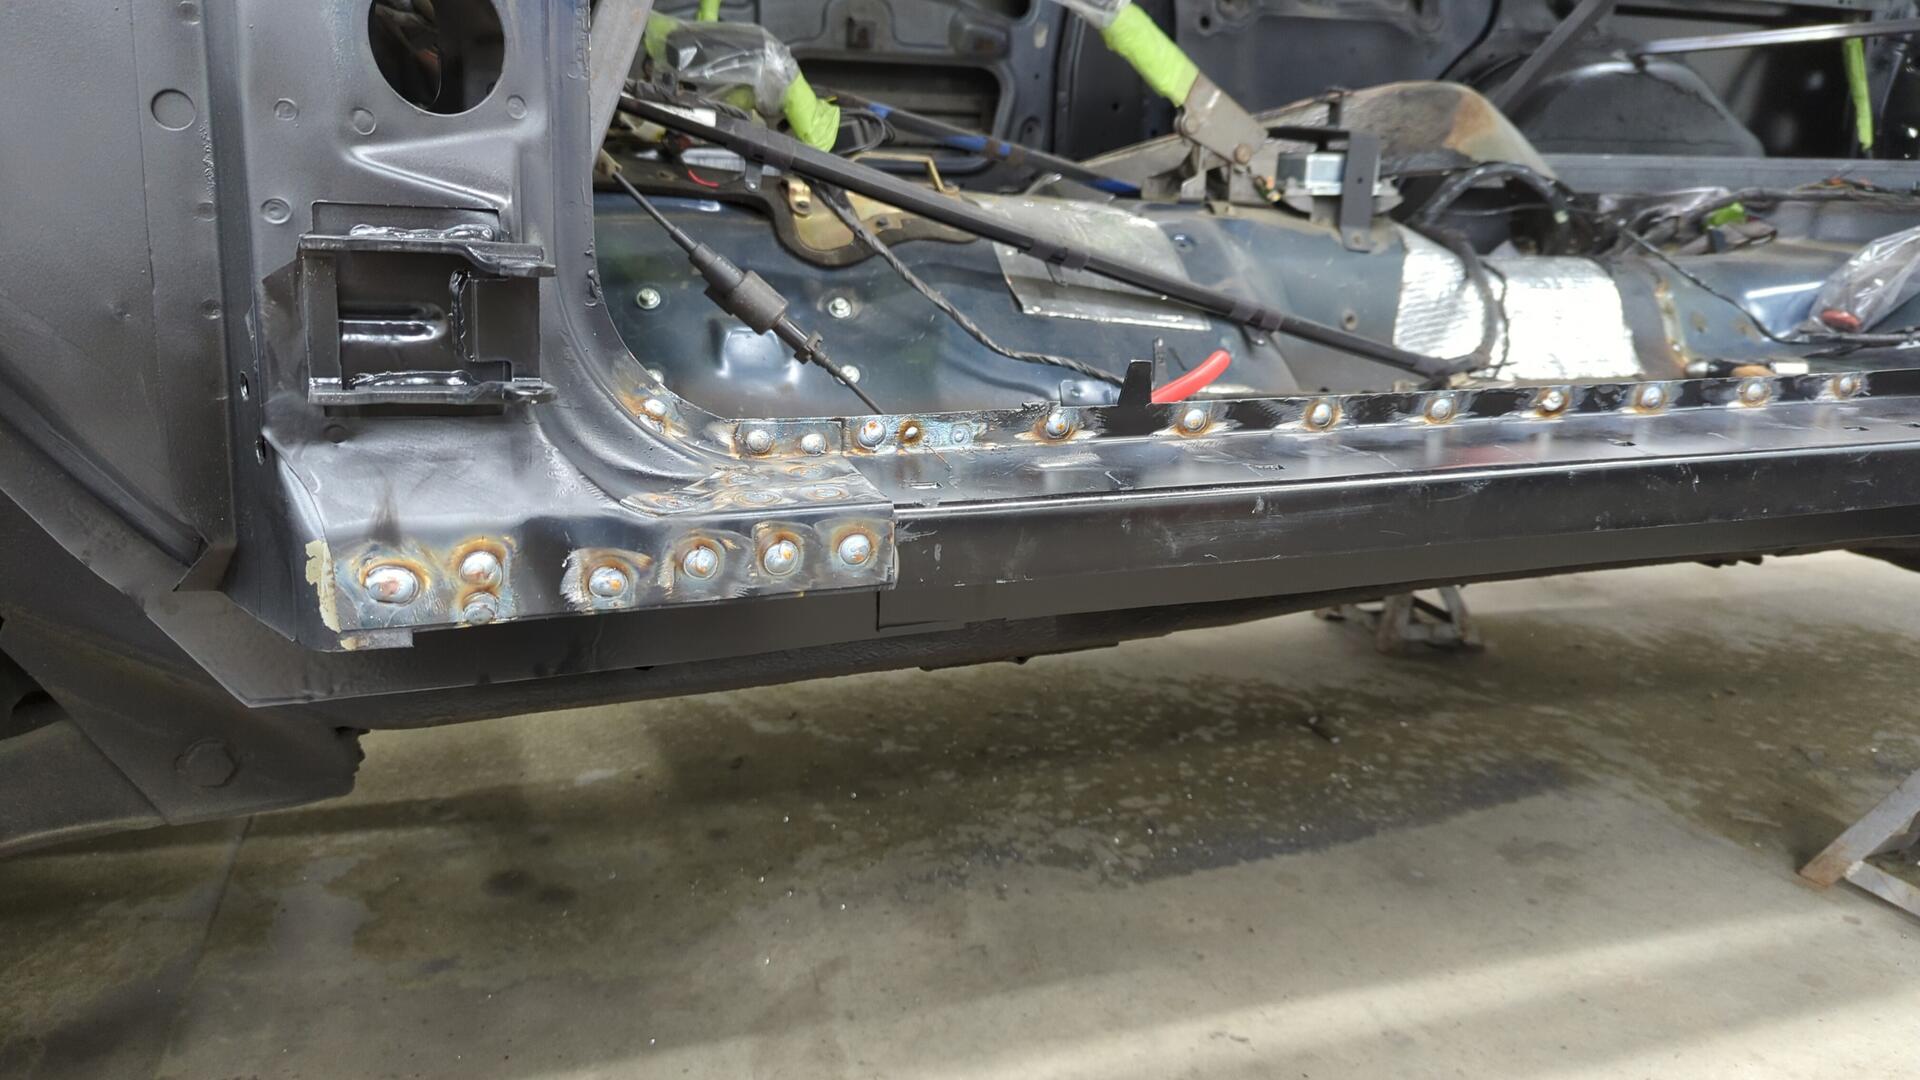
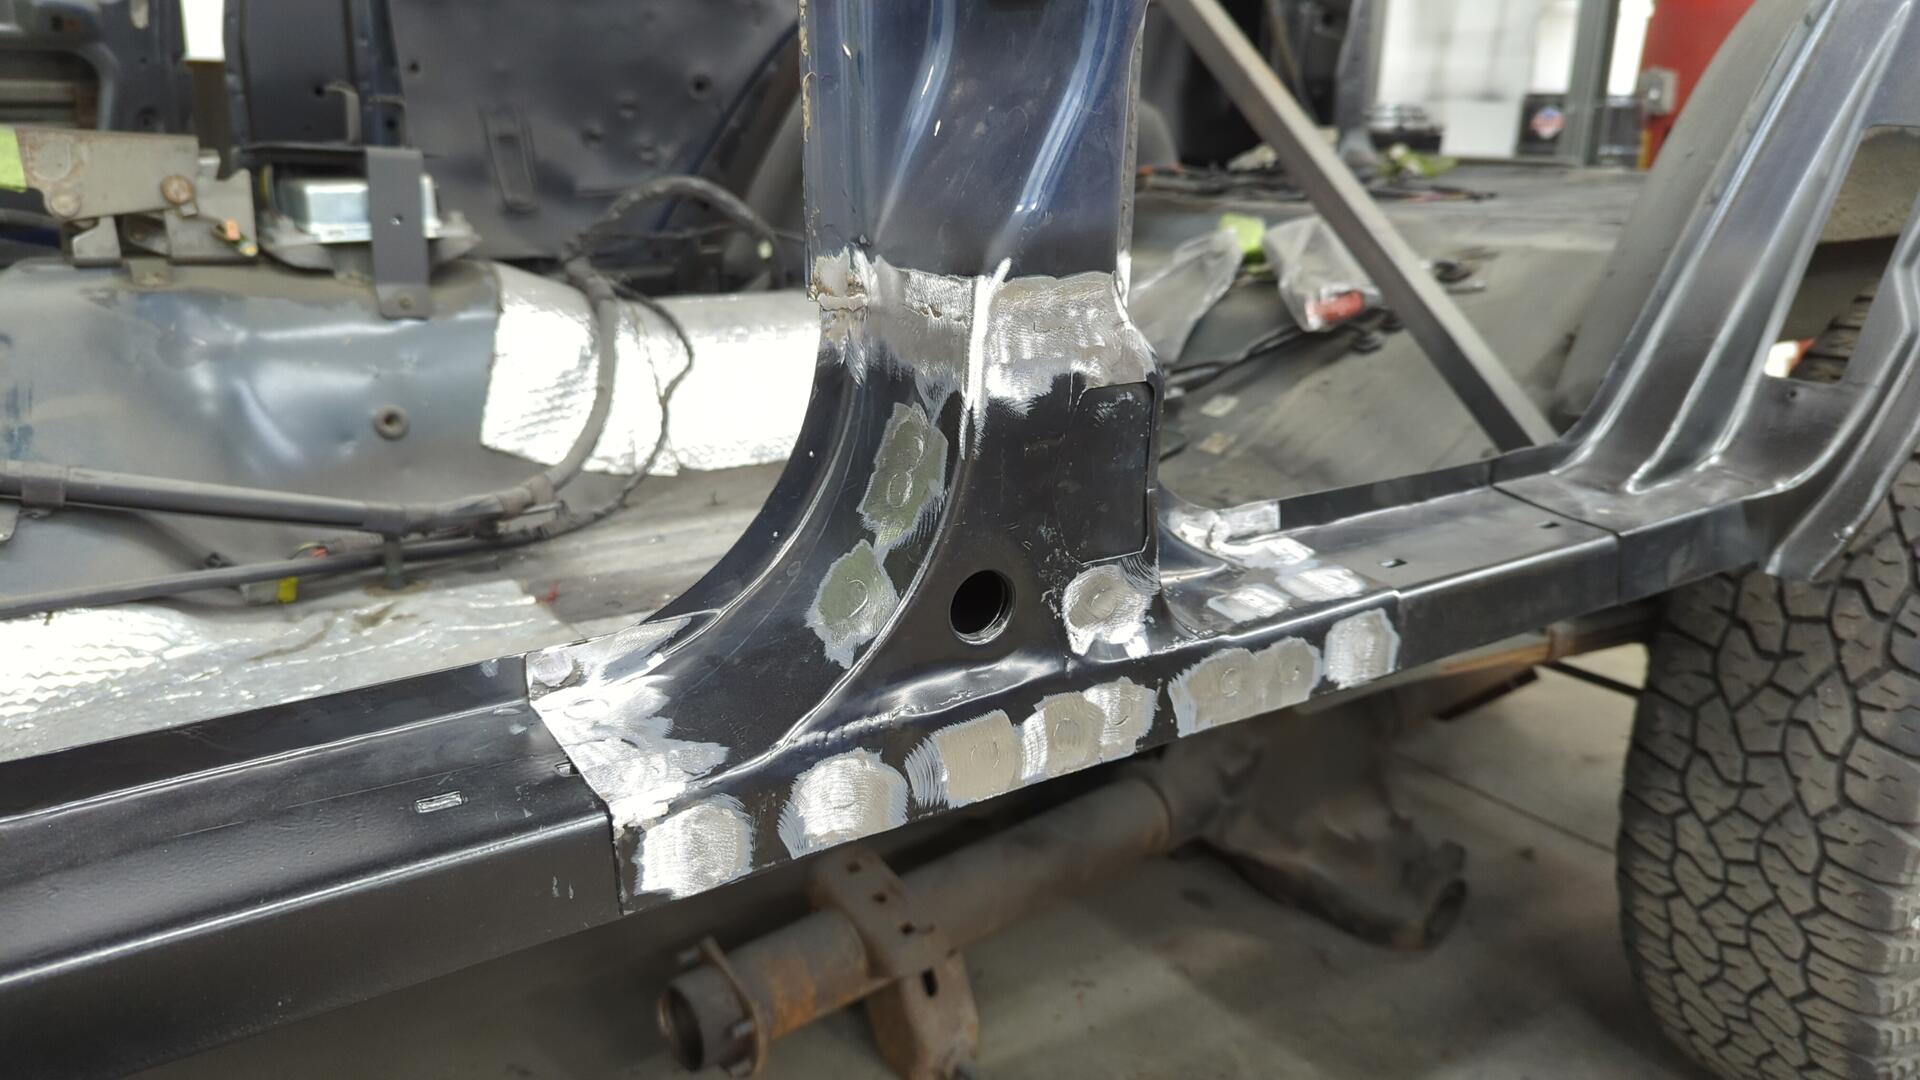
With the B pillar good to go, I started prepping to weld in the new outer rocker.
One of the nice things about this being the 2nd side is that my outer rocker is already trimmed down and I have the braces for the 2x6 rocker ready.
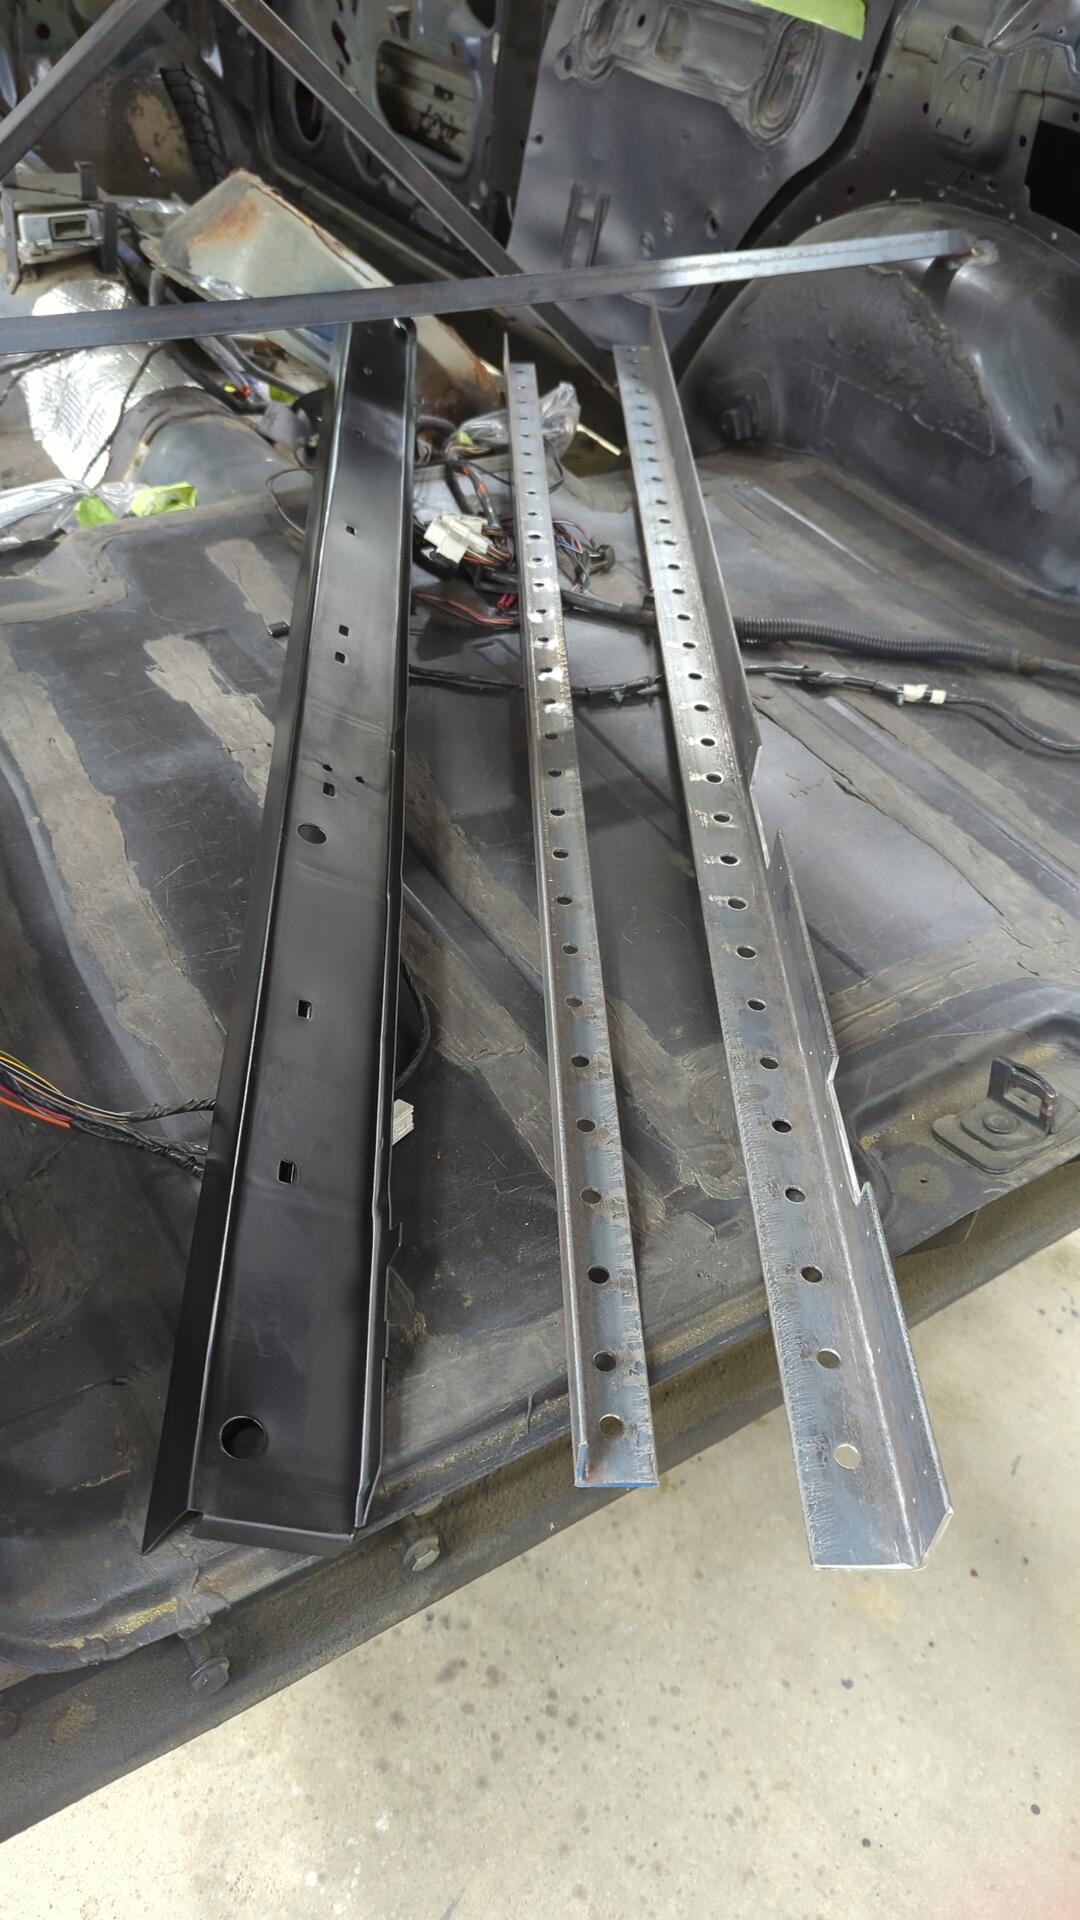
The little pilot holes make it easy for me to know where to drill my spot weld holes on the inner rocker.
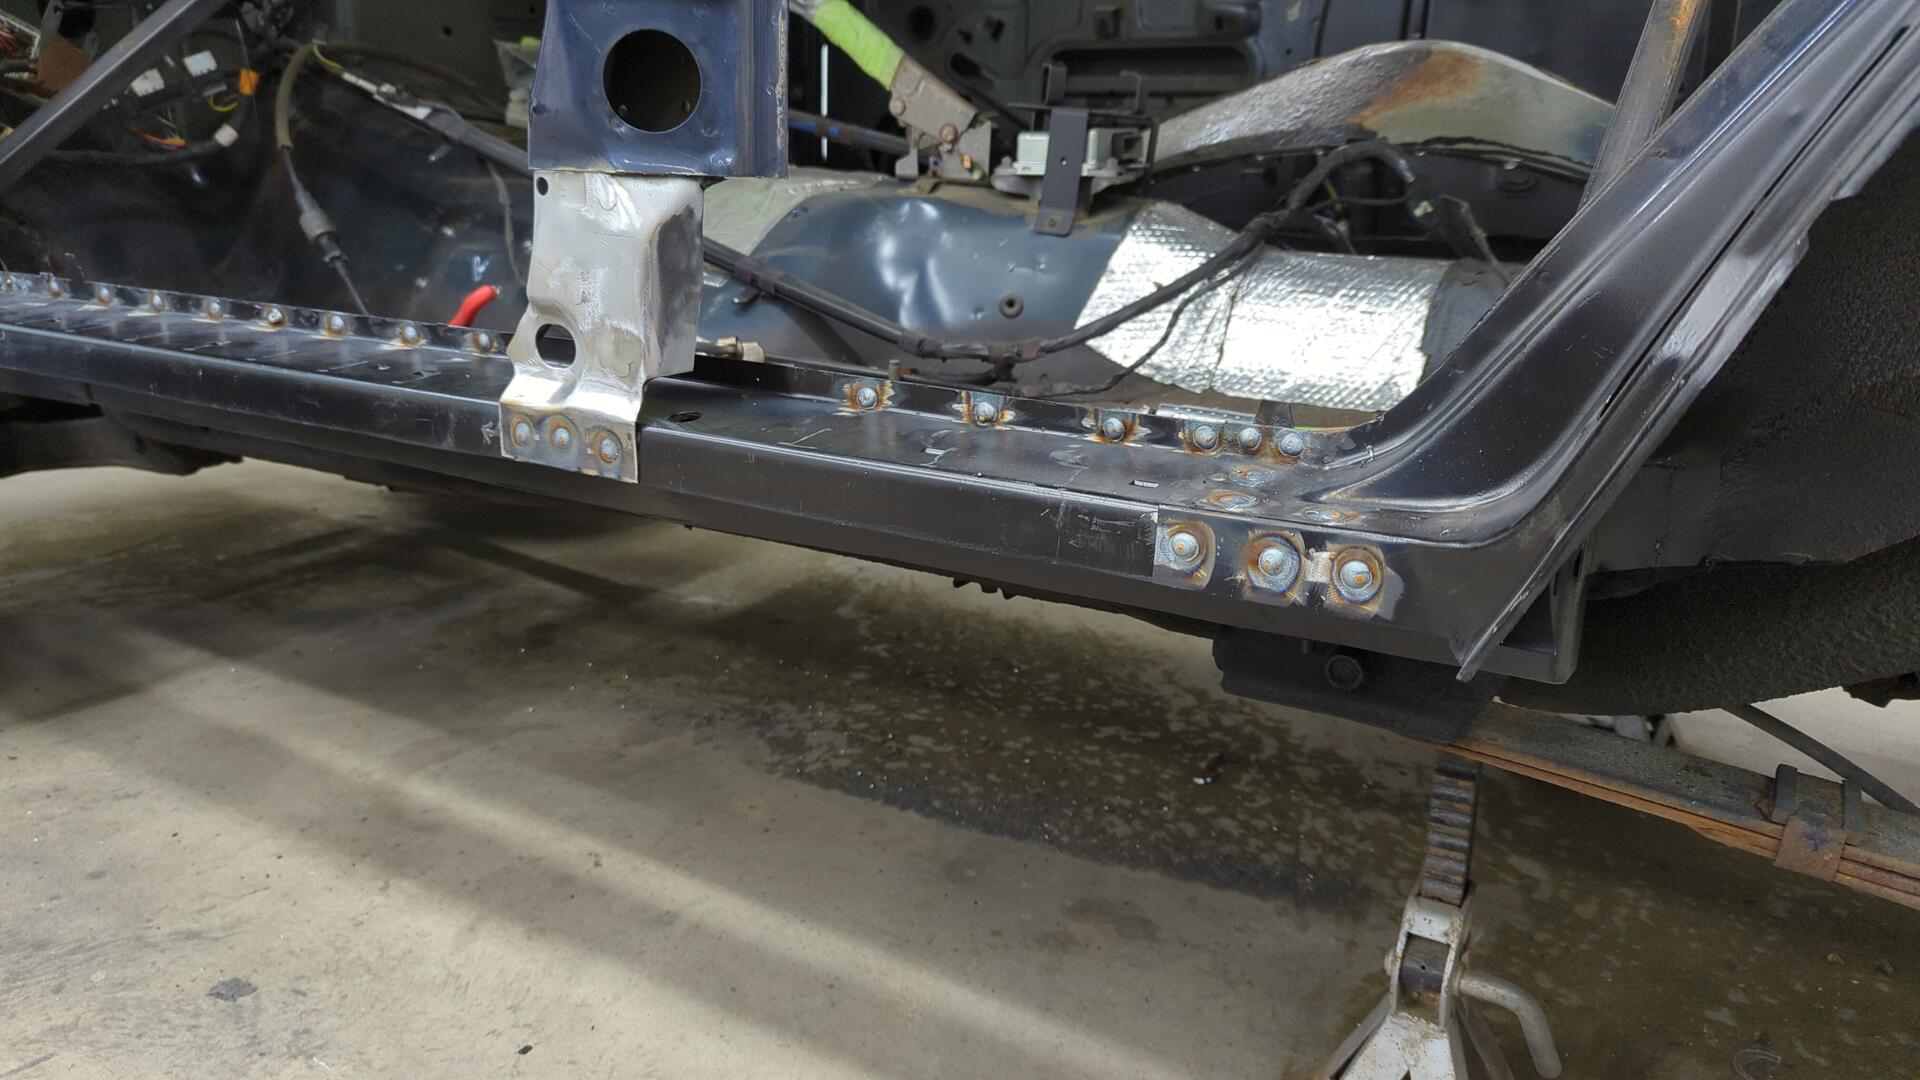
Test fitting the new rocker.
Fitment actually looks pretty legit.
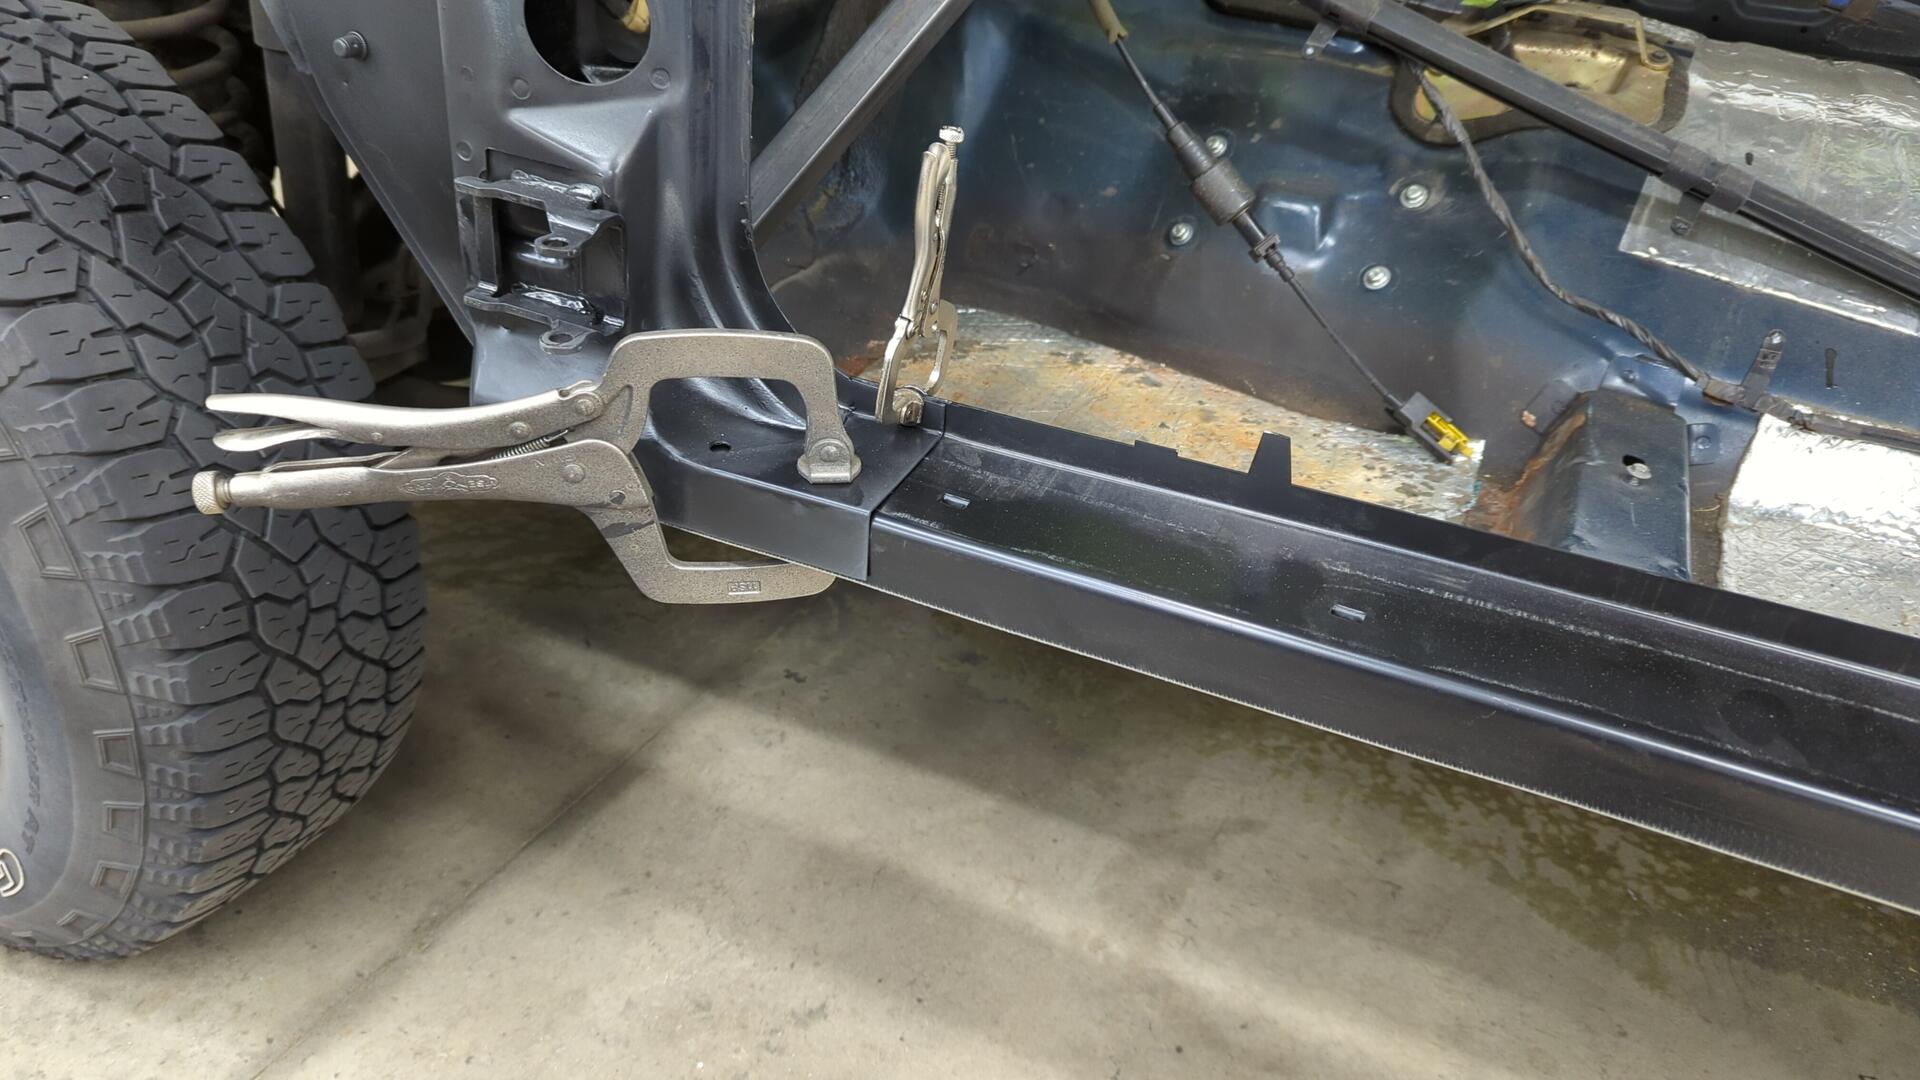
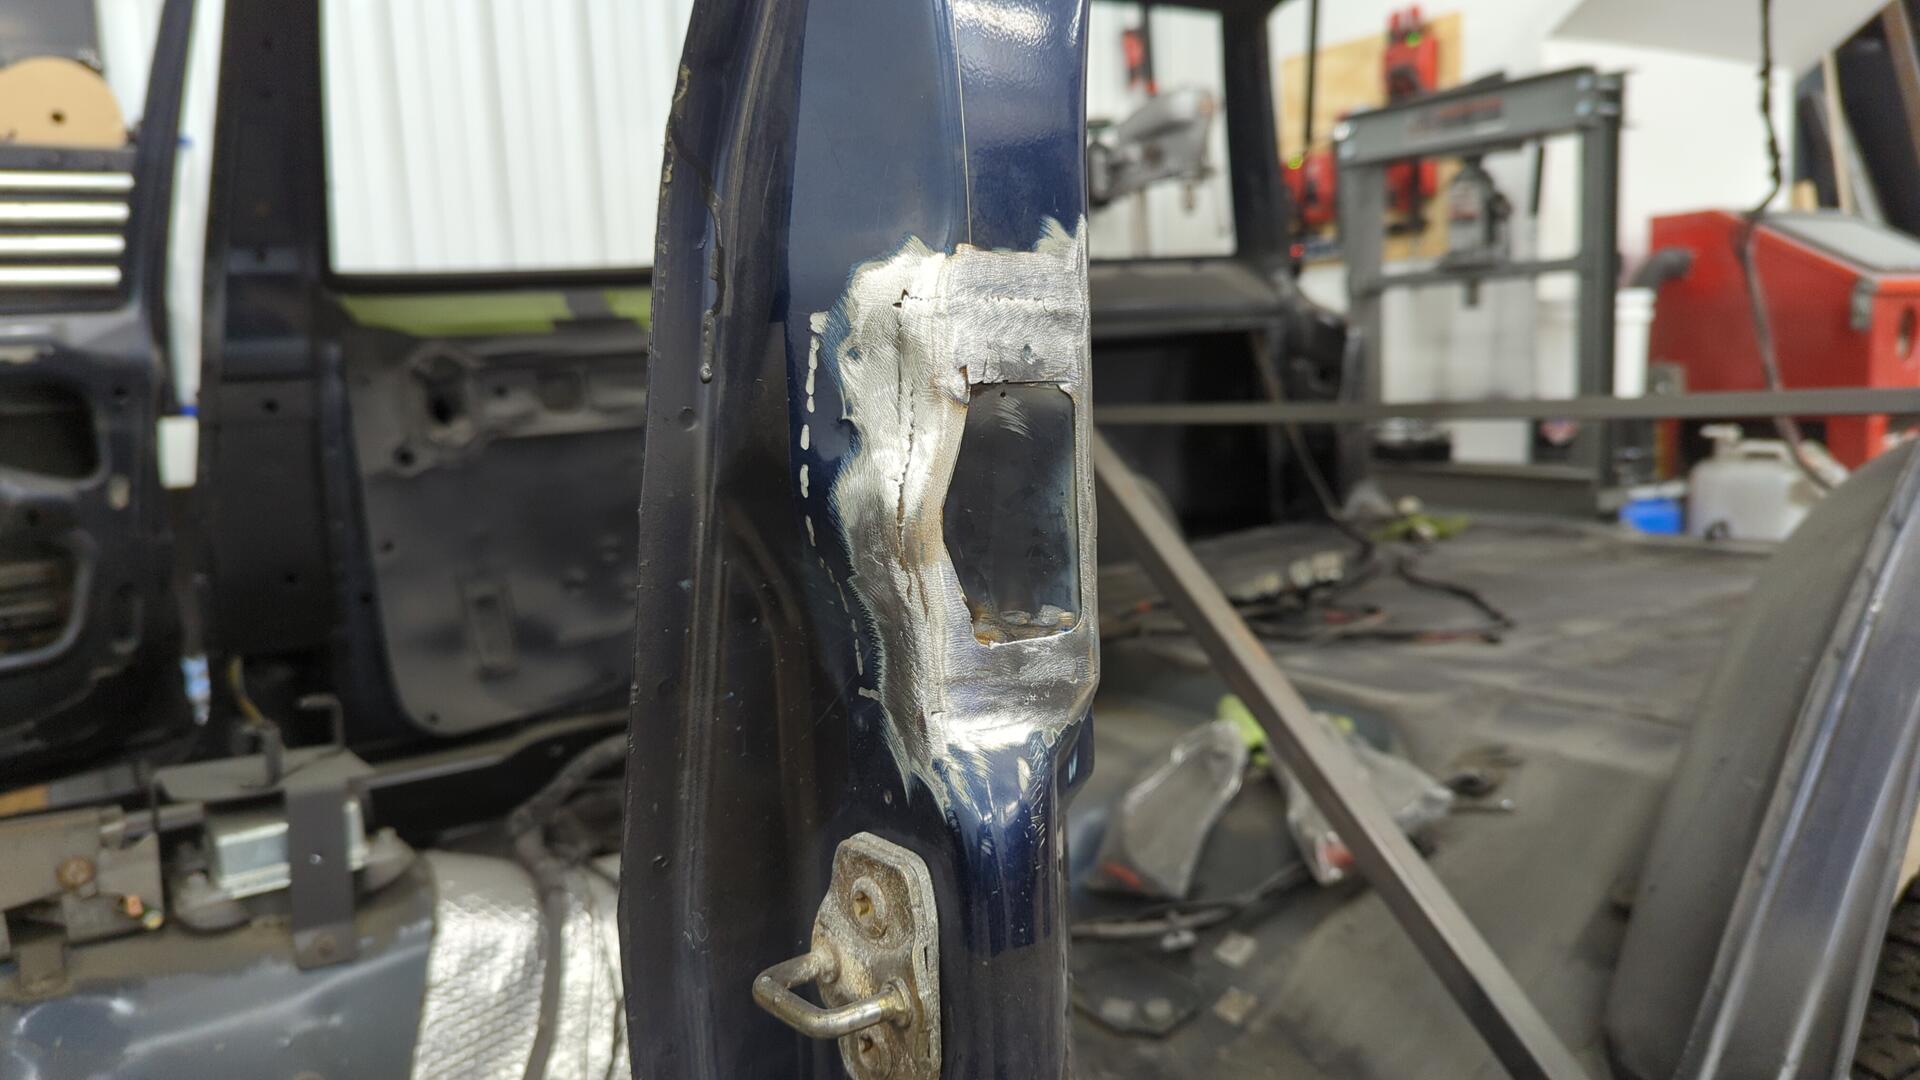
Just need to do some prep on the B pillar before the rocker goes in.
Rusted bit cut out.
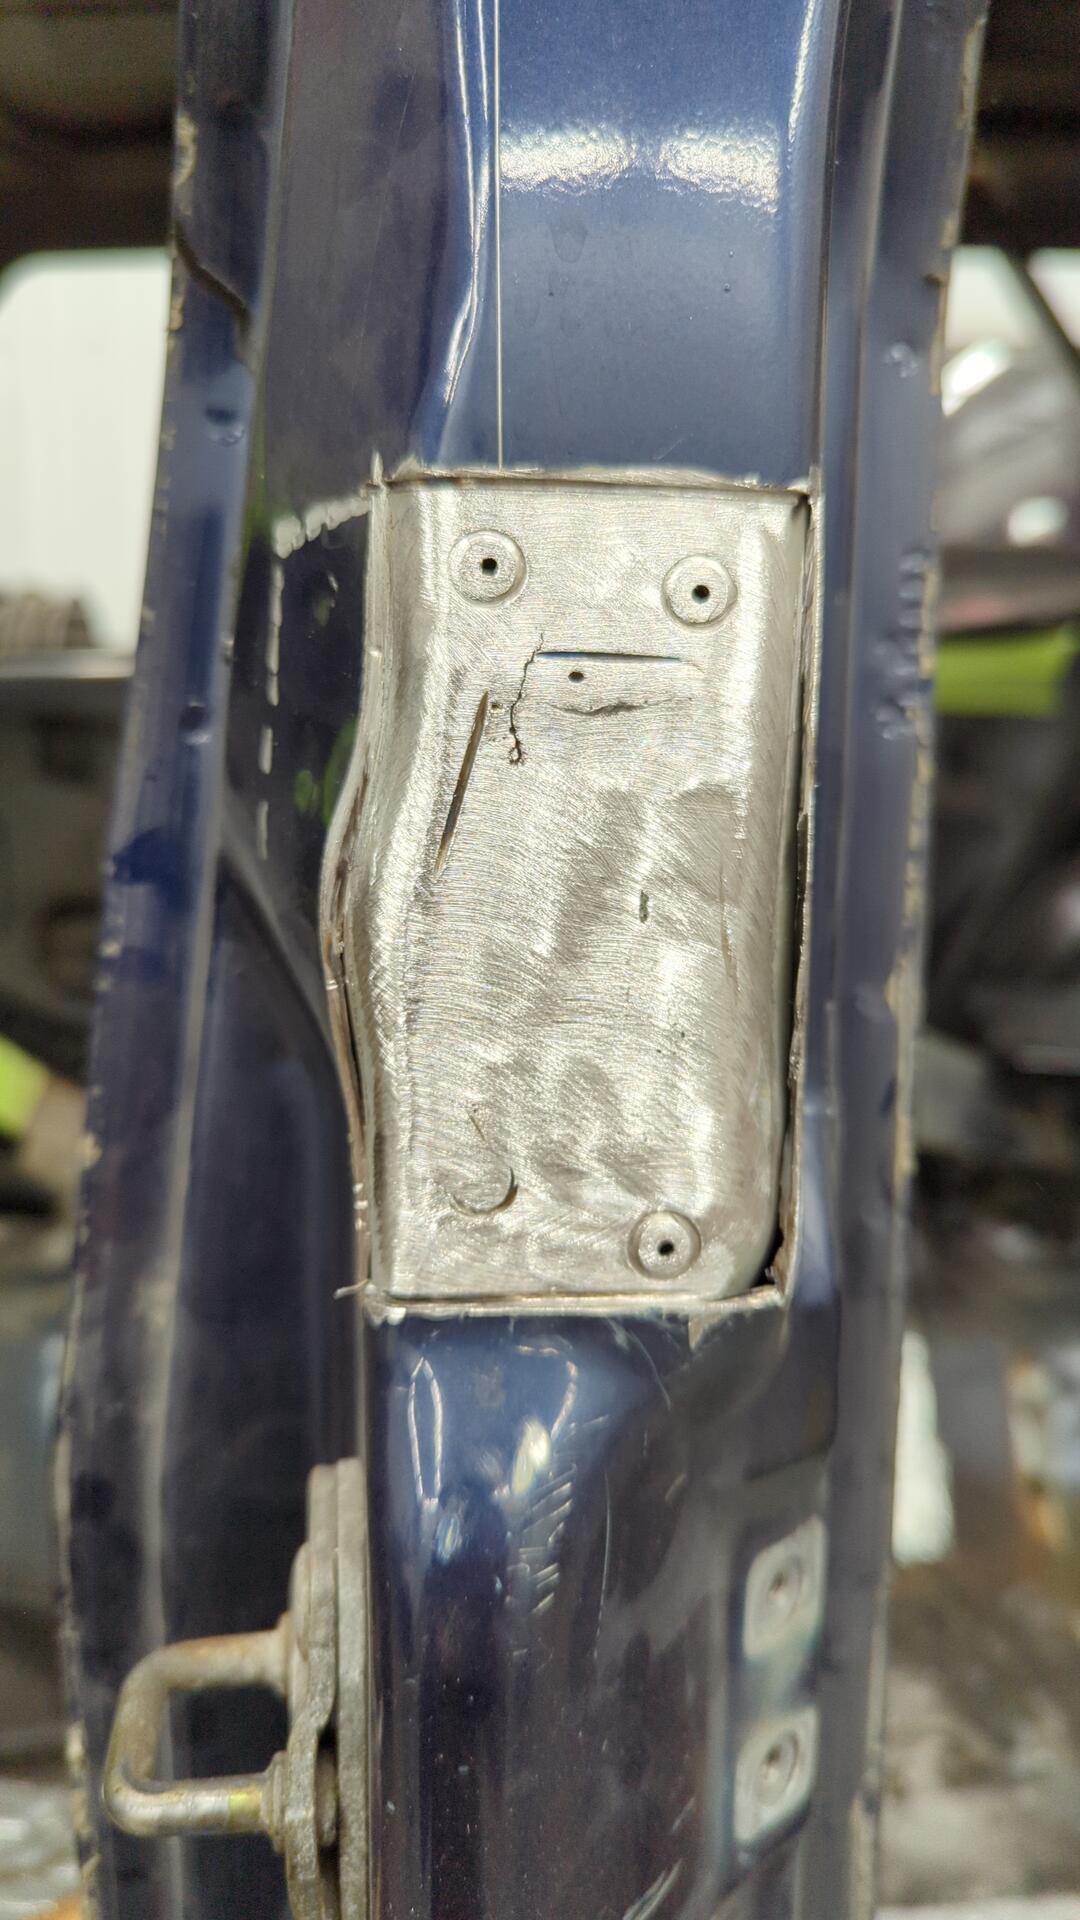
Cleaned up the inner layer of any rust.
Ready to weld. (Also welded an extension onto the inner layer of the B pillar since it was missing.)
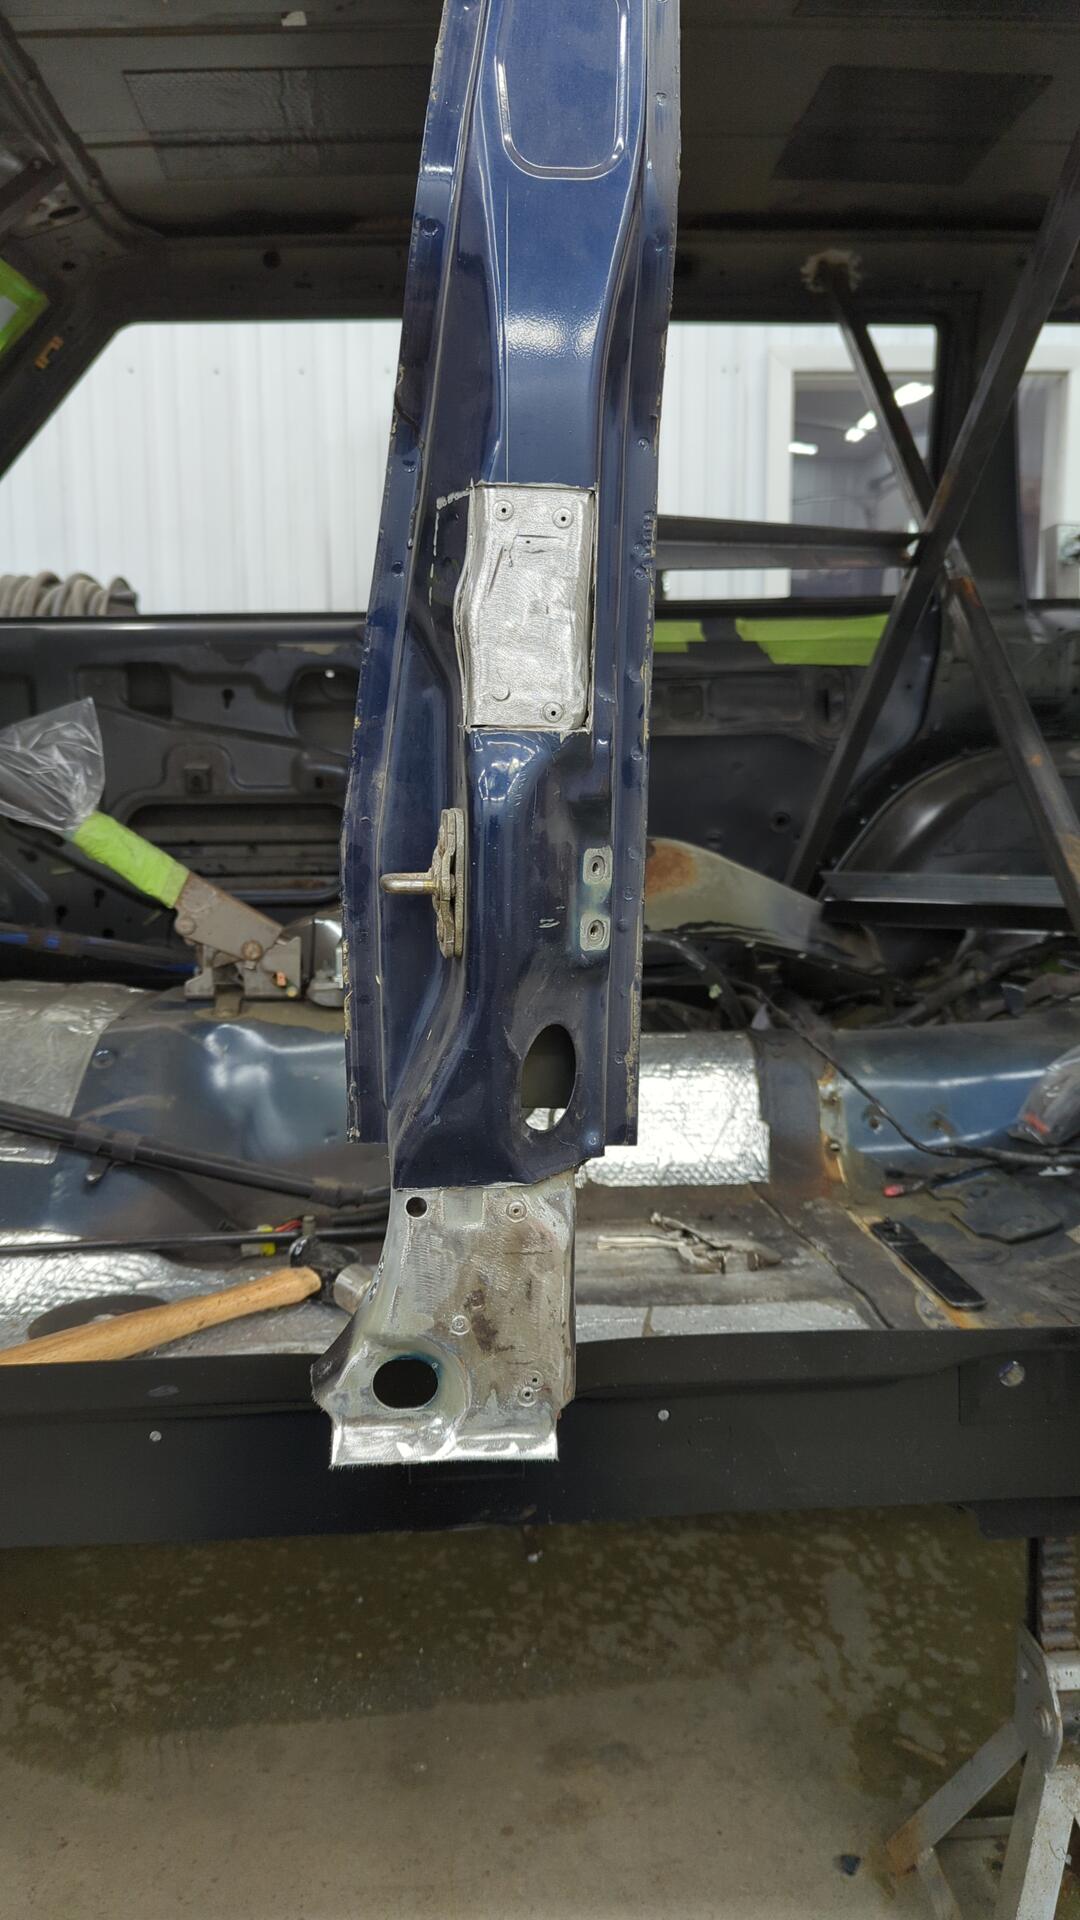
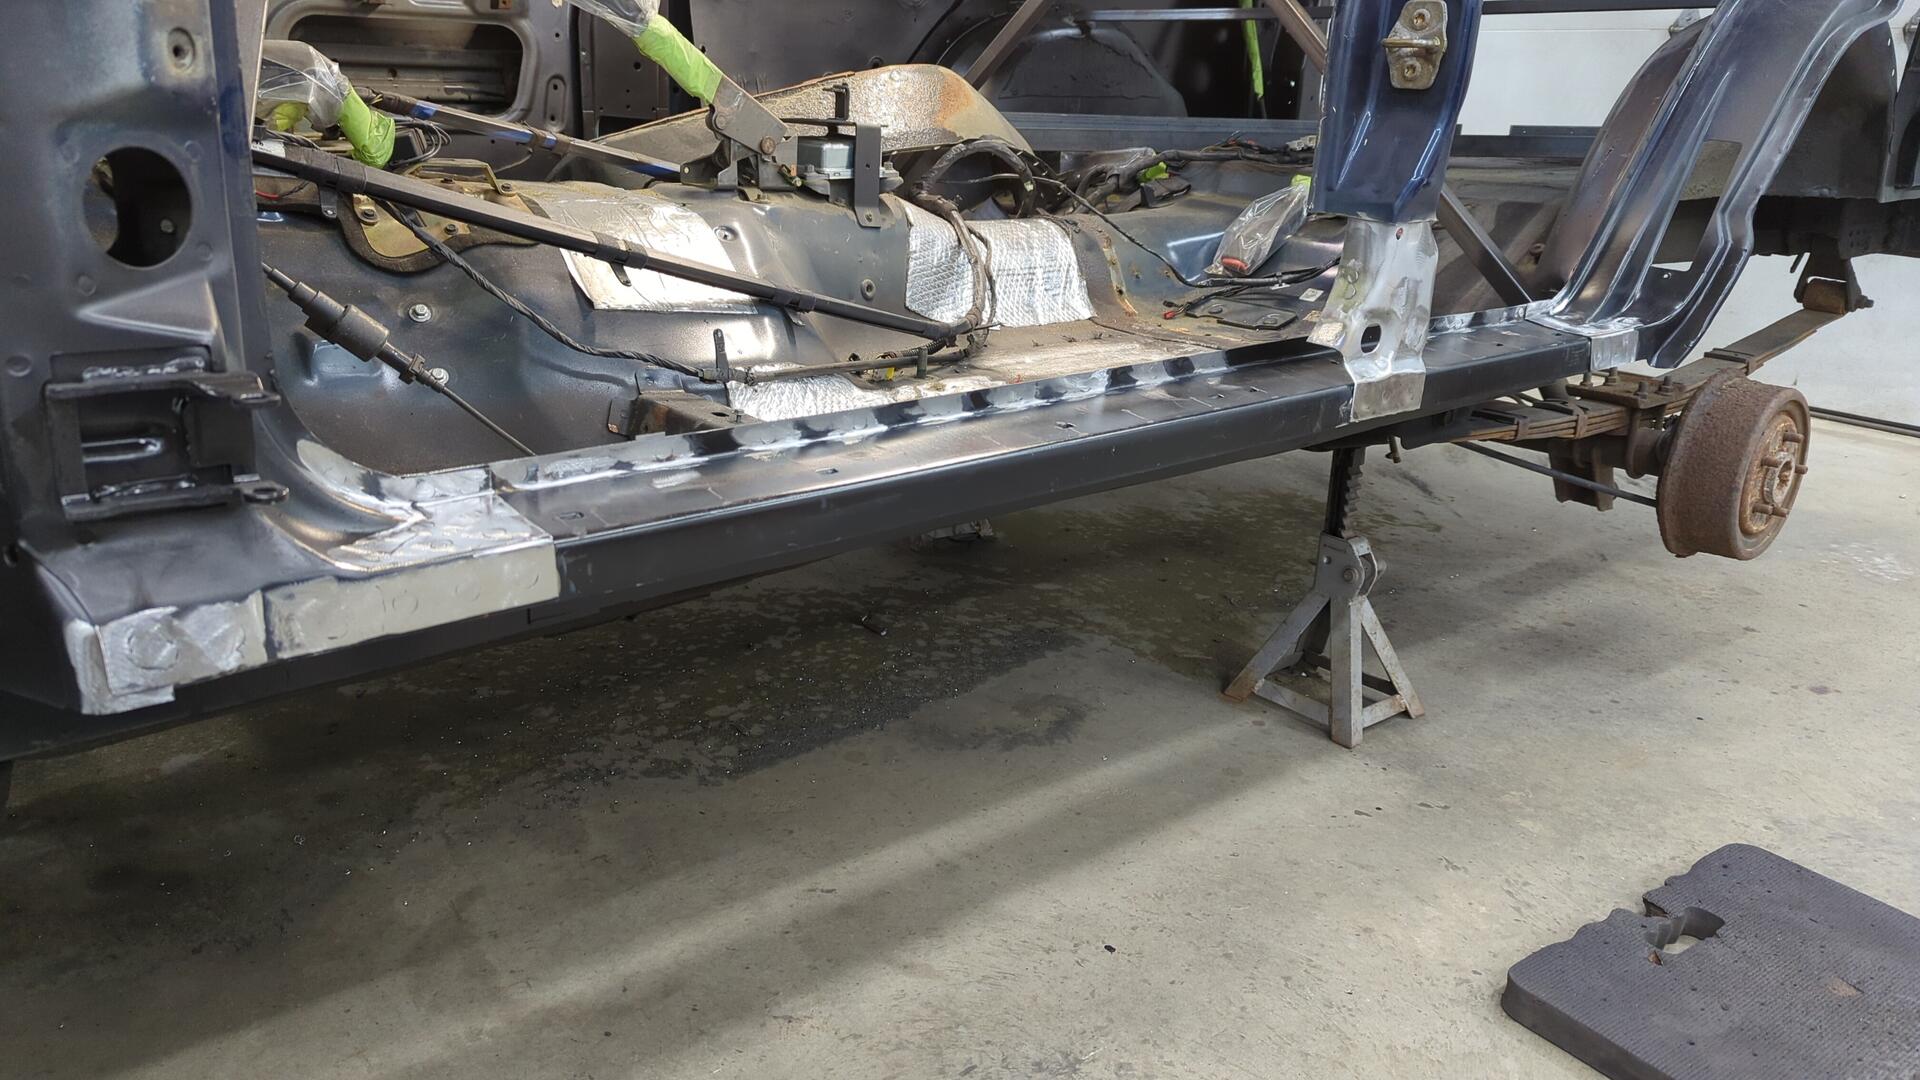
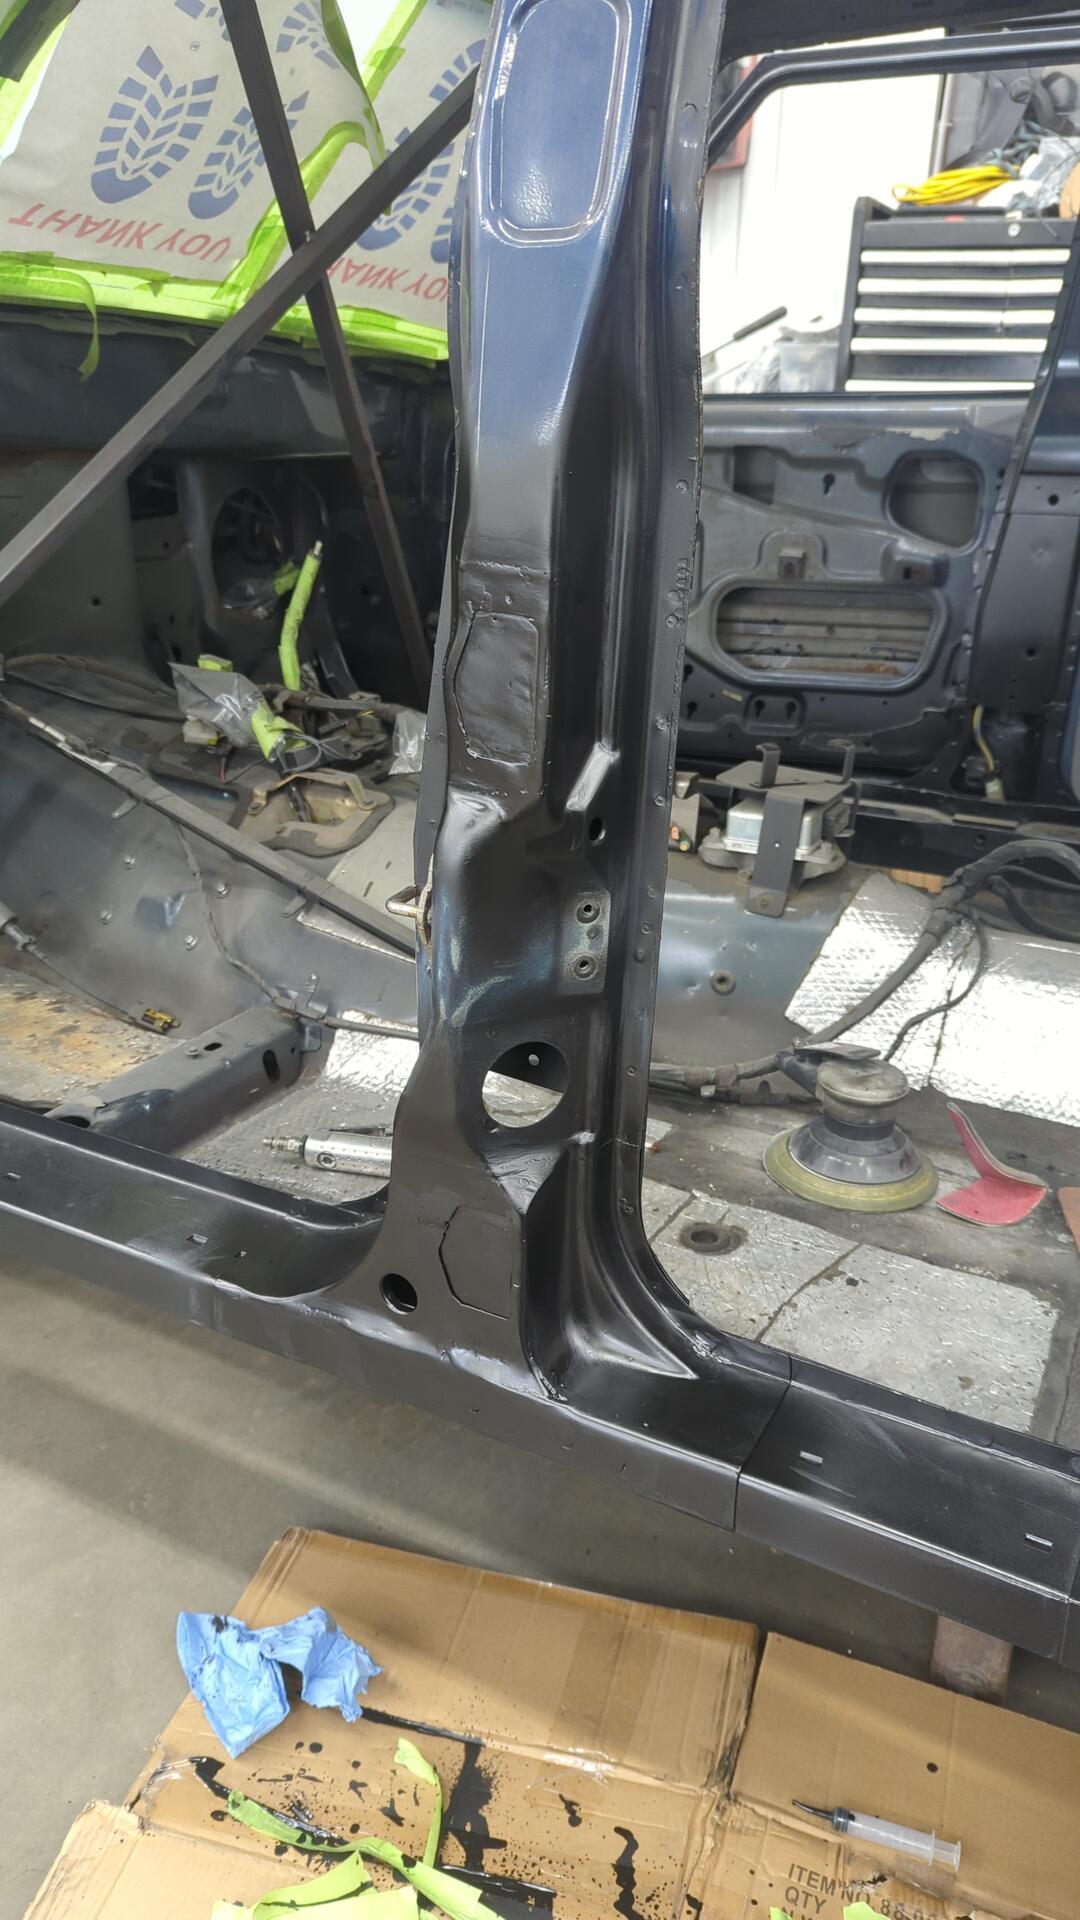
All done.
Everything cleaned up nicely.
Finishing the B pillar
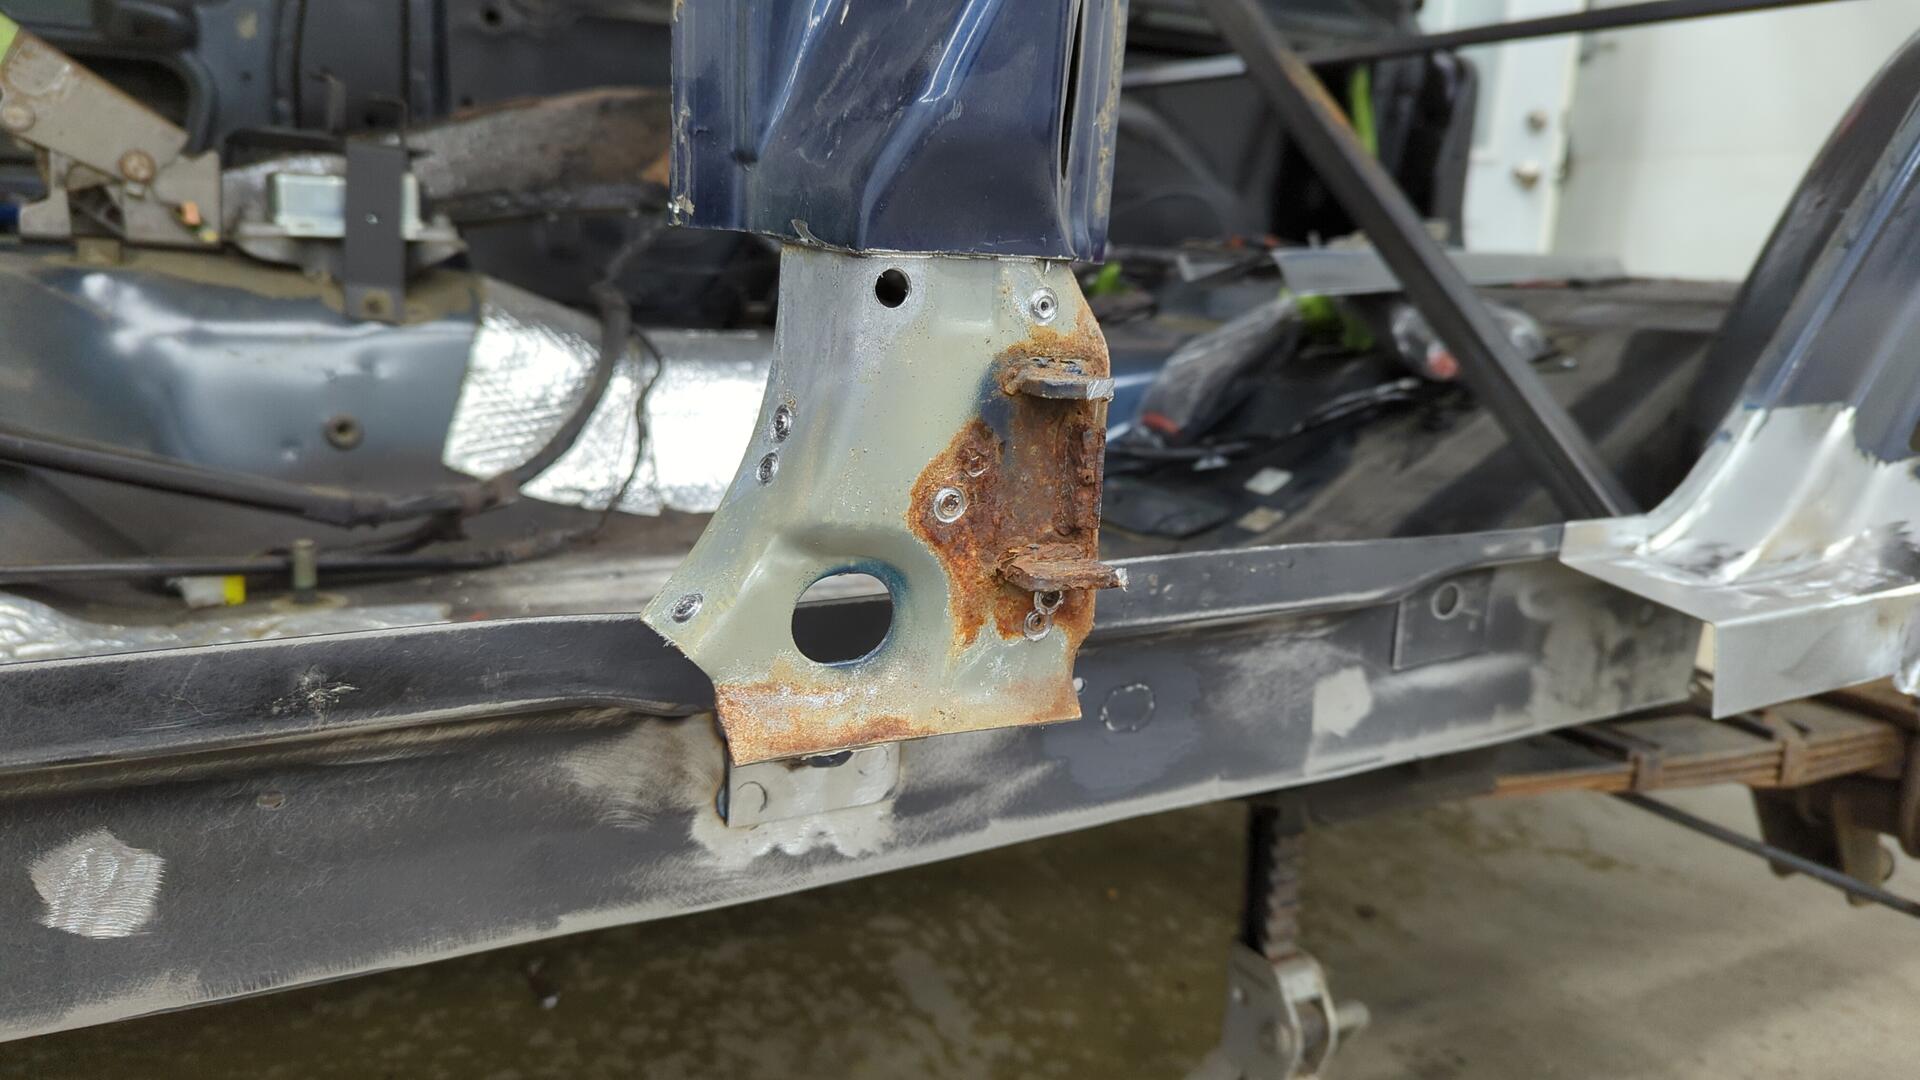
The bottom bit of the pillar that I had removed earlier on was in pretty rough shape.
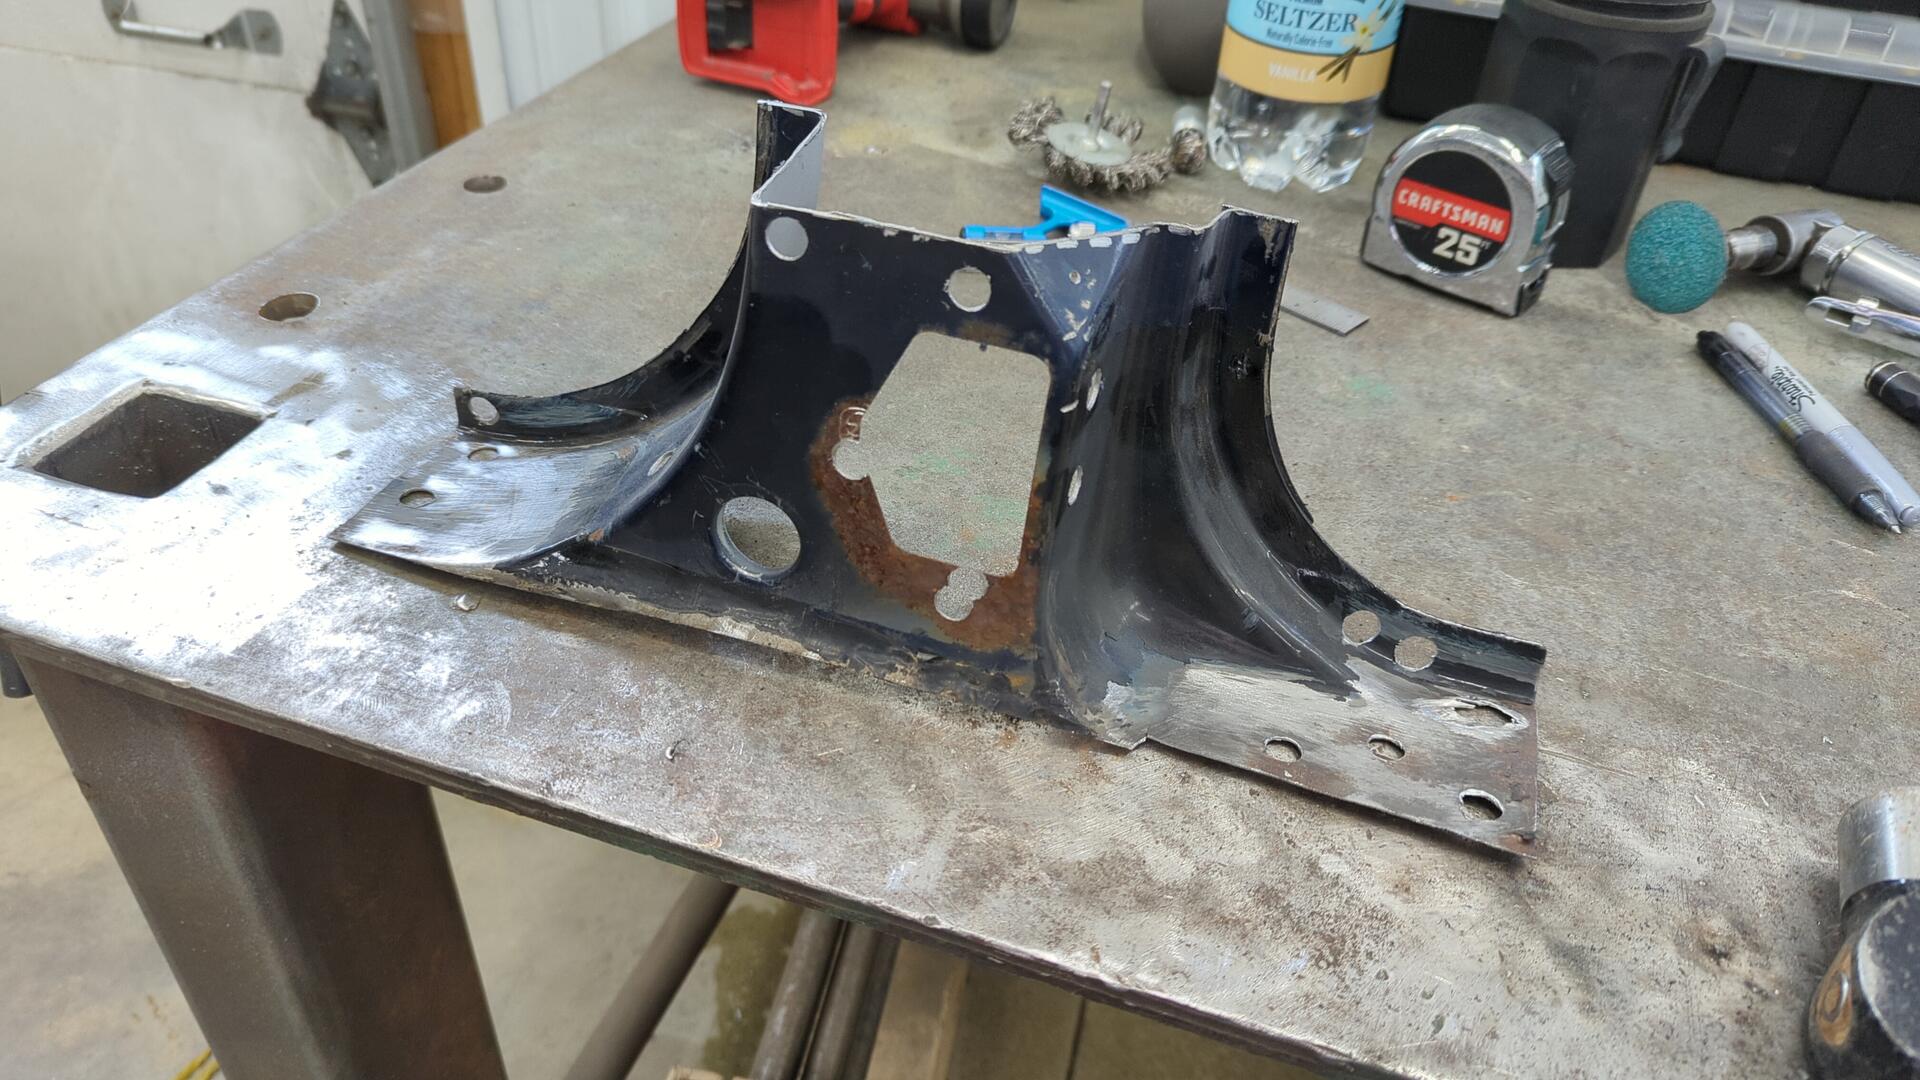
I removed all the paint I could from it to try and get an idea of how the metal was holding up. Most of it looked fine but there were some parts that needed to go.

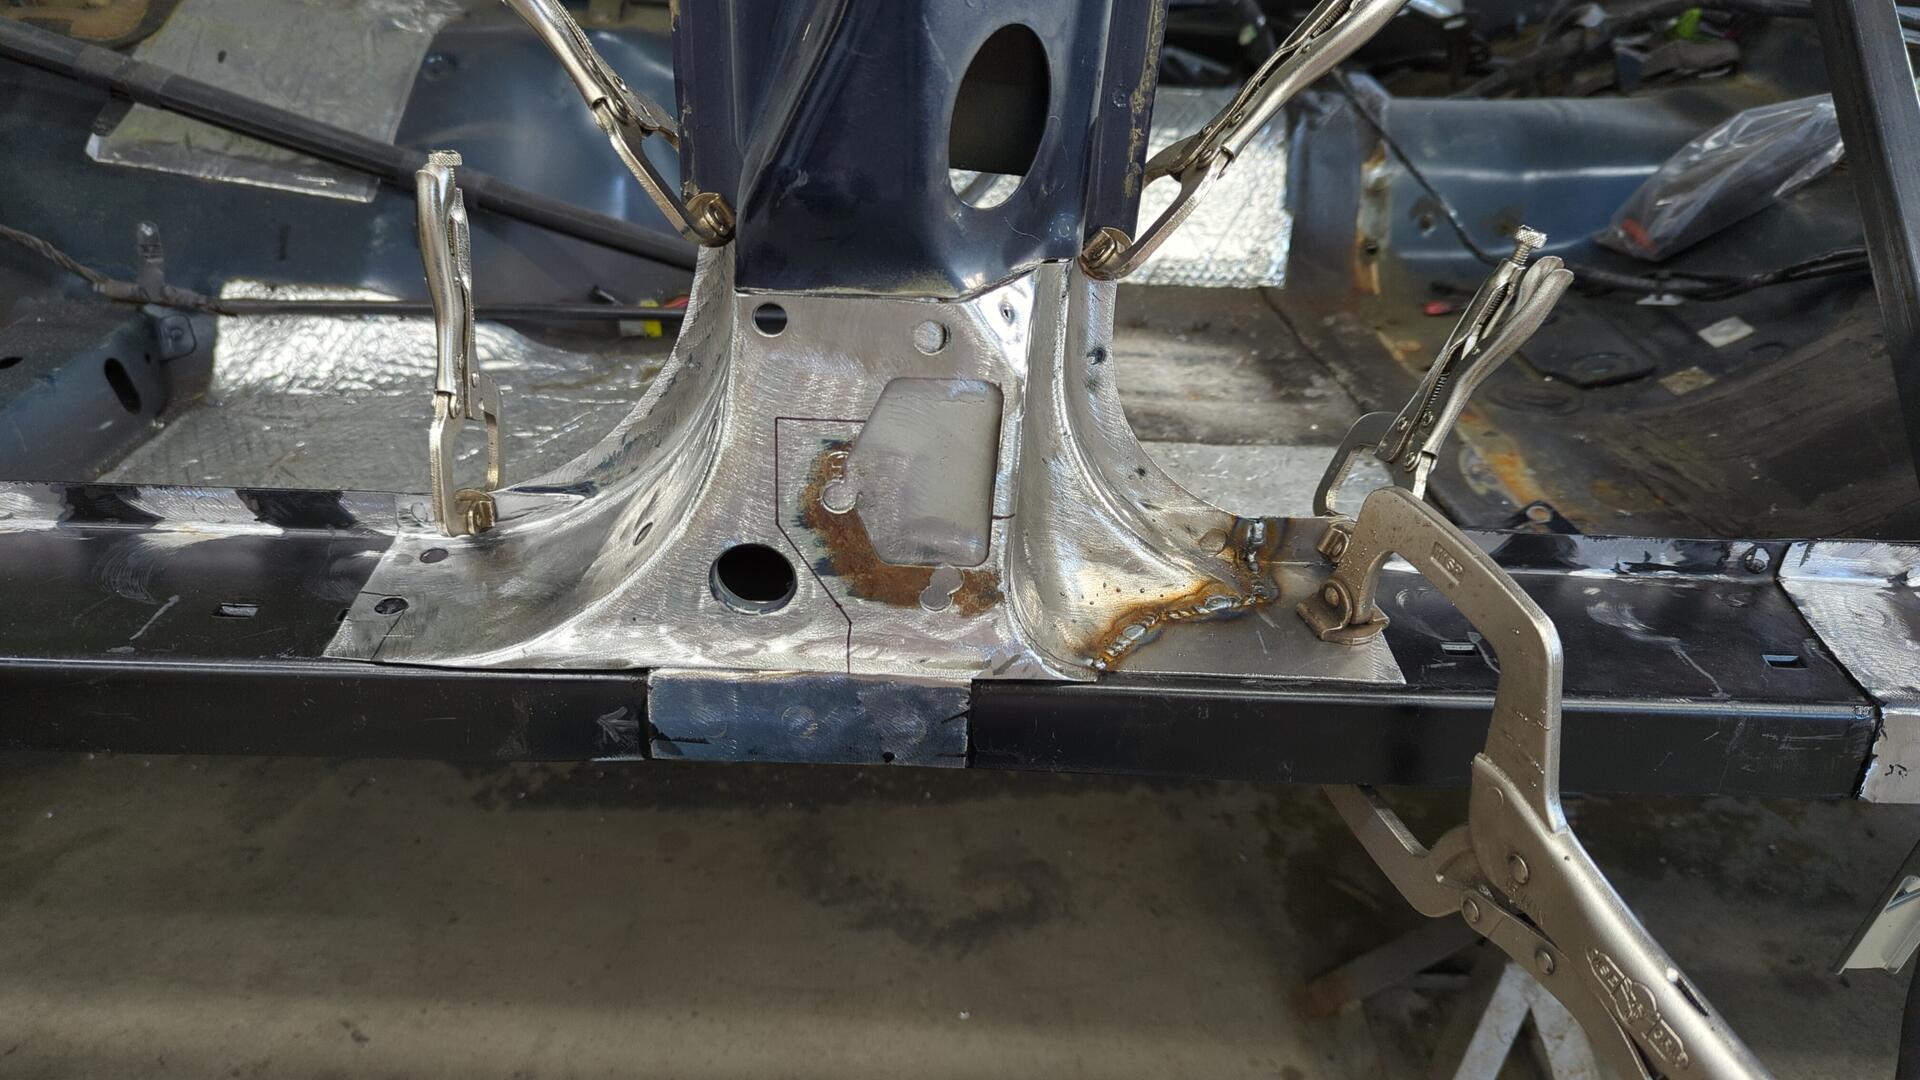
Don’t judge that gap. I messed up measuring the size of my patch.
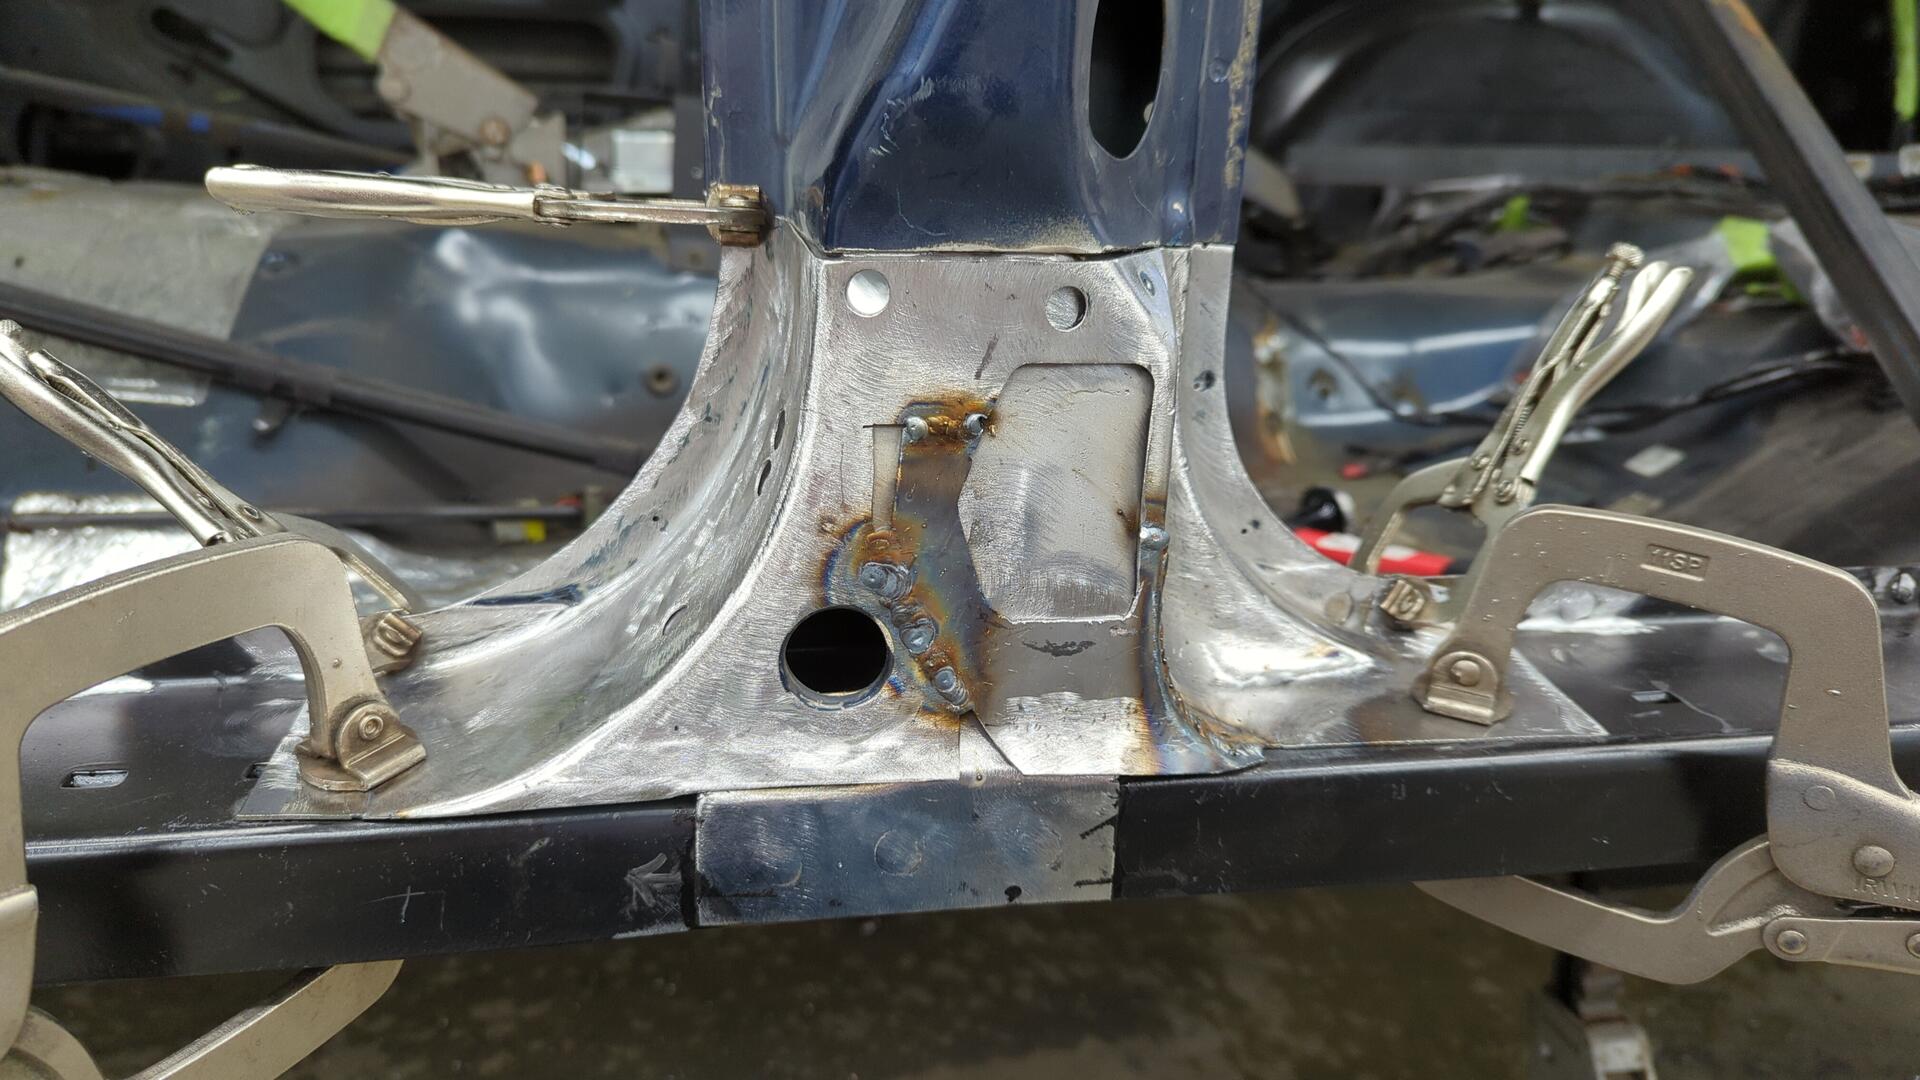
Skipping ahead a couple steps and the patch was looking more normal again.
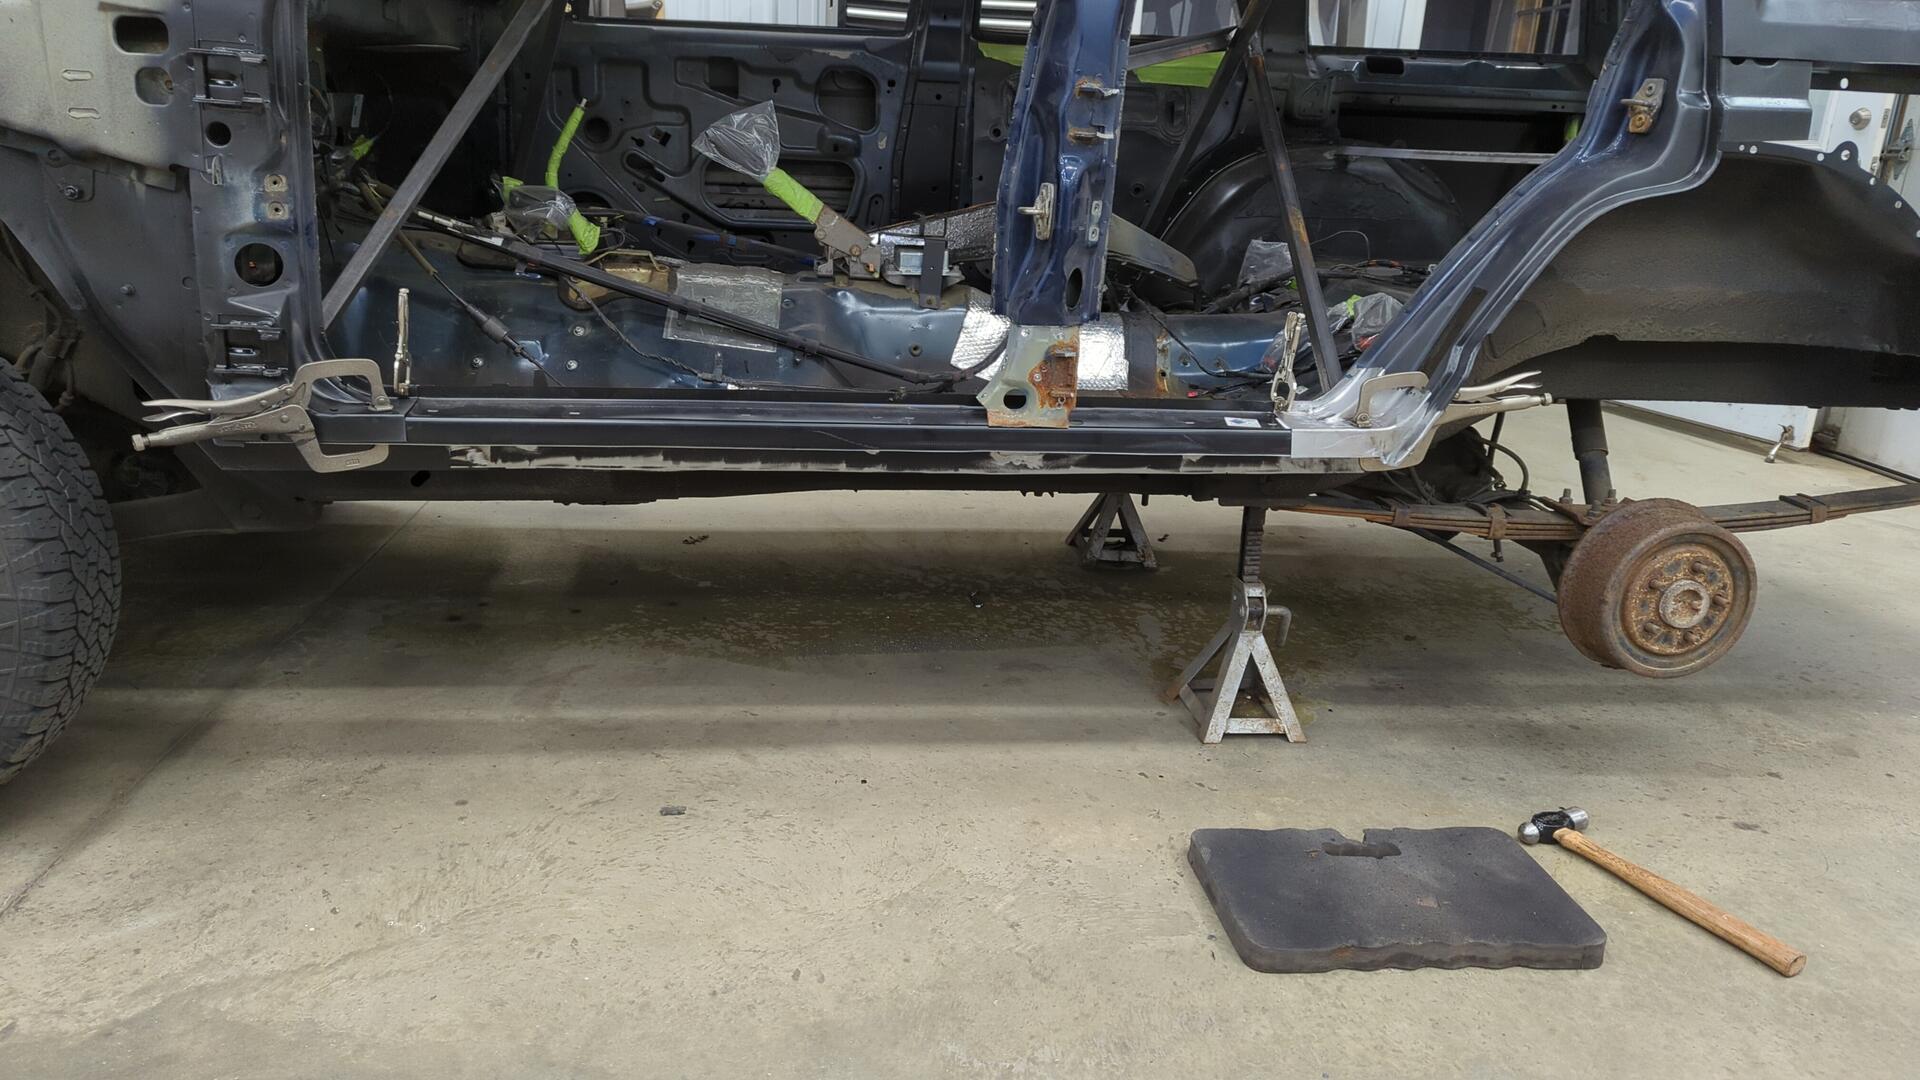
Prepping the rocker for paint. This is the last photo I took of the XJ in 2023.
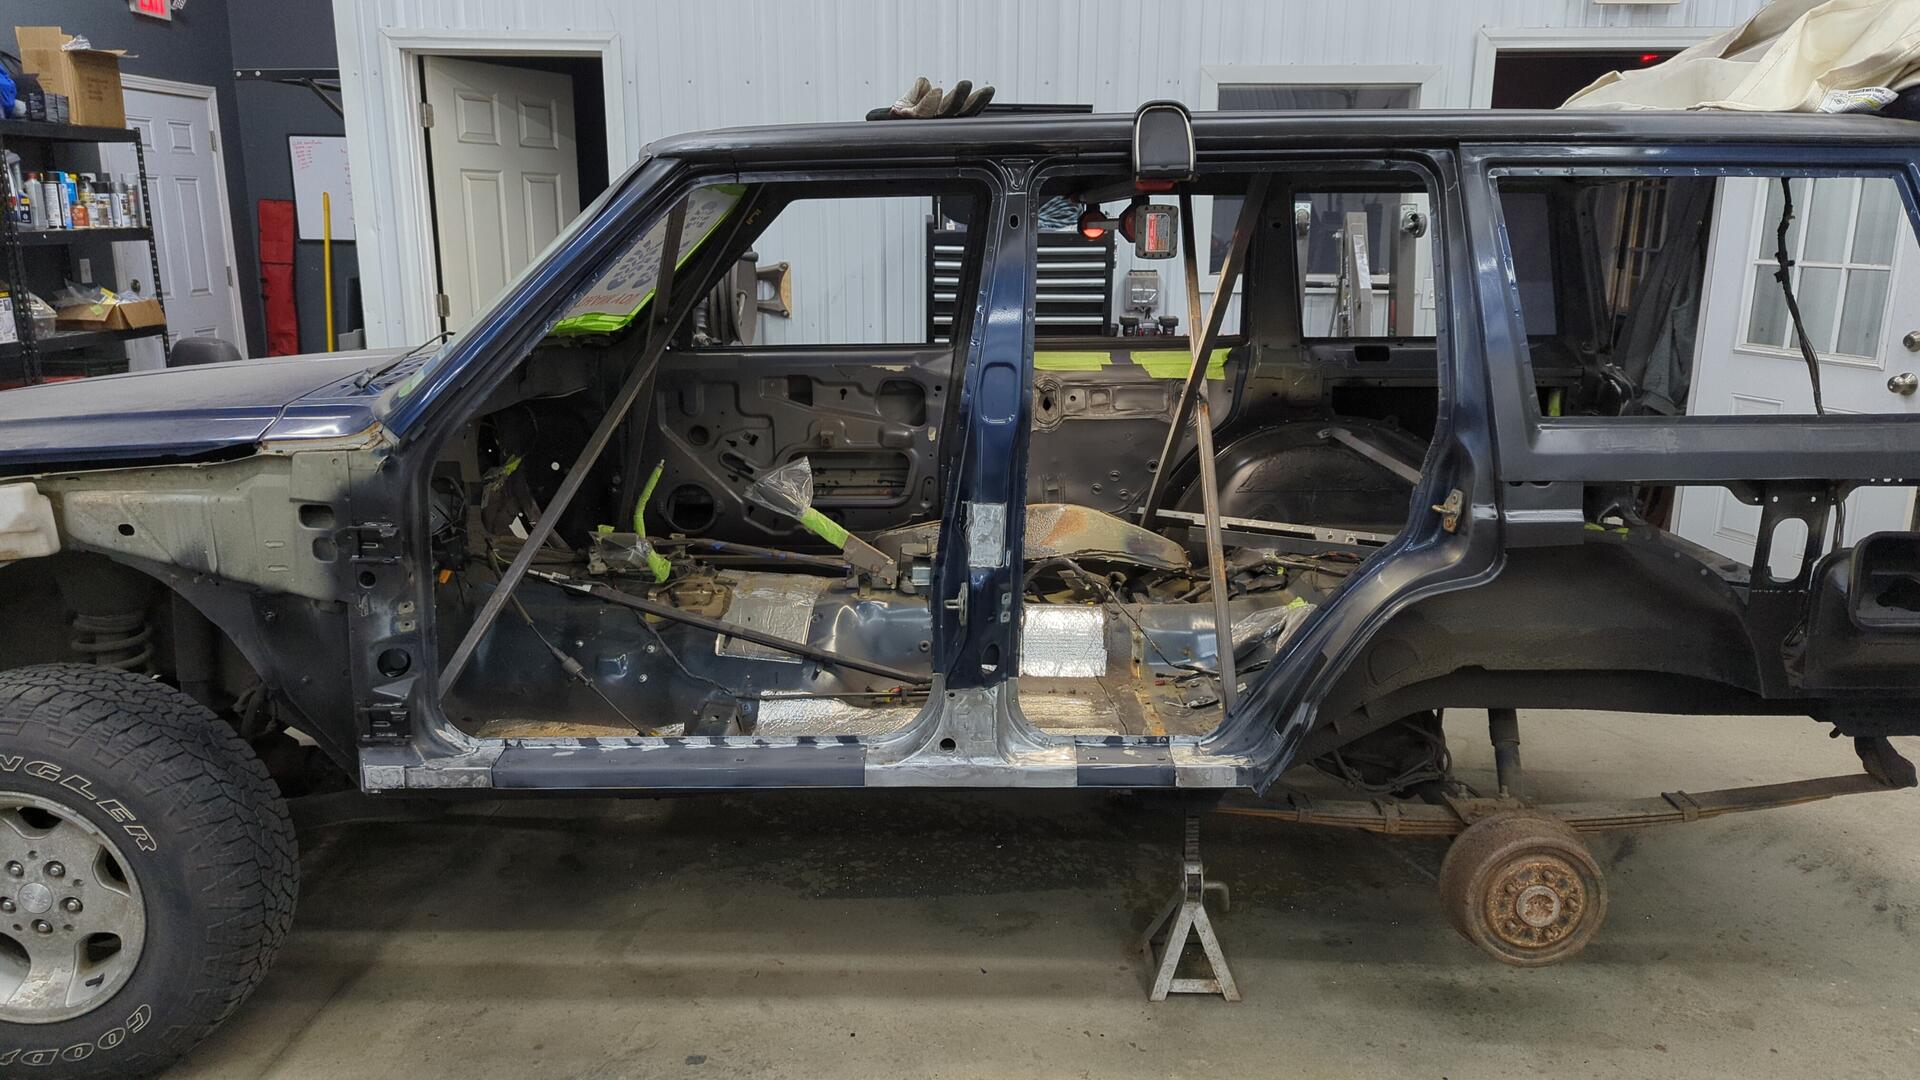
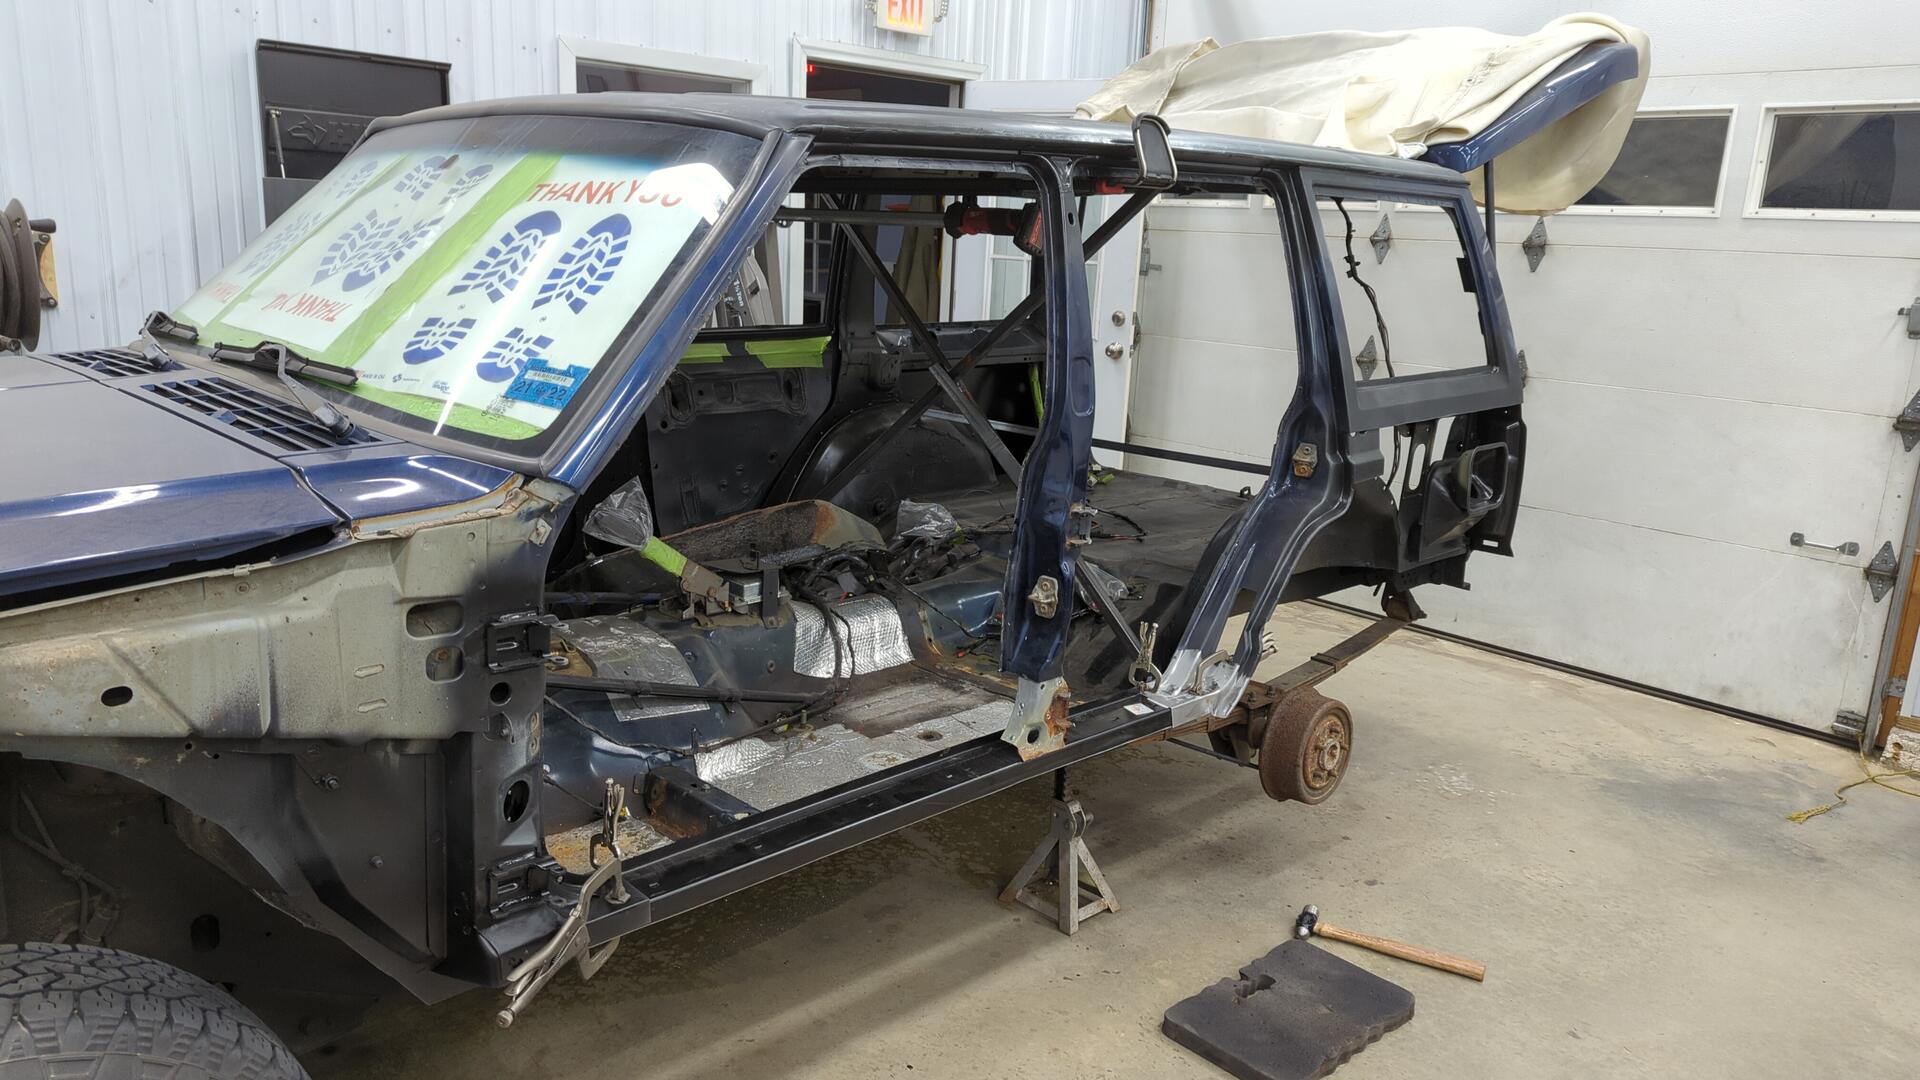
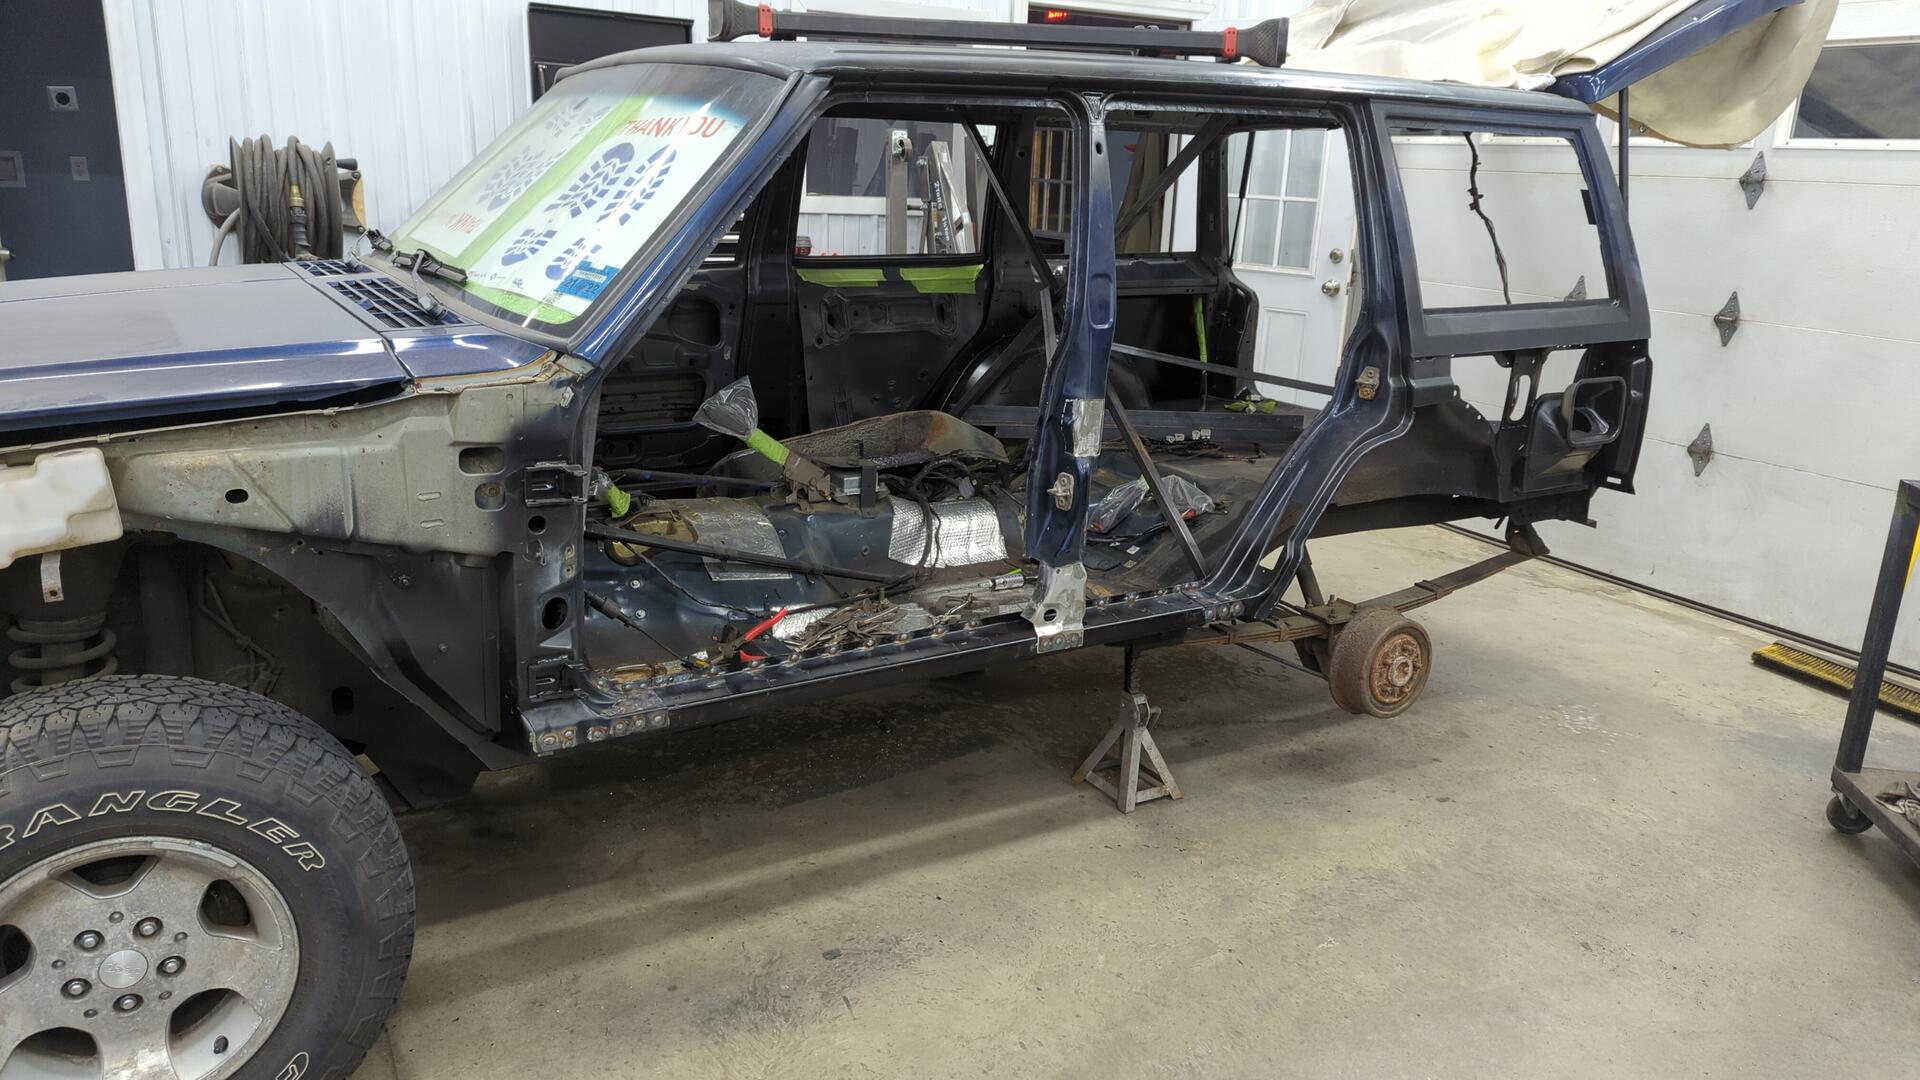
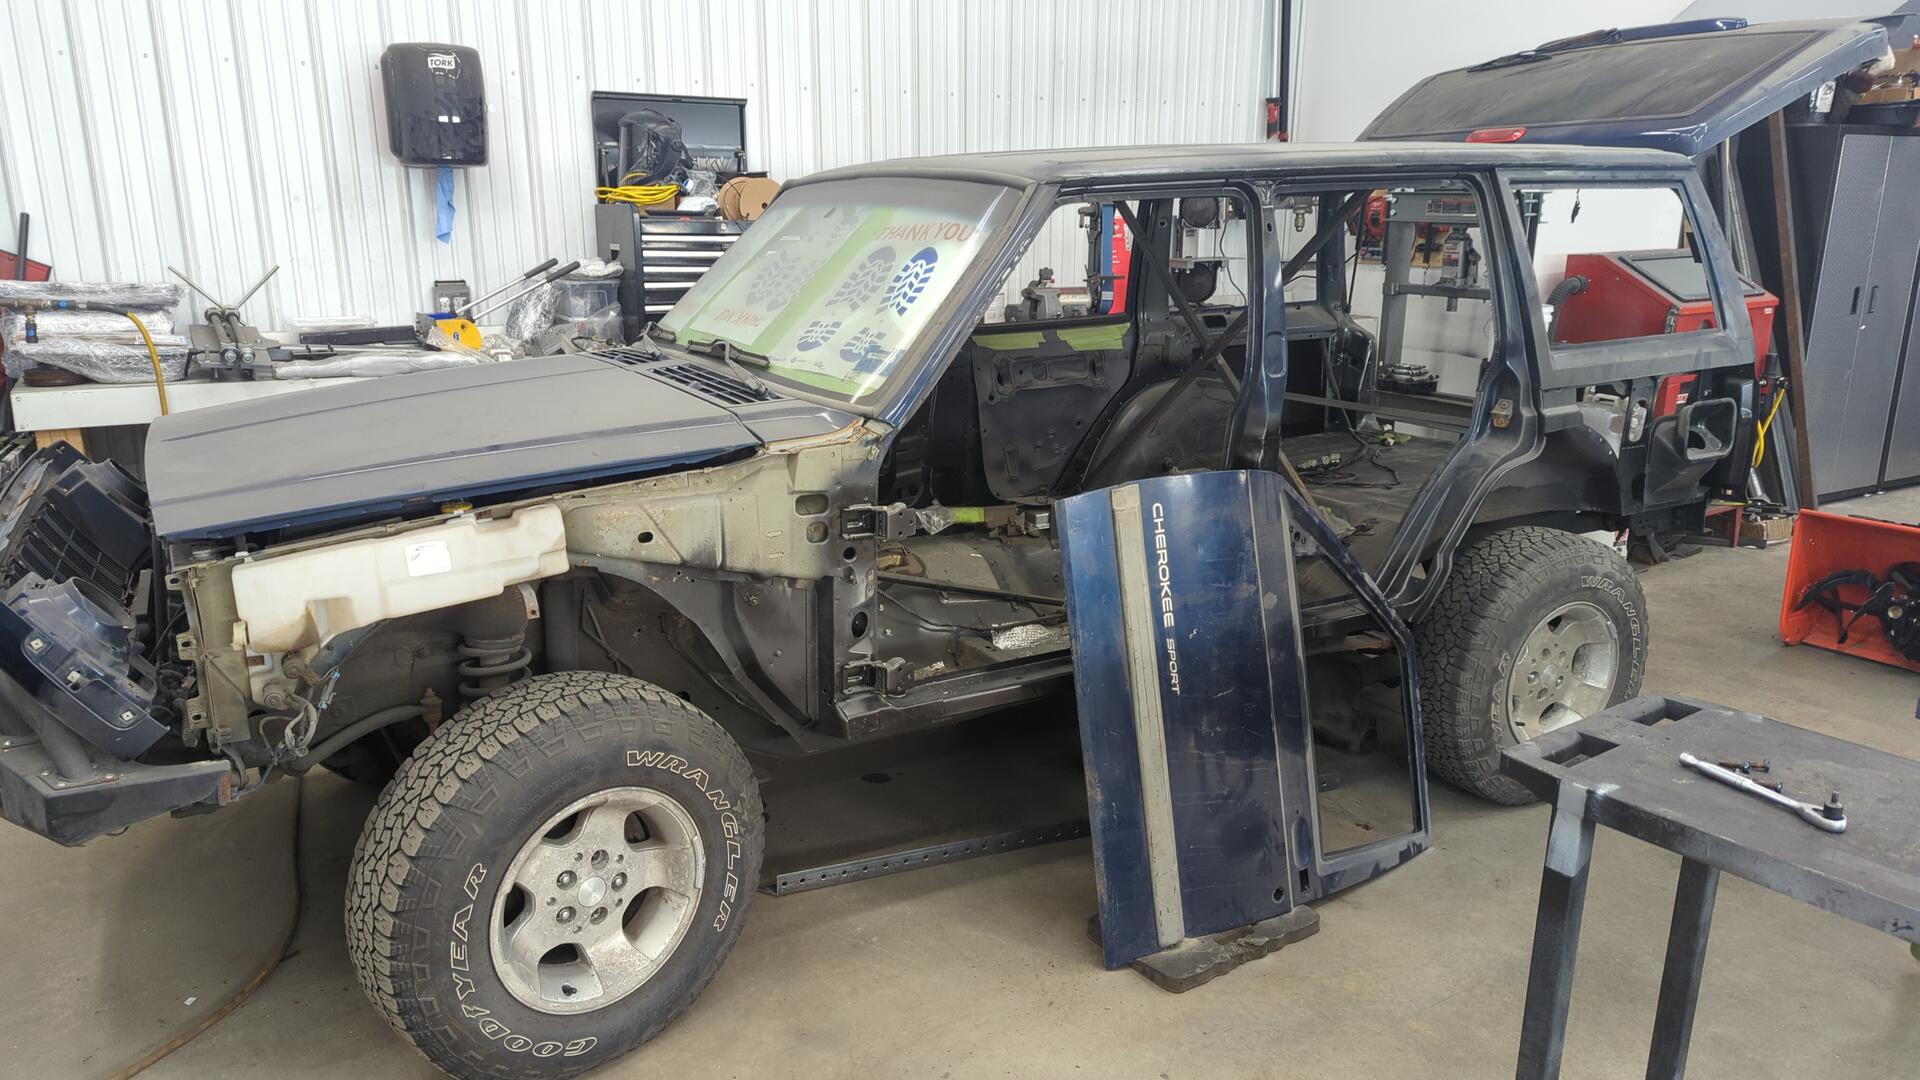
One year later, and the XJ didn’t change much other than a drastic increase in dust.
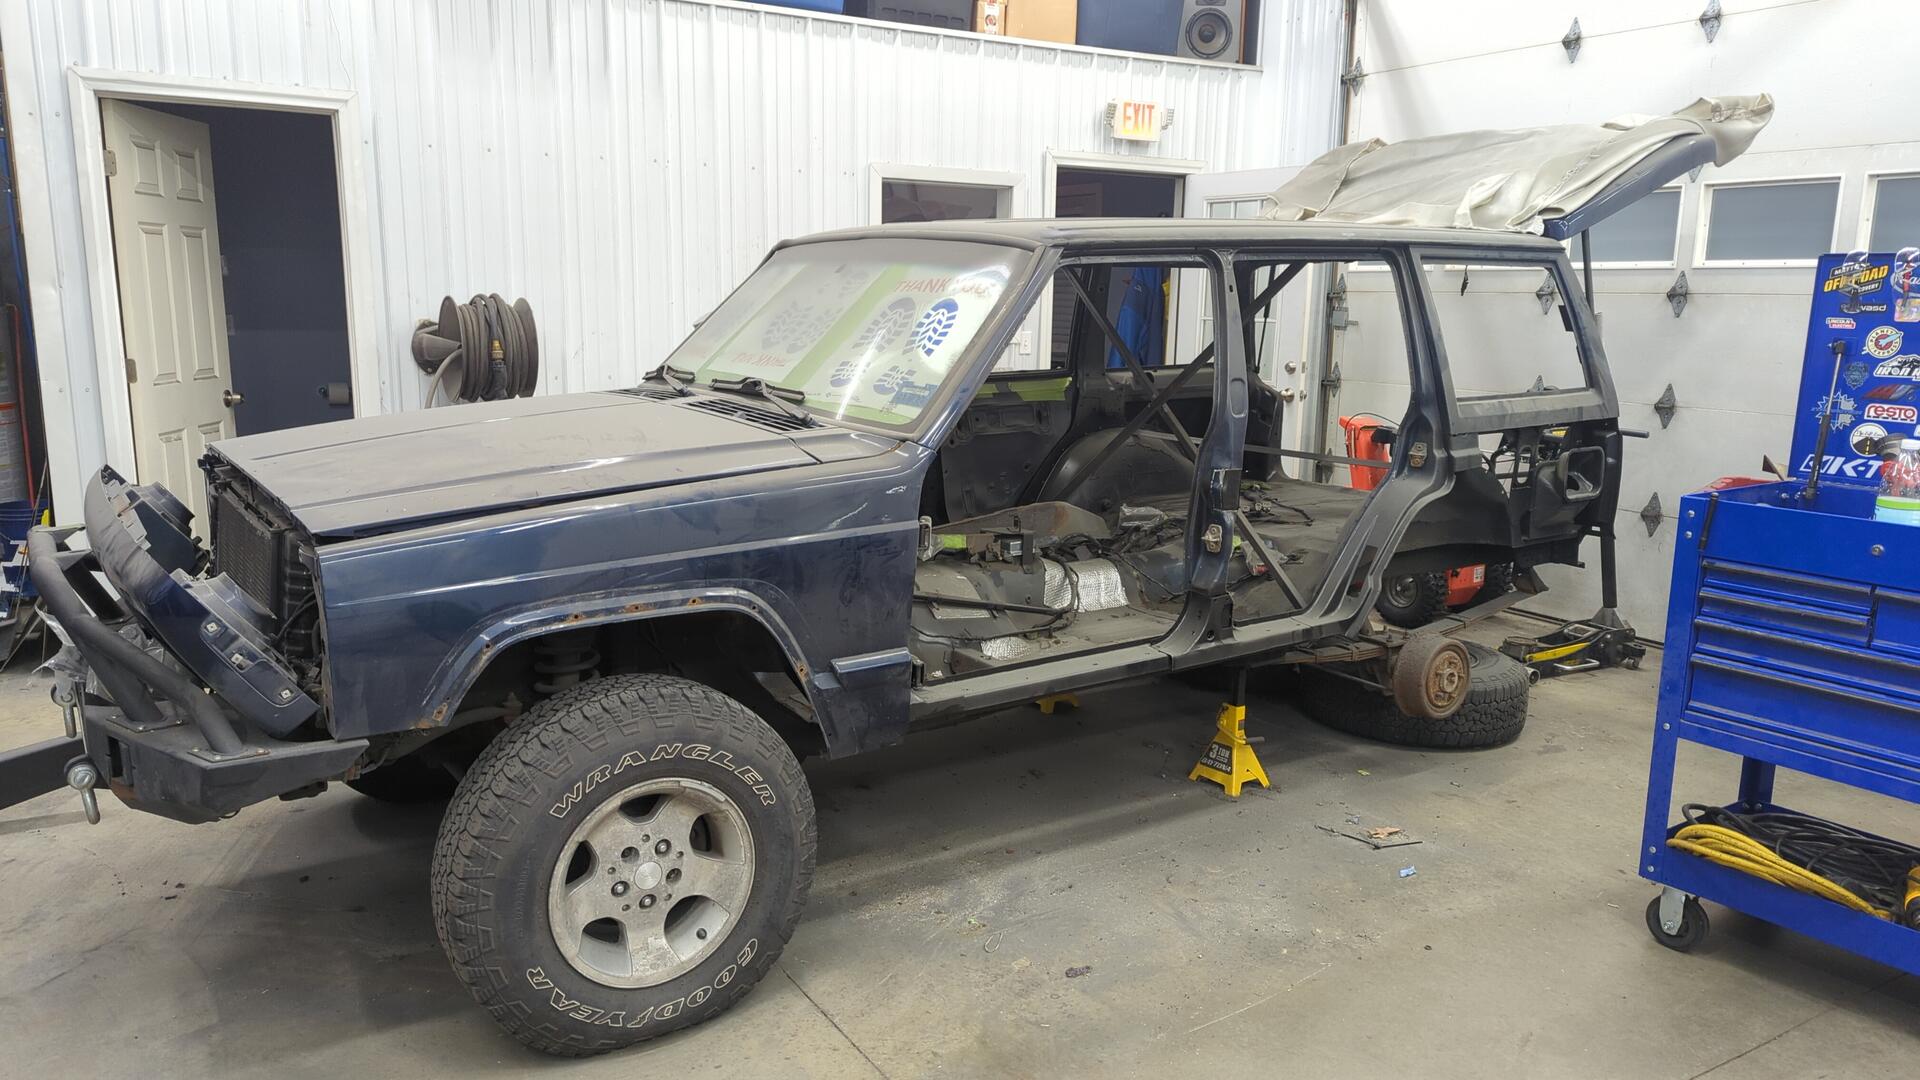
It’s first move in 2 years
Having worked on my Civic in the back corner of the shop I realized I should move the XJ over there since it’s perfect for staying out the way and leaves both my garage bays open.
The rear brakes were dragging pretty bad but I was able to push the XJ solo.
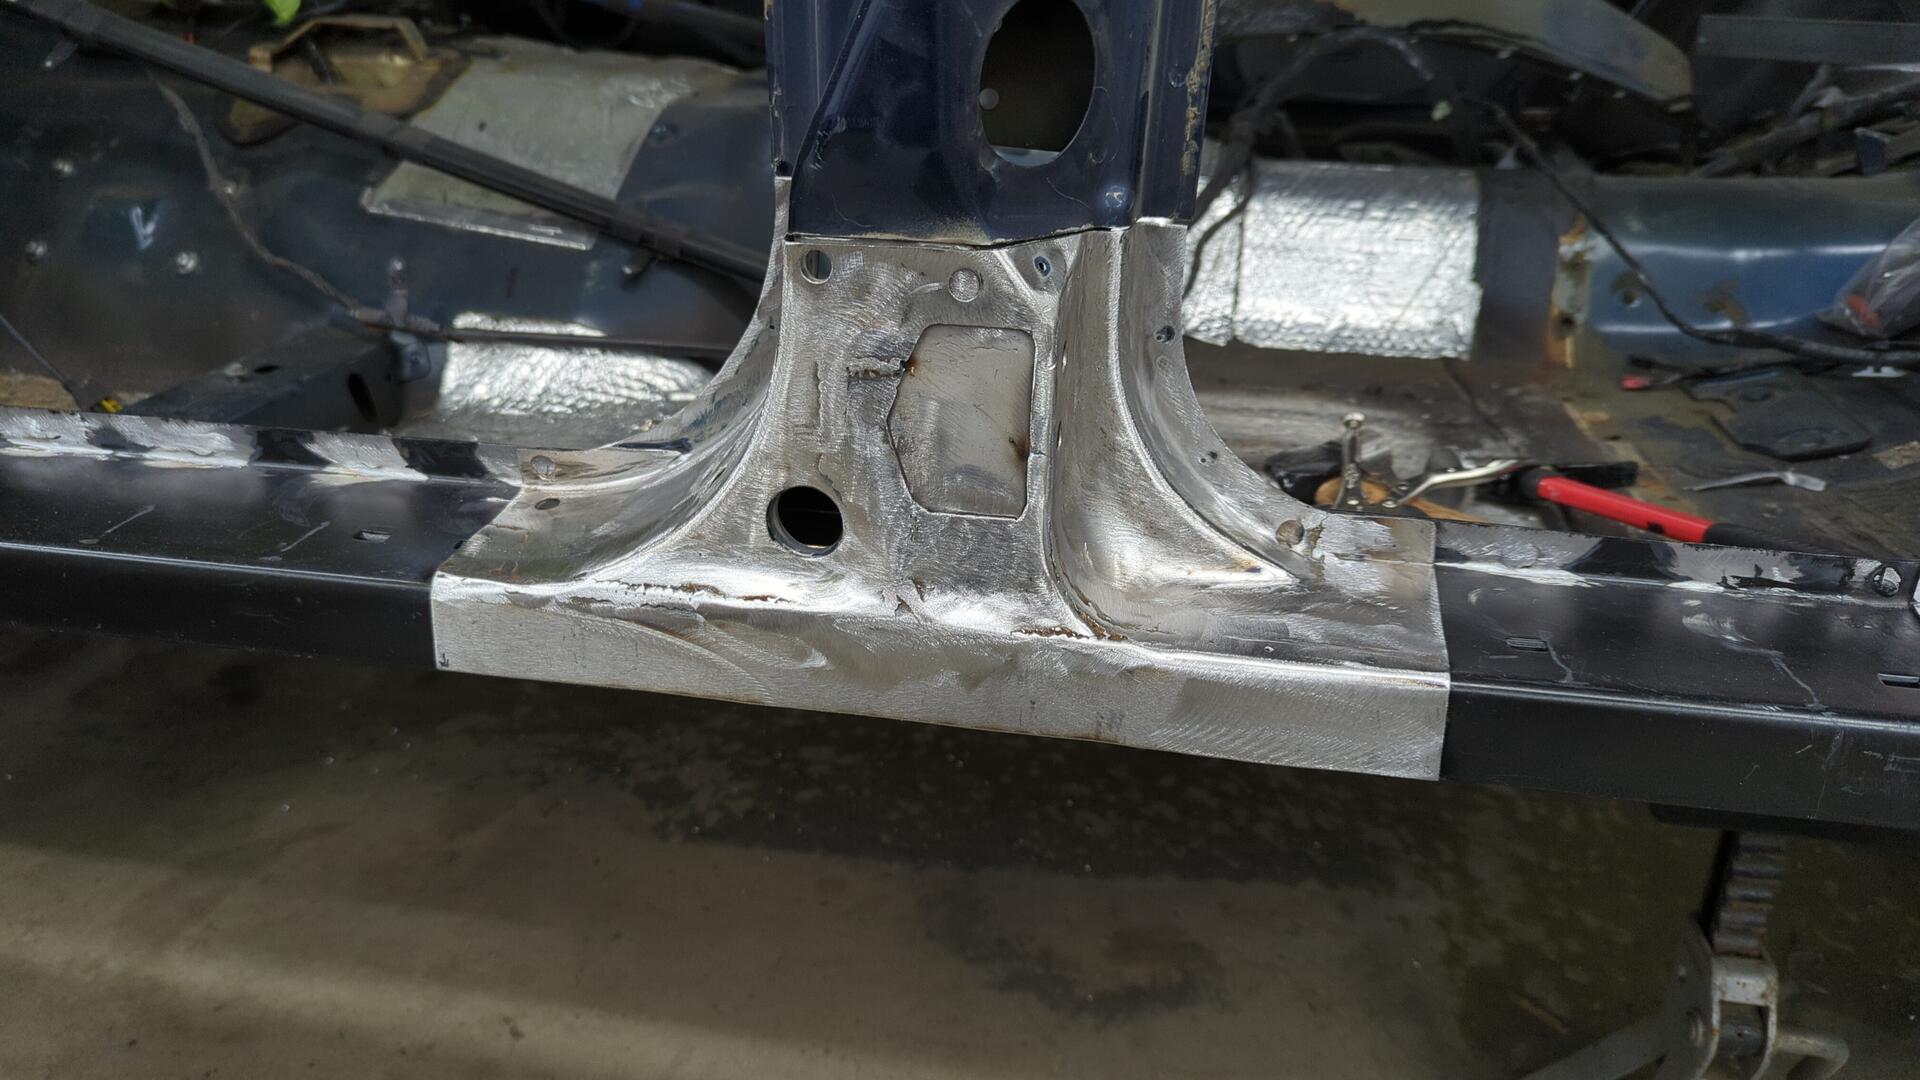
A bit of de-dusting and some welding later I finally had the B pillar done after a year.
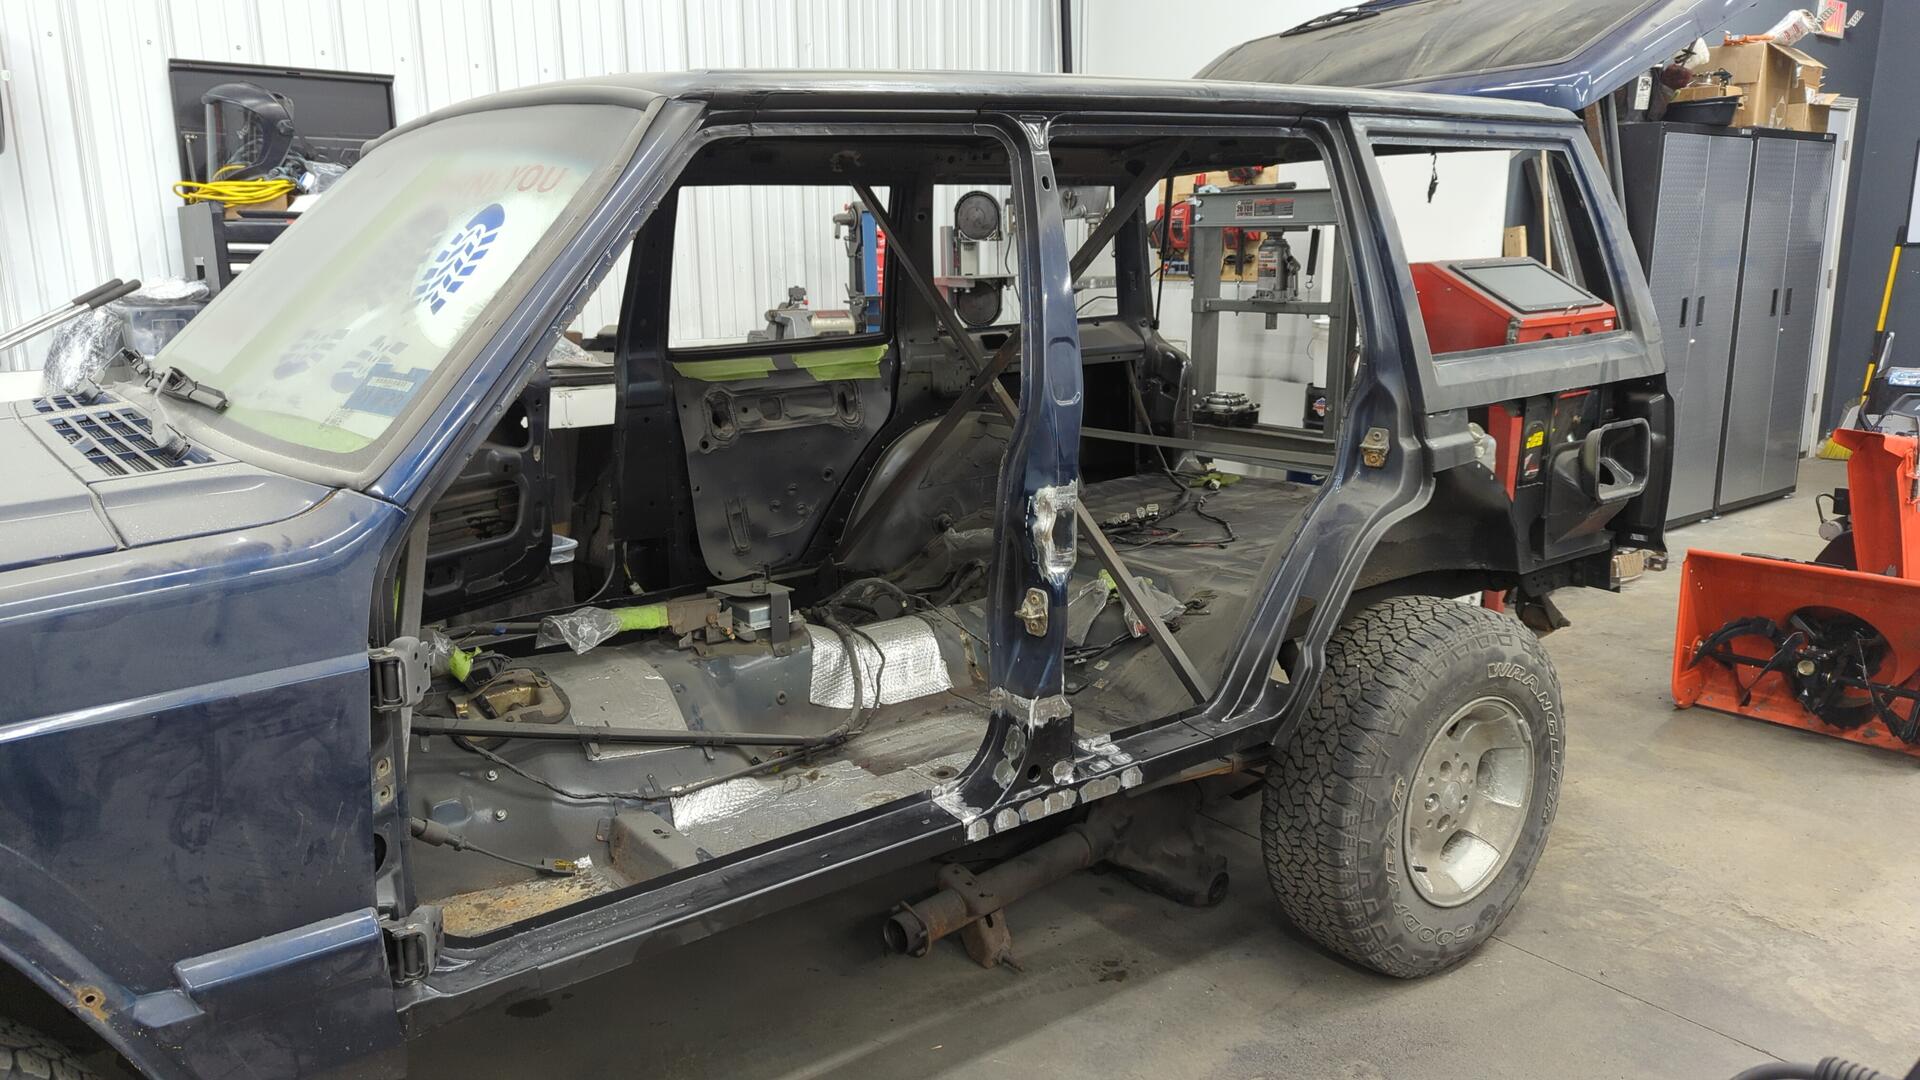
Painted.
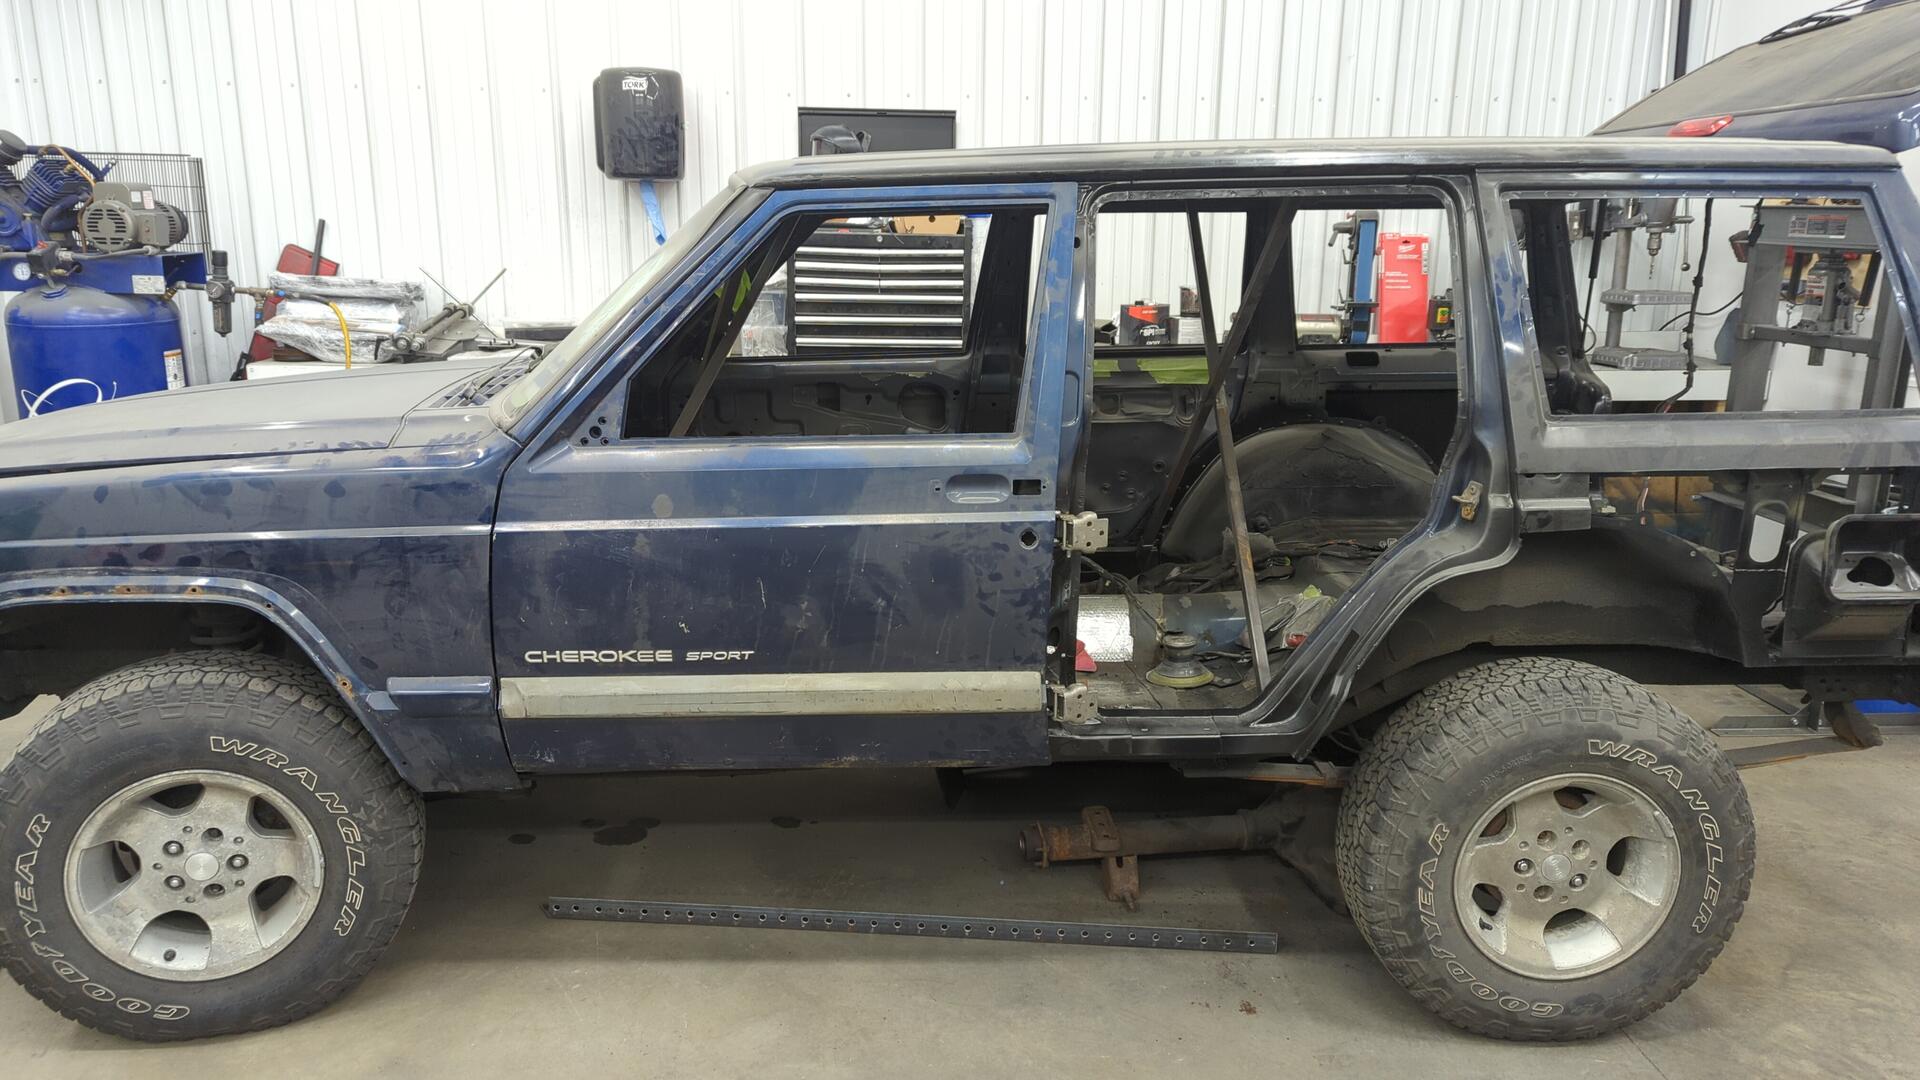
Test mounting the driver doors
I still need to weld in the new rear door hinges but needed the front door mocked up so I could properly position the hinges.
New driver door mounted up, rear hinges tacked into place for testing.
A bit of repositioning later and the new hinges were welded in.

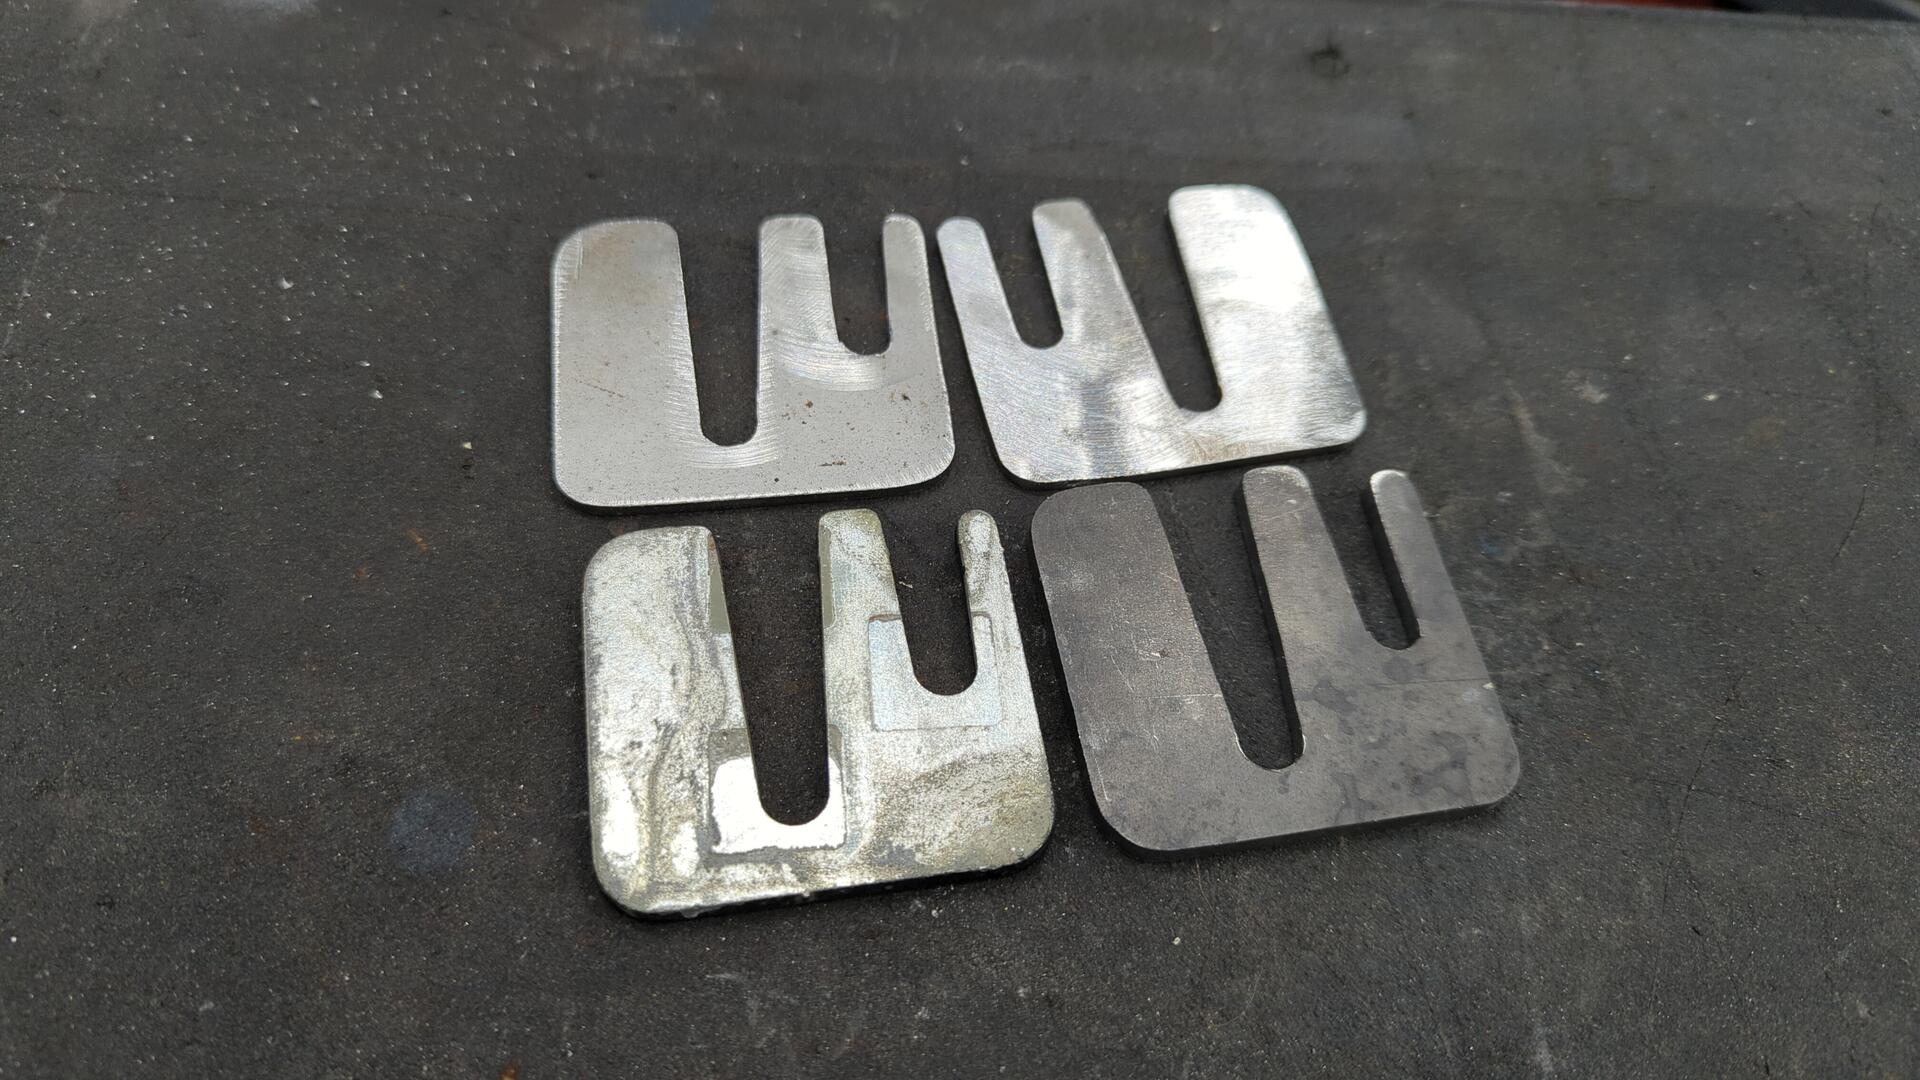
I had to make some new door hinge shims since I was missing some. Bottom two are 3/16" thick and top two are 1/8" thick.
Bottom left one is the original.
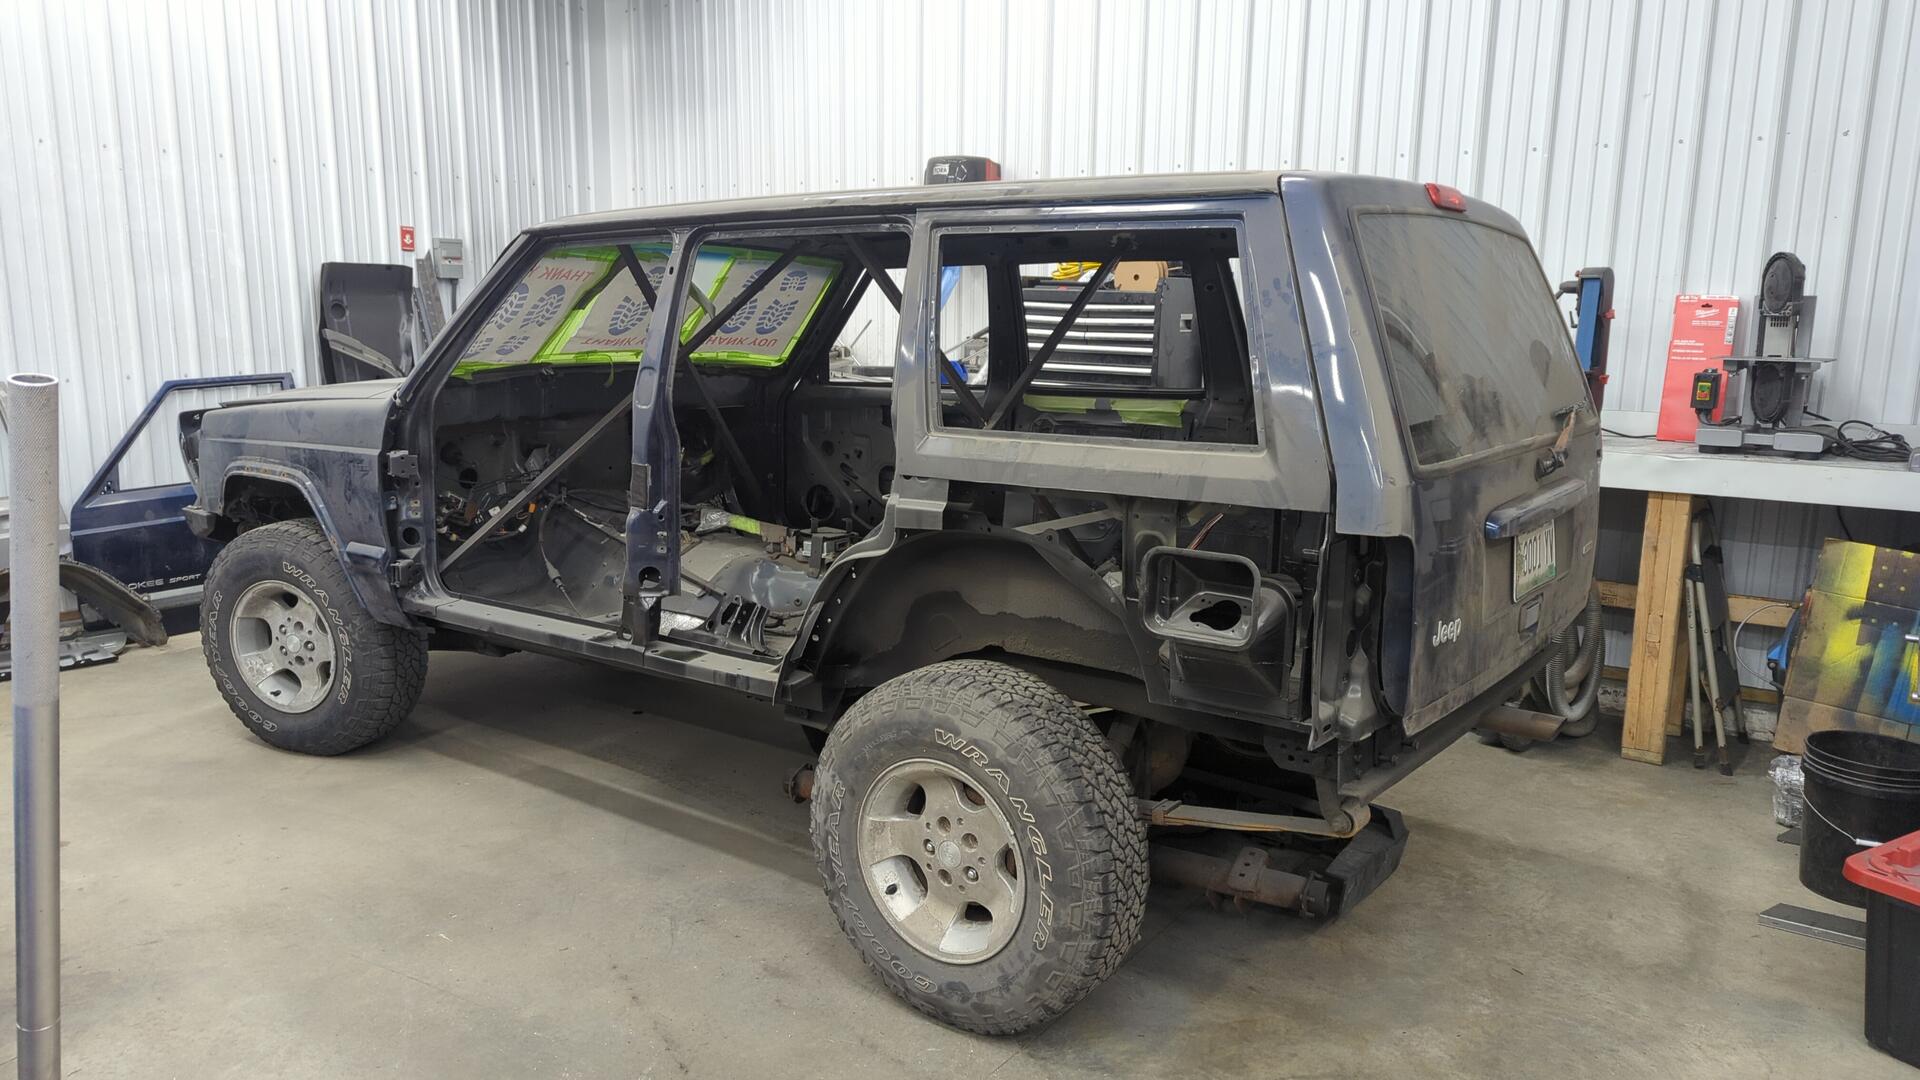
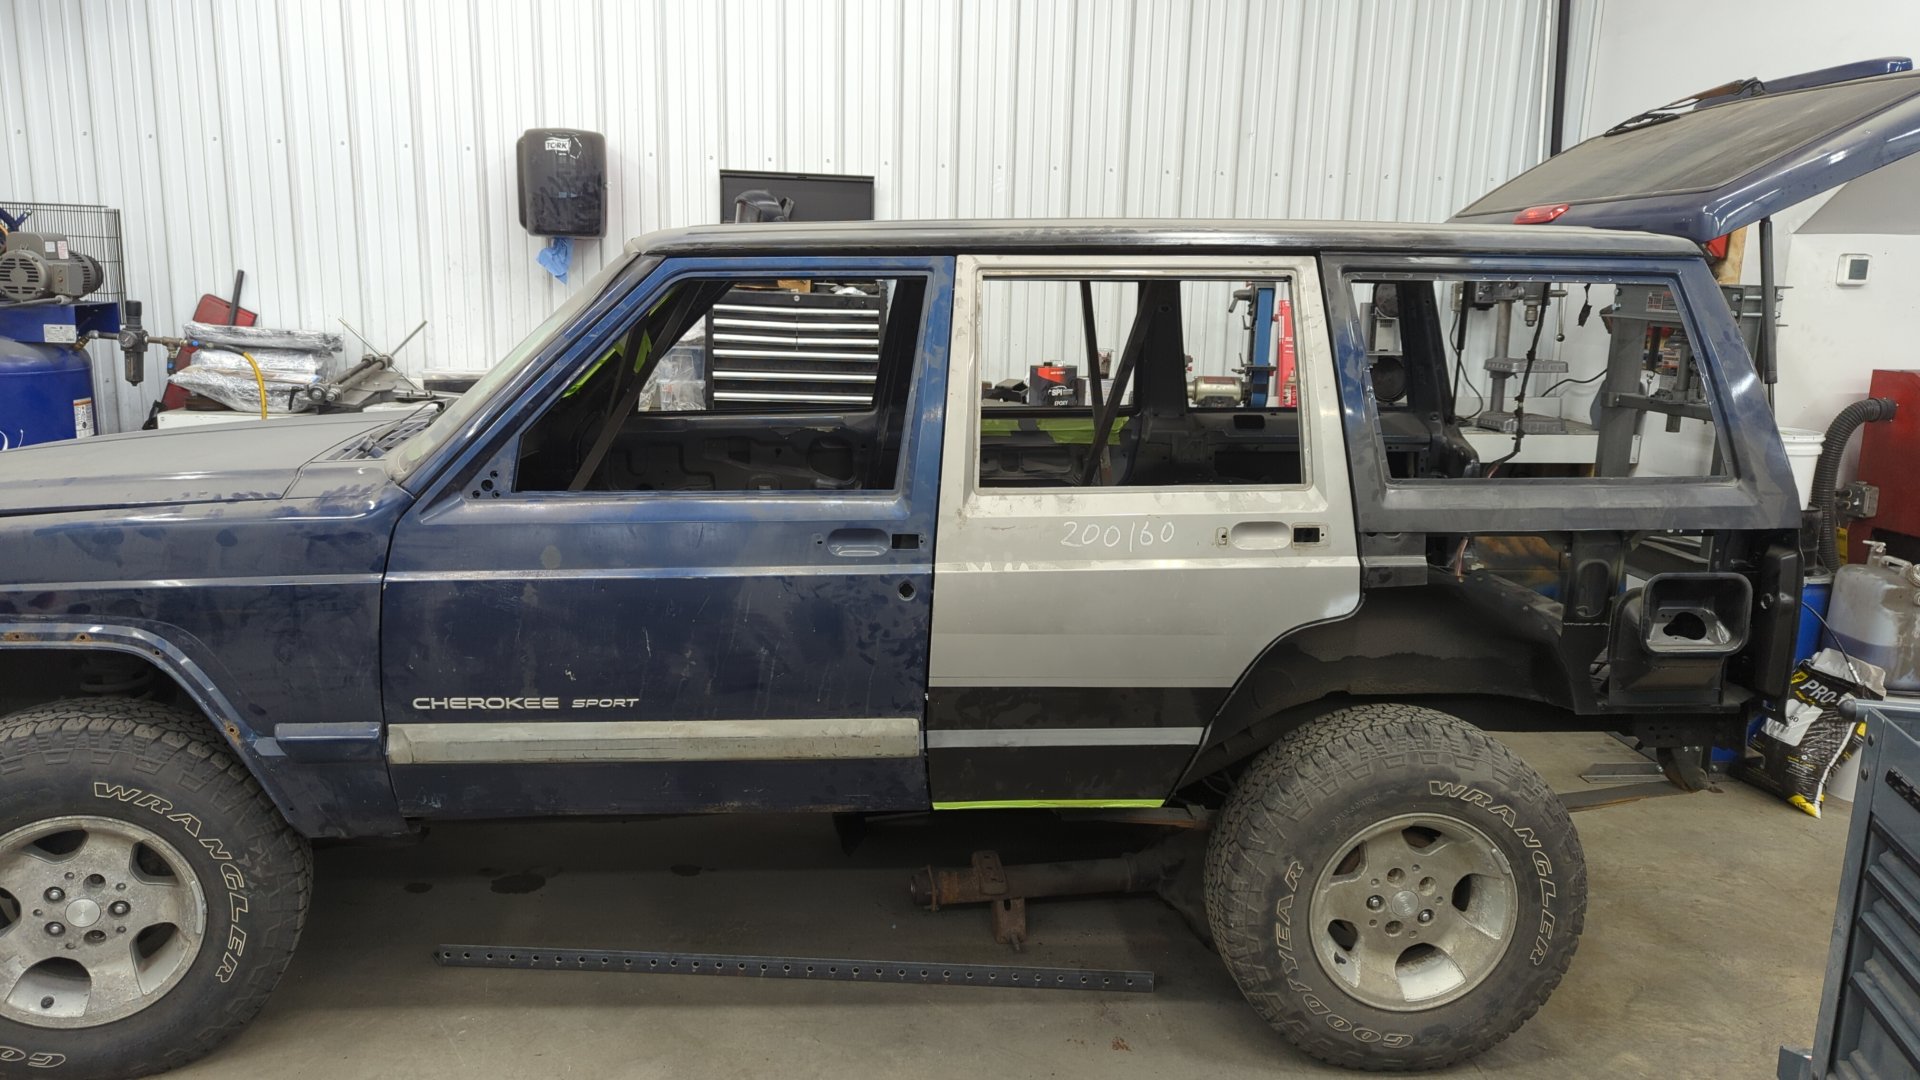
New rear door mounted up.
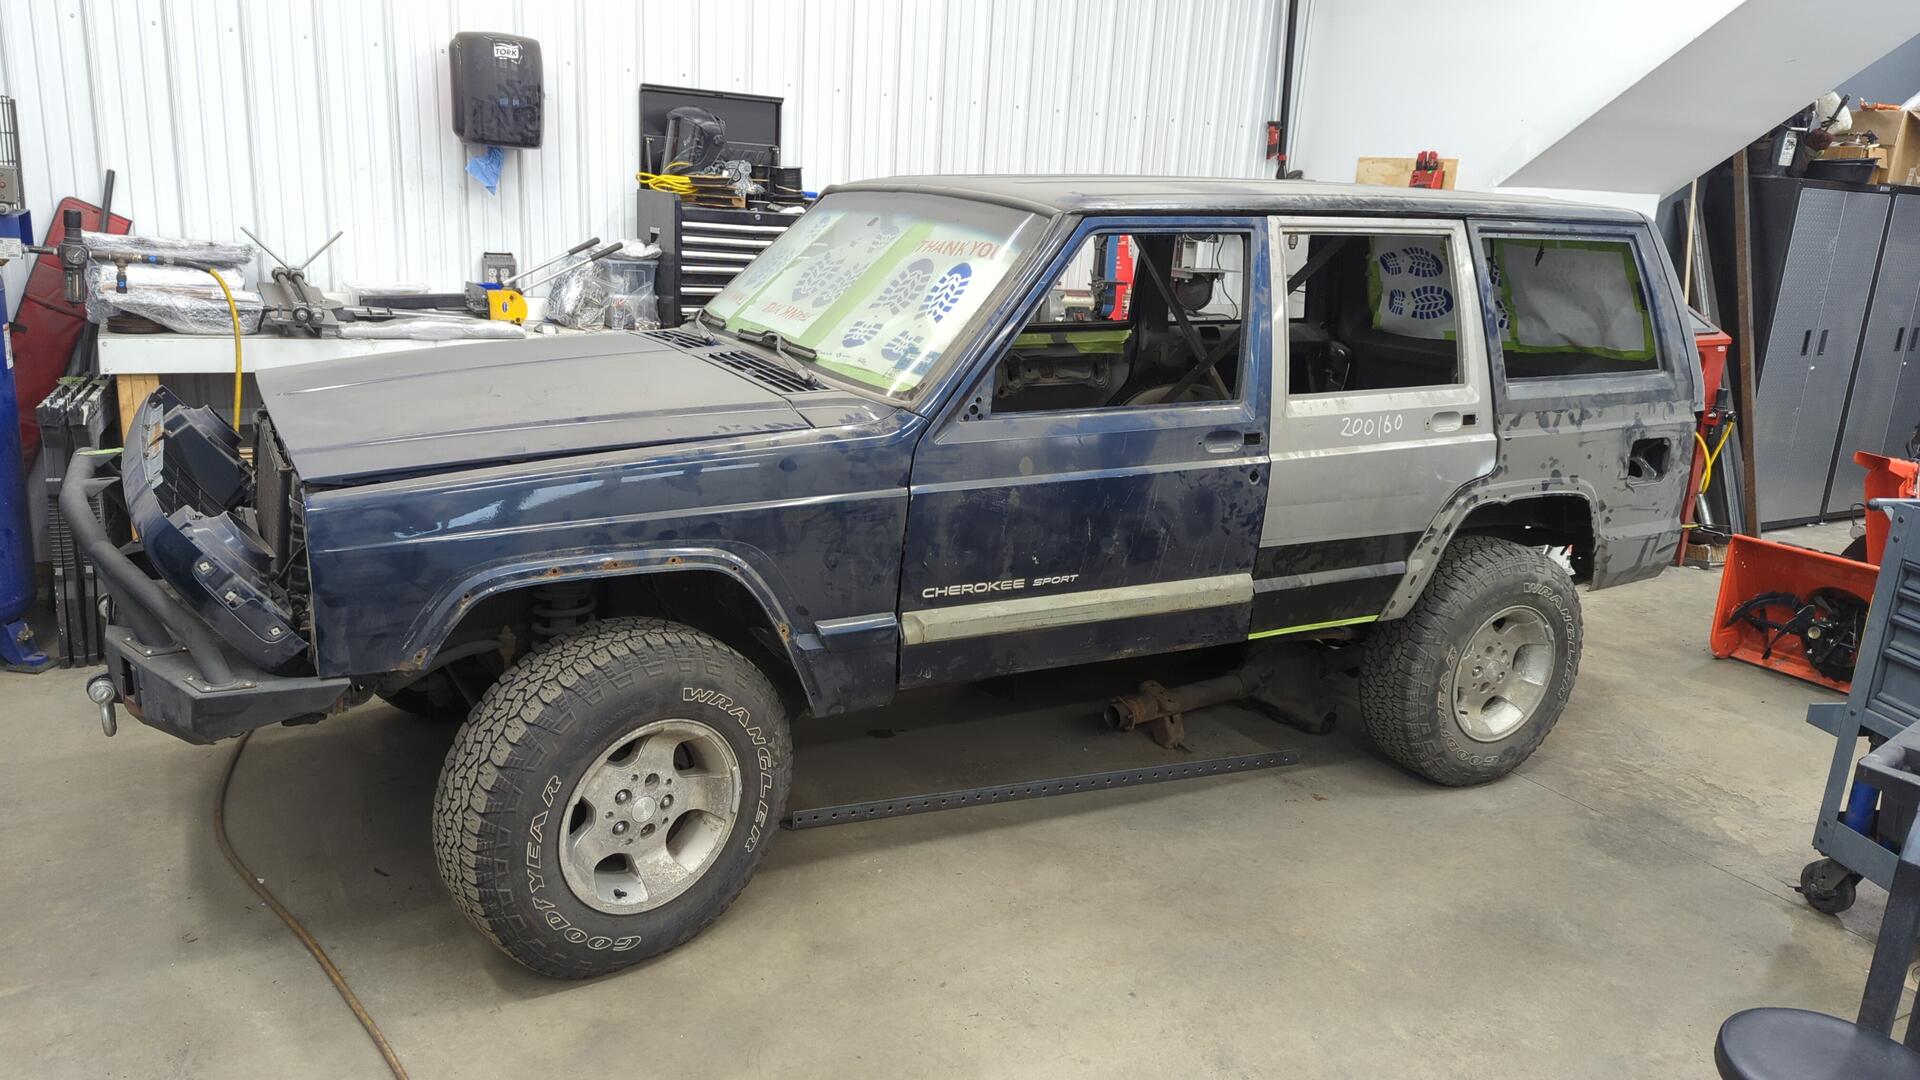
I couldn’t resist popping the quarter panel on to get a sneak peak of the new driver side.
Up next is to weld in the 2x6.