Building My Ultimate Mig Cart
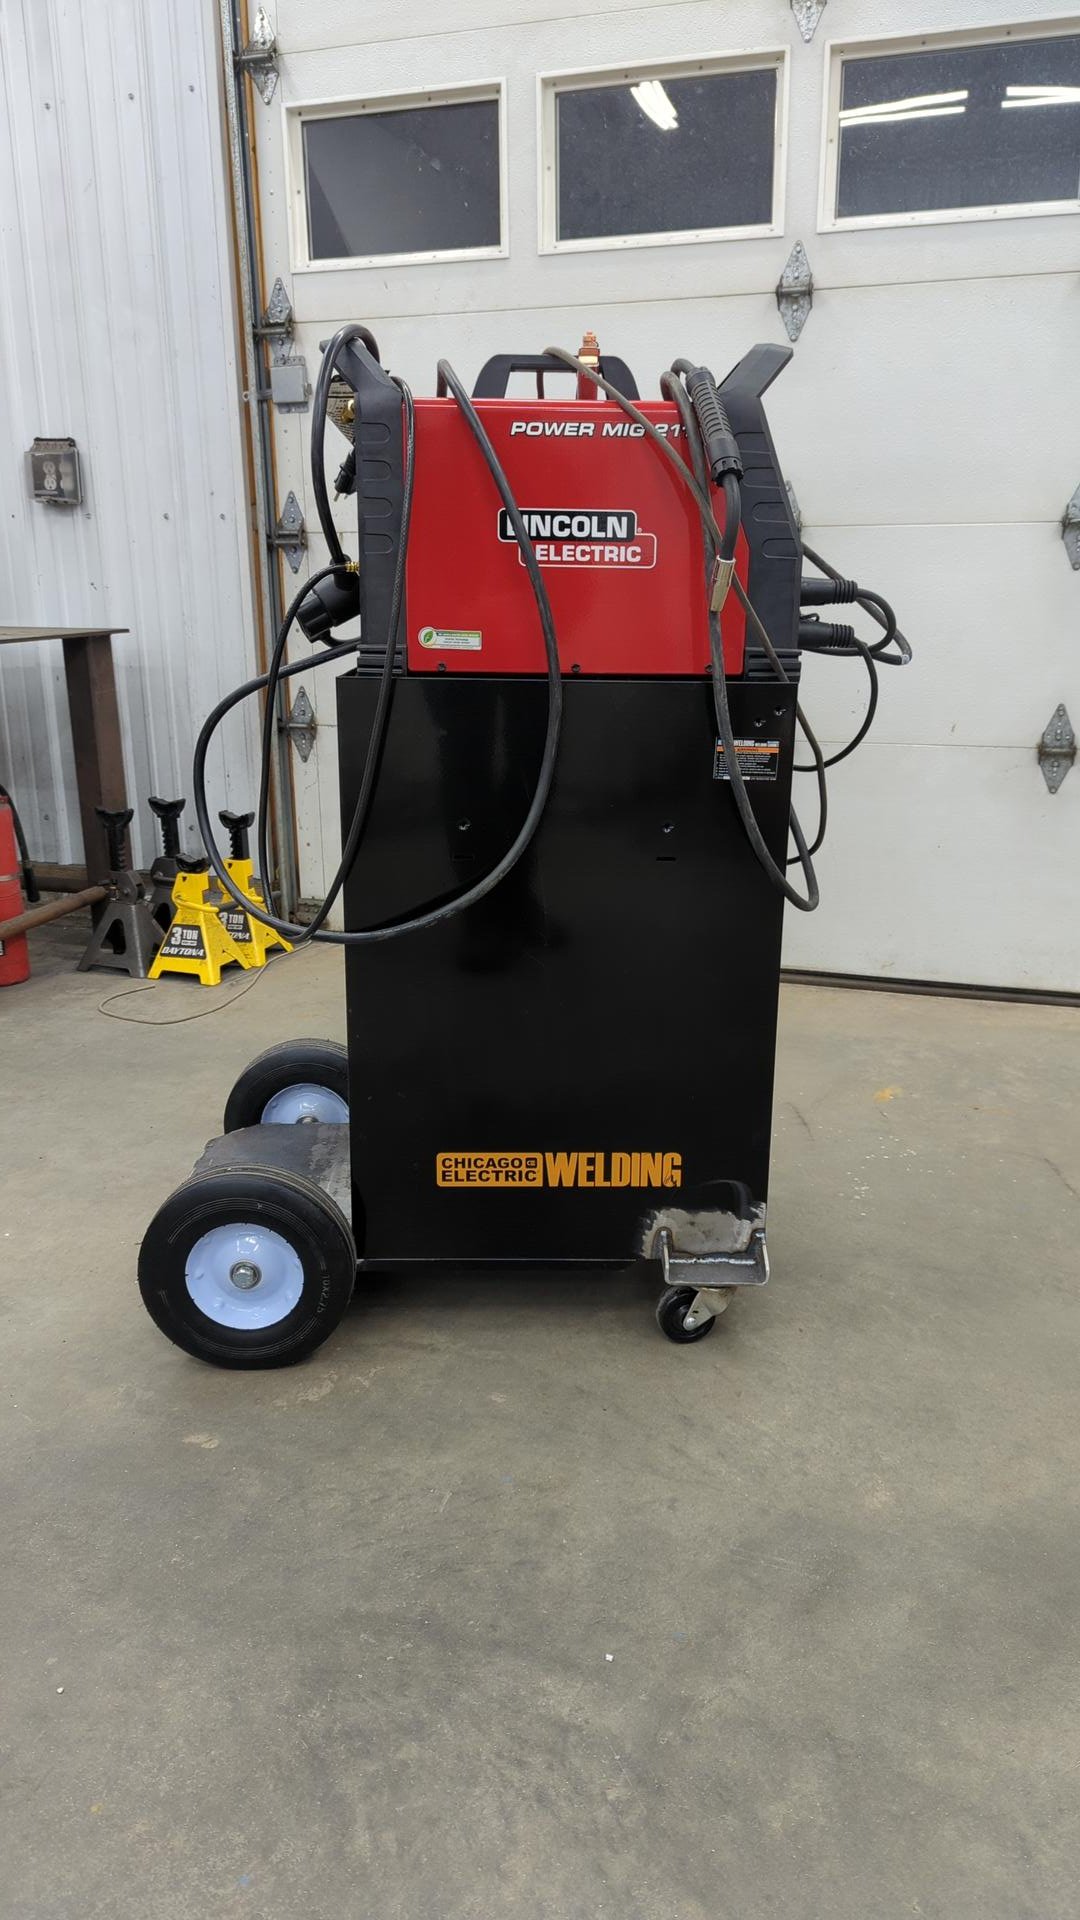
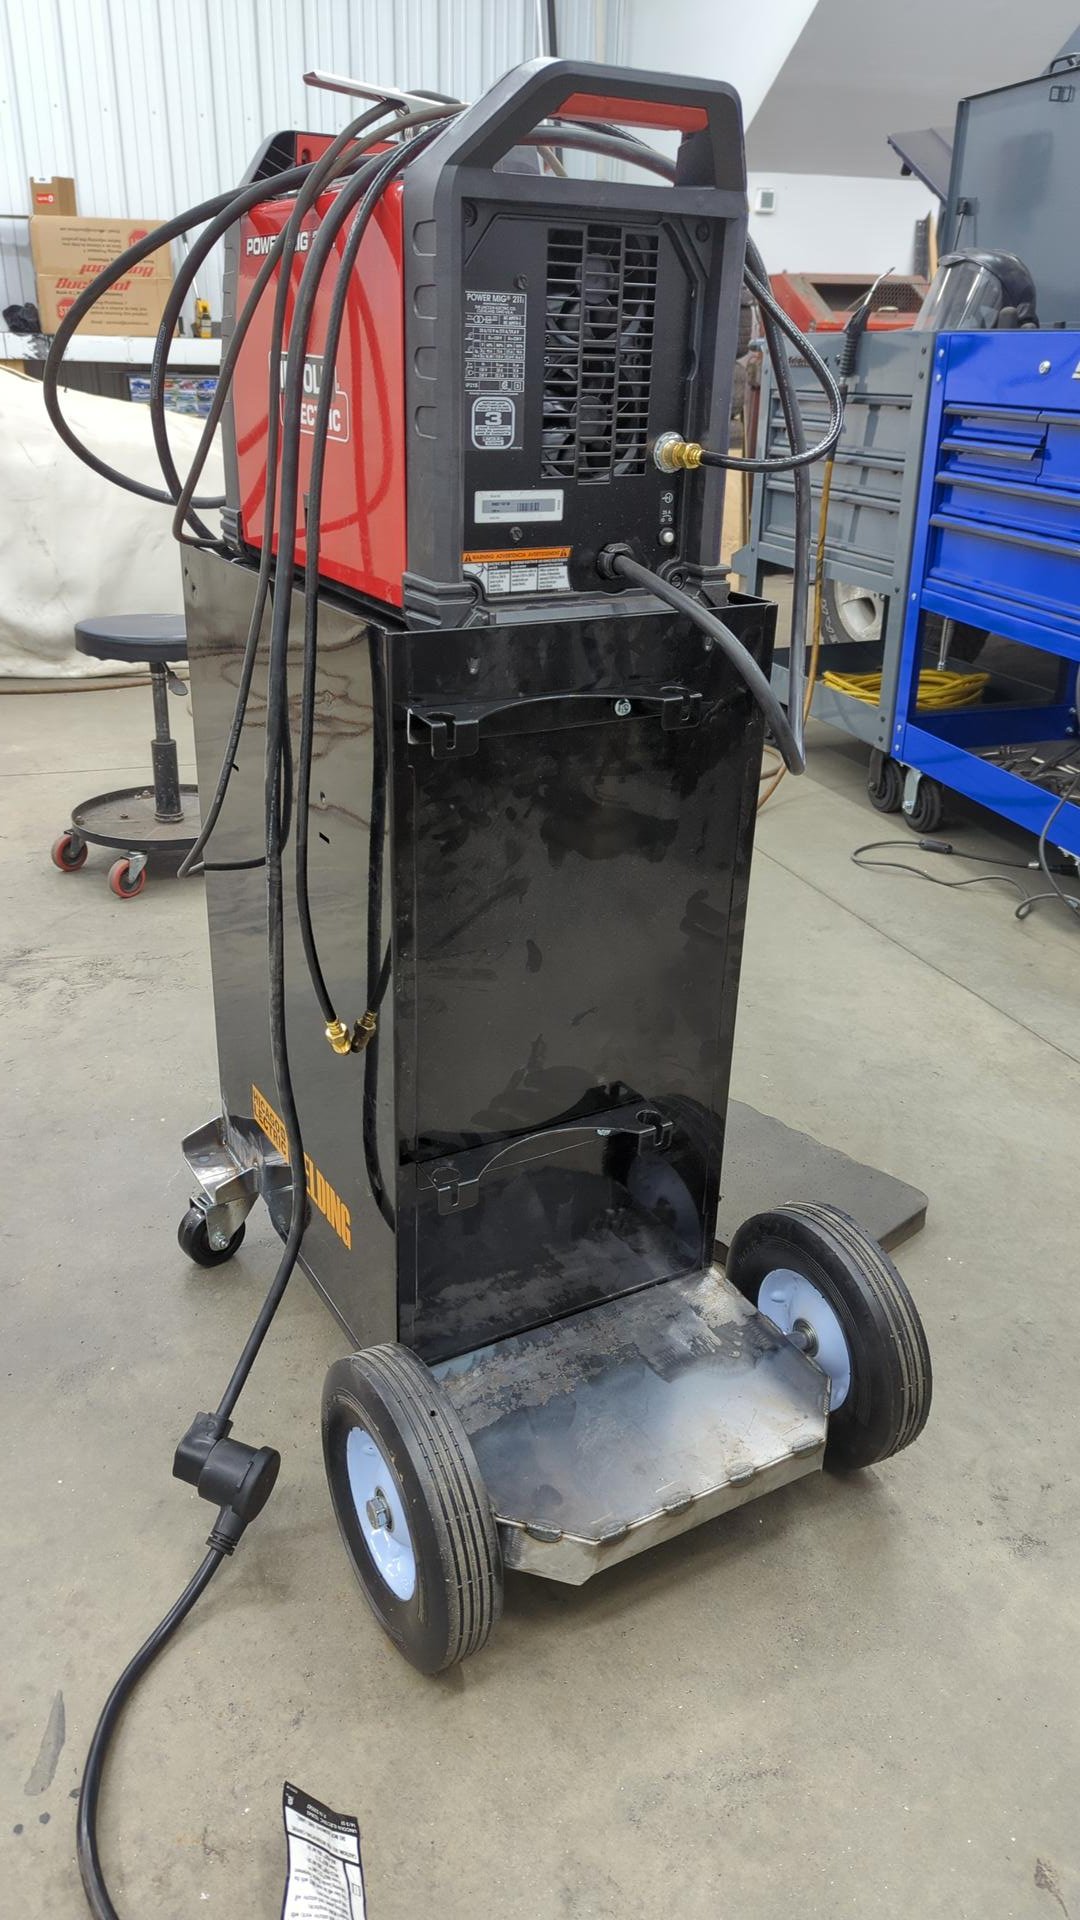
I’ve had my OG mig welder for about 8 years now. It’s just a little Lincoln Power Mig 140c but the thing has been an absolute unit for only being a 110v welder. I’ve pushed it well beyond it’s 20% duty cycle many times now and never once hit thermal throttling. And while it’s only rated for up to 1/8" steel, I’ve managed to weld up to 3/16" on occasion.
Lately though, I’ve started to dabble in welding thicker metal and have been feeling the limitations of running a 110v welder. I really needed a unit that can be hooked up to 220v for some extra oomph, but I still wanted to be able to hook it up to 110v at times for extra portability.
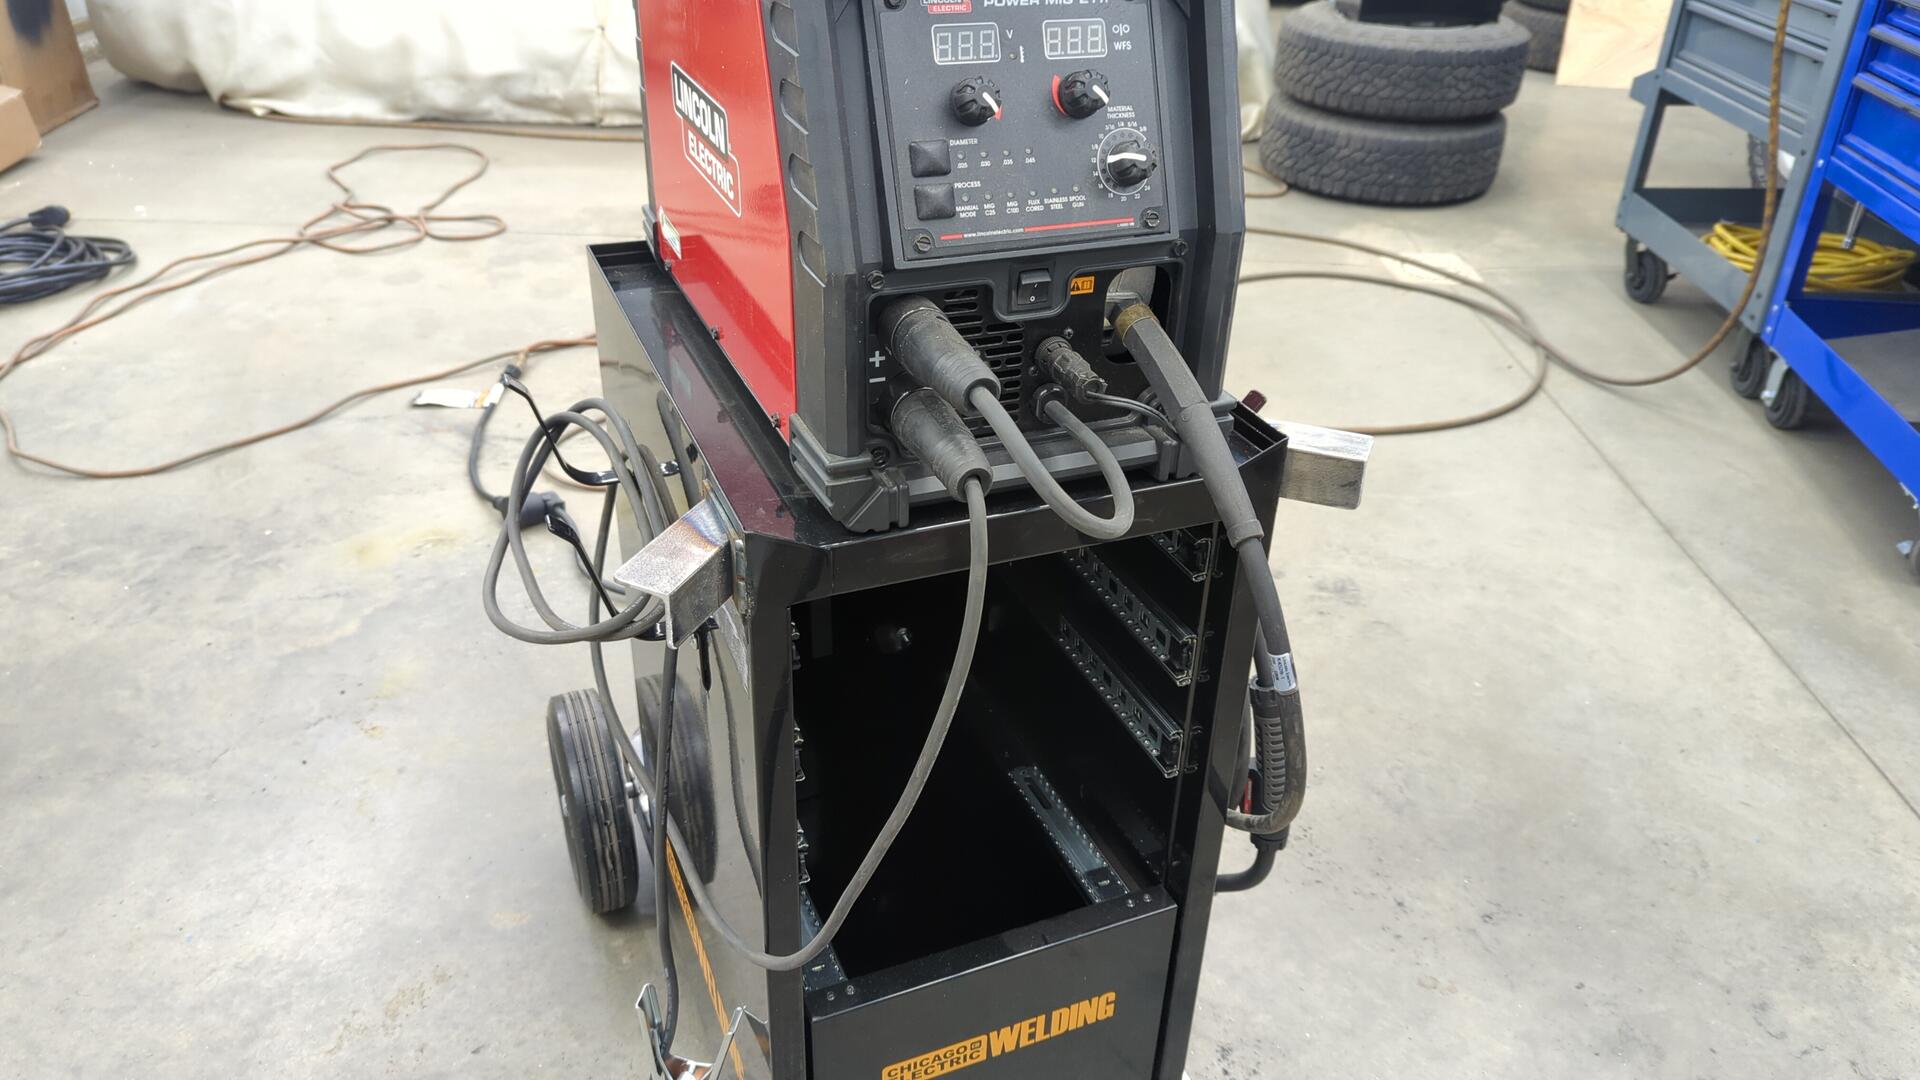
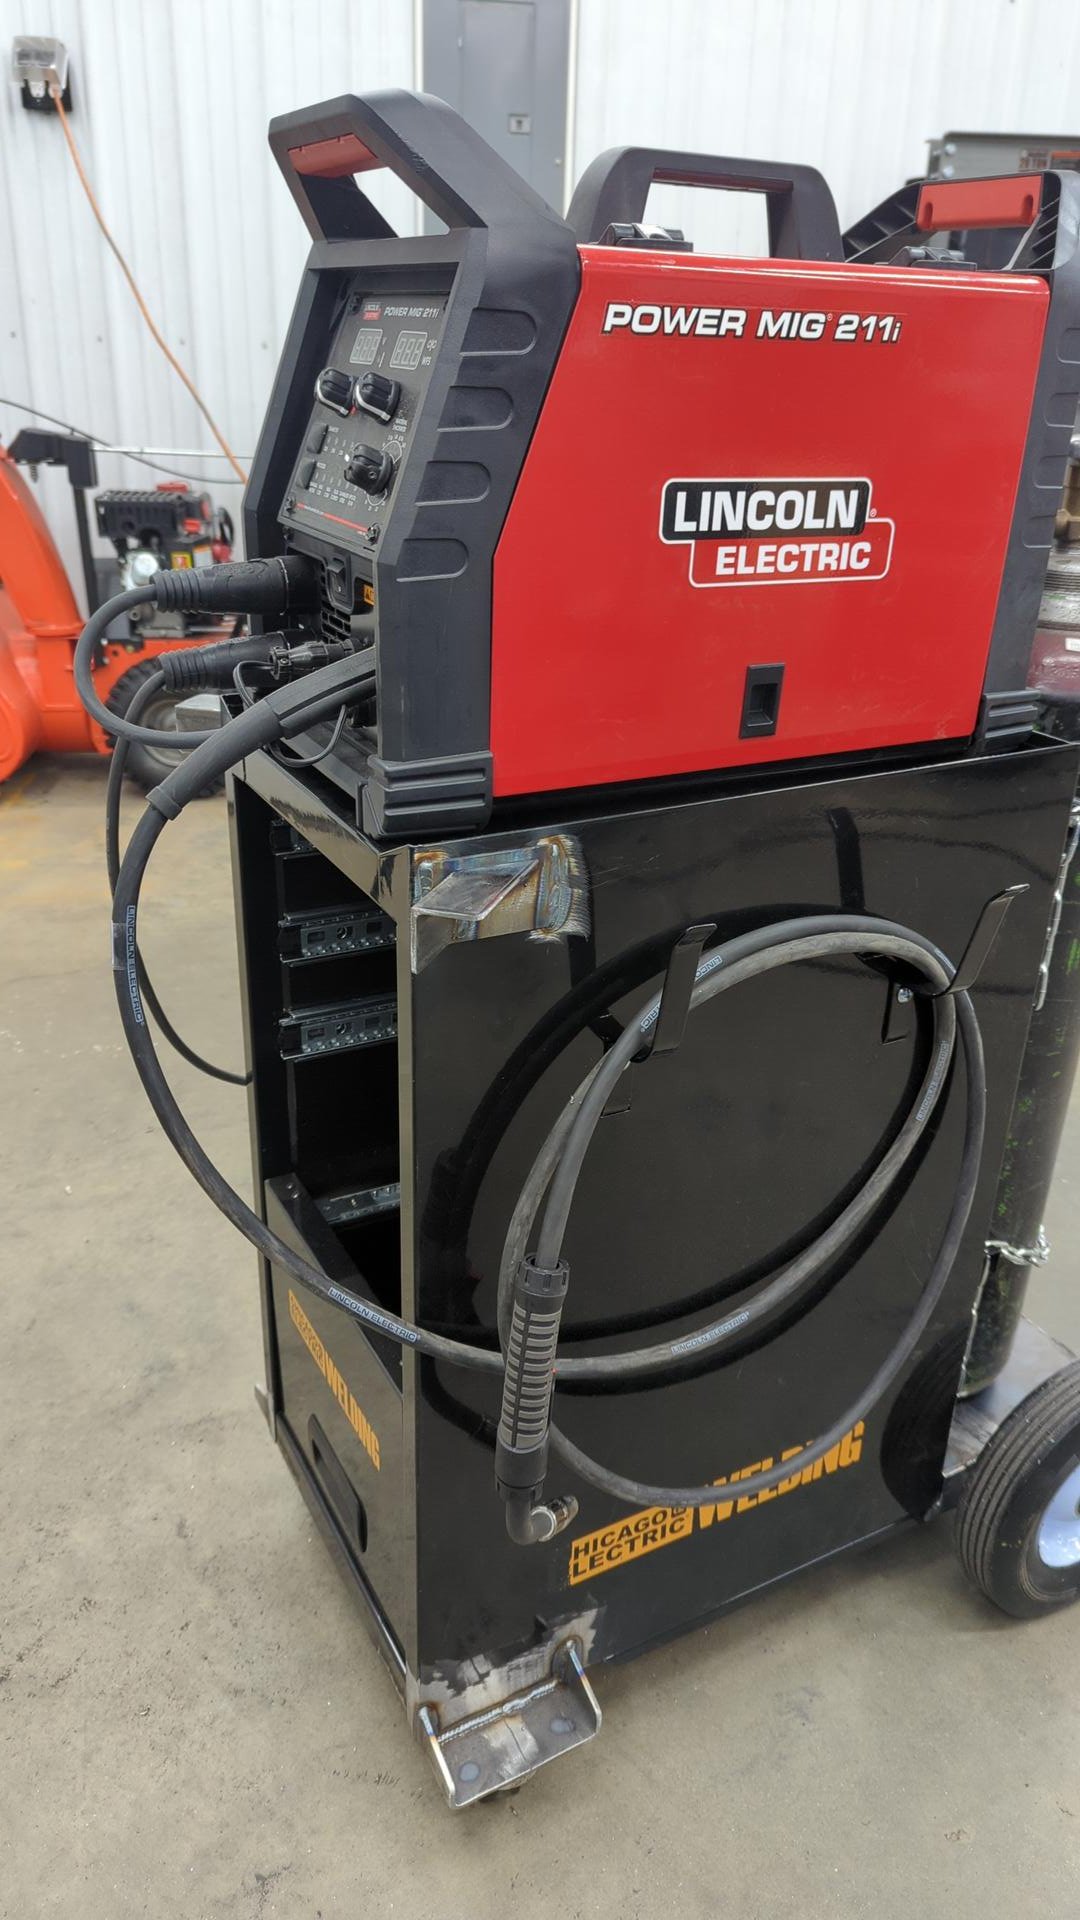
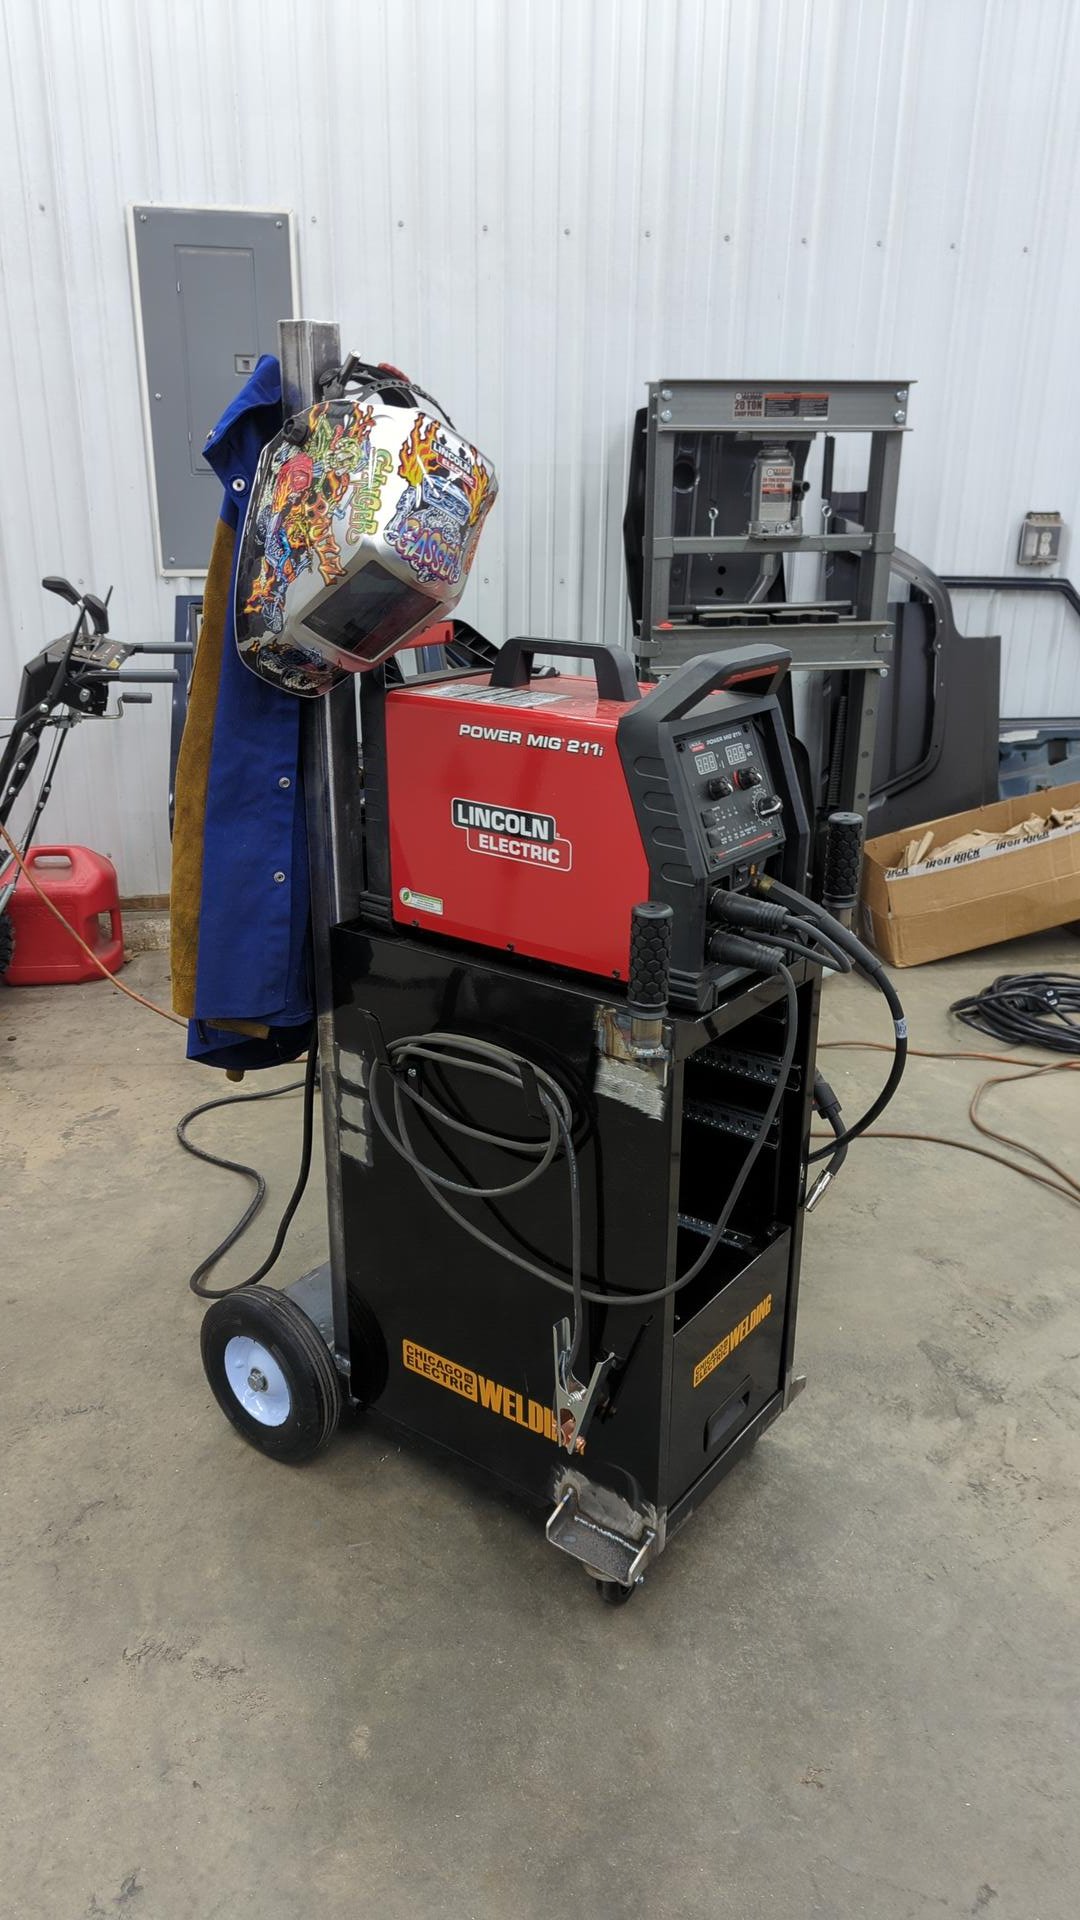
I spent way longer than I should have researching different units made by various brands such as Miller, Esab, and of course Lincoln, but nothing really caught my eye until I saw the new Lincoln Power Mig 211i.
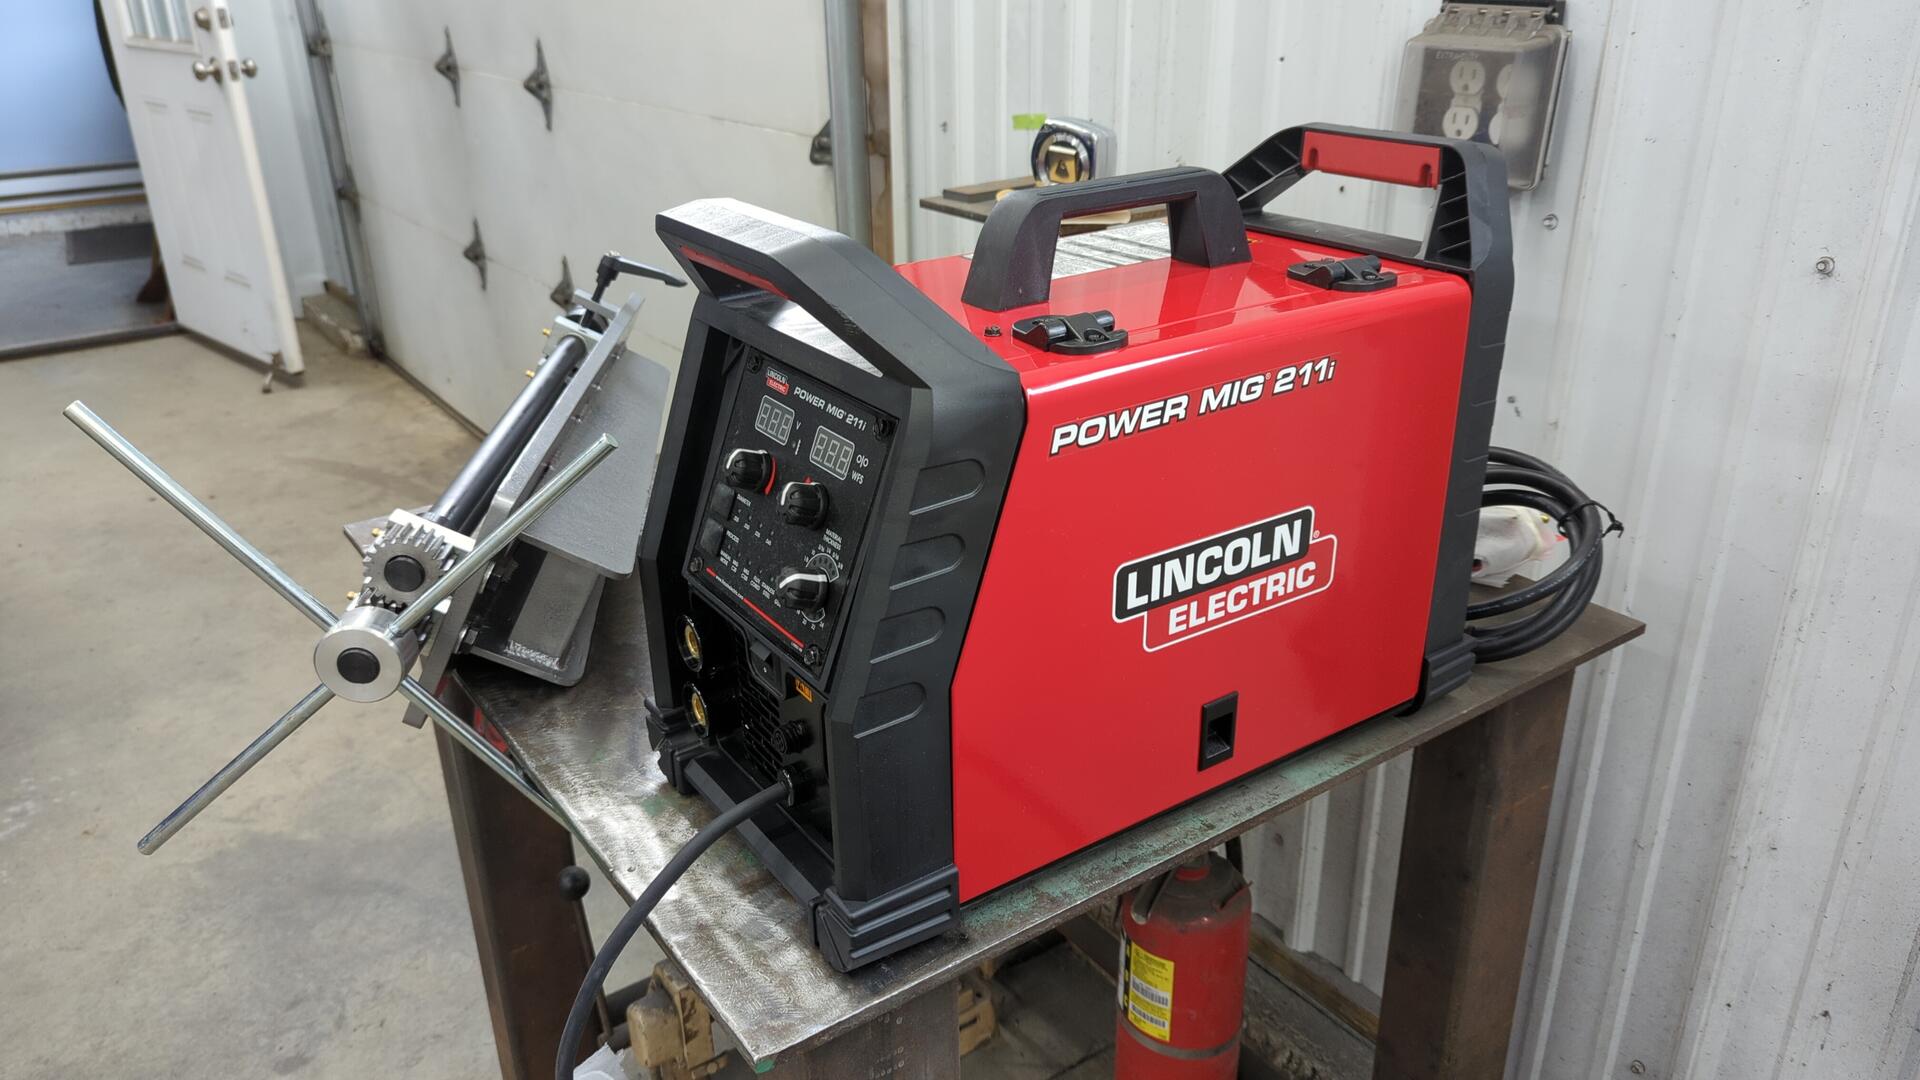
It’s a dual voltage unit that can run on 110v or 220v, can do anywhere from 20amps to 210amps, and only weights 45lbs!
I think what really drew me in was the size of it, and the price. I was able to grab it for $1400 shipped which was far more reasonable than any other similar mig welder. I’m no cheapskate by any means, but it’s hard to justify $3000 - $4000 on a piece of equipment that I’ll be using for my hobbies.
Had I not gone with the Power Mig 211i, I would have most likely ended up buying a Miller Millermatic 211. It’s a little smaller in size, has all the same capabilities as the power mig and even has the advantage of on demand cooling fans. The only con I could find on the Miller was the lack of digital outputs to know exactly what voltage / wire feed speed your running at.
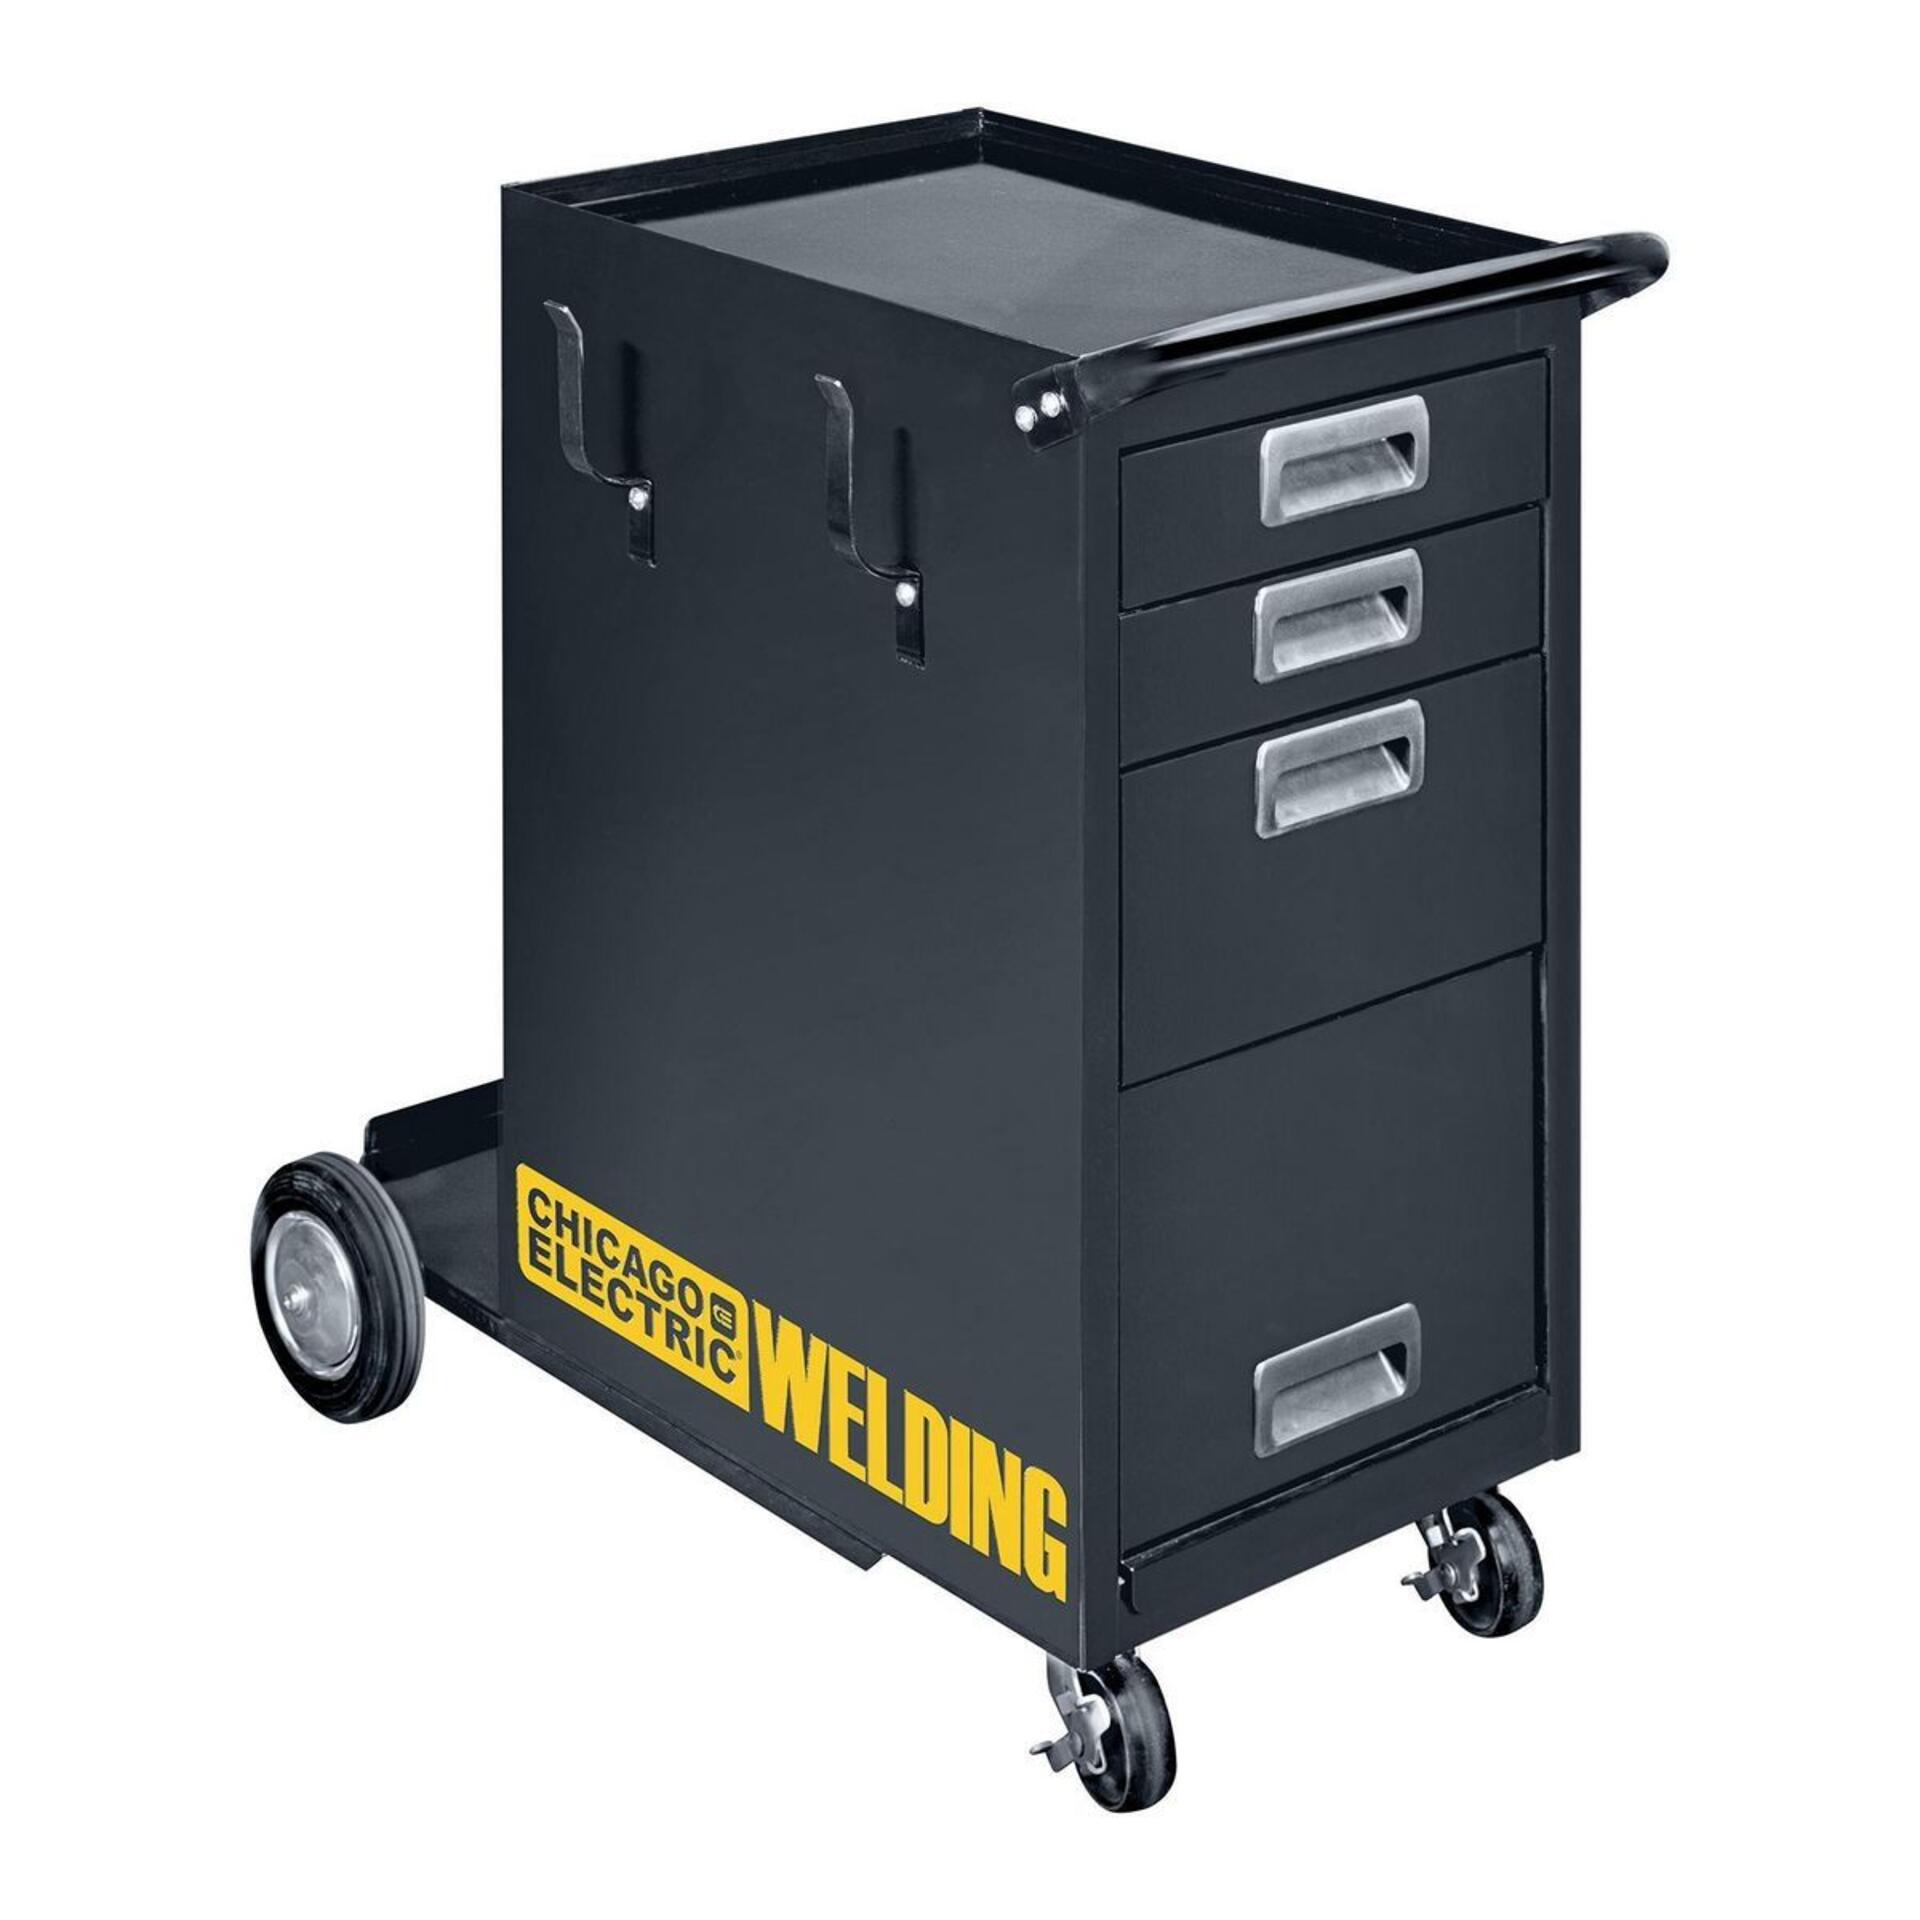
Enter the Chicago Electric Welding Cabinet
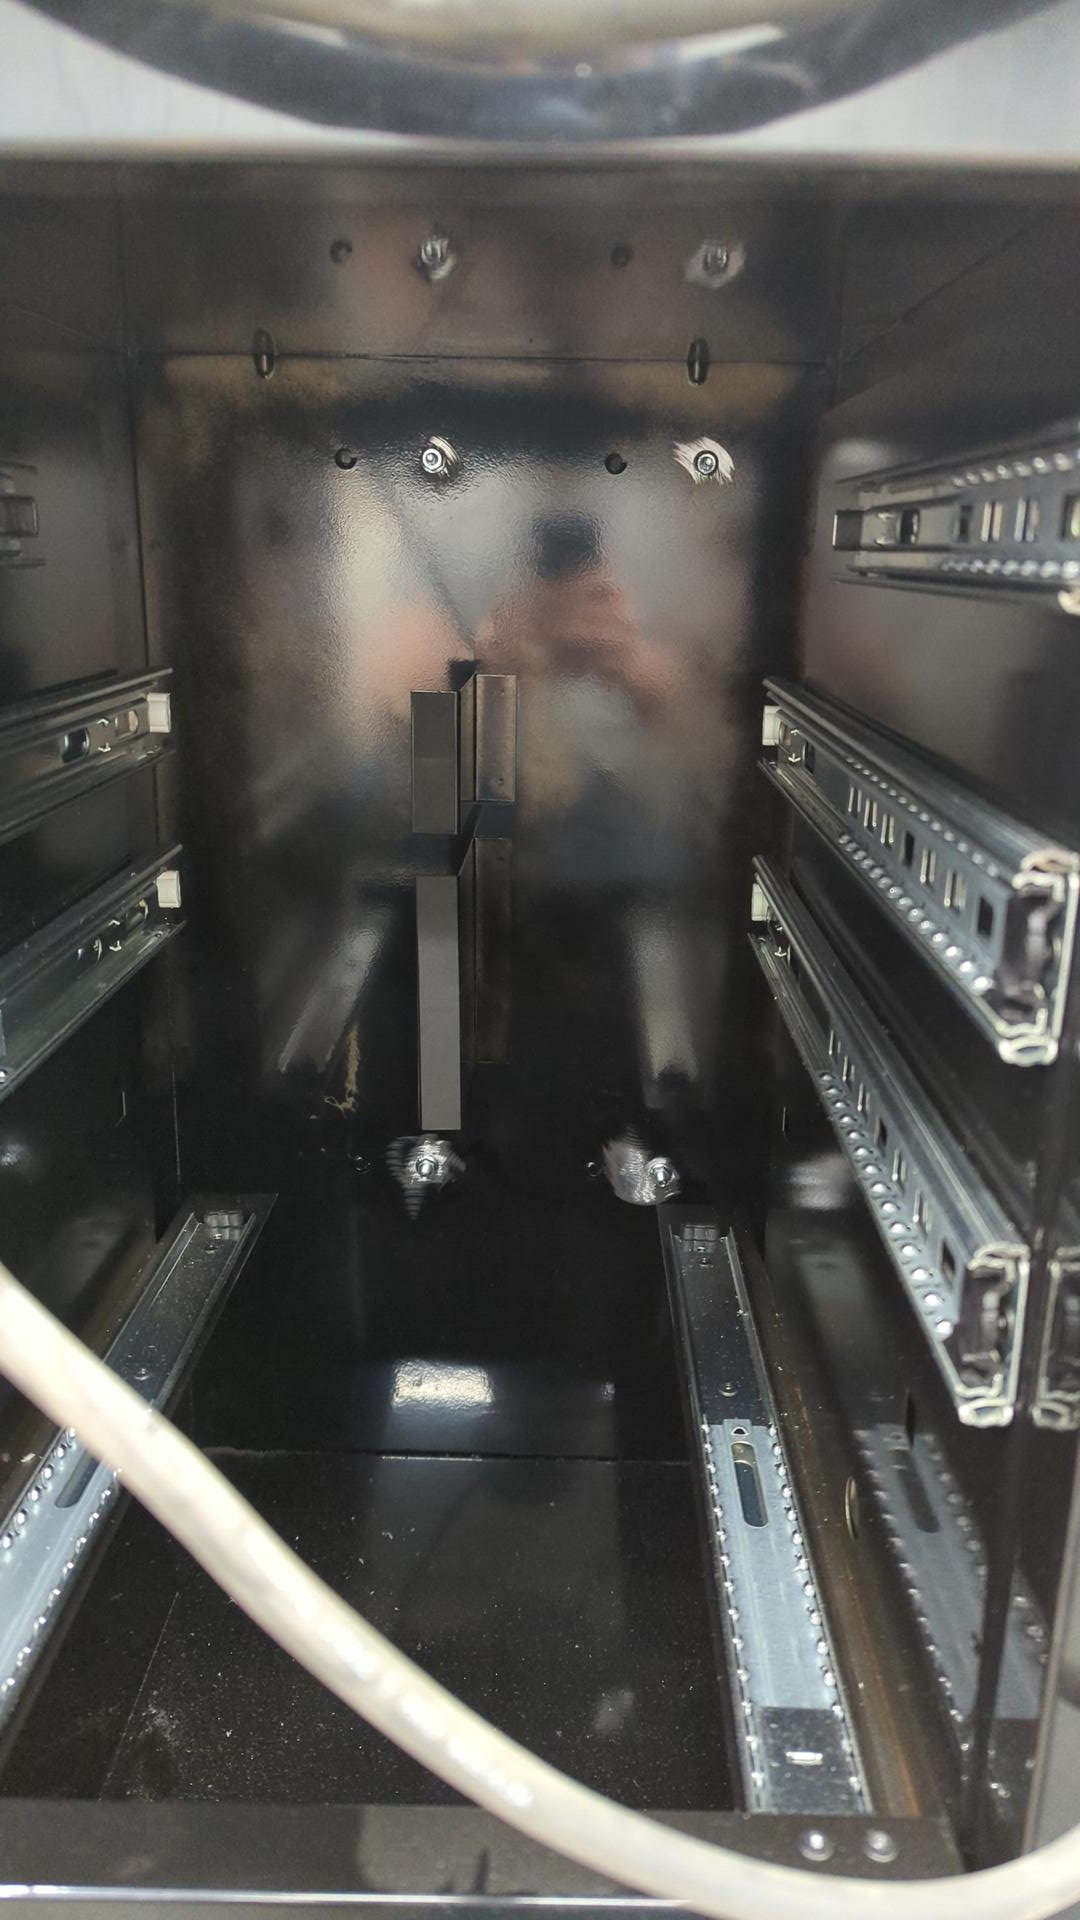
I also decided to seize the opportunity of getting a new welder as the perfect time to build out a new welding cart. There was a couple of things I wasn’t quite happy with on my original welding cart since it didn’t have any place to store consumables such as torch tips and also felt too low to the ground.
Nothing on the market really fit the bill for what I was hoping for, but I did see some potential in the Chicago Electric welding cabinet Harbor Freight sells and figured I could mod it to my liking.
Picking out Better Wheels
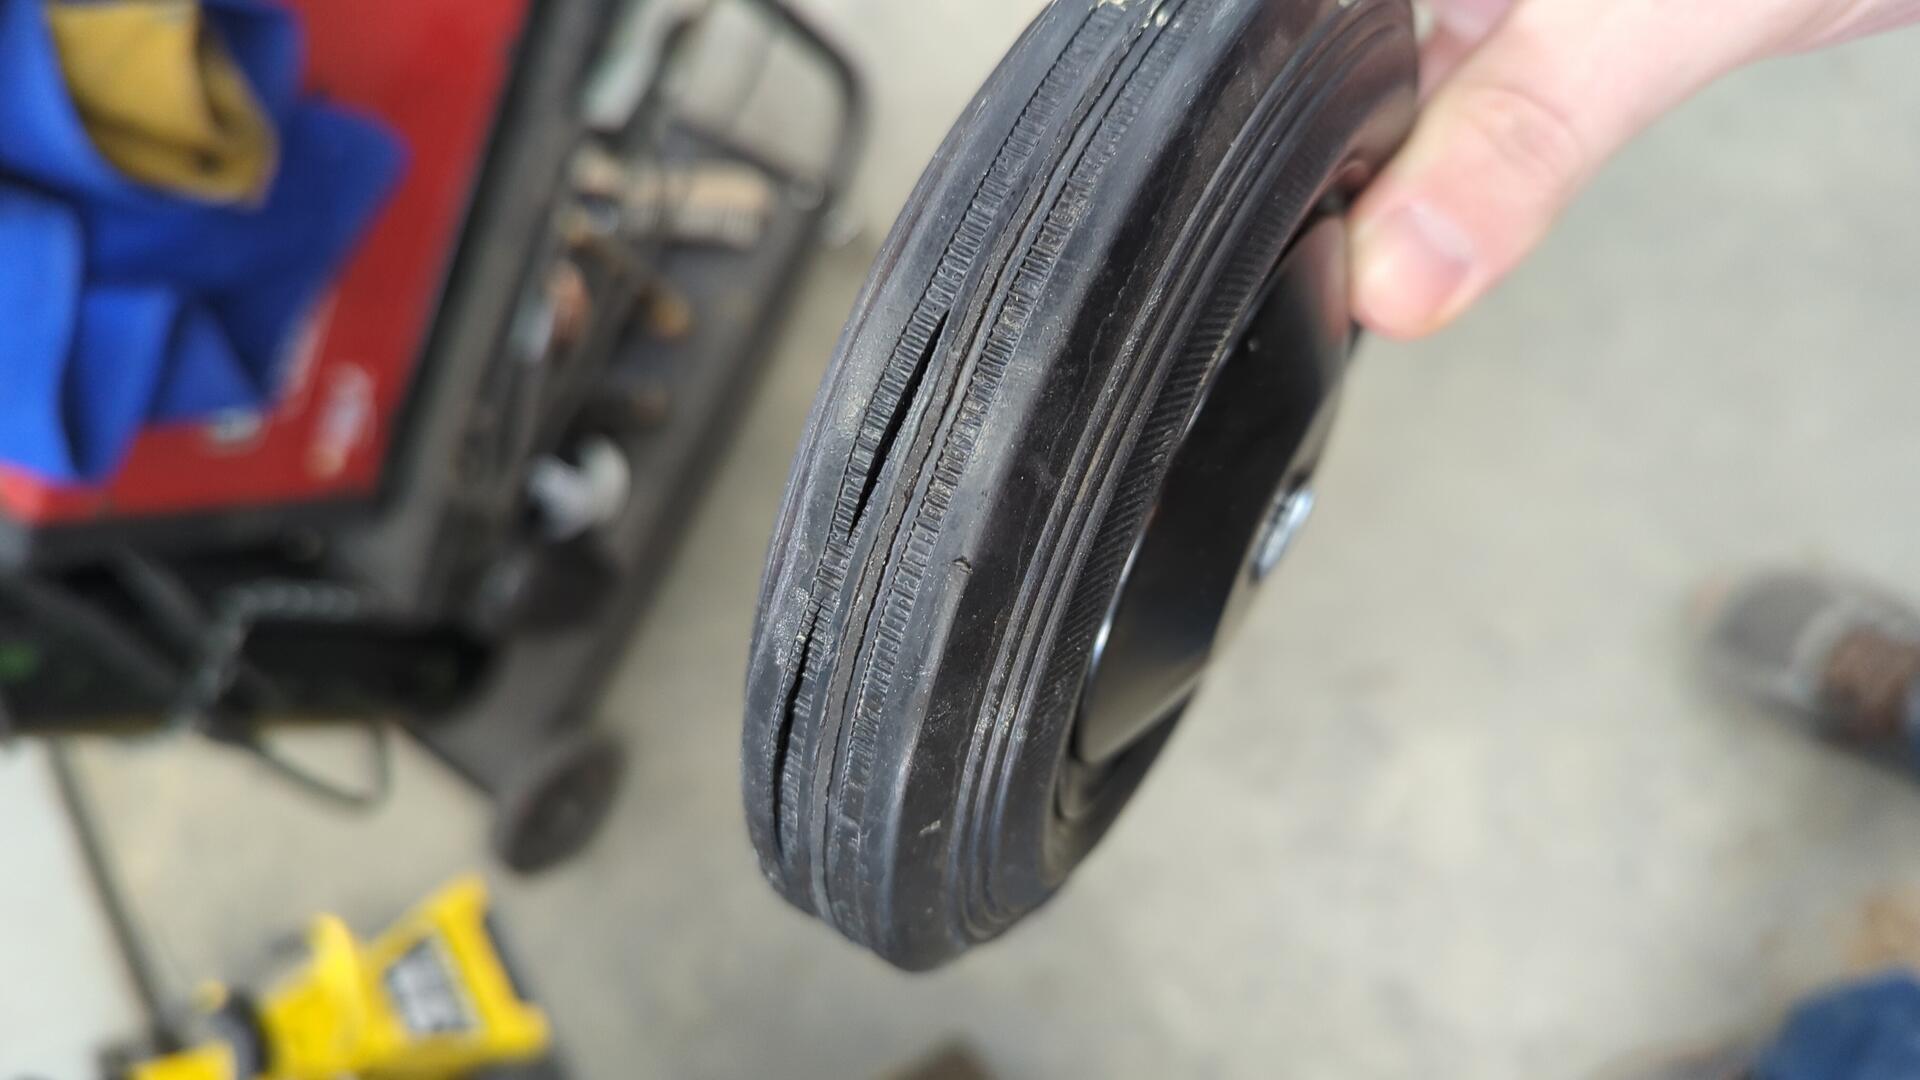
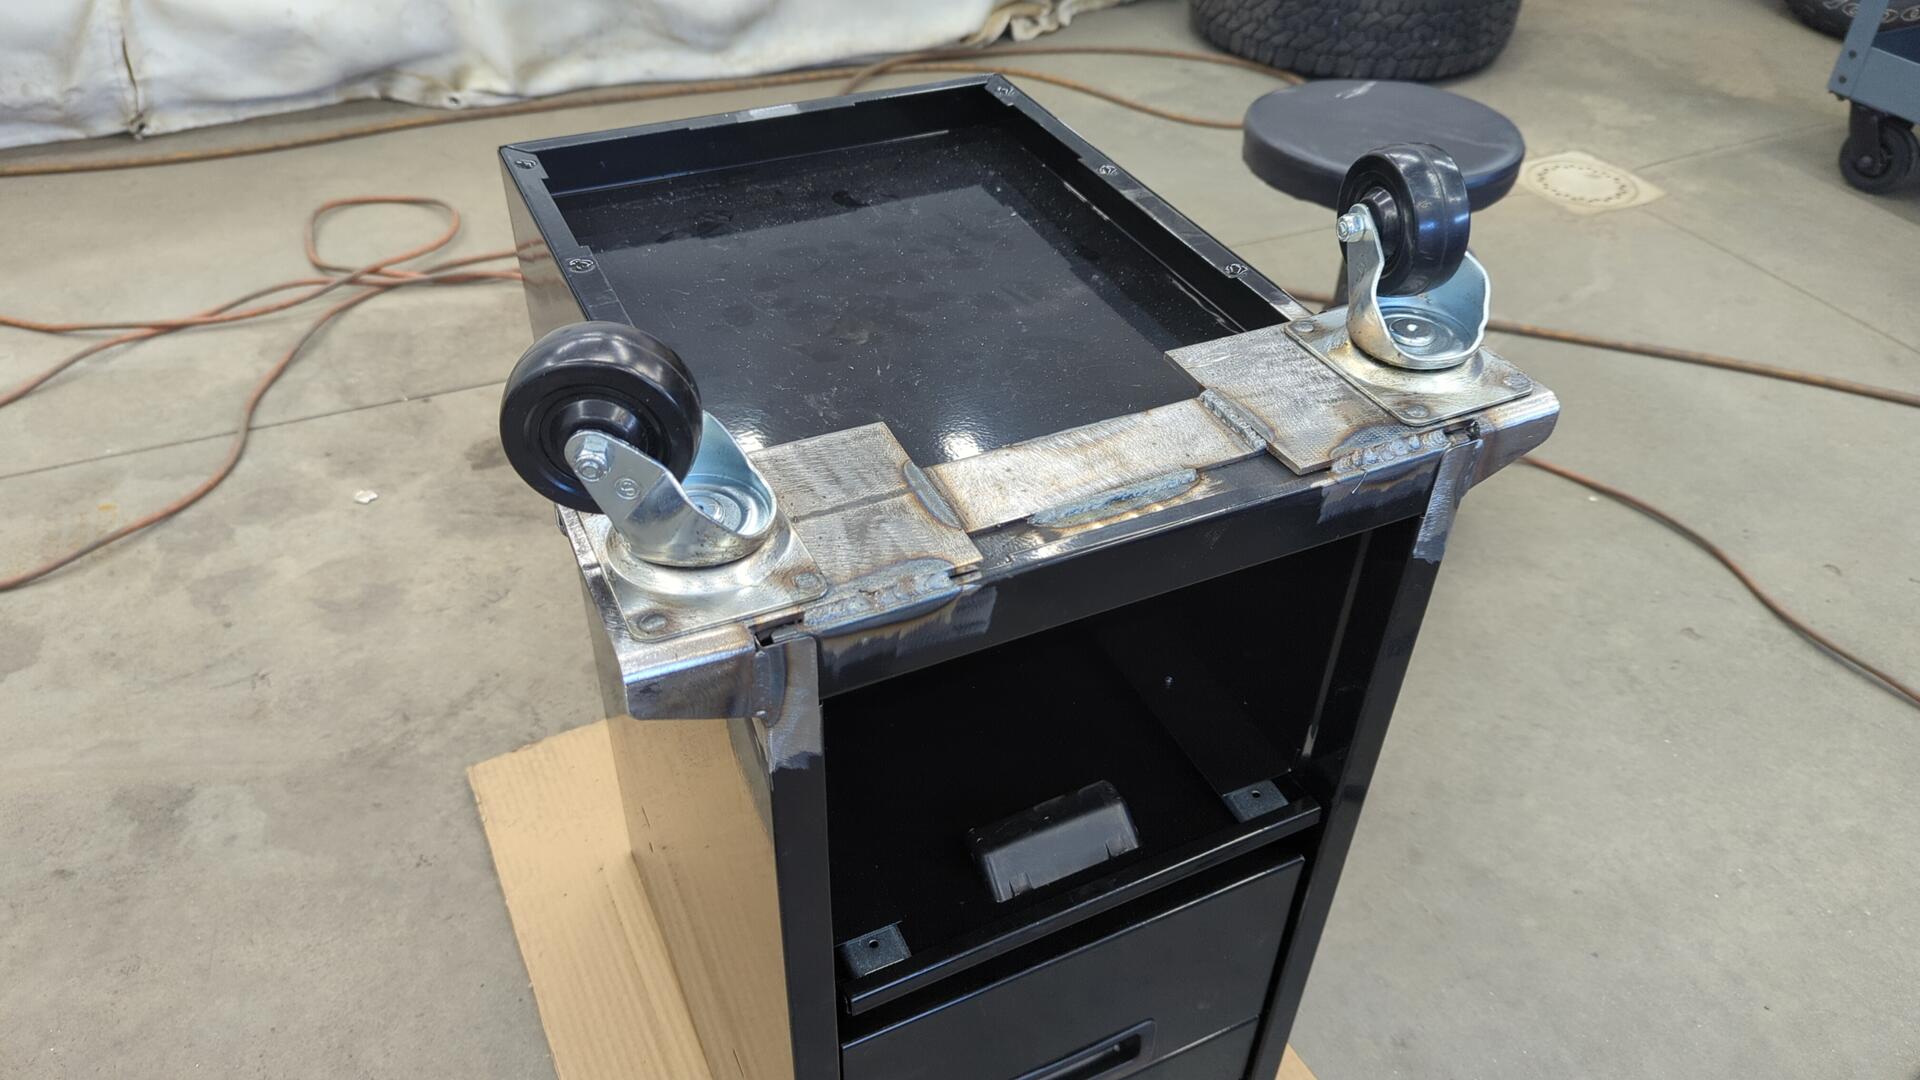
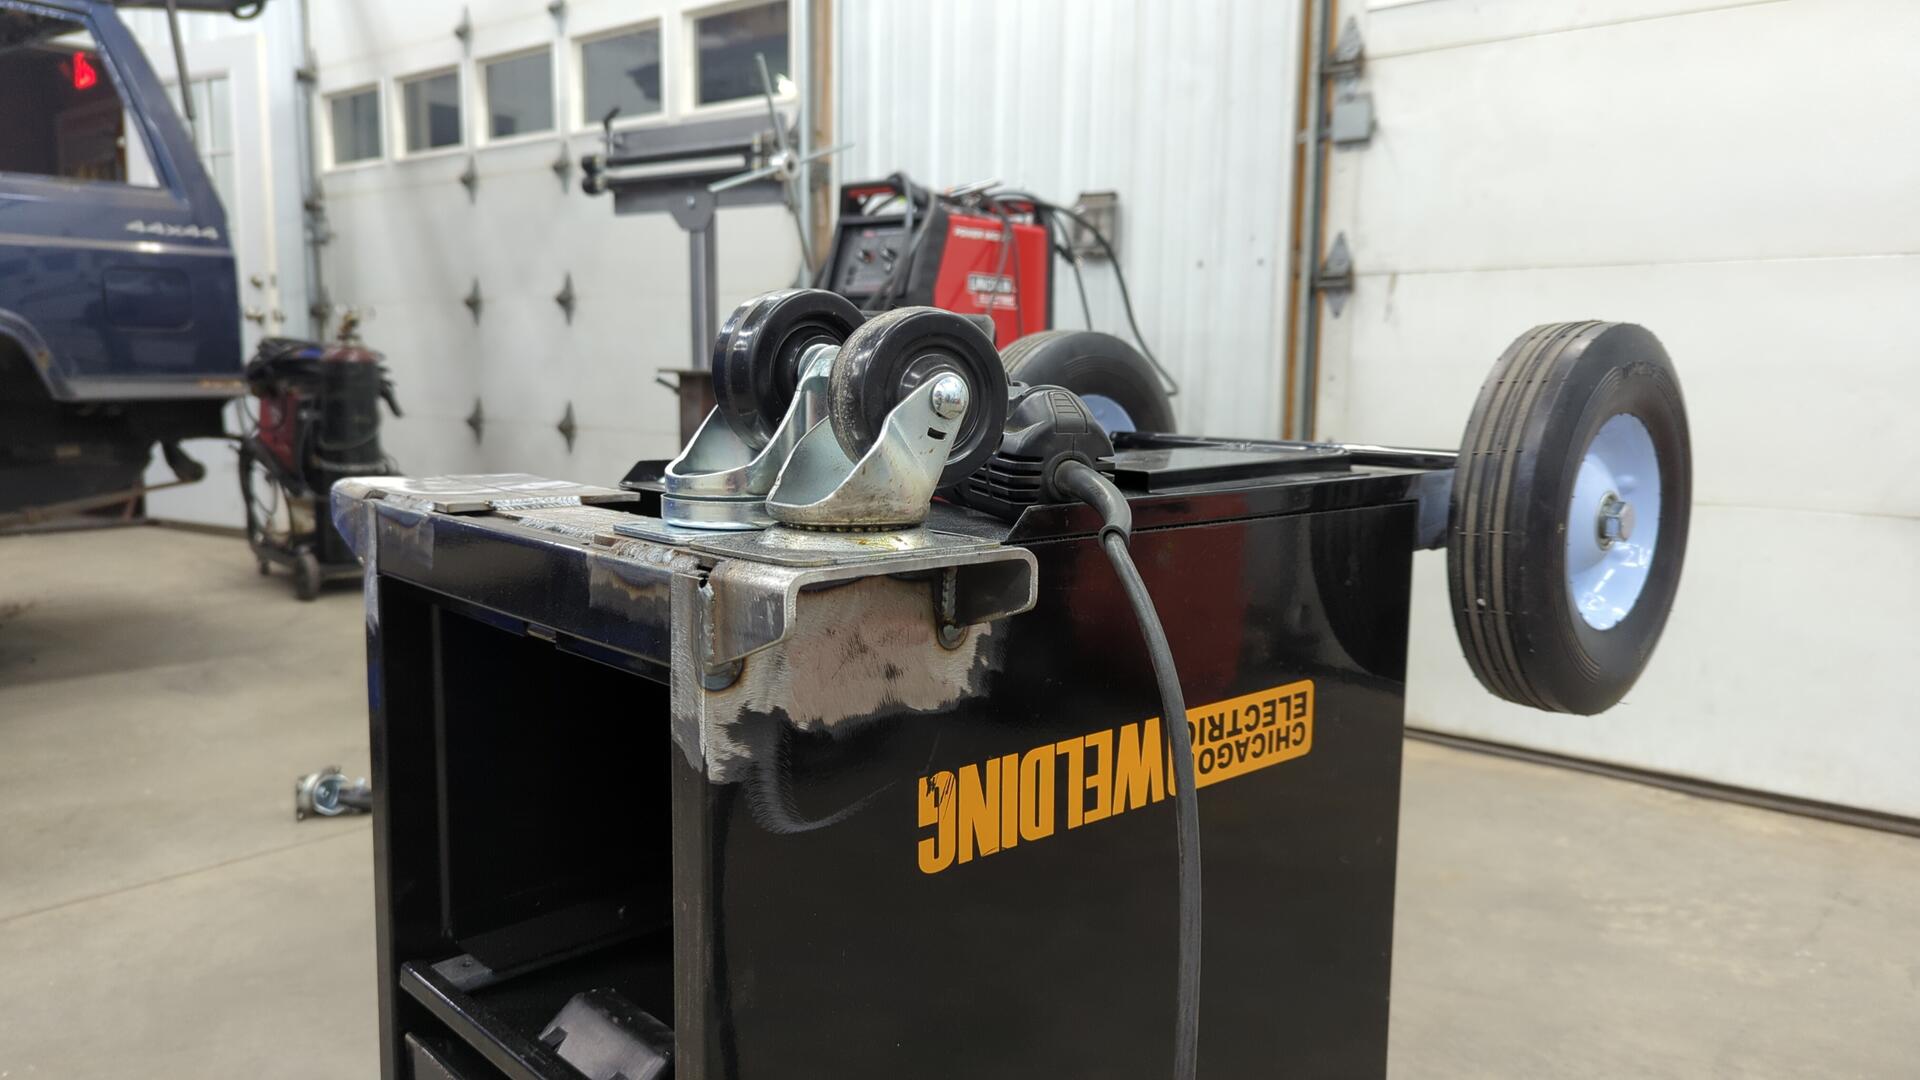
The first thing I looked into improving was the wheels since the Harbor Freight ones were questionable.
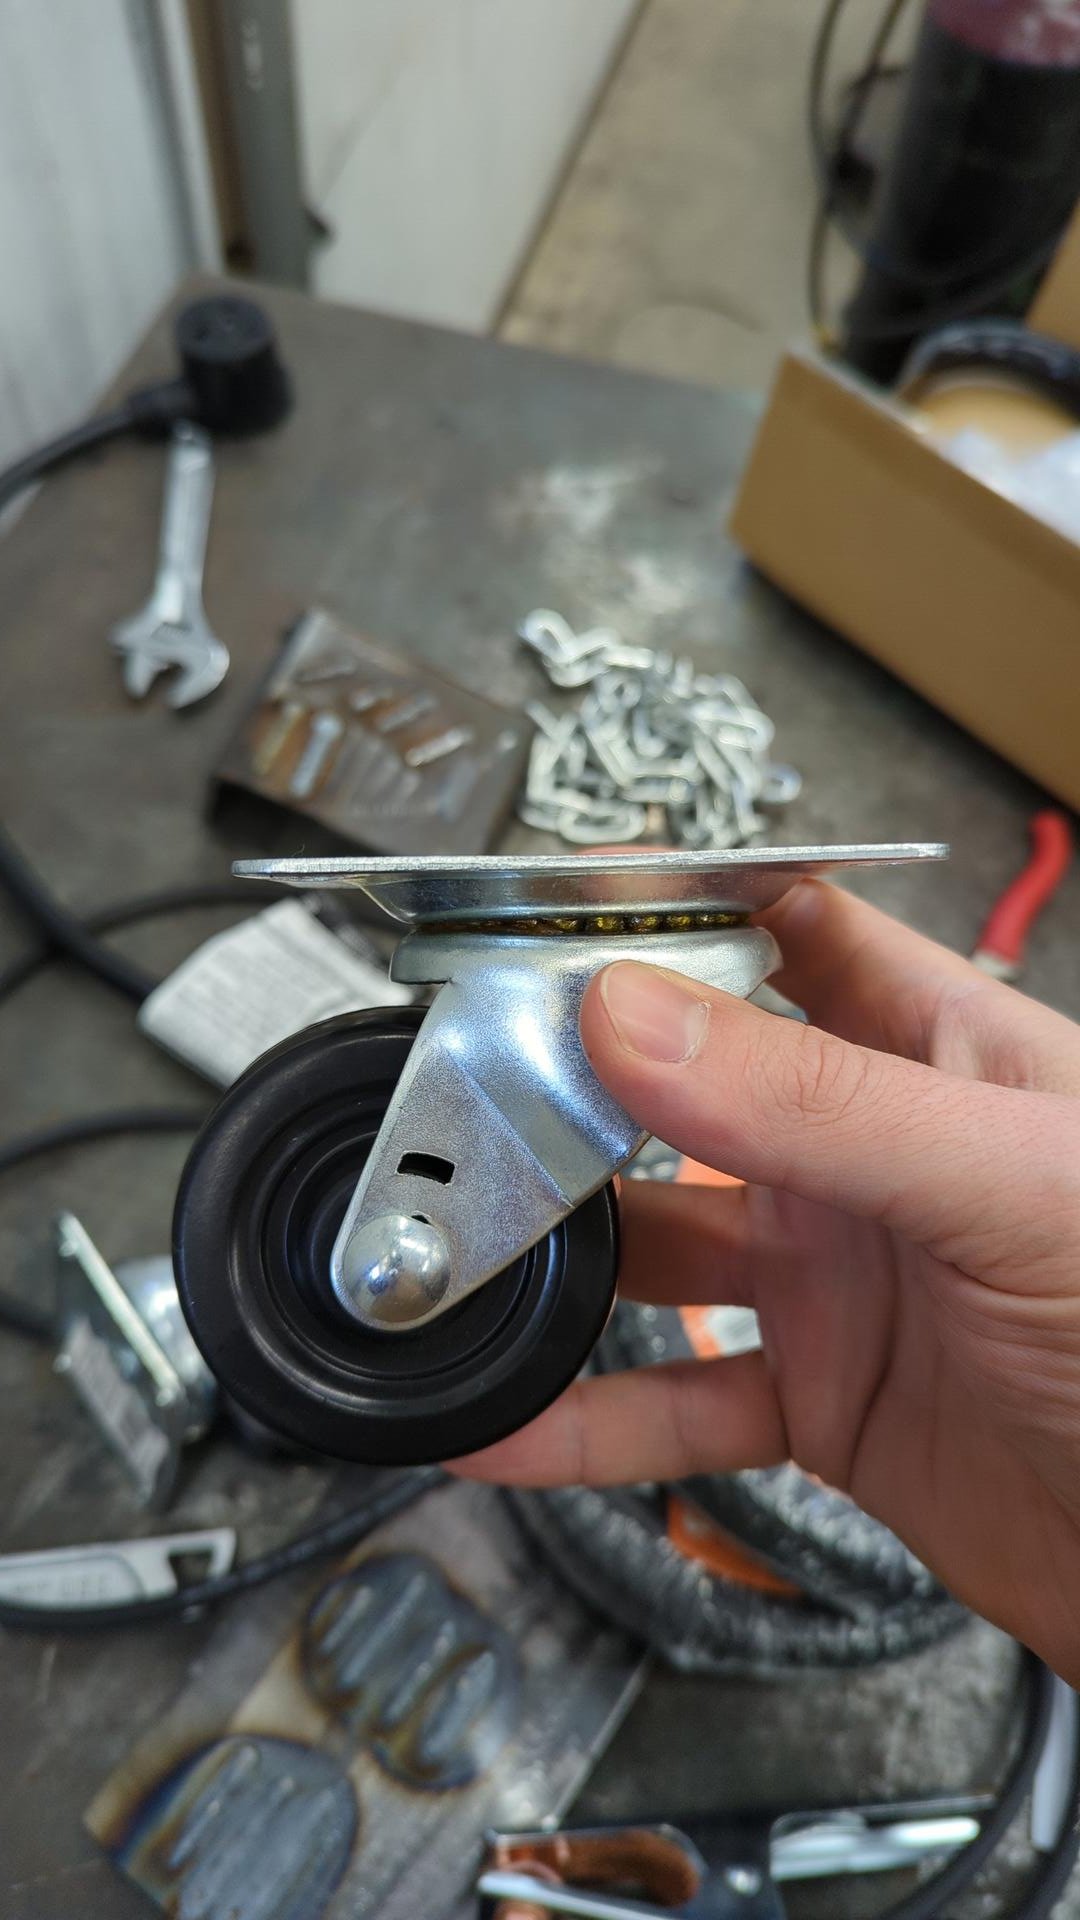
Perusing my local Home Depot I found a nice set of casters that would work great for the front of the cabinet.
And for the back wheels I picked up some push mower wheels because the substantially larger diameter would mean they could roll over things such as extension cords or small debris with ease.
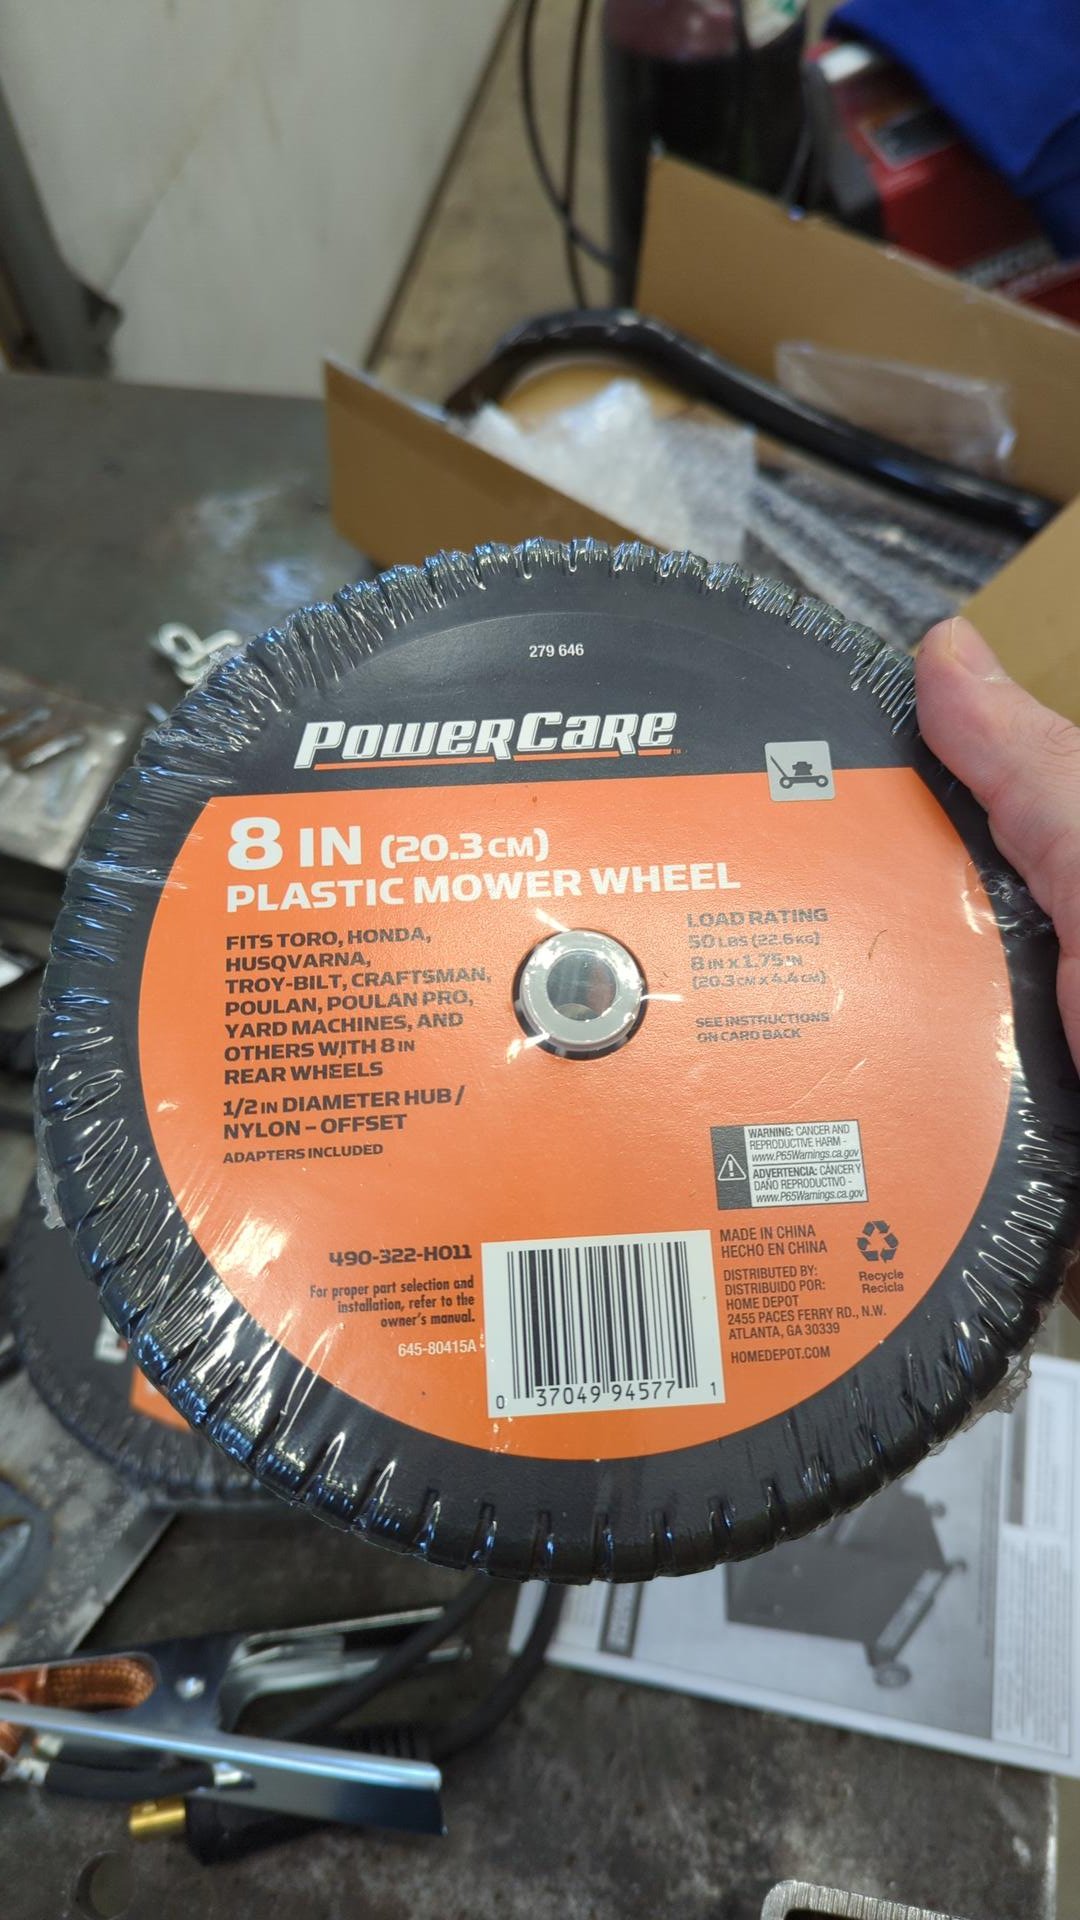
Buying lawn mower wheels ended up being a mistake though because I forgot to account for load capacity. Turns outs push mowers don’t weigh much and these wheels have a load capacity of only 50lbs each. I ended up having to go back to the drawing board to find new wheels since I estimated I needed at least a 75lb capacity wheel for the weight of my welding cart.
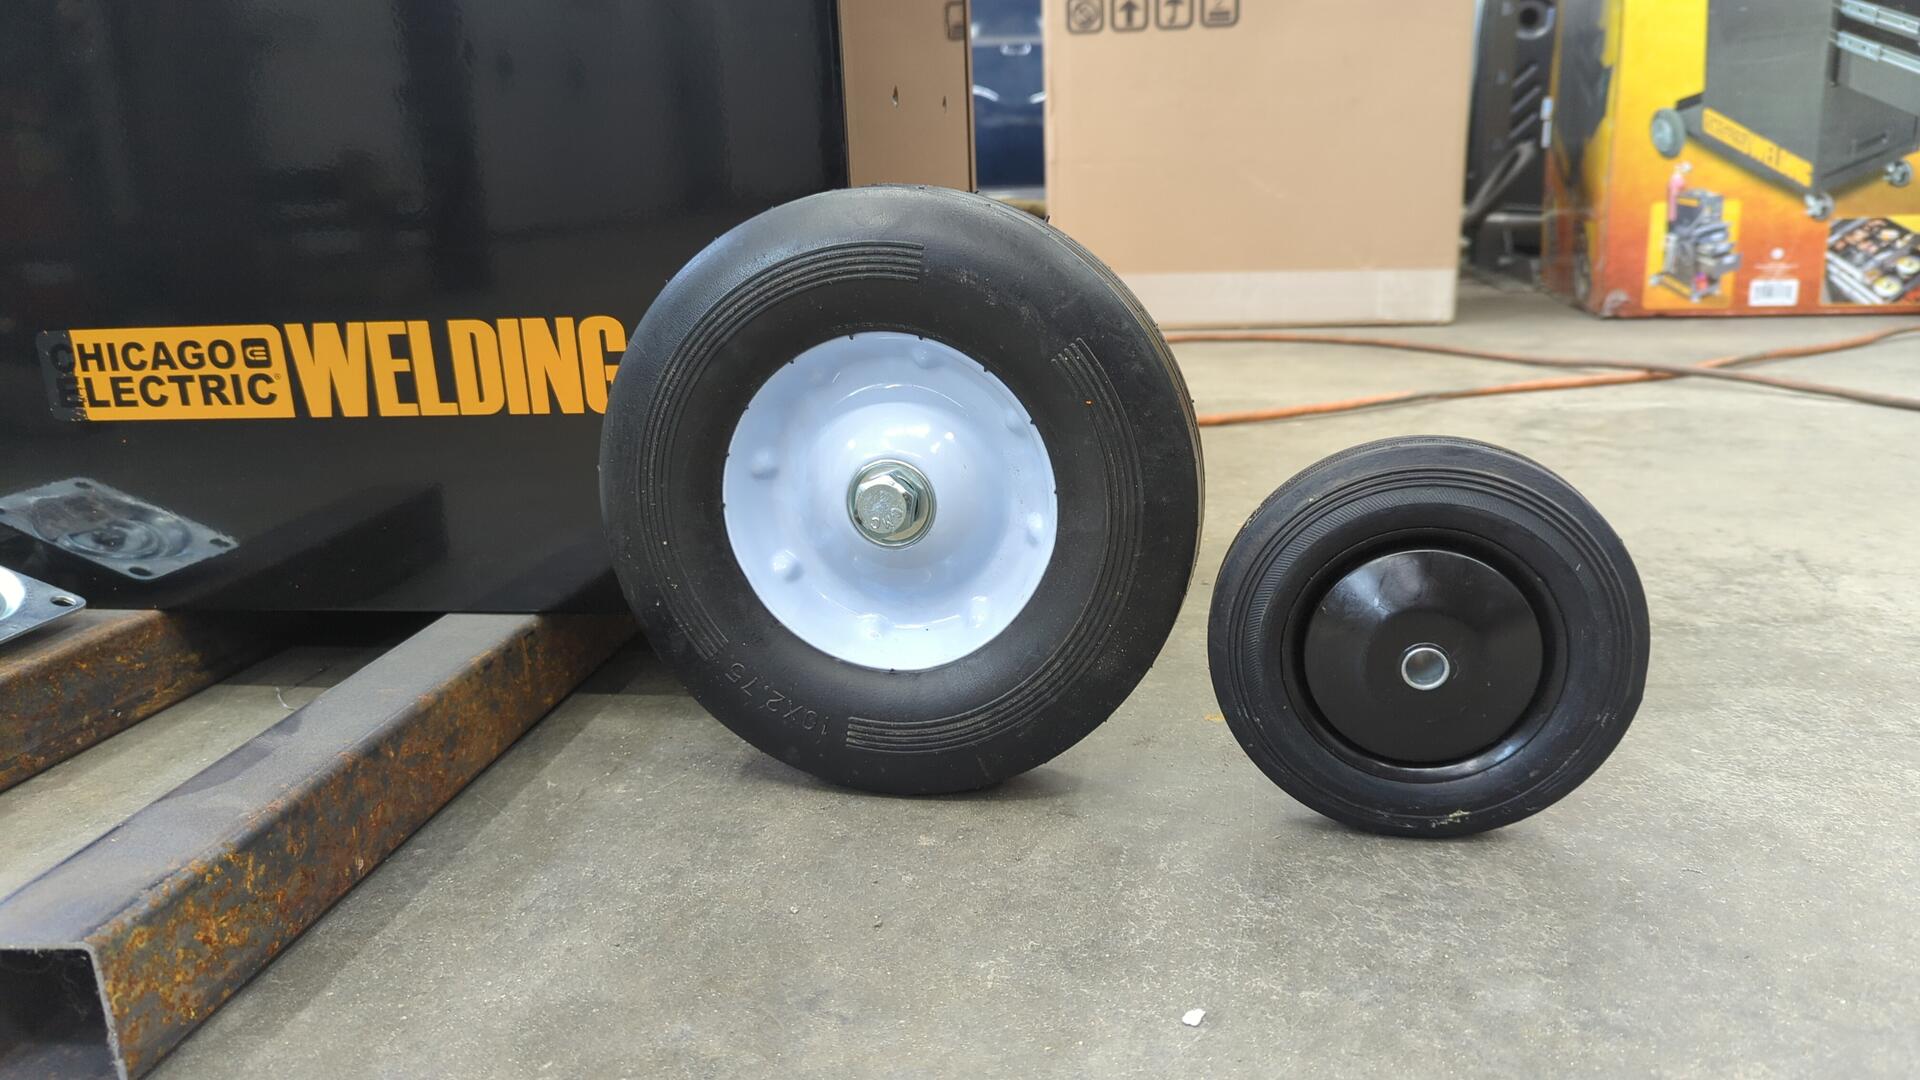
The next best option I ended up finding was a set of wheels designed for a hand truck. They’re also solid rubber so I don’t have to worry about flats, or air slowly leaking from them over time. The 10" diameter is a bit larger than I wanted, but I didn’t think it’d be the end of the world.

Size comparison of the new wheels vs the original ones that came with the cart.
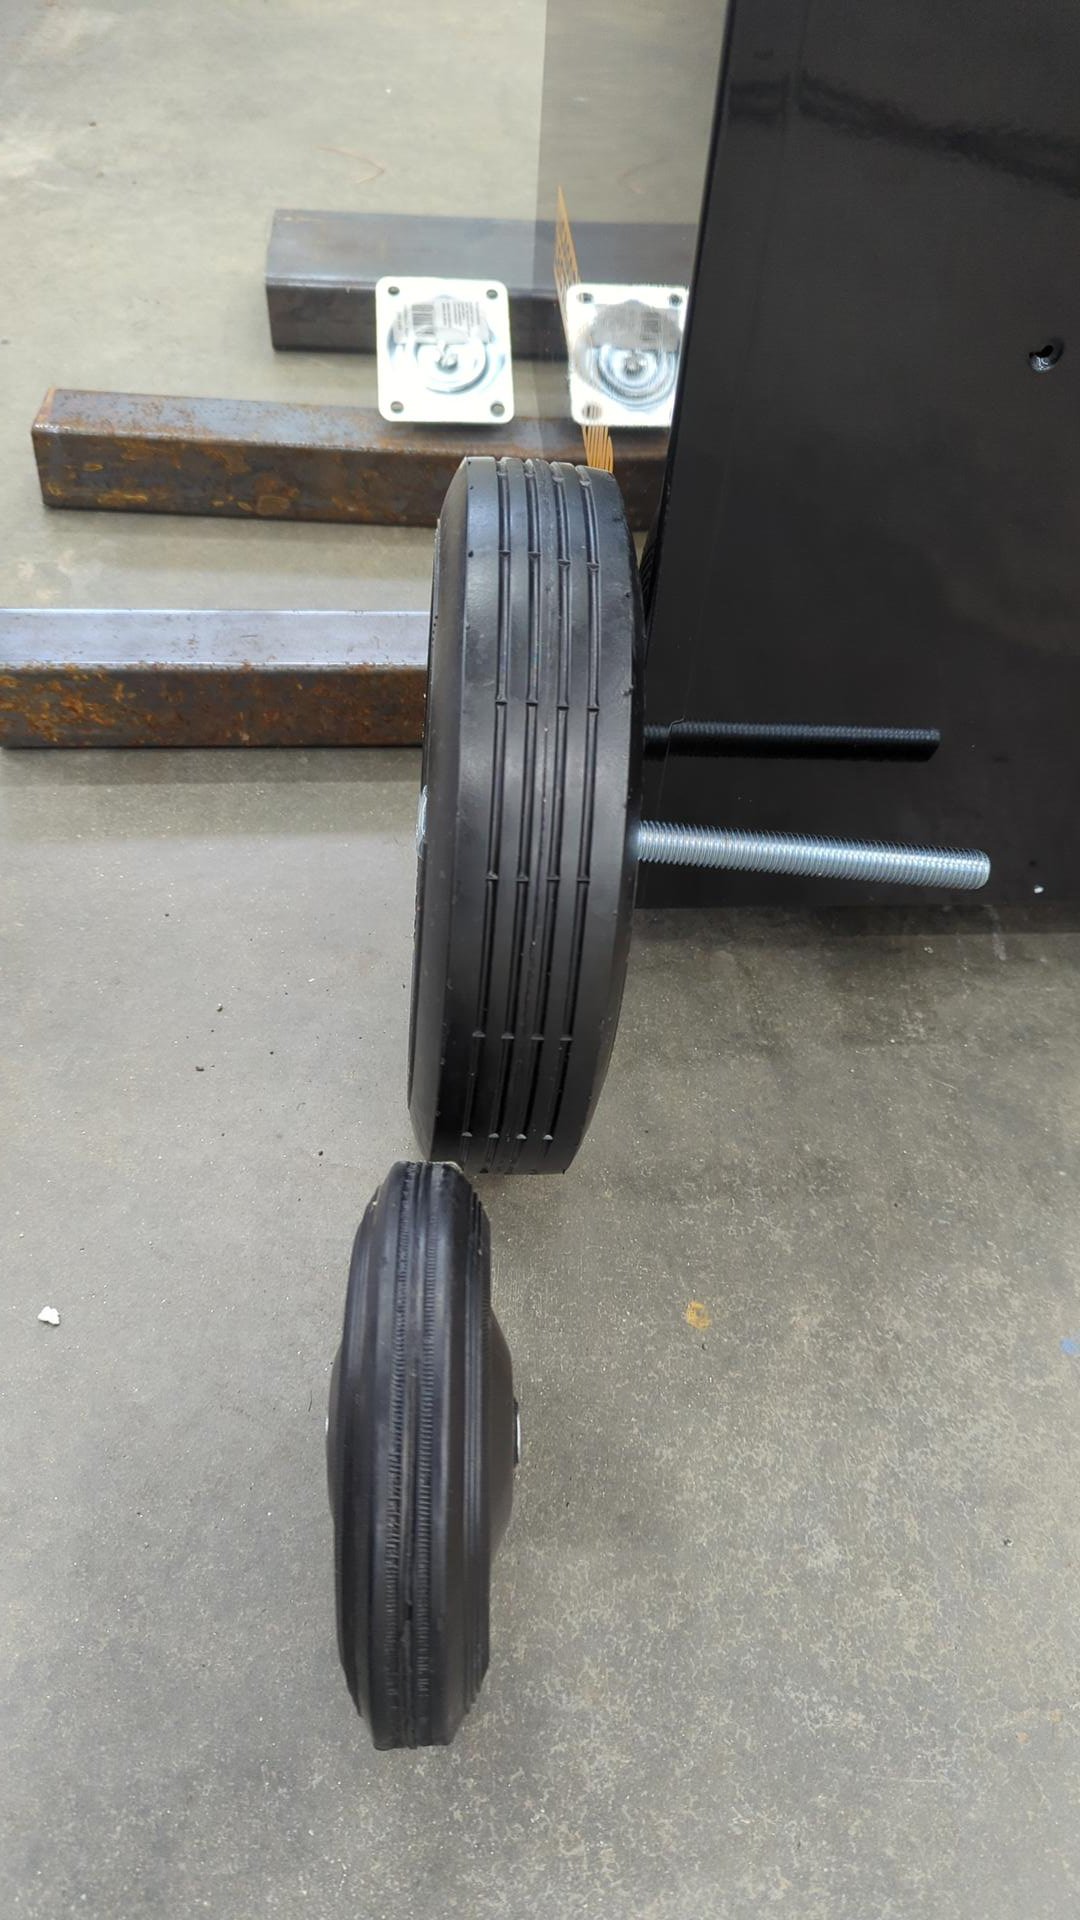
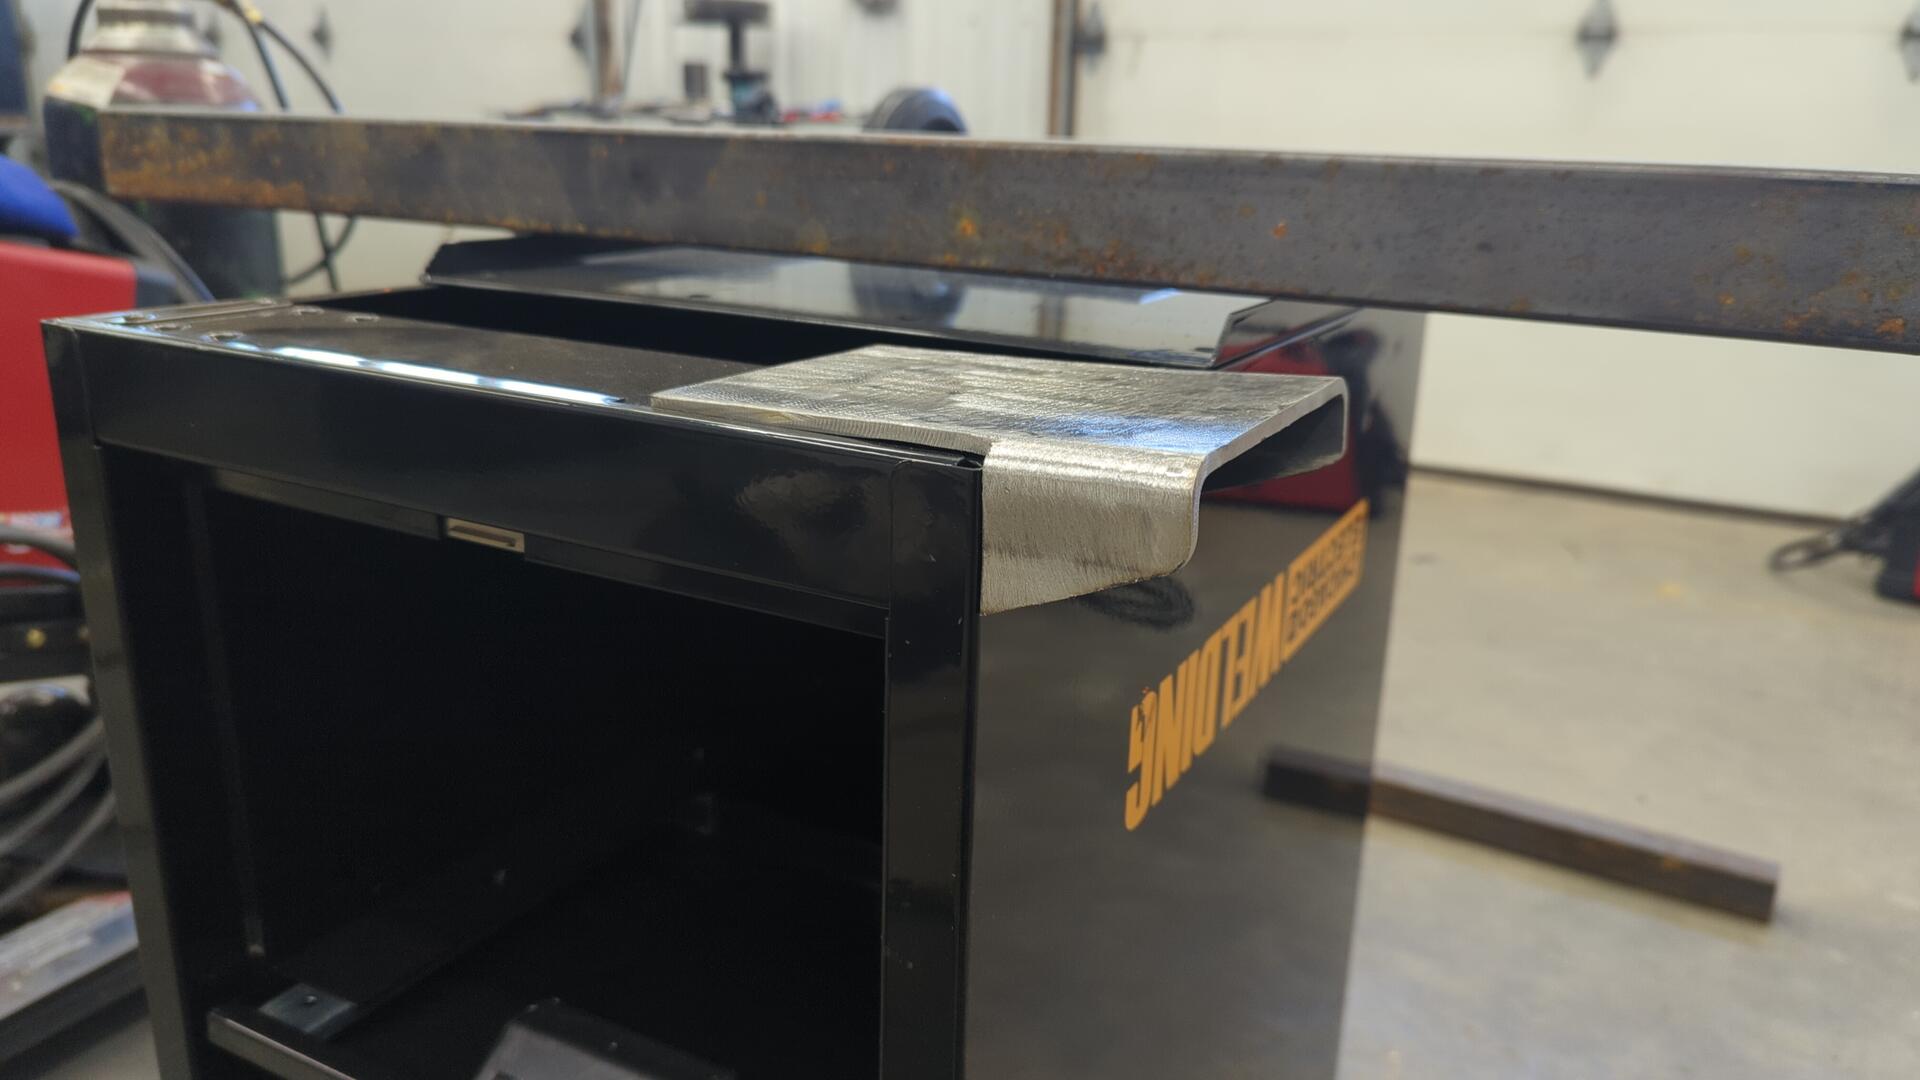
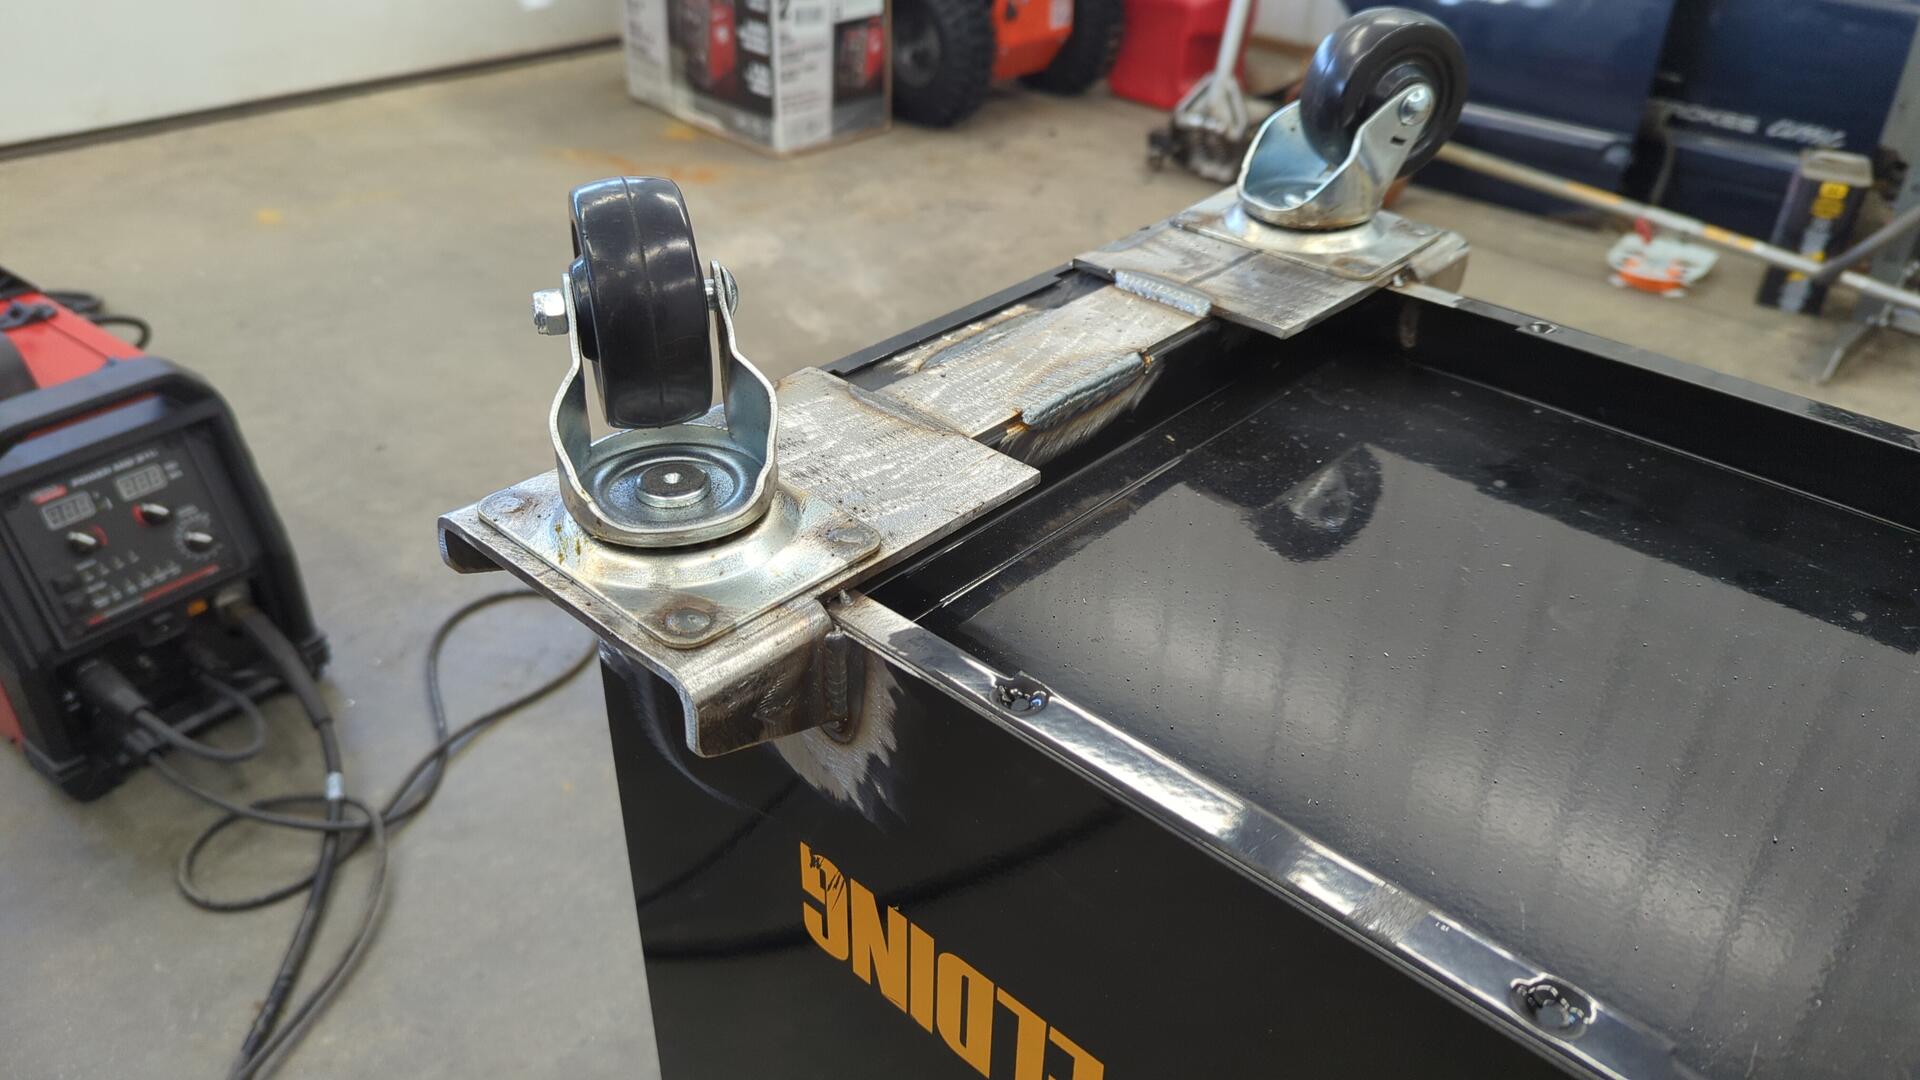
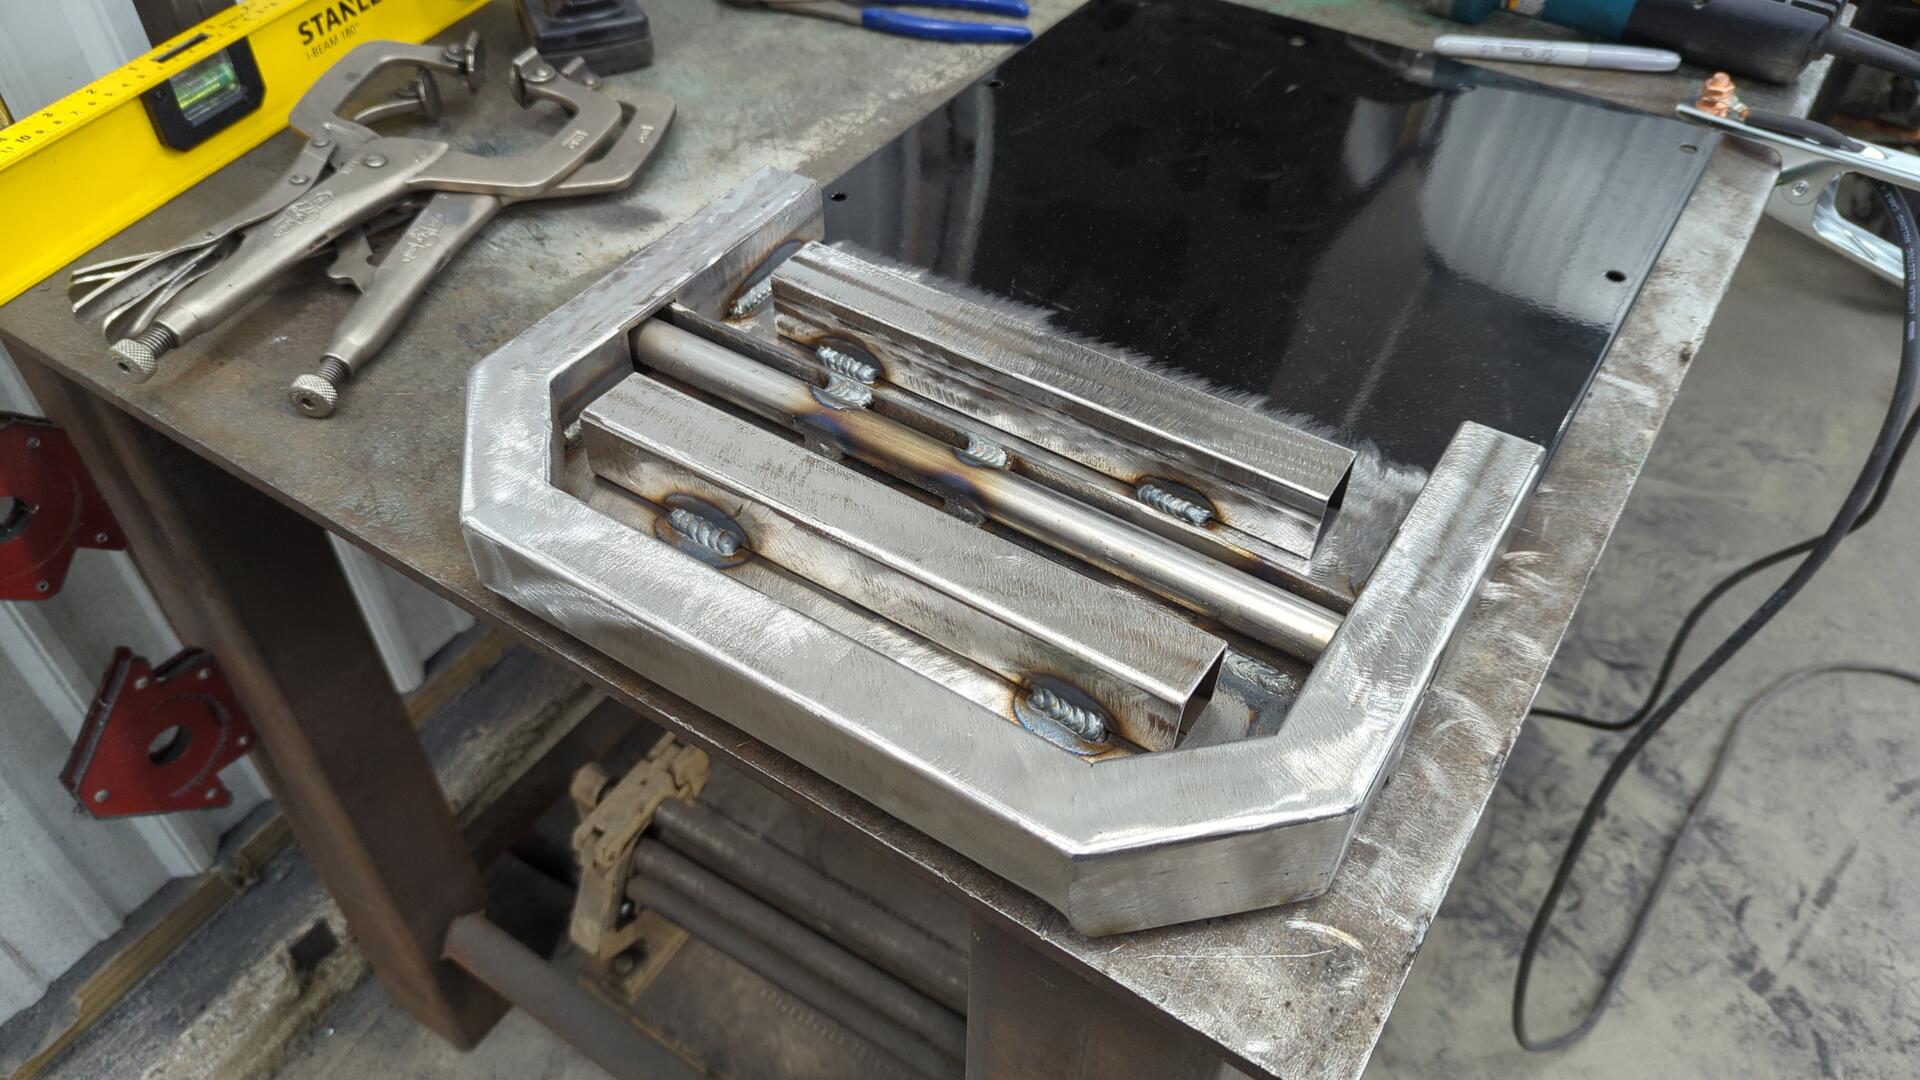
Another thing I didn’t quite like about the cart was how the front wheels were positioned directly under the sides of the cabinet, I felt it left the cart a little tippy so I decided to space them out a bit further for a wider wheel track.
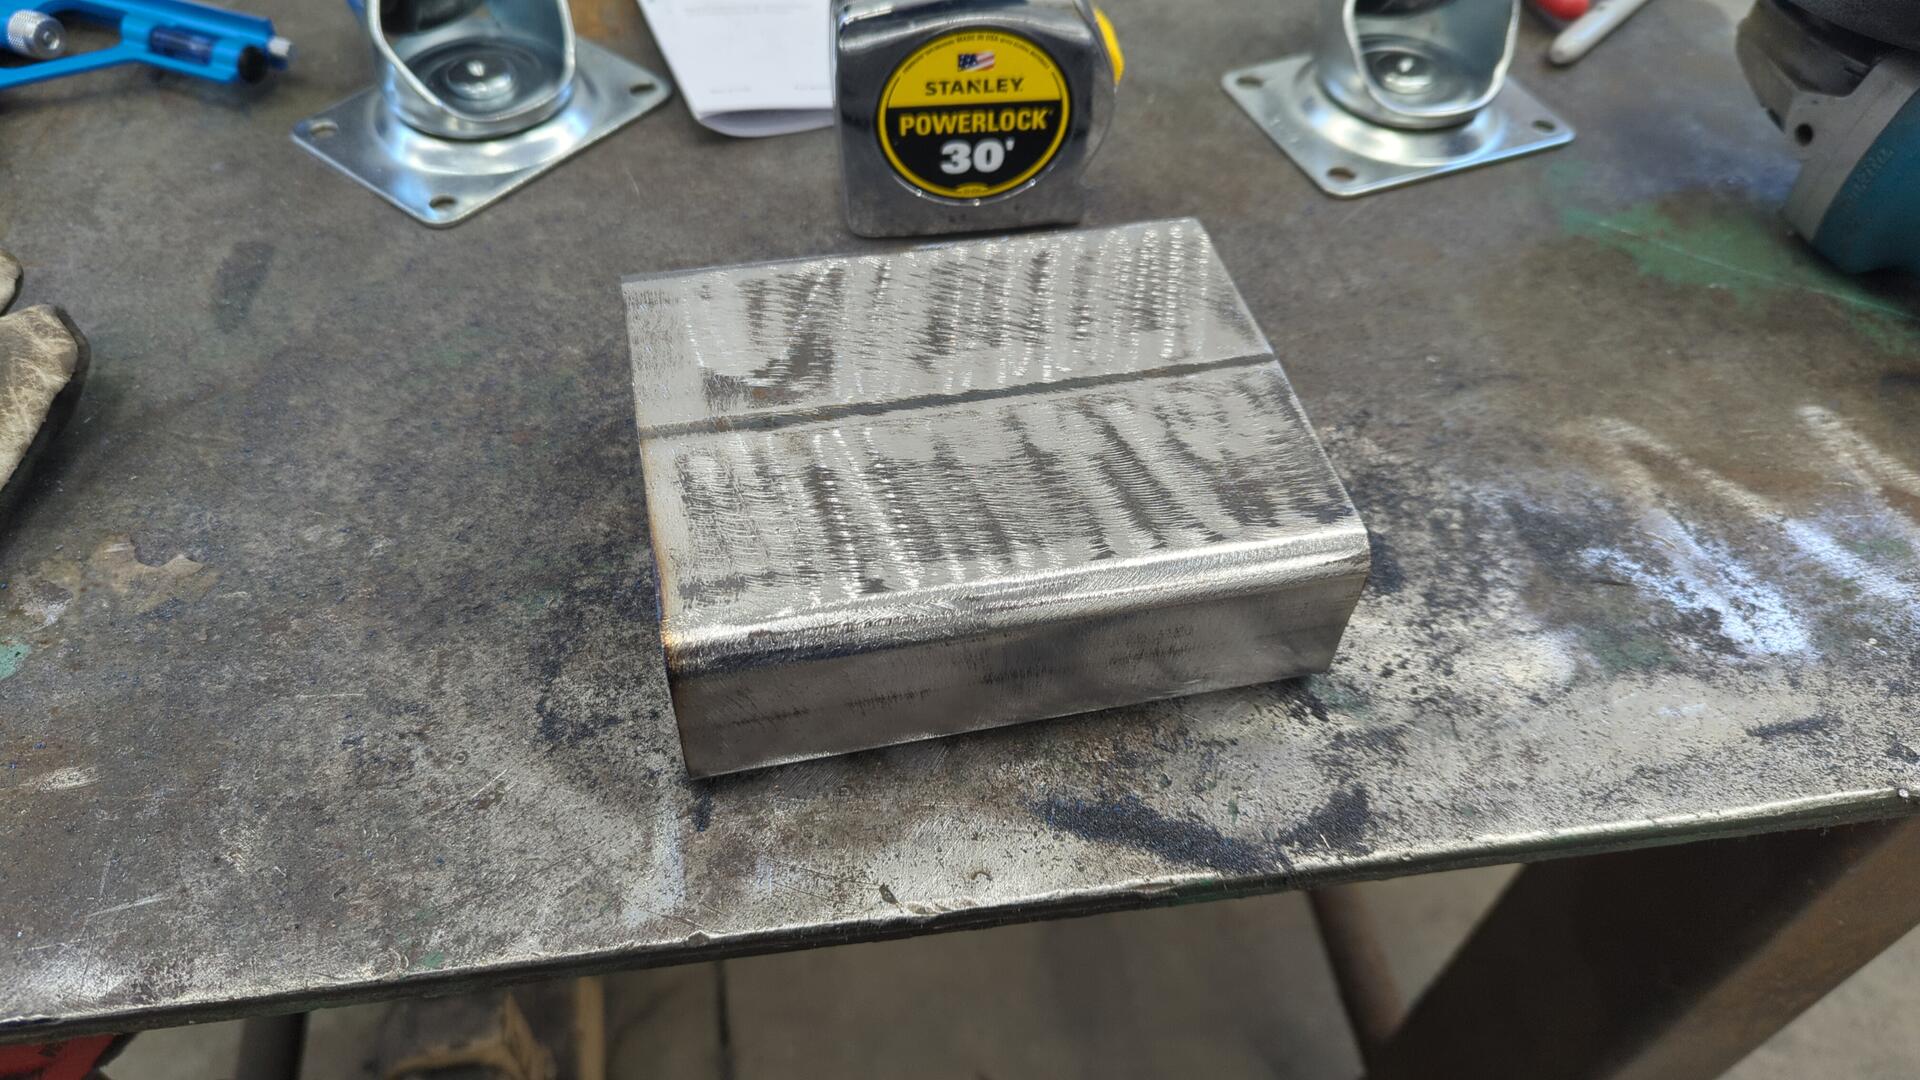
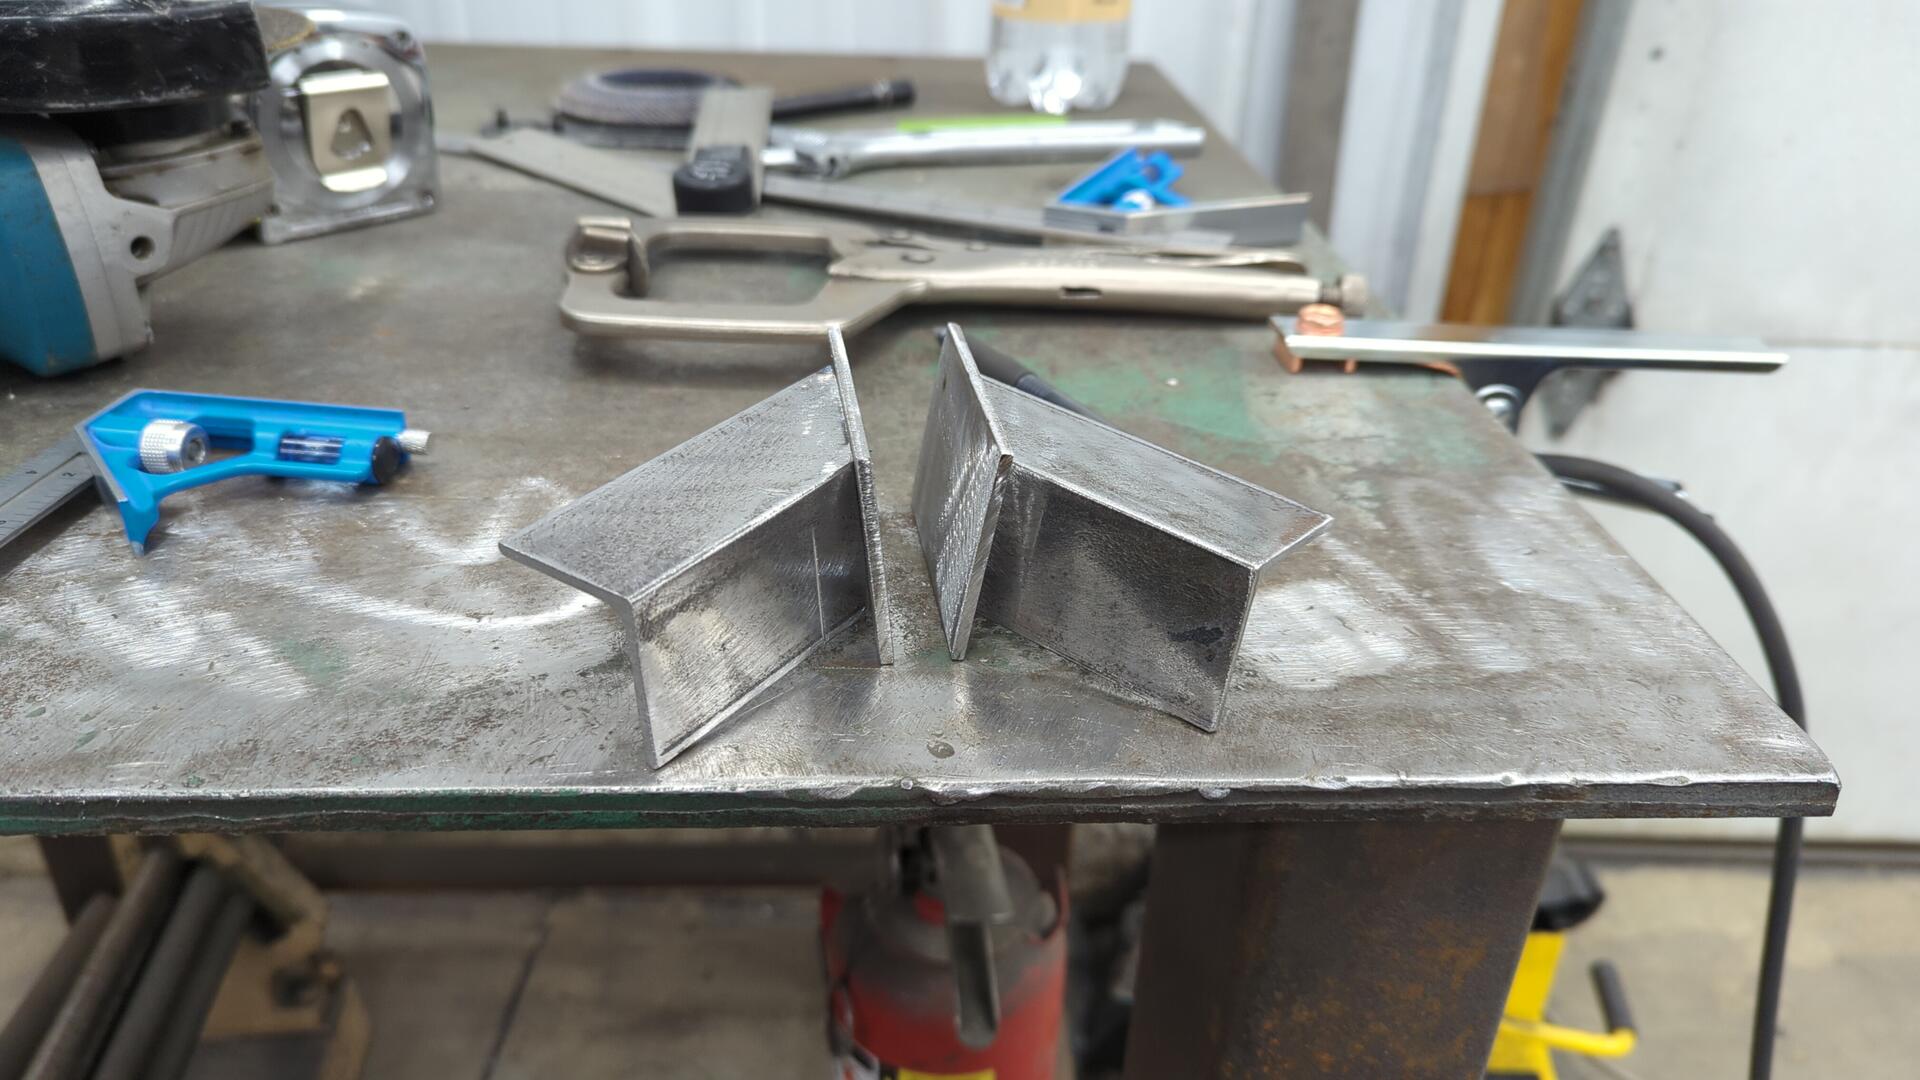
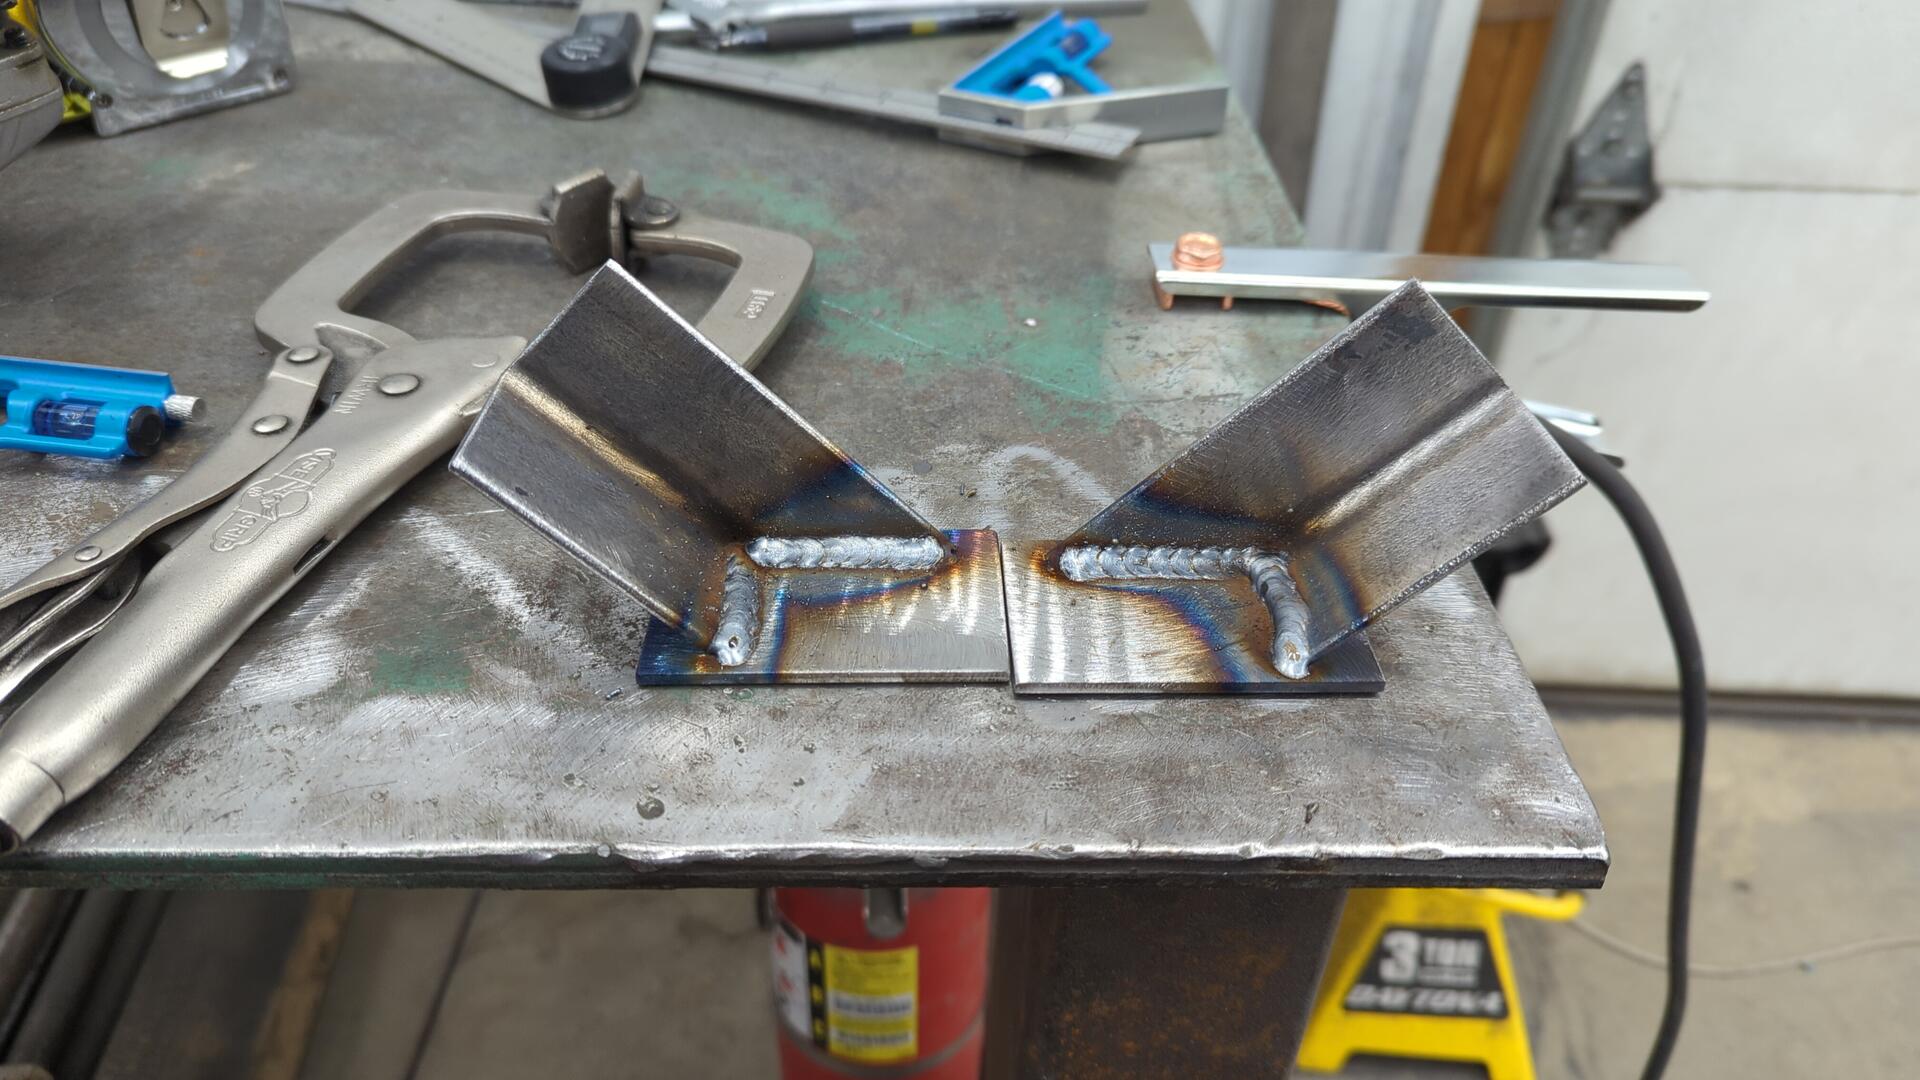
In order to do that, I chopped up some spare 2x5 tubing I had laying around to make new wheel mounts.

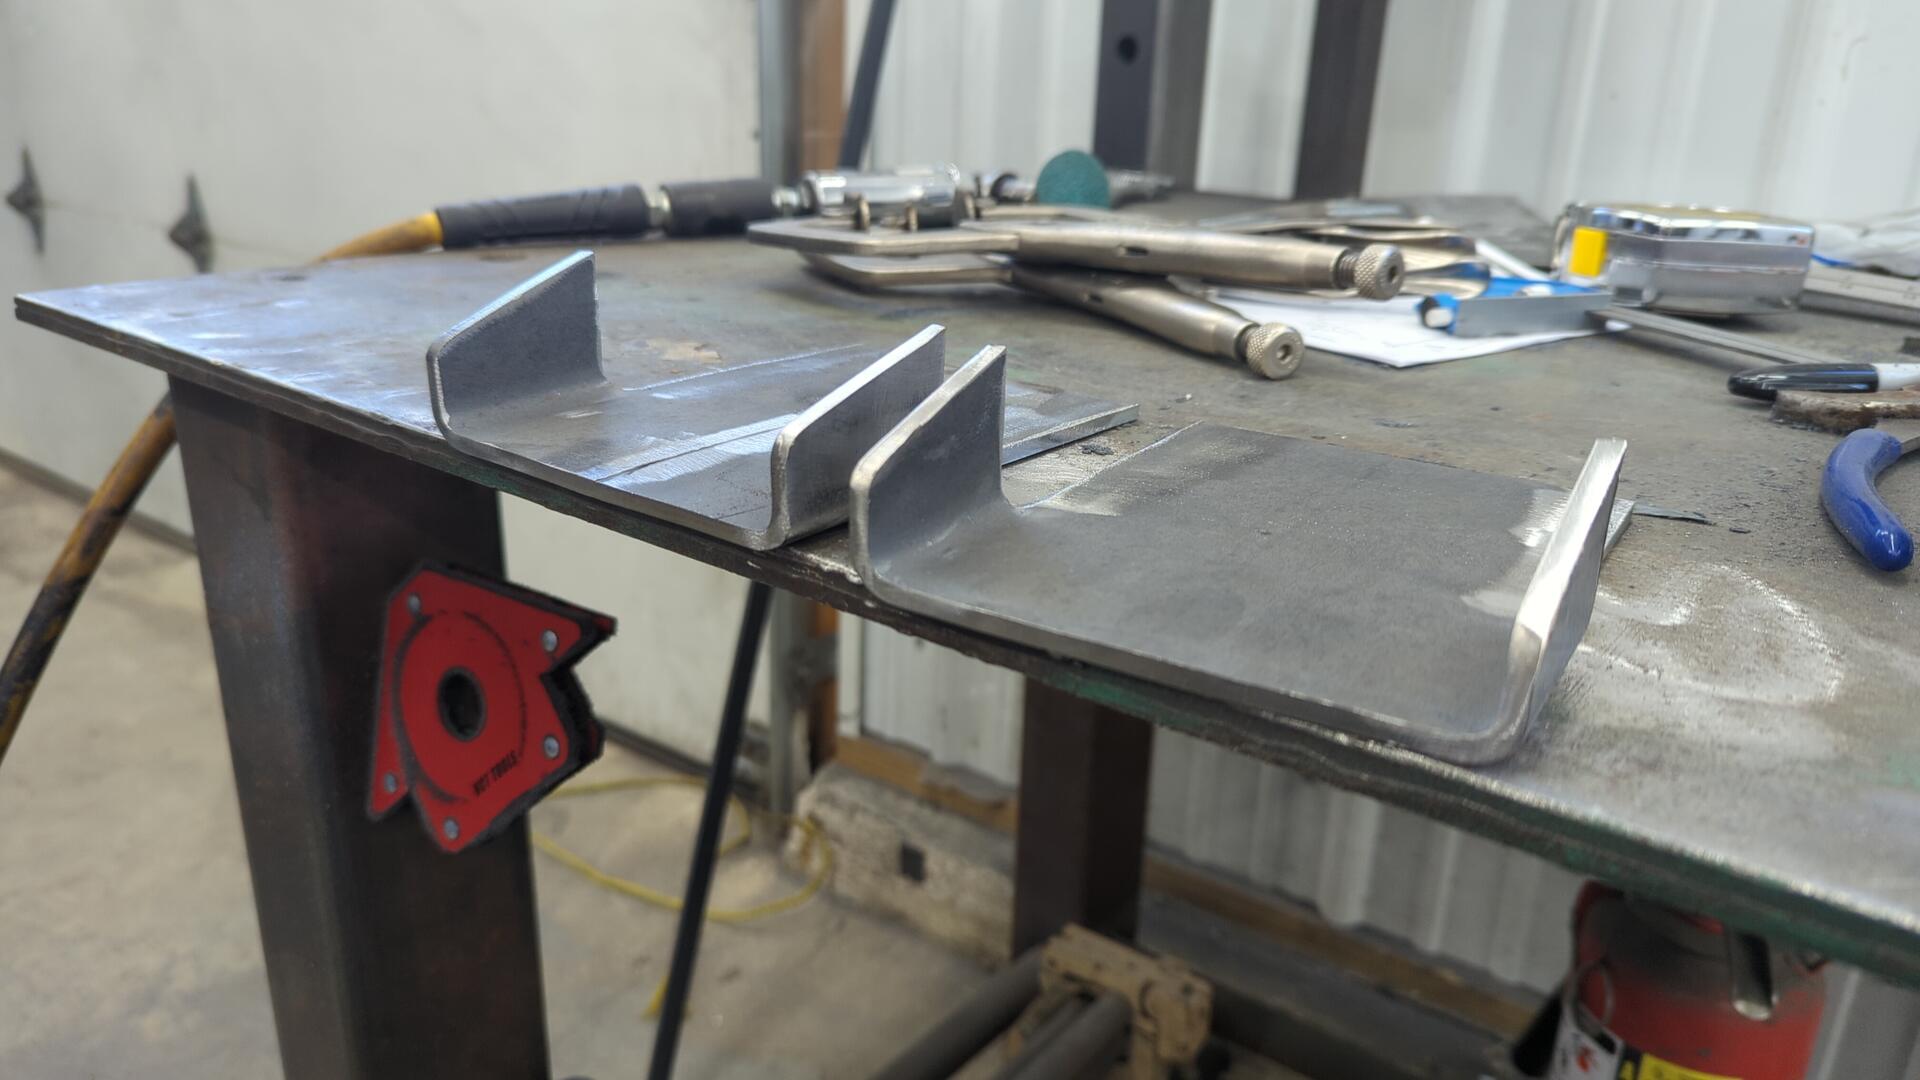
After that I welded in some 16ga to the bottom of the cabinet so the center would sit flush with the cabinet sides.

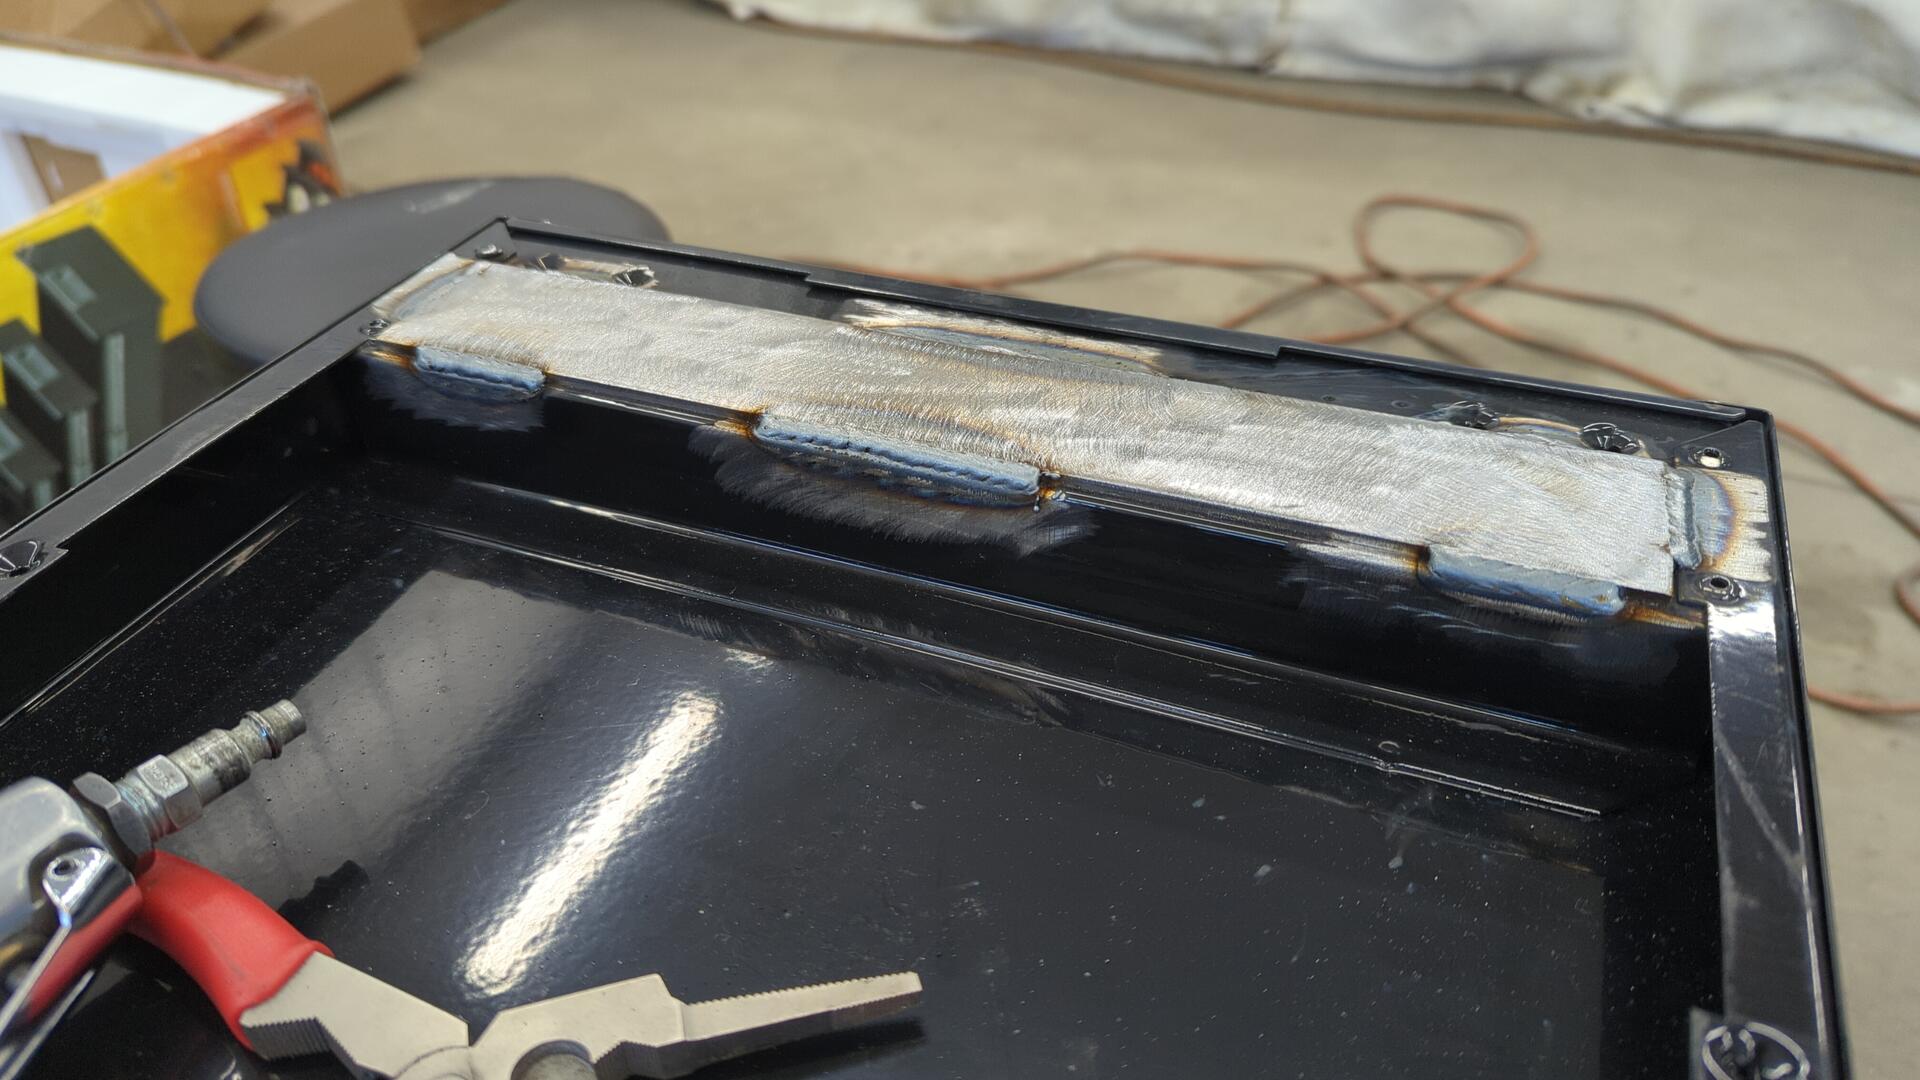
A bit of welding later and the new wheel brackets were in place. It was actually harder than anticipated to weld the 3/16" brackets to the 16ga cabinet, especially with using a new to me welder but I gave it my best shot.
I was feeling a little lazy and decided to plug weld the casters to the cart instead of drilling holes for bolts.
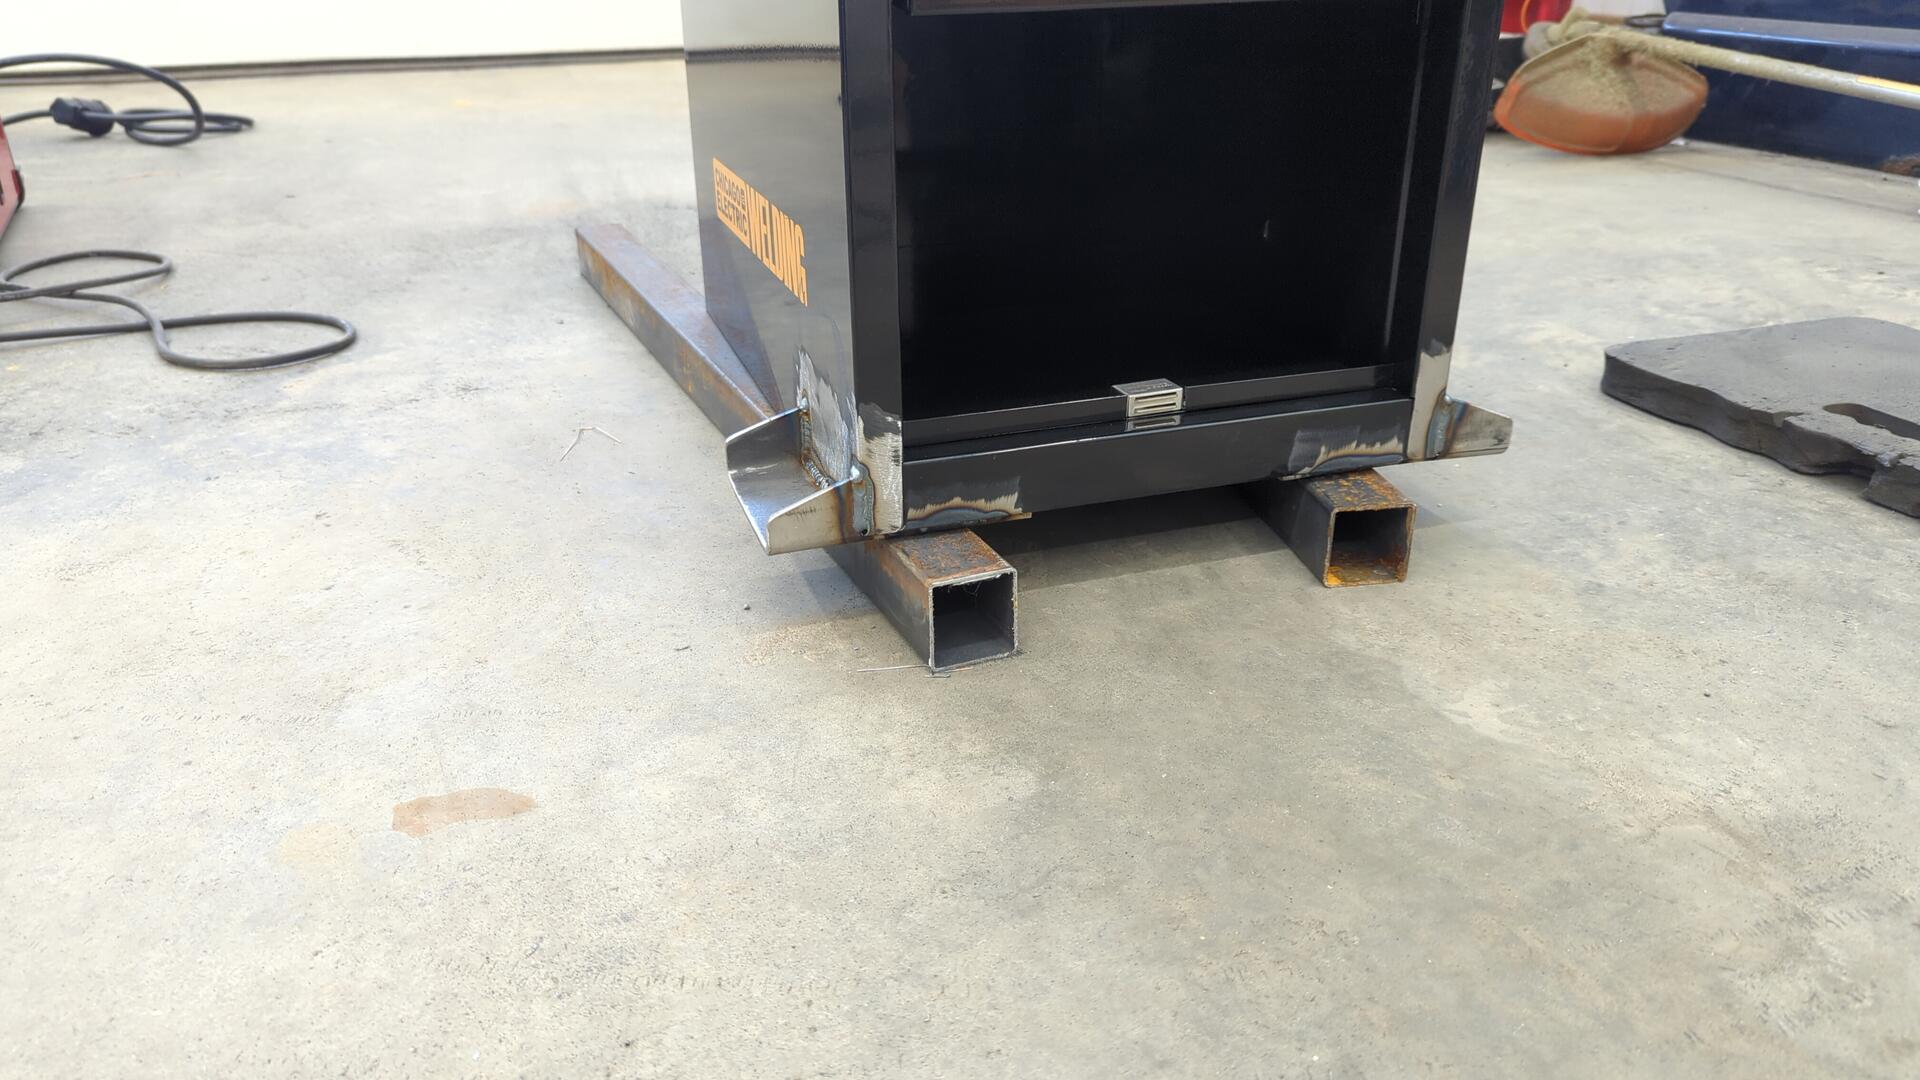
Testing how everything looks.
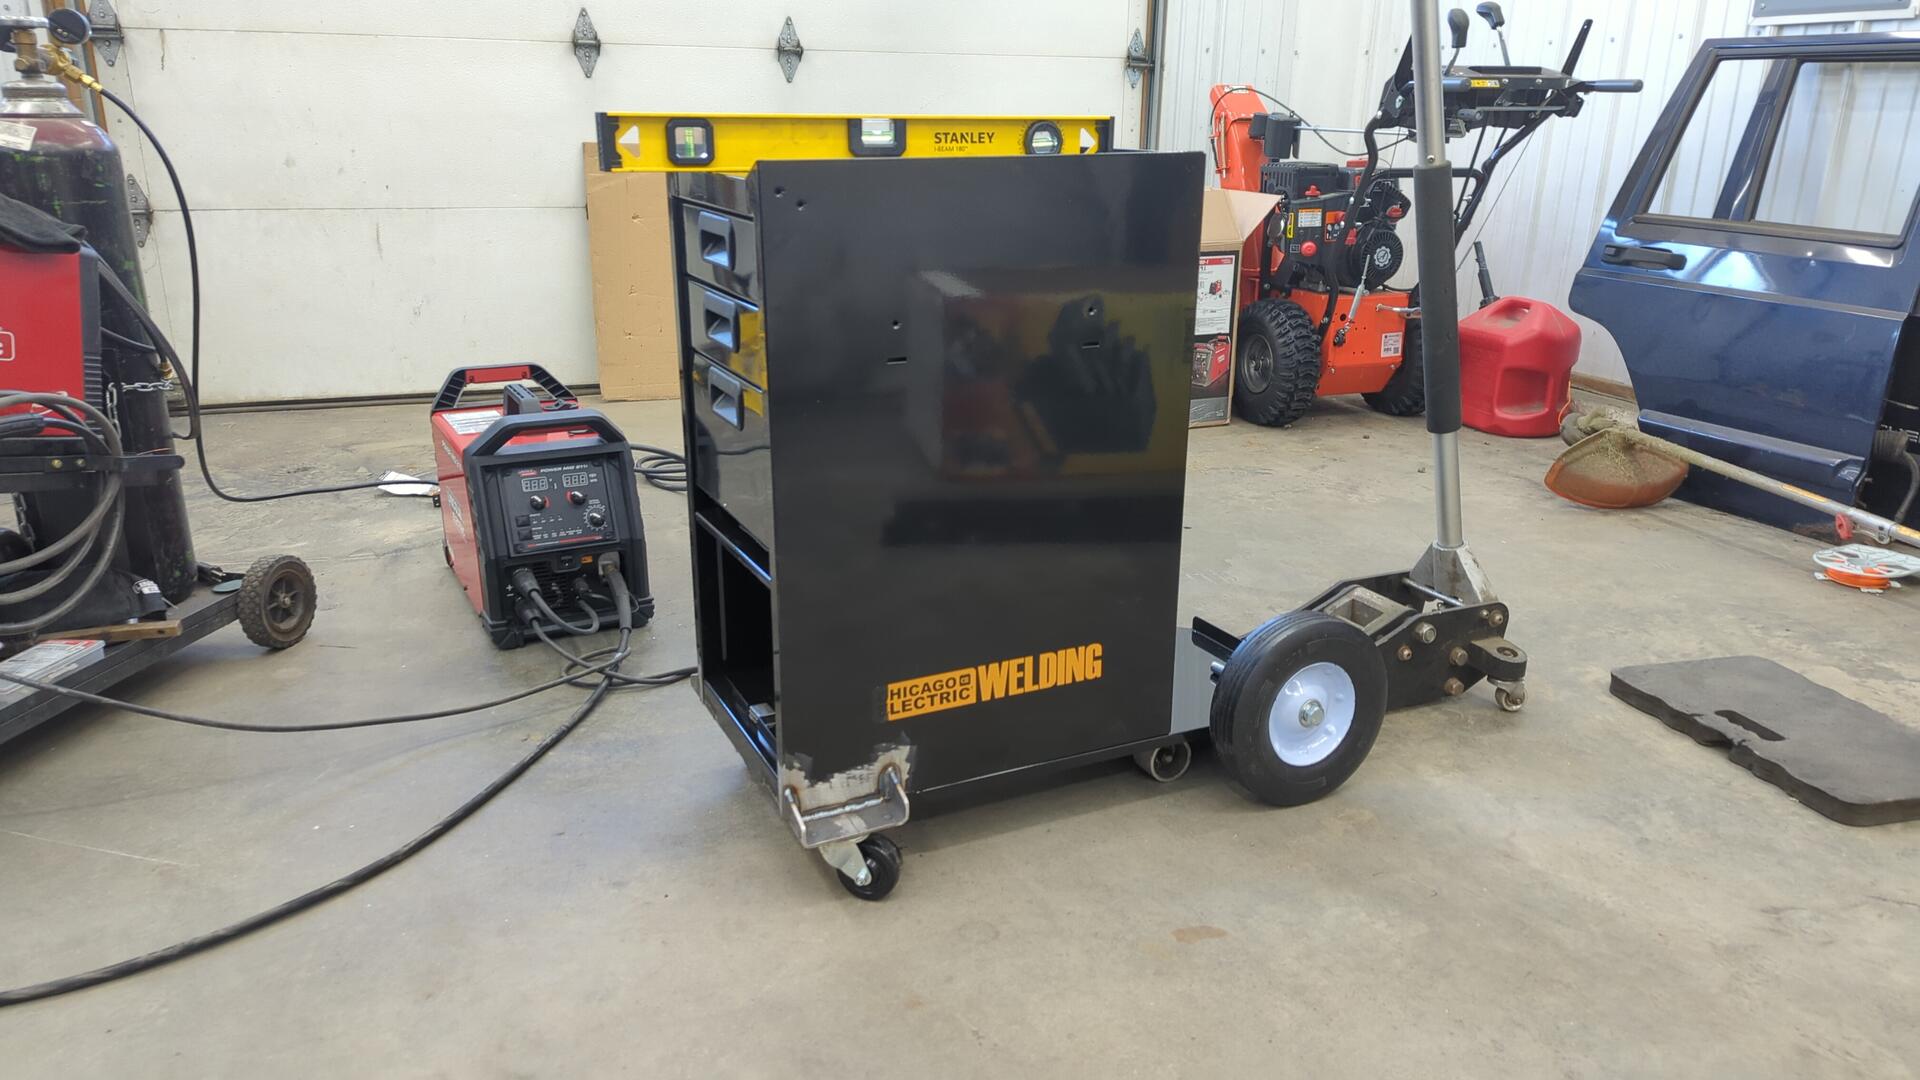
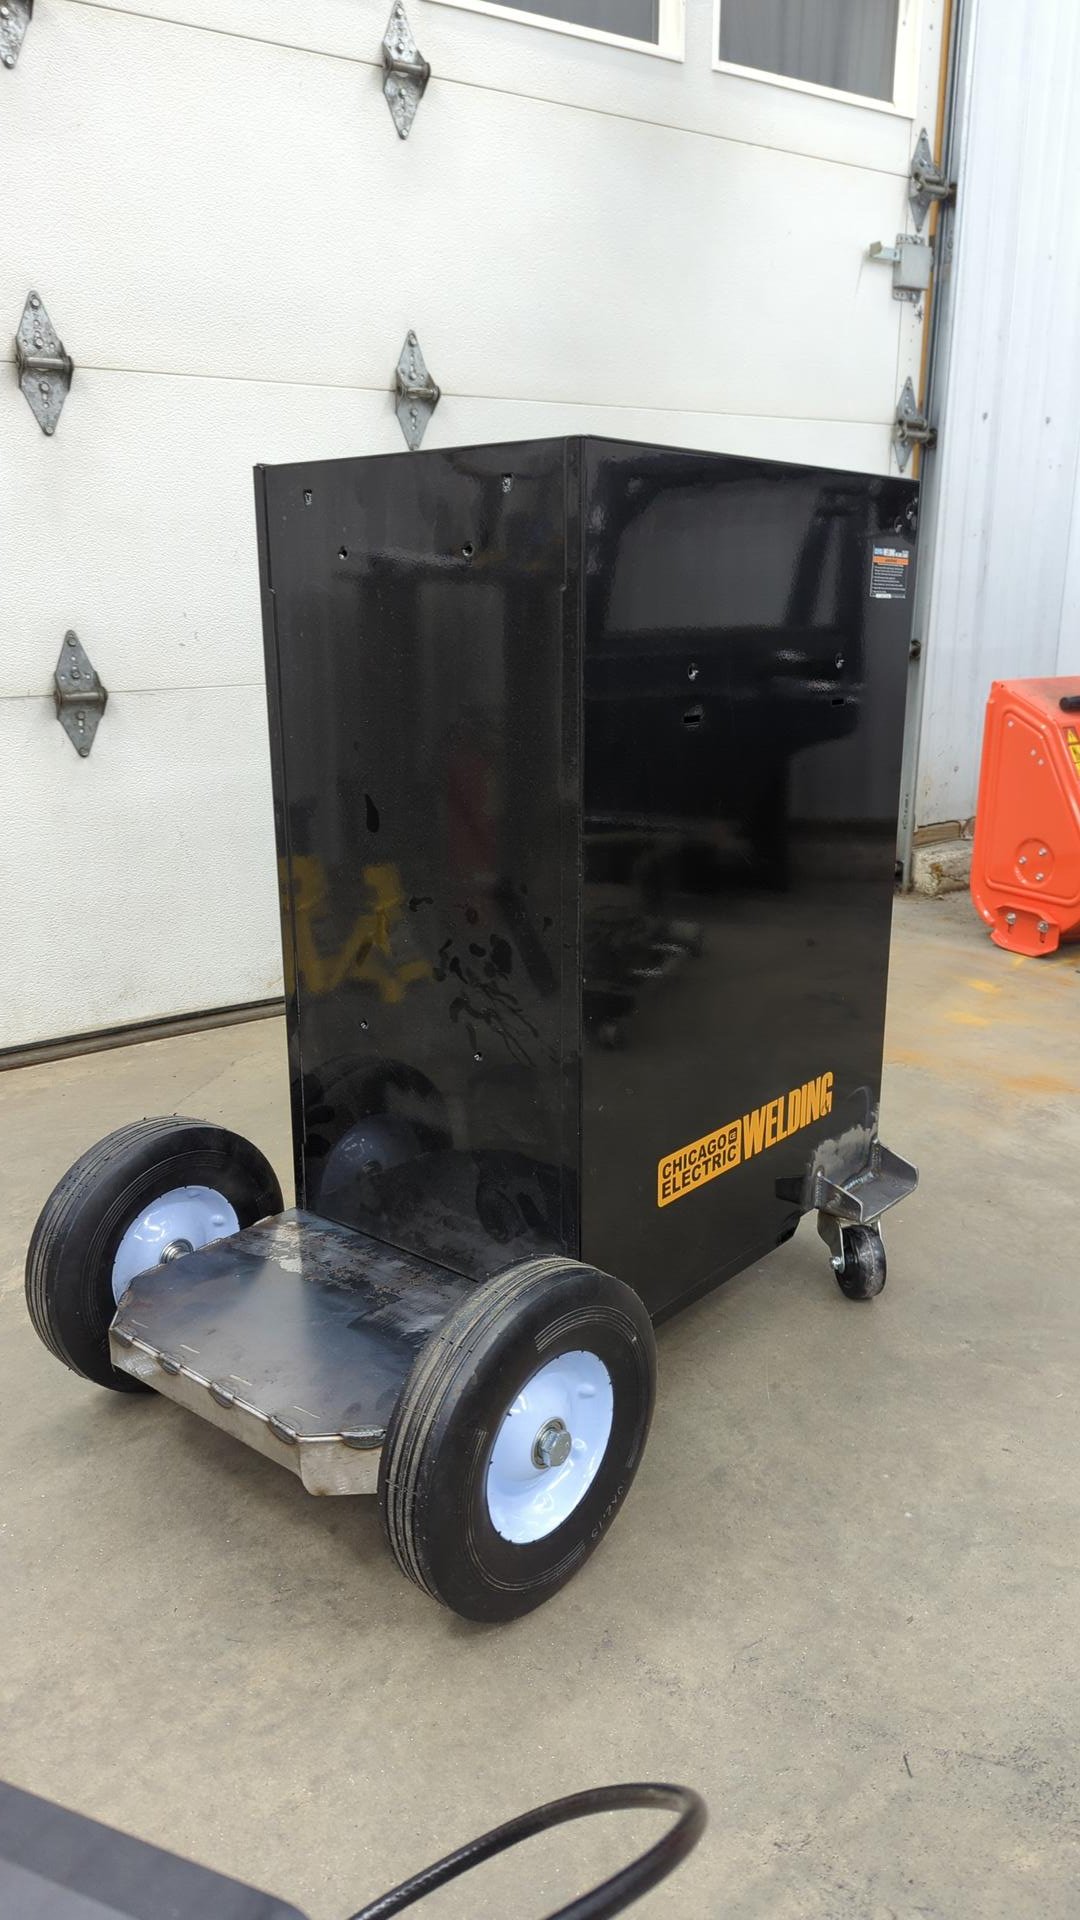
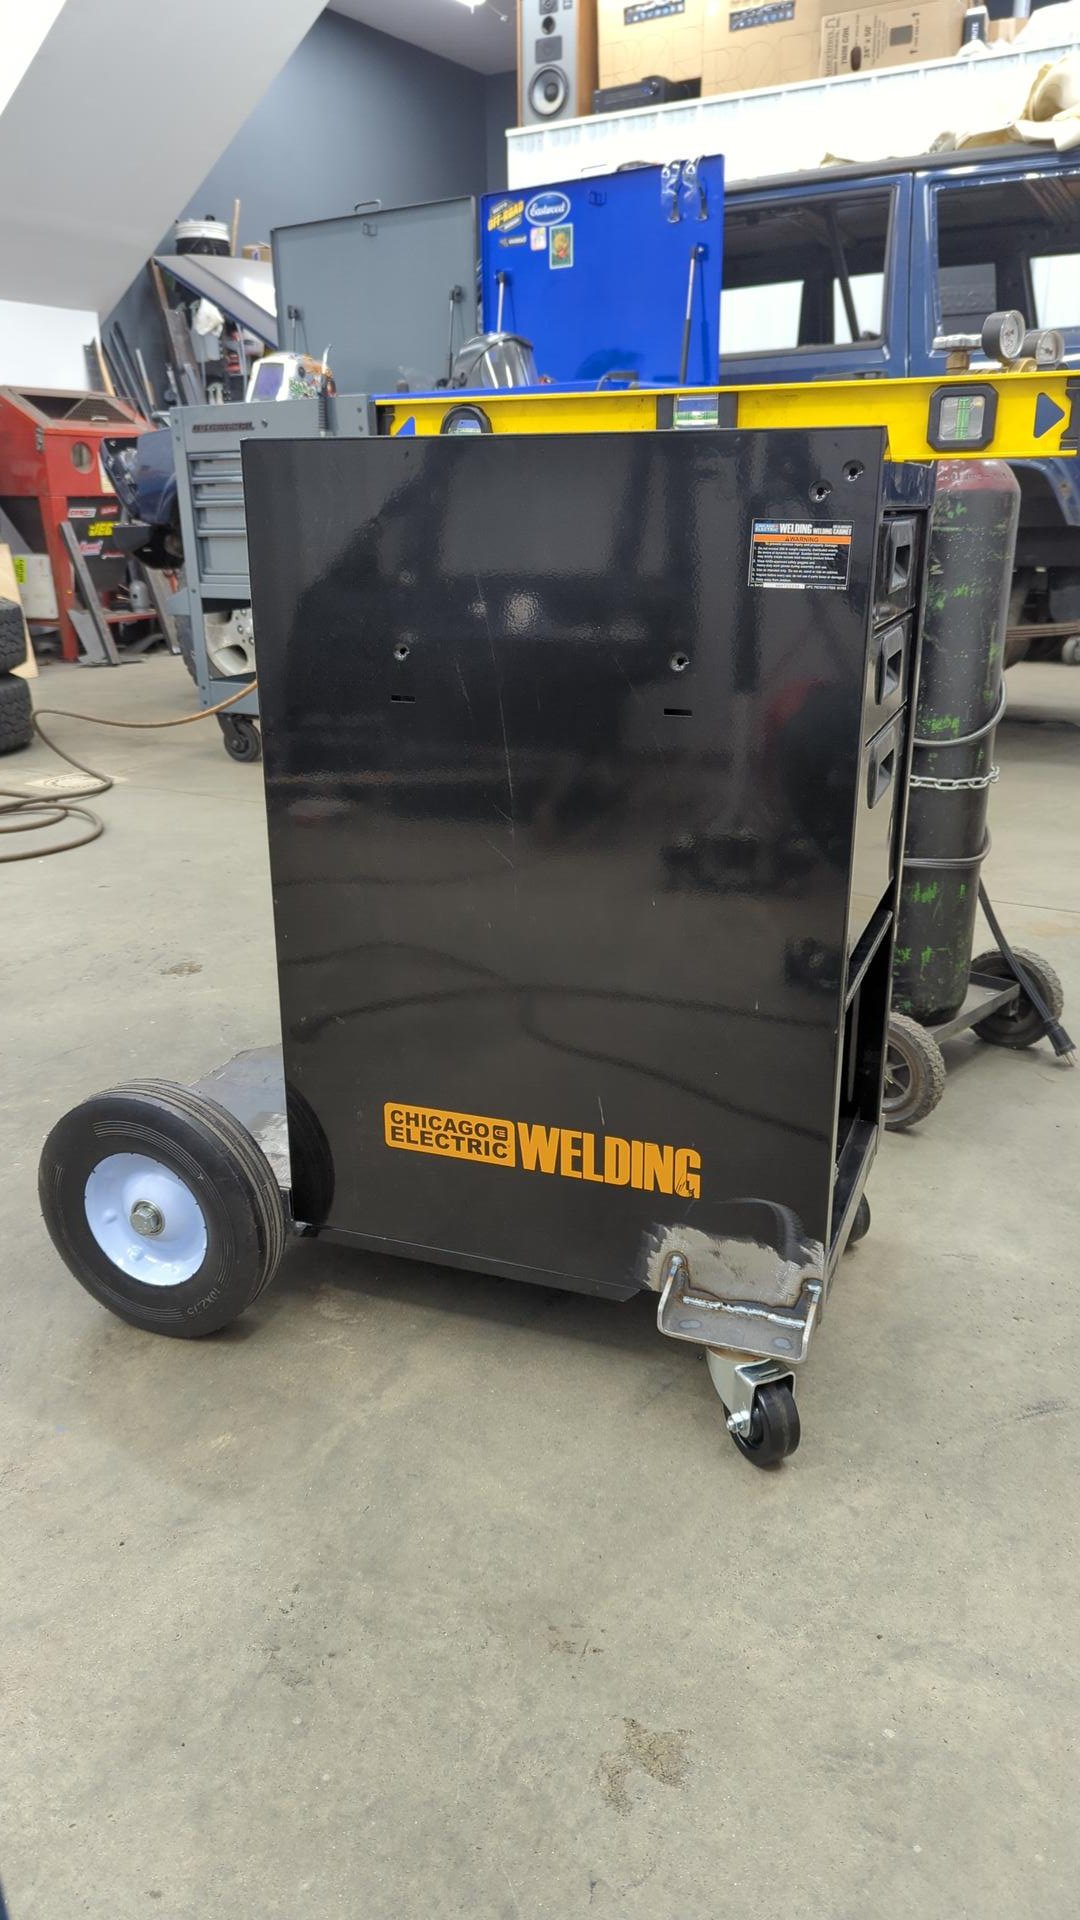
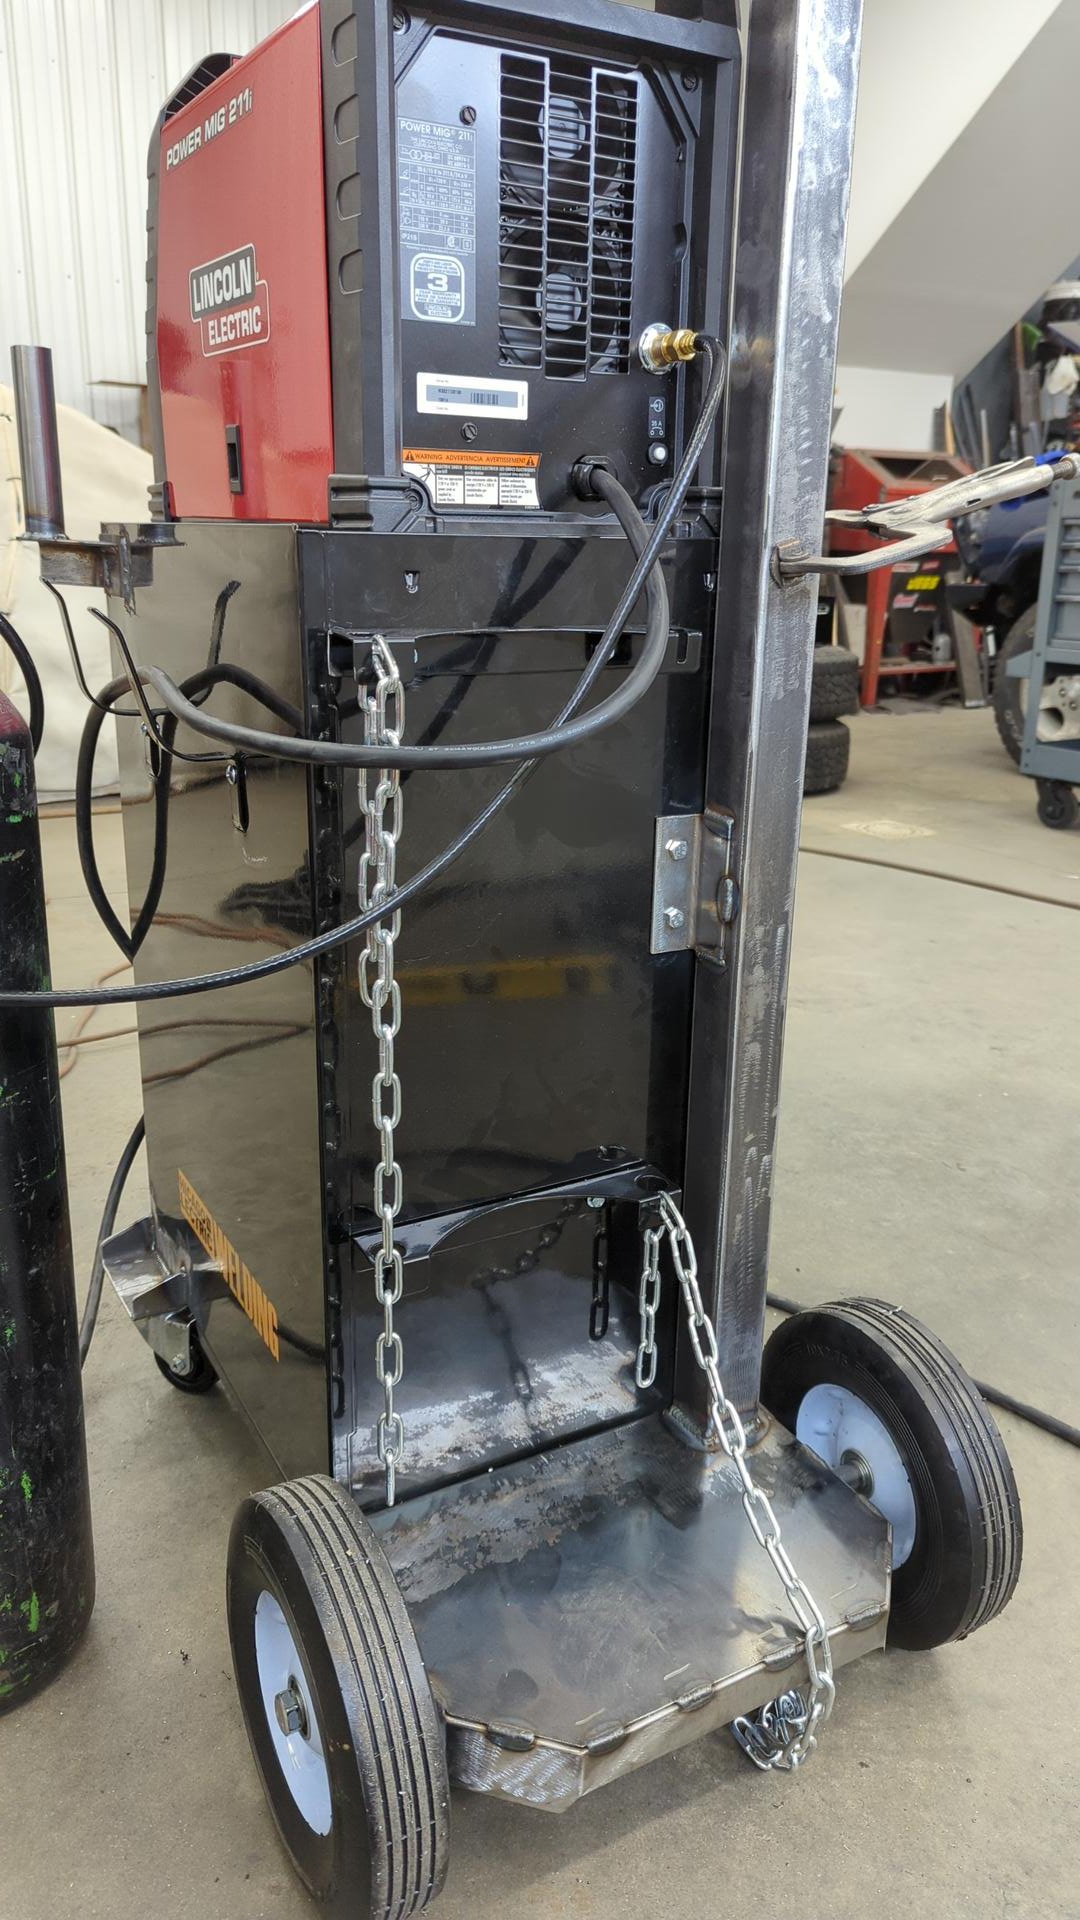
Because of how much larger in diameter my new rear wheels were, I had to come up with a new axle design that would sit higher than the original one. This meant that the axle would sit on top of the shelf where the gas cylinder normally rests though so I had to build a platform for the gas cylinder.
I ended up making a makeshift axle for the wheels using 16ga 3/4" tube. A 5/8" bolt fits absolutely perfect in them.
I didn’t like how the stich welds looked so I ended up completely welding the tubing to the cart base so I could grind everything flush.
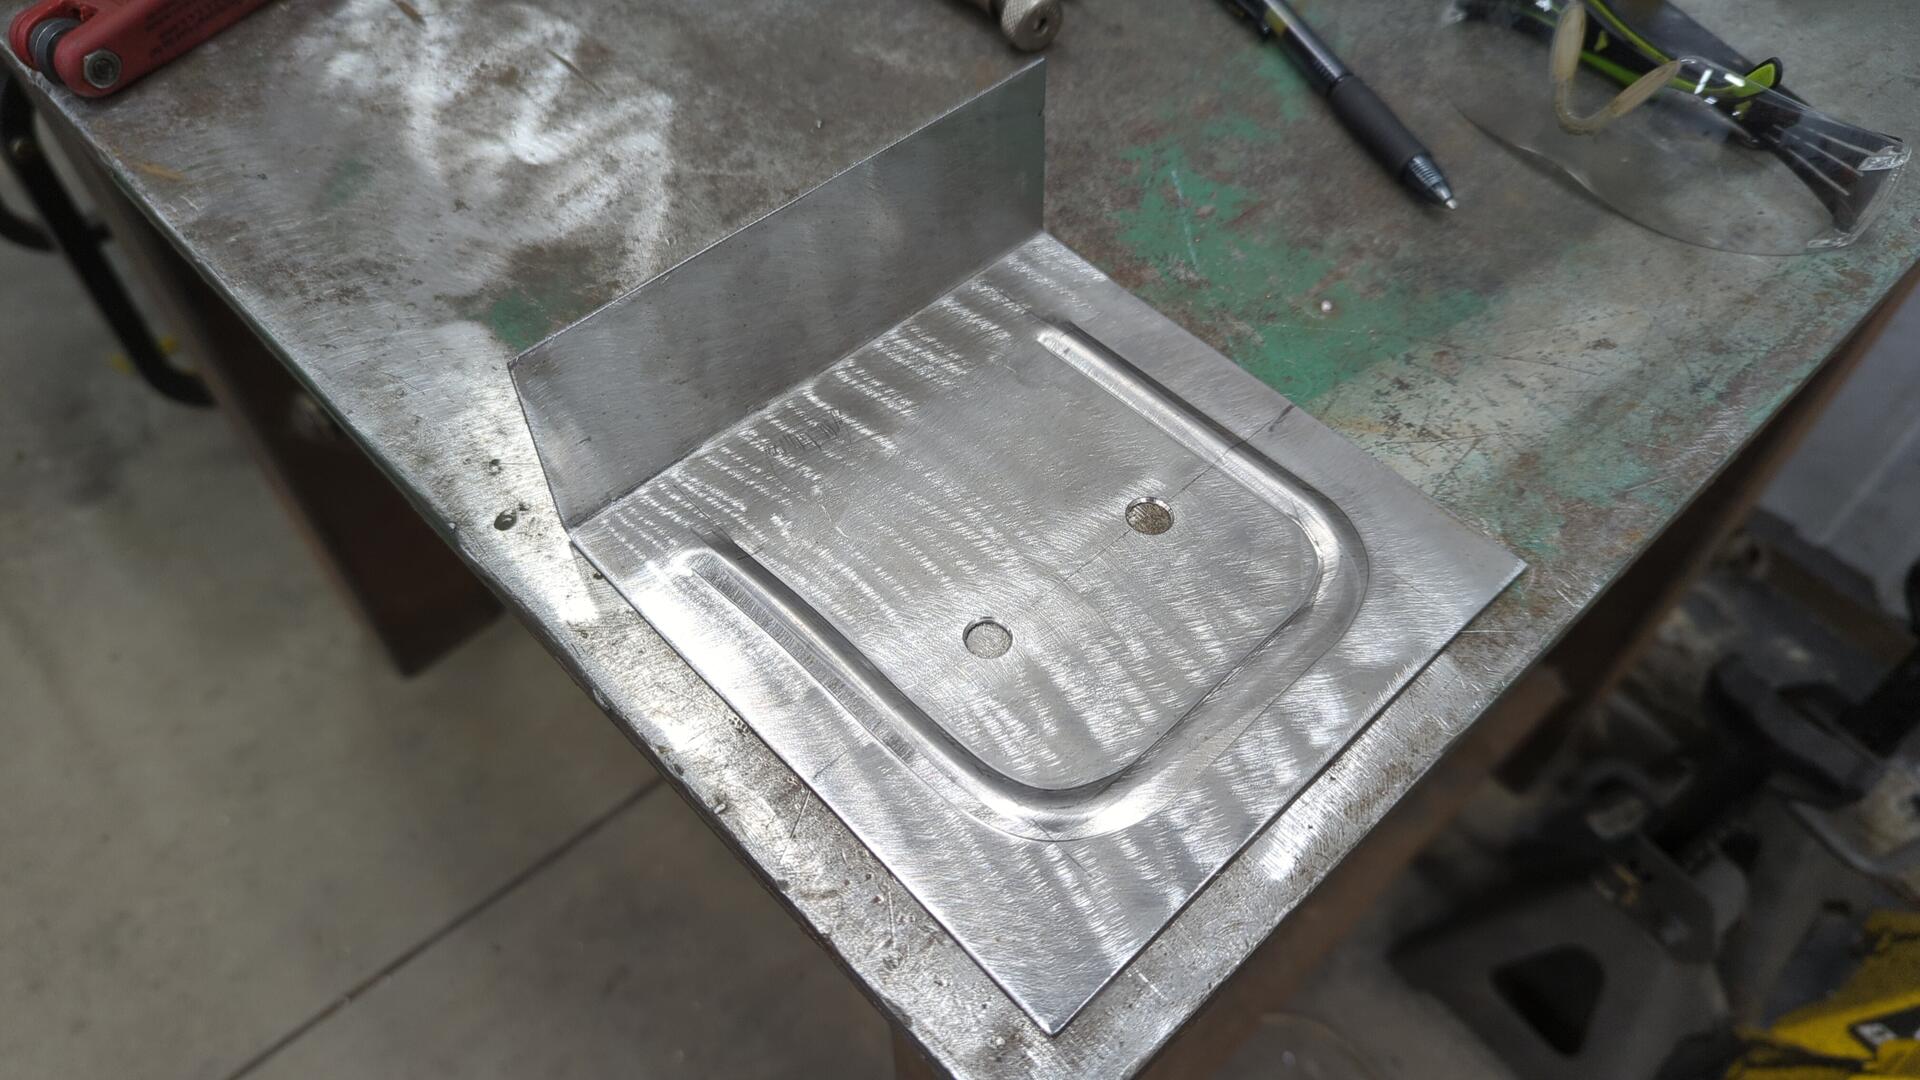
And a bit of overkill bracing was added to ensure the platform the cylinder sits on never deformed was added.
To finish things up I bent some 16ga steel in my brake and welding it into position.

Not bad! Although it kinda looks like I chopped up a hand truck and welded it to my cabinet now lol.
Something wasn’t quite right with the cart though. The cart was ever so slightly tilted towards the front because the front wheels weren’t quite tall enough. At a quick glance, it was actually pretty hard to notice but it drove me crazy because I could see it so I ended up caving and decided to fix it.
Front Wheels V2
Home Depot didn’t have anything that was slightly larger in height for casters so I ended up trawling through McMaster Carr until I found the perfect pair. The new wheels are about 1/2" taller and also have a higher quality bearing that felt smoother.
Grinding off the old casters was a bit of a pain since I had welded them on, but all in all it wasn’t too difficult to remove them. I used a flap disc and ground down each corner until I was able to bang the wheels off with a hammer.
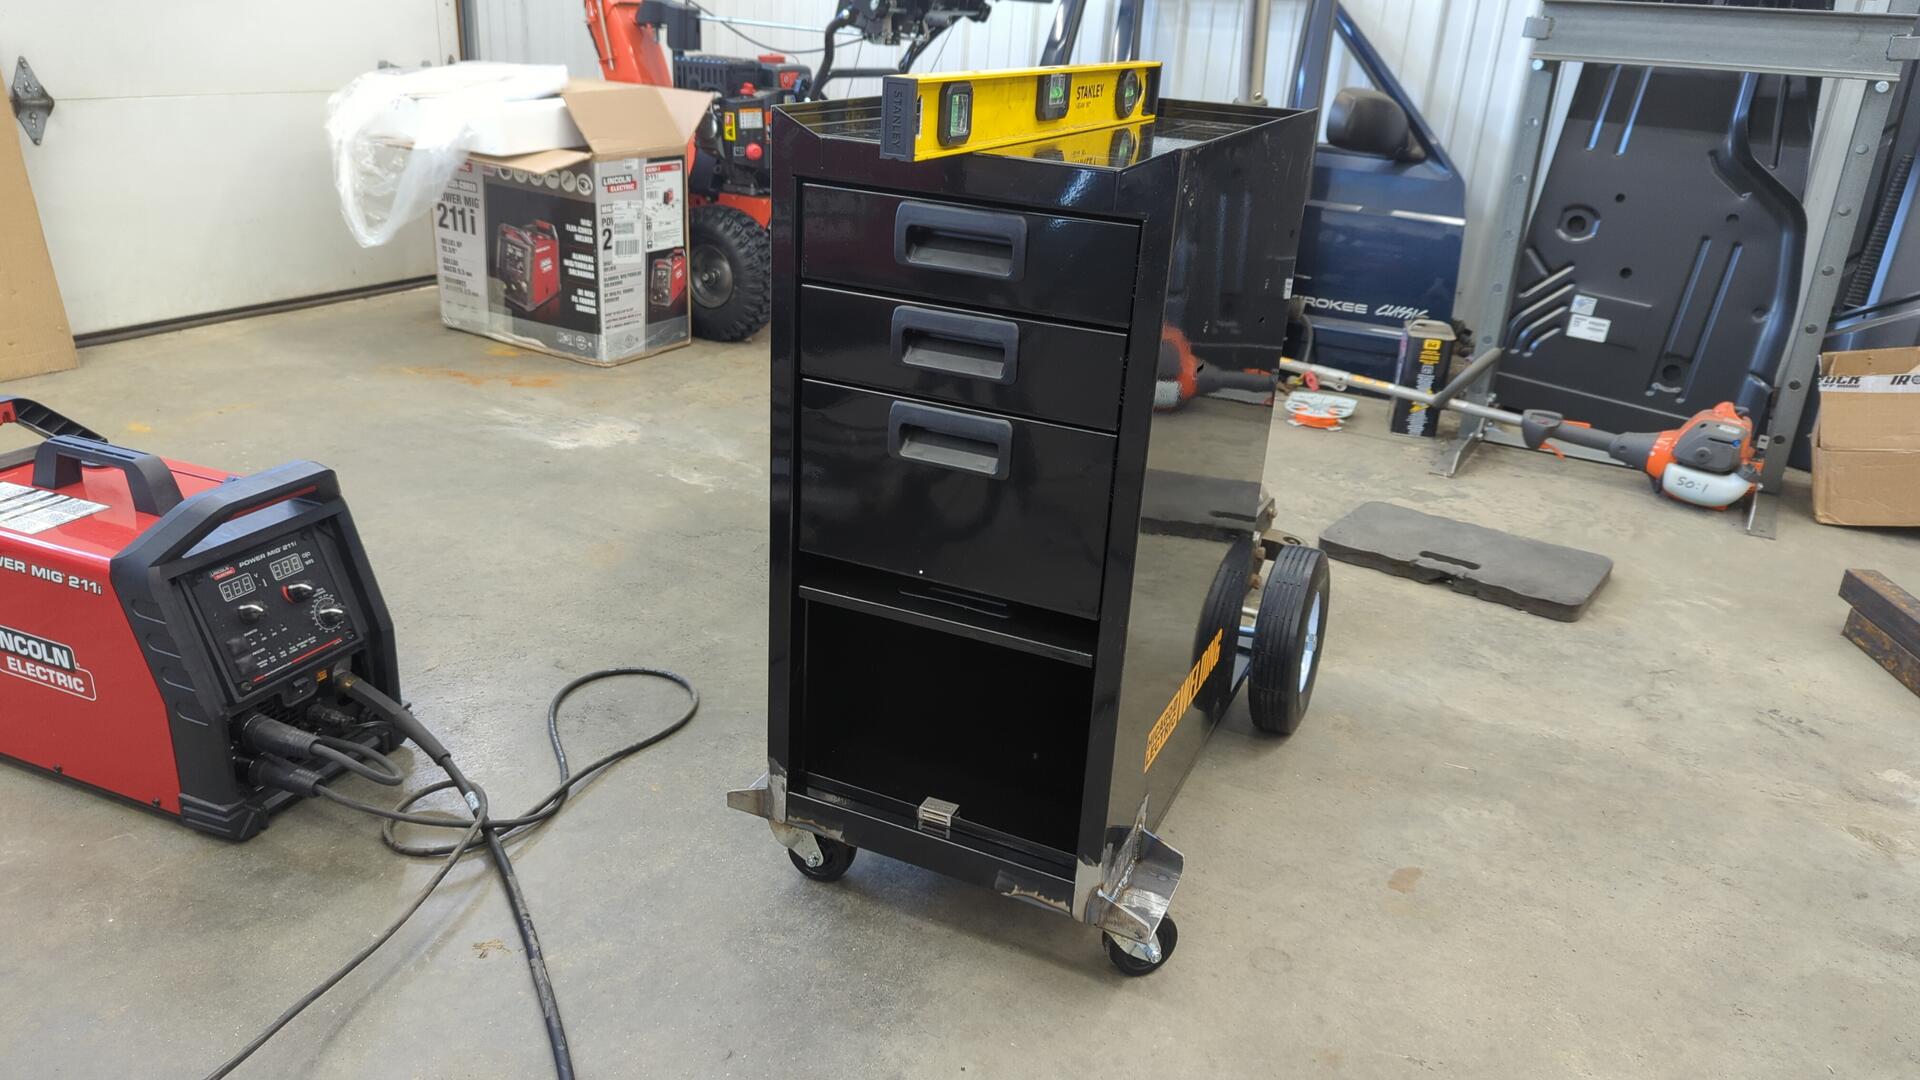
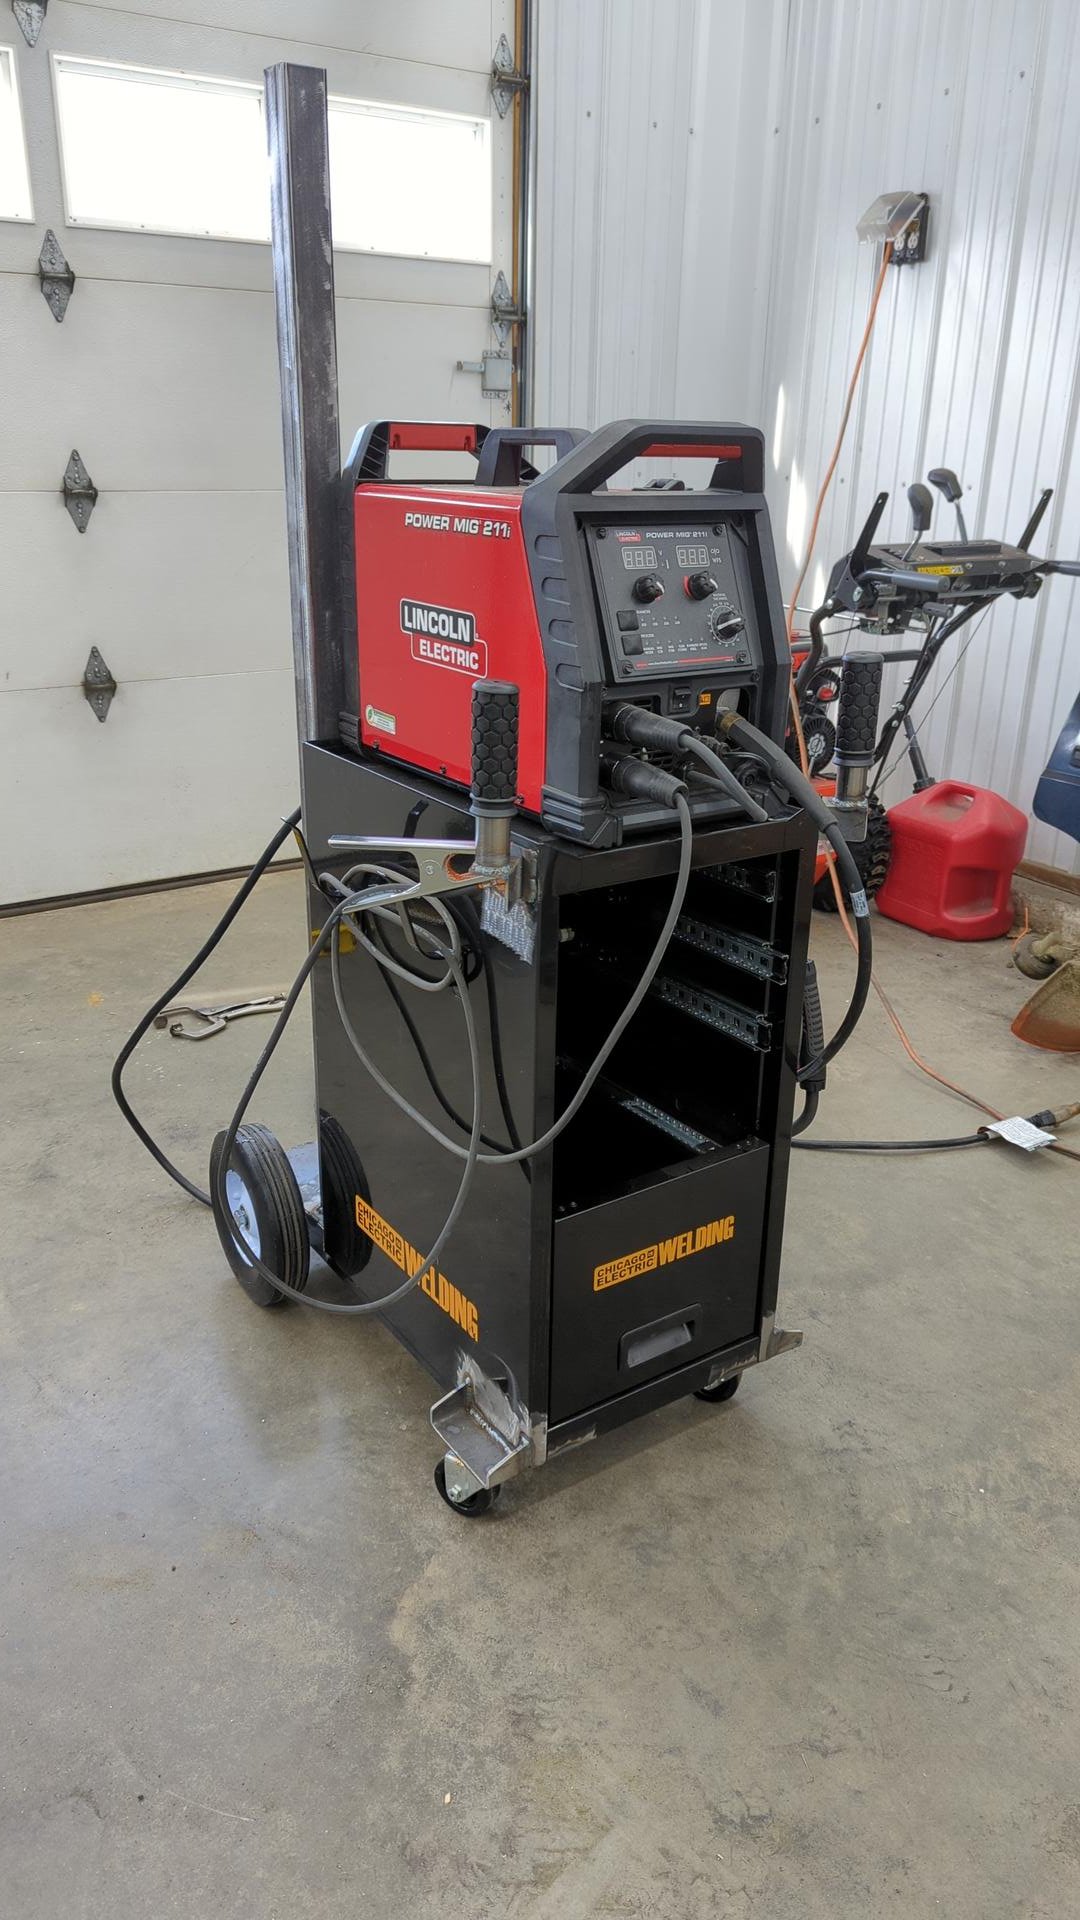
With the new wheels welded on the cart sits perfectly.
Mounting the Gas Cylinder
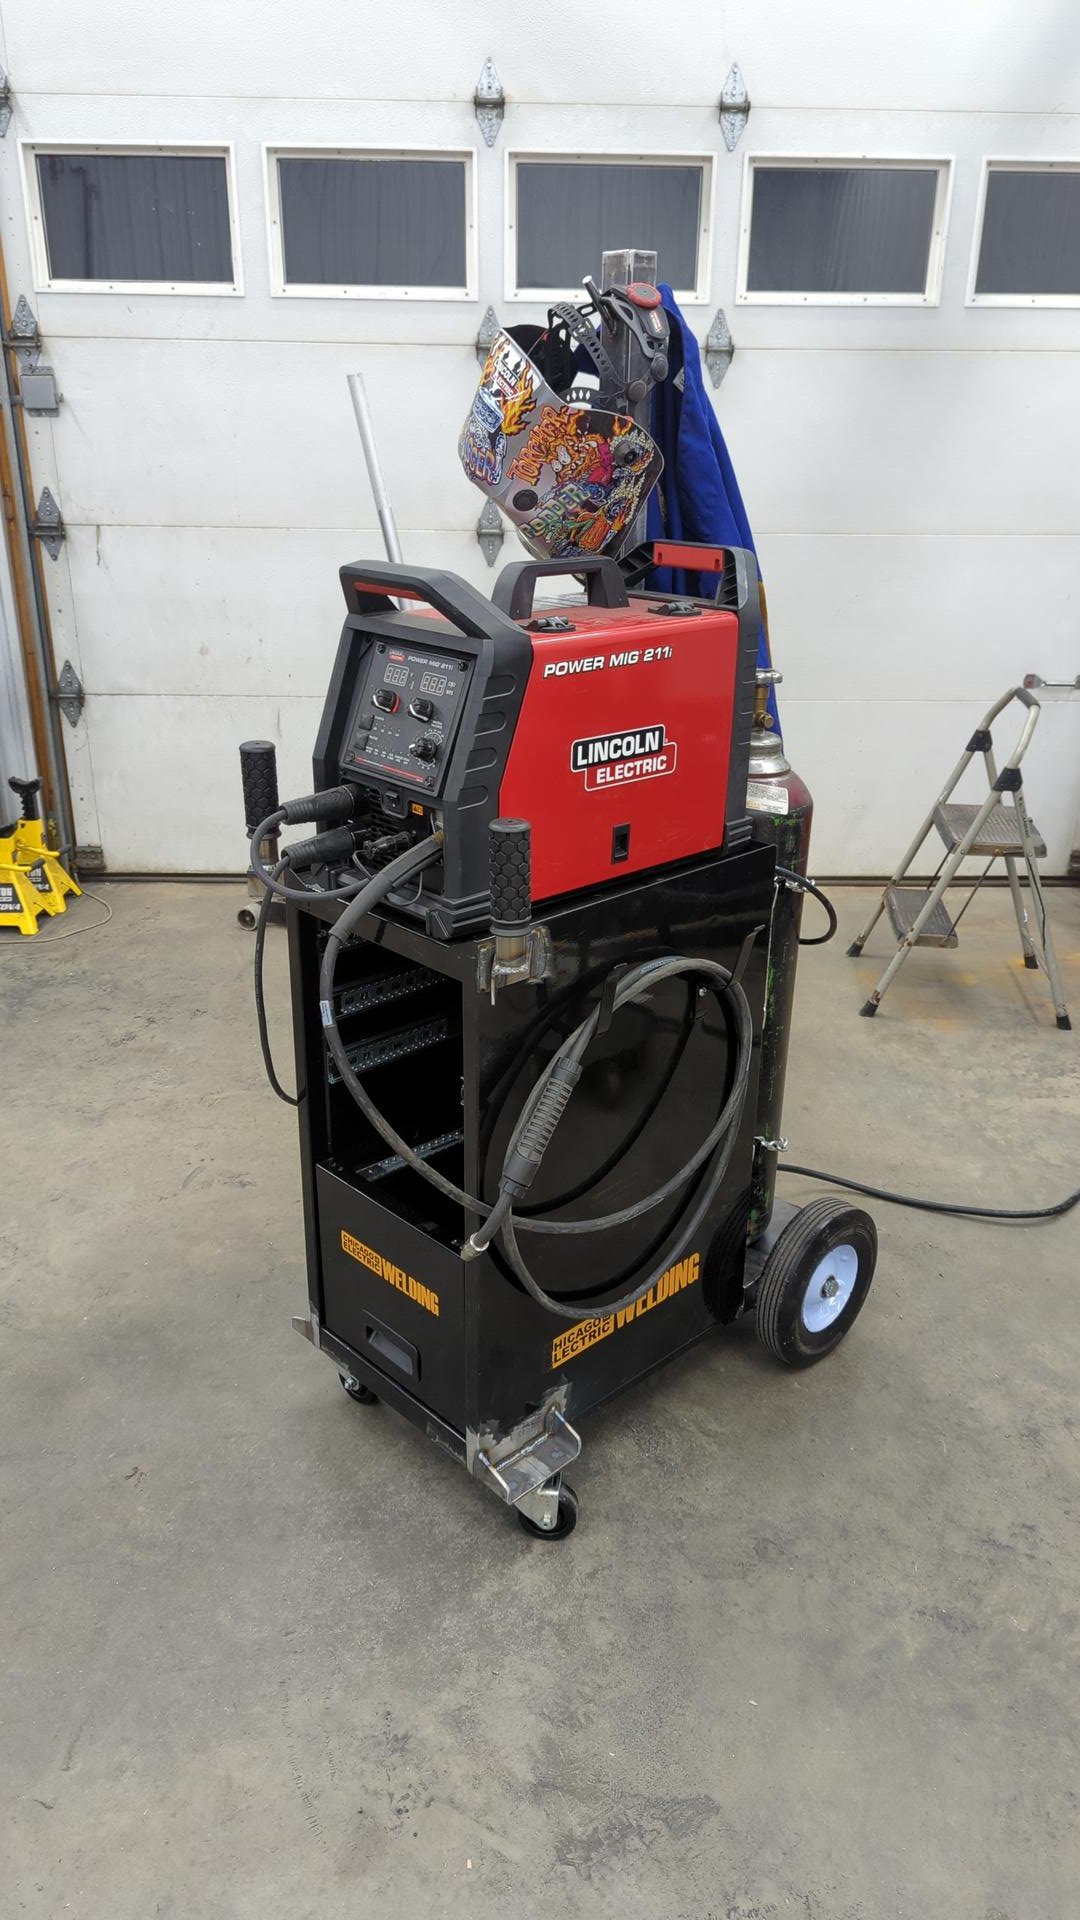
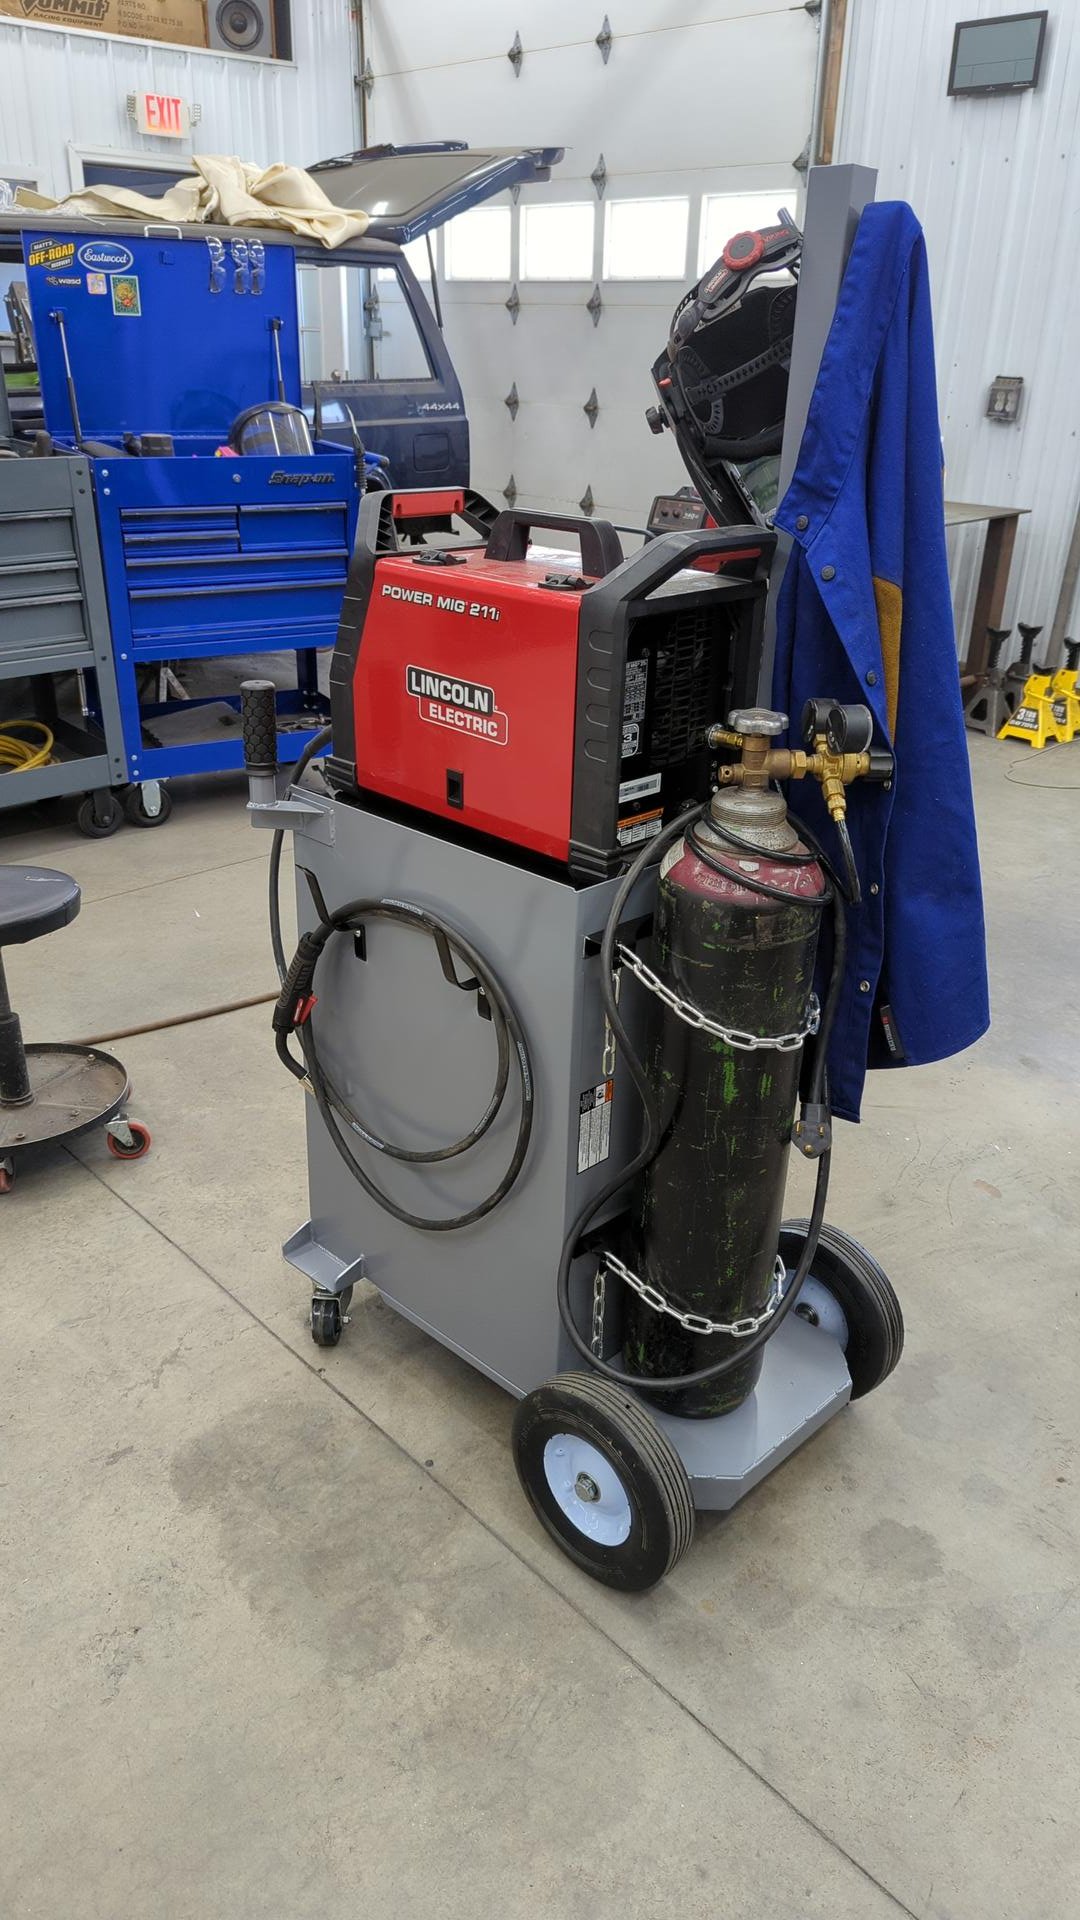
It felt like having the gas cylinder centered at the rear of the cart wasted space so I opted to move it to the left. This also worked out nicely because in the original position the welders power cord was running directly into the cylinder and would potentially be annoying to deal with when changing out cylinders.
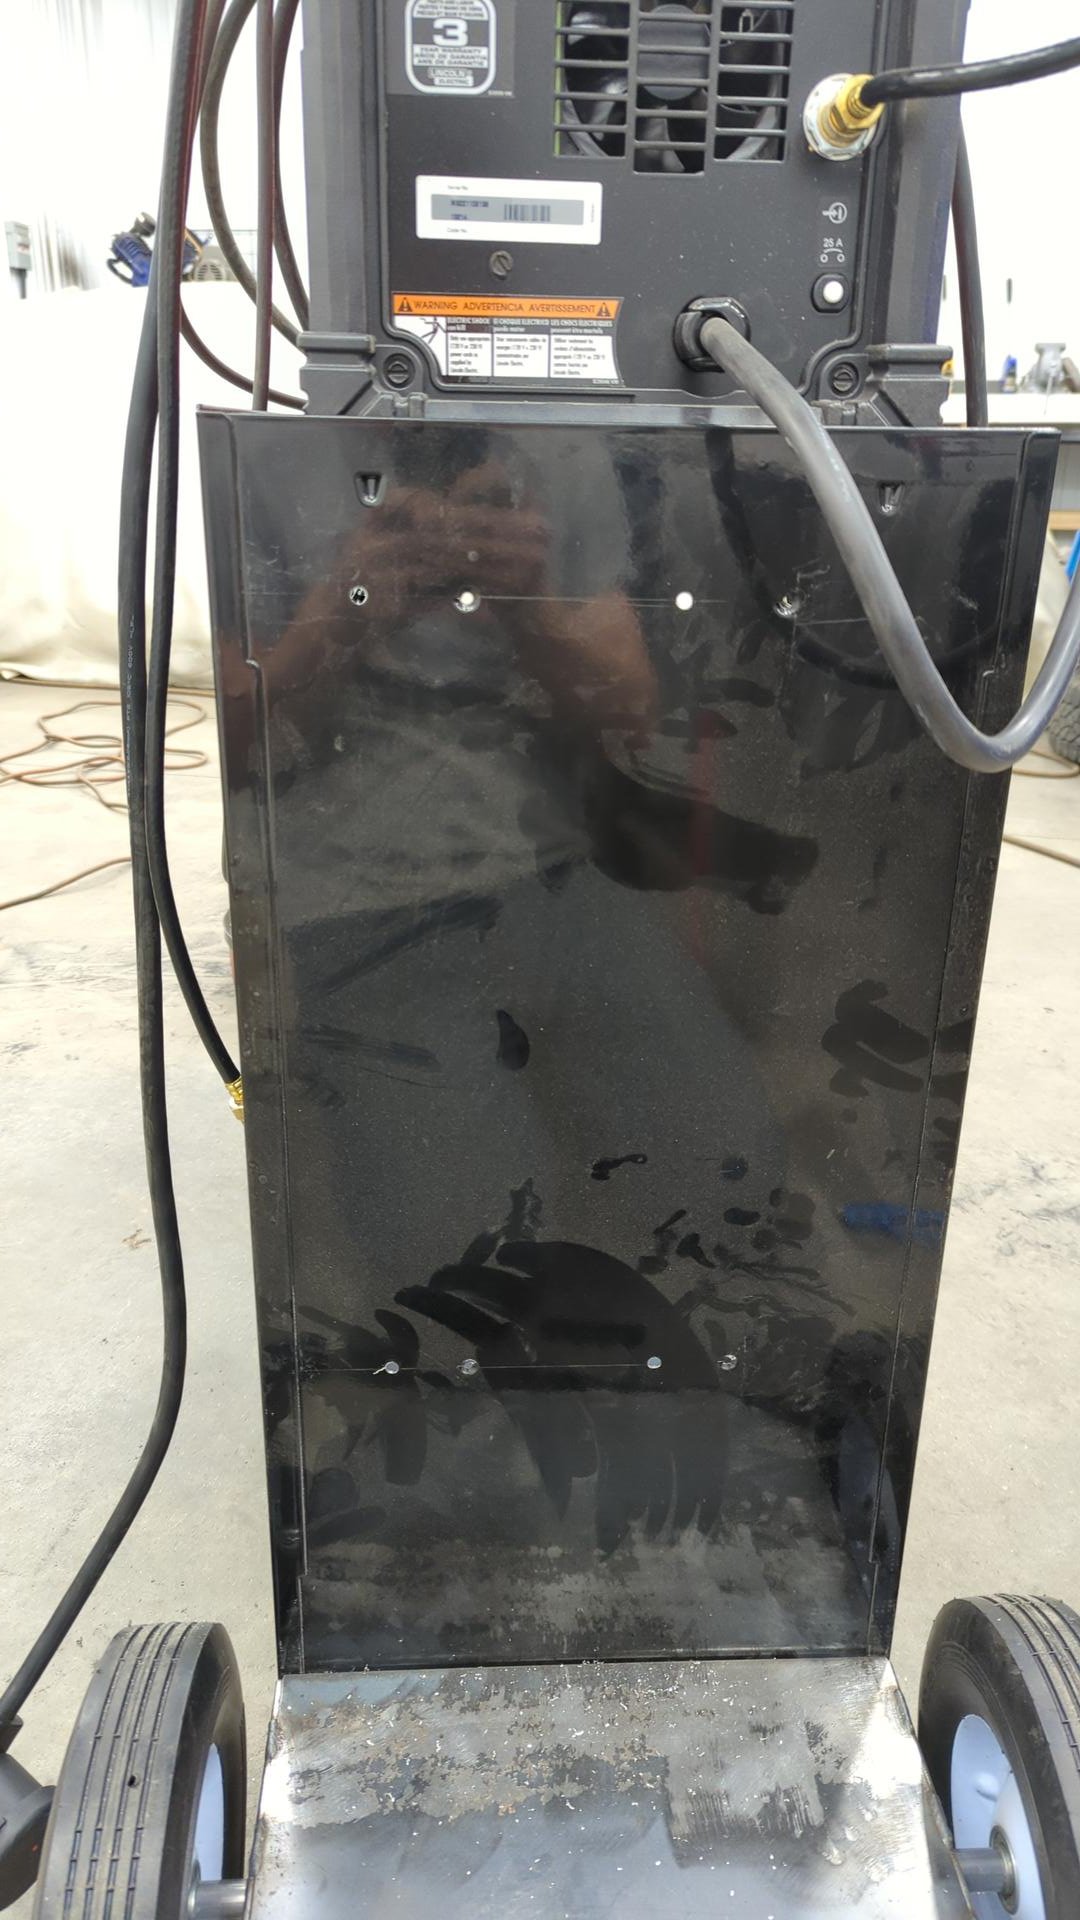
I ended up using the original brackets provided with the welding cabinet and after drilling new holes, bolted them into place with some extra hardware.

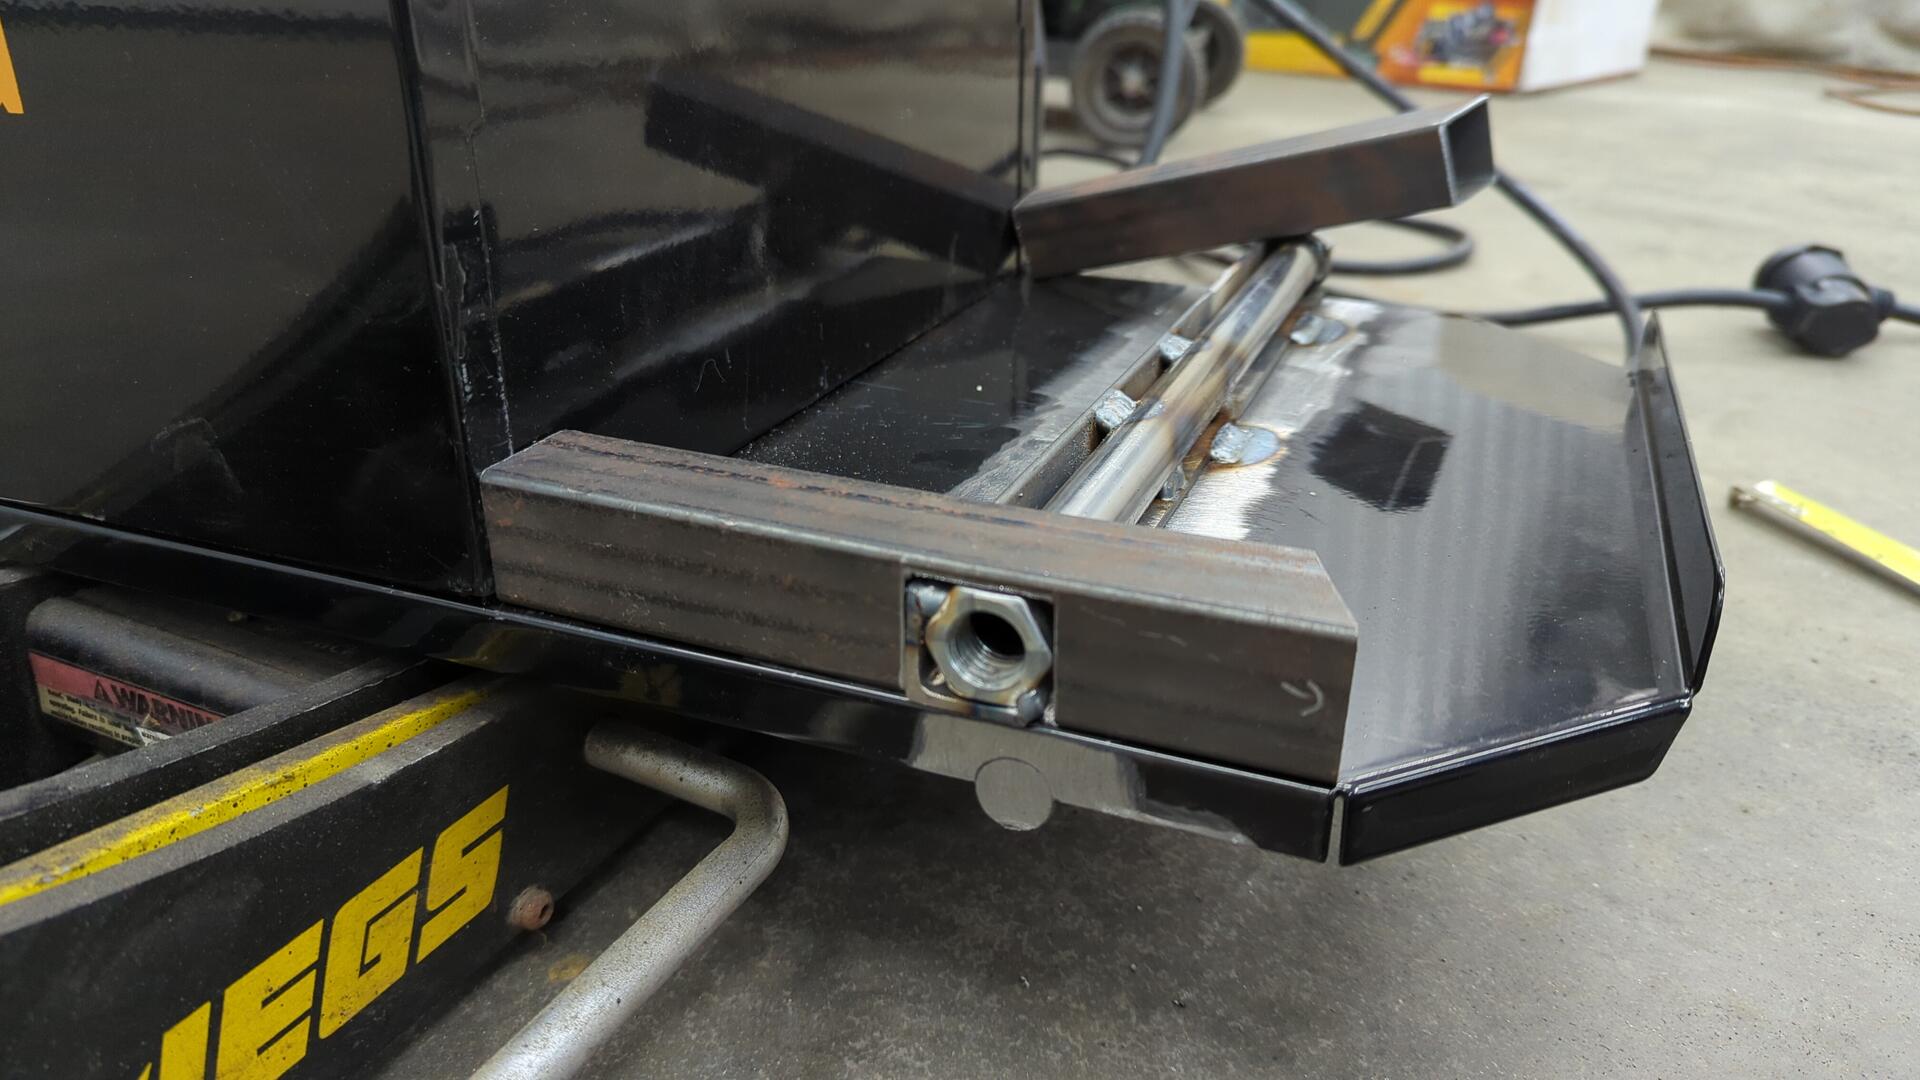
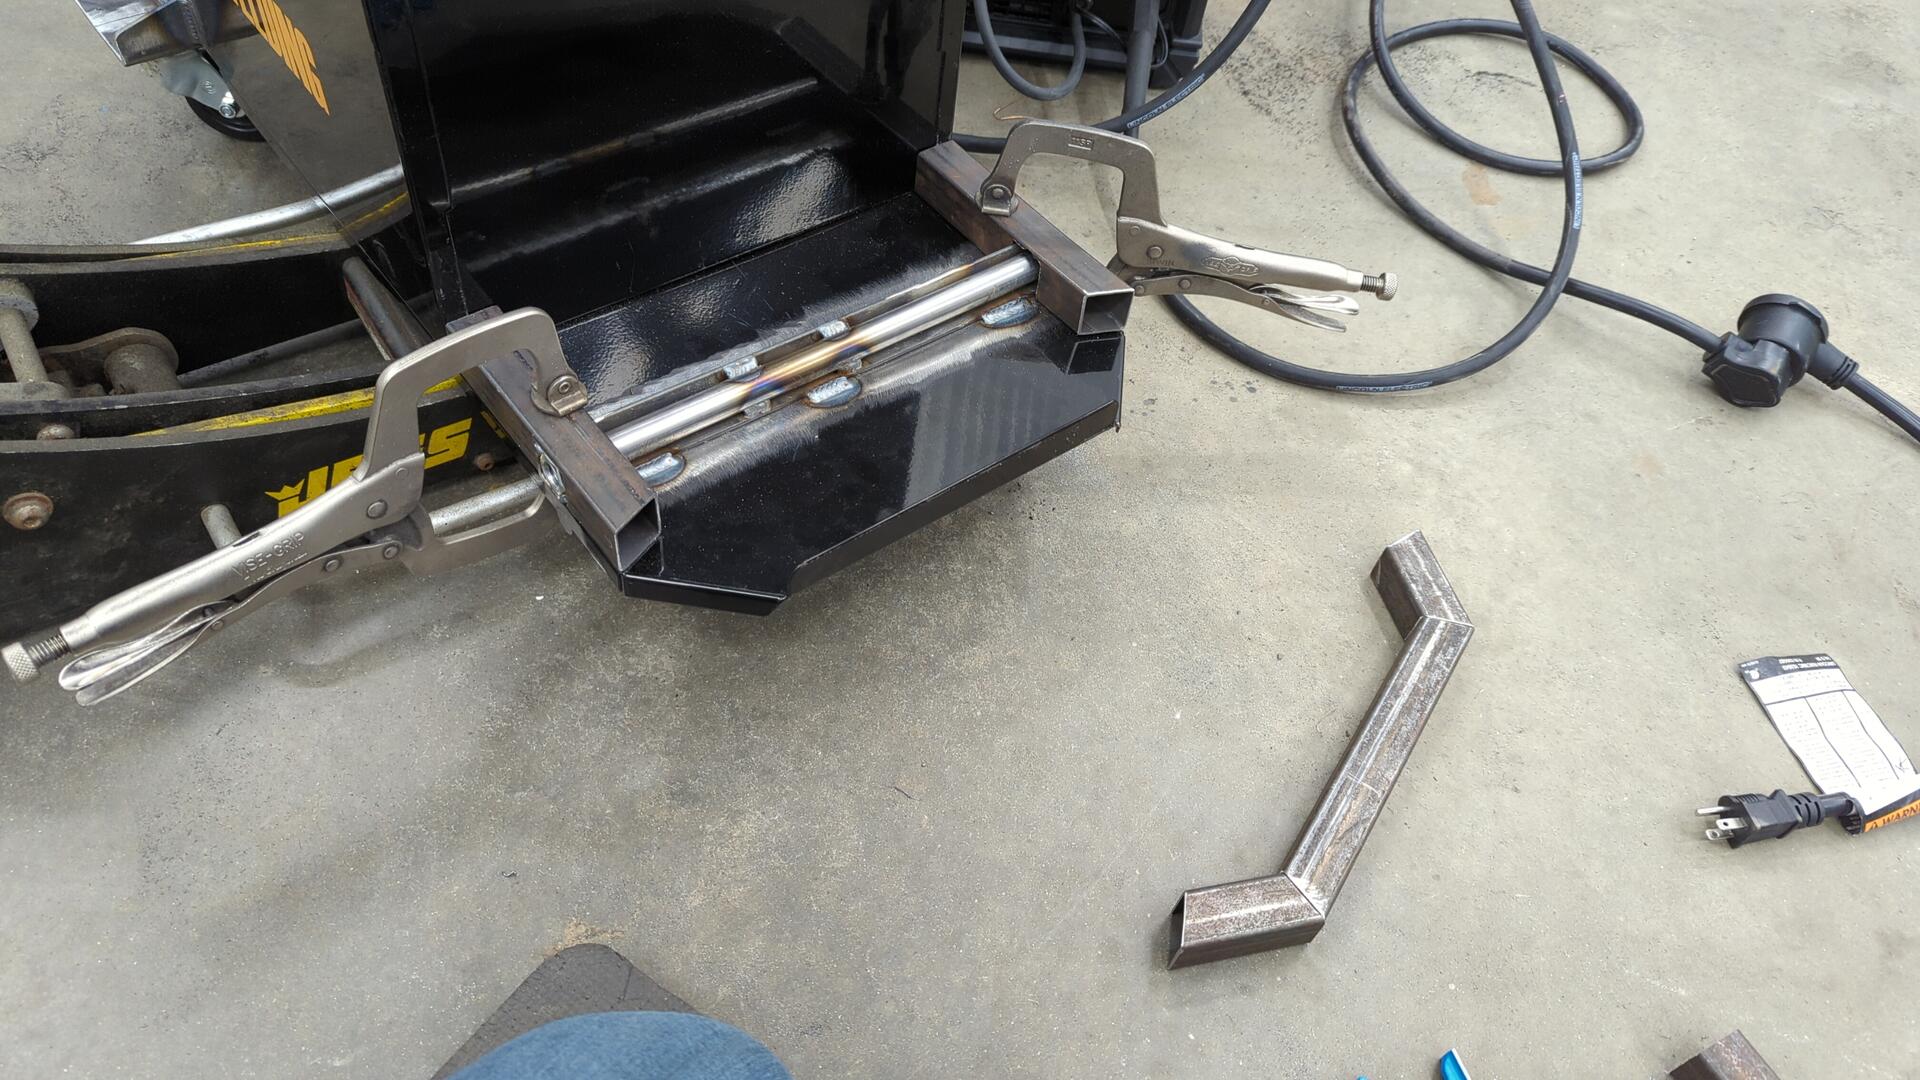
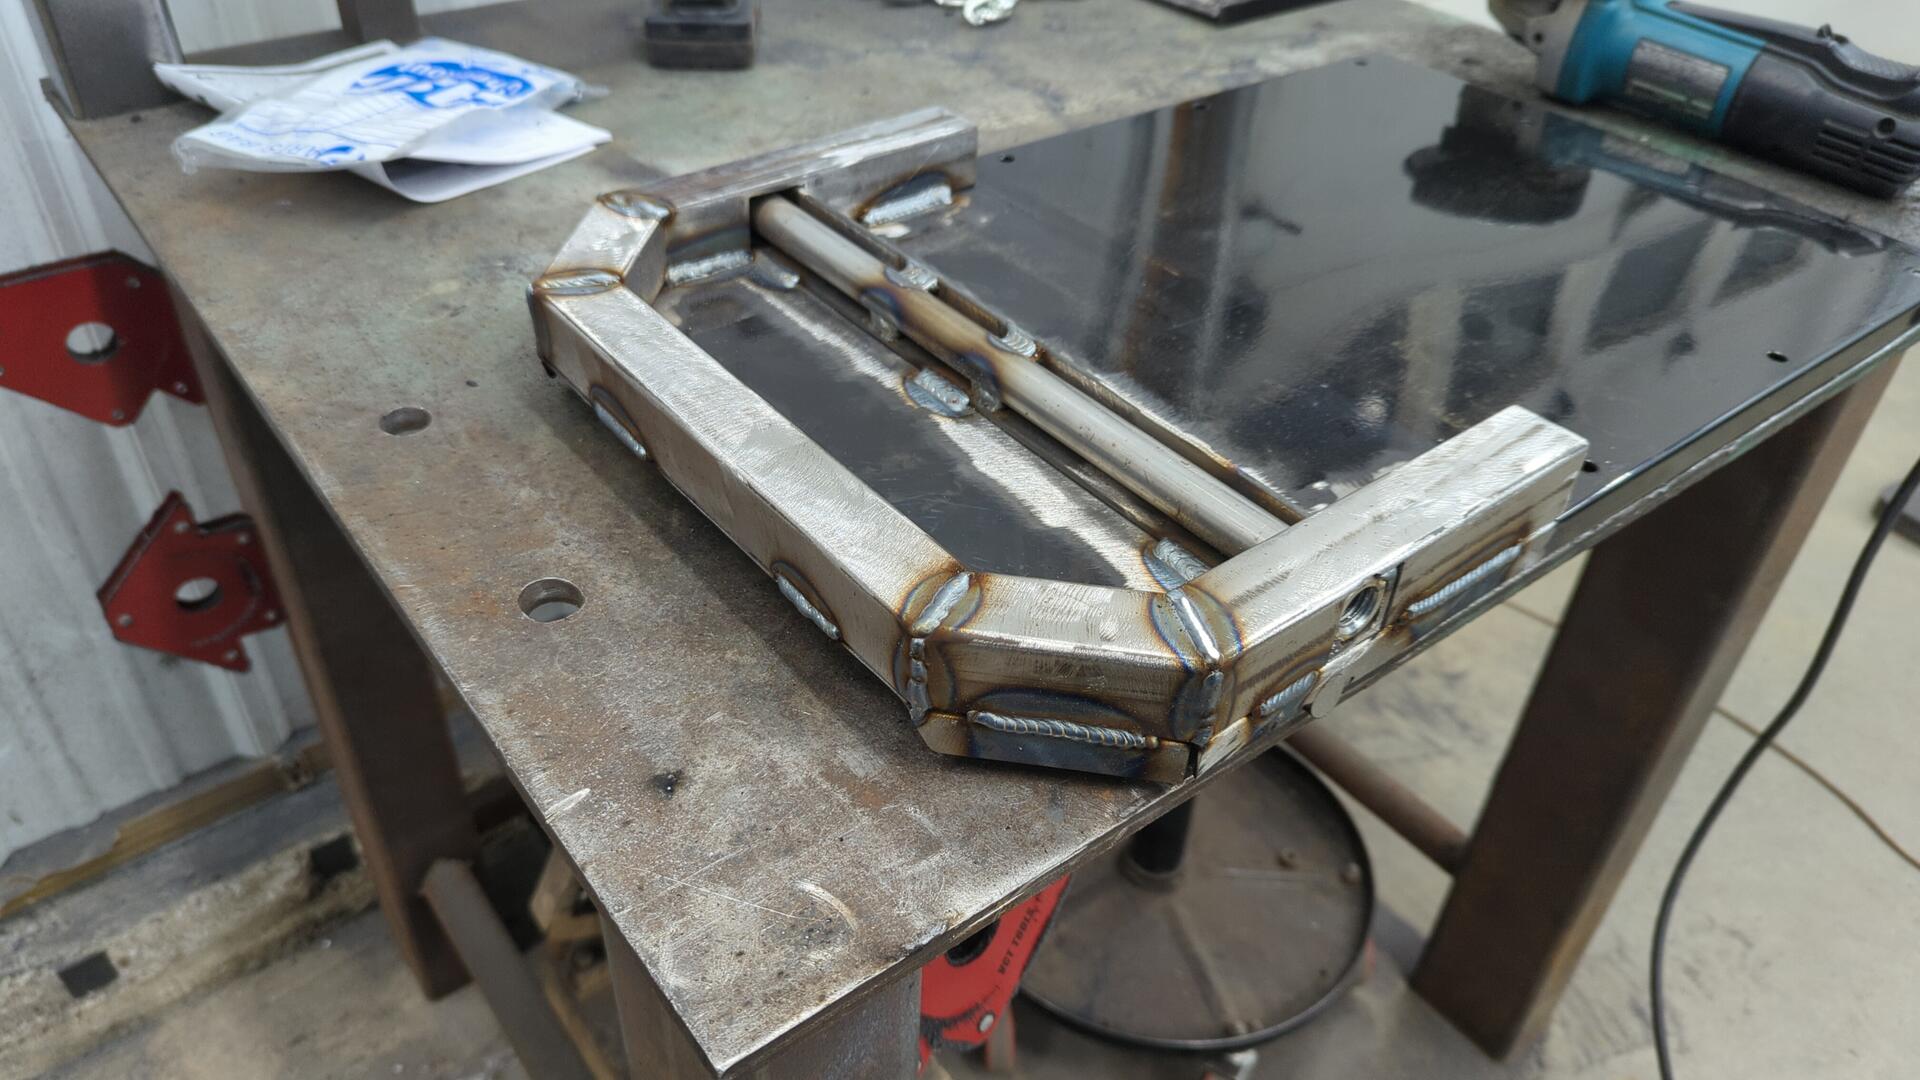
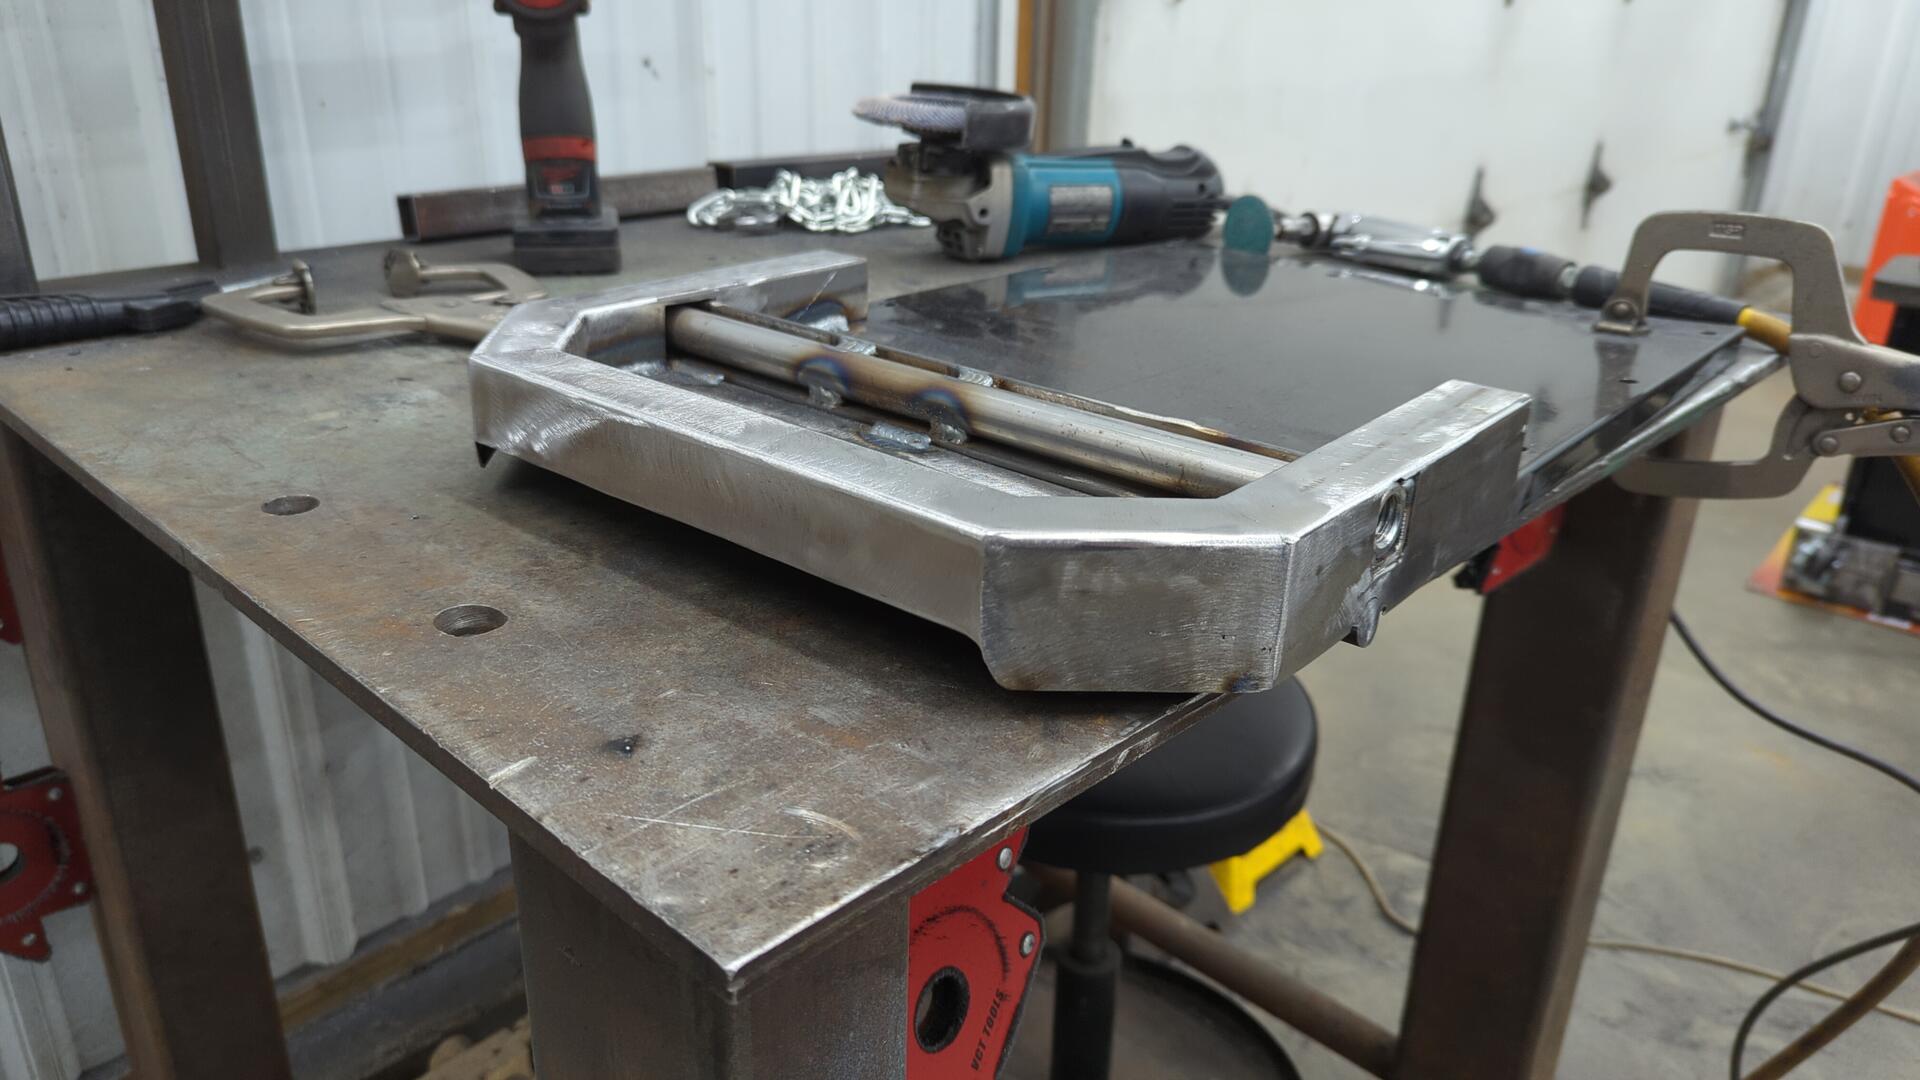
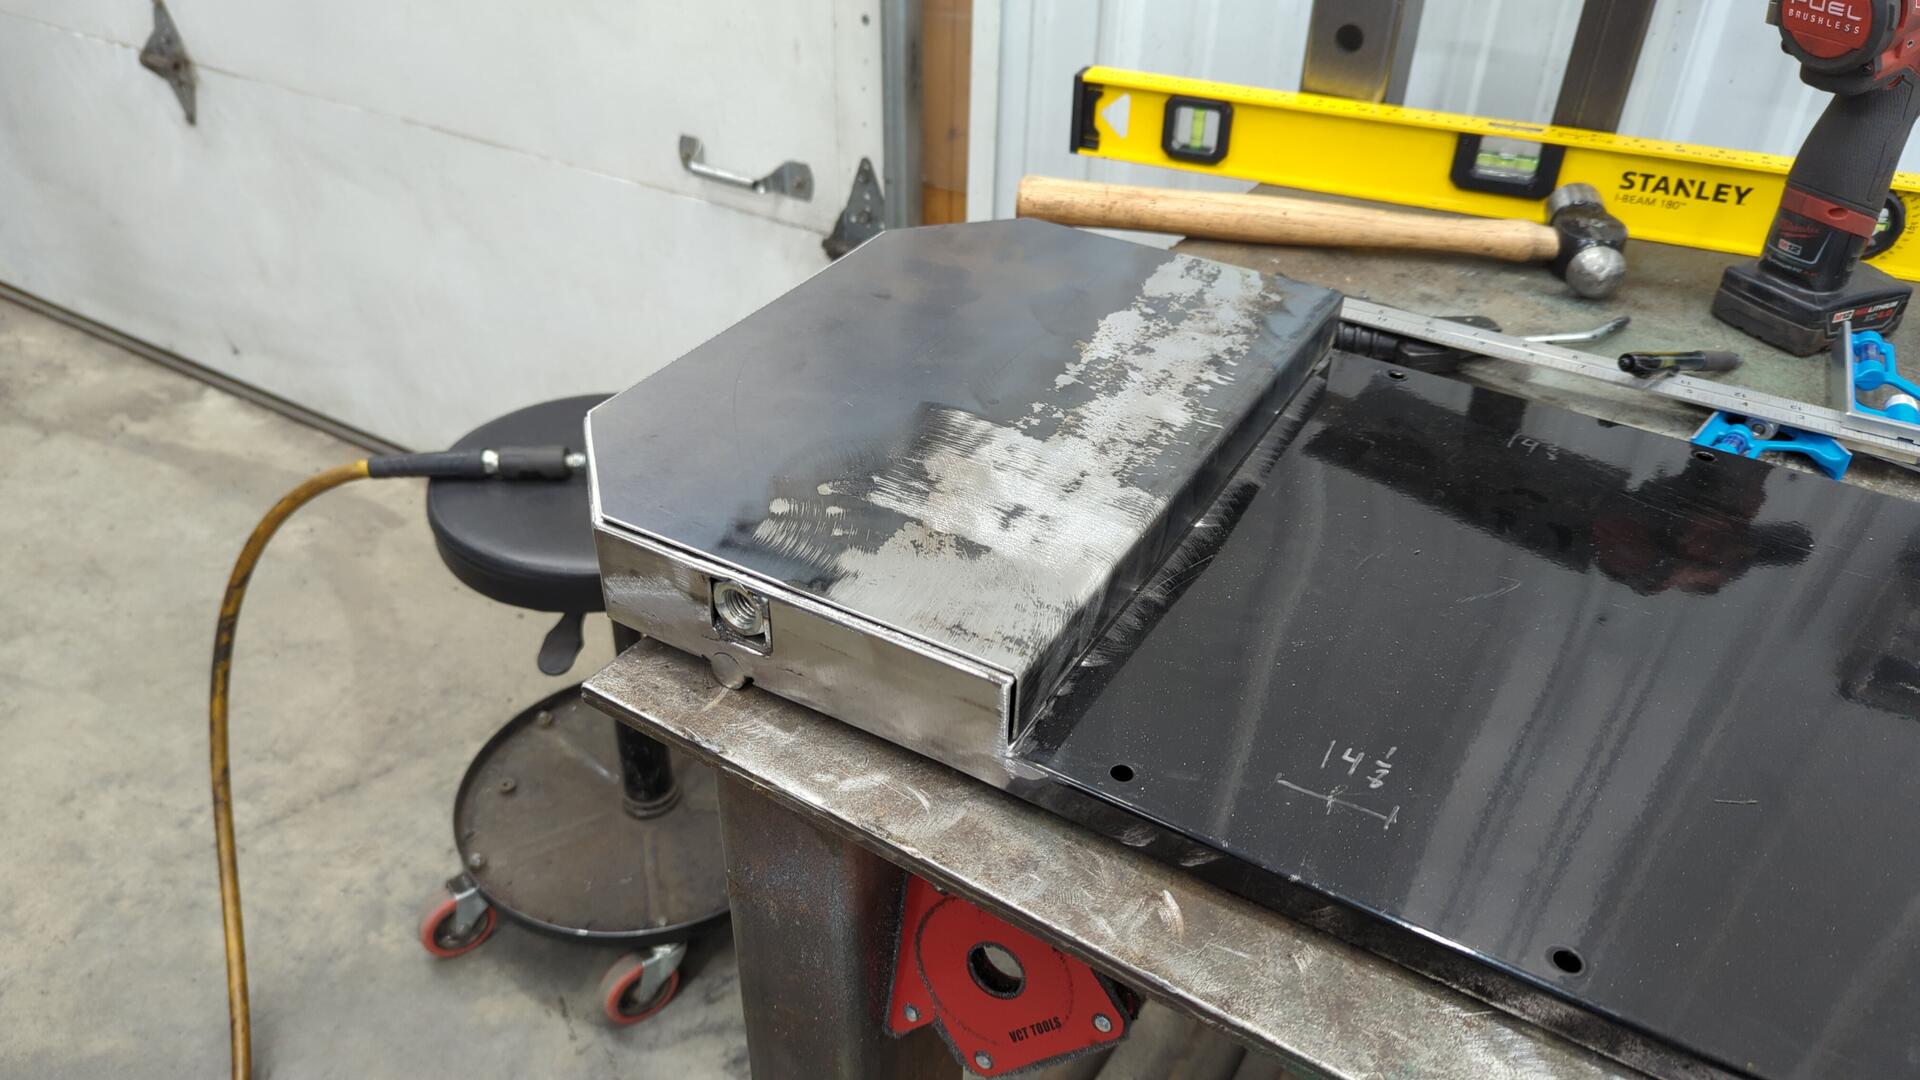
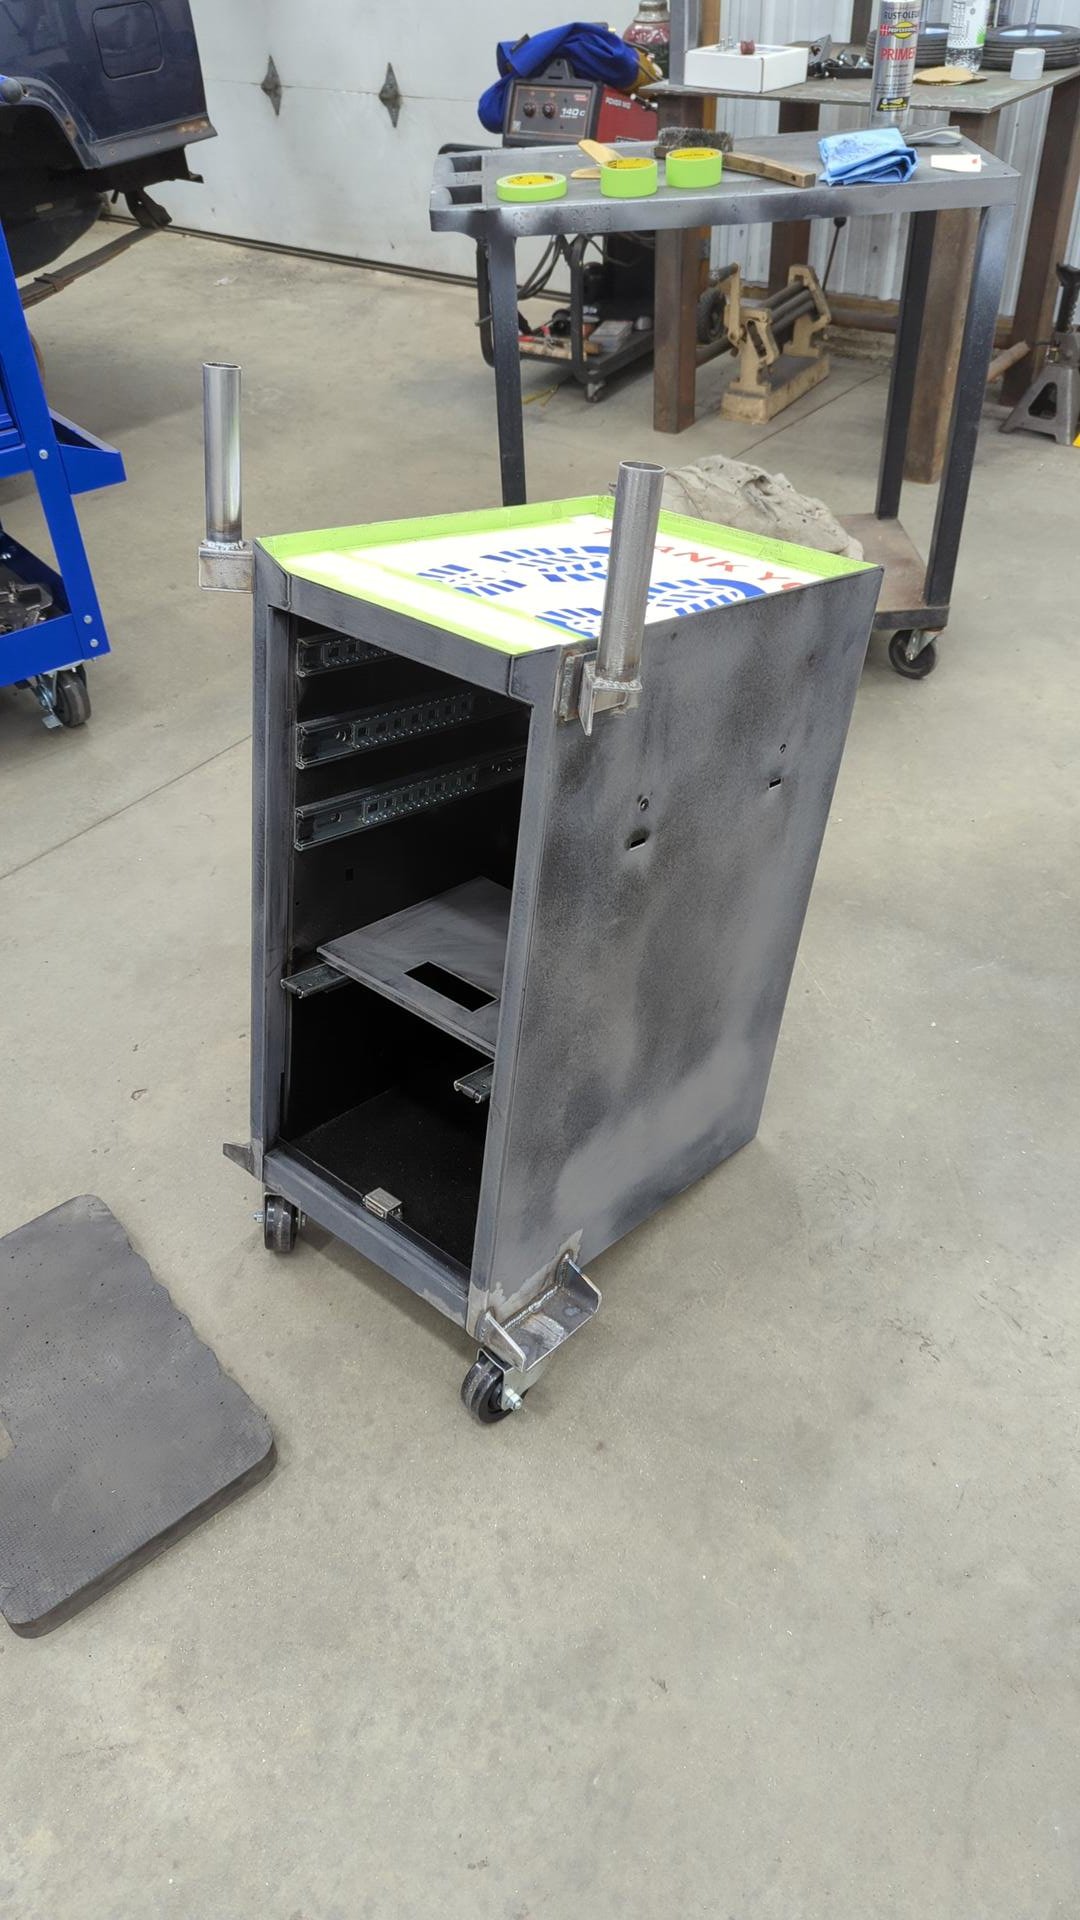
Adding Handles
One of the biggest complaints I read about this cart while researching it was that the handle would get in the way of the cables coming out of the front of the cart. To get around this I decided to switch things up by welding some handles on the sides of the cart that would leave the front completely clear.

I got a little cocky with the weld on the right and tried to do it in one sweep instead of welding two beads. Oops.
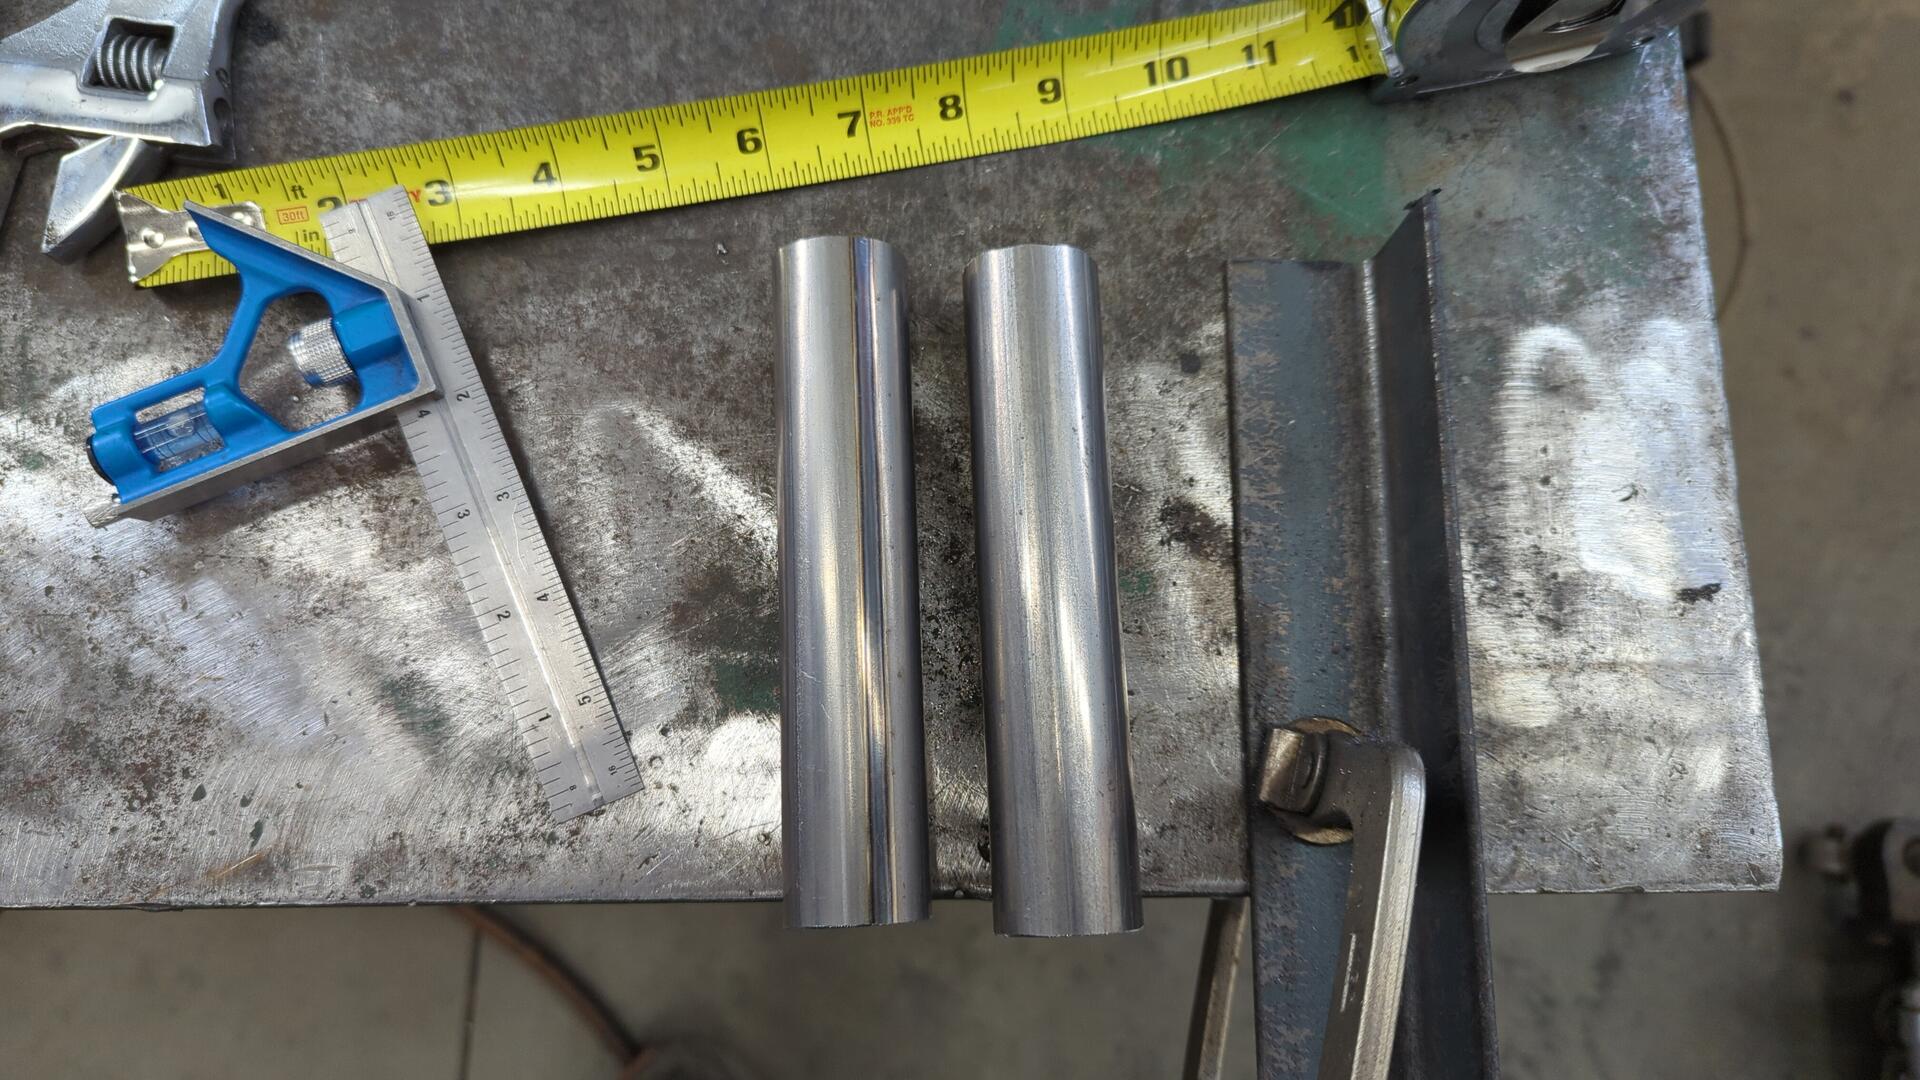
The handles were made from a 12" cut of 1 1/4" diameter tubing. Each one is 6" long.
I forgot to take a picture of the handles welded on…
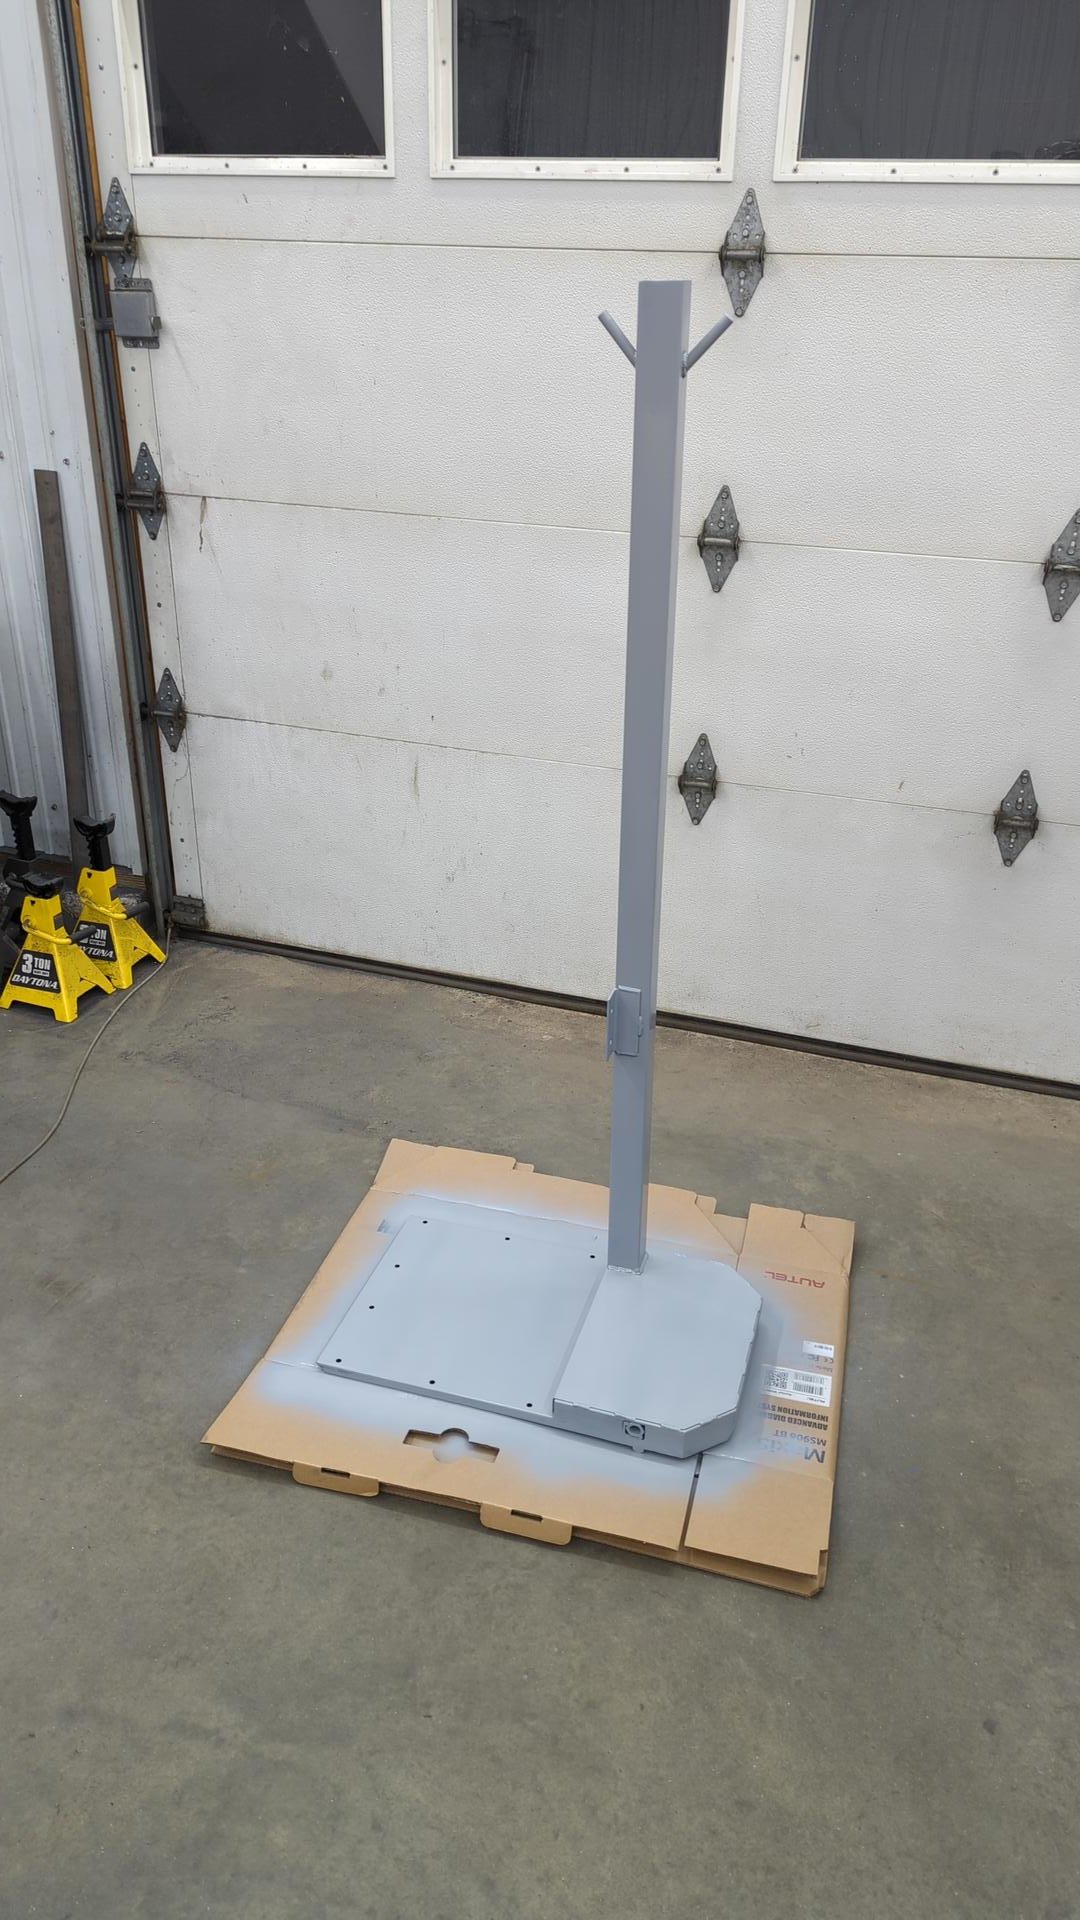
Why not a Coat Rack
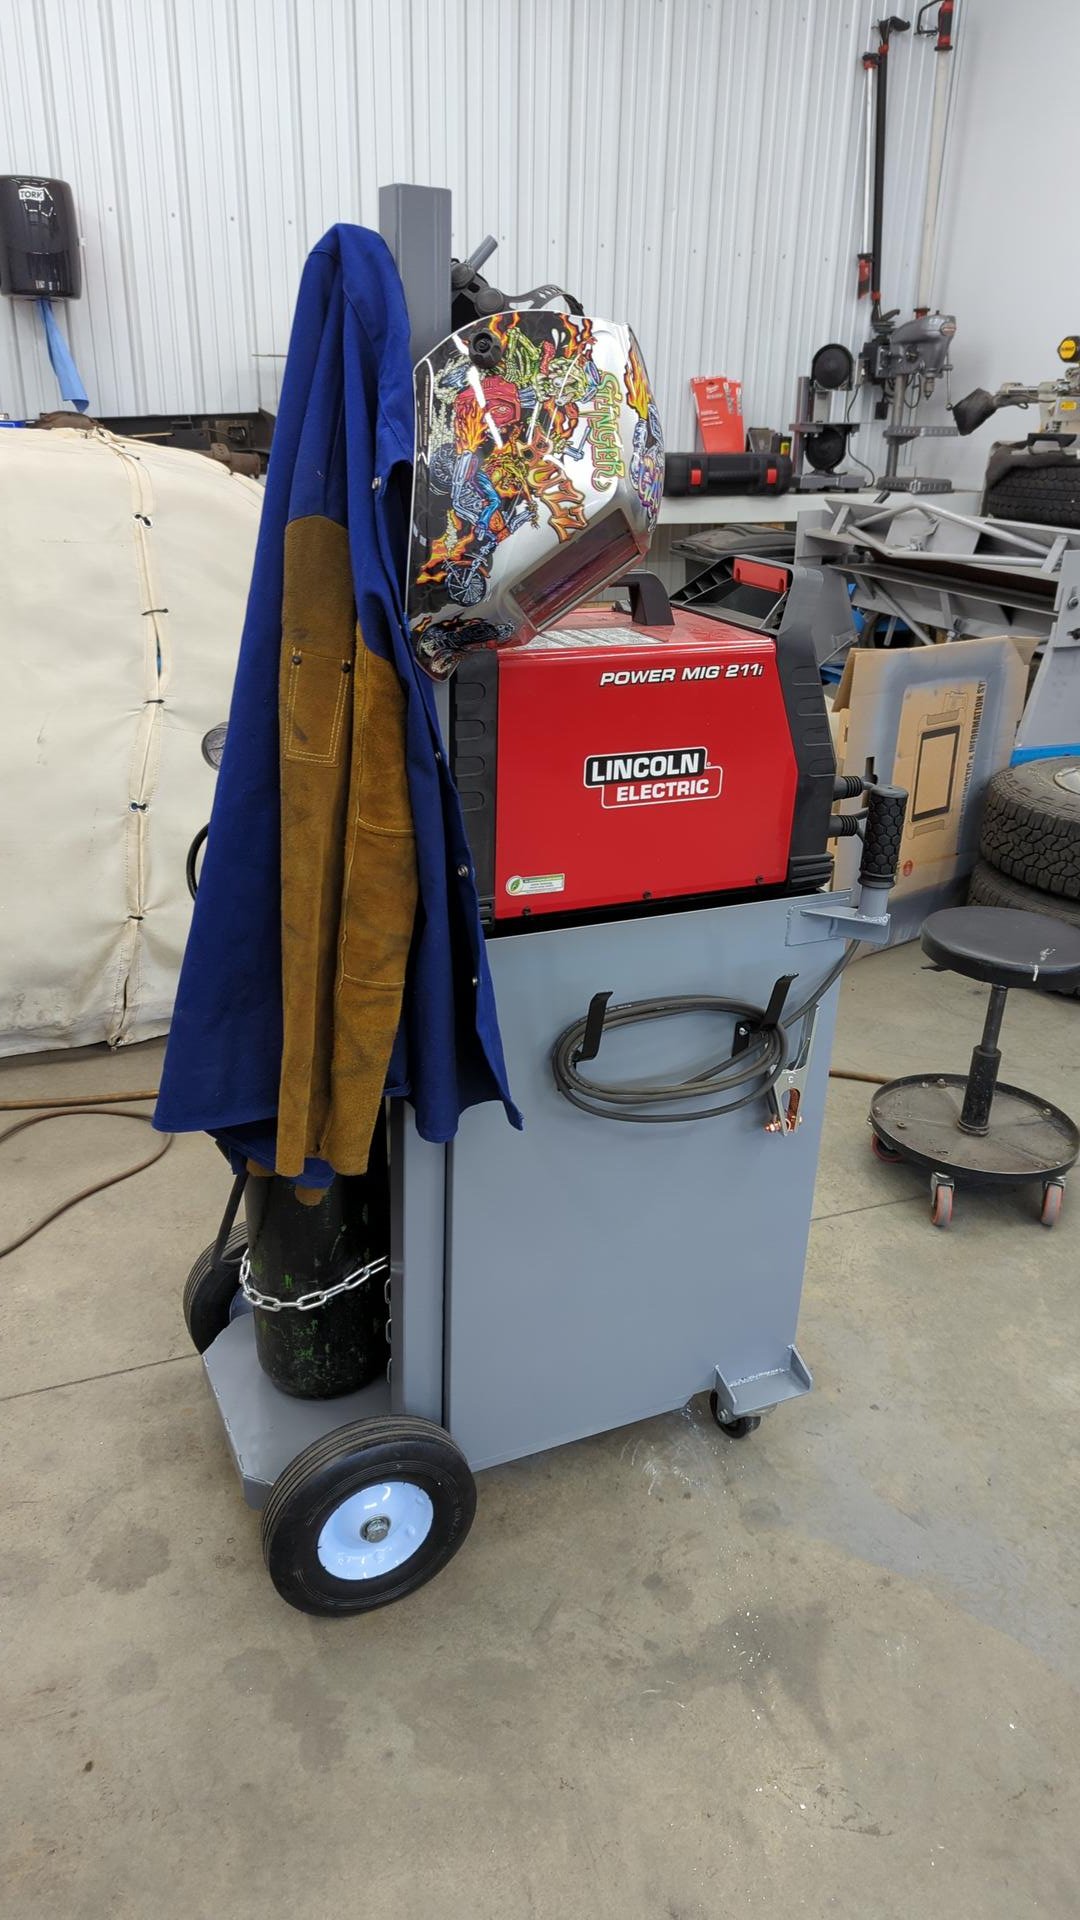
One of my biggest gripes with my old welding cart was that I couldn’t store my welding coat with it. I always had to fold it up and leave it on top of the welder but I didn’t like this because it got in the way of things if I wanted to change the wire spool, or do a quick tack without putting my coat on.
My shop is pretty open too so there’s not a lot of places I can hang my coat off in a pinch. That’s why I decided to add a small coat rack to the cart itself so I could hang my jacket and hood when not in use.
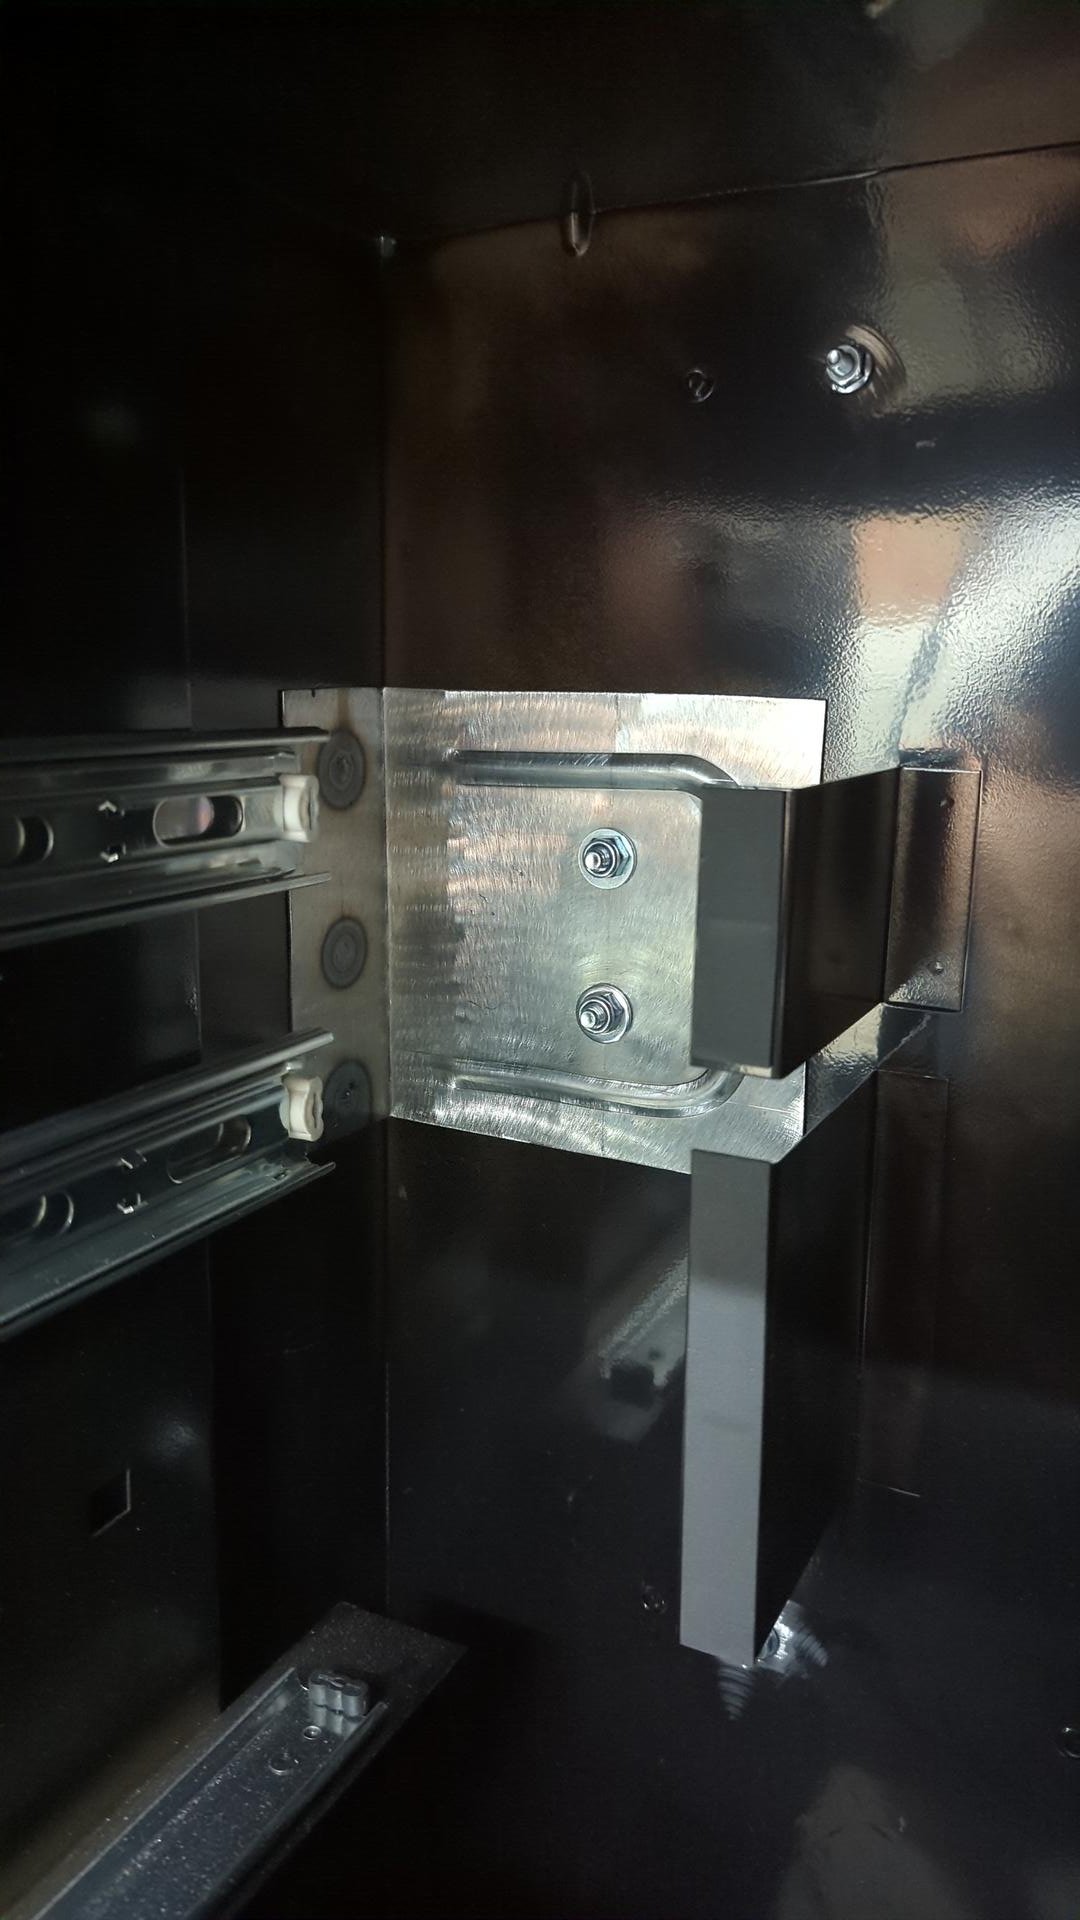
The back of the cart wasn’t quite strong enough to hold the coat rack in place so I made a small brace to weld on the inside for extra strength.
And Last But Not Least, Paint!
And of course, no project would be finished without a custom paint job. I ended up going with Rustoleum’s Dark Machine Gray because I was hoping it’d match my gray tool cart, but it ended up being a shade lighter than I hoped for.
Back half primed up.
Prepping the cabinet for paint.
Primed.
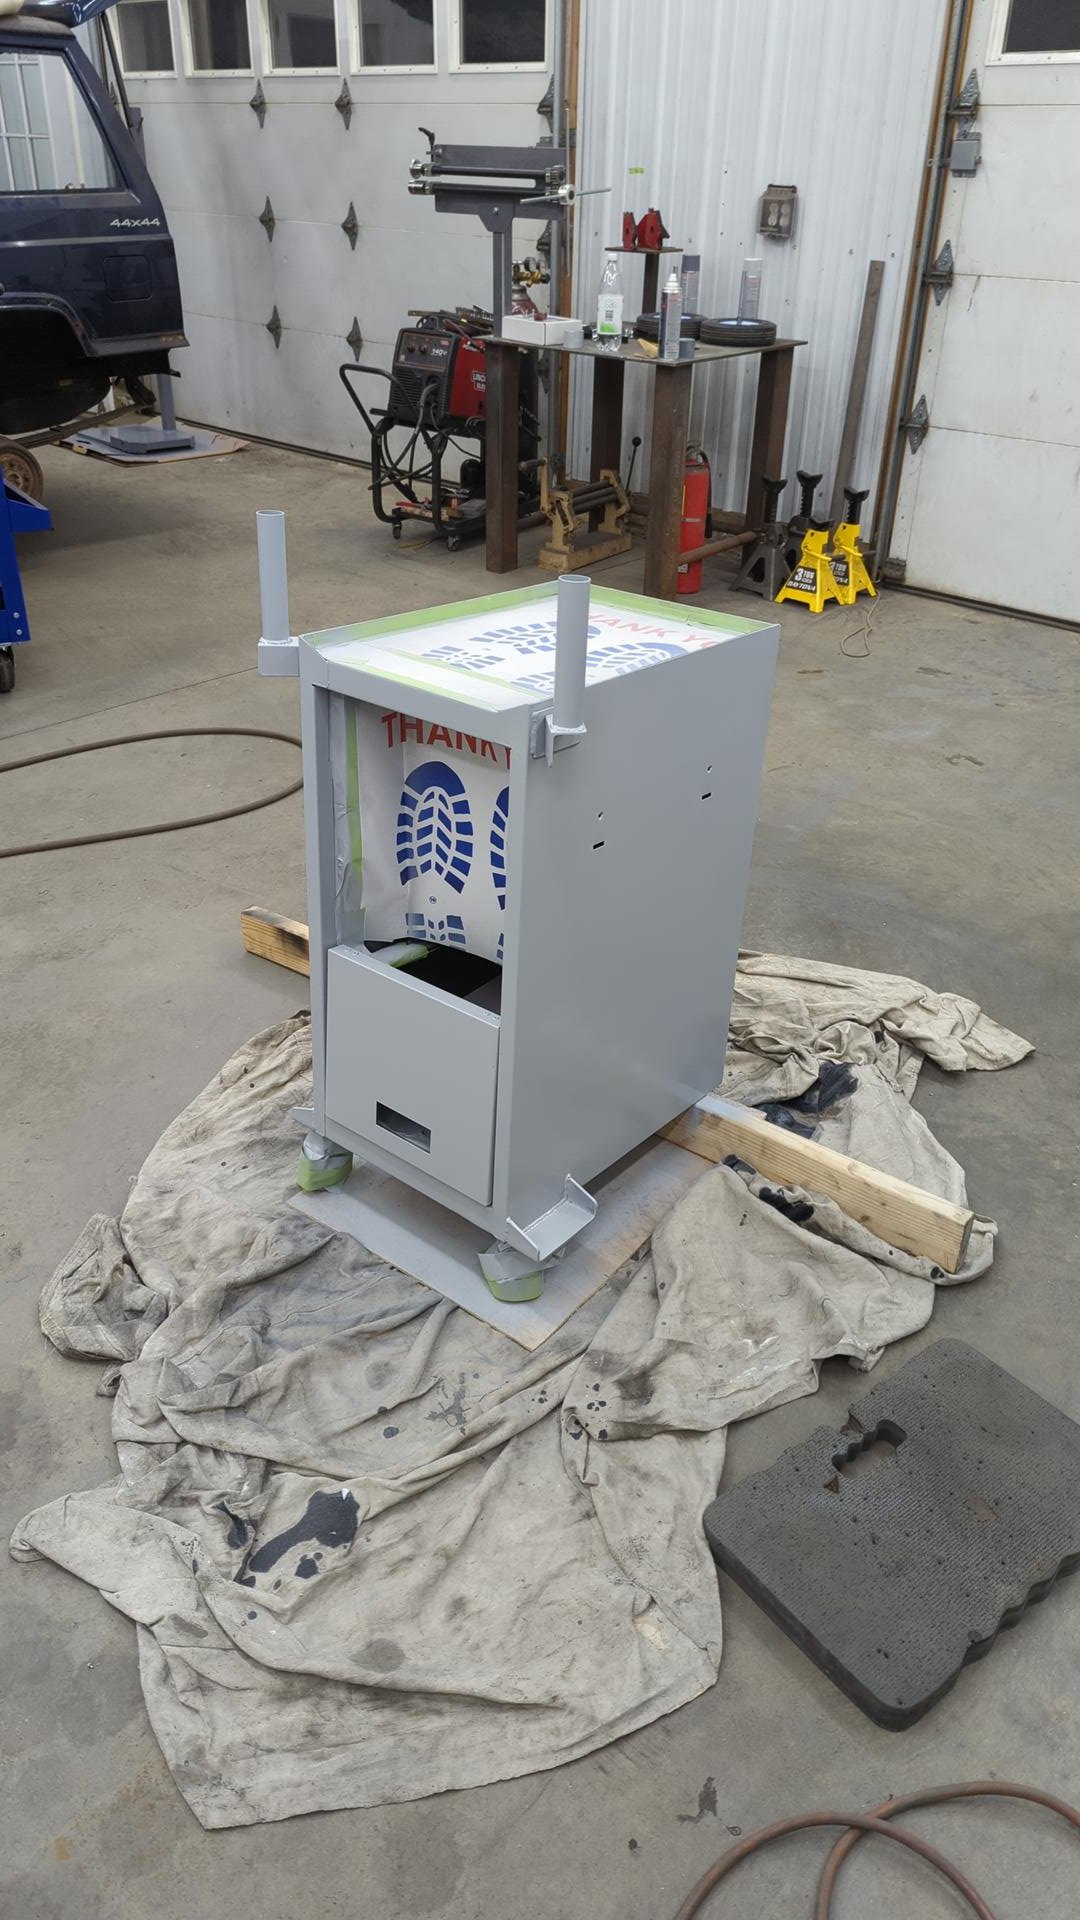
Painted!
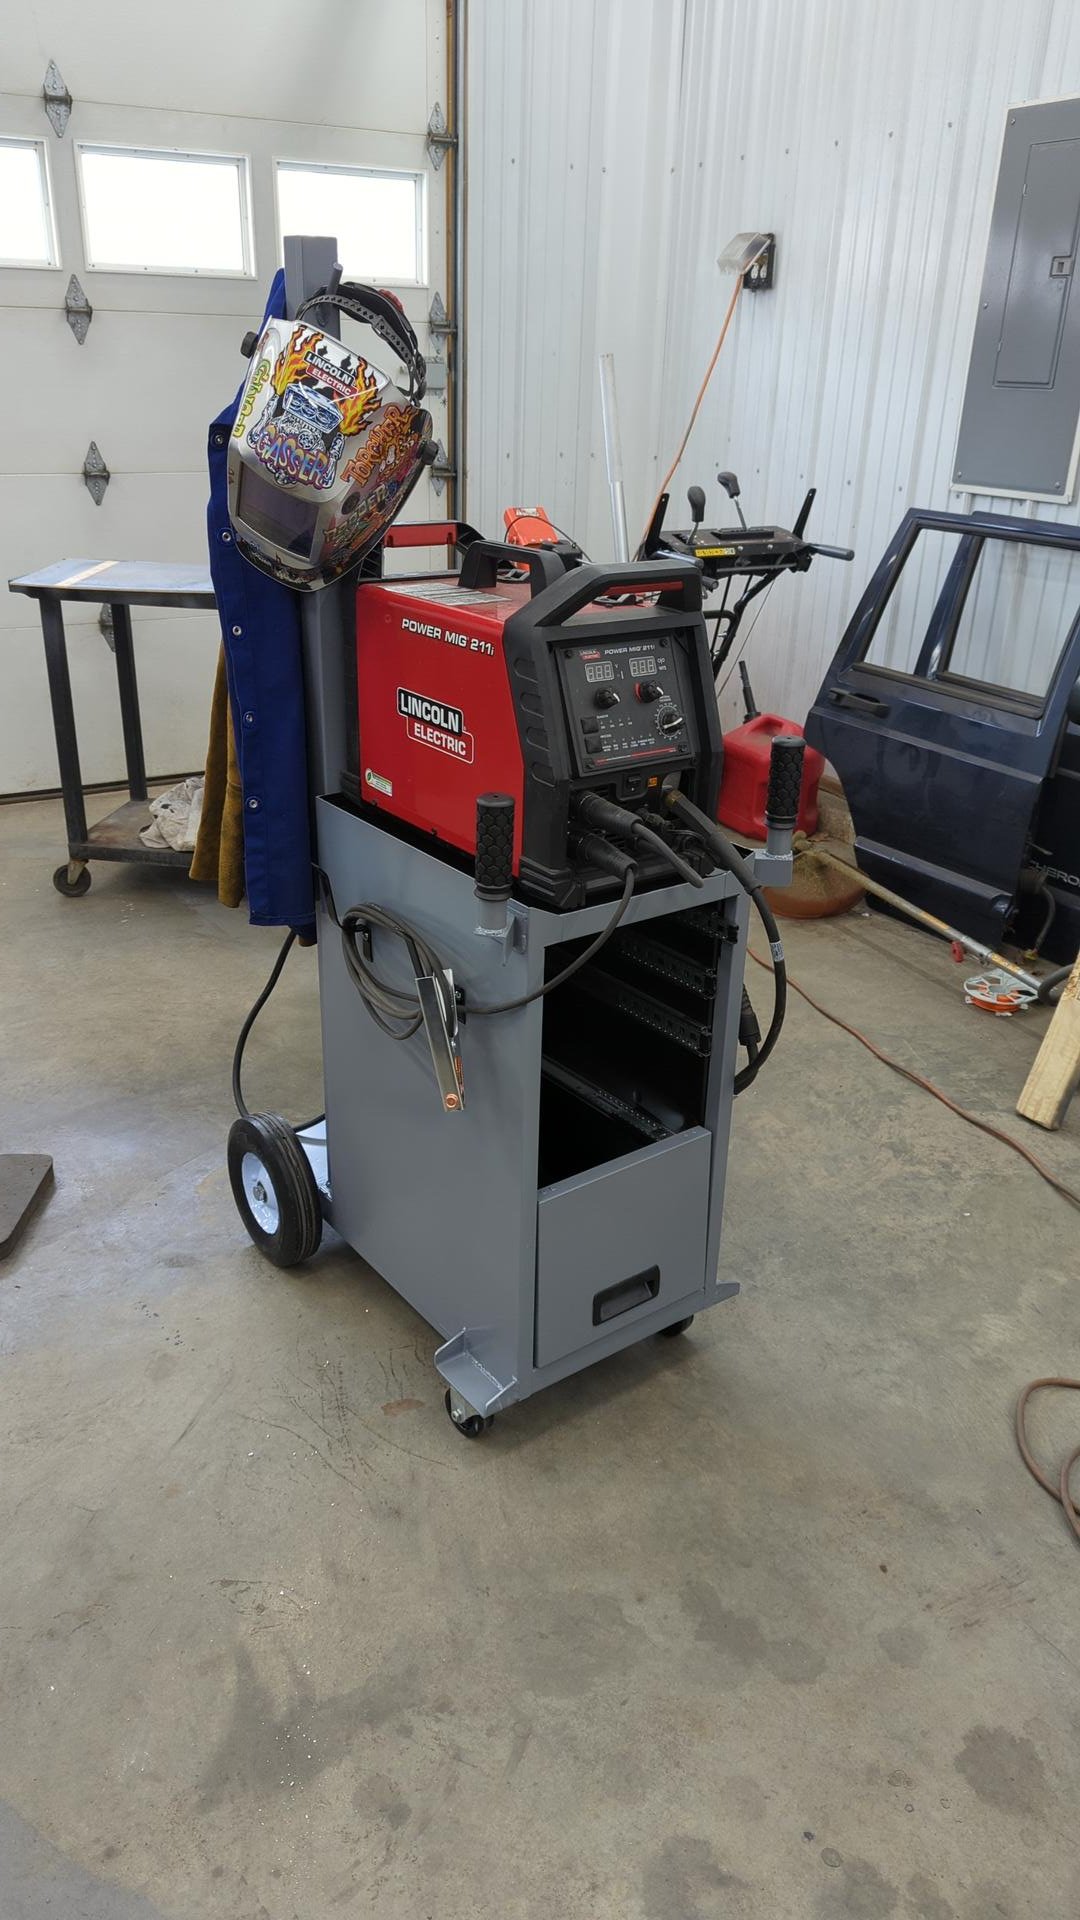
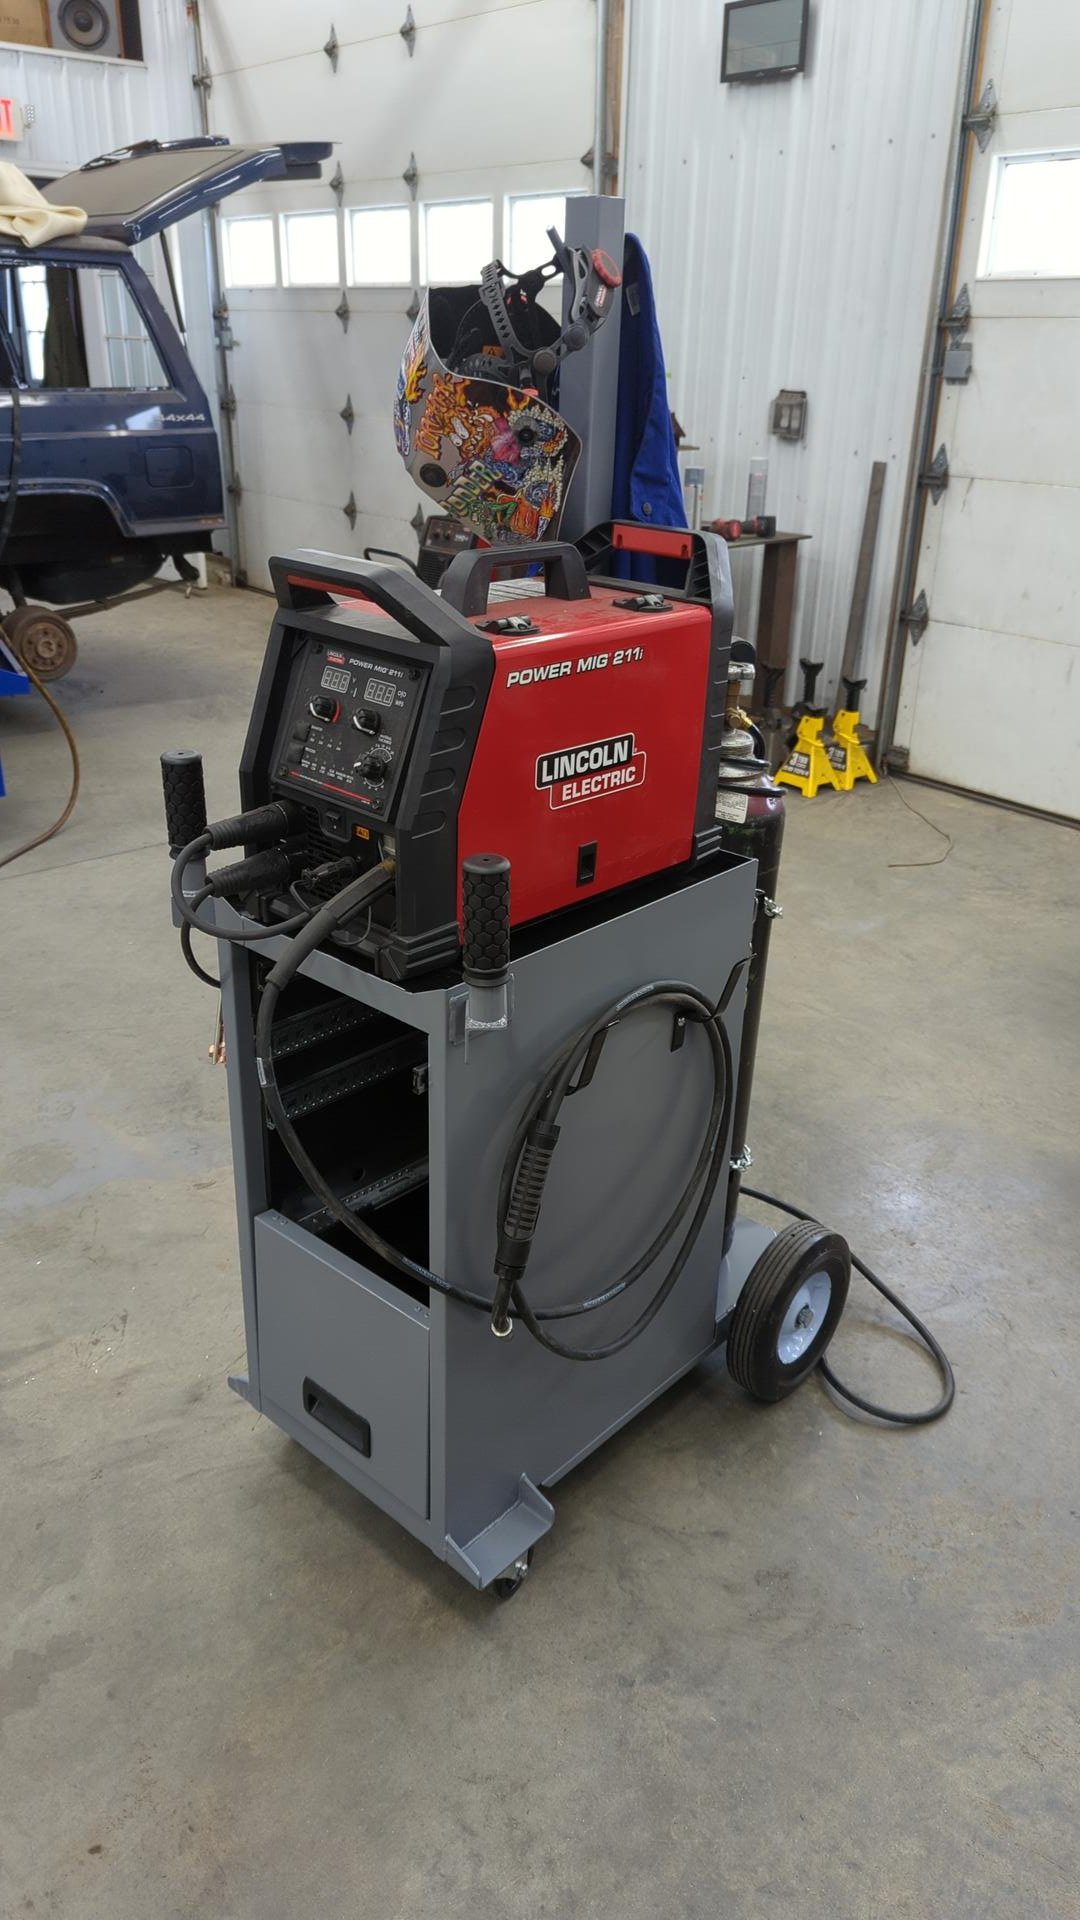
Final Results
All in all I’m super happy with the results. The cart rolls nice and smooth and having a place to hang my helmet / jacket is a nice touch.
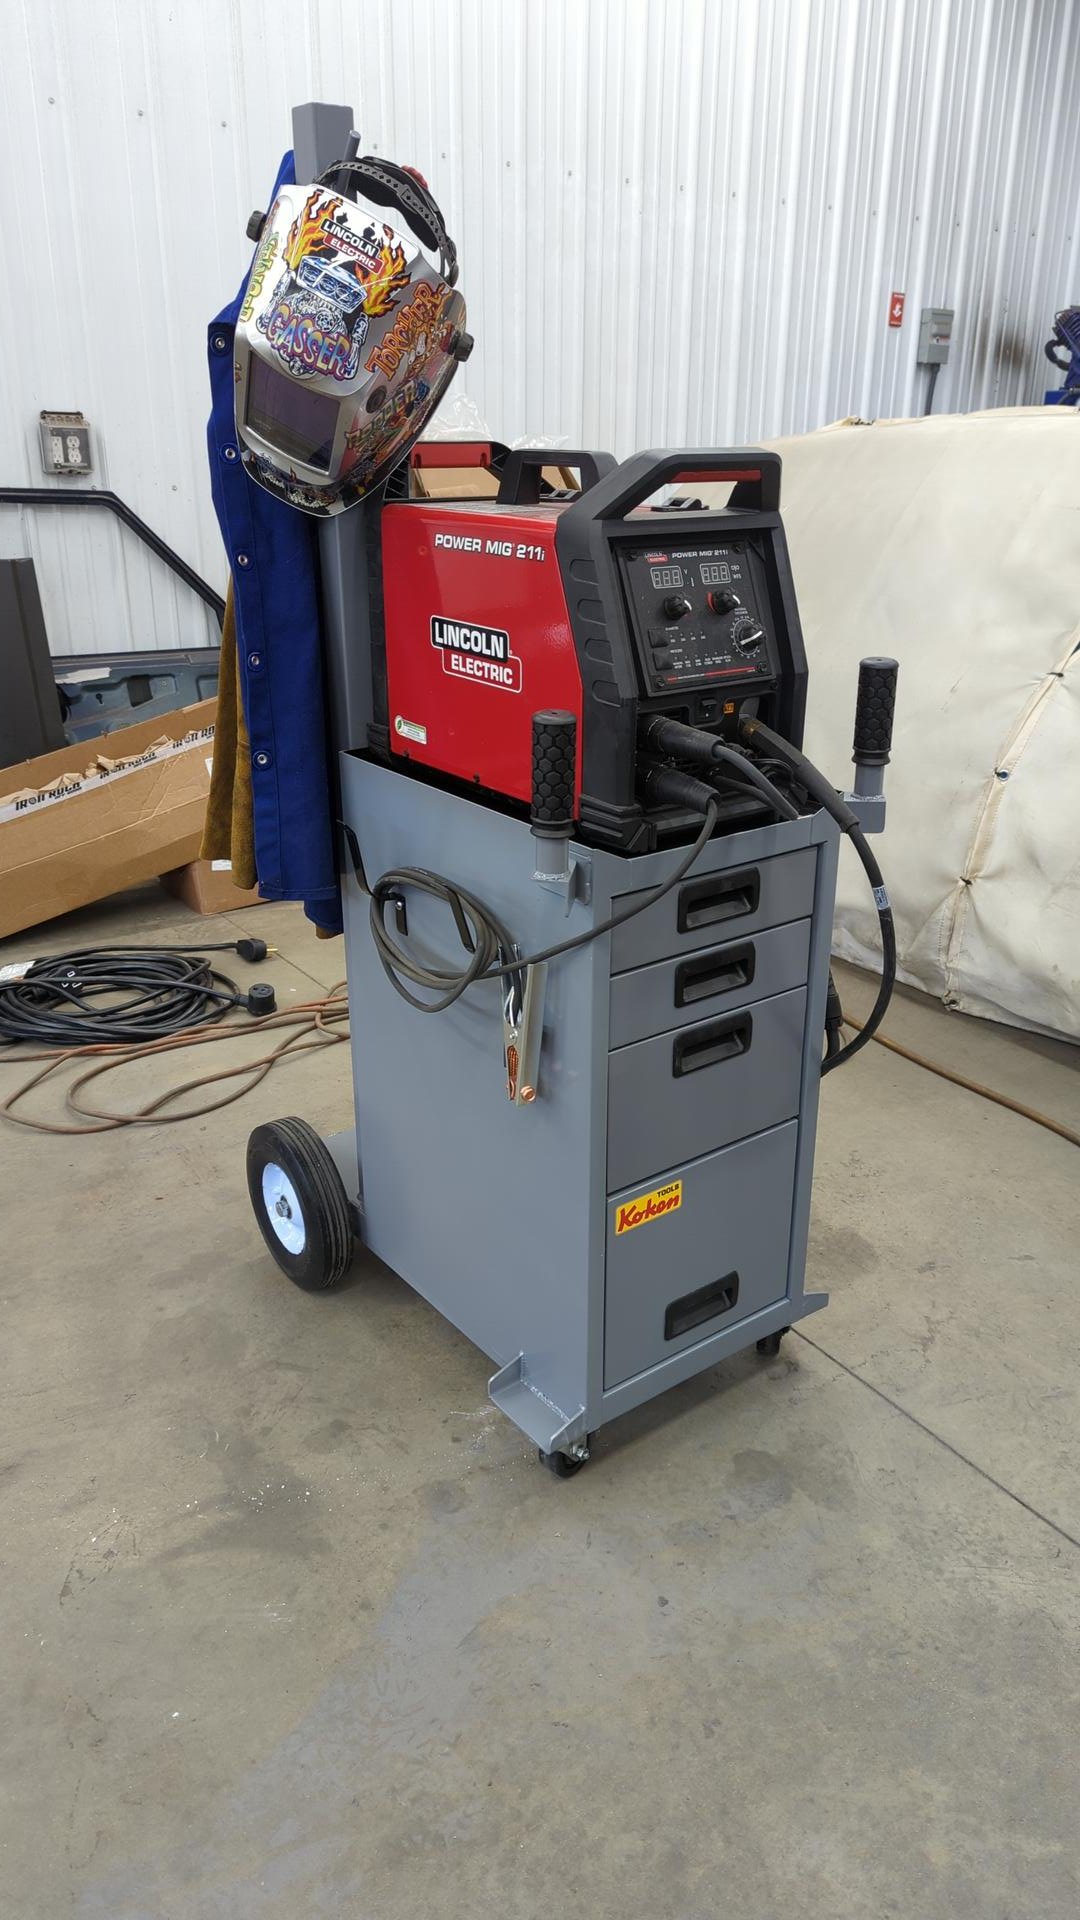
I also really like the drawers for storing my torch tips and spare wire spools.
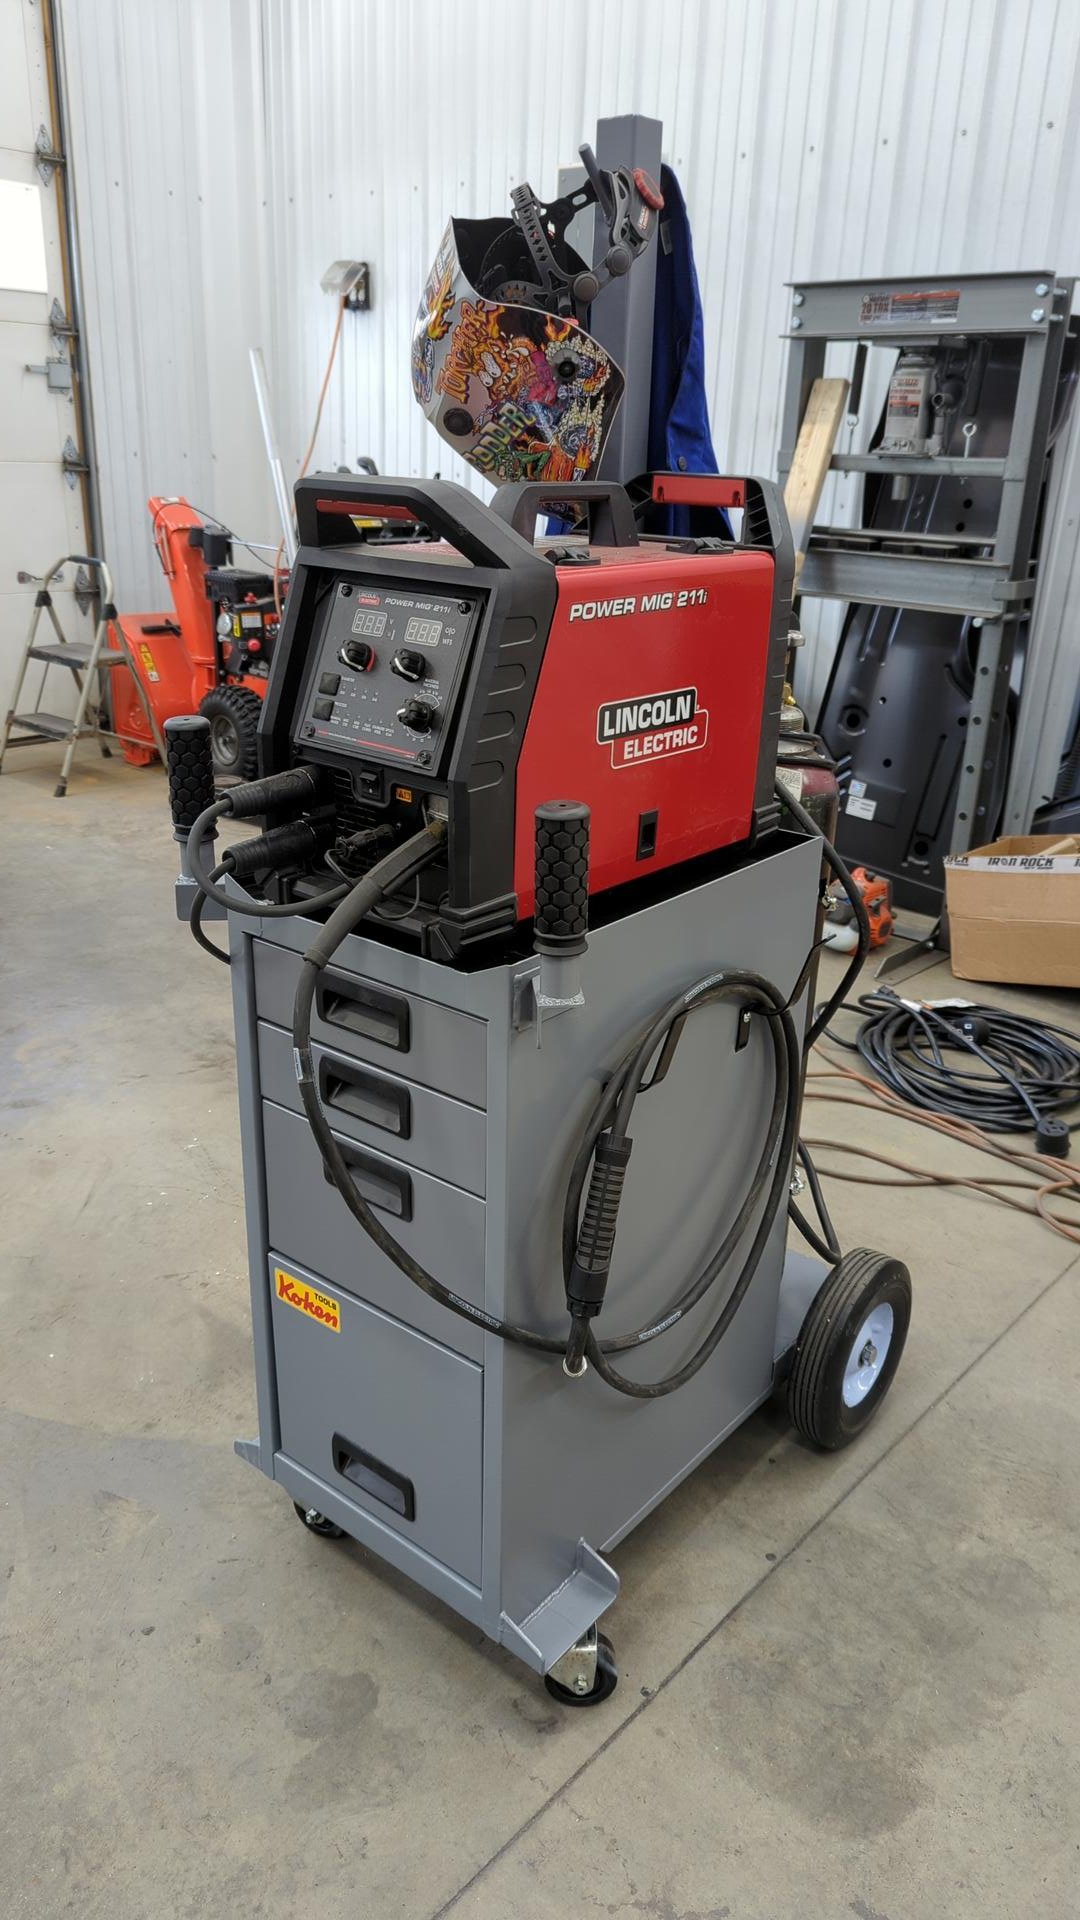
I even added the safety warning sticker included with the cart as a finishing touch.
Materials
Here’s a rough list of all the materials / parts used:
- Chicago Electric Welding Cabinet
- (2) Round Grips (McMaster 9729K76)
- 1’ of 1-1/4" mild steel round tube 16ga
- (2) 5/8 8" Bolts
- (2) 3" Diameter Caster Wheels (McMaster 2370T51)
- (2) 10" Powercare Universal Hand Truck Wheels
- 3’ of 3/4 16ga mild steel tube
- (4) m6x1.00x20mm bolts
- (4) m6 washers
- (4) m6x1.00 nuts
- (3) cans of Rustoleum dark machine gray
- (2) cans of Rustoleum primer