Revival of the Hatch Part 16: Redoing my Shifter Conversion Plate
Digging into the smaller details of the car has been pretty enjoyable. Most of the small things I’m working on aren’t necessary for getting the car back on the road, but it’s given me a chance to address all the minor issues the car has had for years.
My ultimate goal isn’t to make the Civic a show car, but instead get it back into solid shape where it won’t have any of the common issues that plague older cars such as cabin water leaks, electrical gremlins, etc…
It’s also very likely I’m going to need to make this car my daily over the summer as the Integra needs to come off the road for some much needed rust repair and fixing it’s leaky steering rack so I really want to make sure it’s reliable.
Rejuvenating the Hatch Grommets
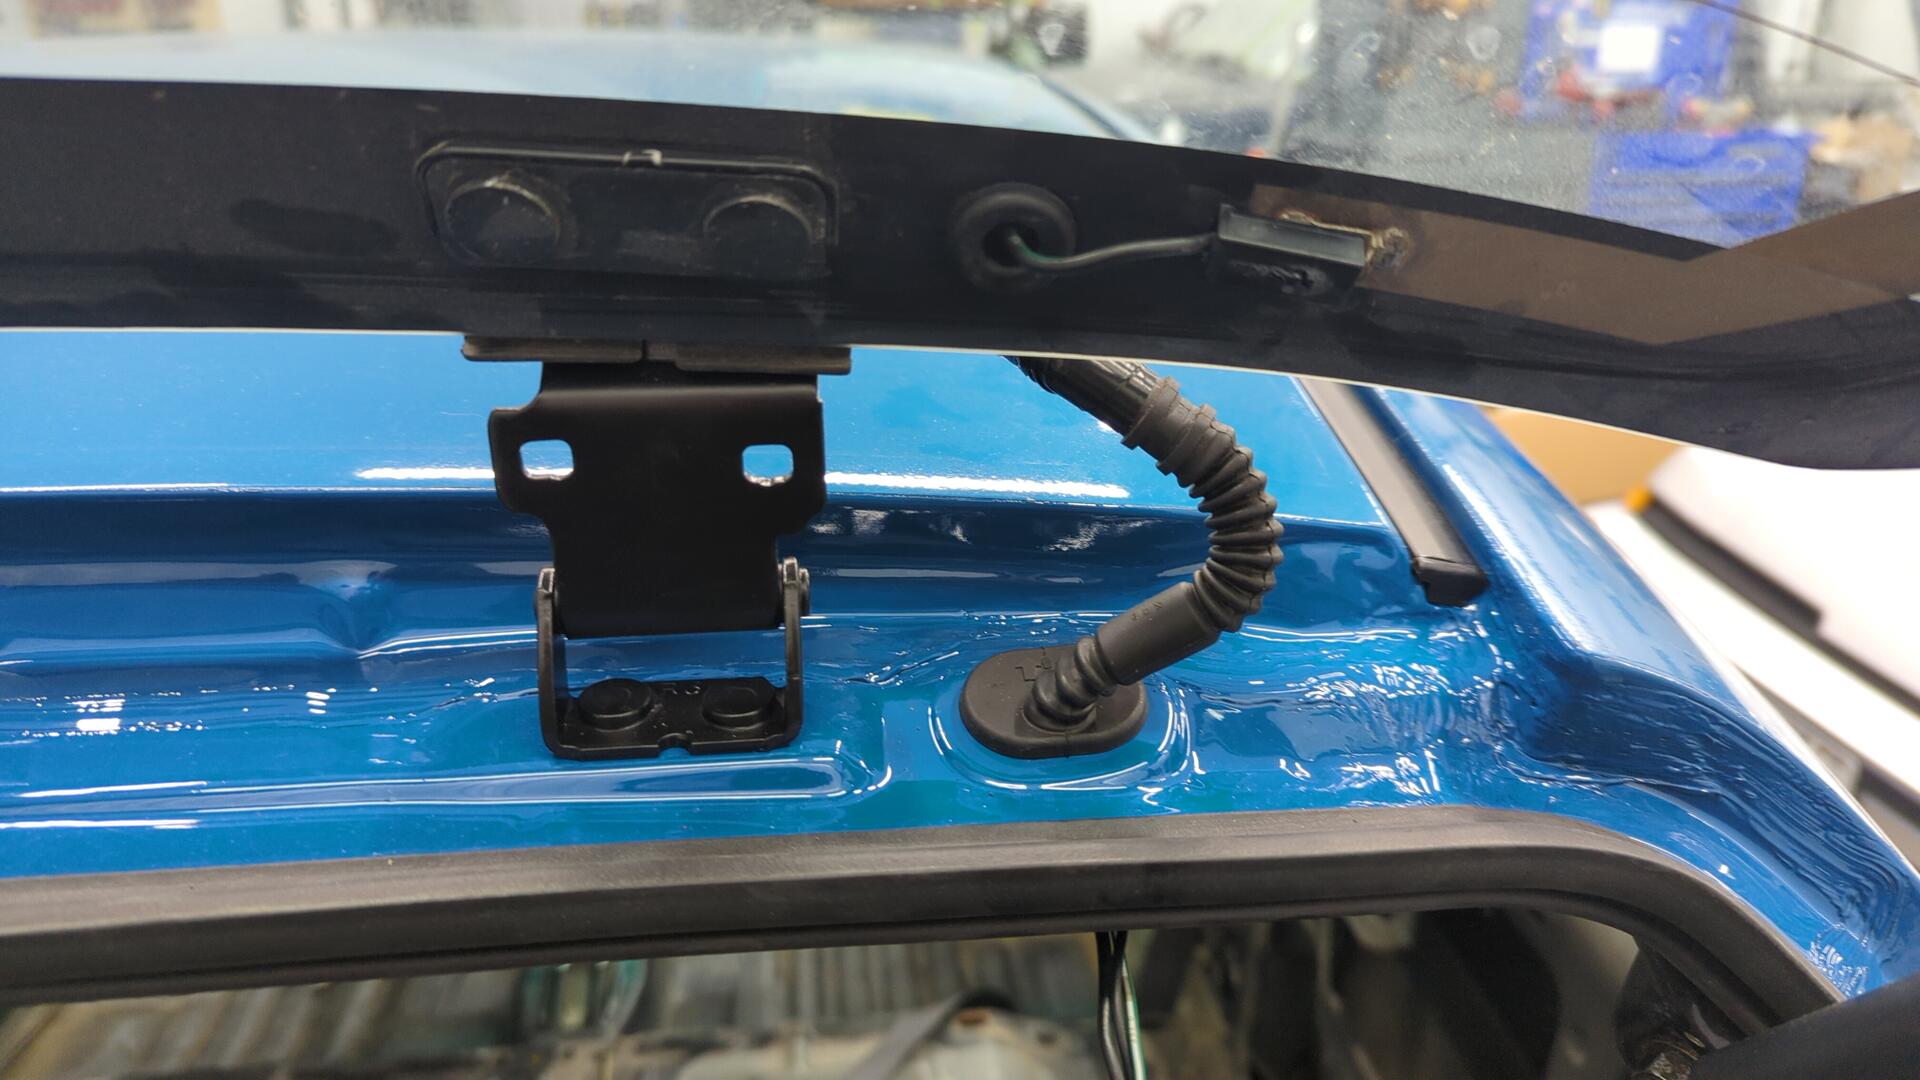
All of the rubber bits on the car are really starting to show their age. Given how hard some of these parts are to source now I wanted to try to prolong the life of the rear hatch wiring grommets so I opted to strip the rear harnesses down and soak the grommets in 303 Aerospace for a few days.
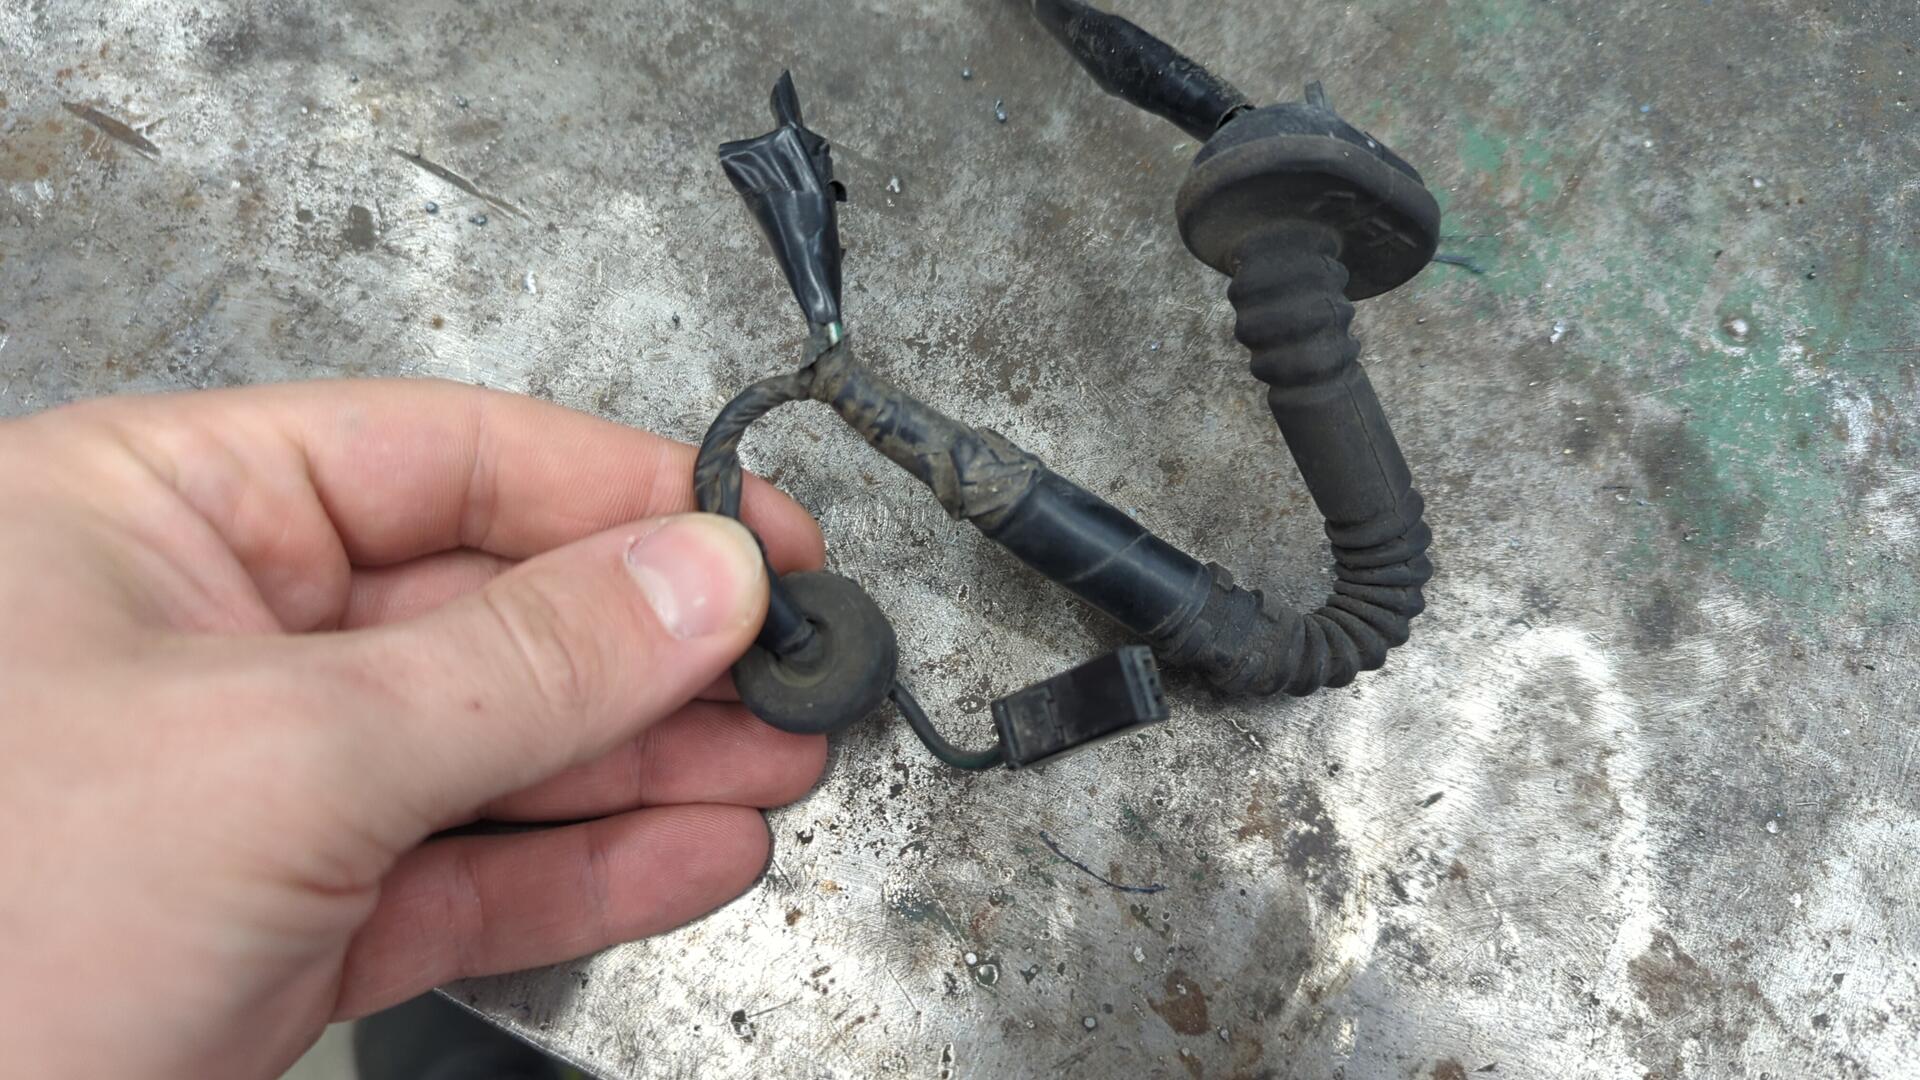
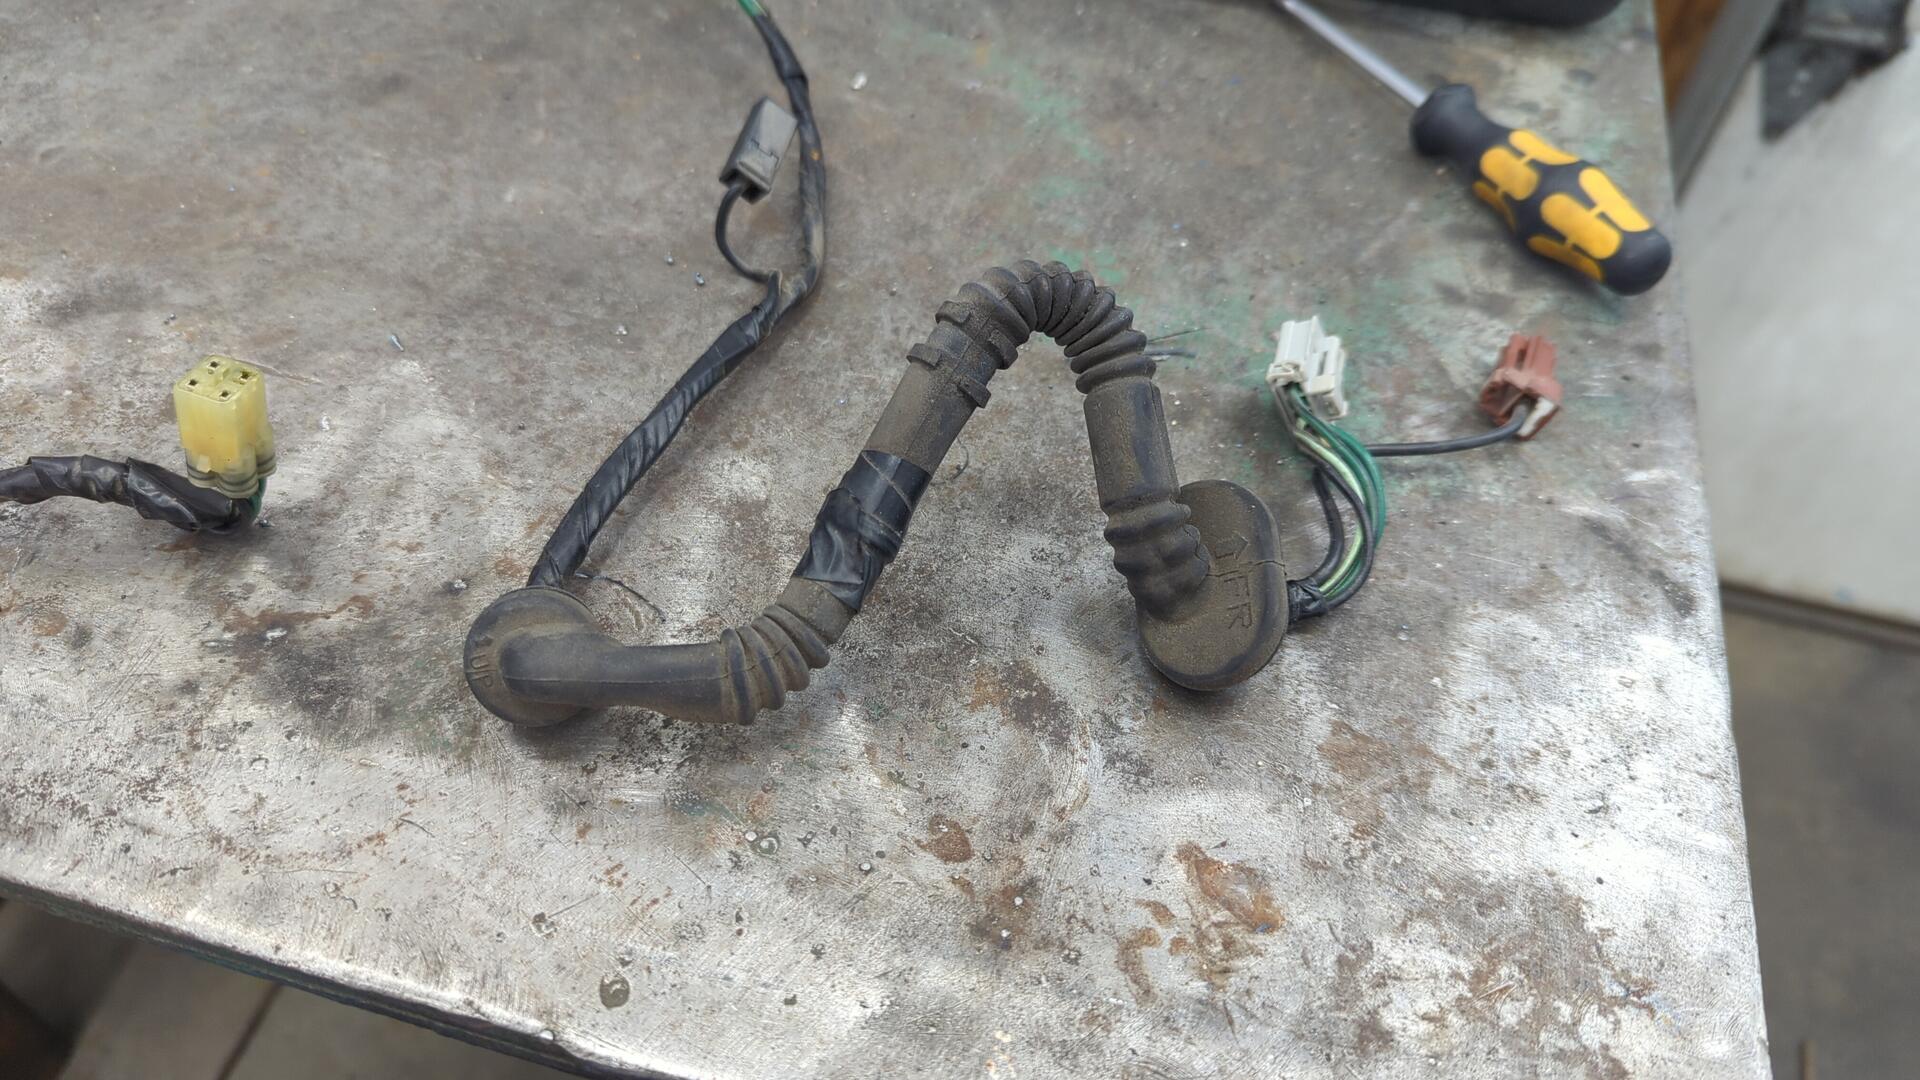
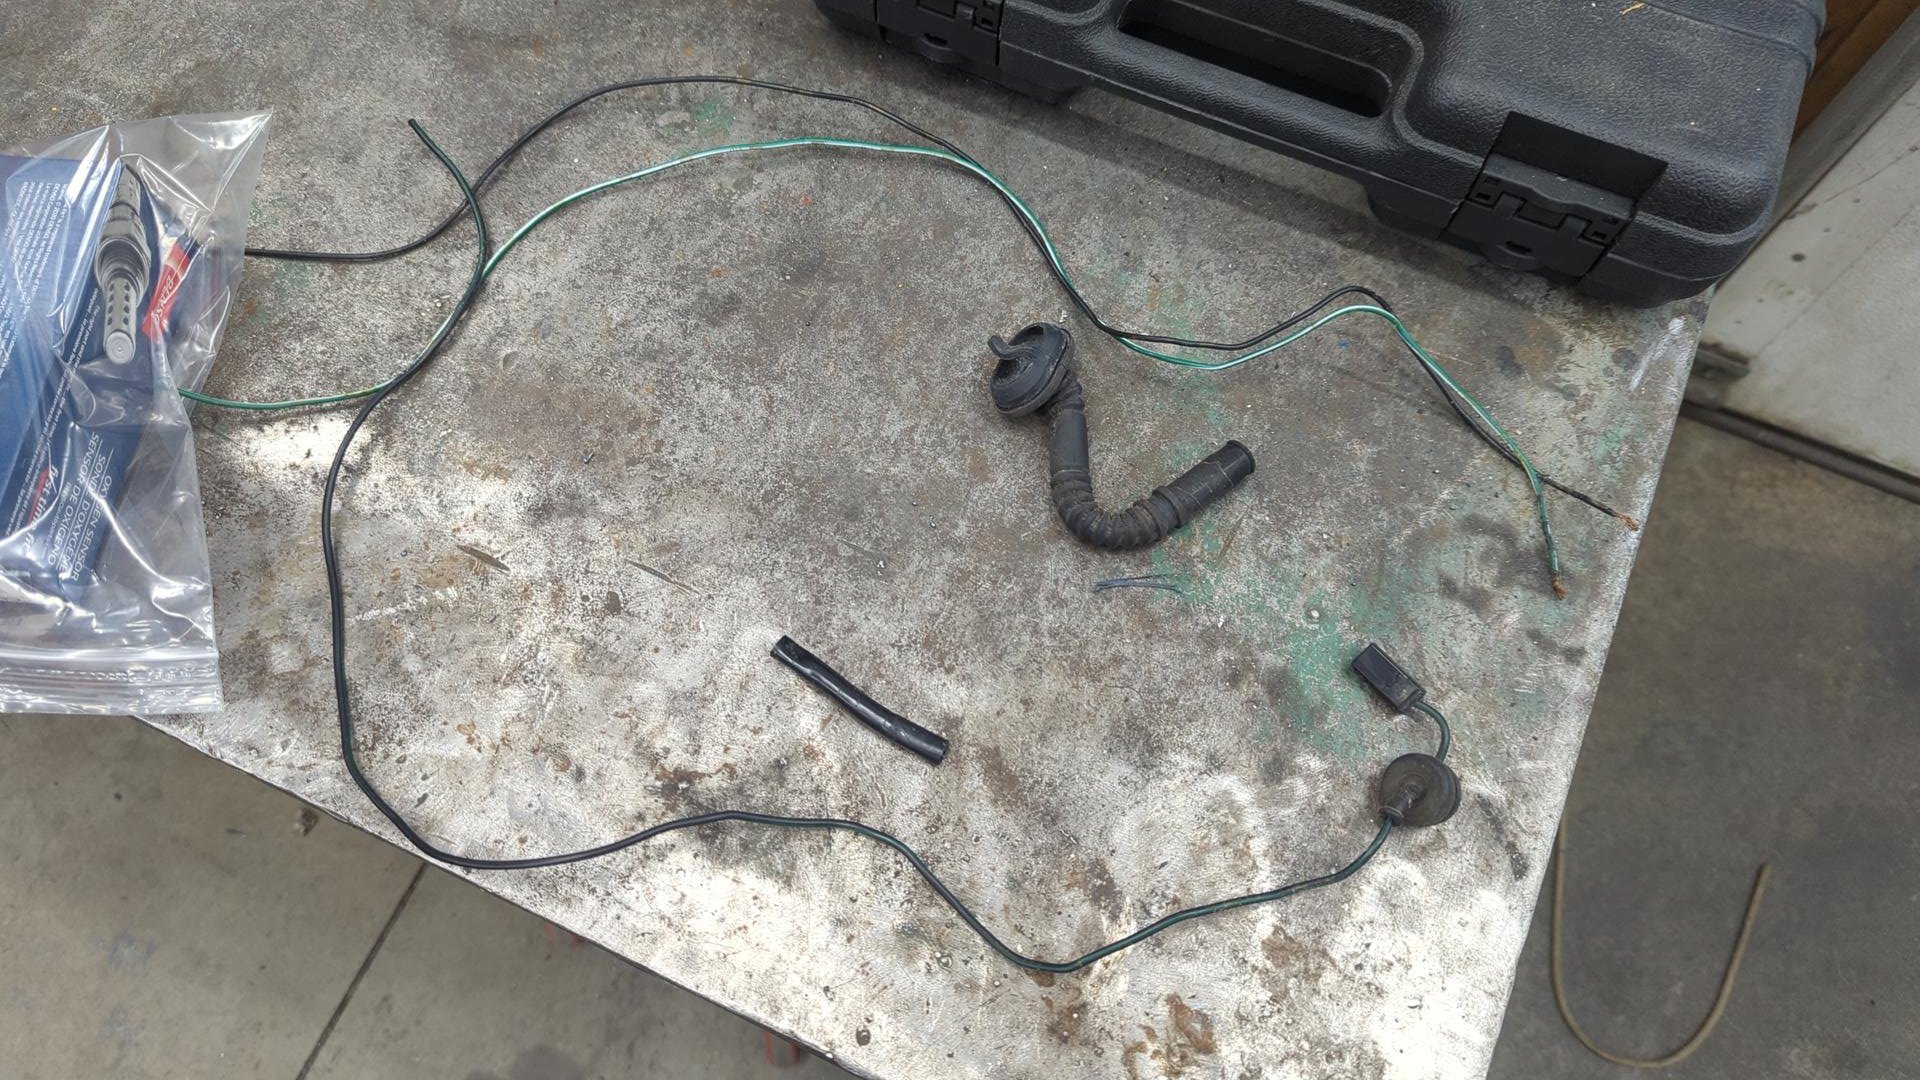
There’s not actually that many wires in them.
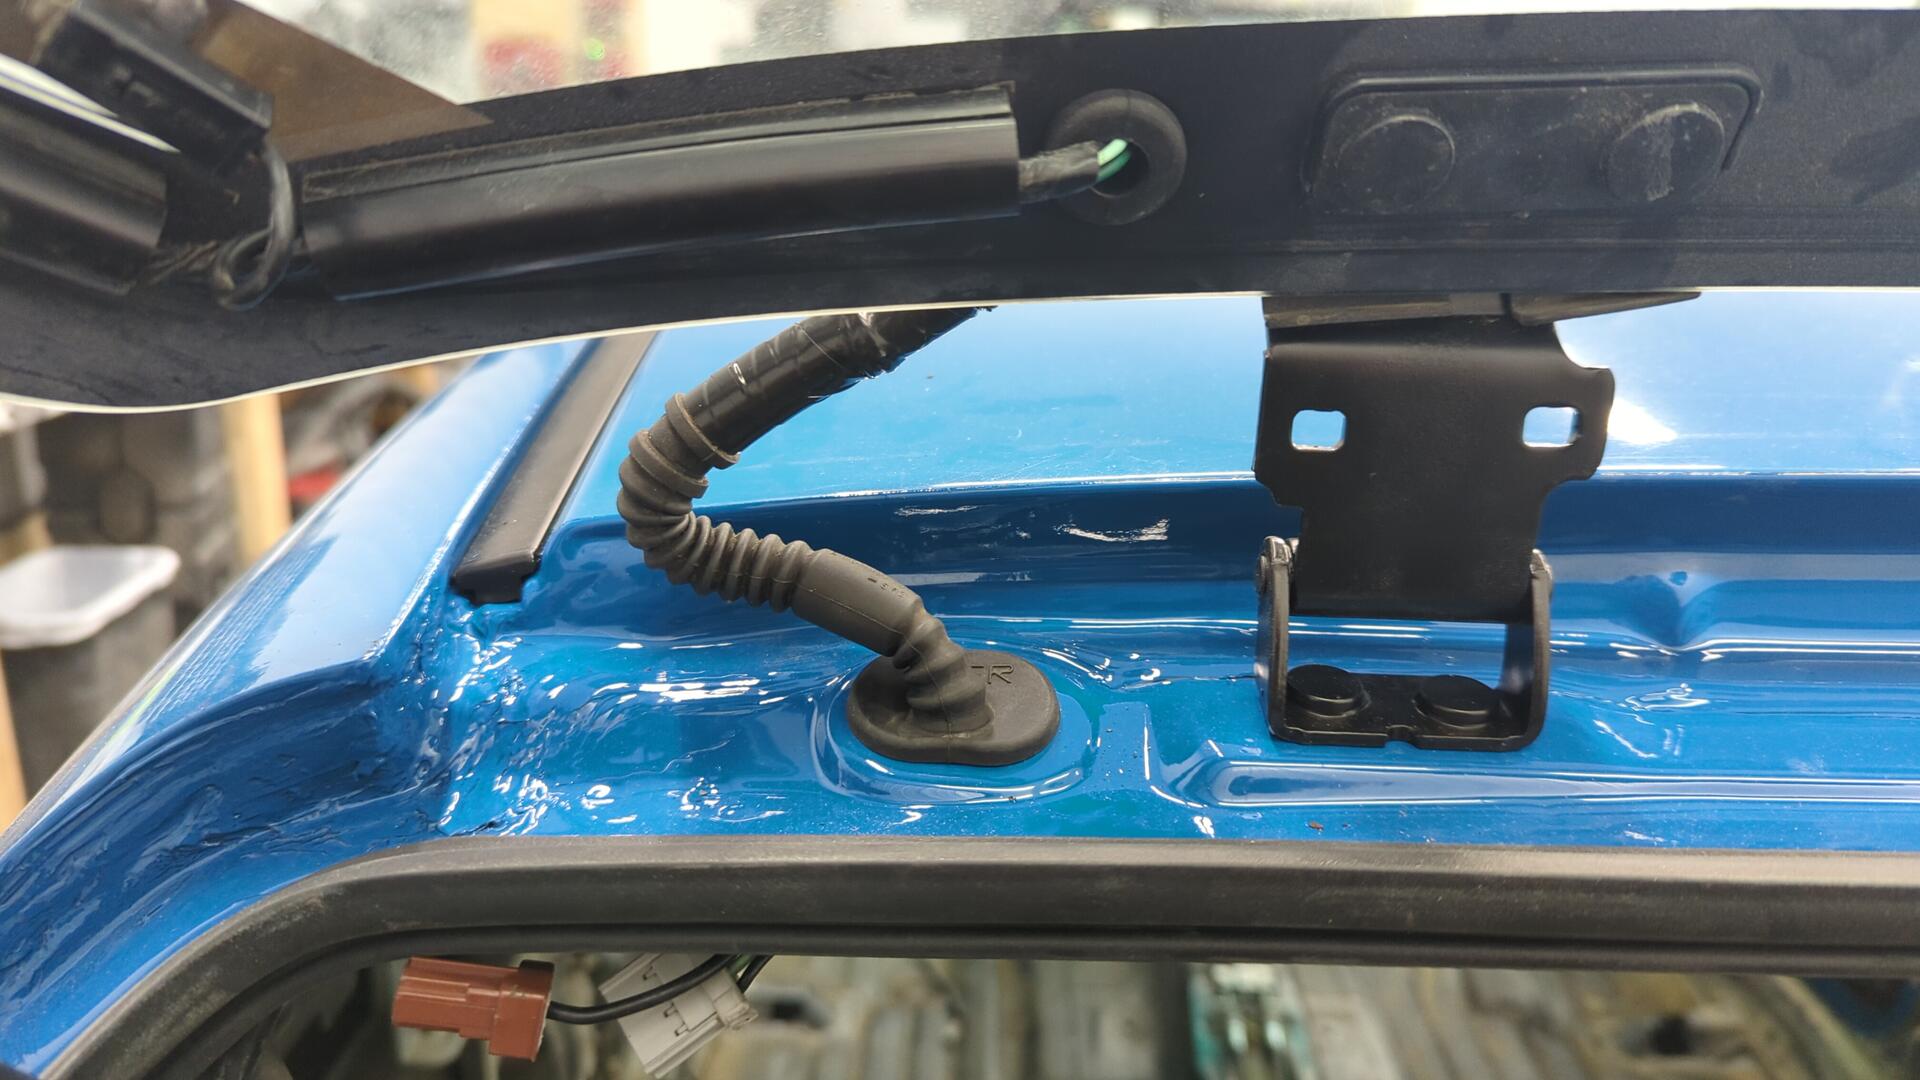
A couple days later after soaking them and reassembling everything they looked good as new!
A New Fuel Filter and Intake
I’m still working out the details for my new fuel setup but I was able to install a new OEM filter (16010-SM4-K52) and fuel rail line.
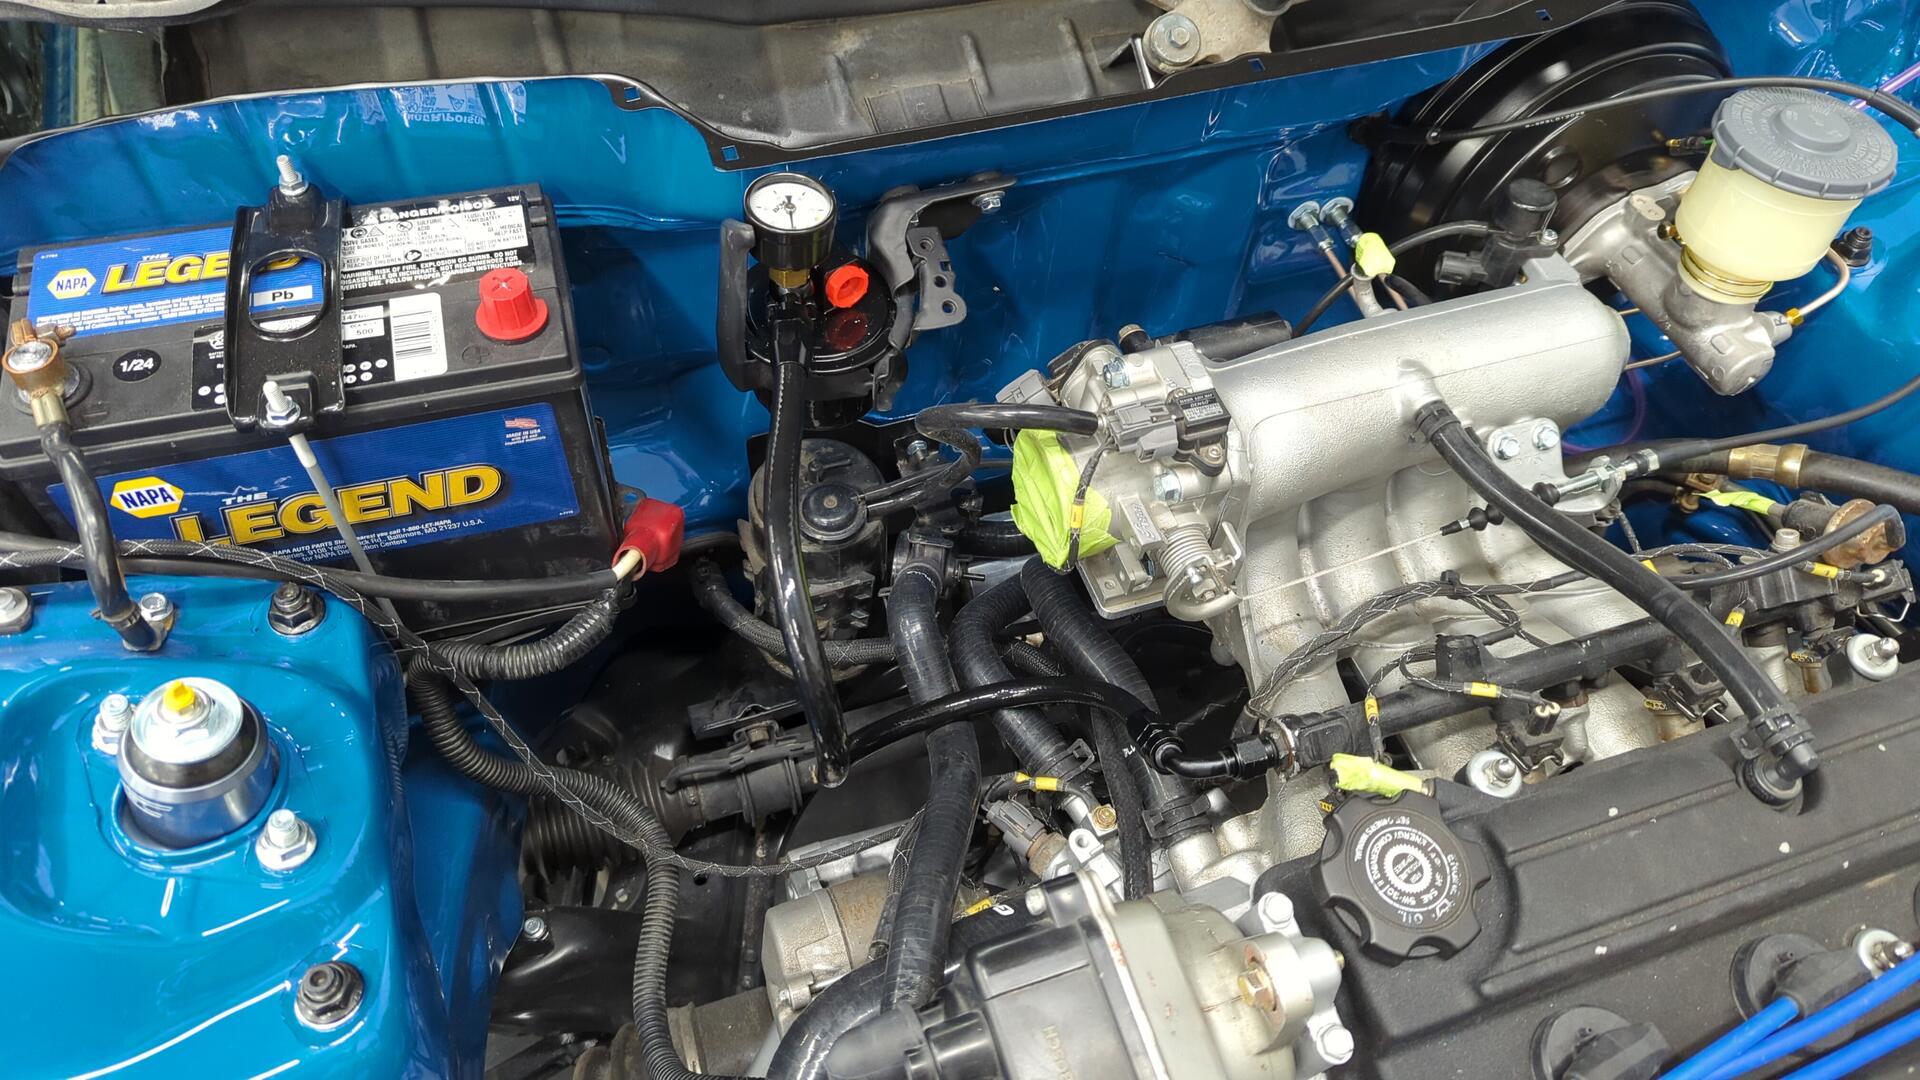
I had previously bought an aftermarket fuel filter but it didn’t fit so I caved and bought the more expensive OEM unit since I didn’t want to risk buying another filter that didn’t work.
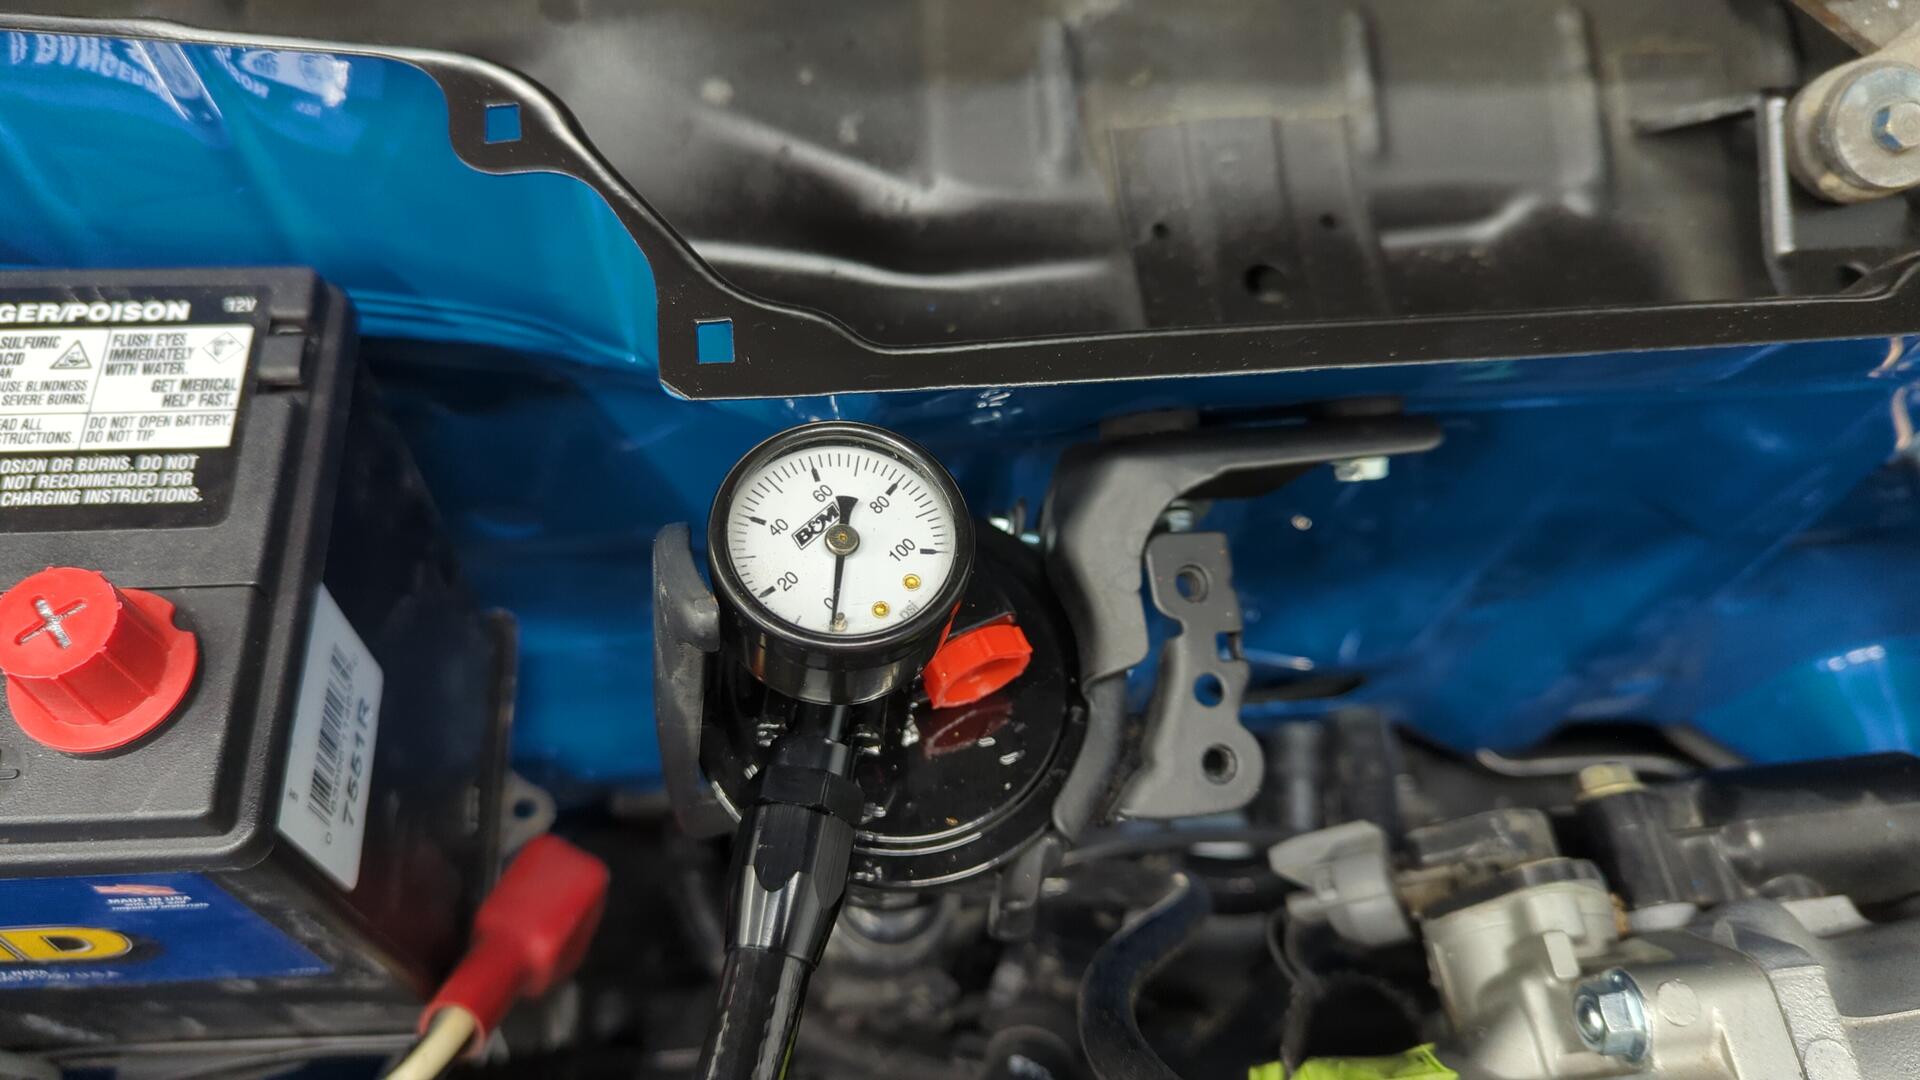
The fuel pressure gauge was something I found laying around in an old bin from back when I ran a d15 / y8 mini me. I don’t know if it’ll prove to be useful, but I don’t have the original plug that closes up the top of the banjo bolt so I had to use the gauge to close up the hole.
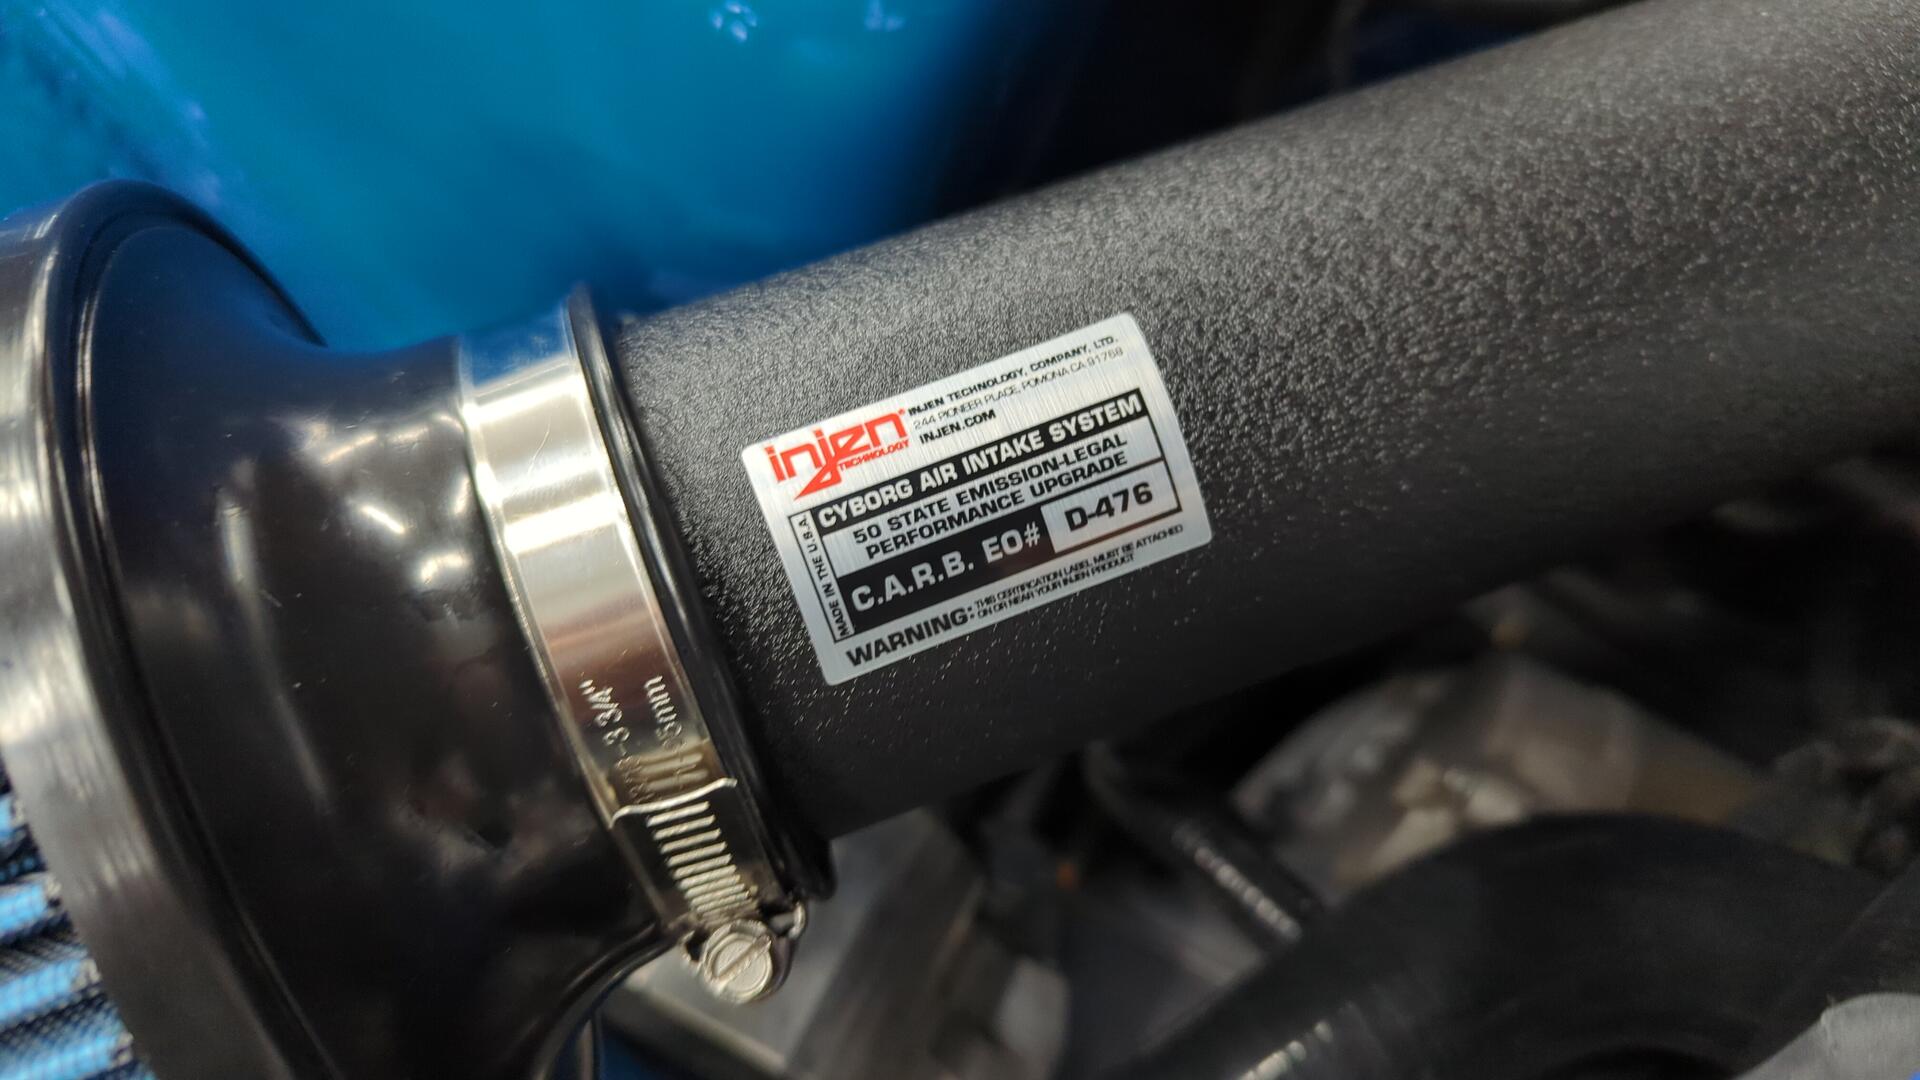
The new intake finally arrived too.
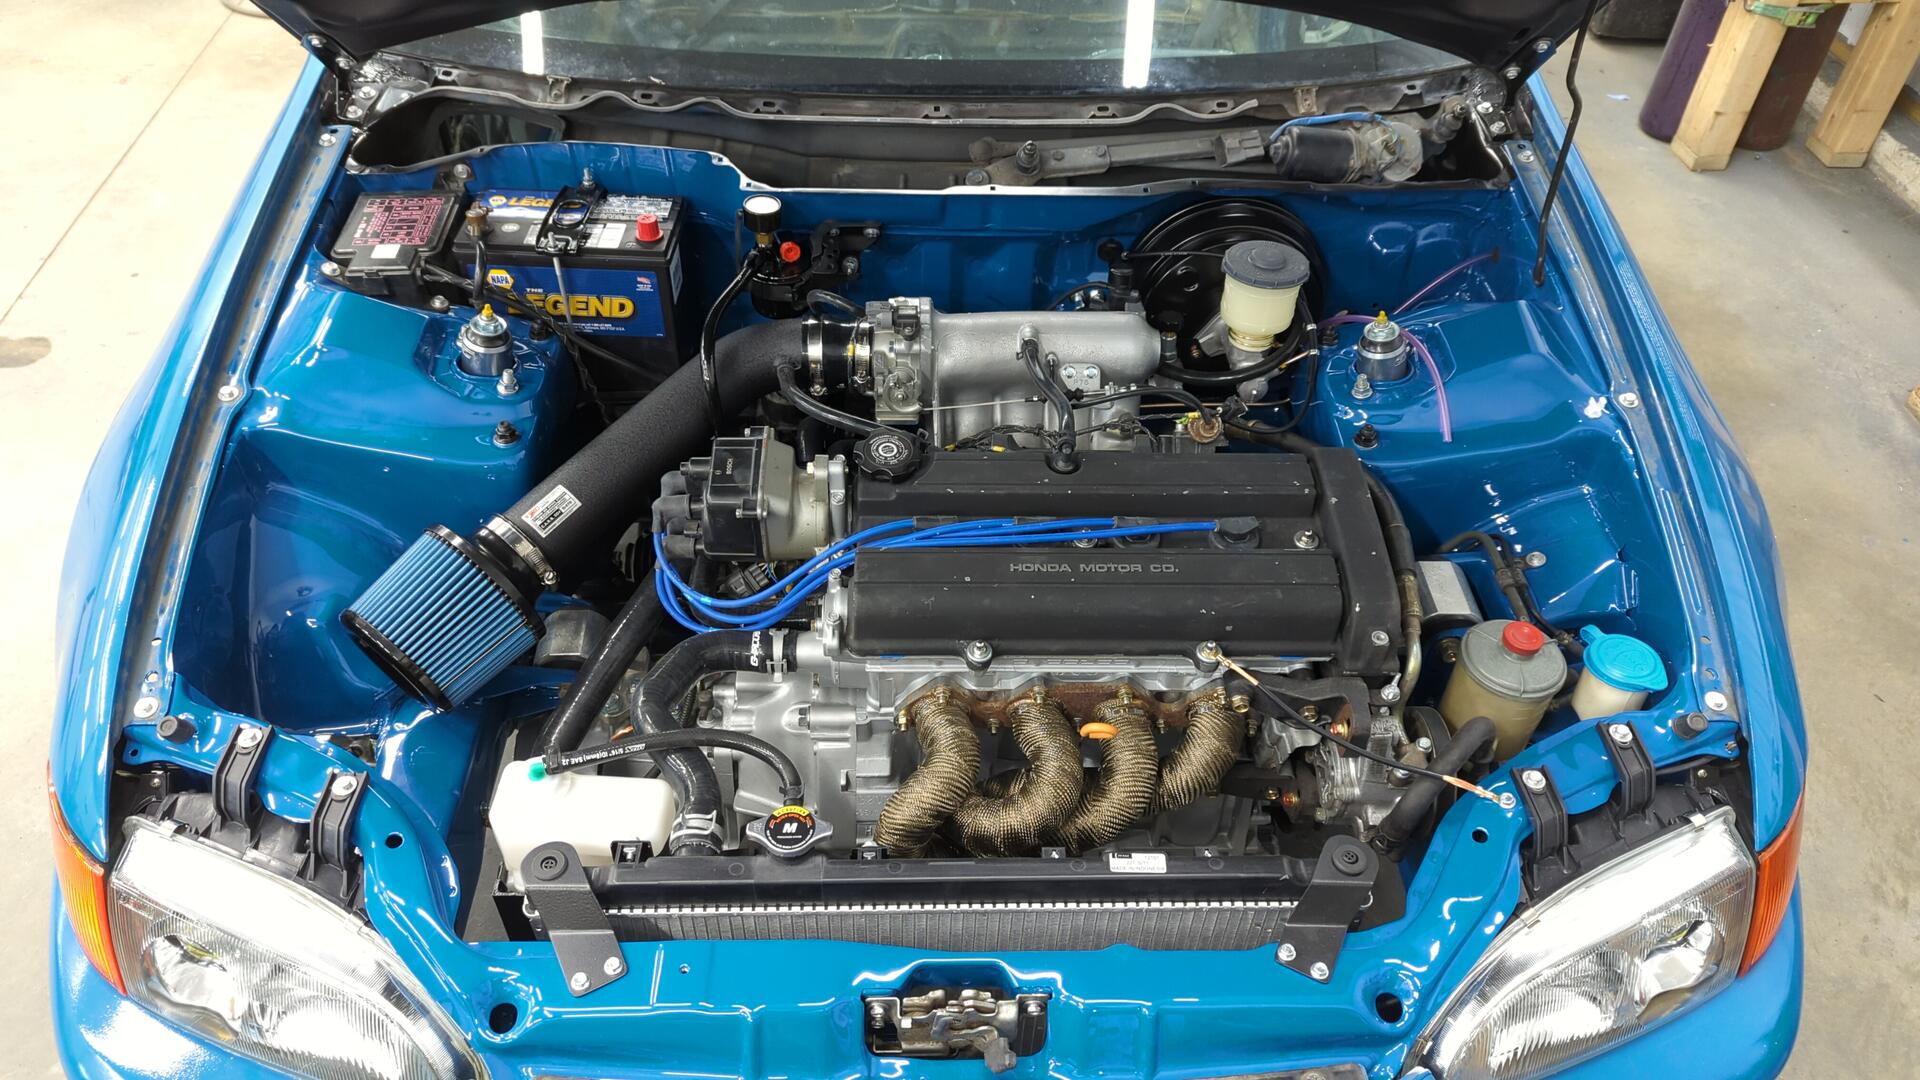
It’s an injen cold air intake. From what I’ve read on the forums, the crowd favorites are AEM, Injen, and DC sports. Injen had the best price of the three and I suspect the performance difference between them is negligent so I couldn’t say no to saving some $$$.
It’s also CARB compliant too, not that it’s relevant for my needs lol.
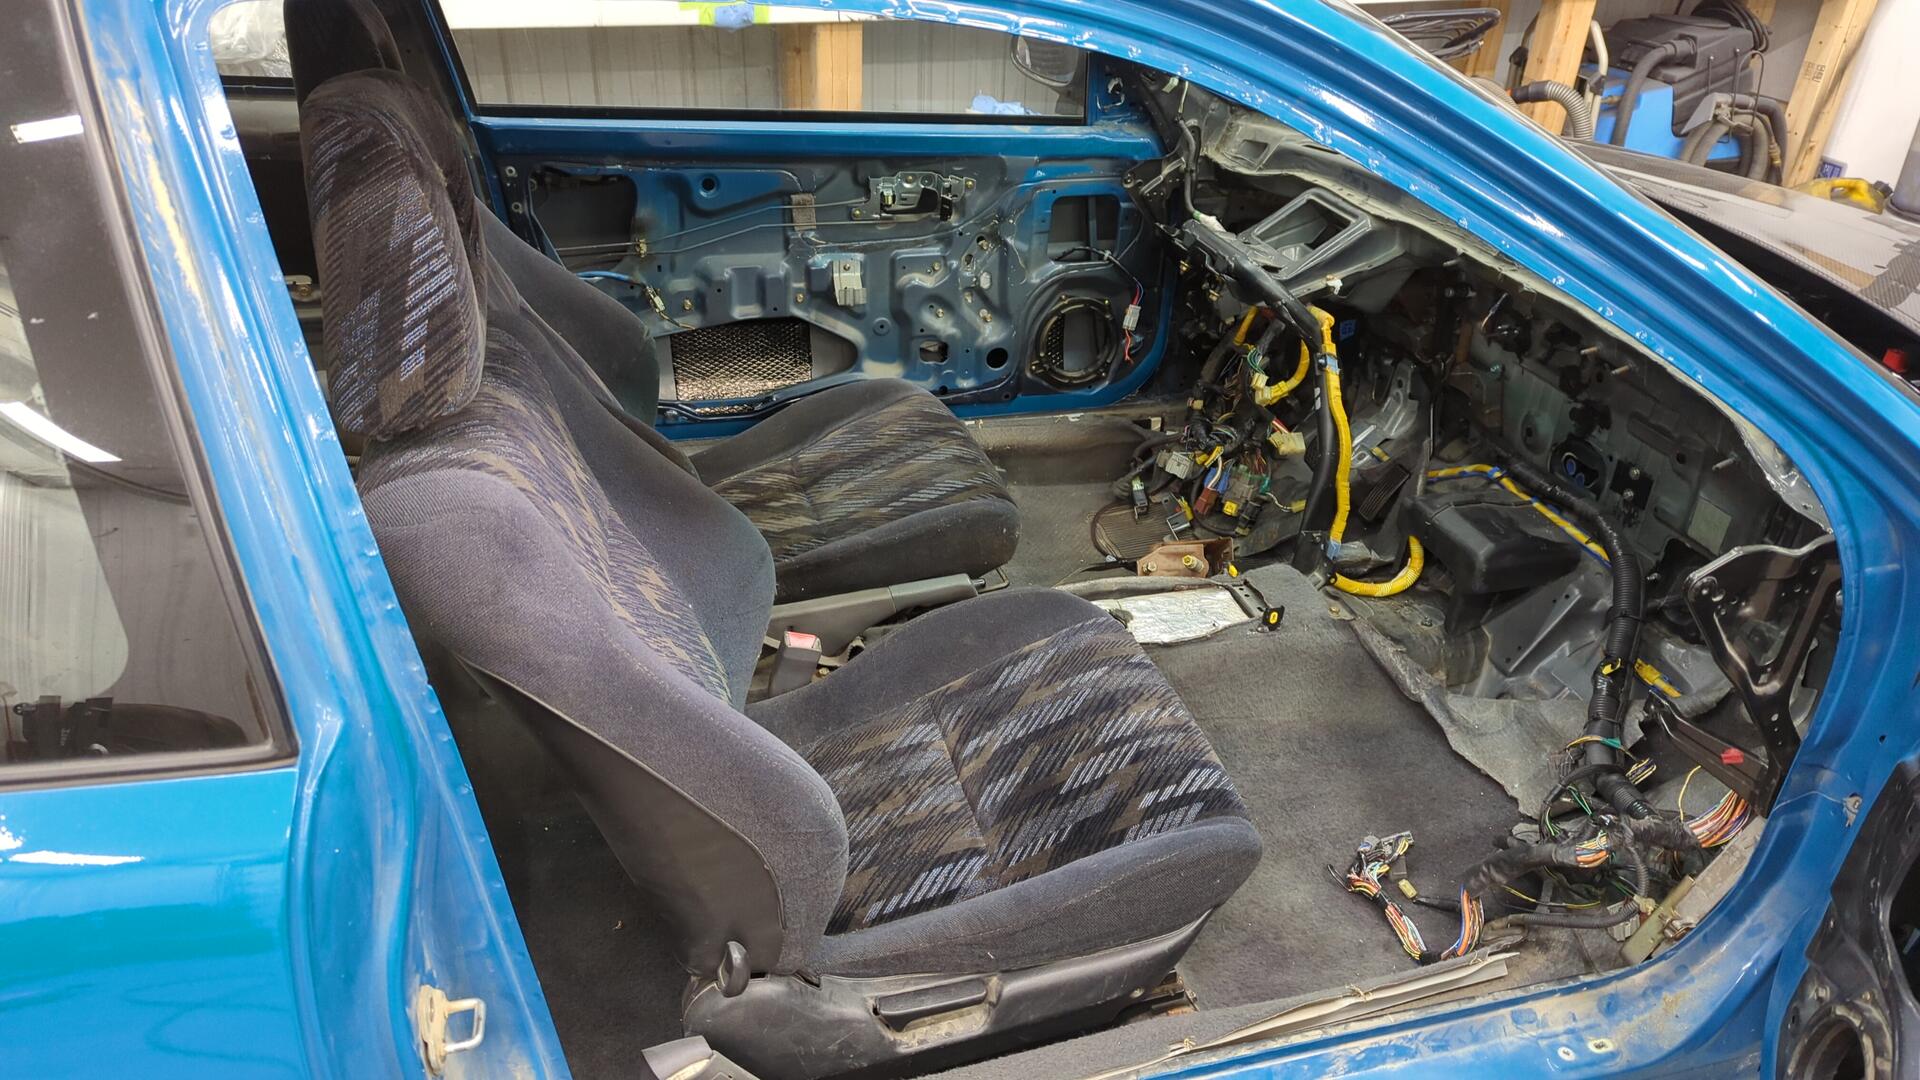
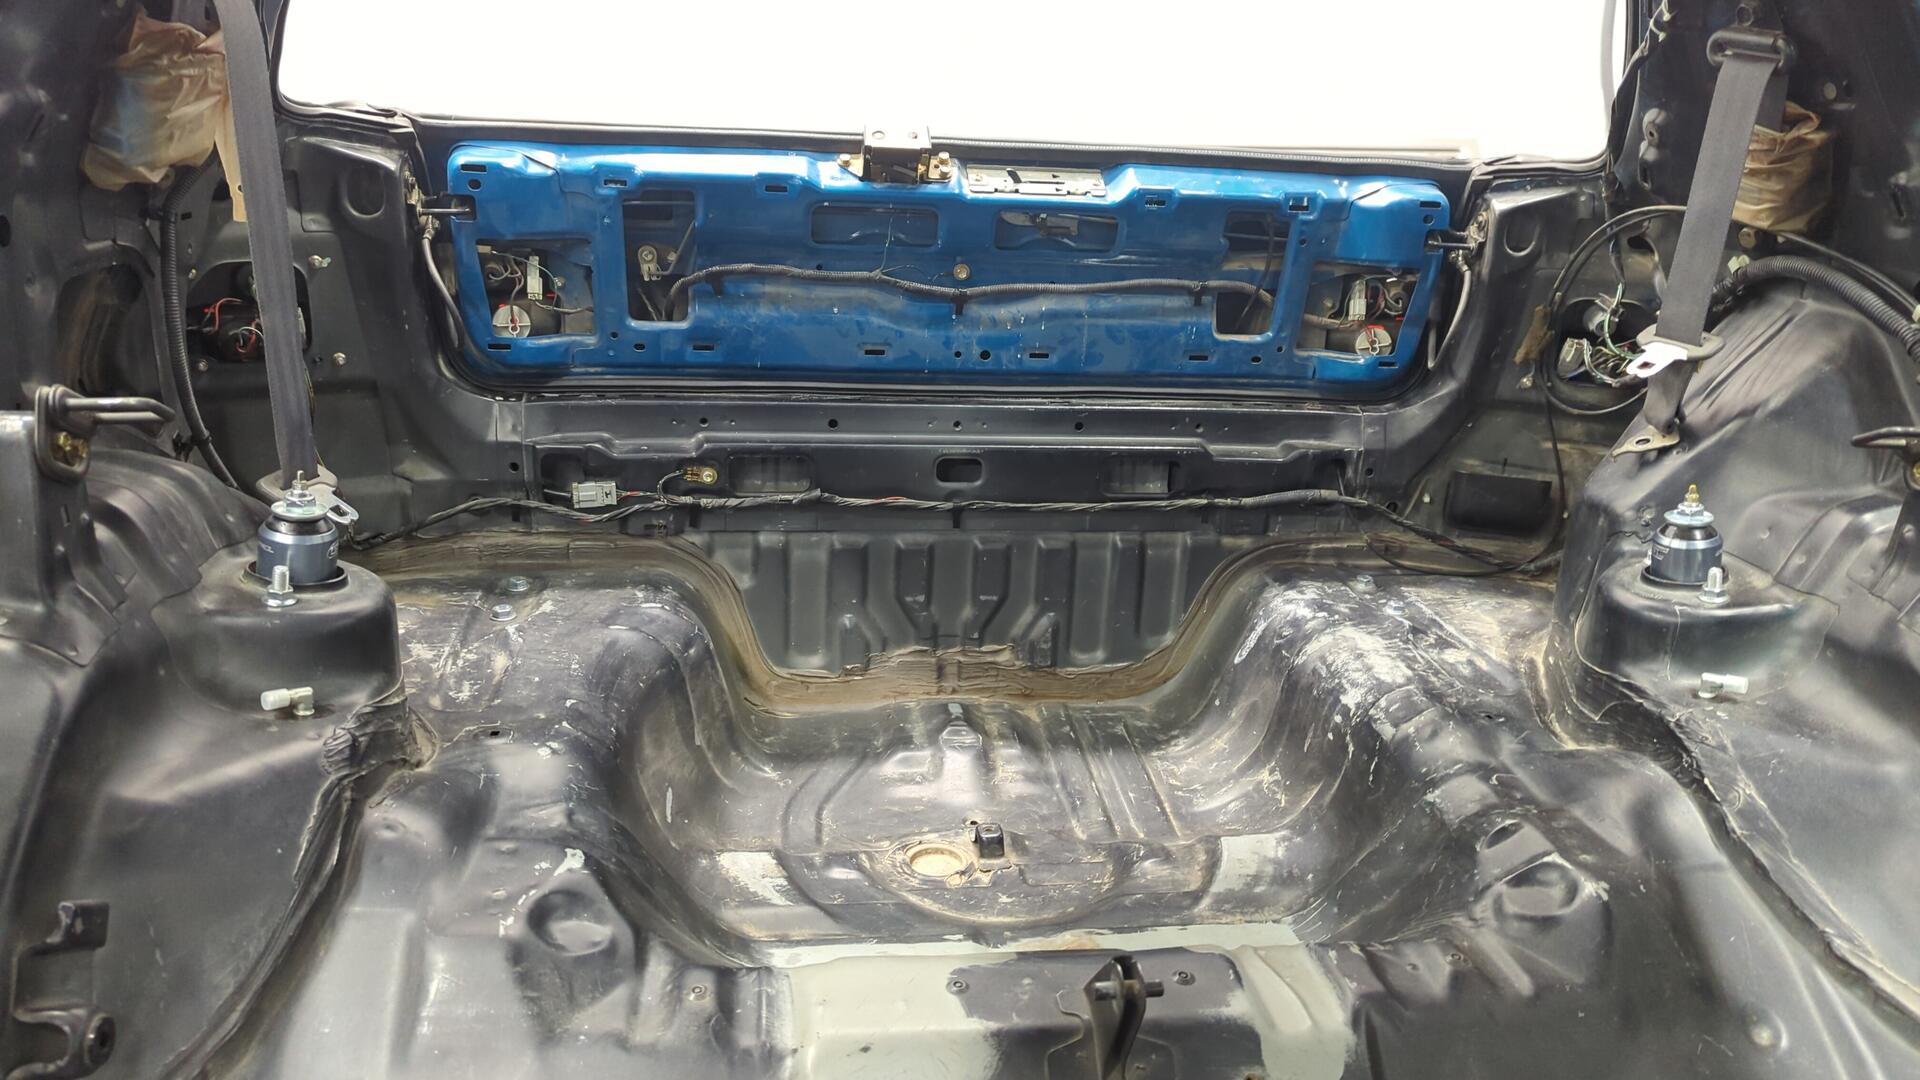
Gutting the Last Bit of the Interior
The last bits of the interior were in the way so I figured it was time to pull out the seats and carpet.
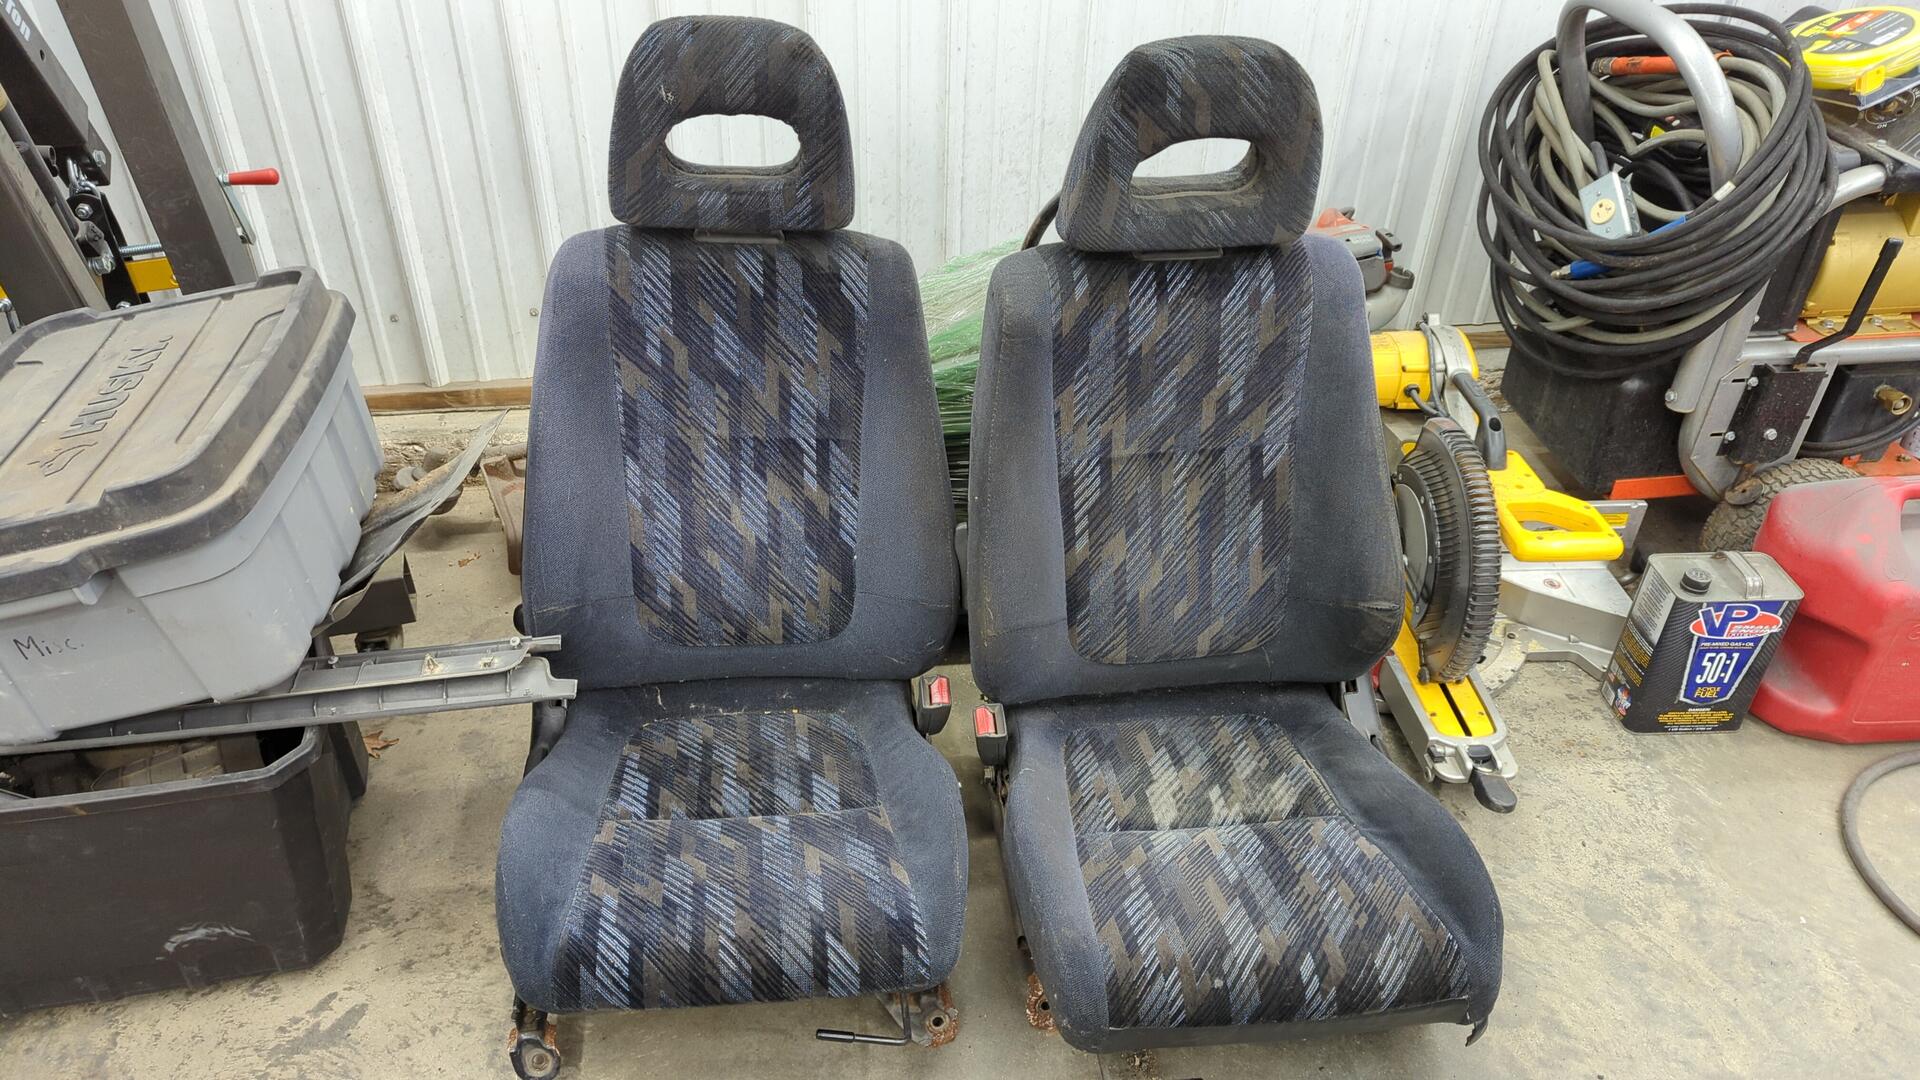
I love the look of the confetti seats but these are starting to show their age so I may upgrade them. This likely won’t happen for a few years so I plan on sand blasting the frame rails and maybe dying some of the cloth for now.
The carpet is going to be dyed dark gray soon too. I had explored buying a new carpet but I don’t think it’s worth the cost.
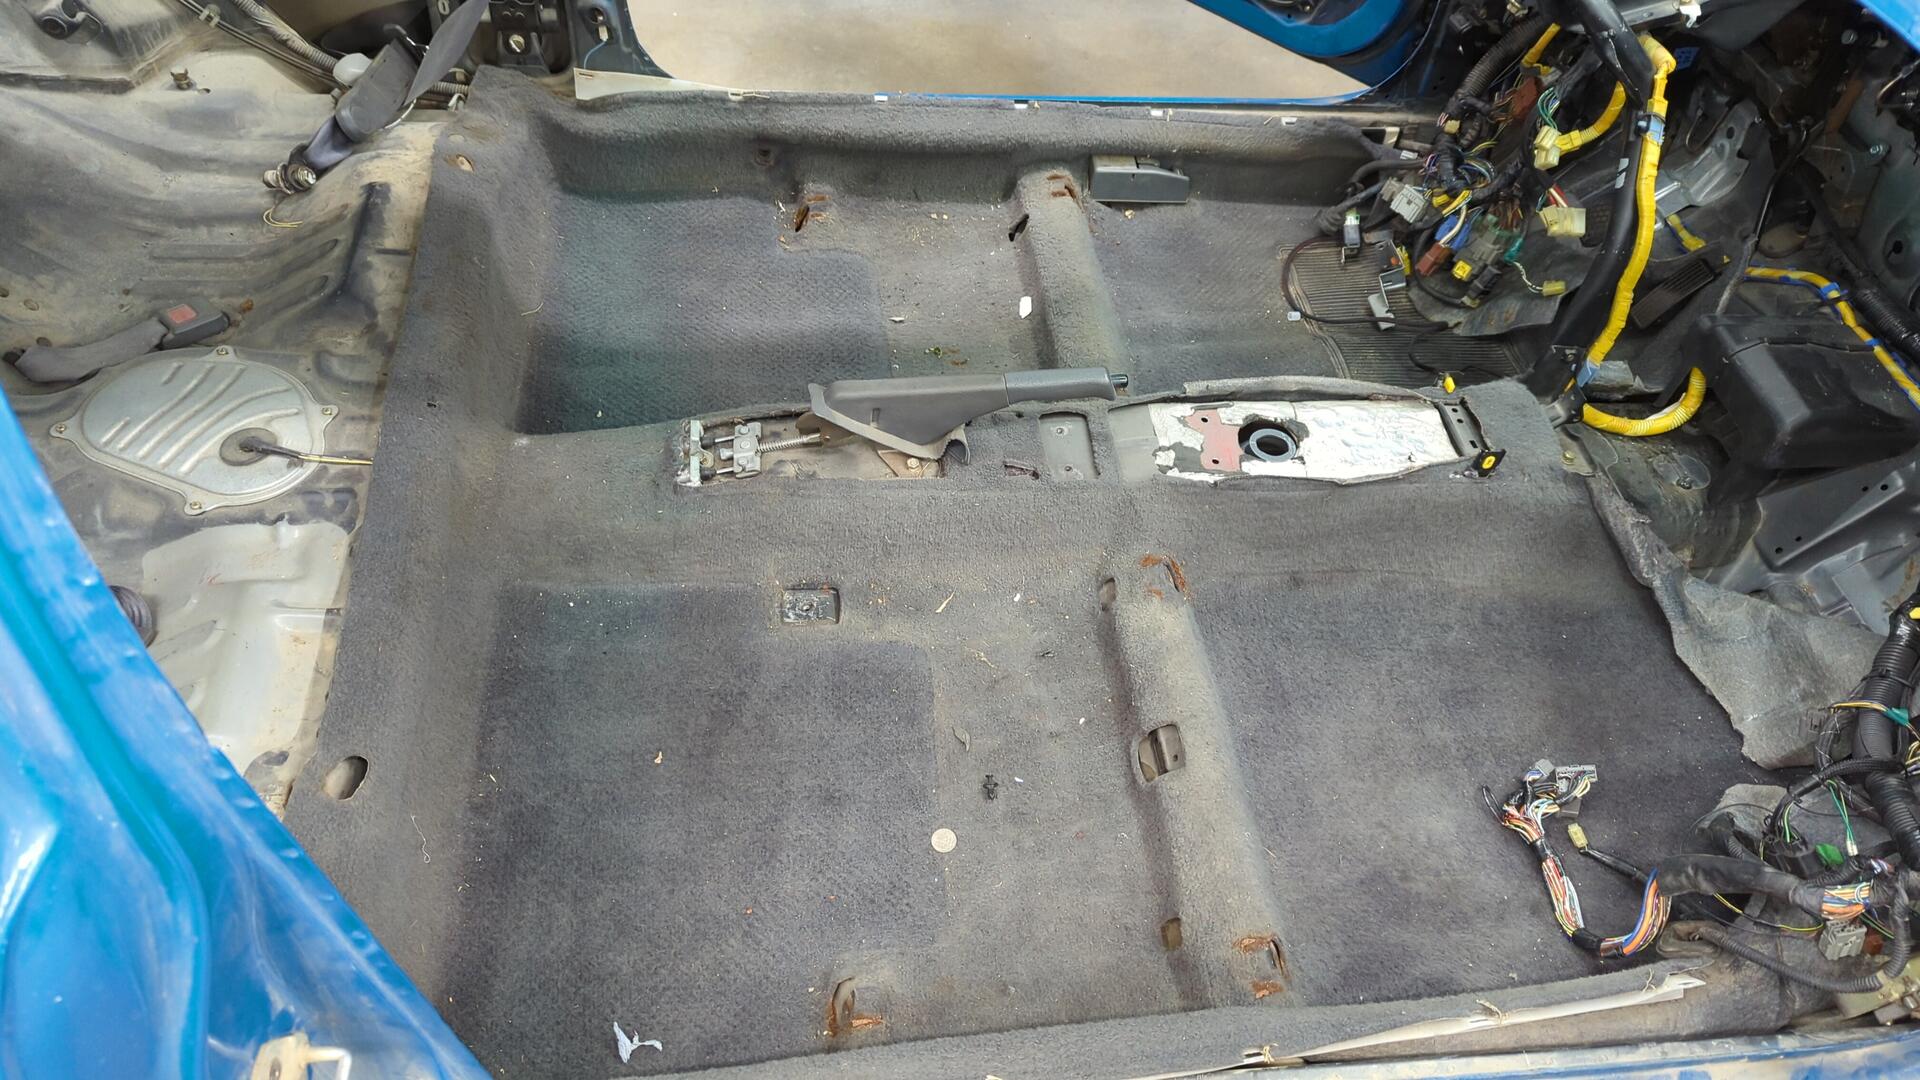
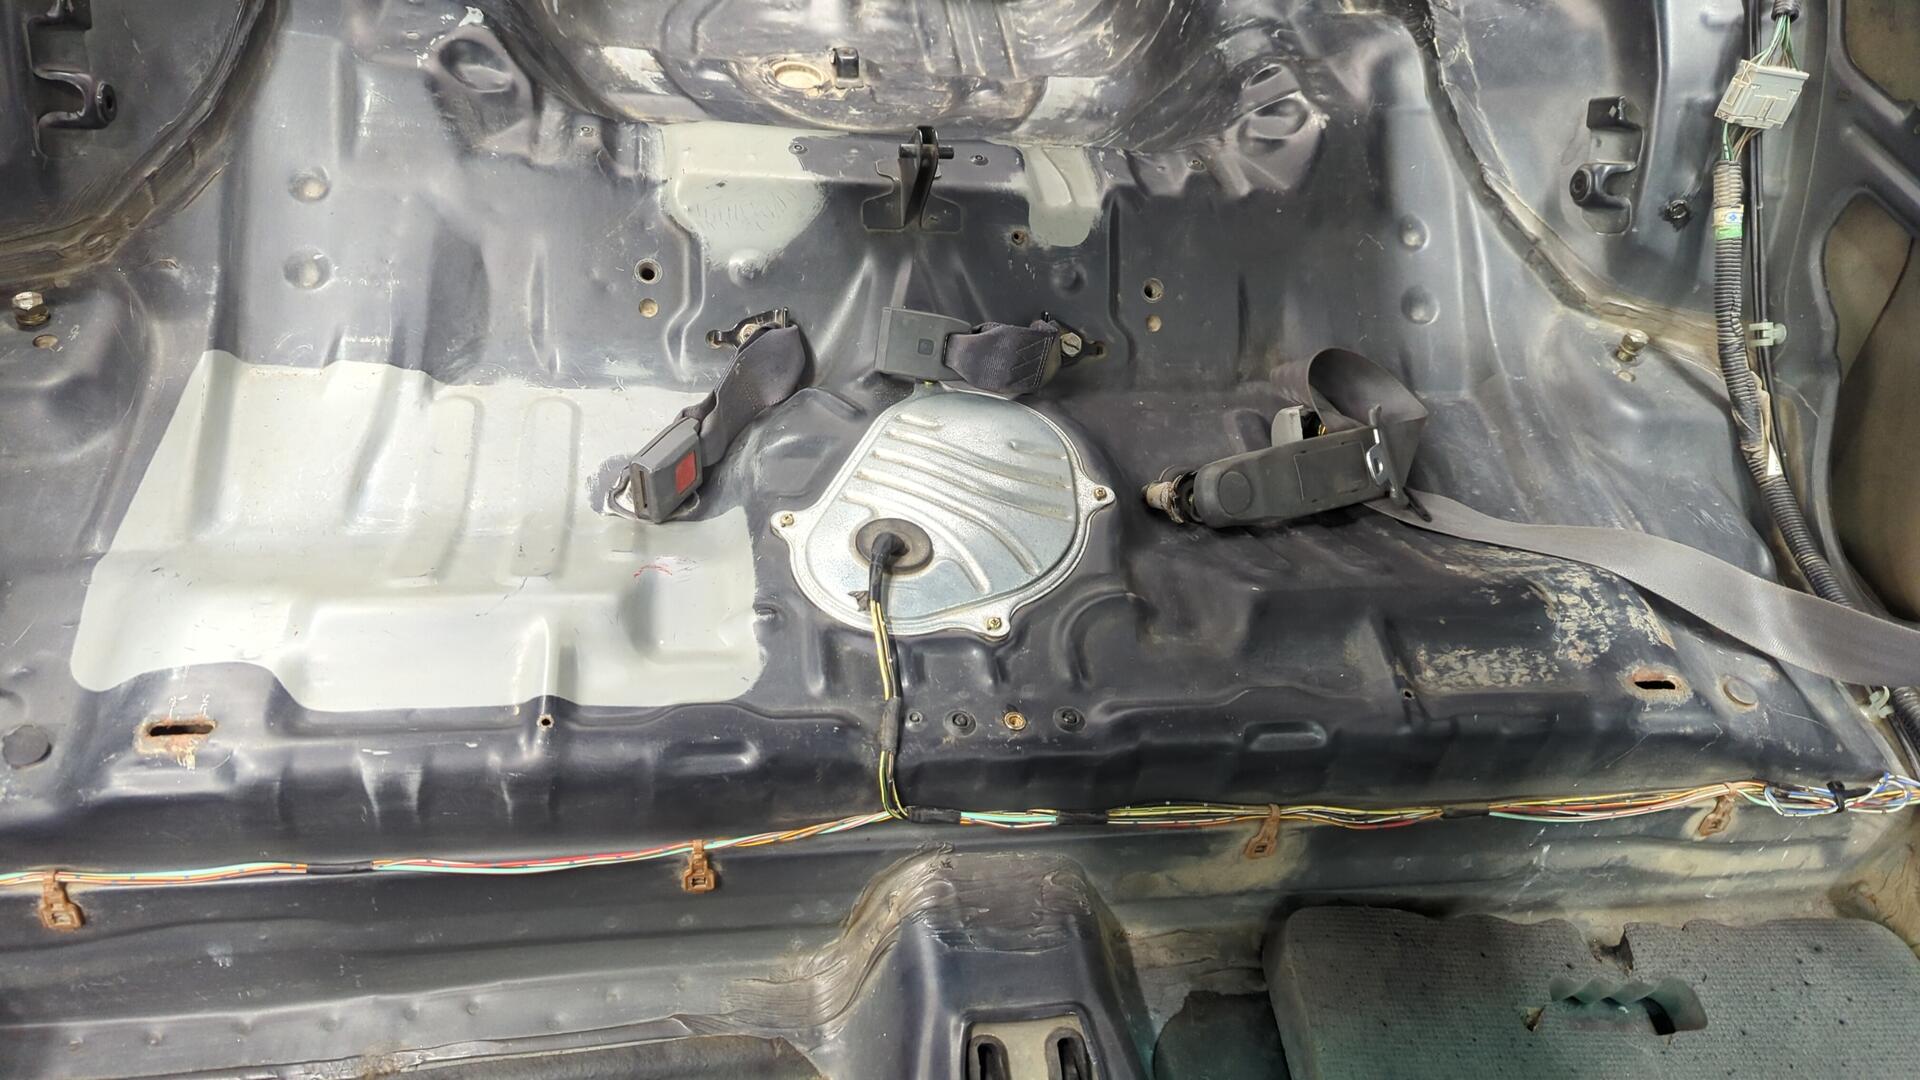
Overall the floor pans are holding up pretty decent for being 31 years old. There’s a couple rust spots that are something I’ll need to keep an eye on, but I’m not overly concerned about them yet.
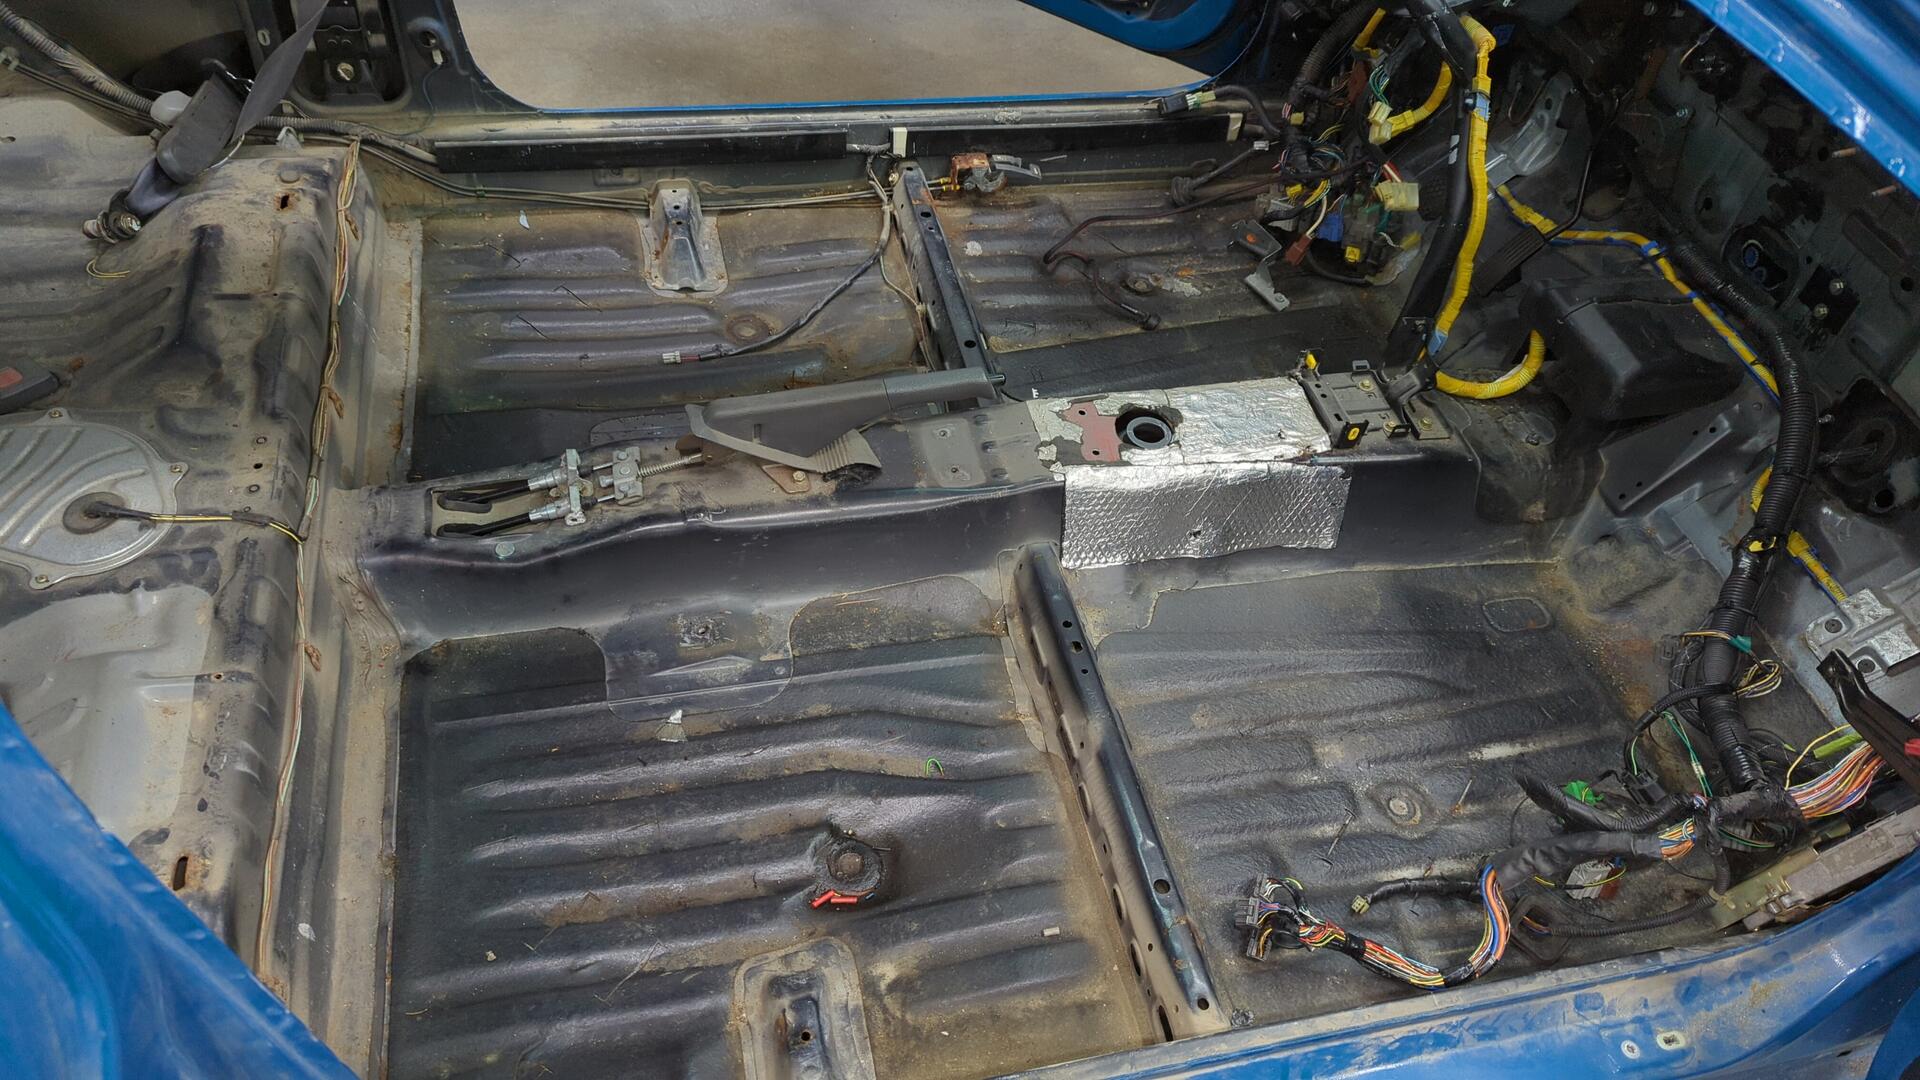
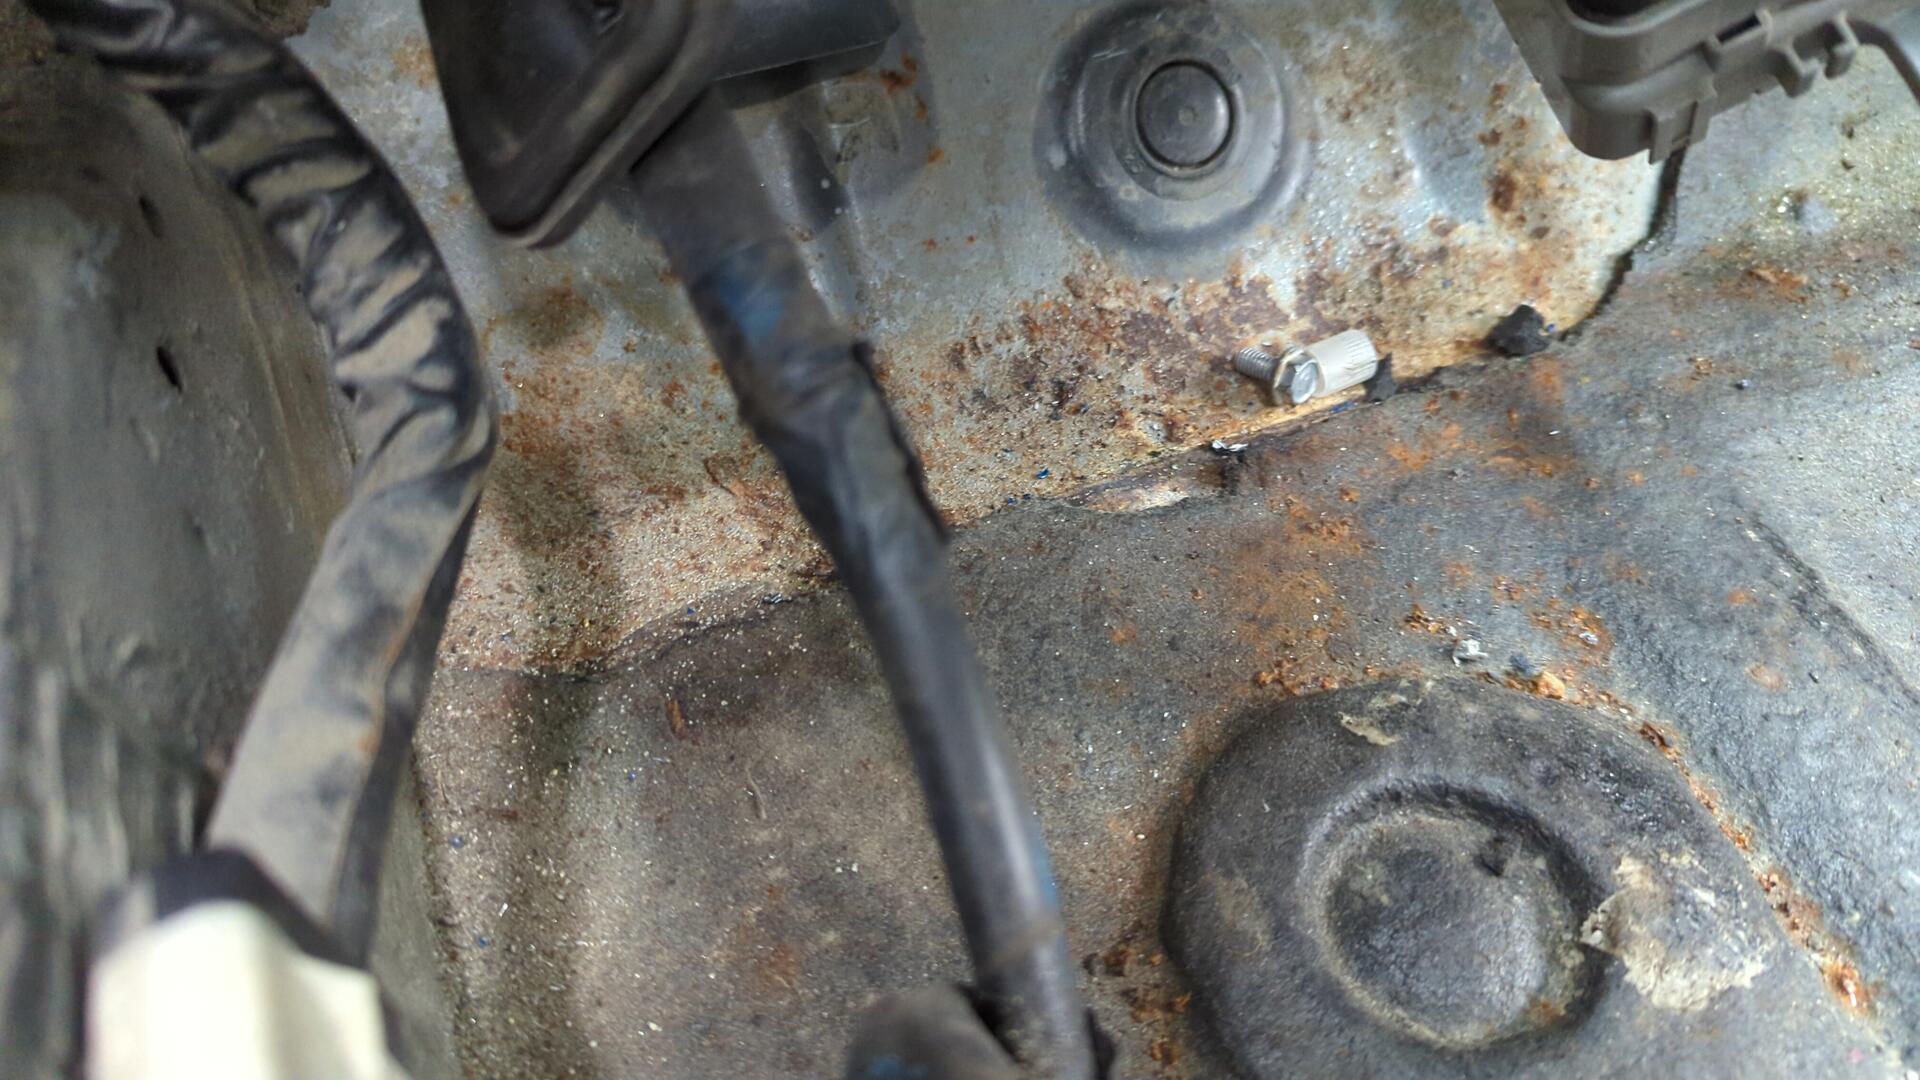
I do plan on addressing the rust in the driver footwell though. I don’t have the means or desire to address it properly right now but I’ll at least grind down the rust and paint the metal to slow it down. This car isn’t going to see snow so as long as I keep the carpet dry I think that’ll be sufficient.
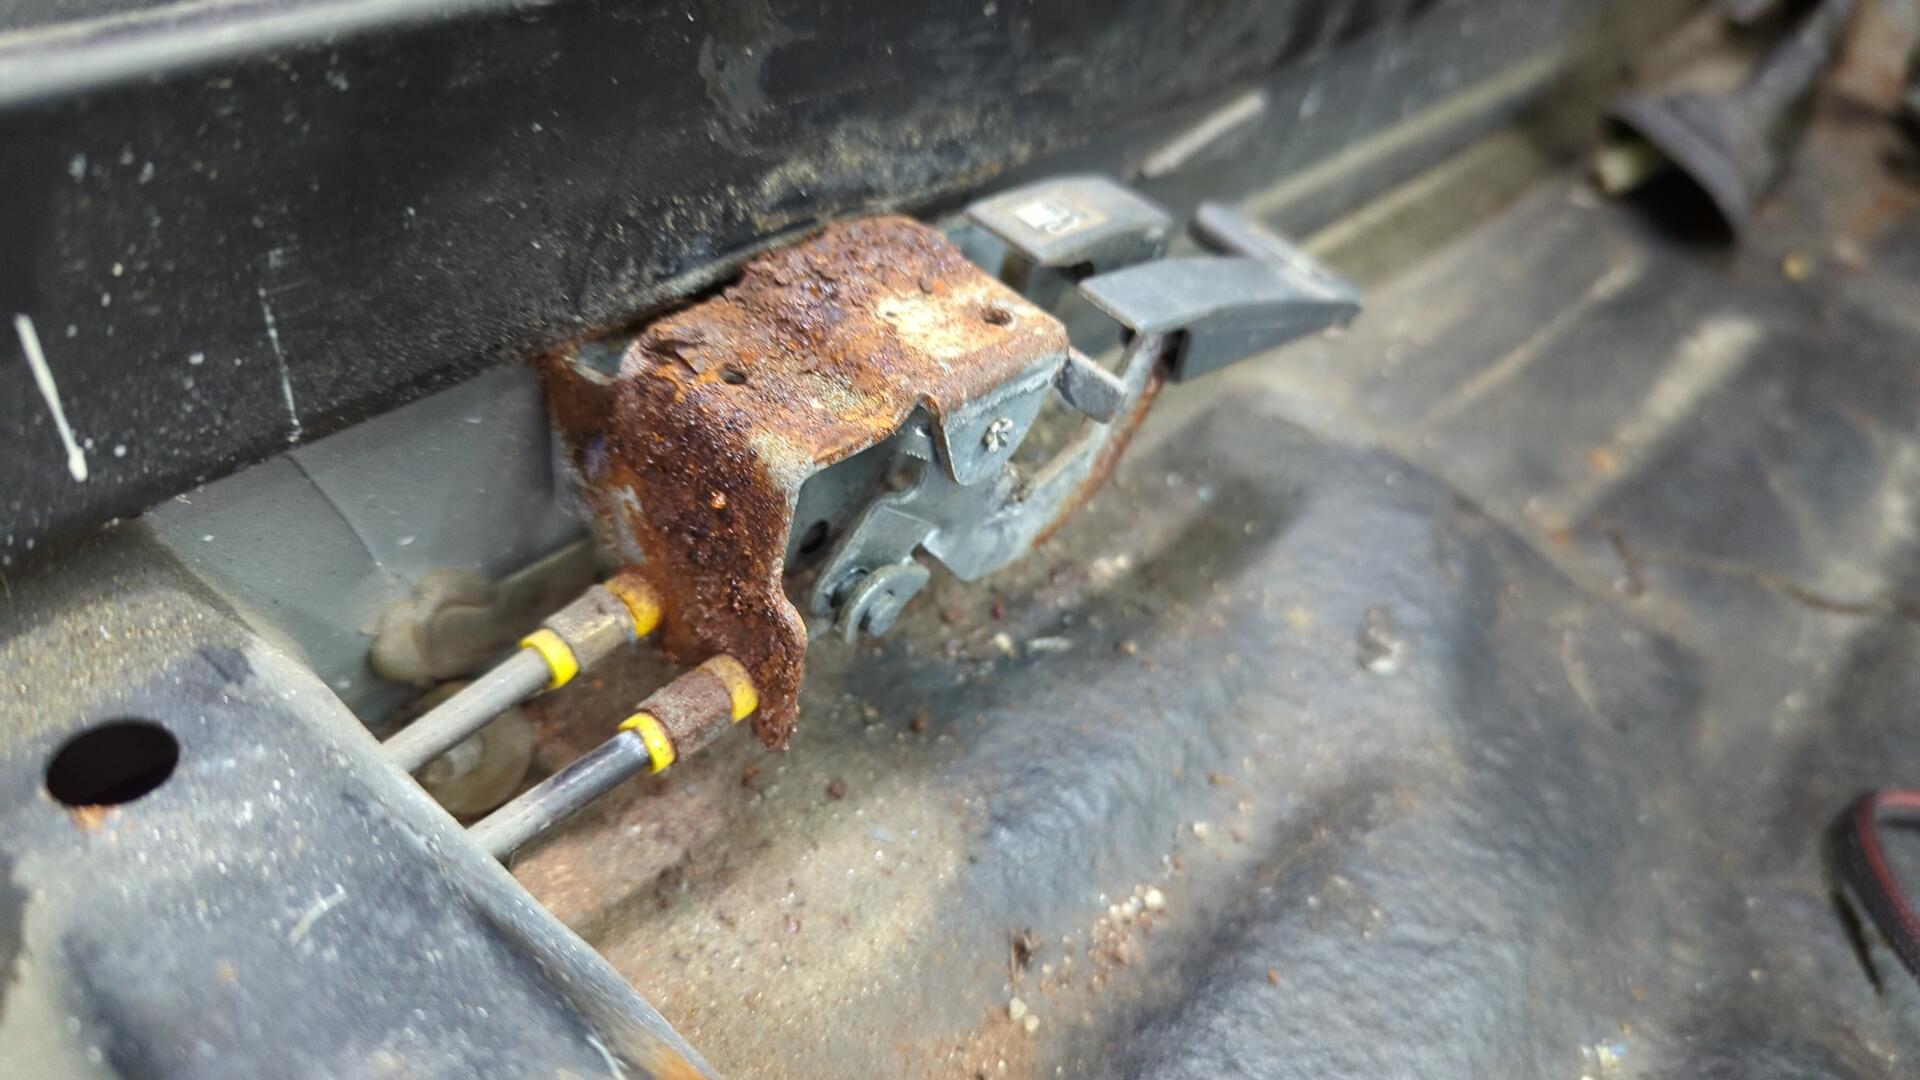
I don’t know why but the hatch / fuel door release levers rusted out pretty badly. I’m gonna replace it.
Fabricating a Better Auto to Manual Shifter Plate
Back when I first bought this Civic 10 years ago it was an automatic and I ended up converting it since I really wanted a manual.
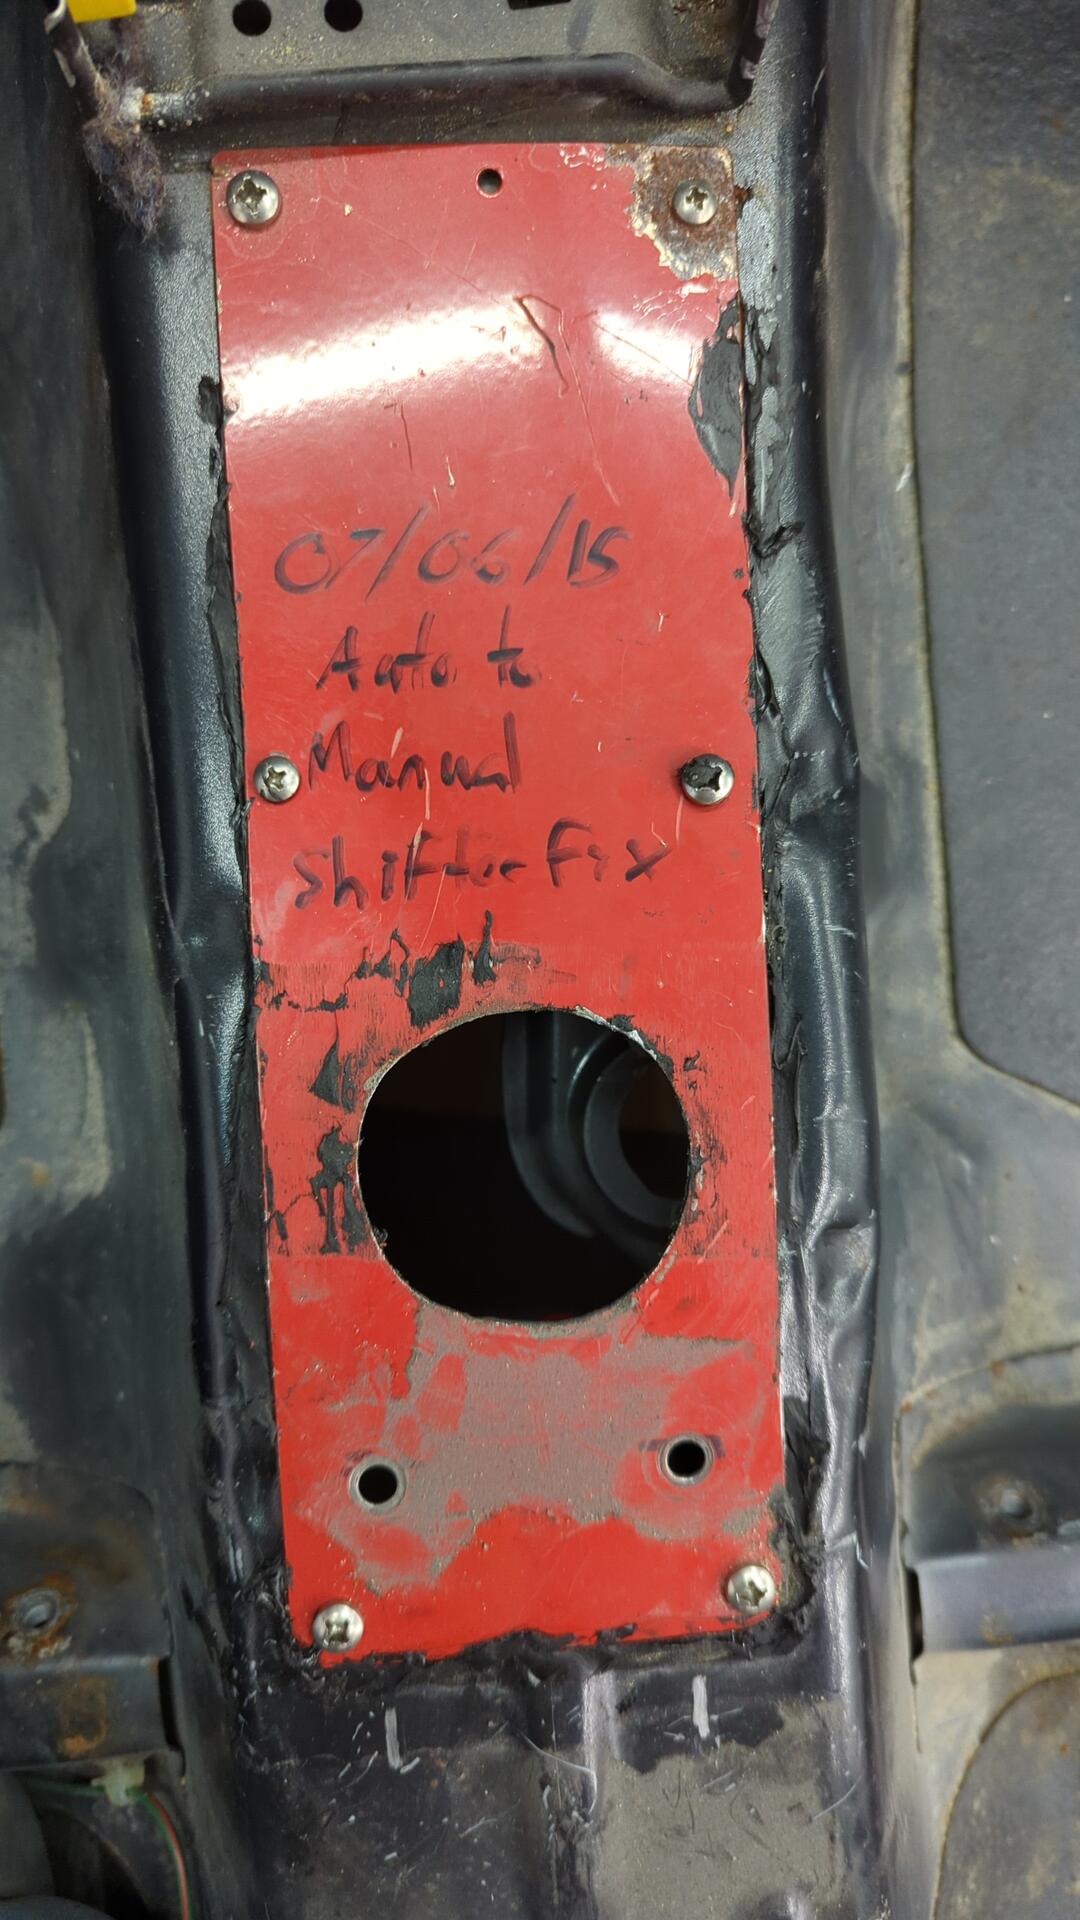
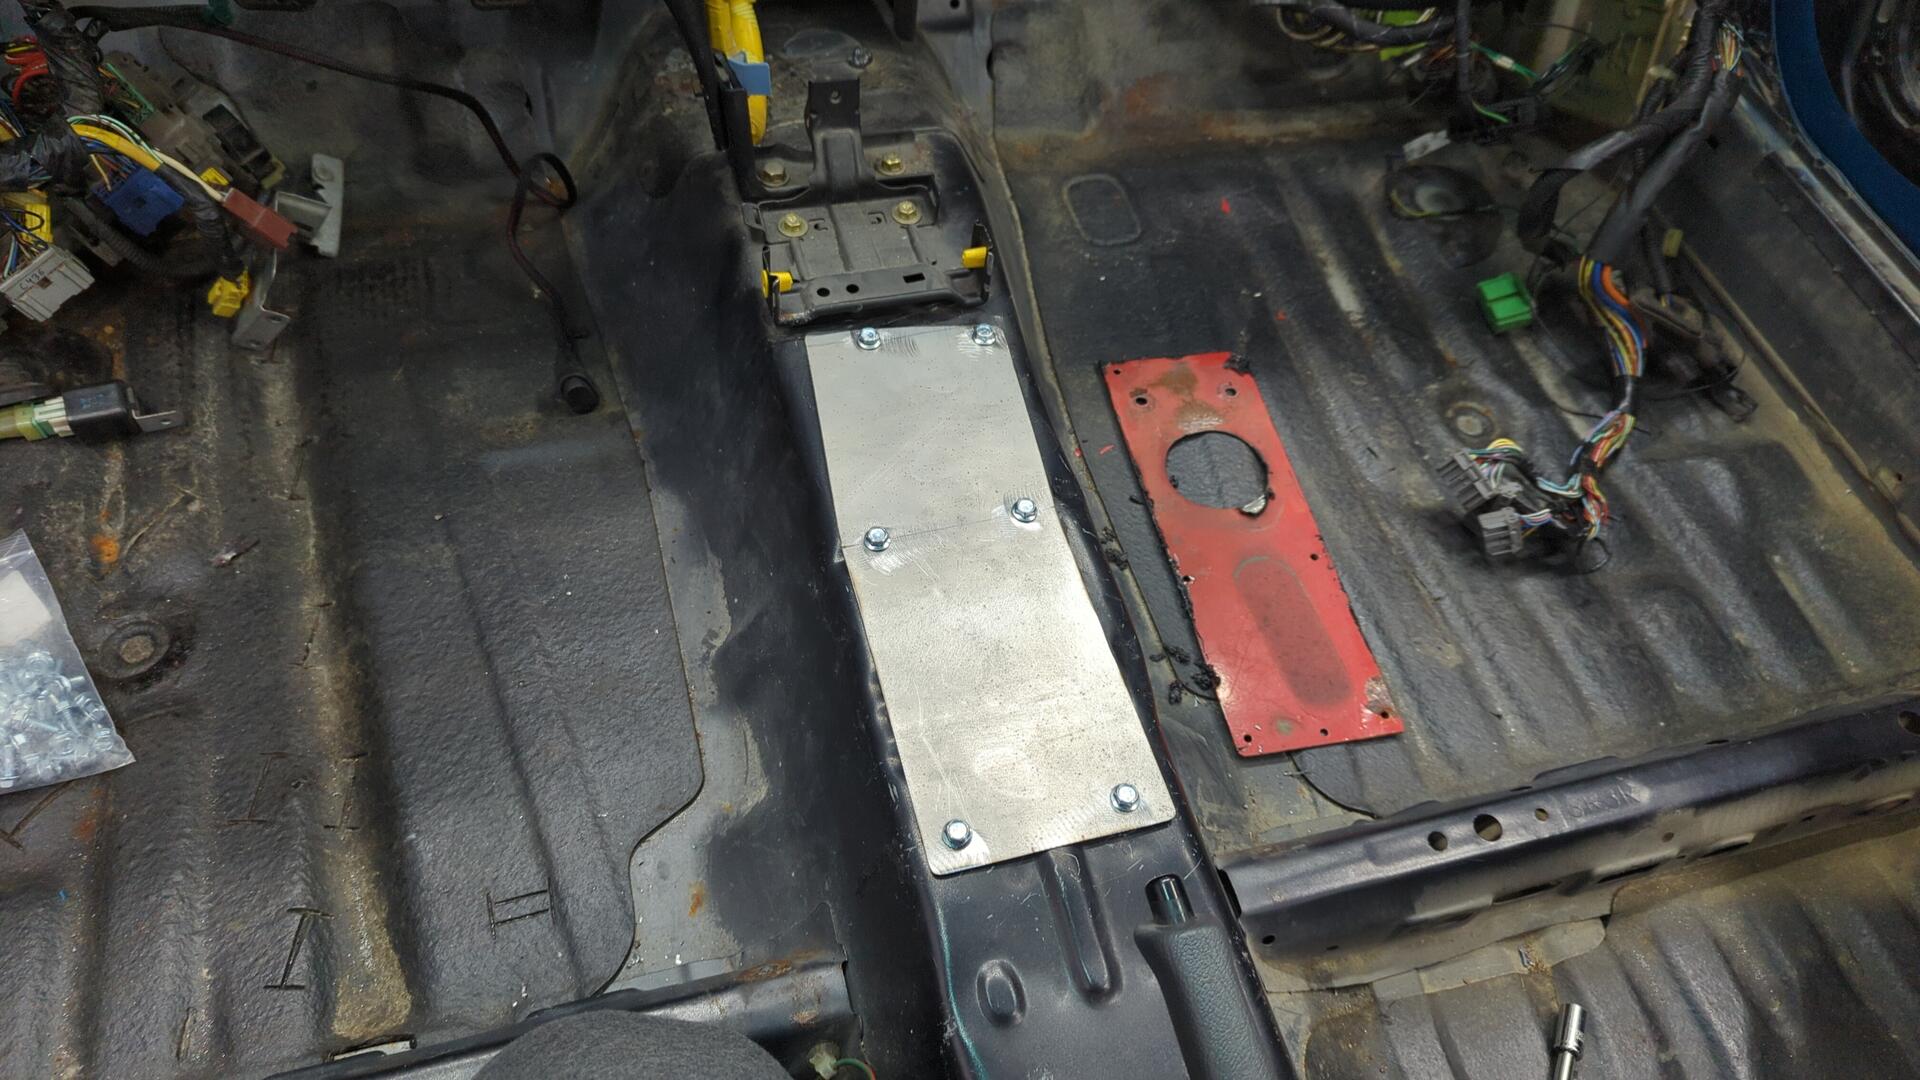
This was my first major project car and I was also pretty new to fabricating so my custom shifter plate wasn’t the most advanced contraption but it’s never actually caused any issues other than being a little unsightly.
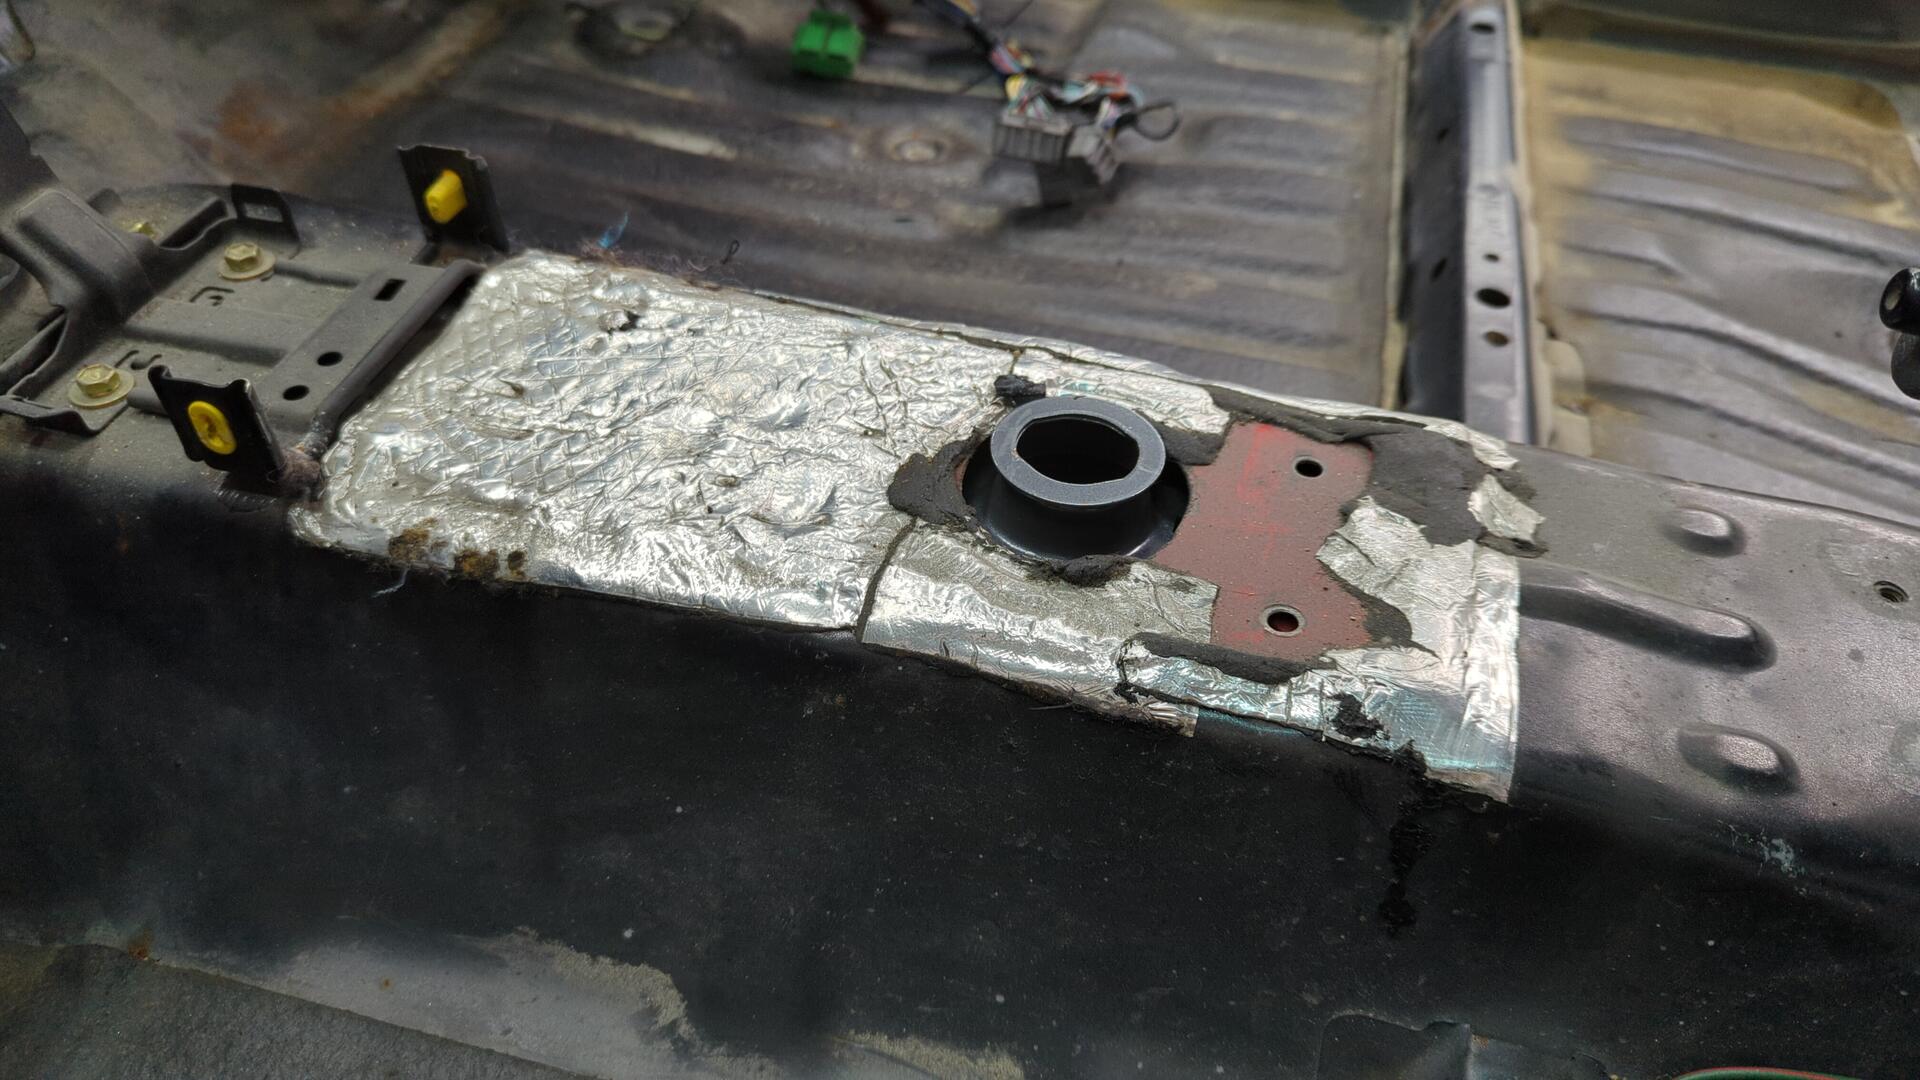
After removing all of the sound deadening I found out I had left myself a little message lol.
Fun fact this chunk of metal was from an old piece of my sand blasting cabinet.
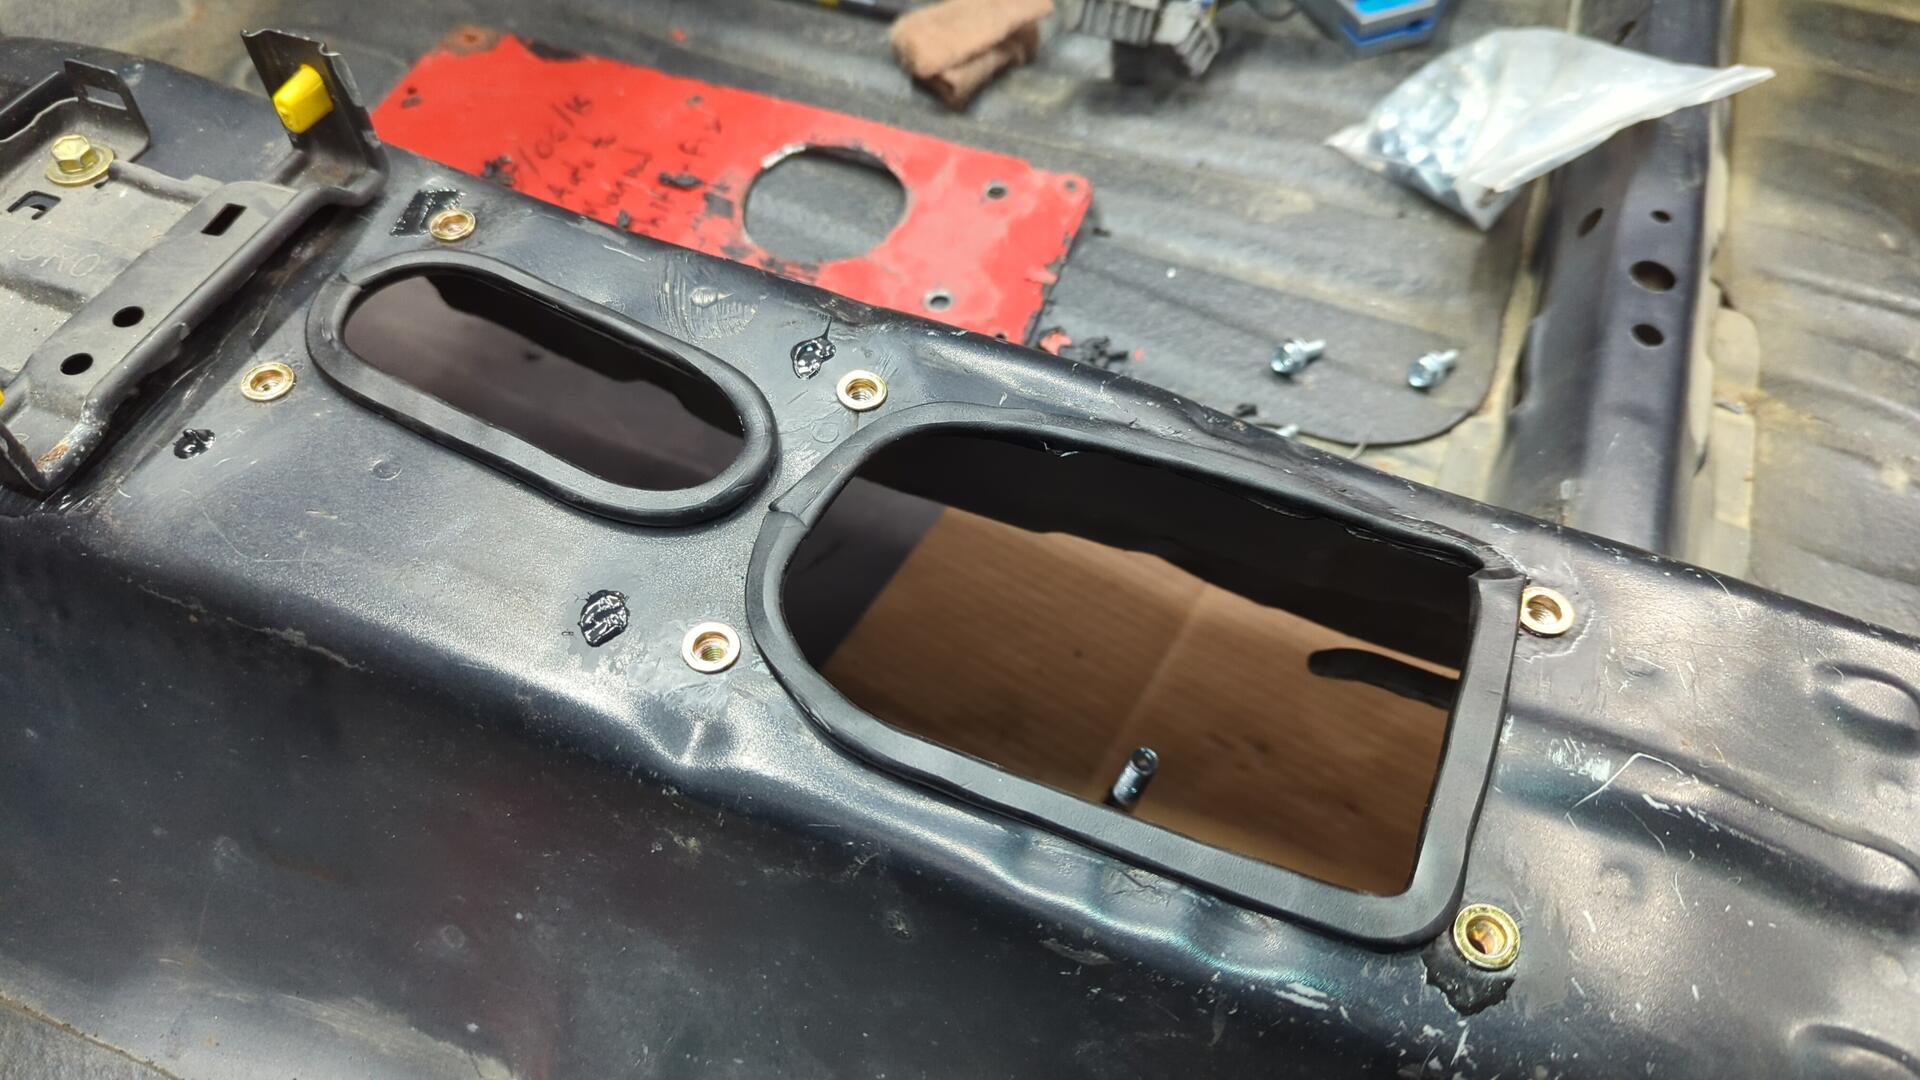
The metal underneath is a little banged up but overall in decent shape.
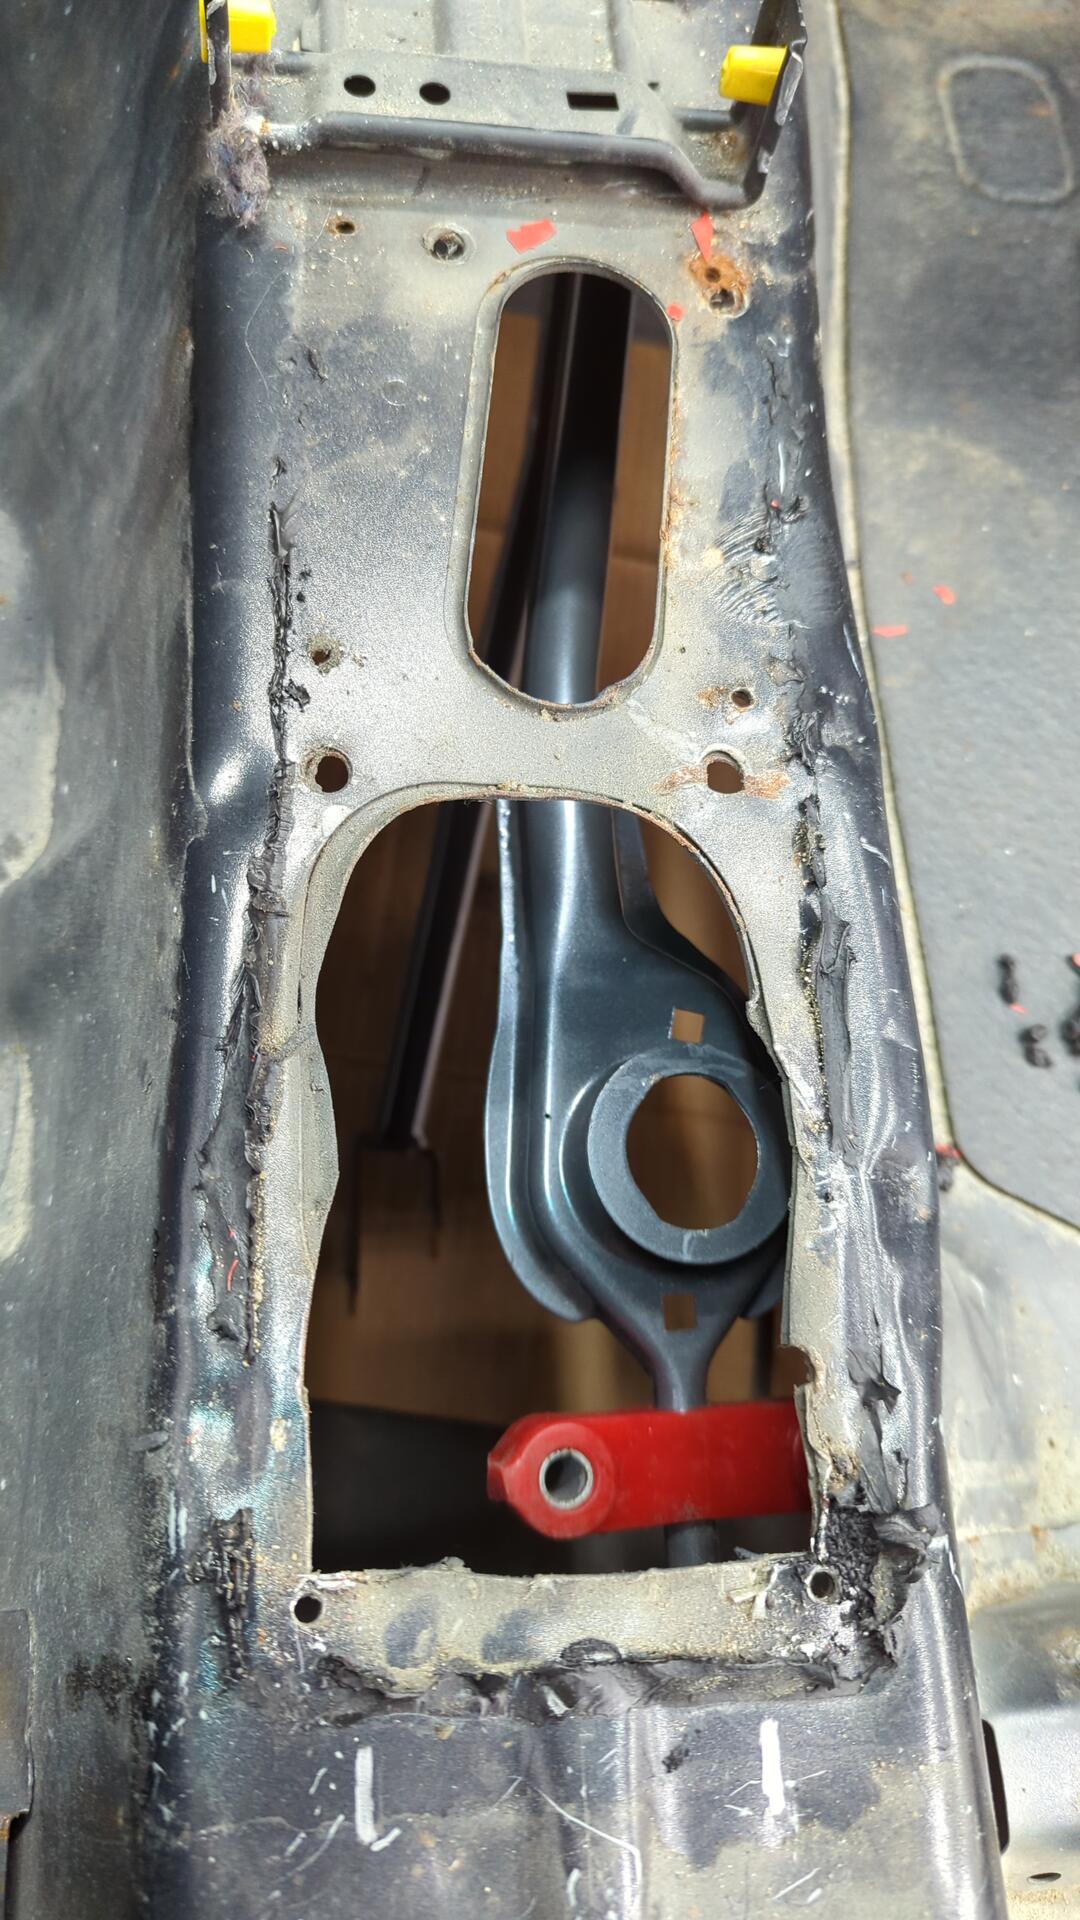
The first thing I did was clean up the hole and also drilled out all of the bolt holes I wanted to re-use for rivet nuts.
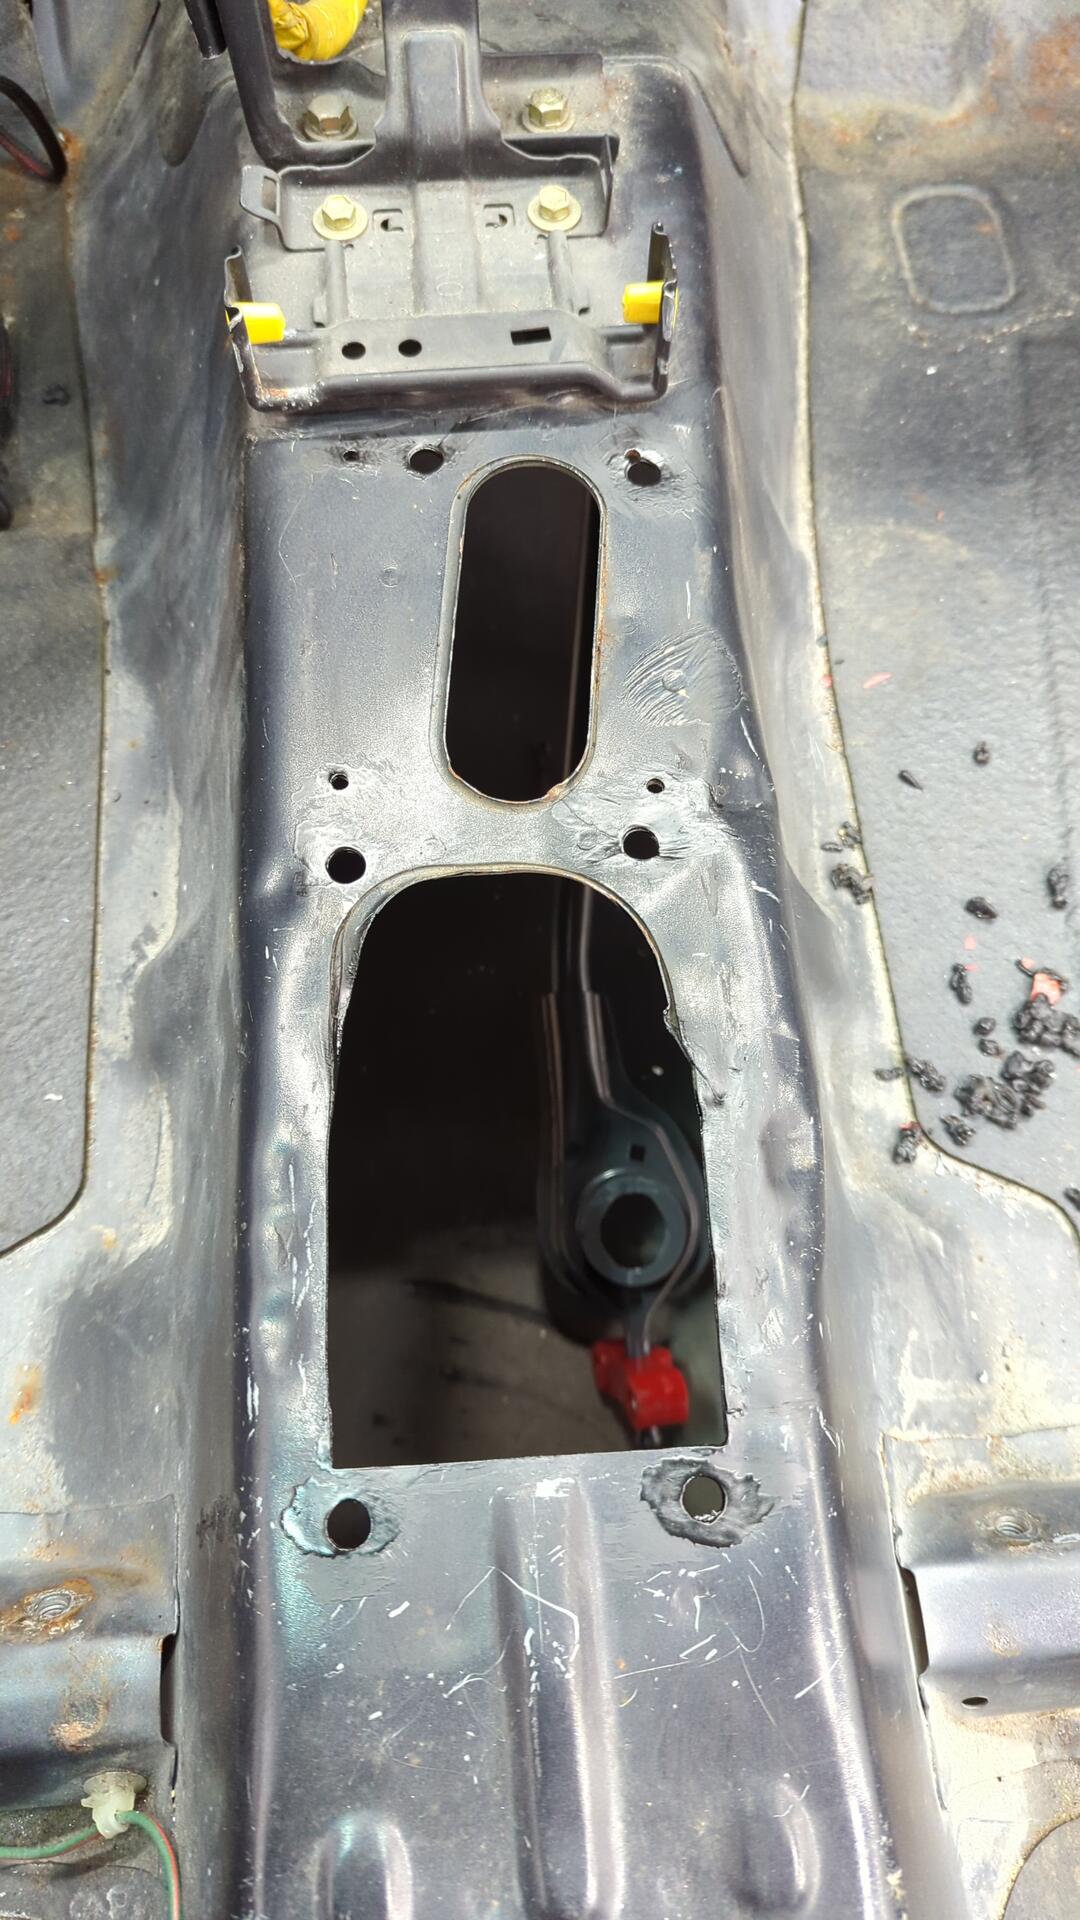
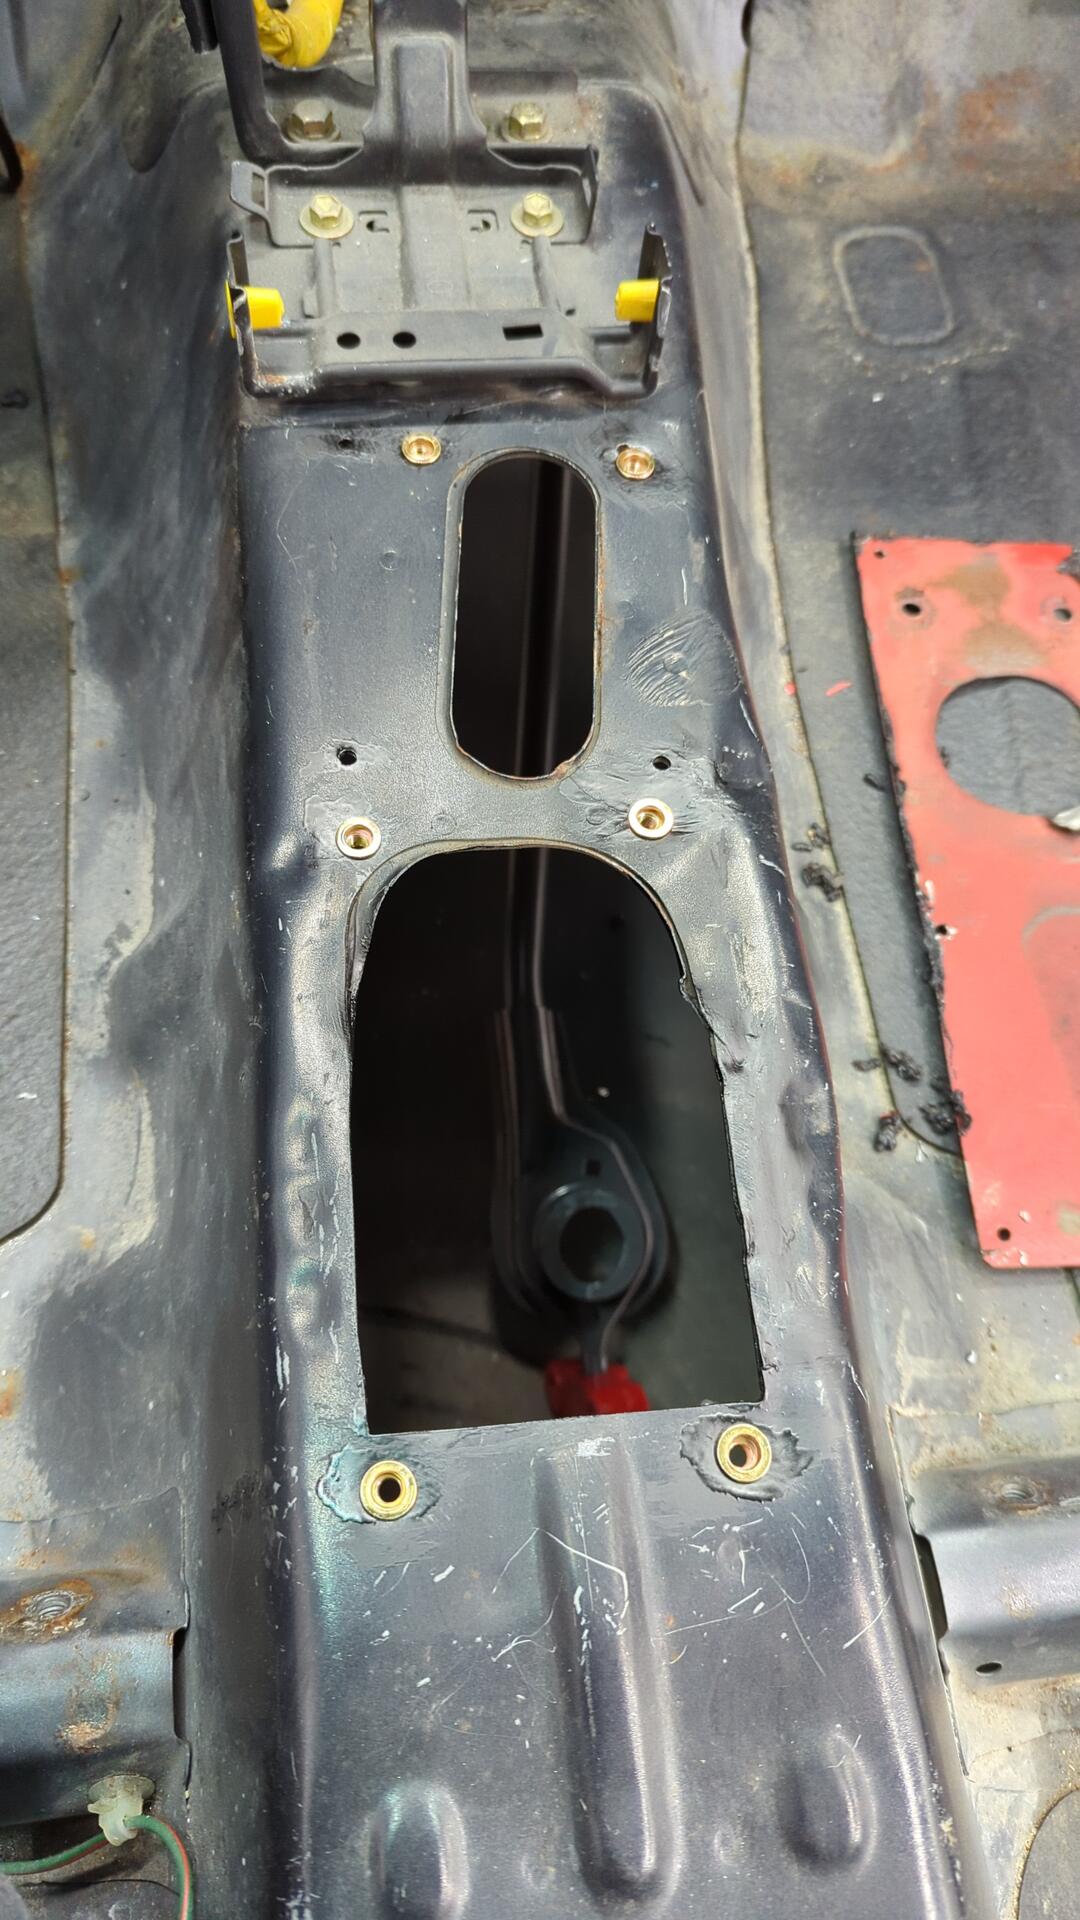
Rivet nuts installed.
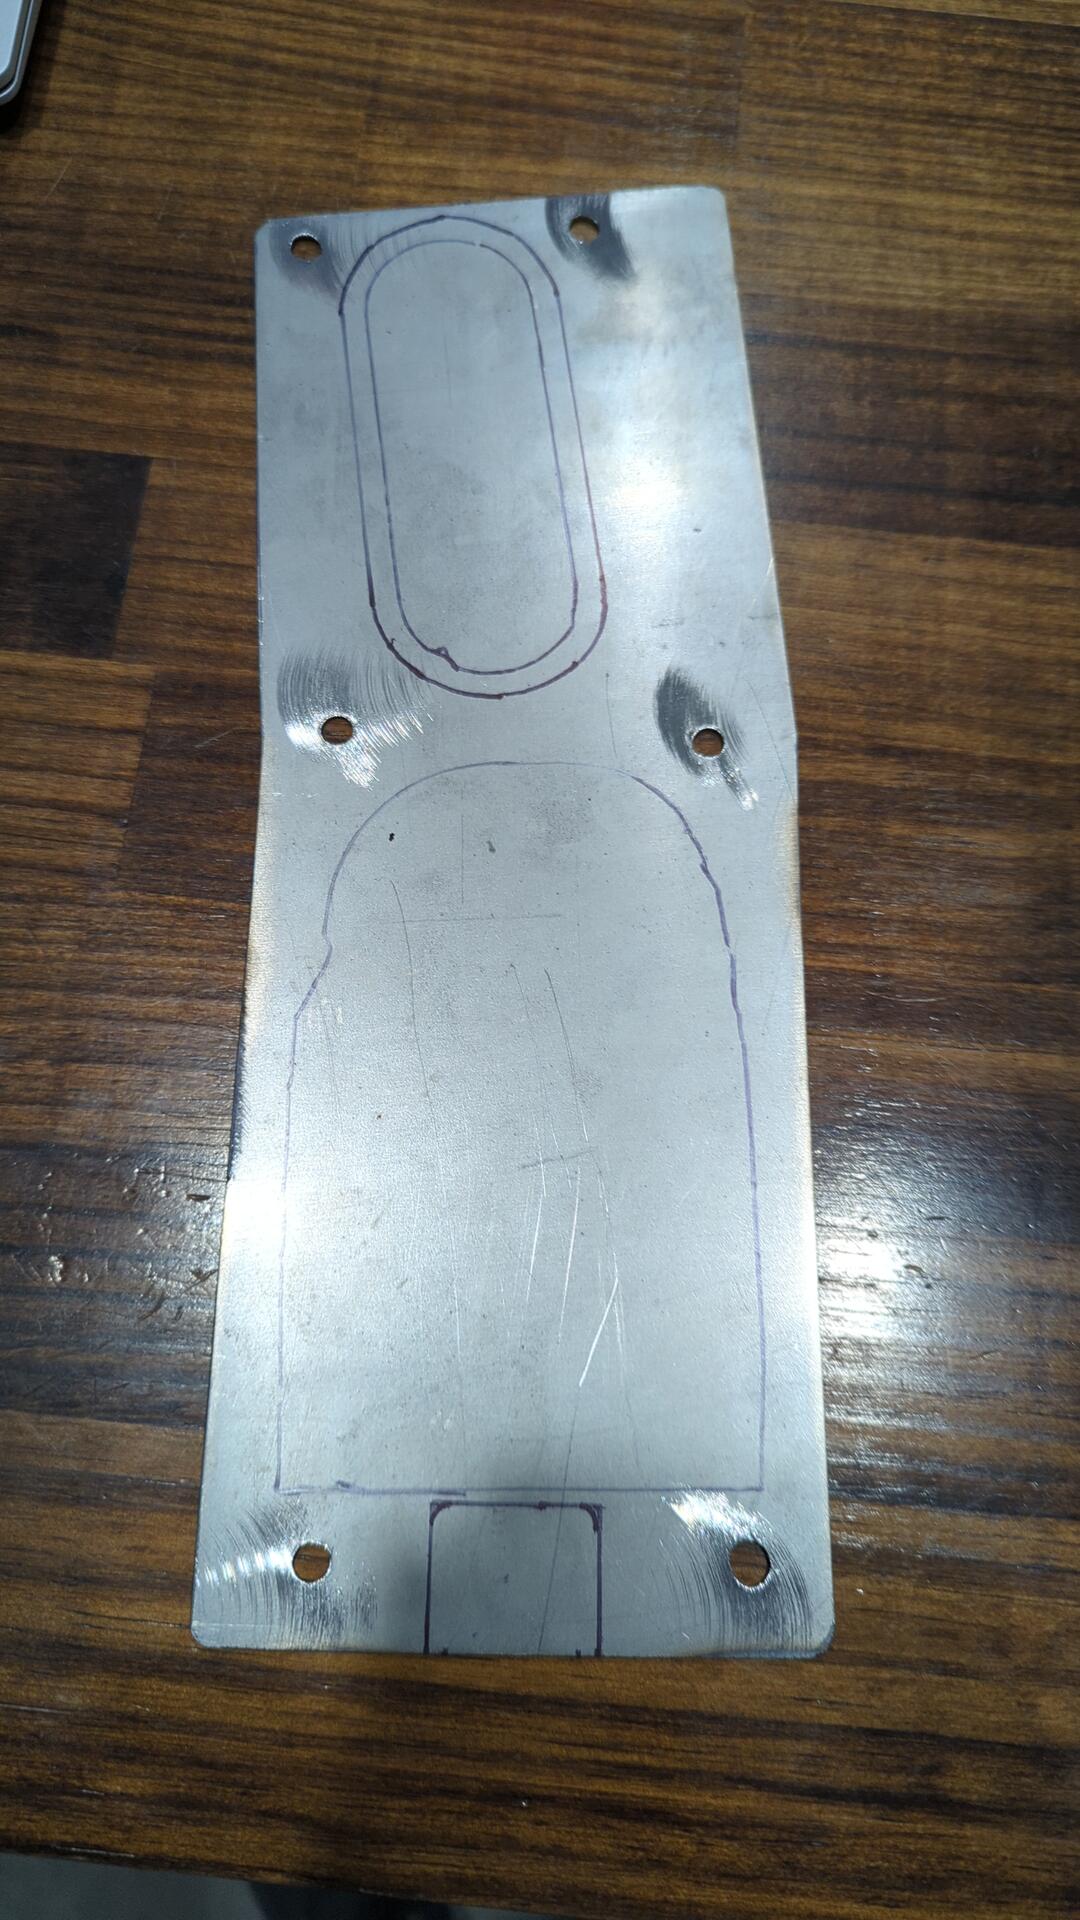
From there I started mocking up a piece of 18 gauge steel.
I traced the outline of the holes from underneath the car so I could do some cutting and bead rolling.
Test fitting the panel after bead rolling. I bead rolled the cover around the front hole because it has a raised lip and this will let the patch panel sit flush against the body.

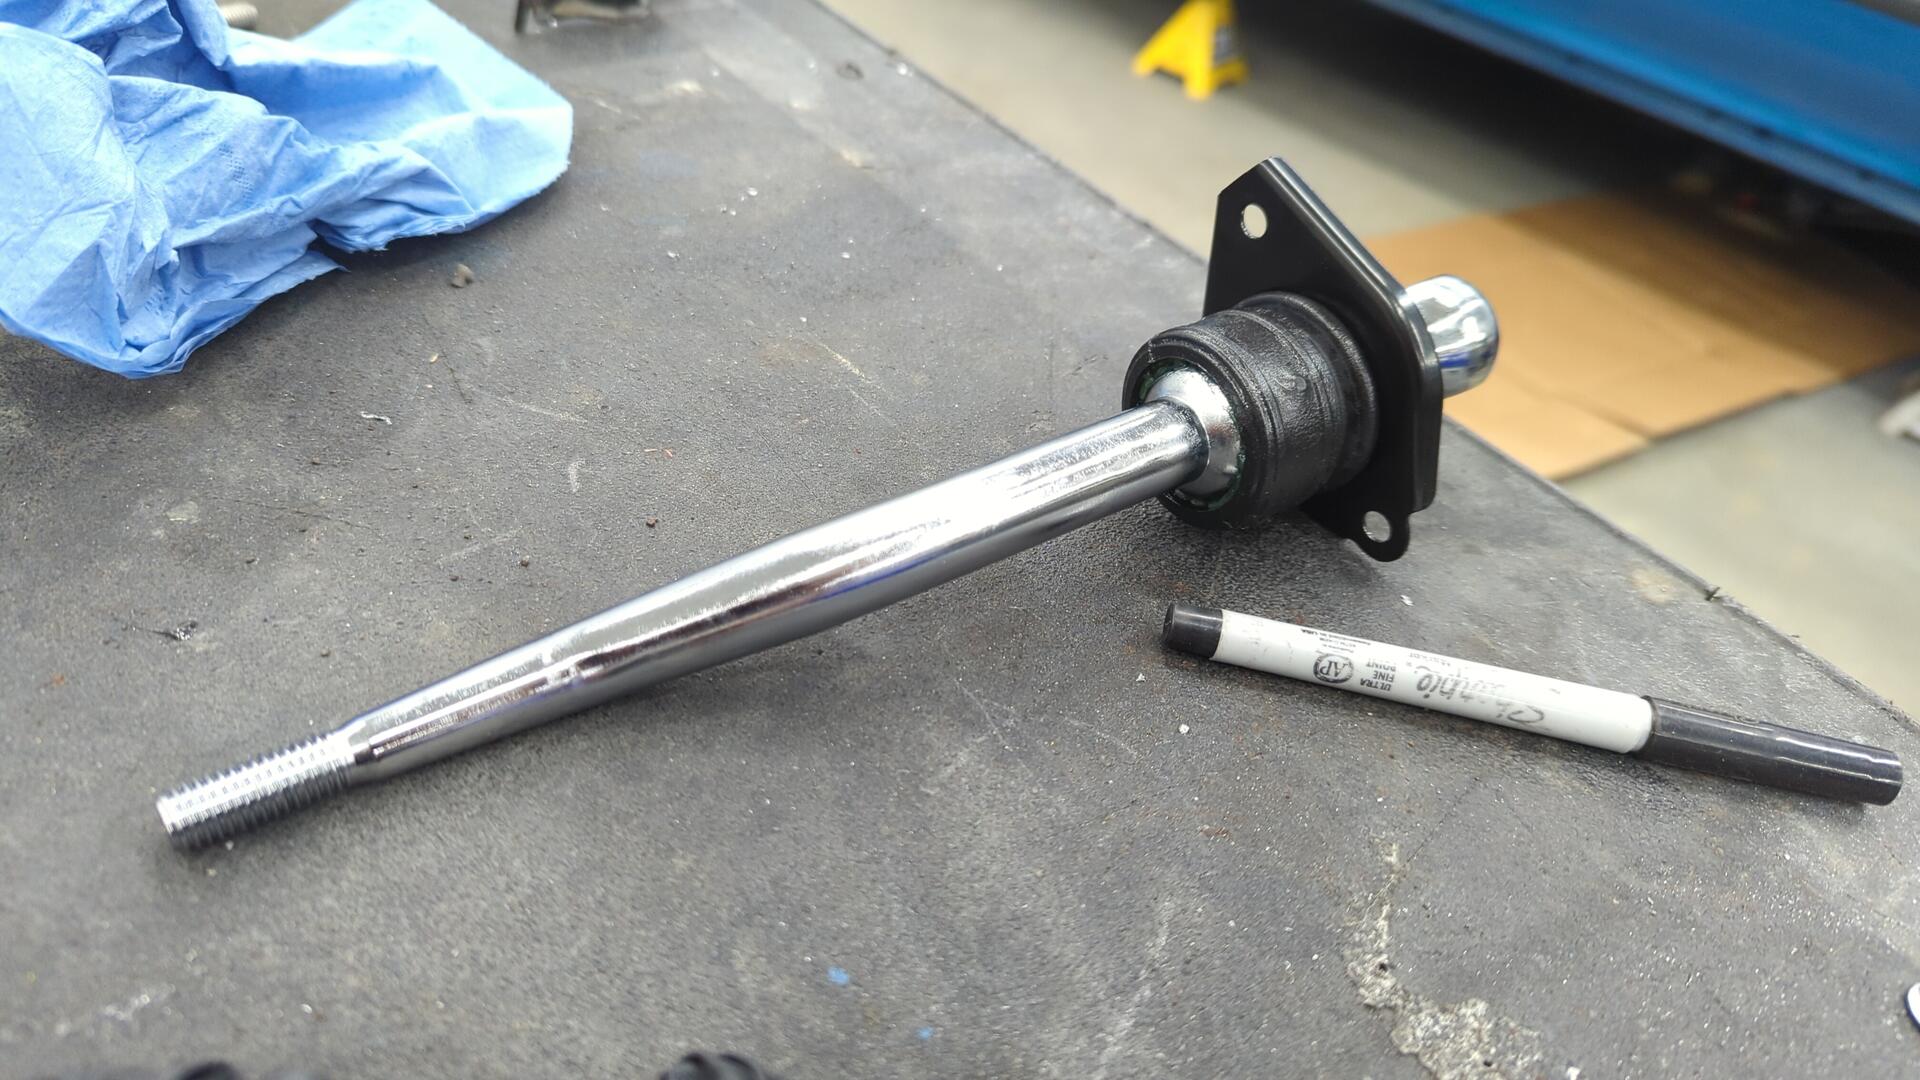
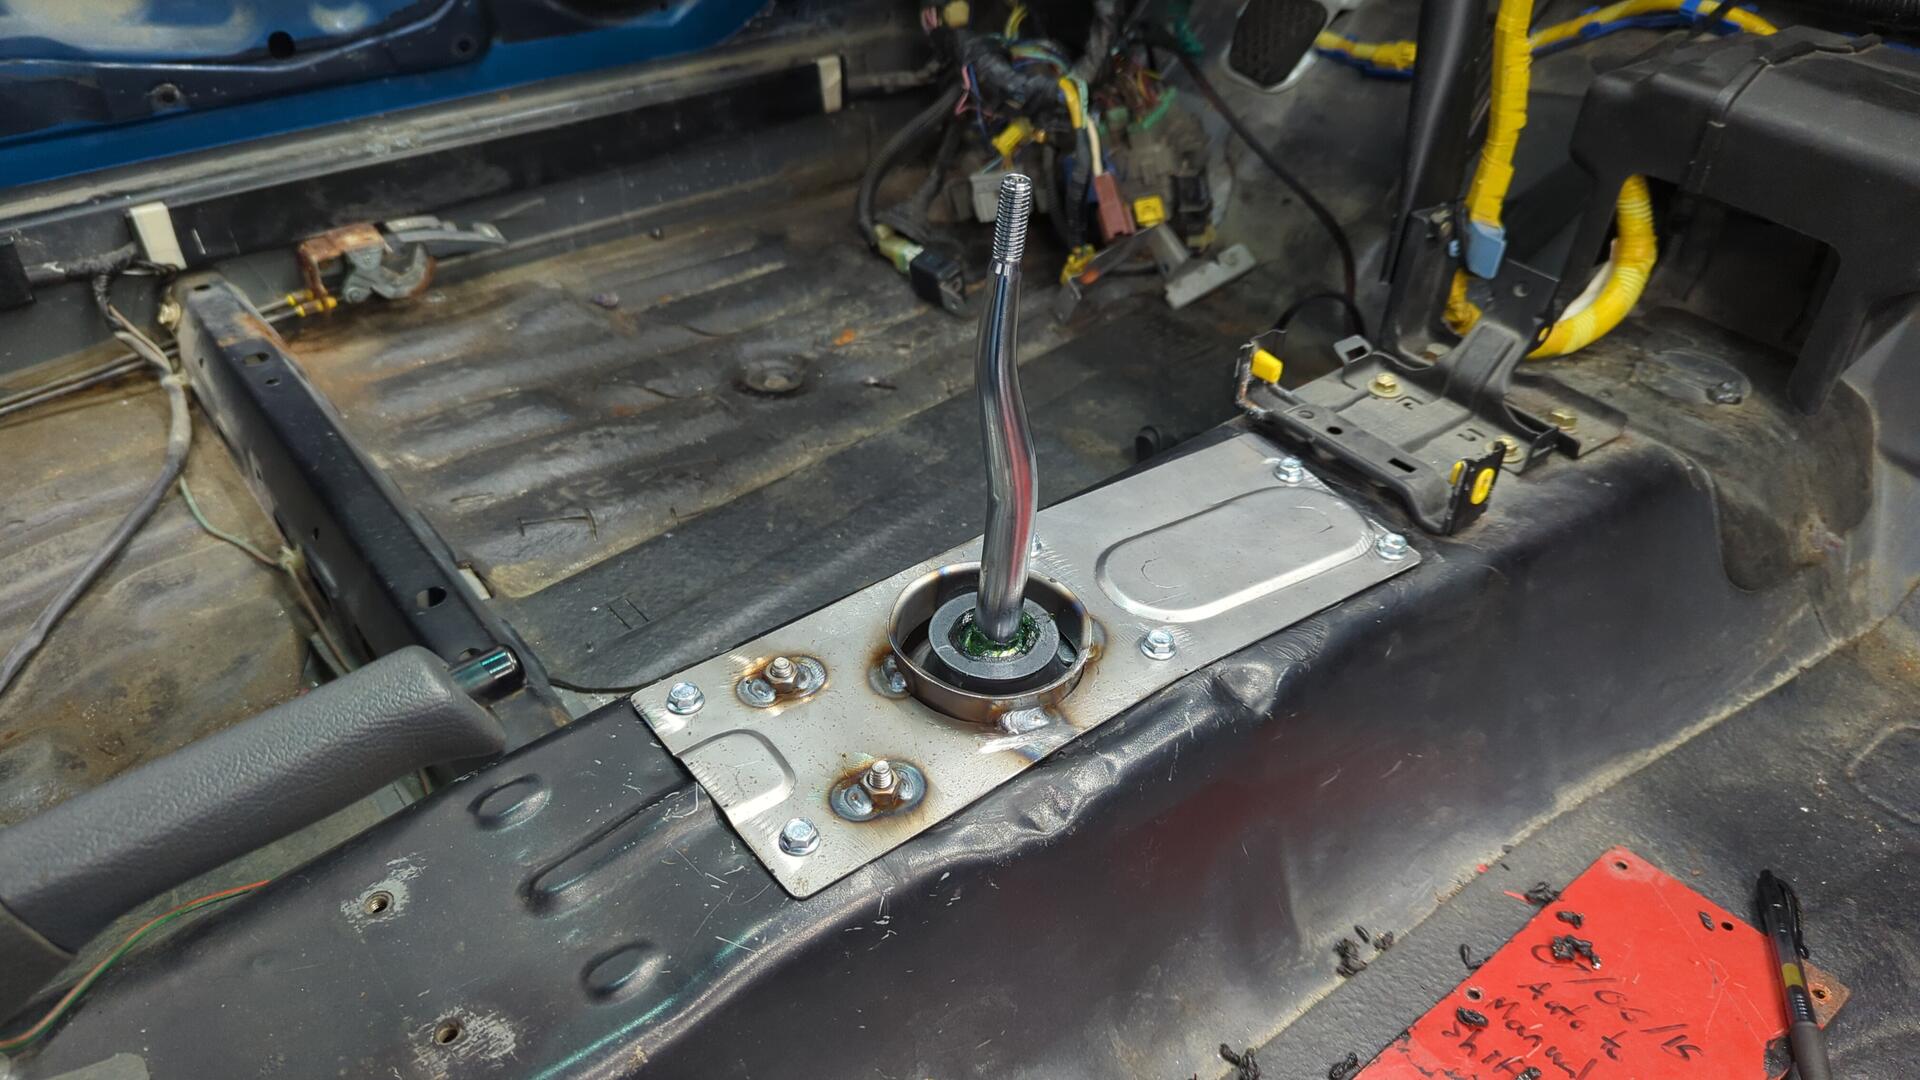
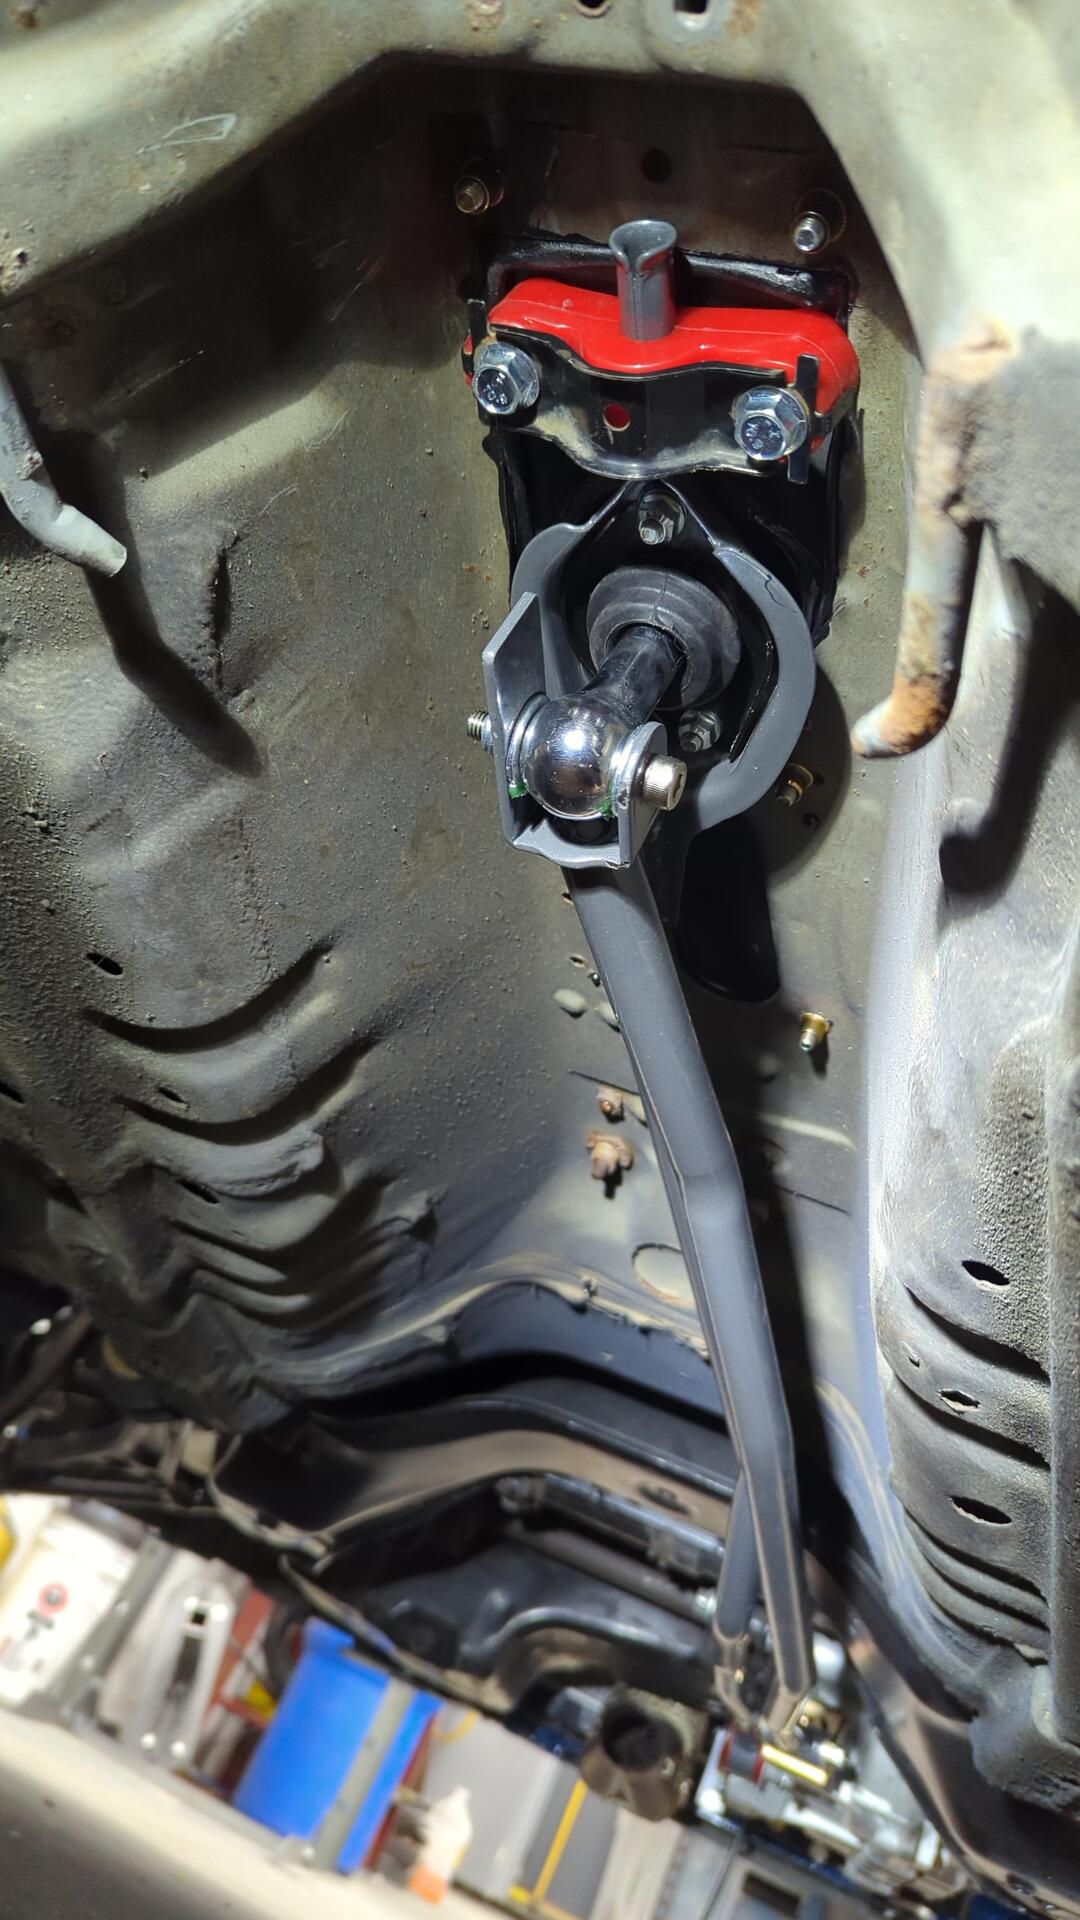
Prepping my new shifter for install. It’s a Megan Racing dual bend. I made sure to use lots of grease on it.
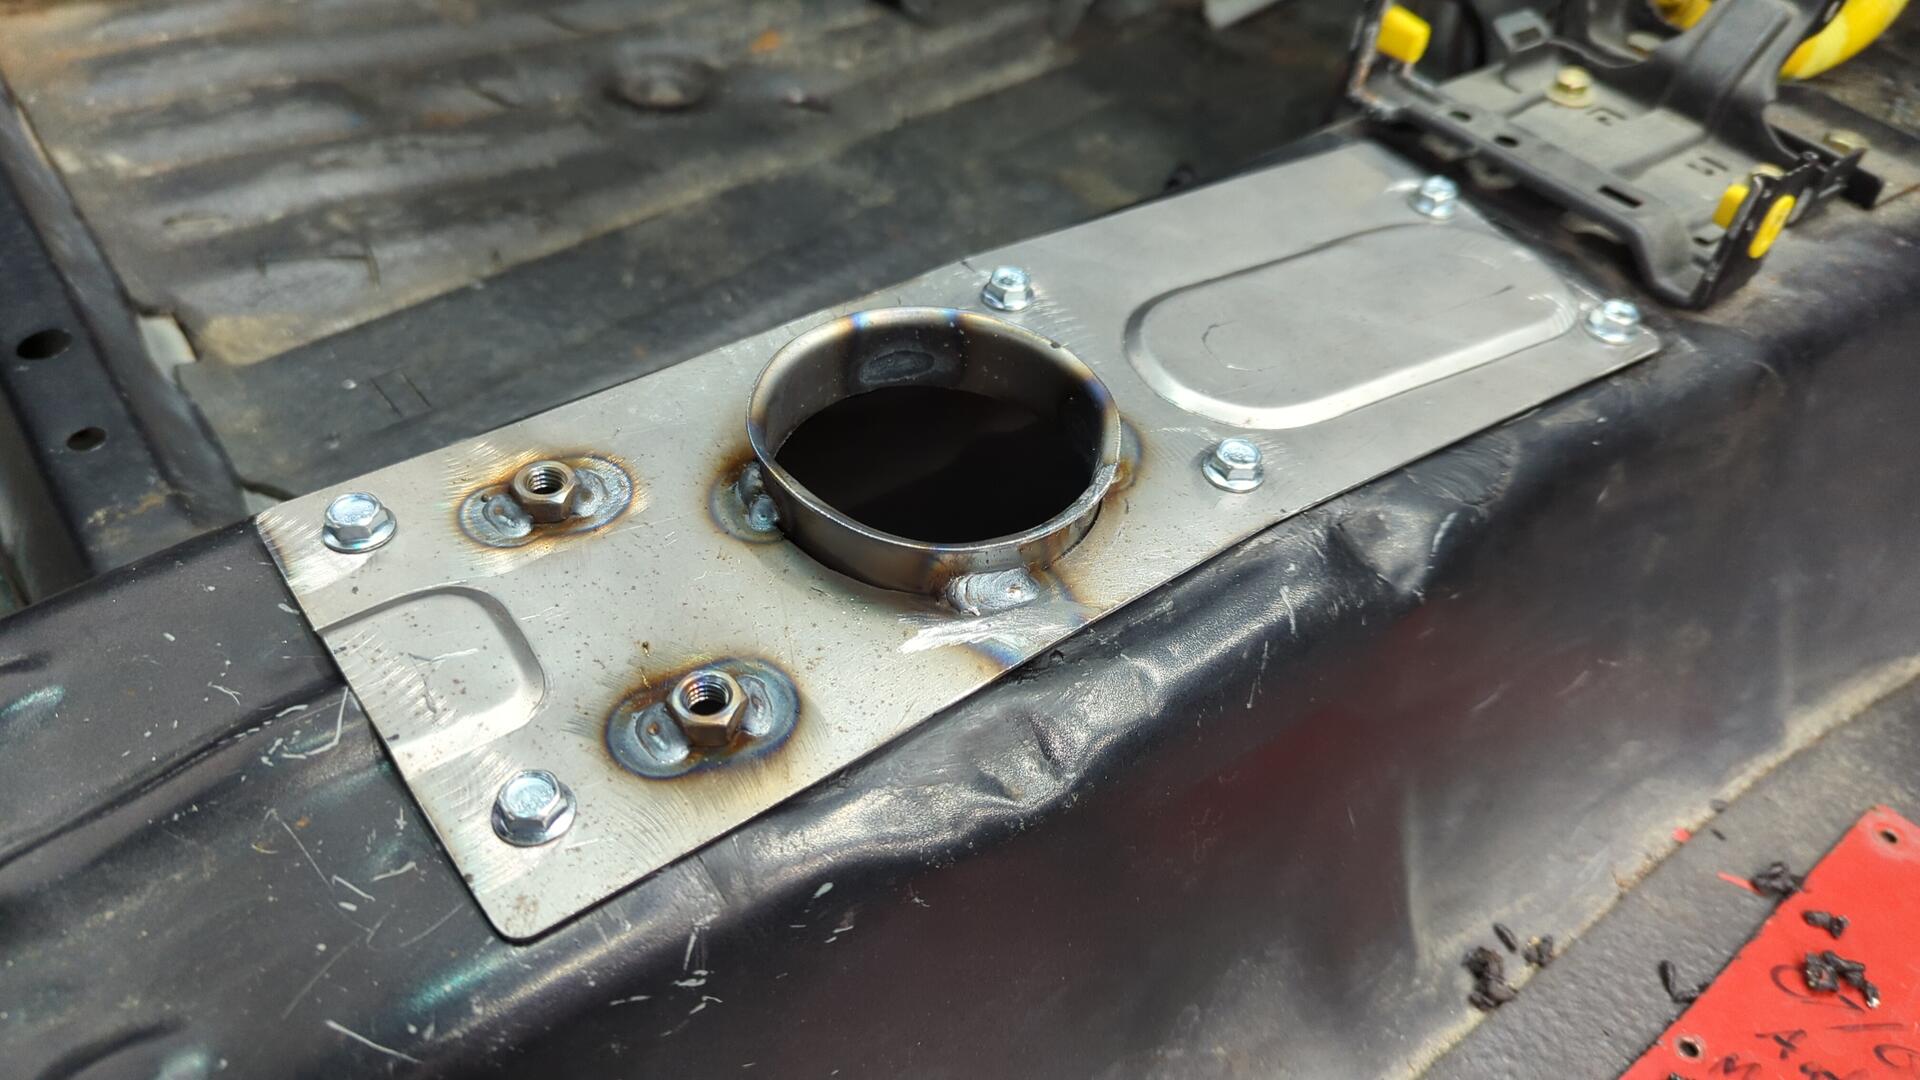
Test fitting the shifter after cutting a hole for it and welding some nuts to secure the shifter rods with. I traced the hole using a roll of duct tape since it was basically the perfect diameter.
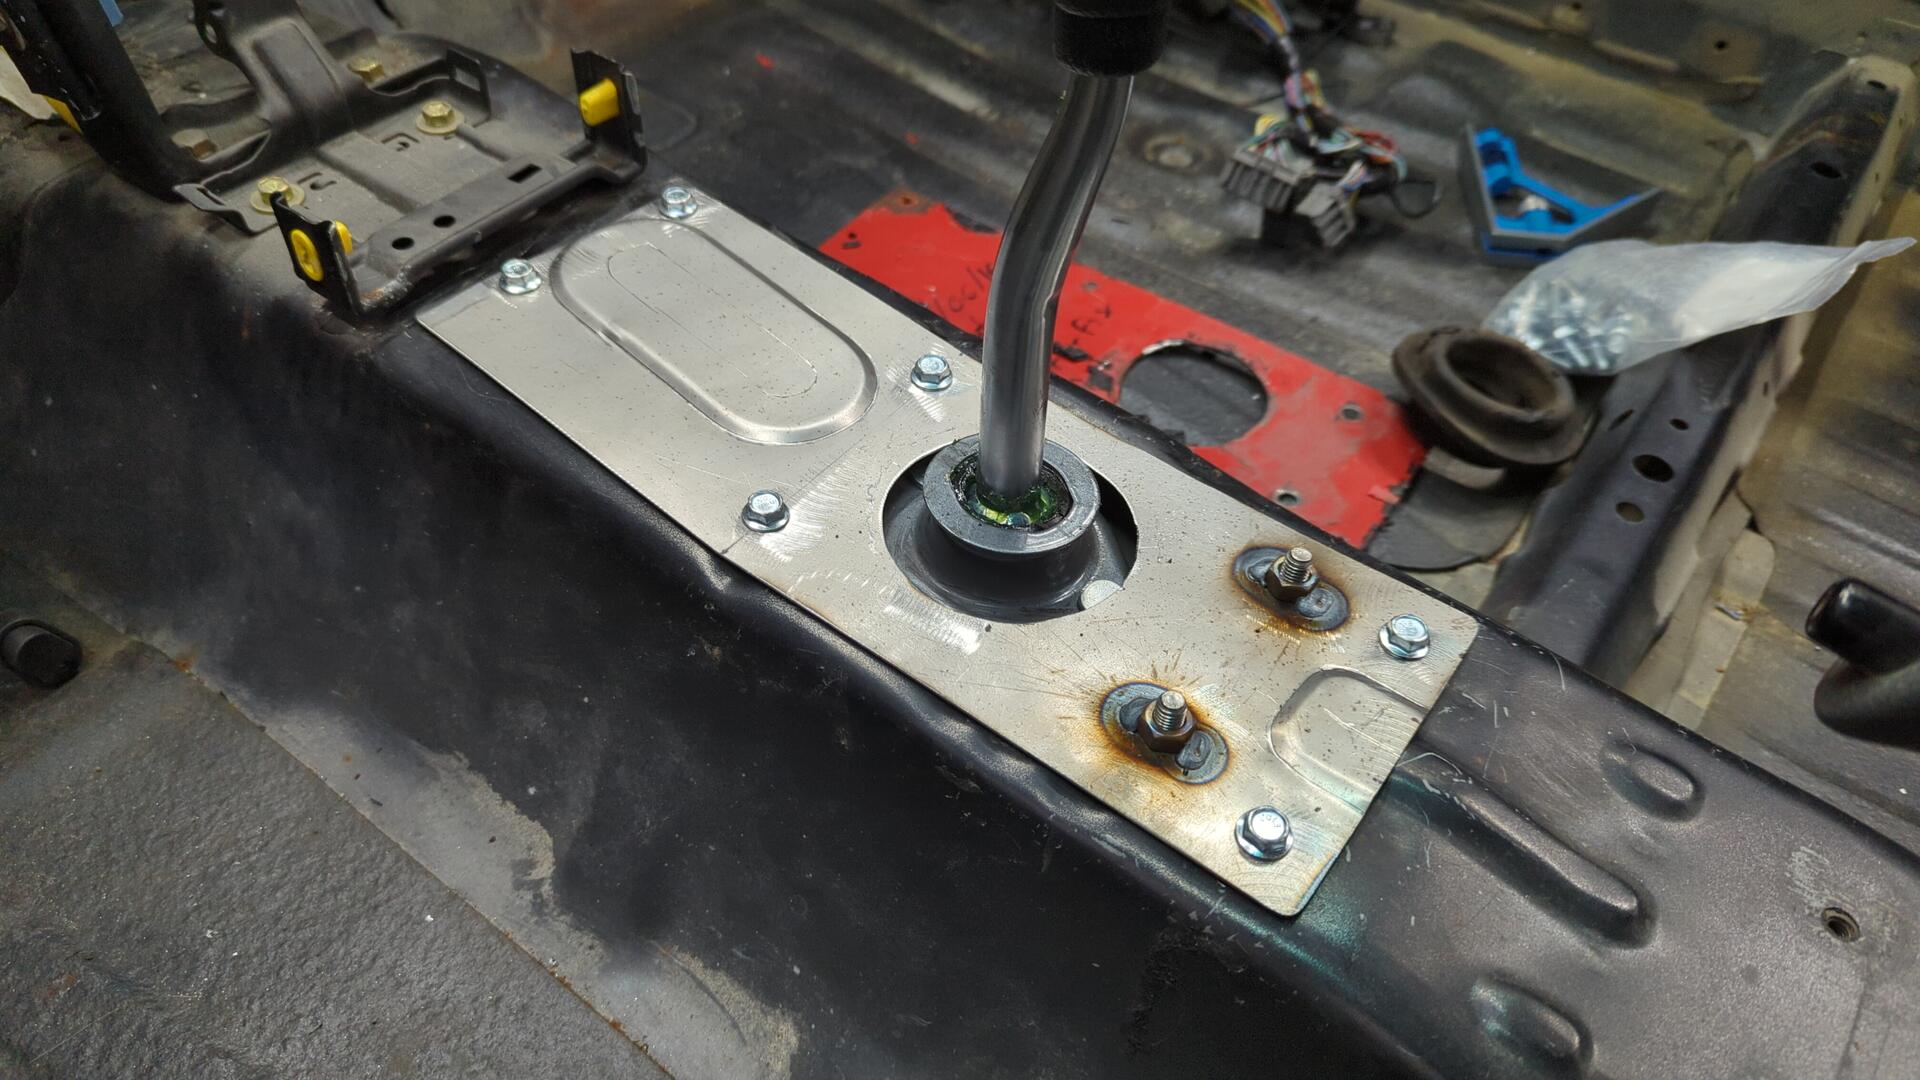
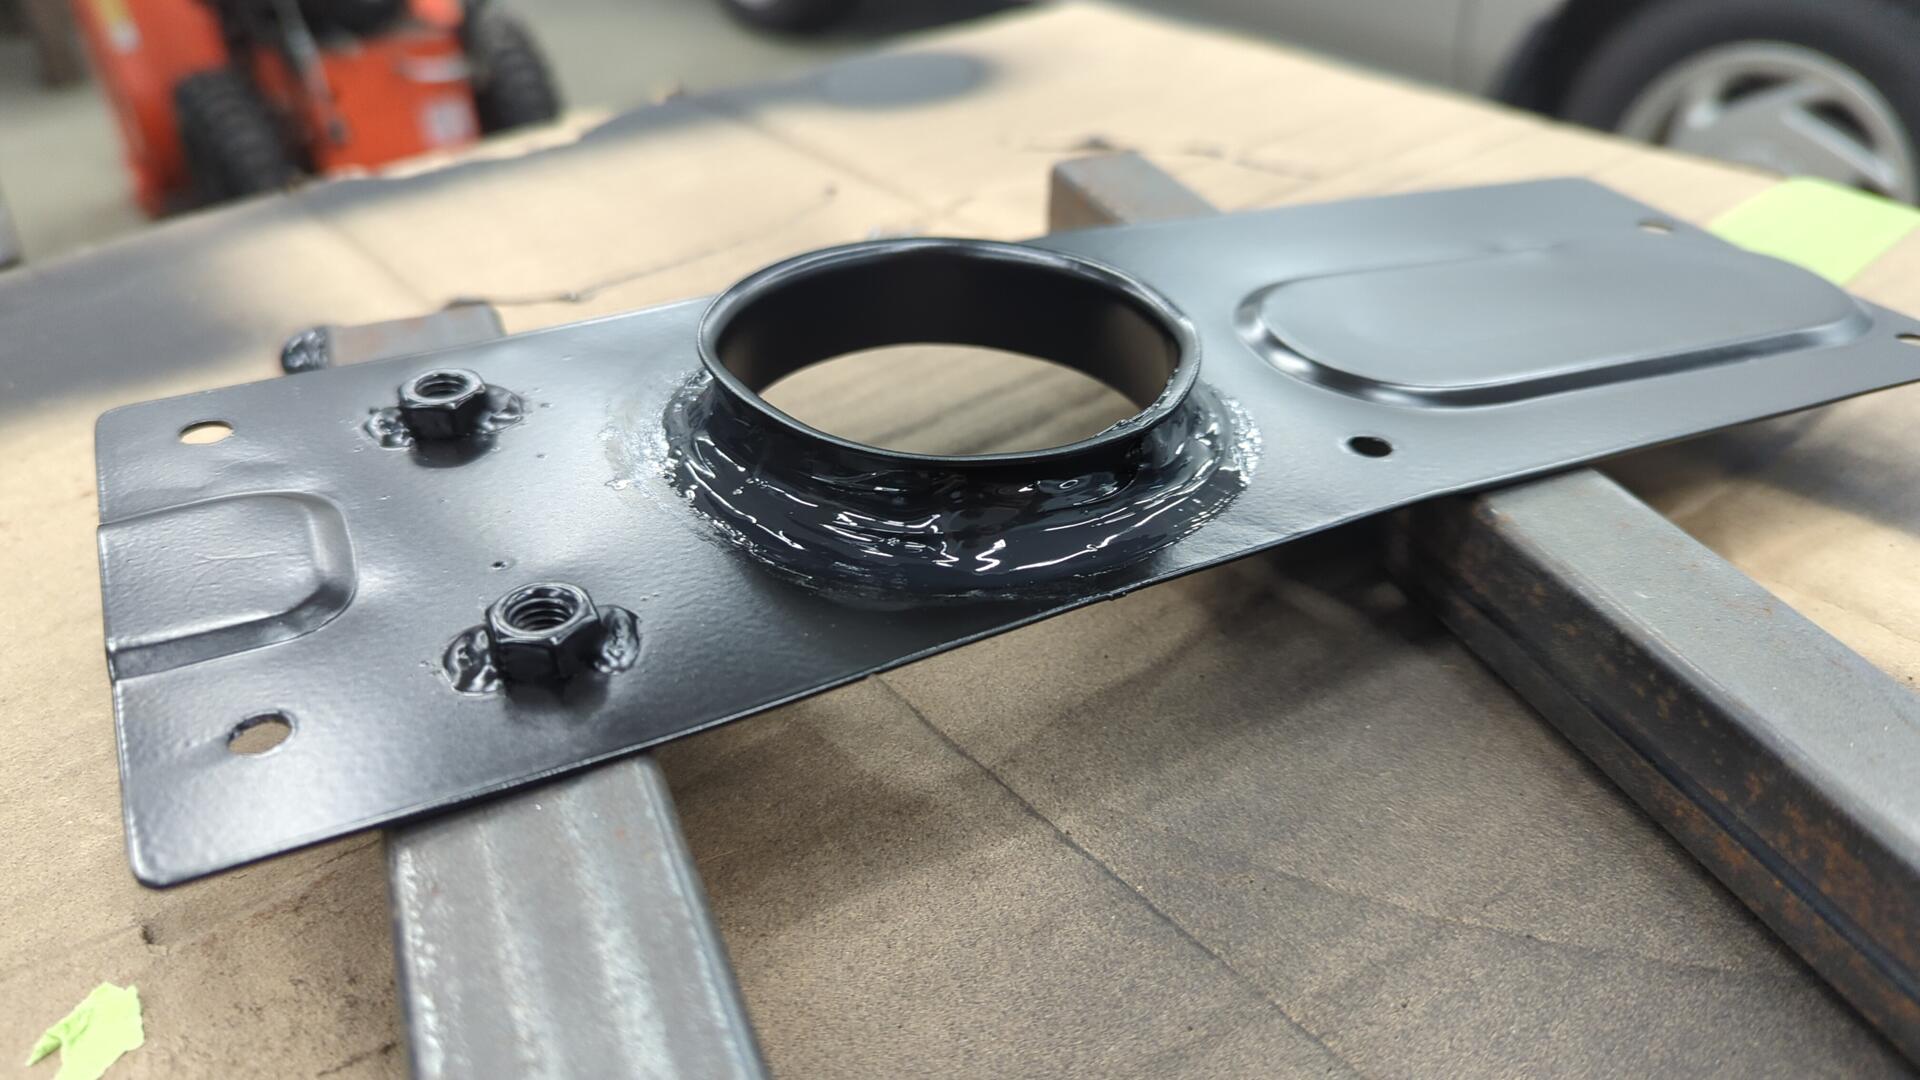
With a bit of work I was able to replicate the raised lip that the manual cars have. I did this so I’d have something to attach the rubber boot to.
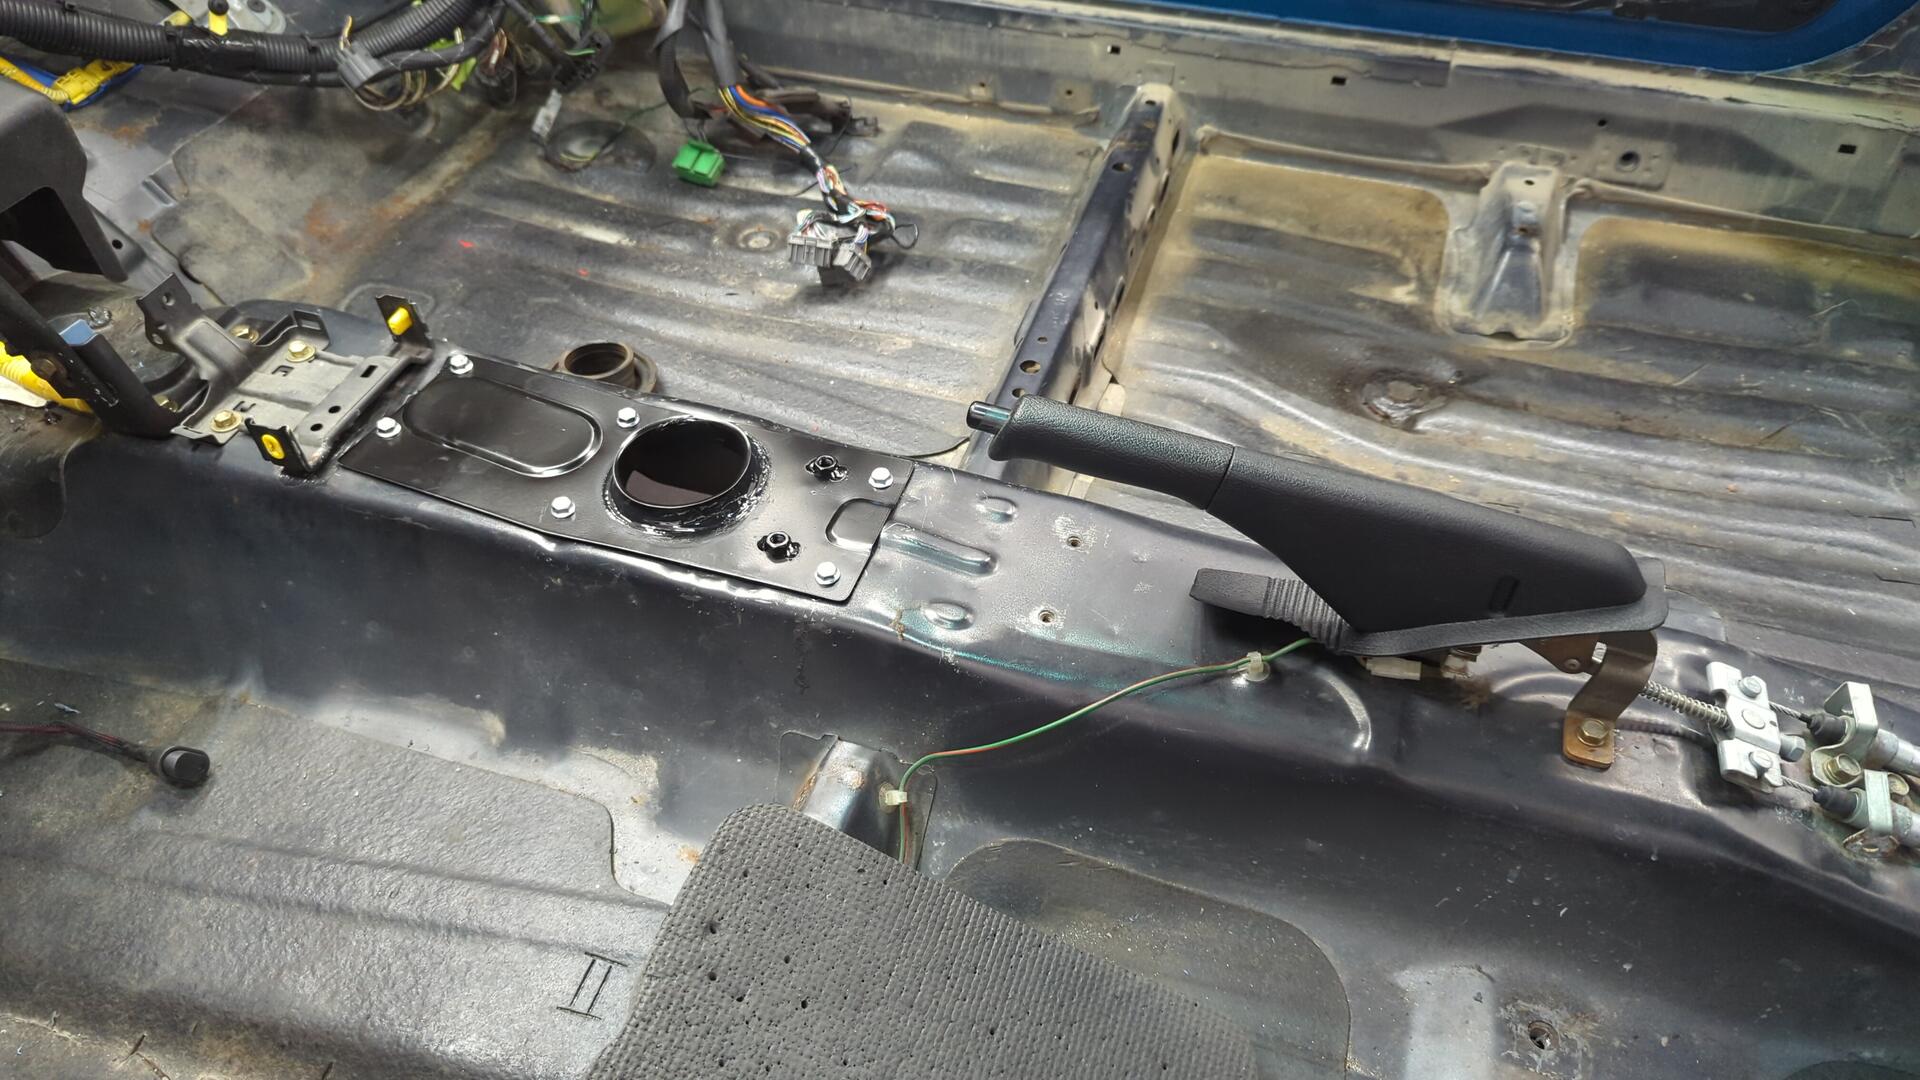
One last test fit before paint.
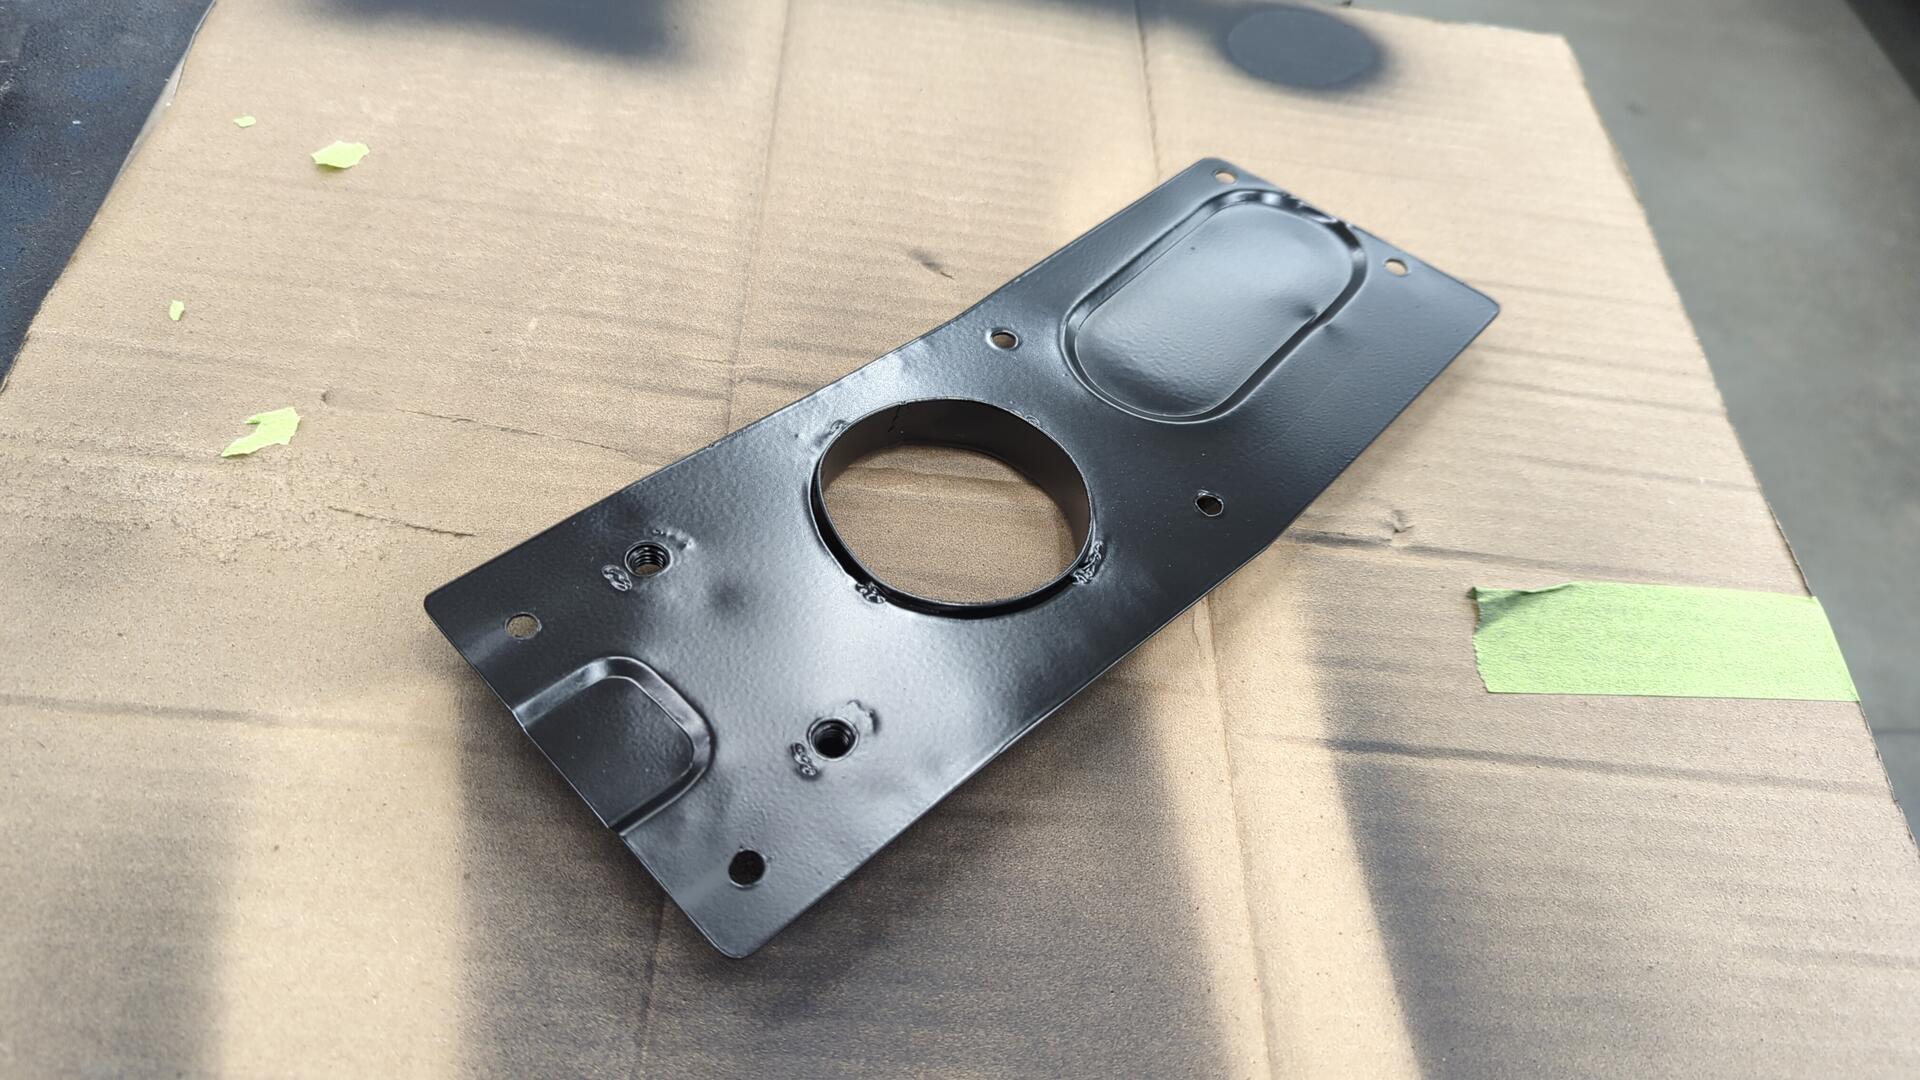
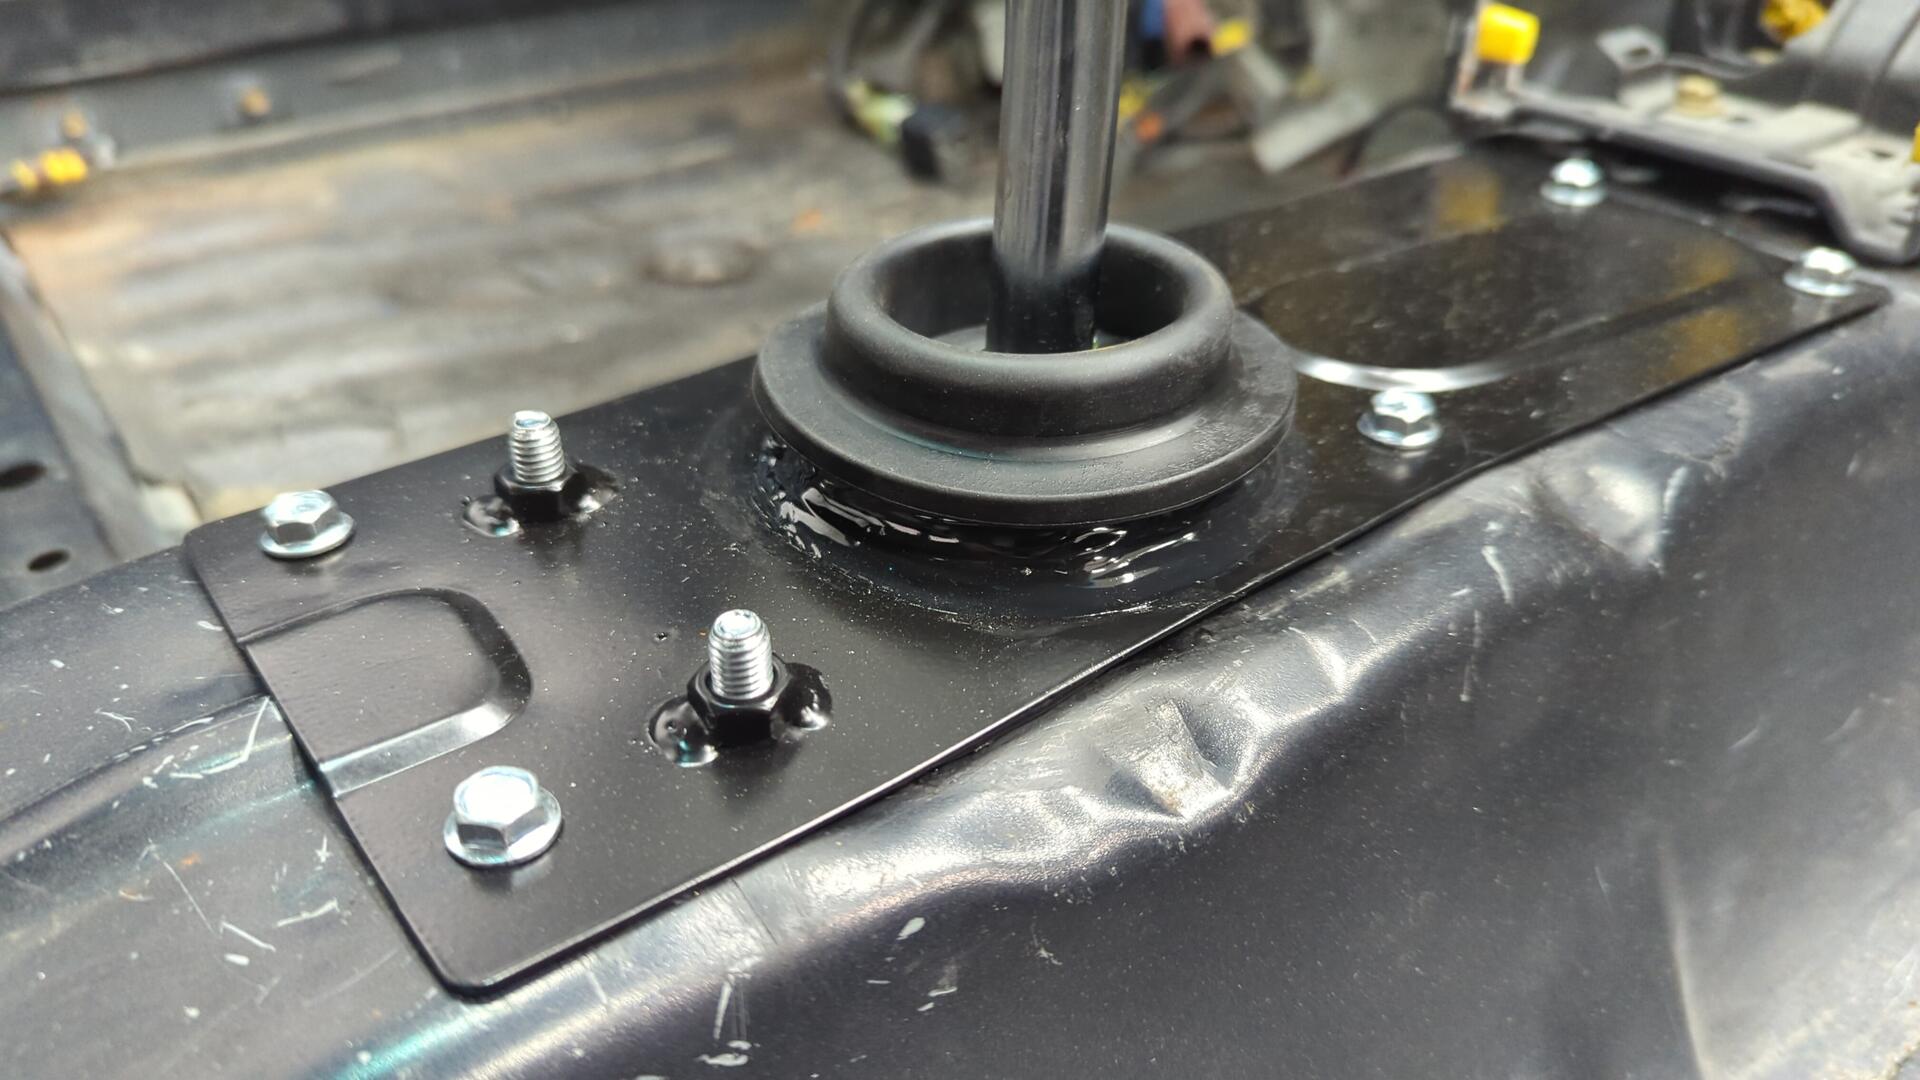
Two coats of epoxy later the shifter plate was looking pretty good.
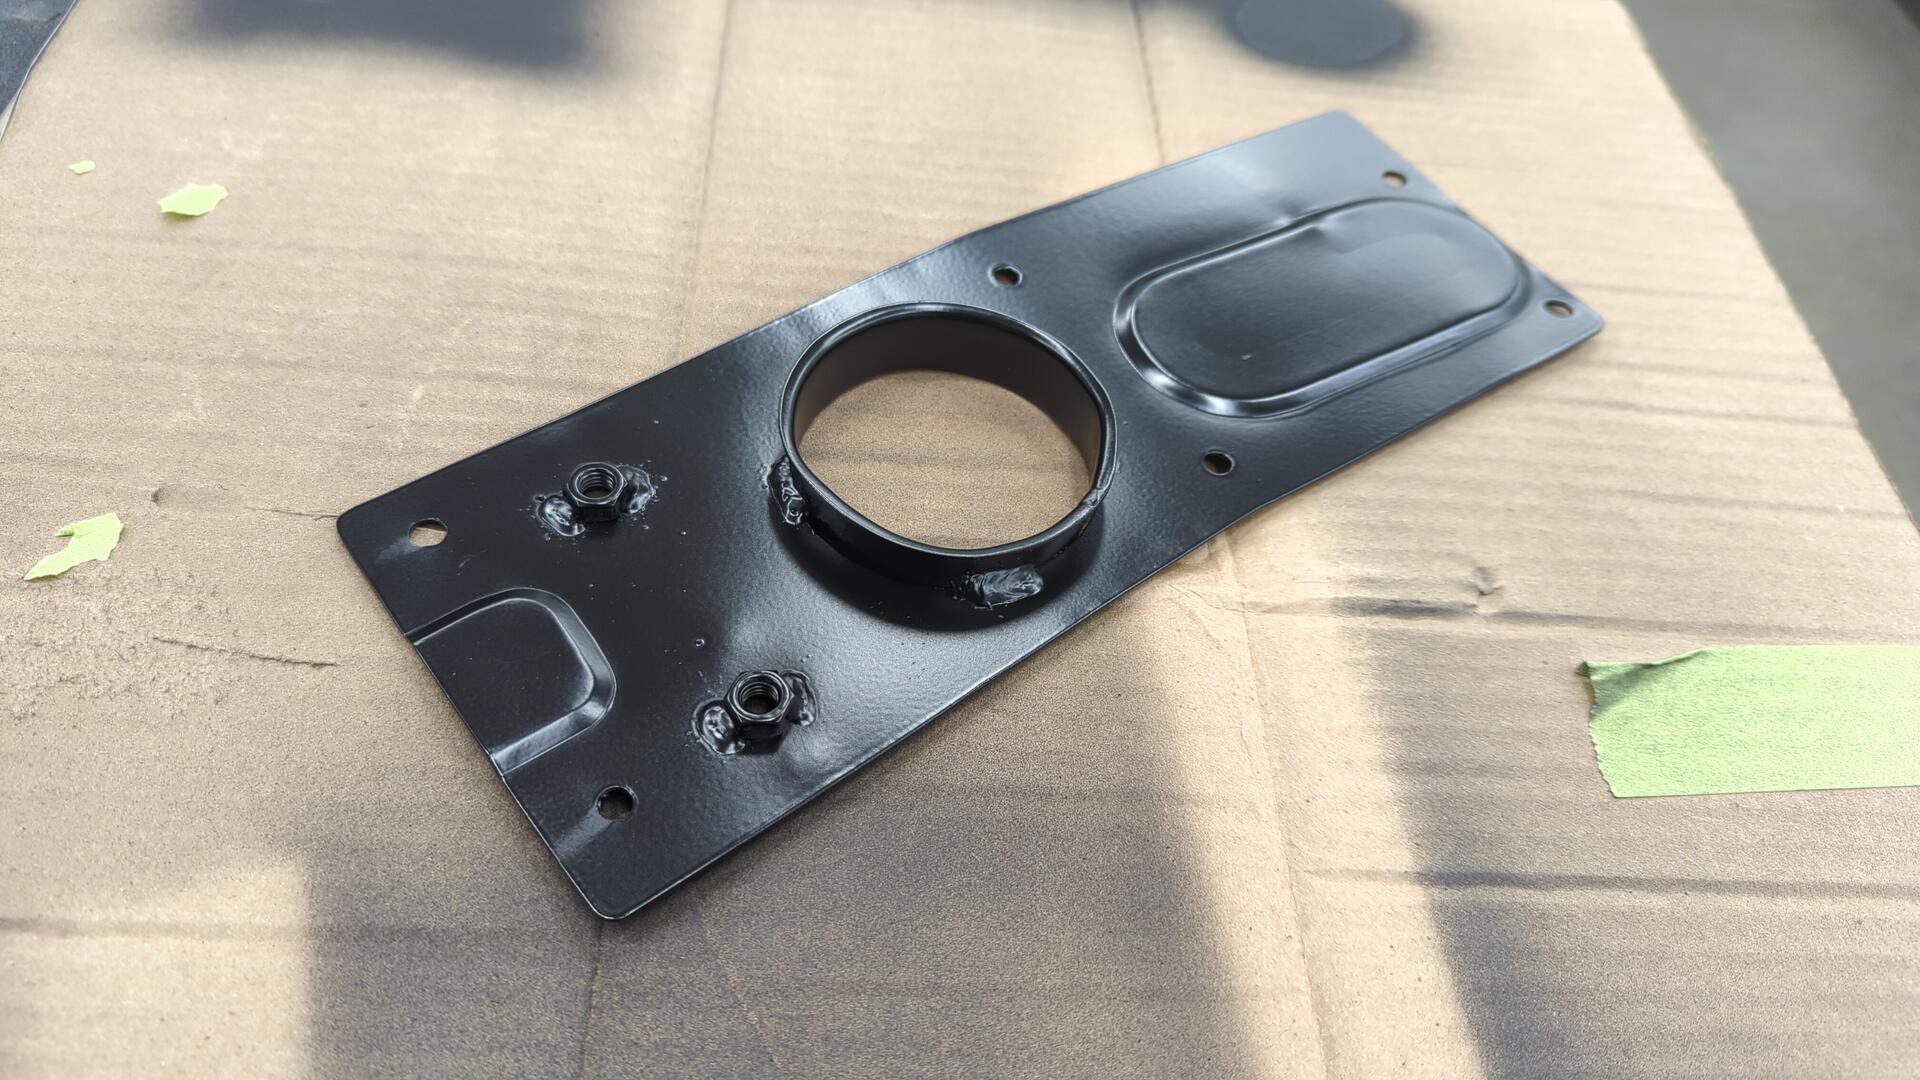
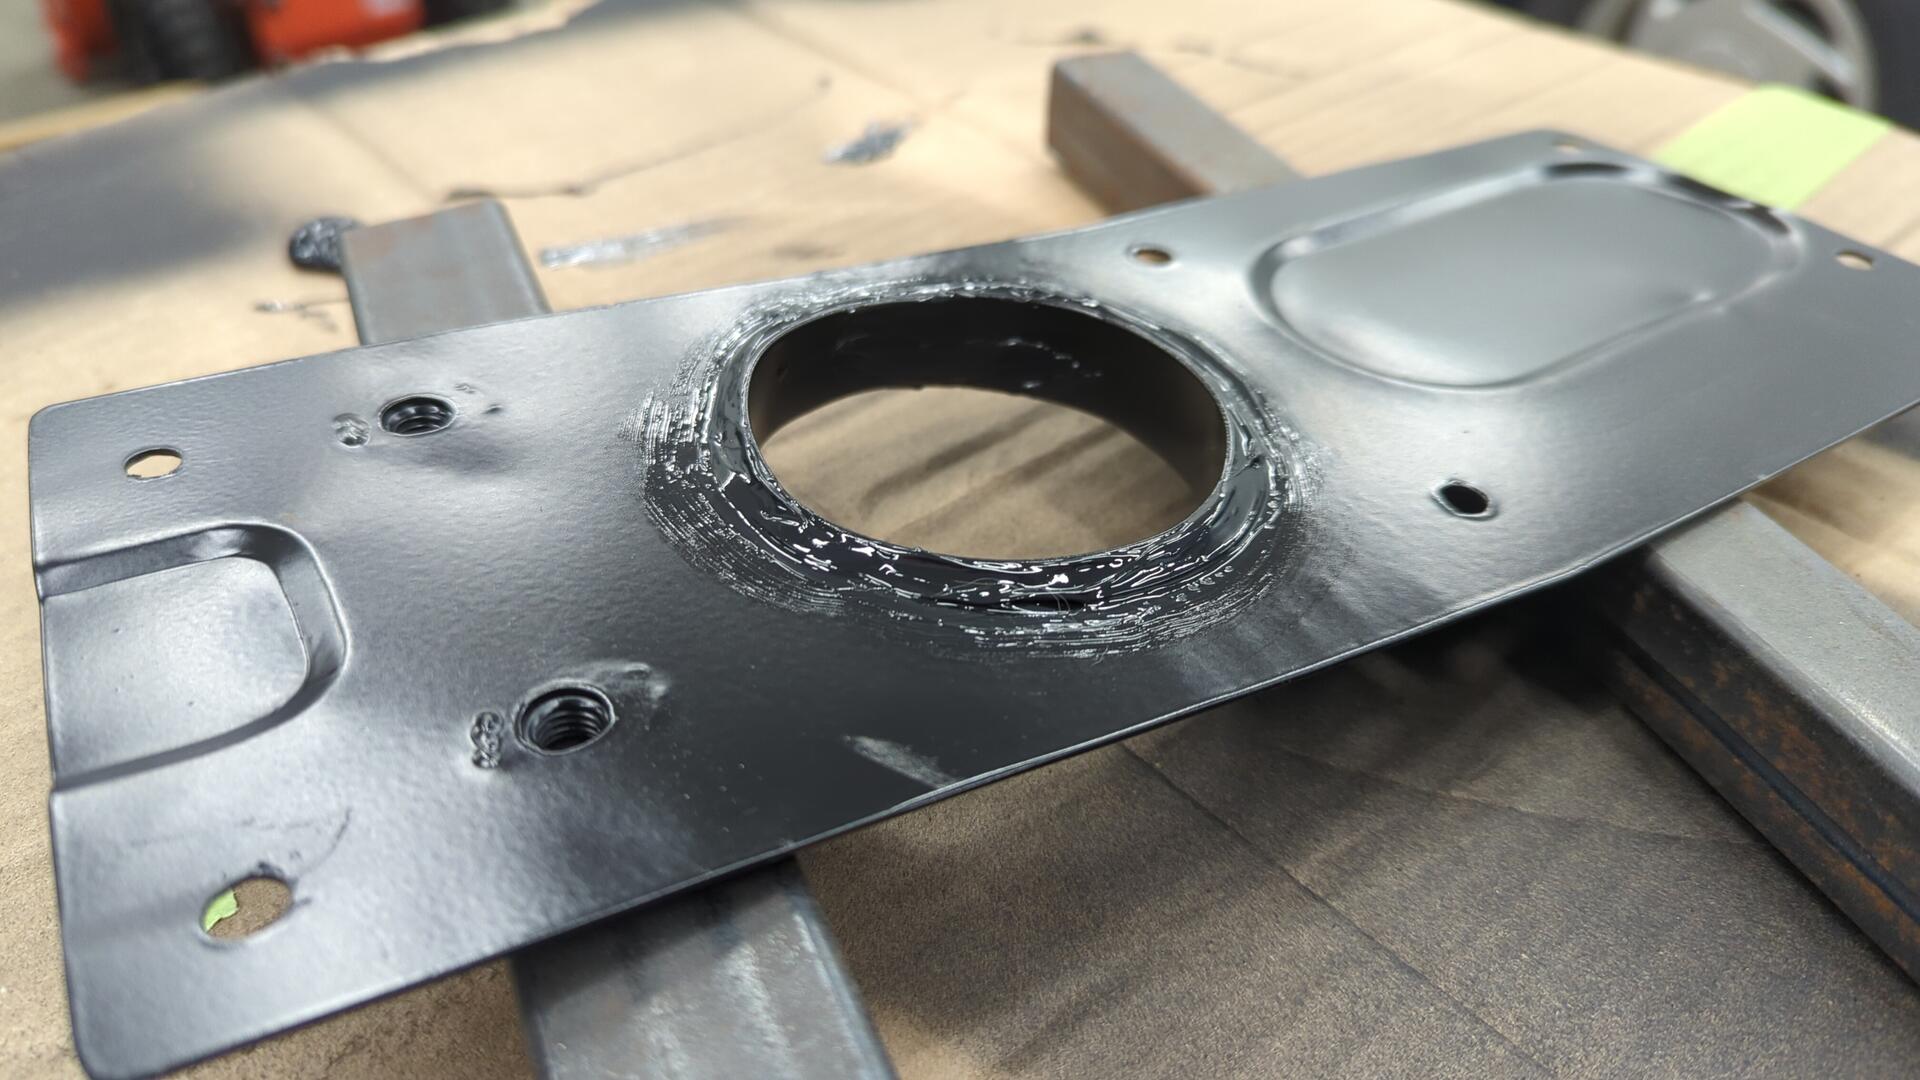
I left a small lip on the bottom side of the shifter hole so I could seam seal it.
Lots of seam seal blobbed in.
Since I want to keep the shifter plate removable, I opted to seal it to the chassis with butyl instead of seam sealer. It’s extra headlight butyl that I had laying around and I’m pretty certain it’ll be watertight, but if not I’ll reassess.
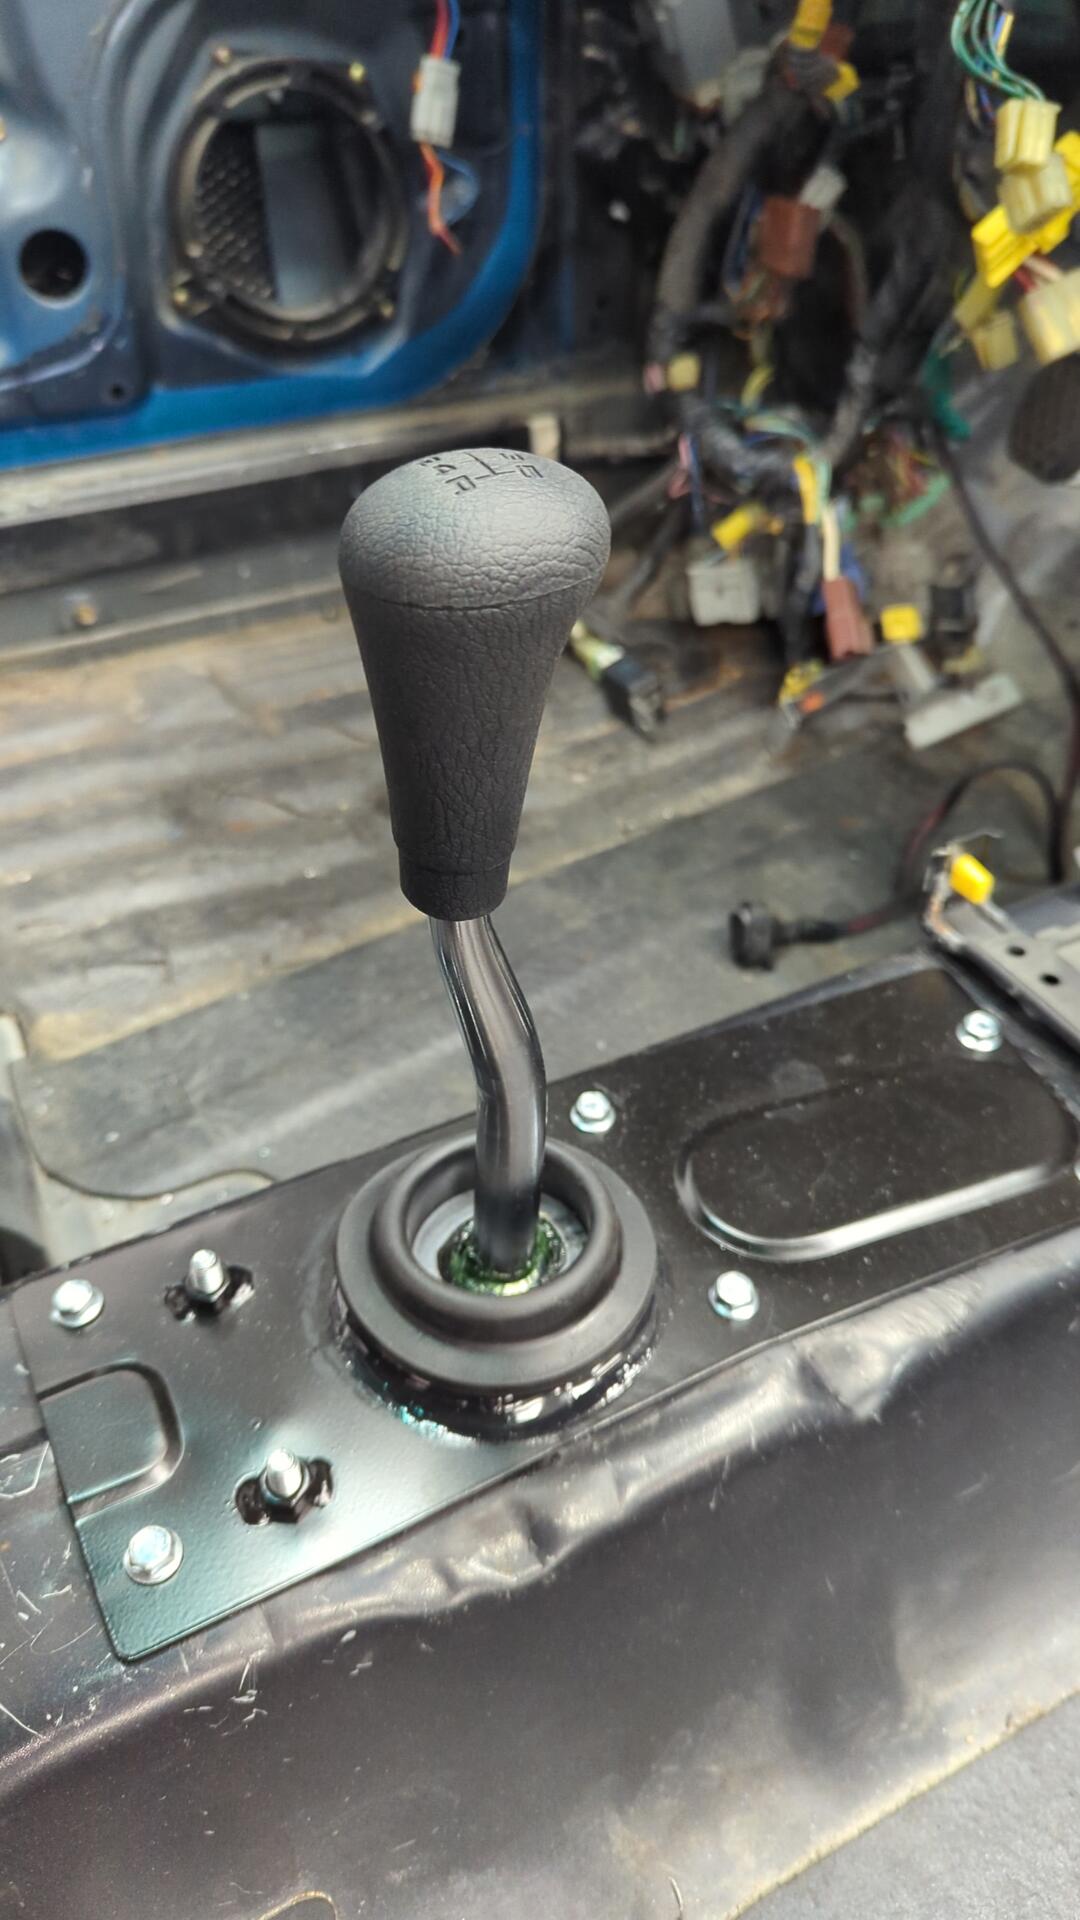
Everything re-installed.
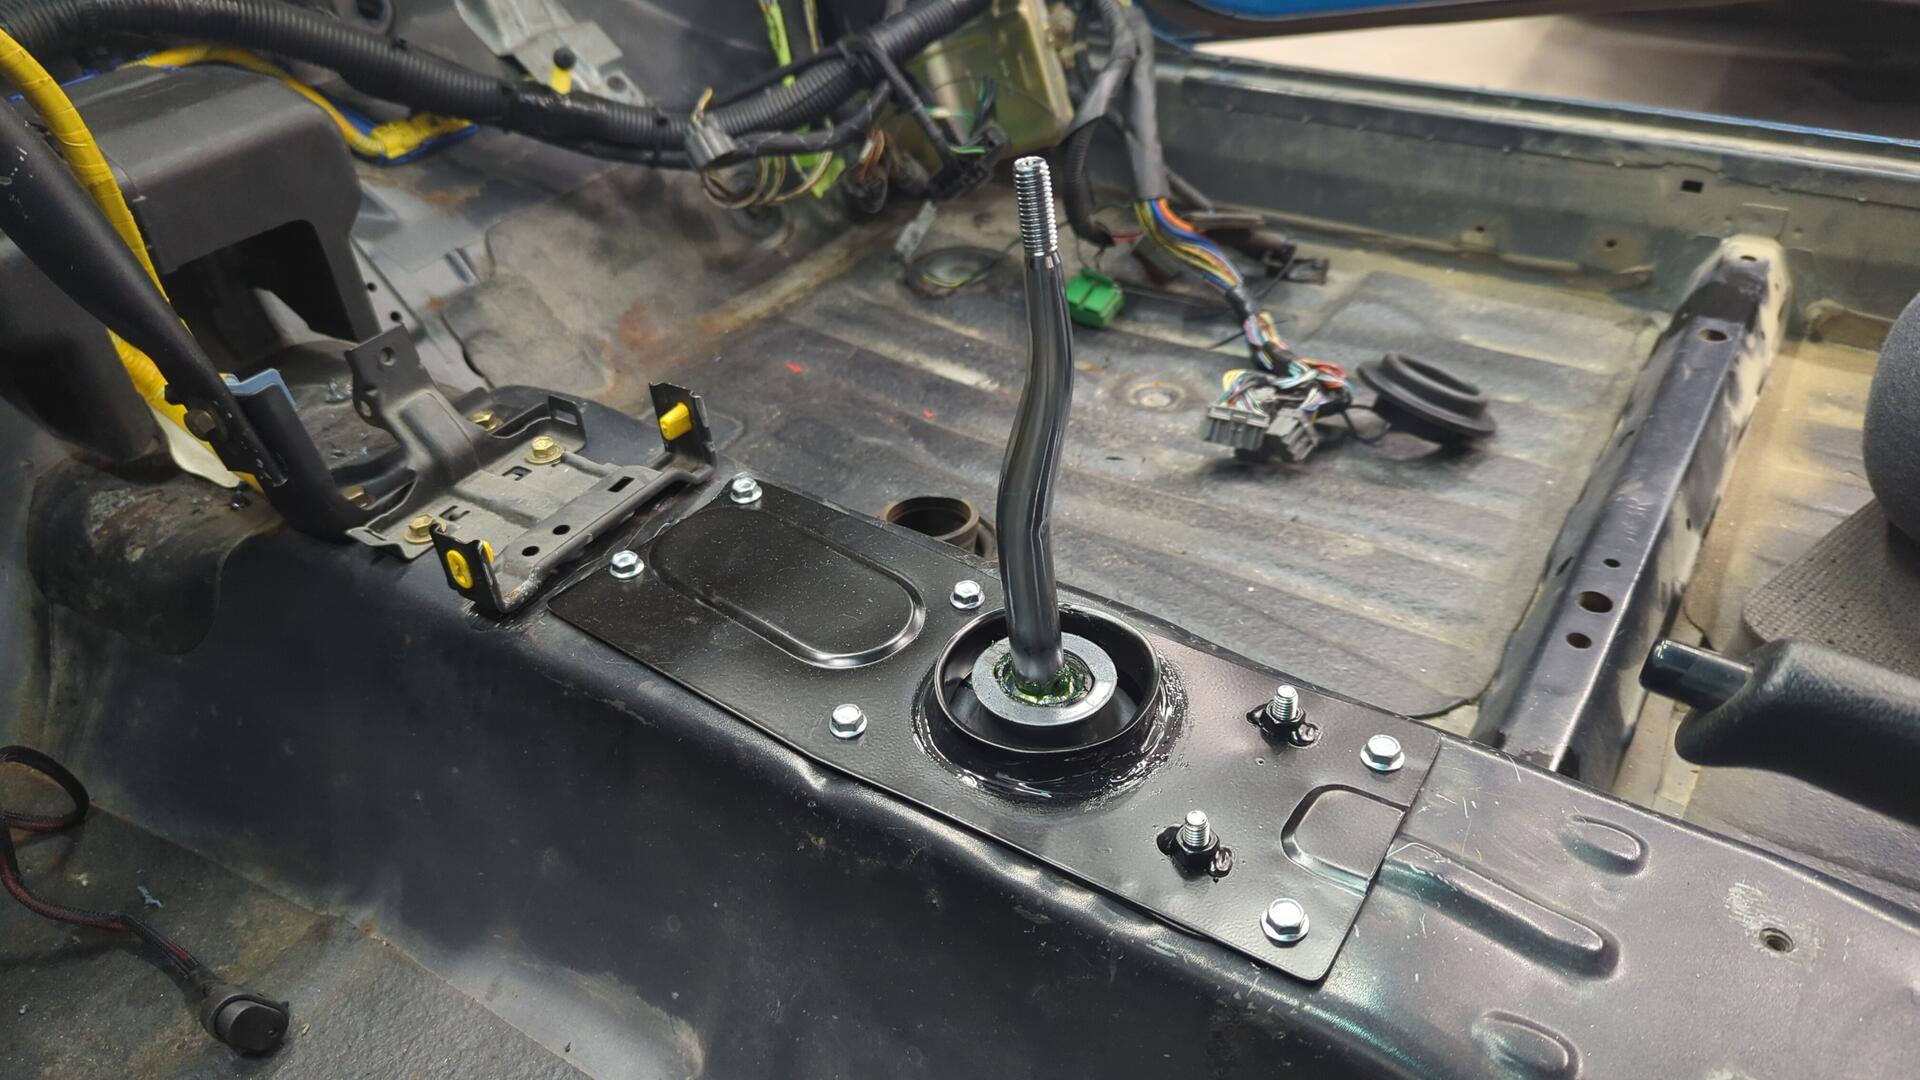
The boot fits pretty nicely too.
Couldn’t resist topping it off with an OEM shift knob.
Everything on the underside is all nice and fresh too.
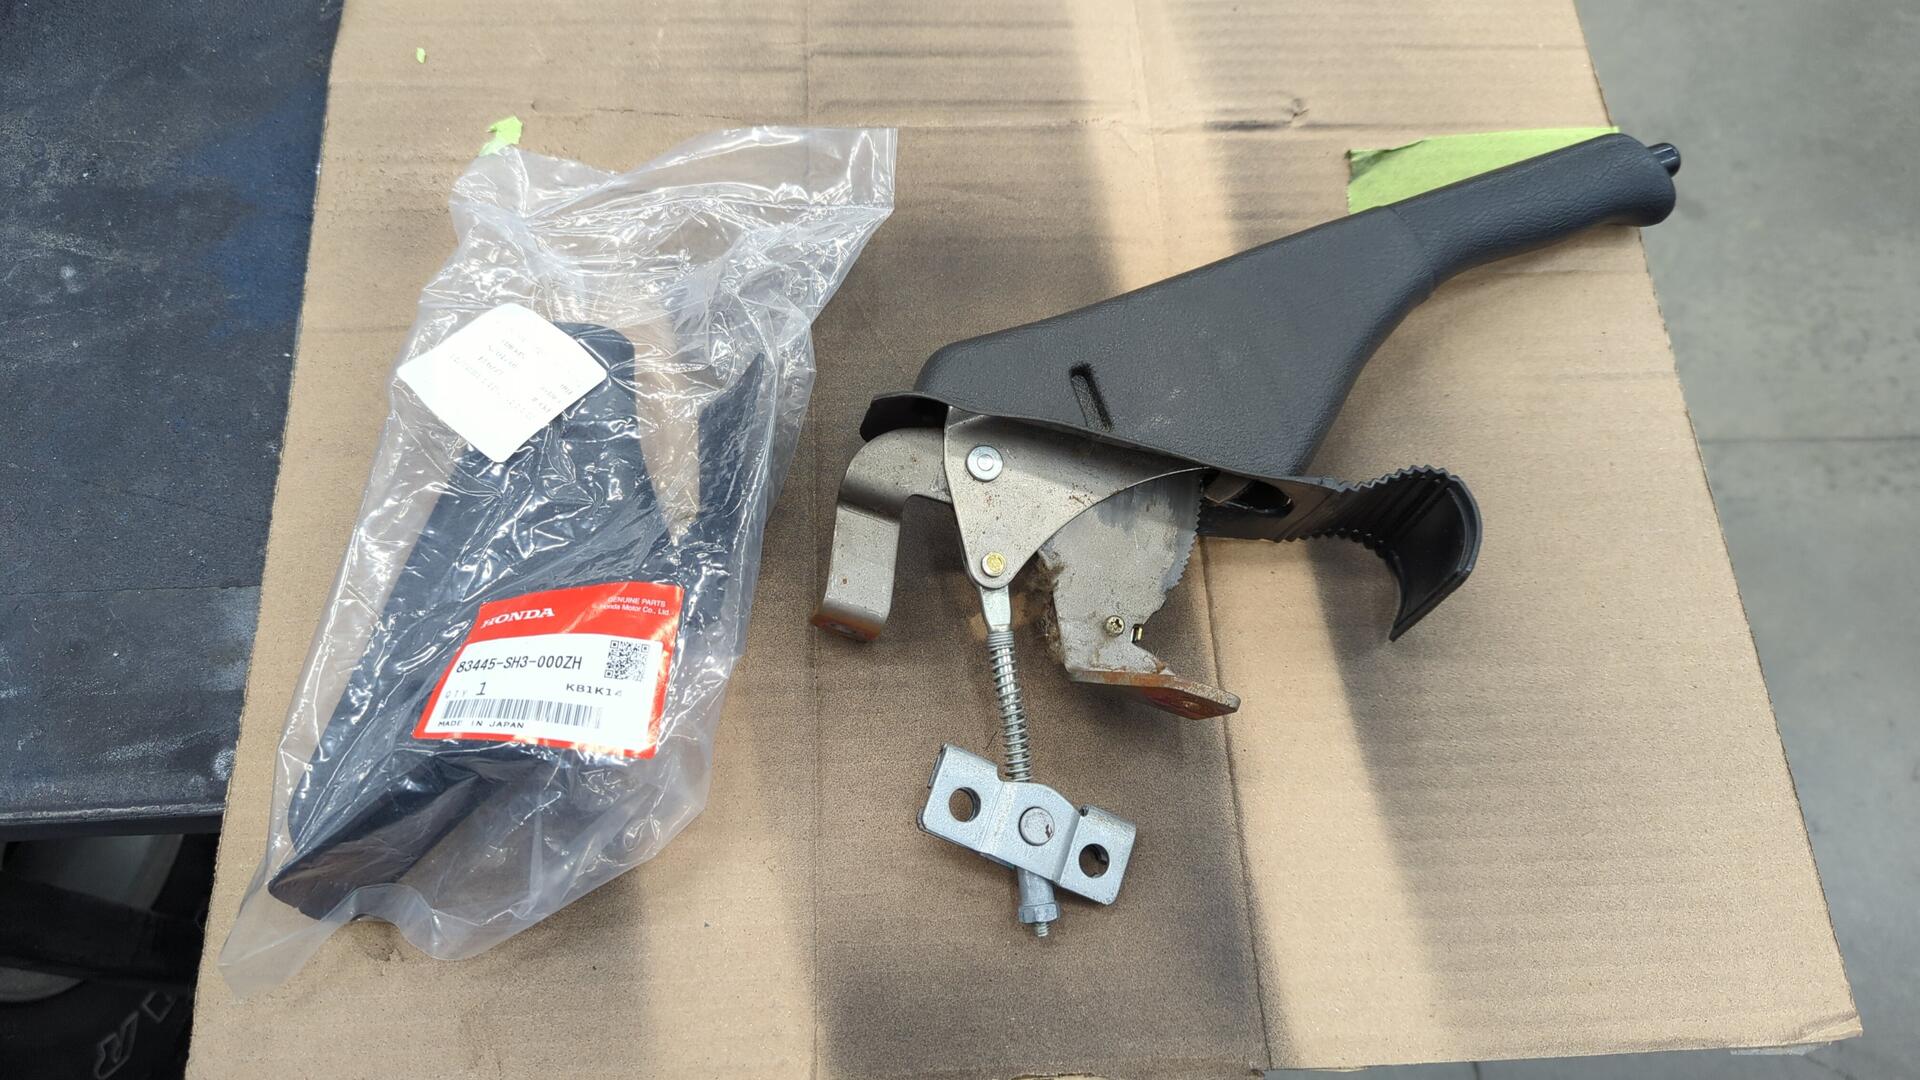
And as a finishing touch I switched over my gray parking brake lever to a black one. It’s a little early to start installing the new interior bits but I didn’t see any harm in putting the lever in.
Dusting Out the Interior and Cleaning up the Wiring
The back half of the interior has been super dusty for some years due to previously living on a dirt road and having no AC which meant I had to drive with the windows open a lot. The dust always drove me crazy because it got everywhere and was super hard to keep up with.
Not wanting to leave all that dust in there I went through and wiped everything down with degreaser and also took the time to relocate all the wiring back to it’s OEM position with new clips.
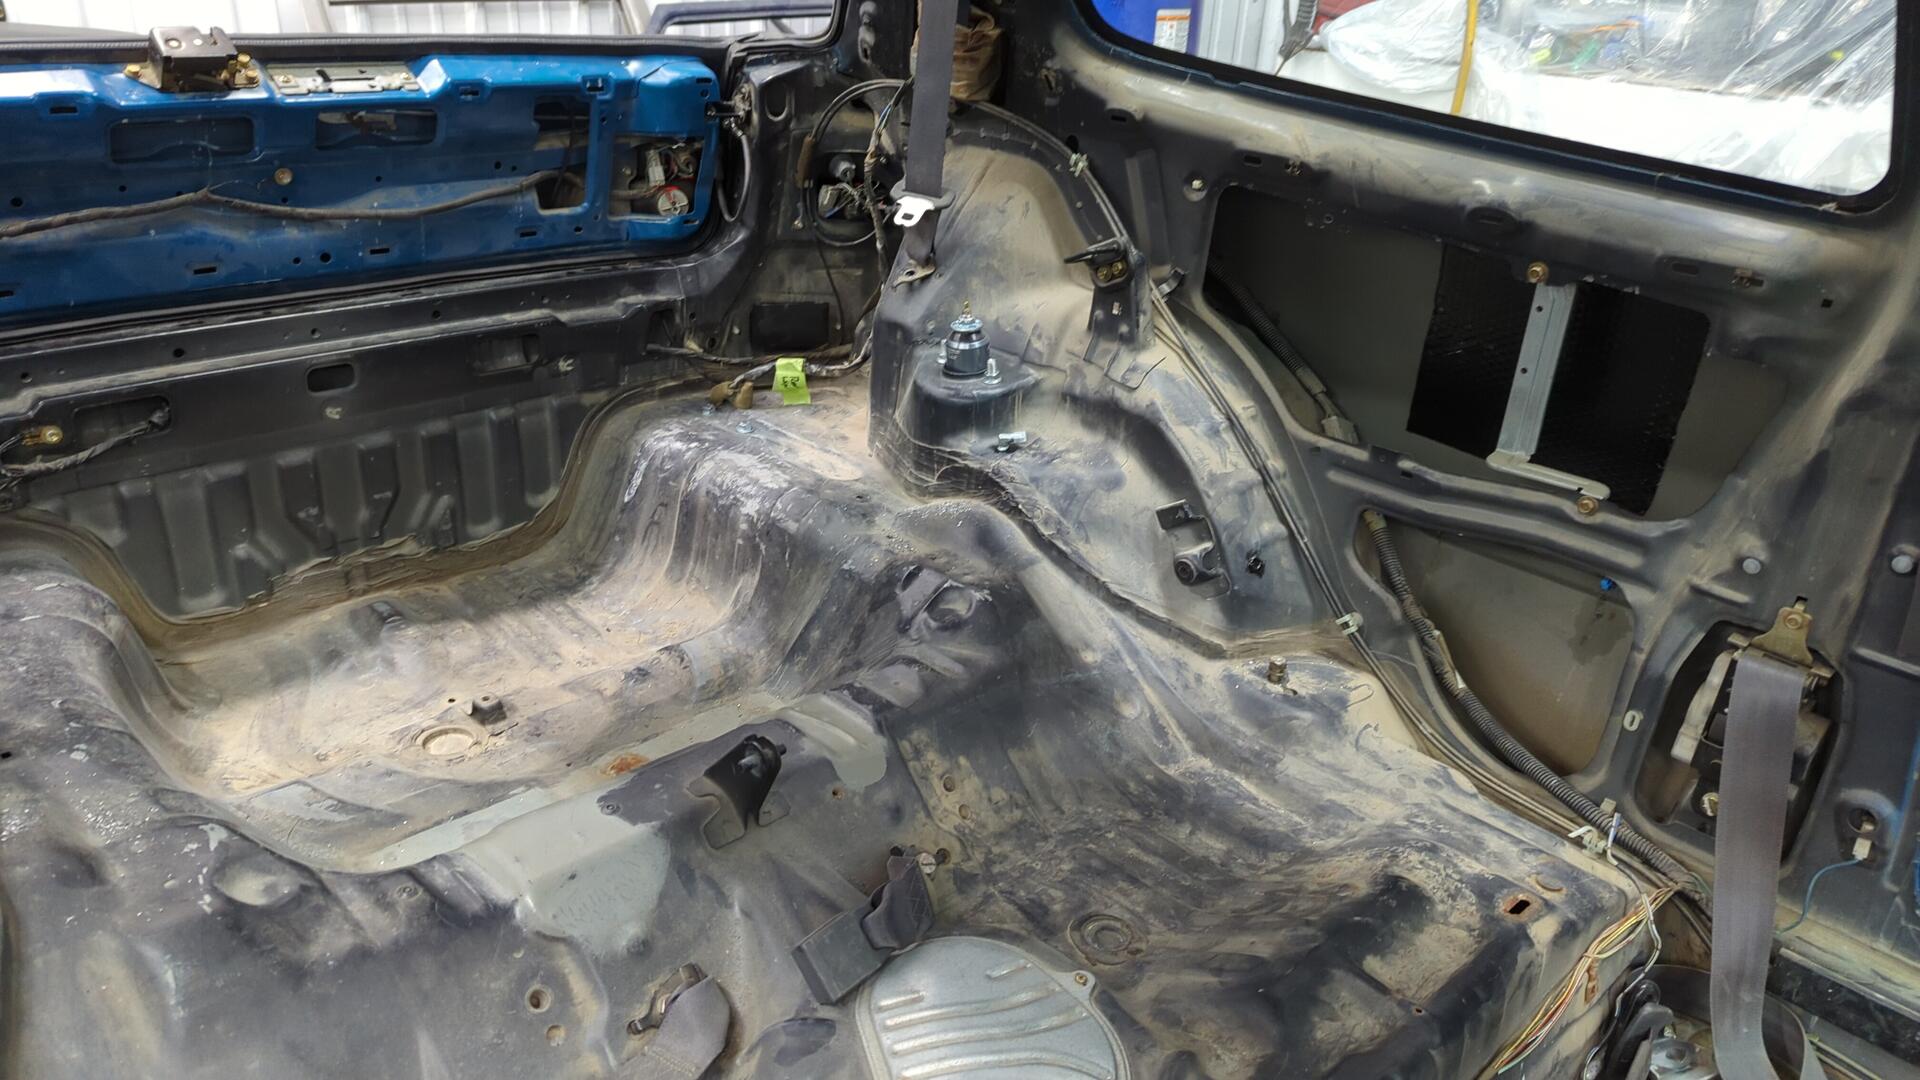
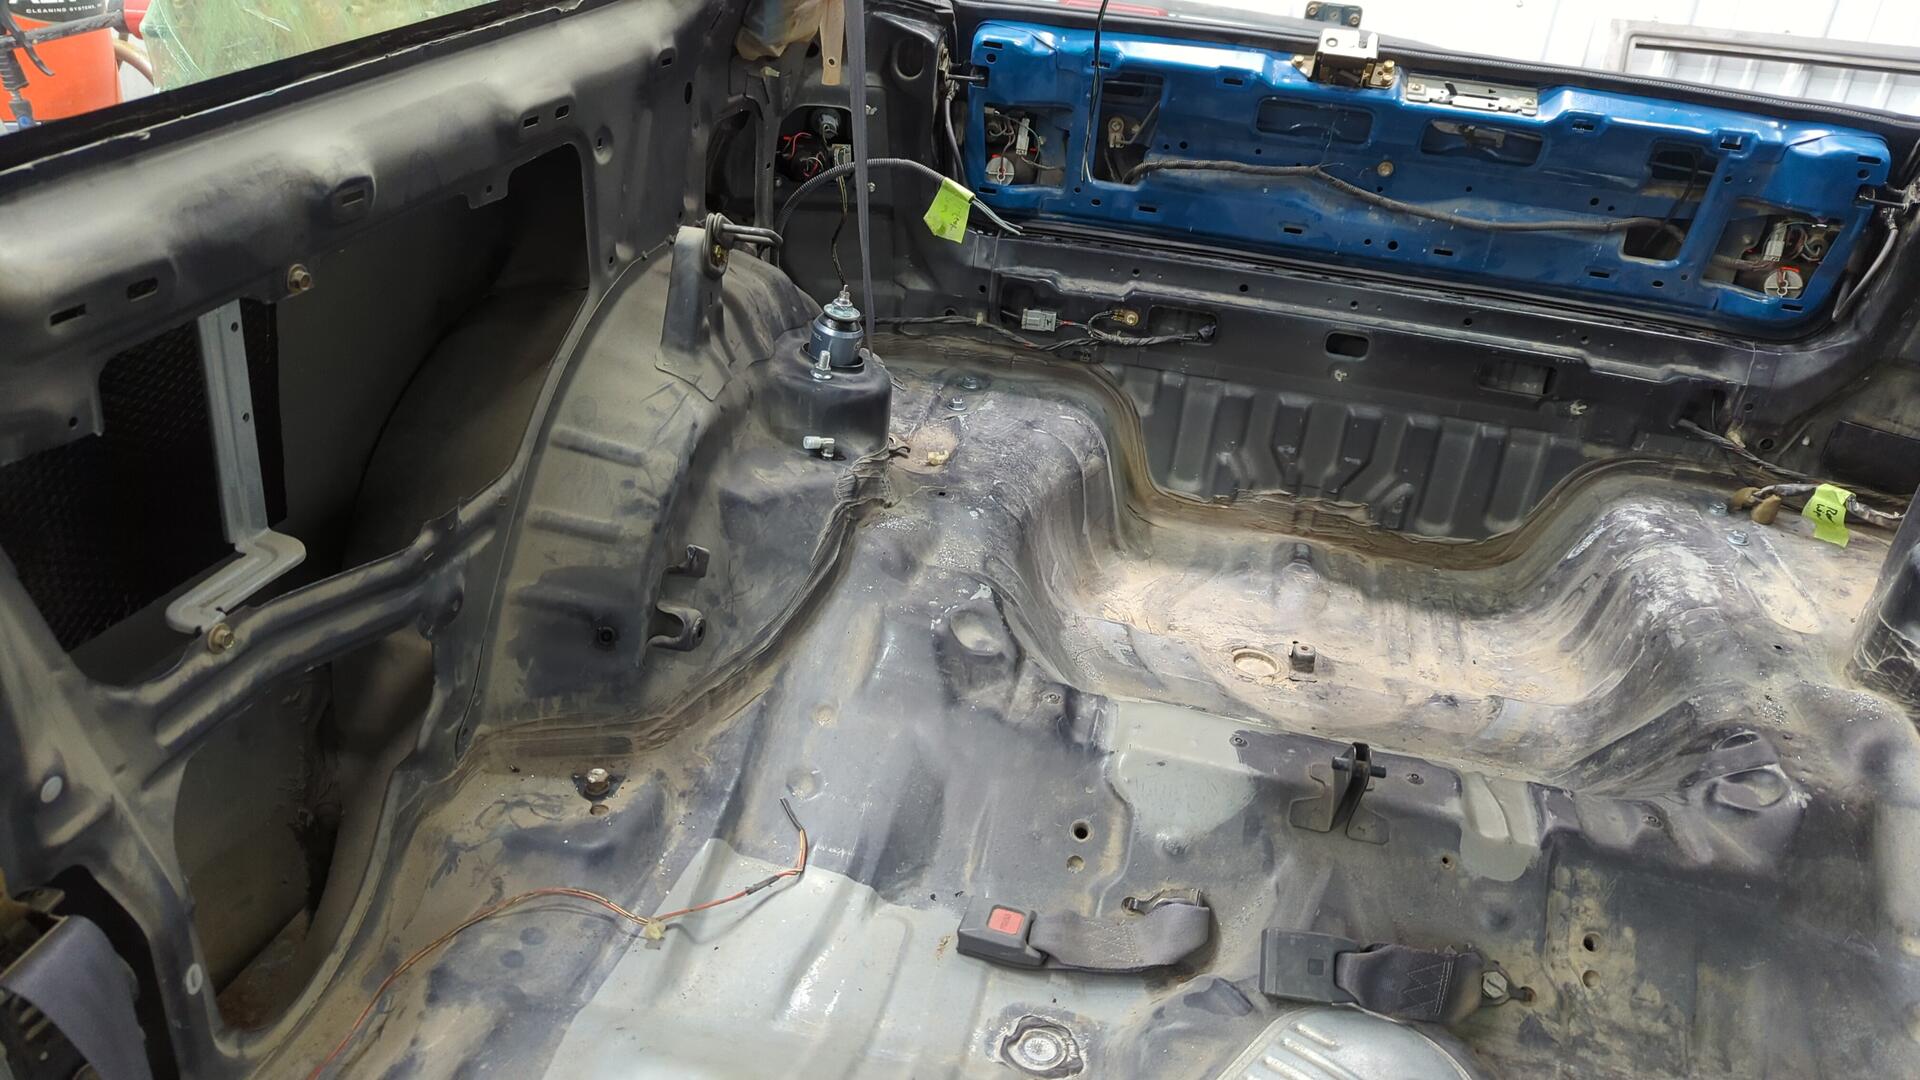
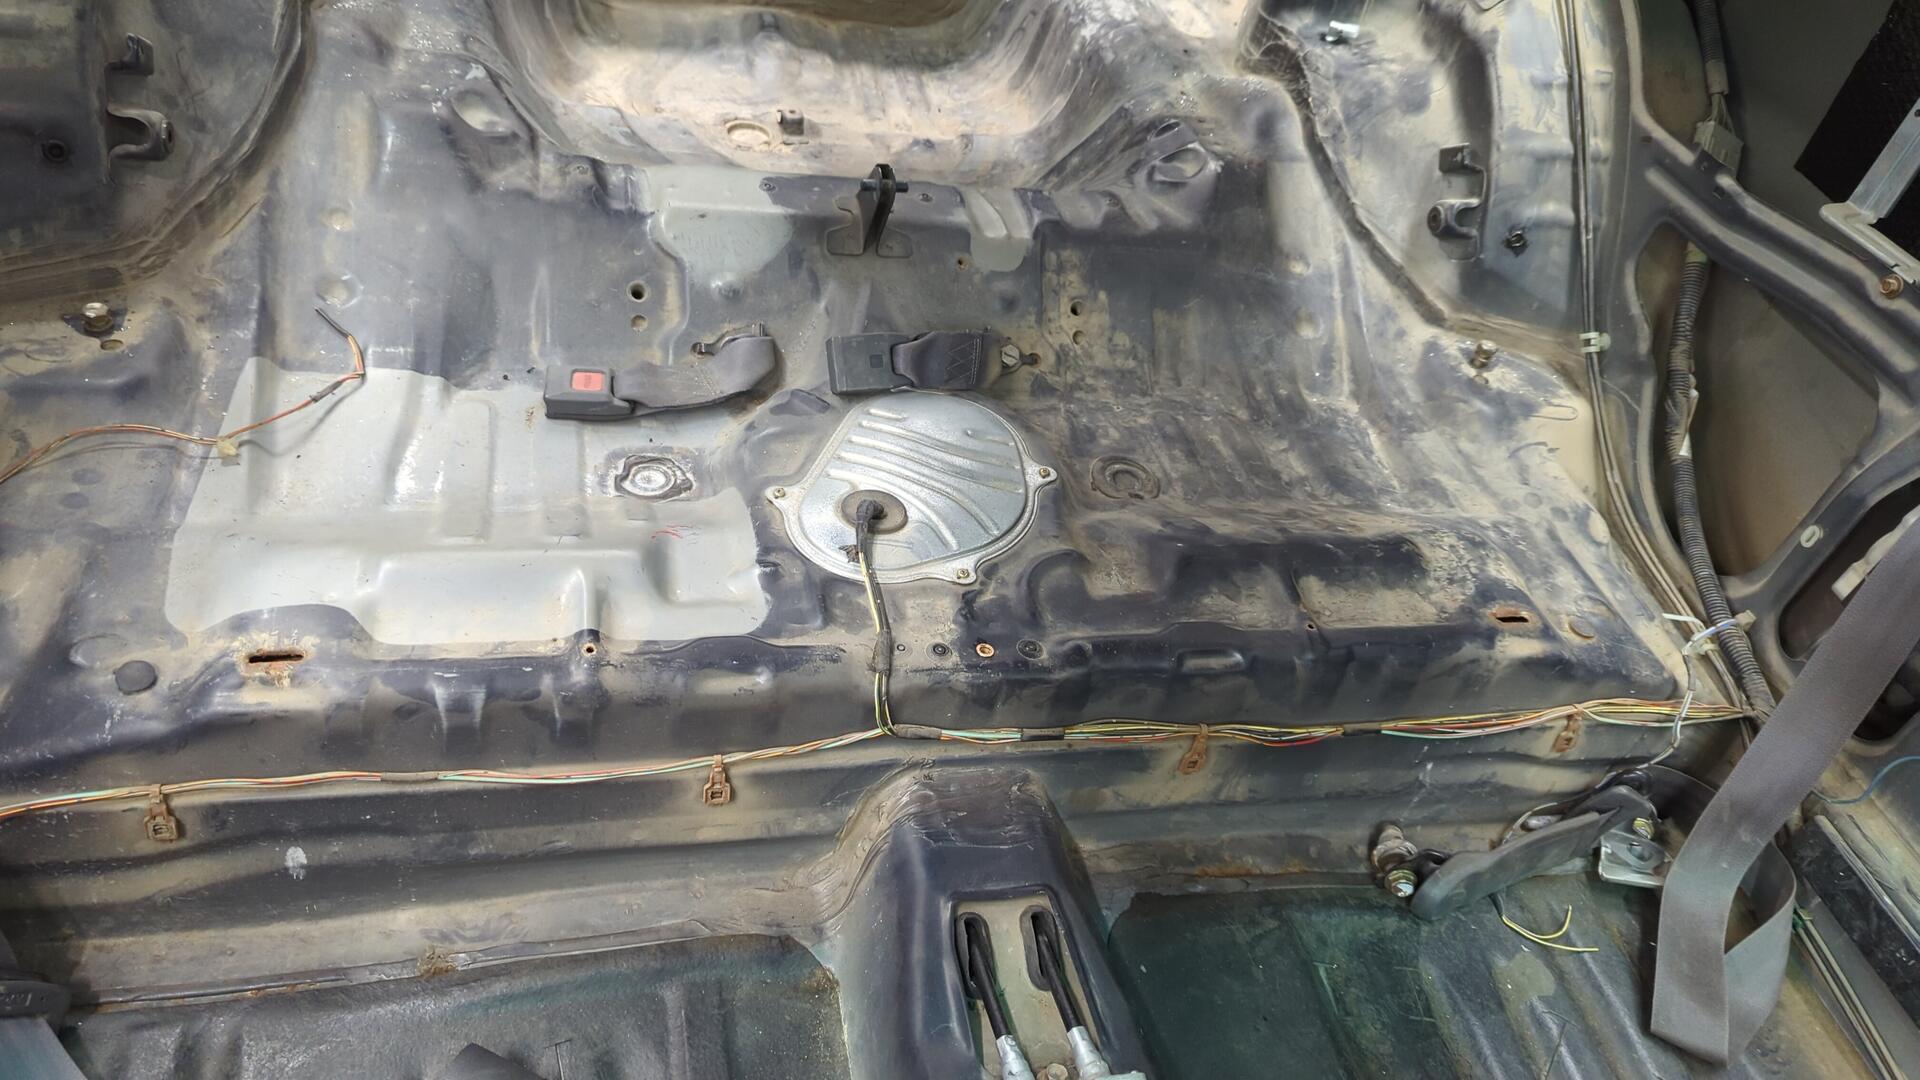
All done!


All in all I think it’s a huge improvement for the interior.