Revival of the Hatch Part 14: Pushing Through the Final Bodywork
Having spent so much time on bodywork when prepping the engine bay for paint, I’ve been resisting doing anymore of it just because I’m somewhat burnt out from it.
Sadly though I’ve come to realize the remaining bodywork that needs to be done in the engine bay, roof gutters, and hatch area is blocking almost all of the other work I need to do on it so I had to bite the bullet and finally finish it up.
First Up, A New Battery
I’m not ready for a battery yet, but I picked one up so I could check an easy item off my massive TODO list.
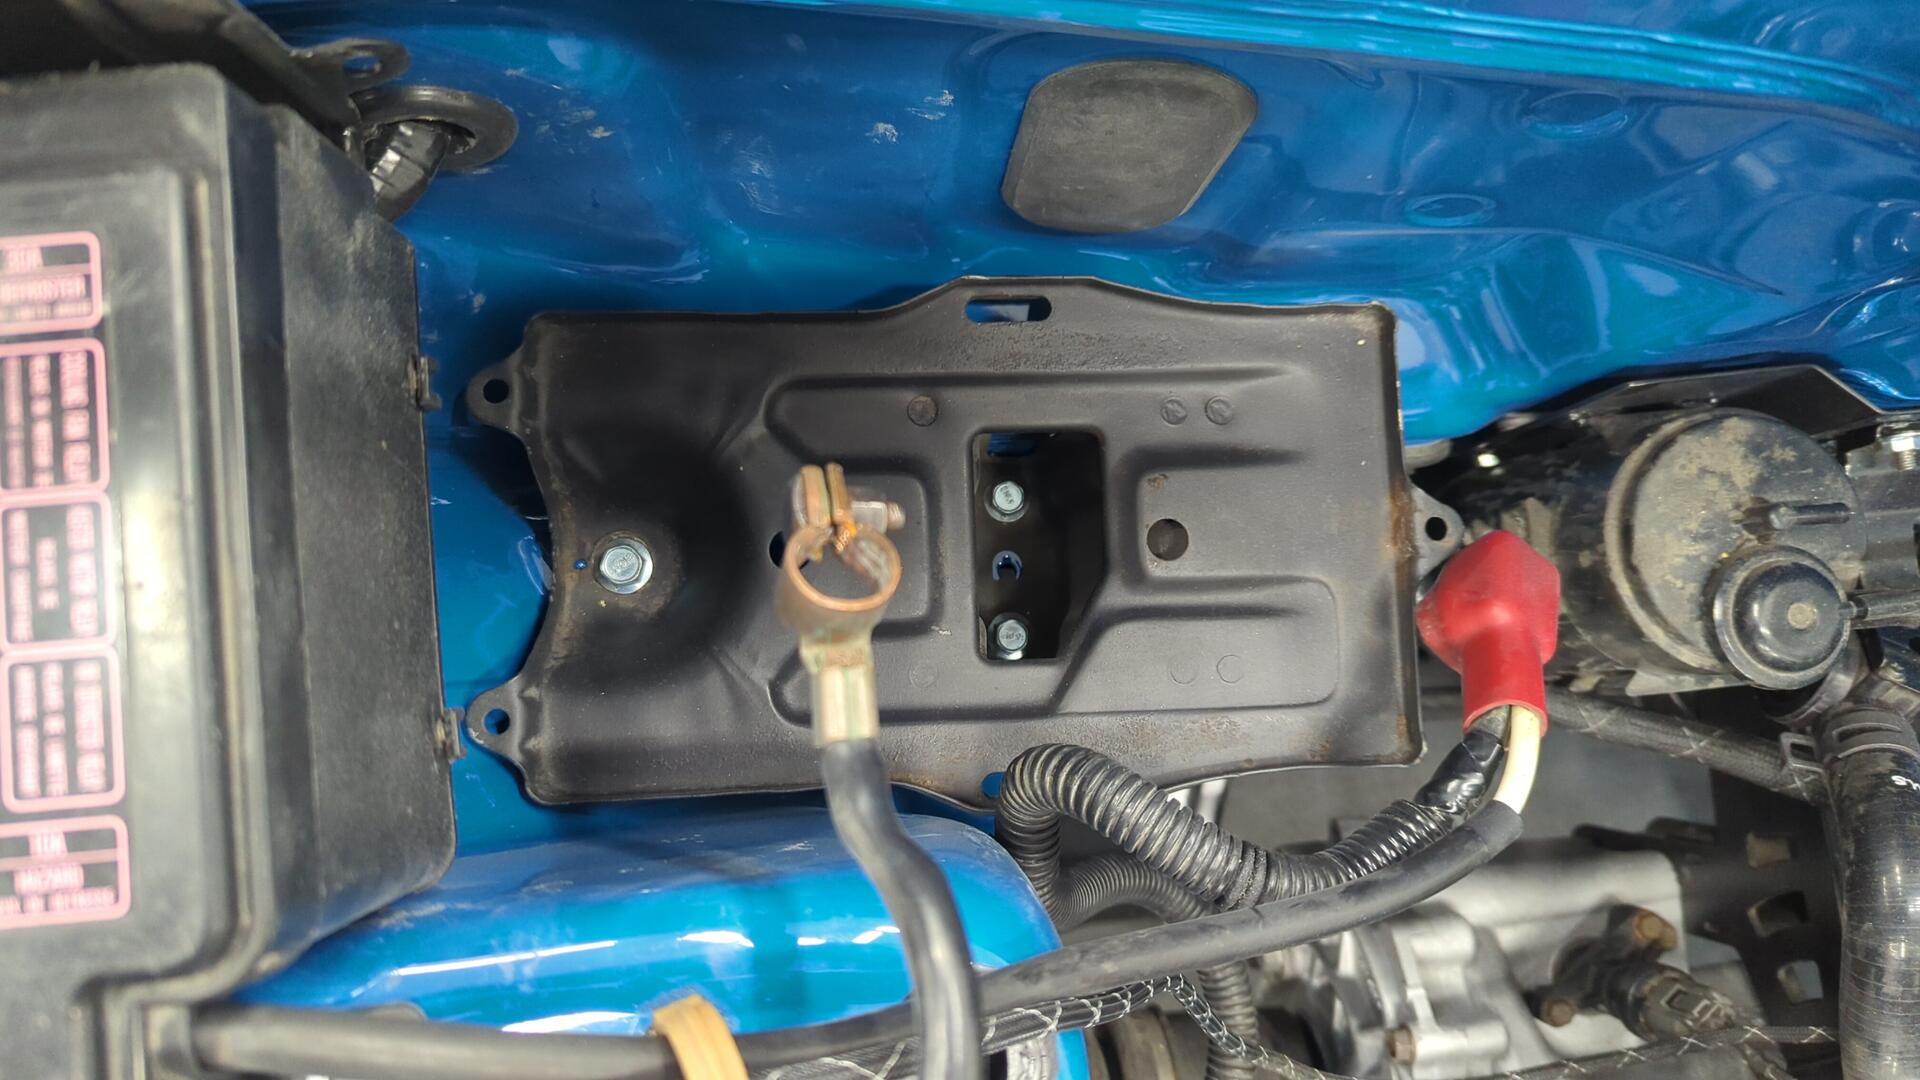
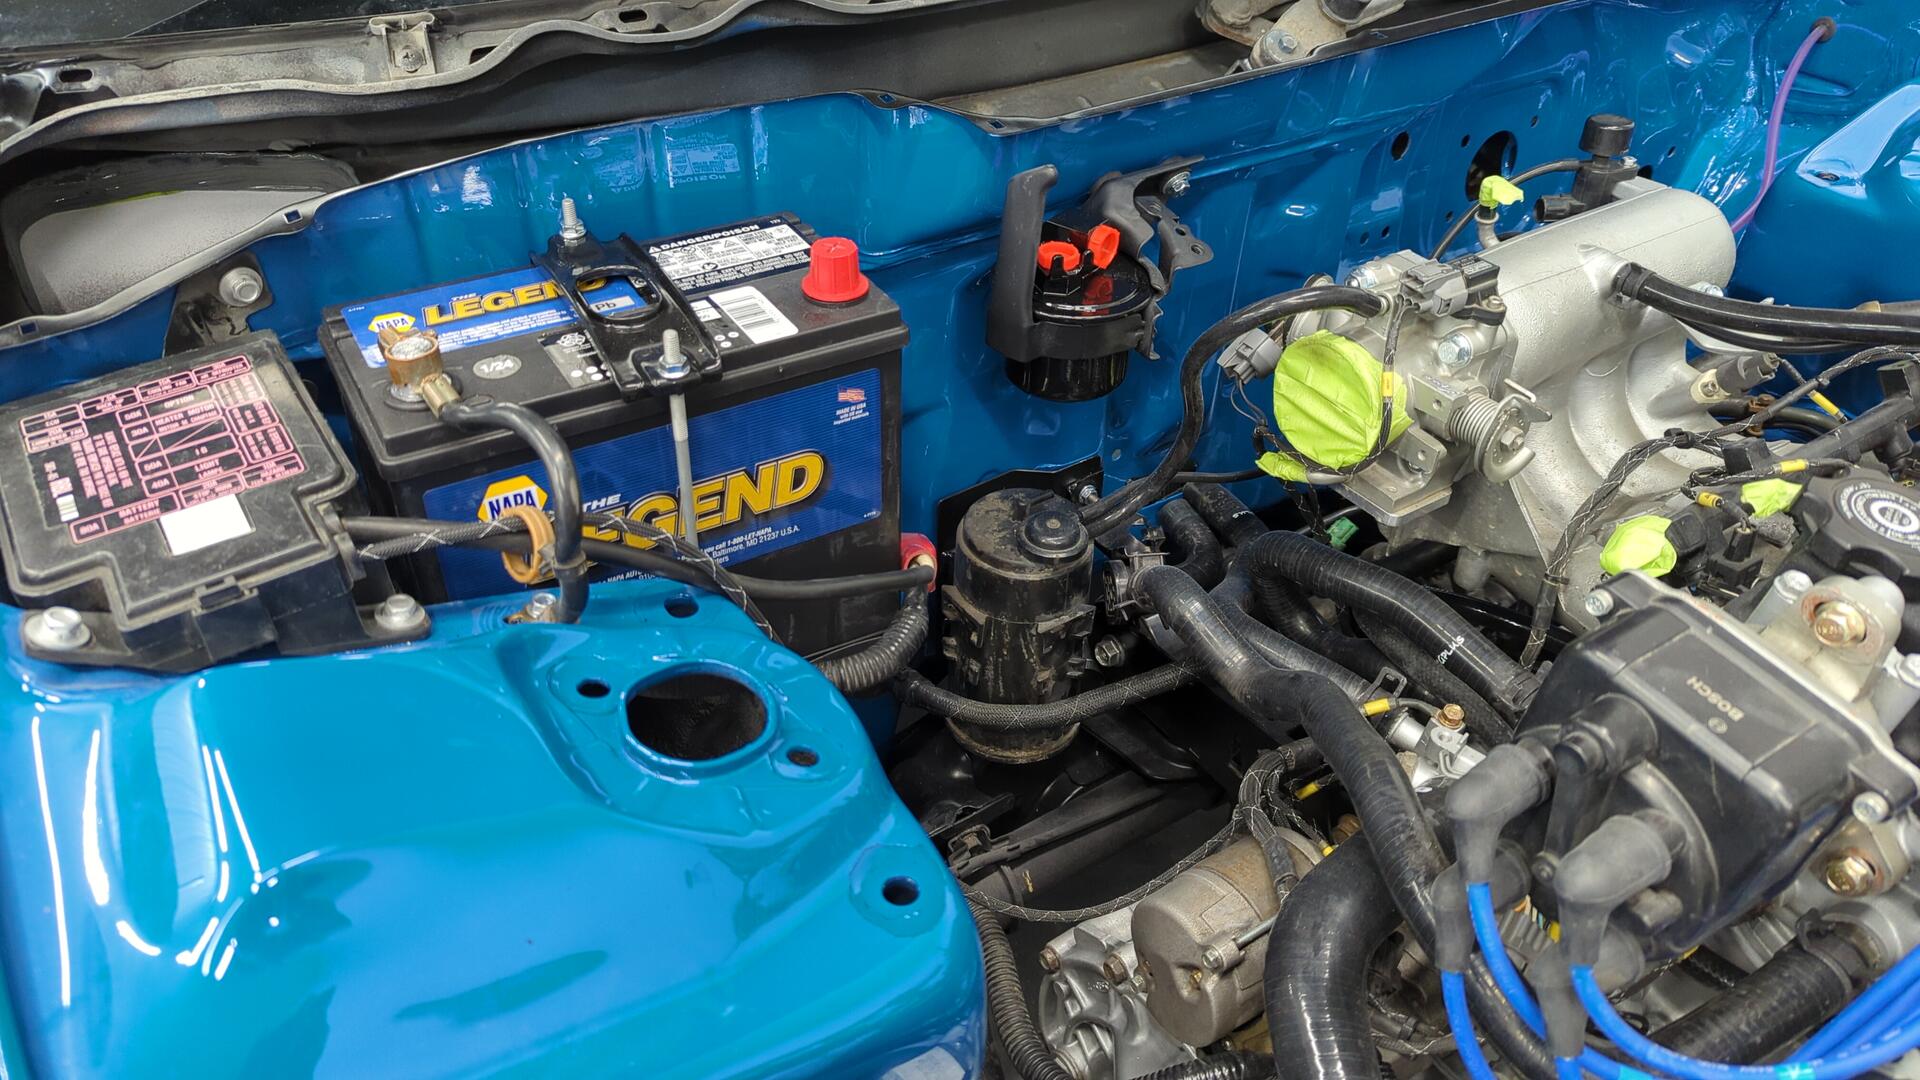
No more Oreilly’s batteries for me. I’ve stepped up to NAPA.
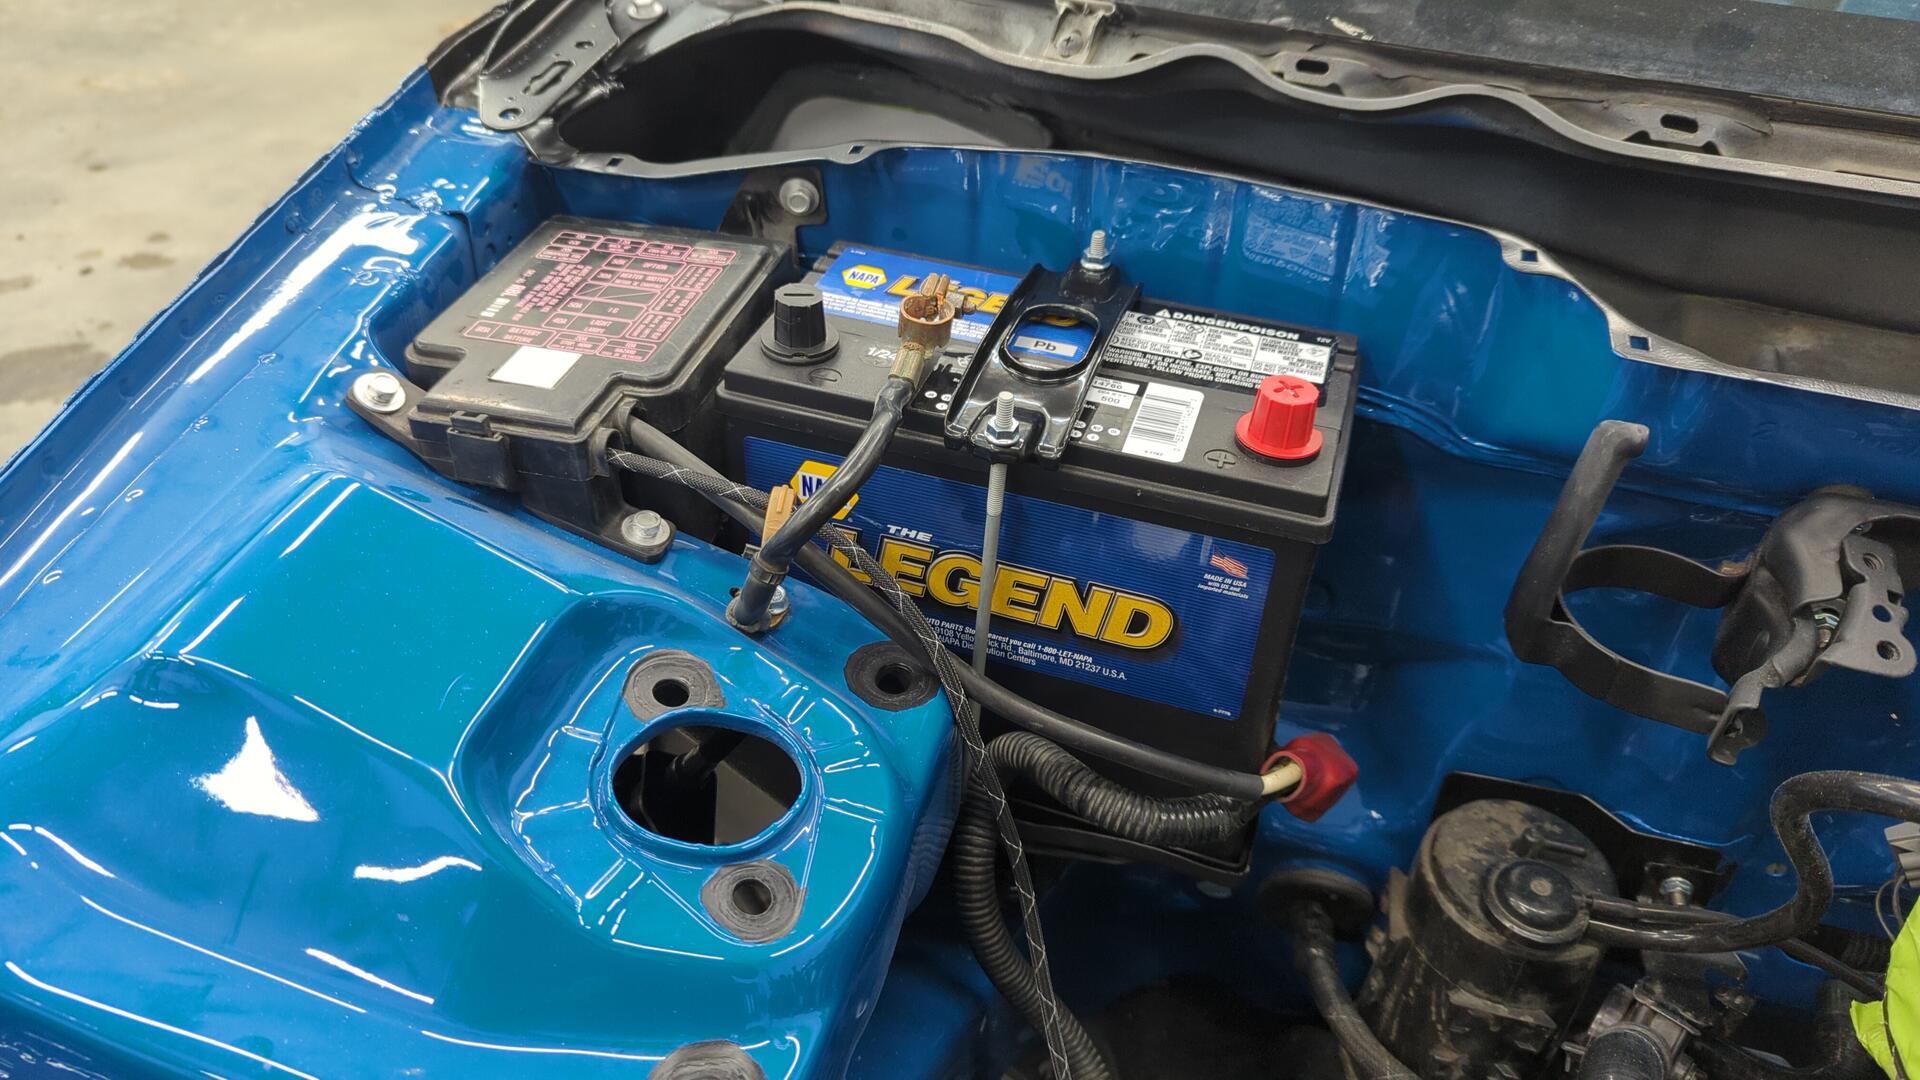
The engine bay is gonna look a little fuller this time around since the fuse box, and battery are no longer tucked but I don’t mind.
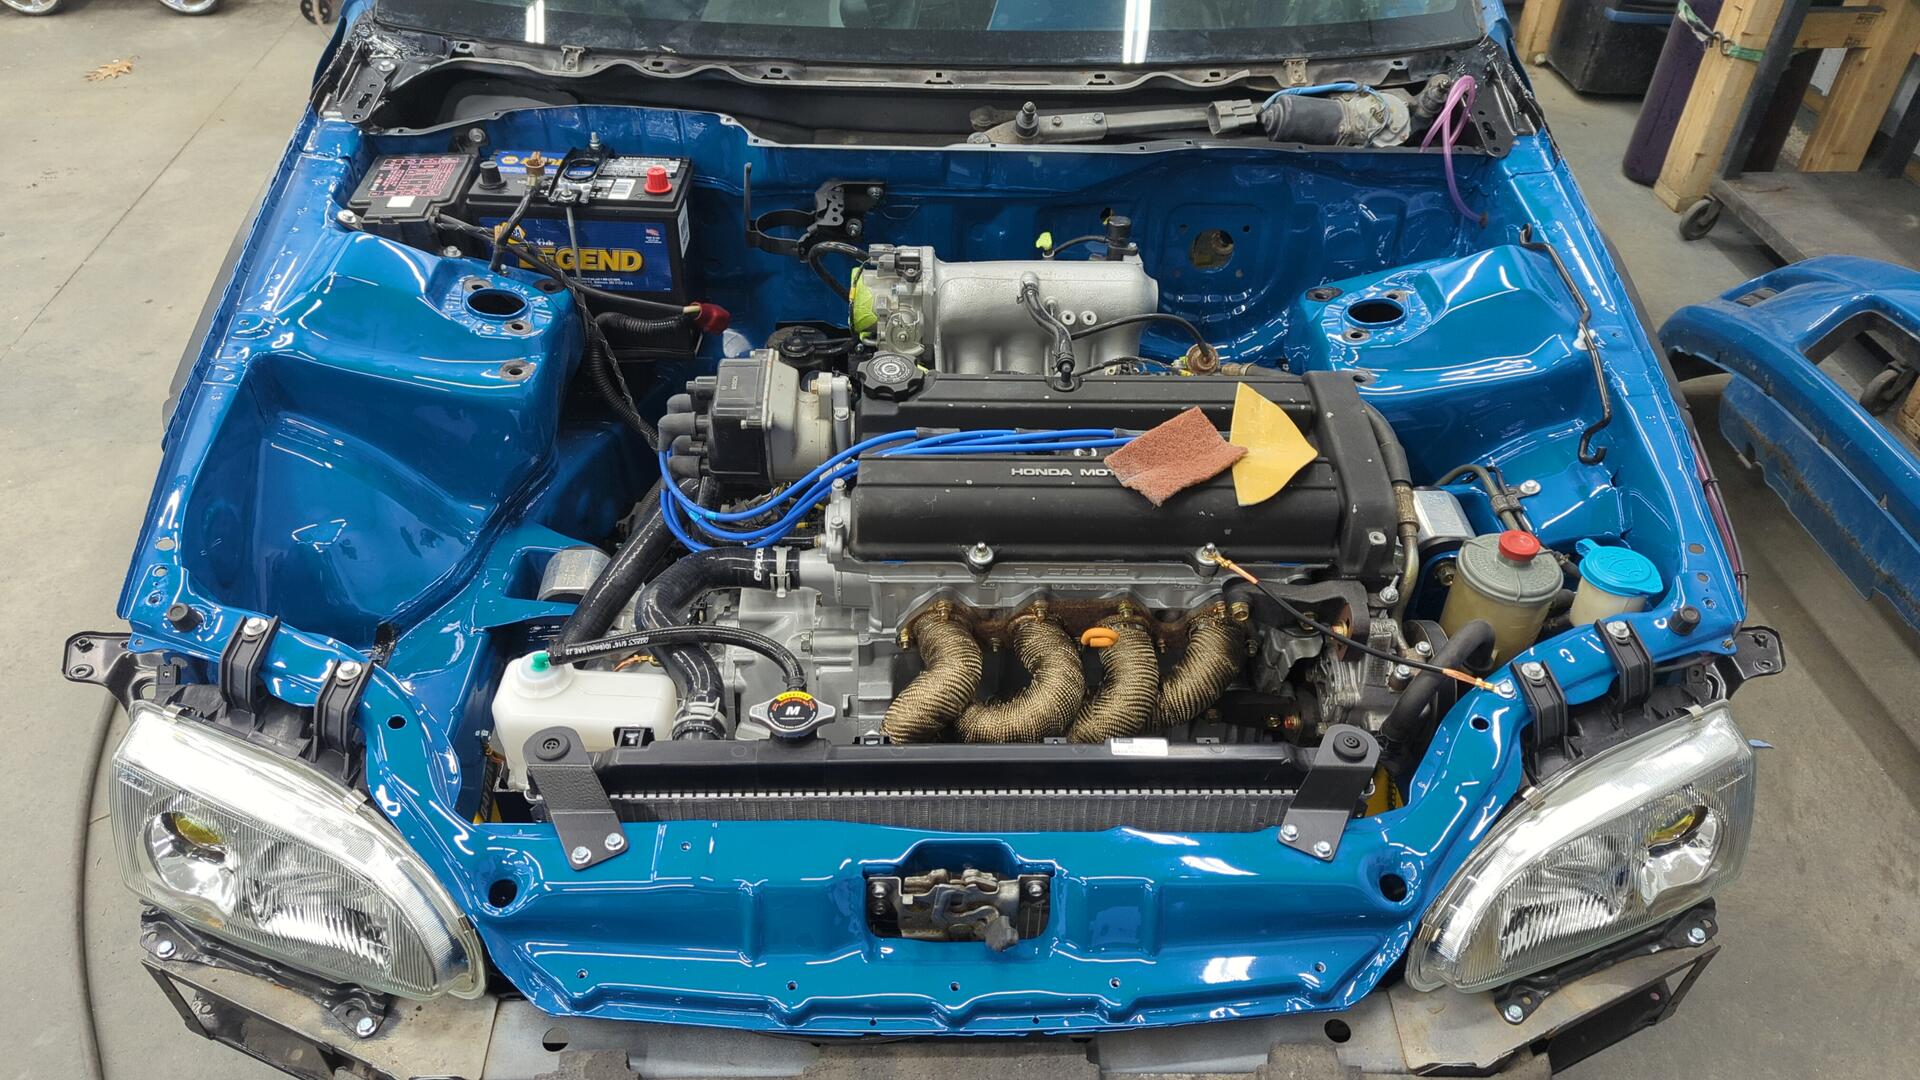
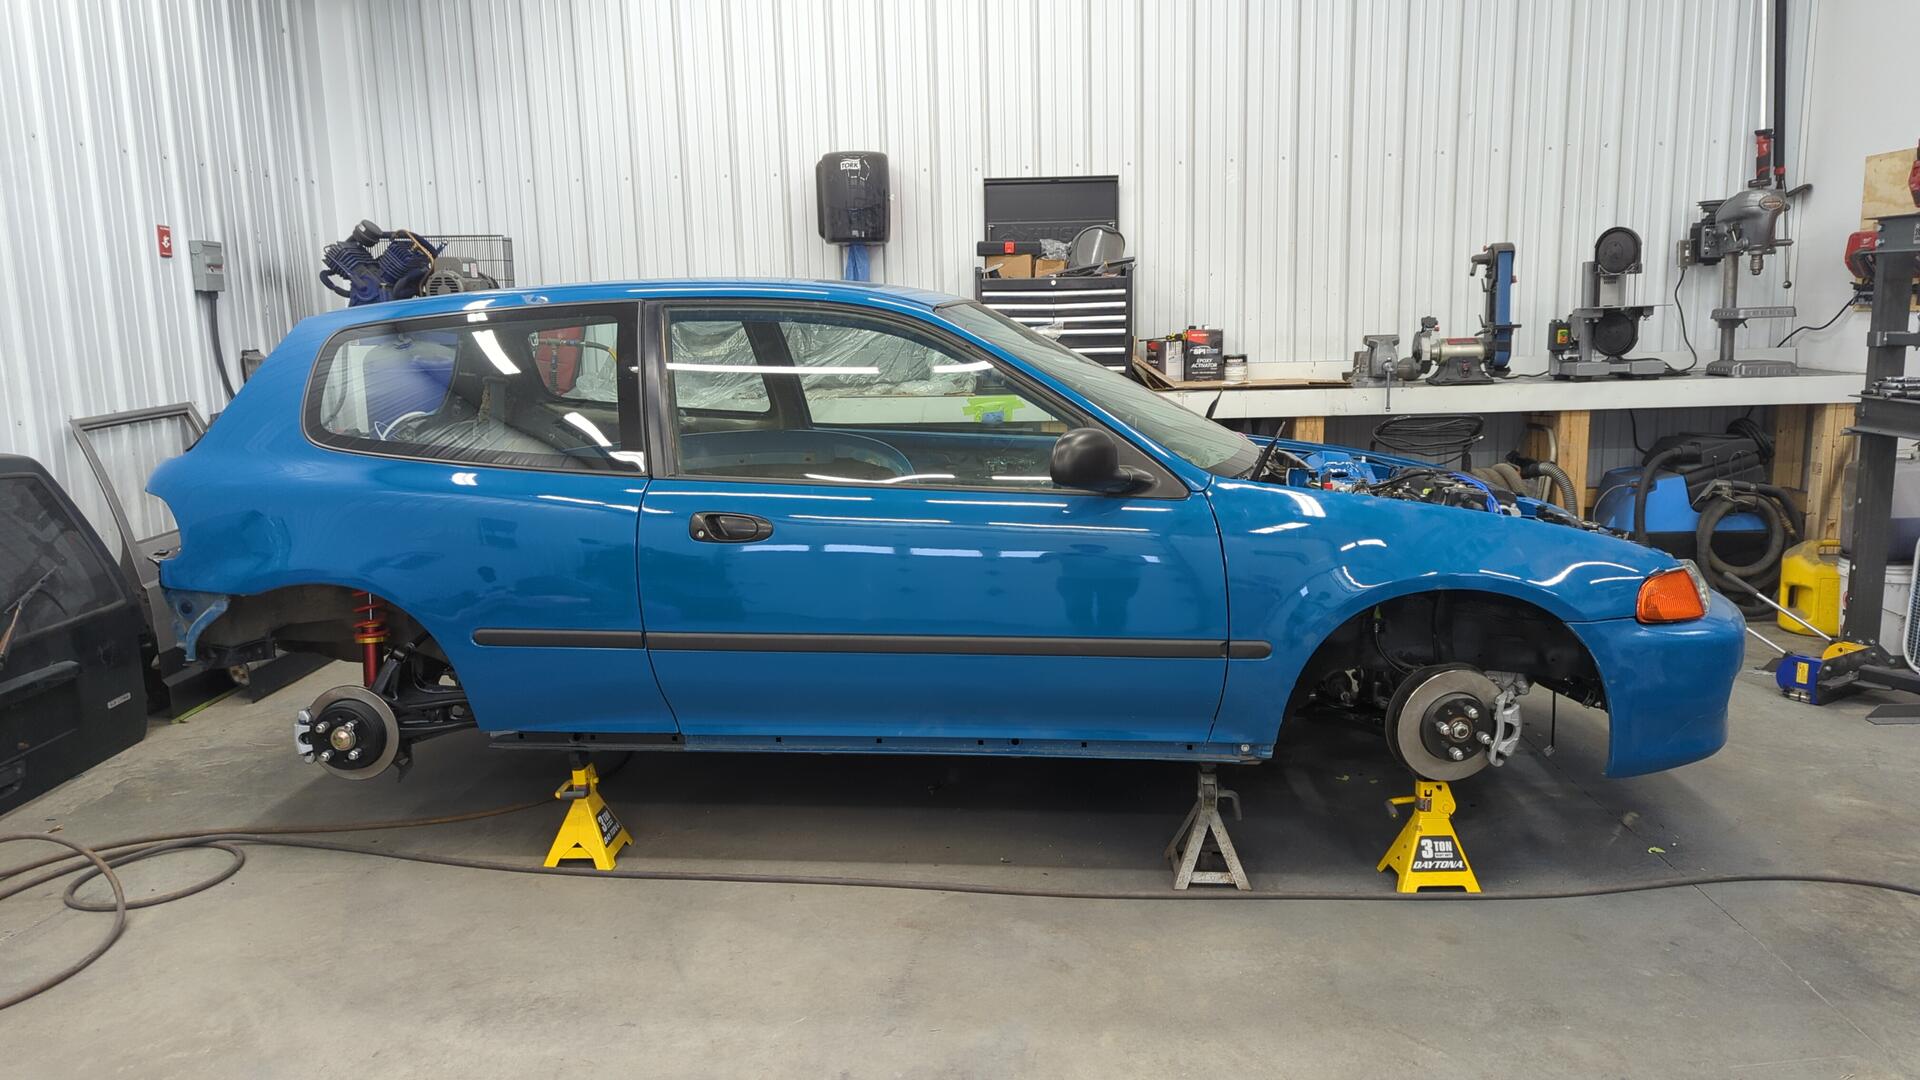
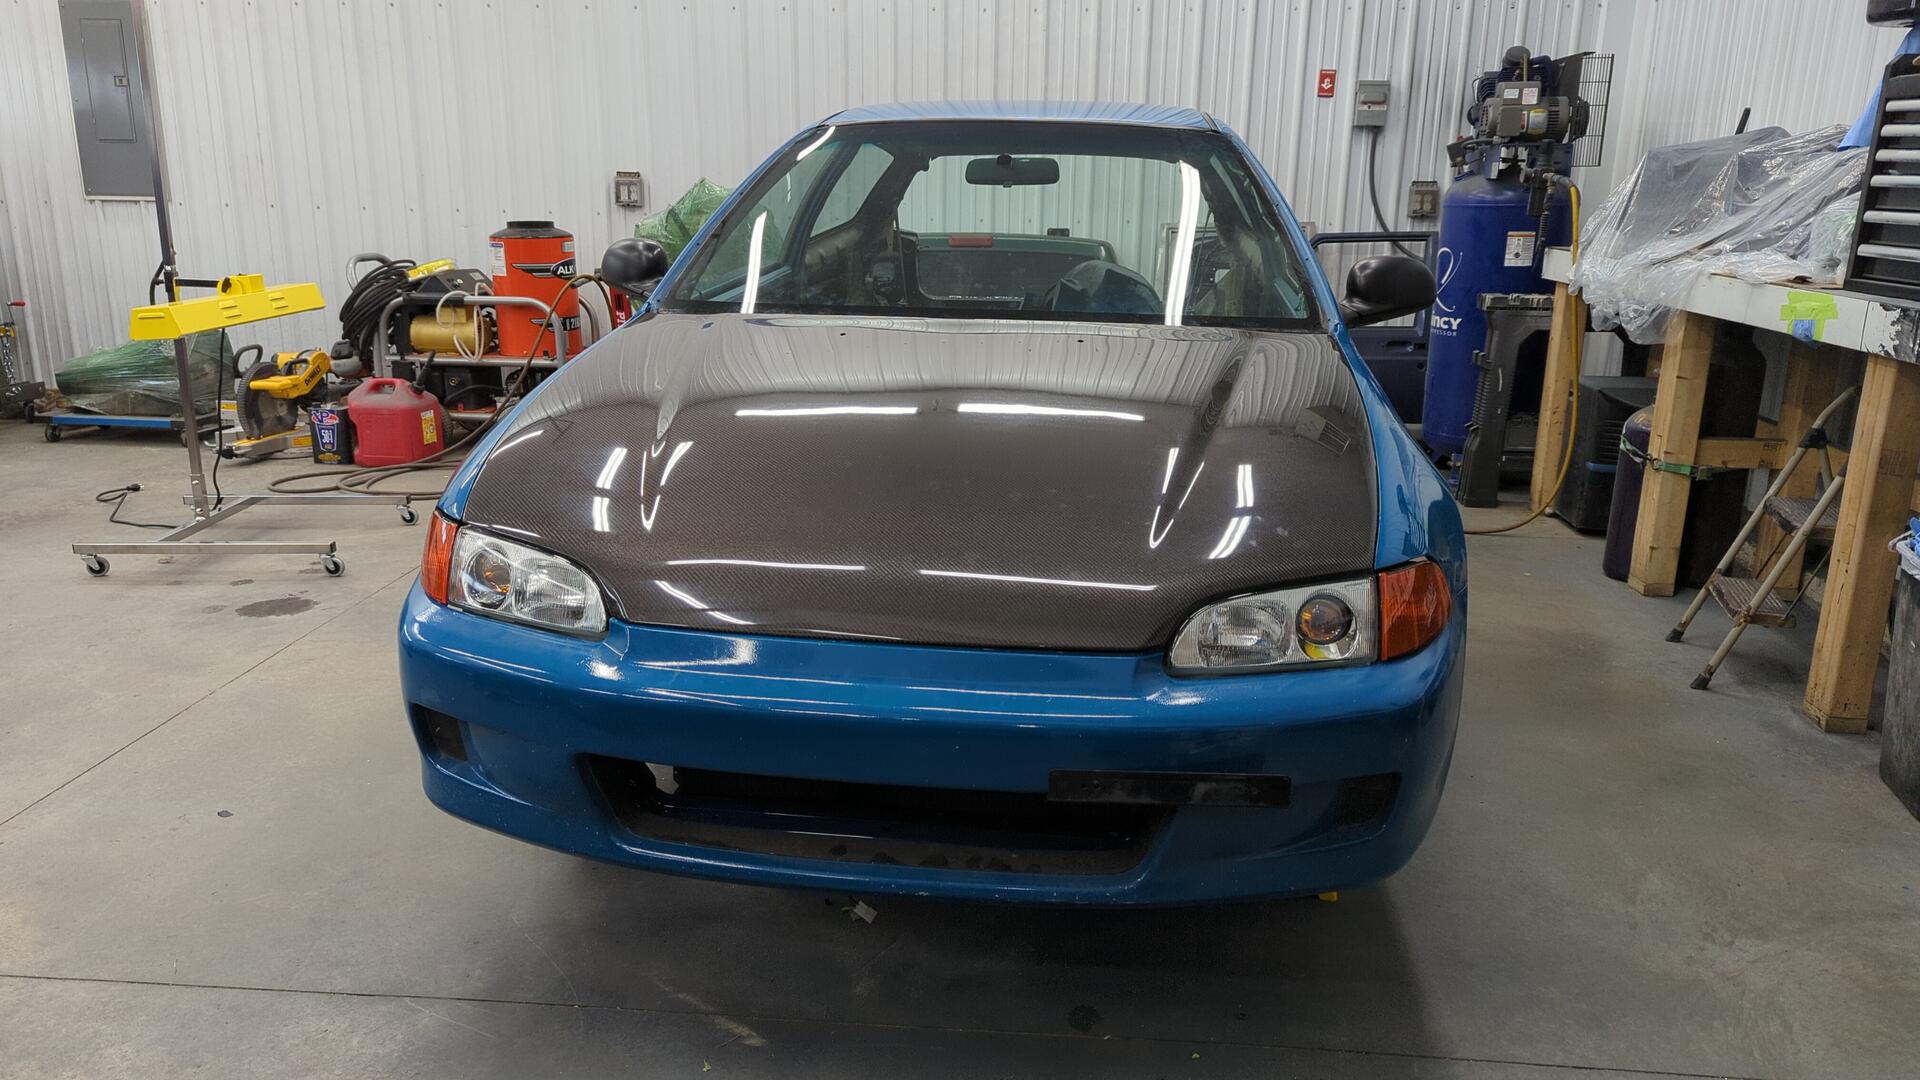
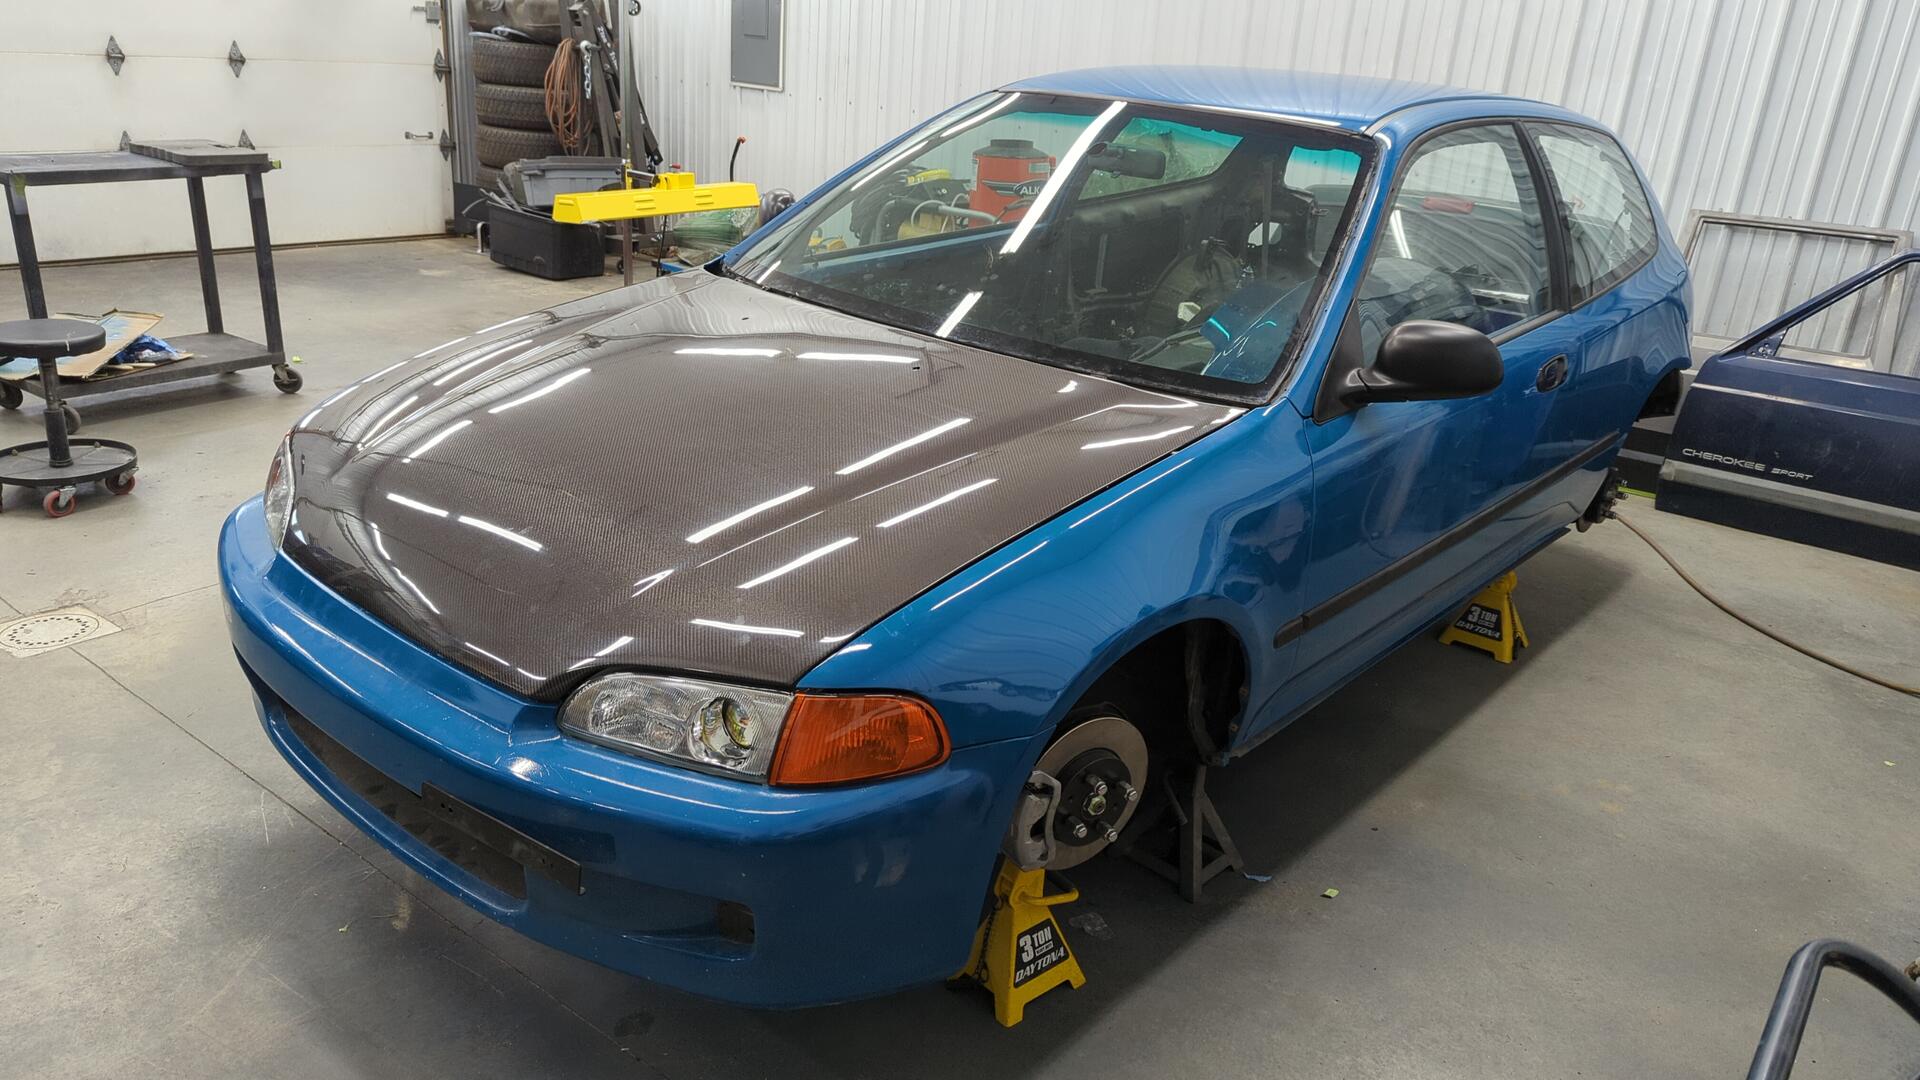
Test Fitting the Front End
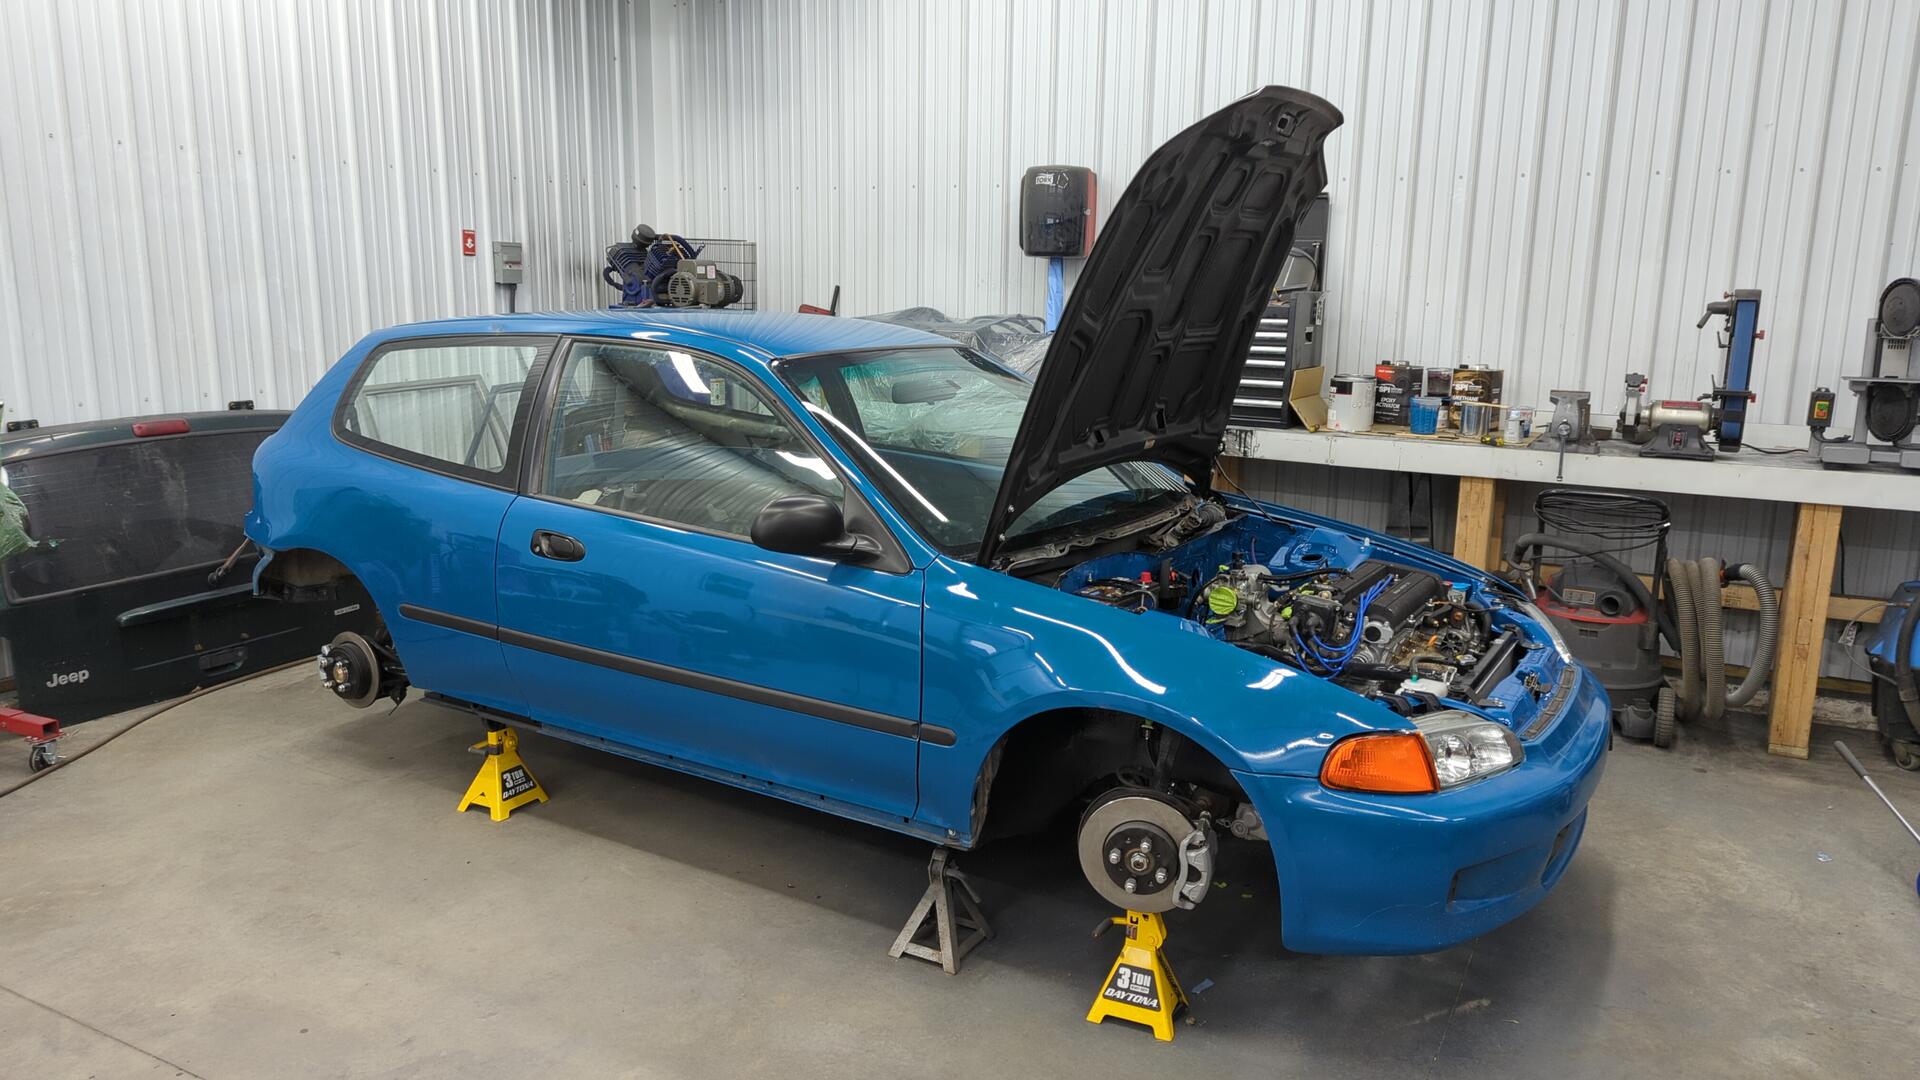
Even though I’ll need to take apart the front end again when it comes time to do some wiring, I decided to do a test assembly of the front end to motivate me. I figured getting a sneak peak at how the car is gonna look once finished up would be a nice treat.
Plus I wanted to double check how all the body panel gaps looked.

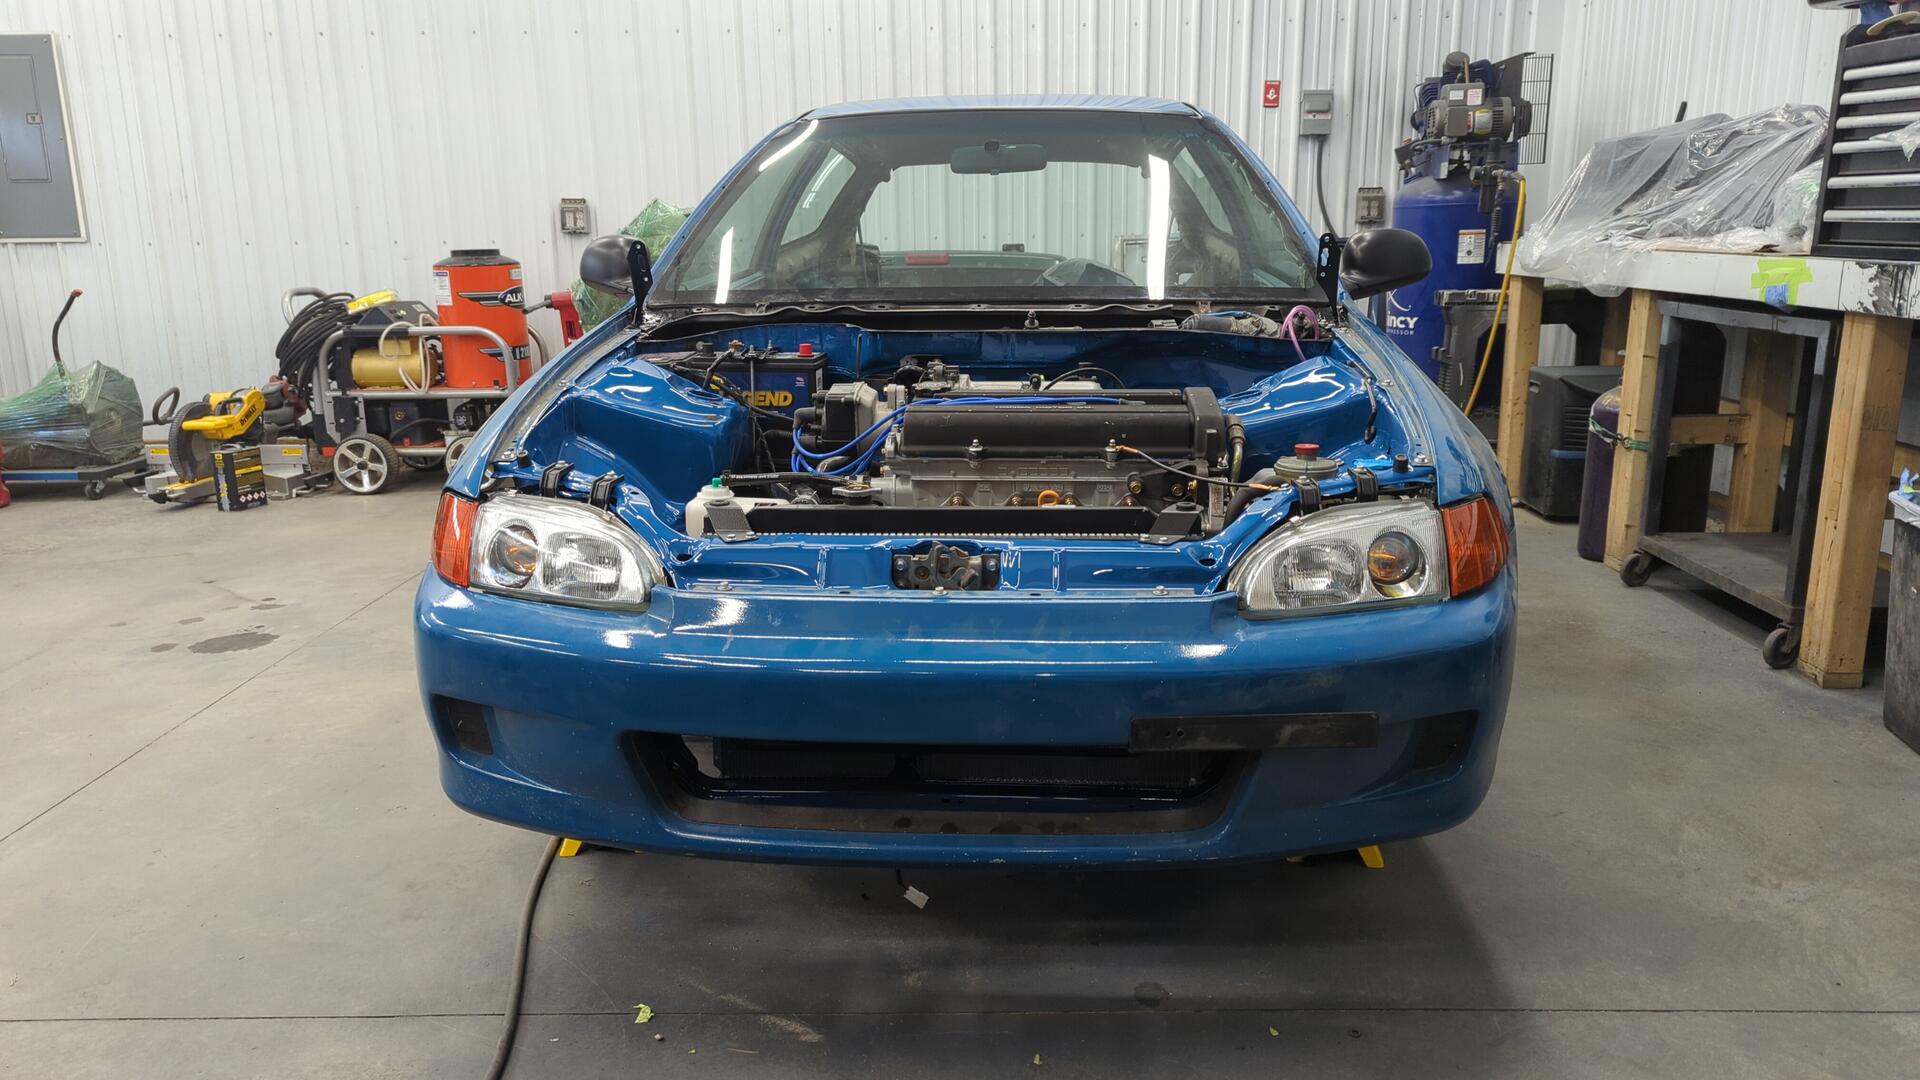
All in all, I’m pretty excited with how it looks. The Denjis are a nice touch and I really like how the engine bay is coming out.
Dialing in the body panel gaps was a bit of a pain, and I’ll most likely fiddle with the driver side fender a bit more but everything is pretty much good to go.
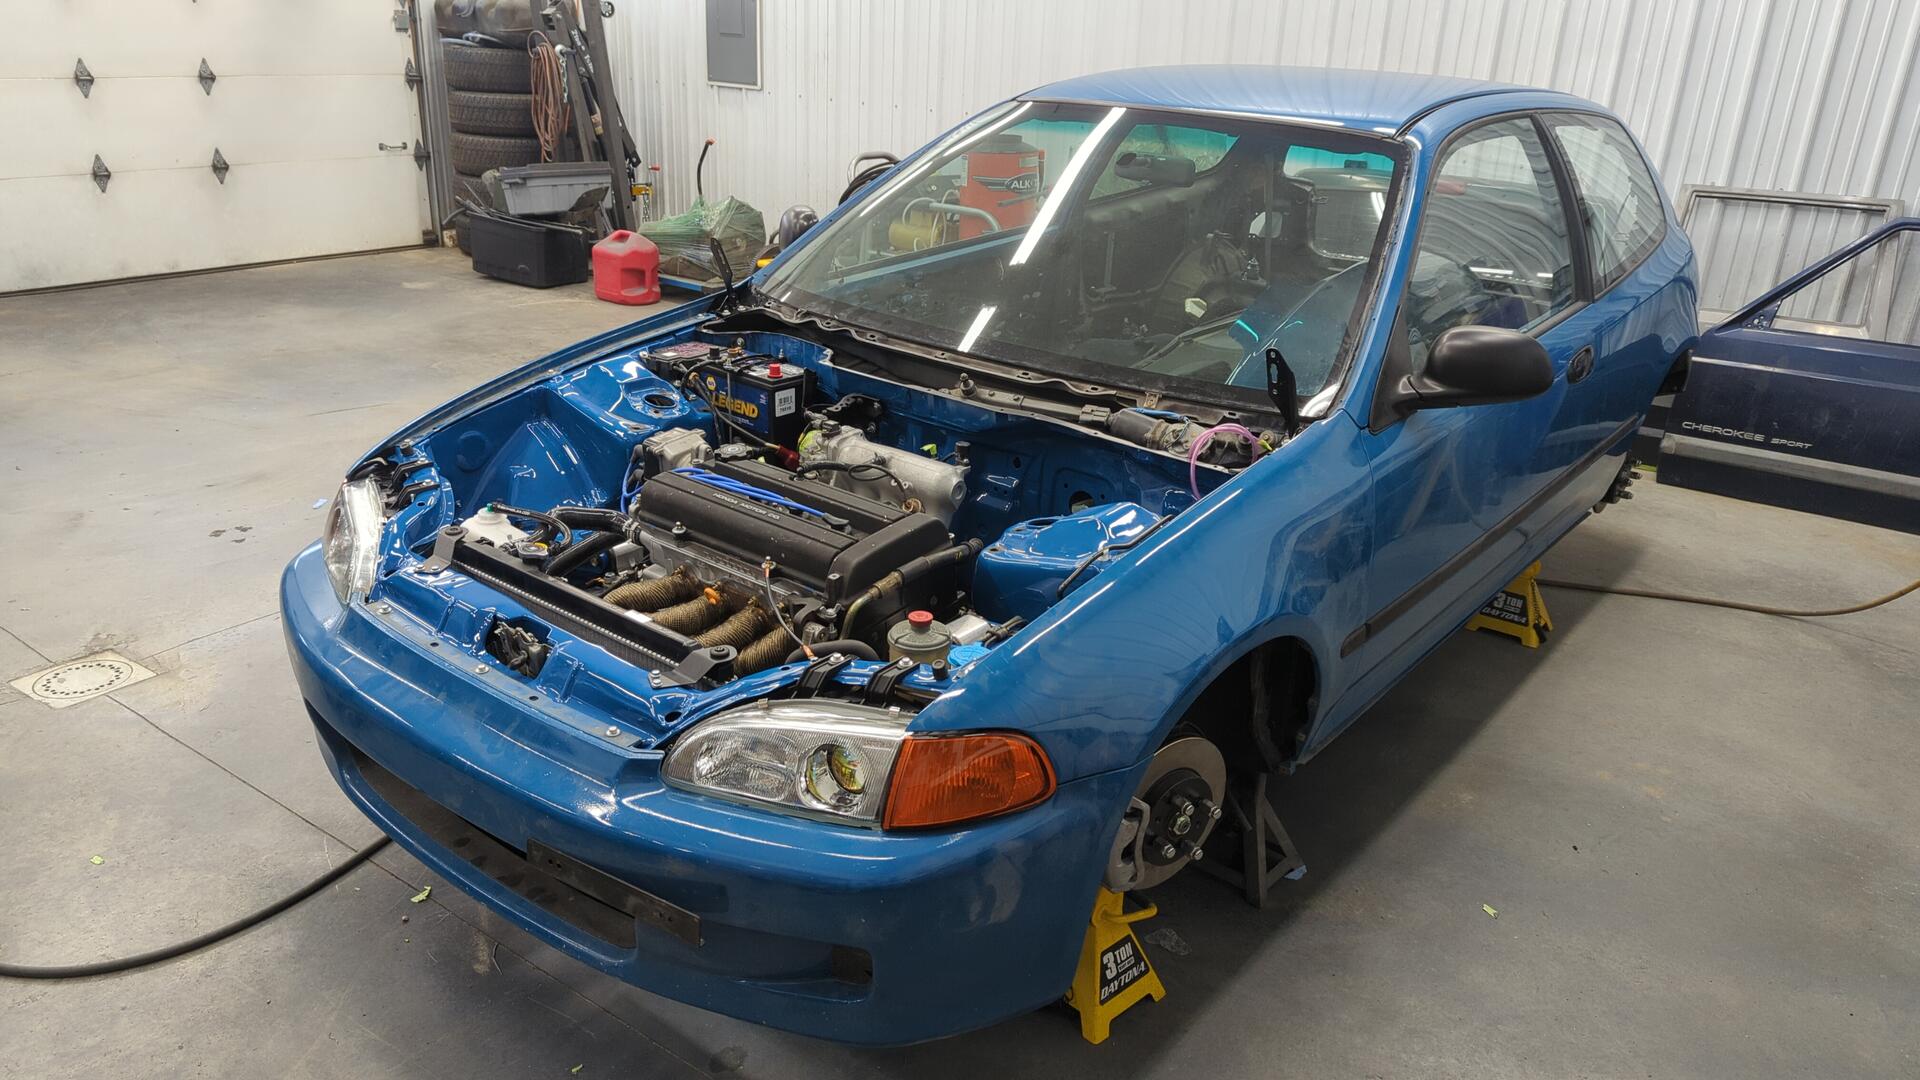
It’s nice that it’s starting to look like a car again.
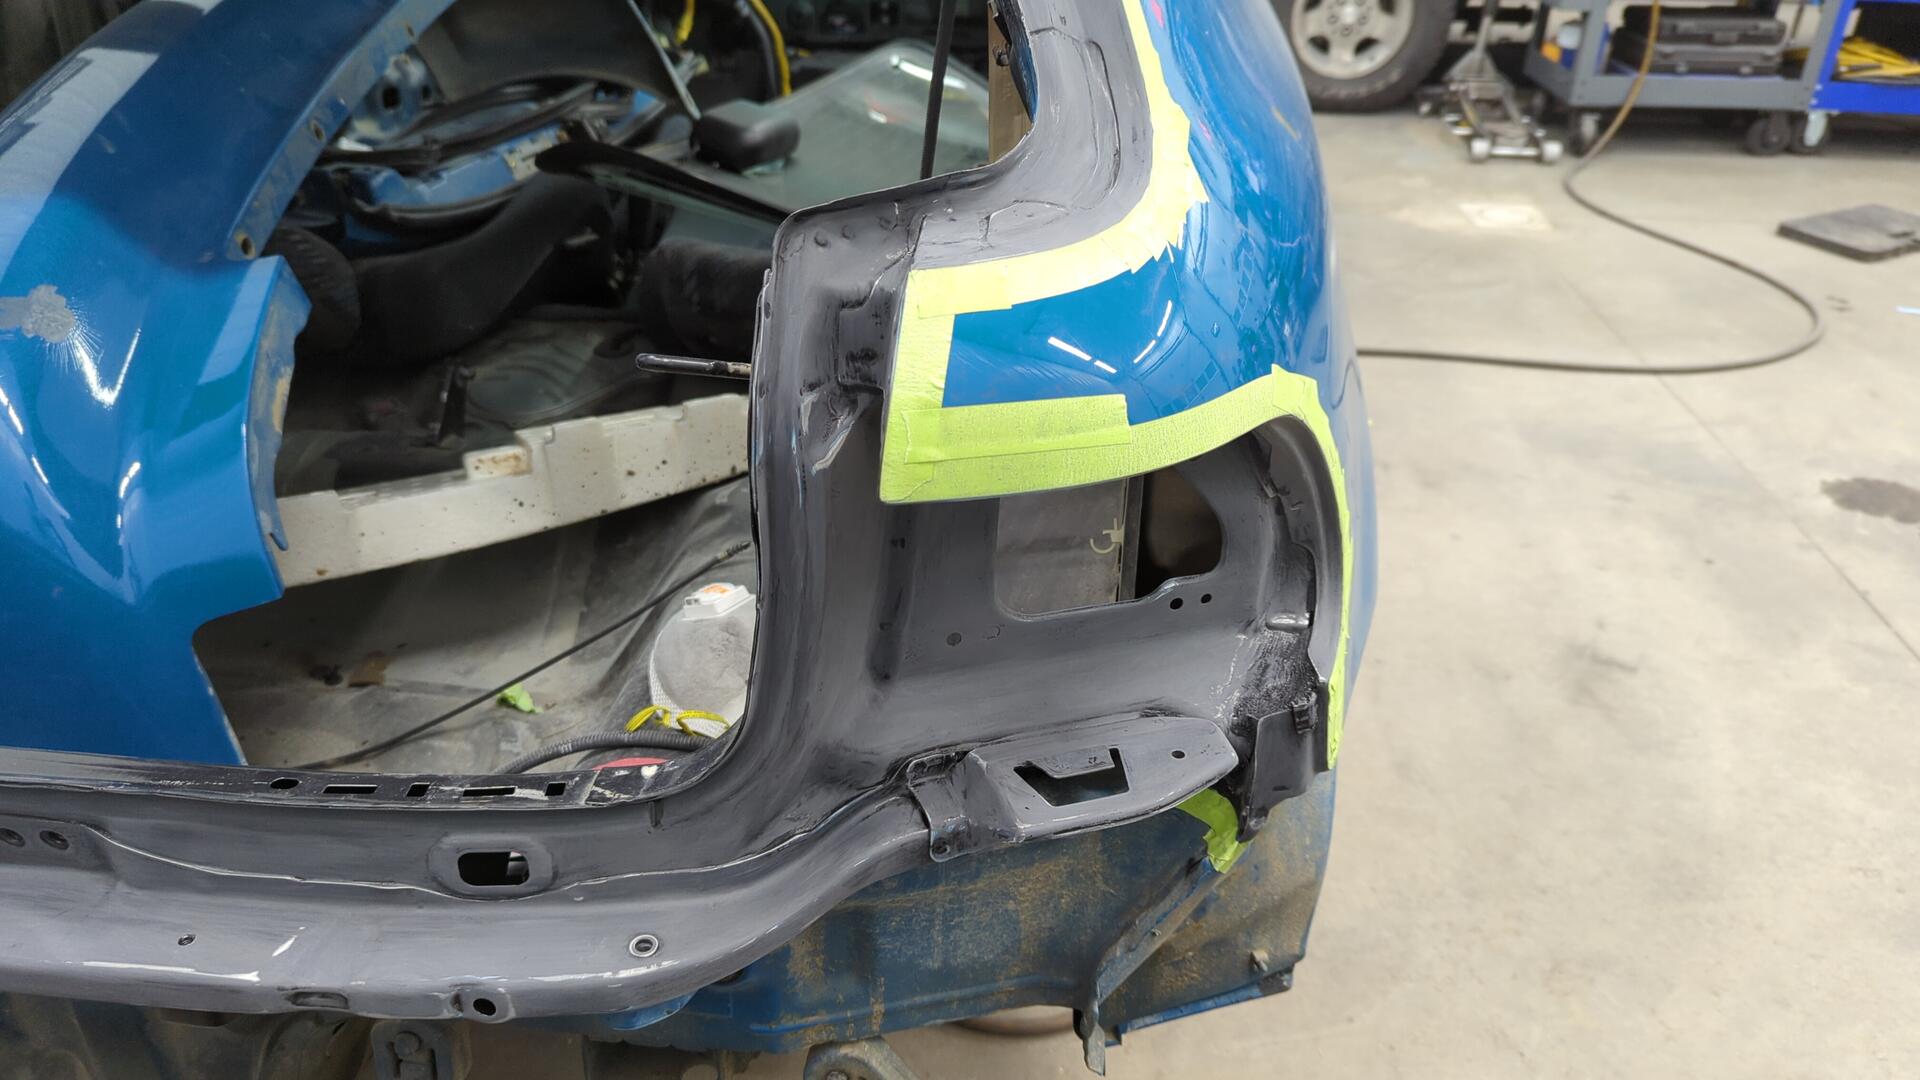
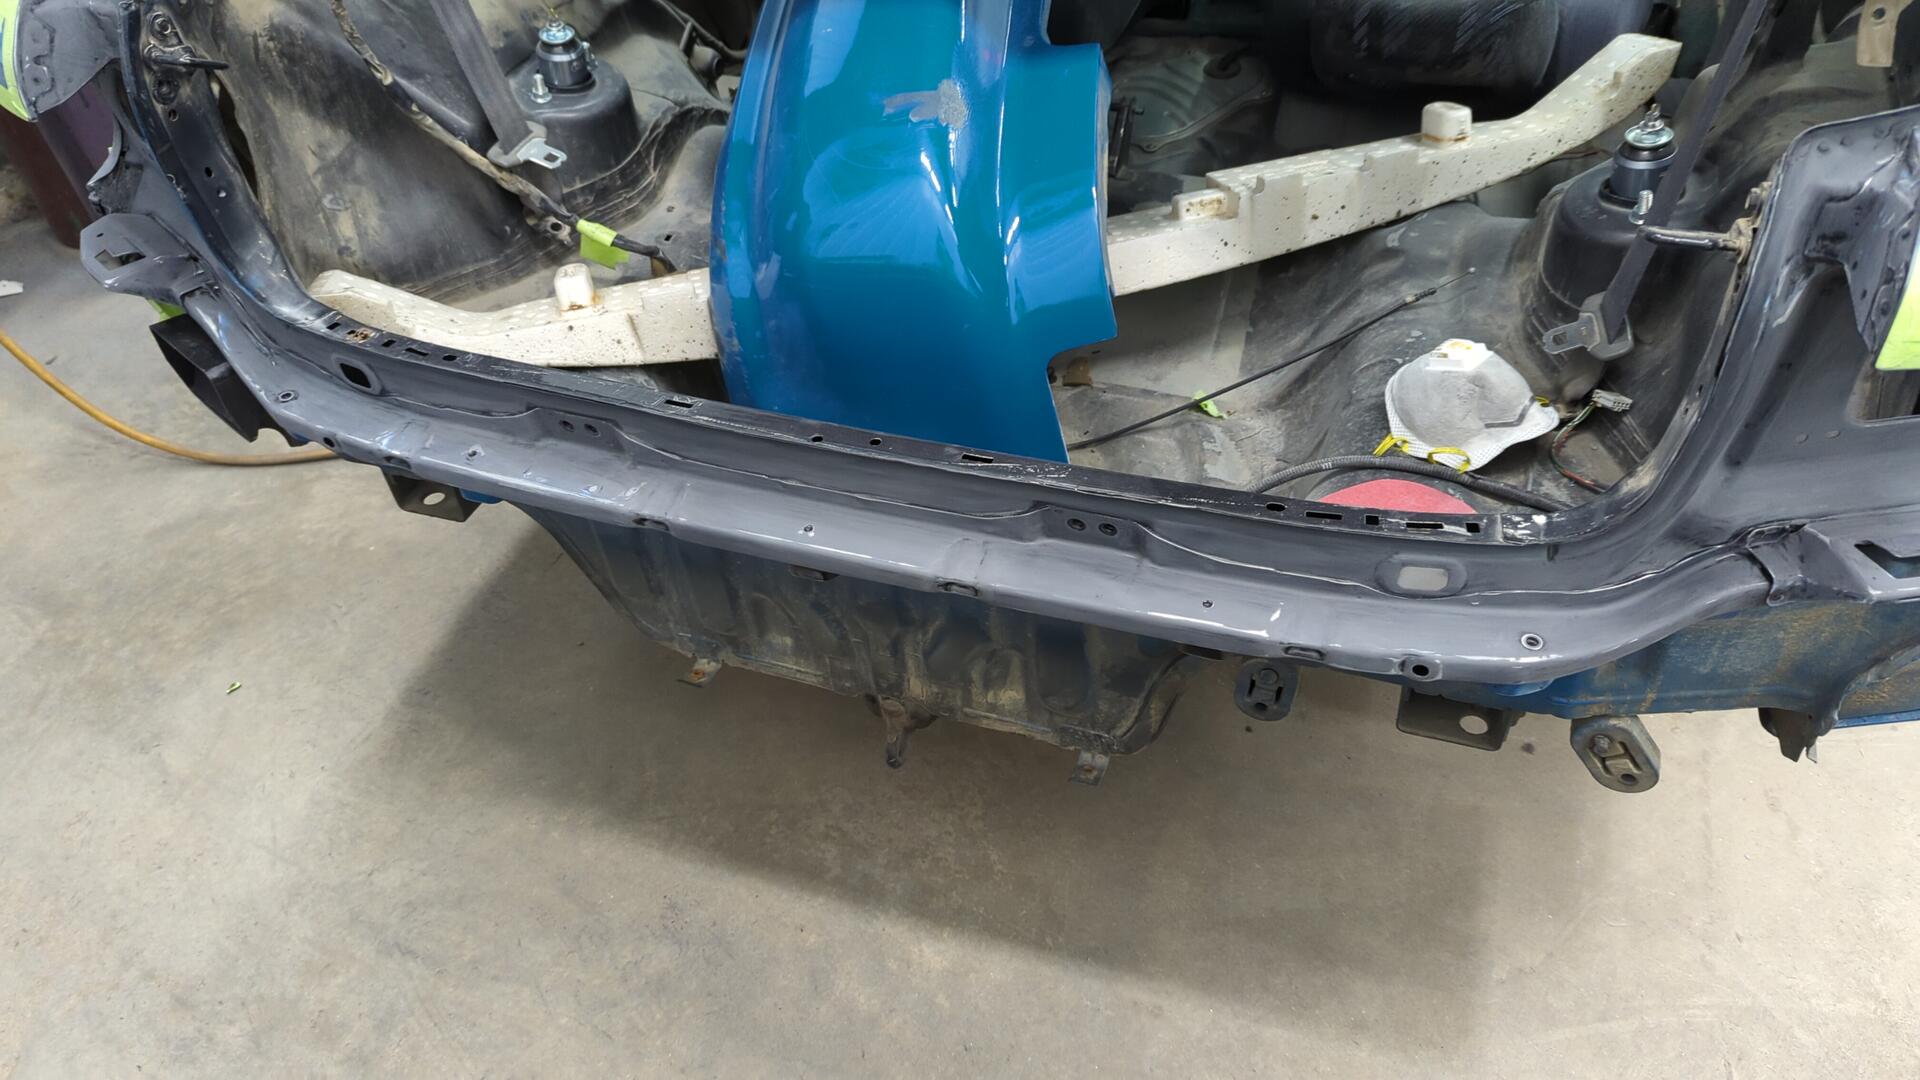
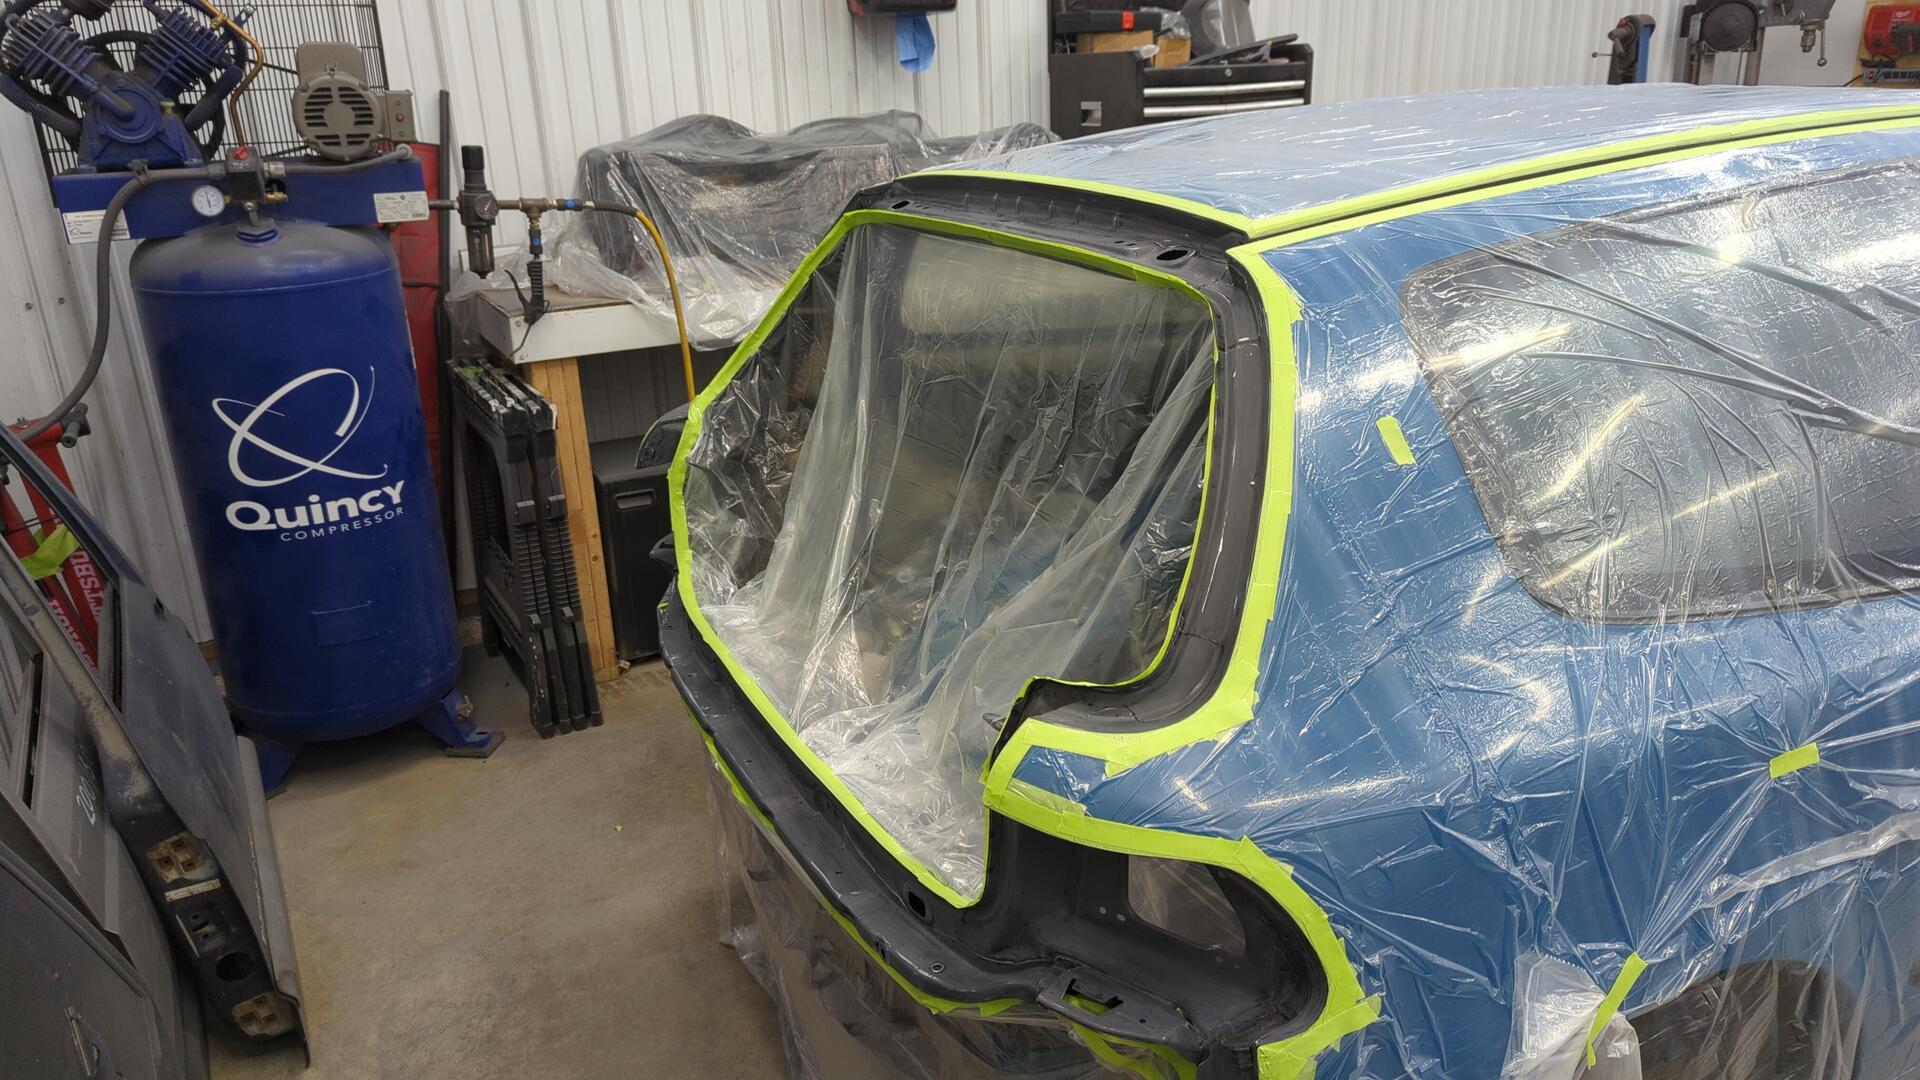
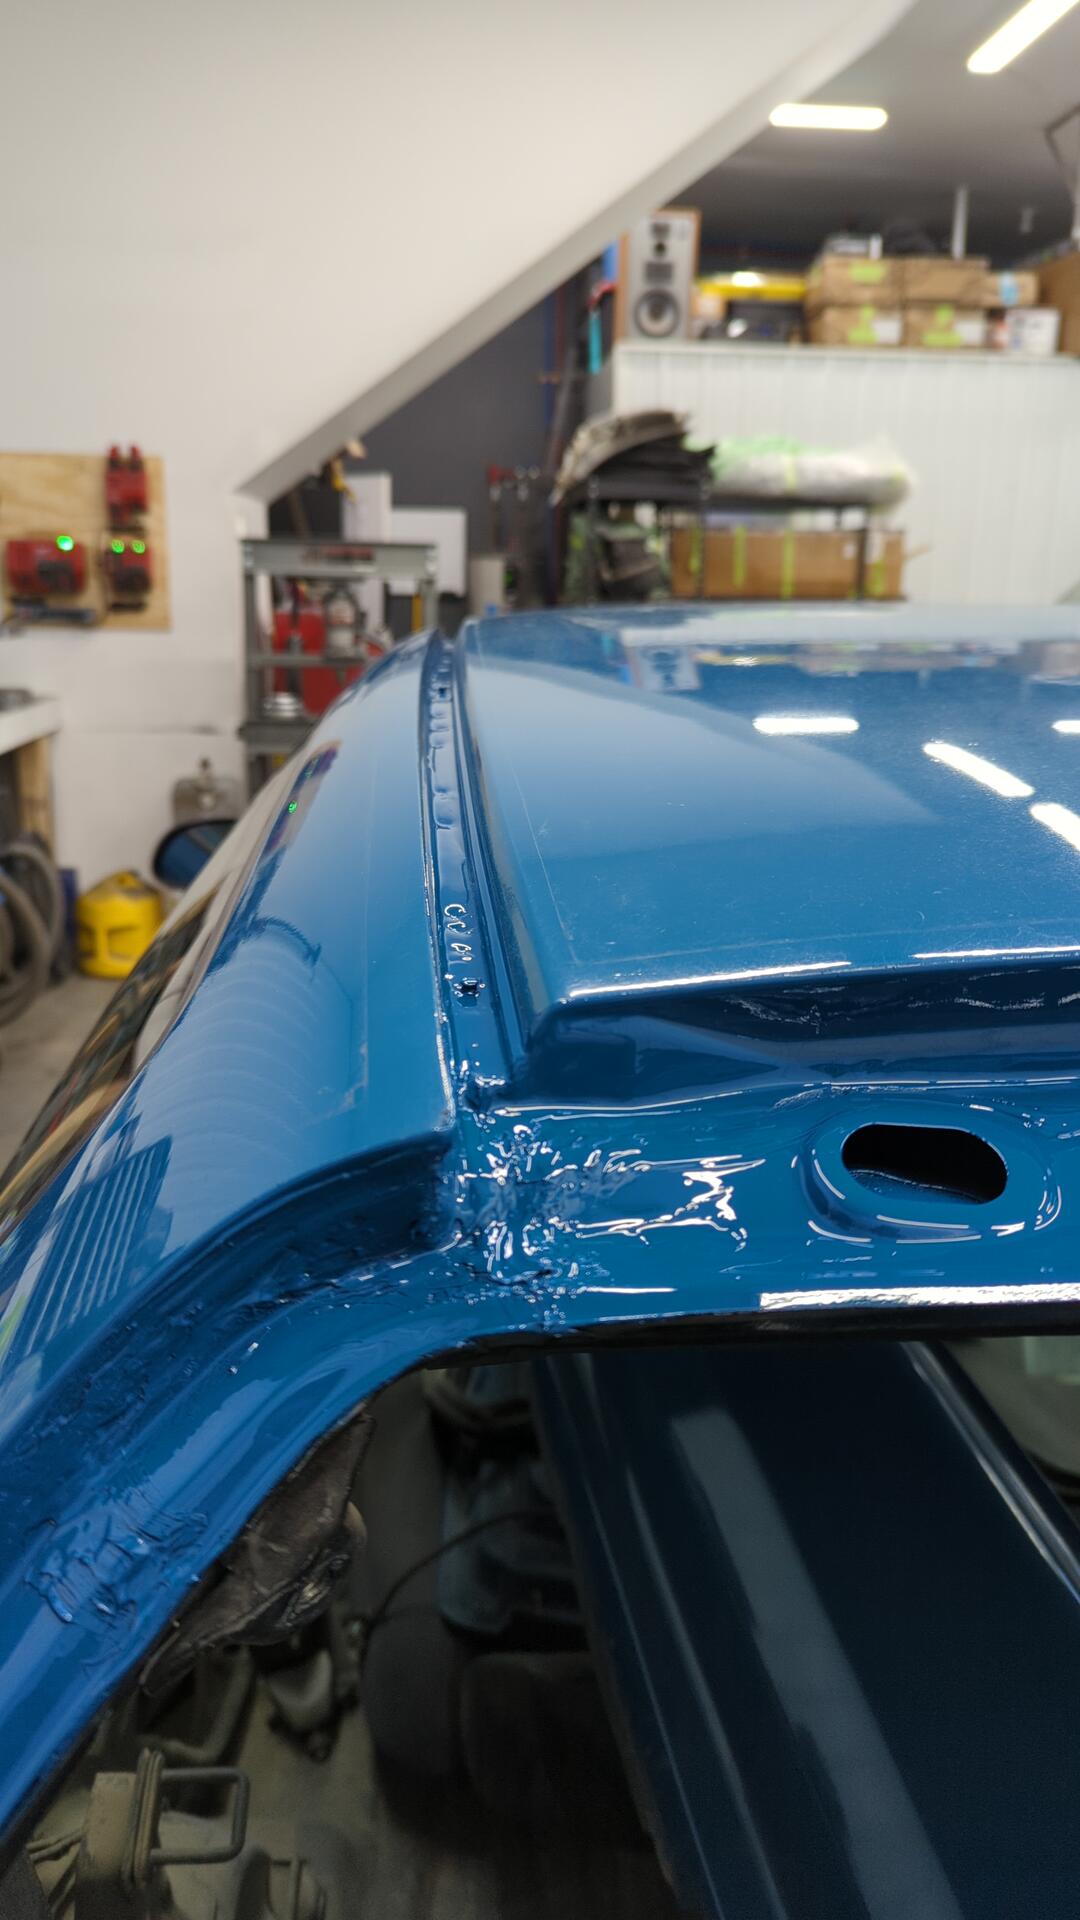
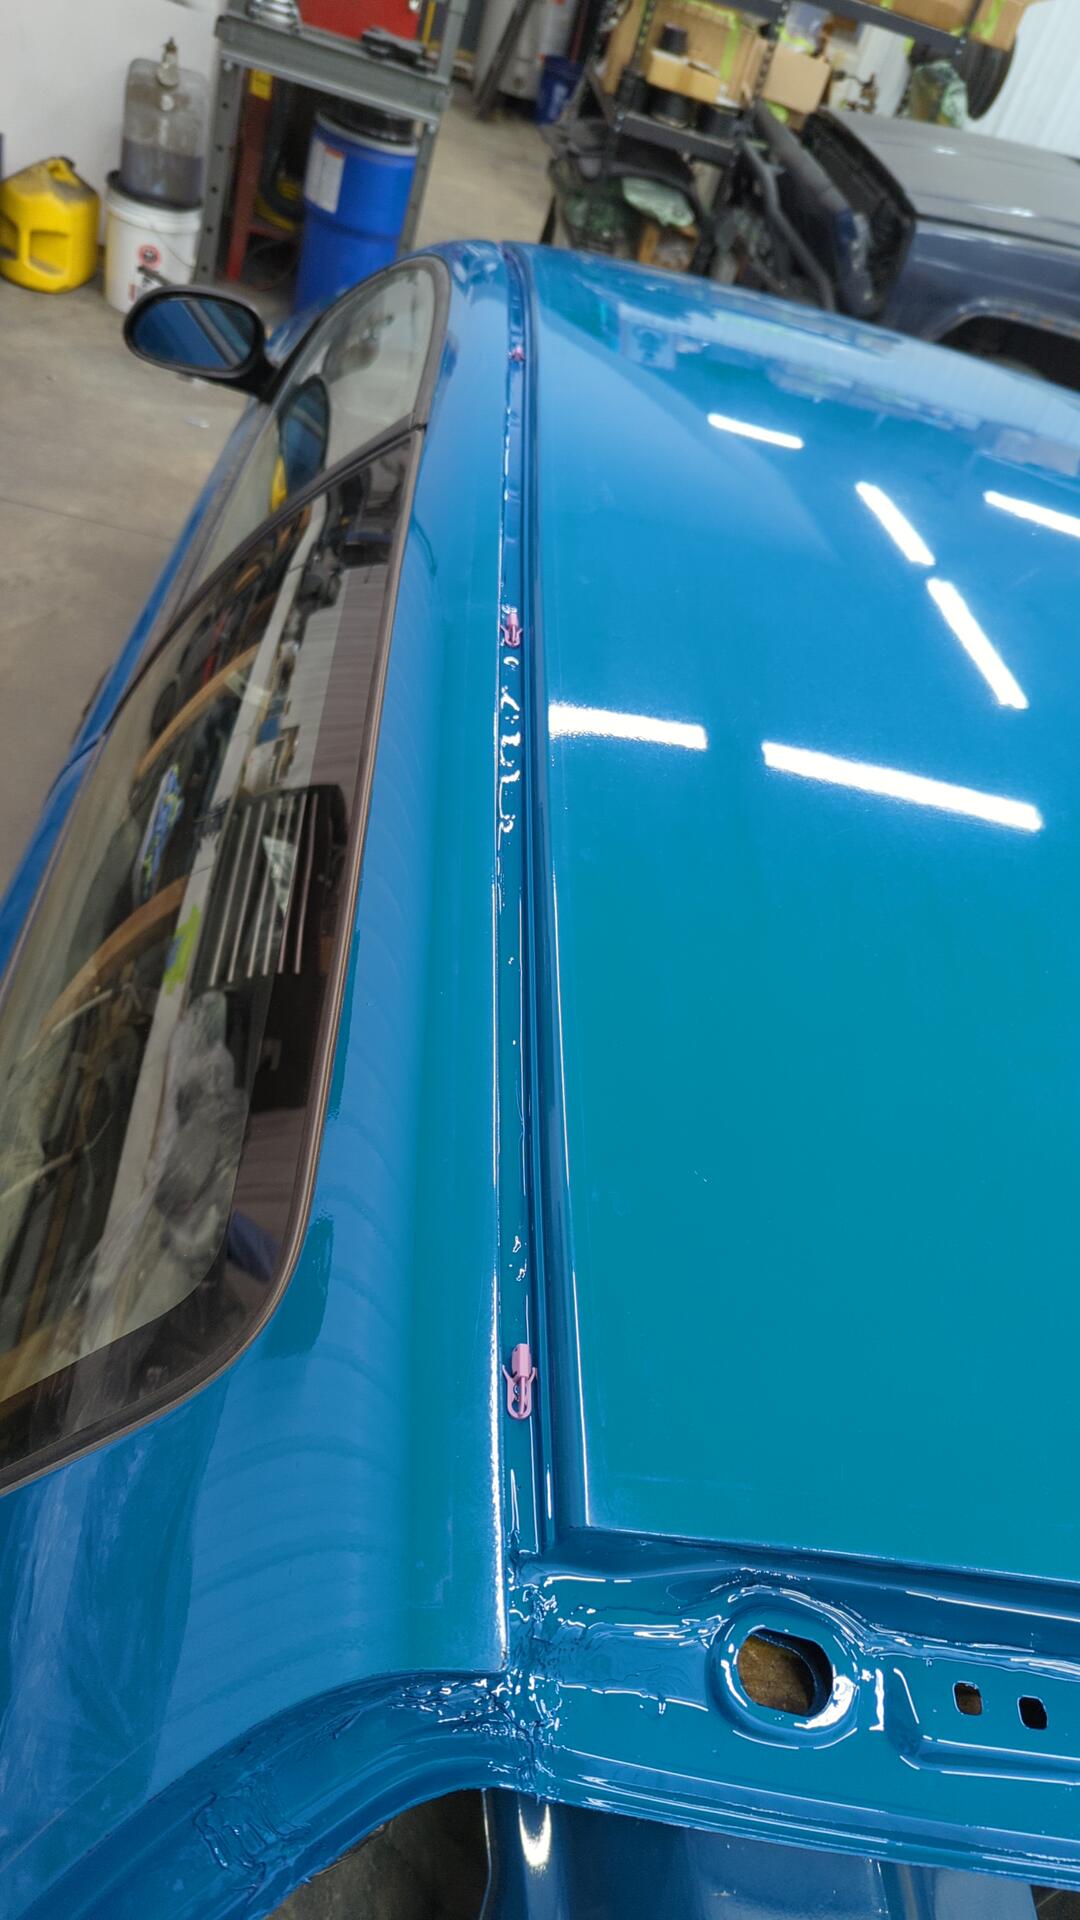
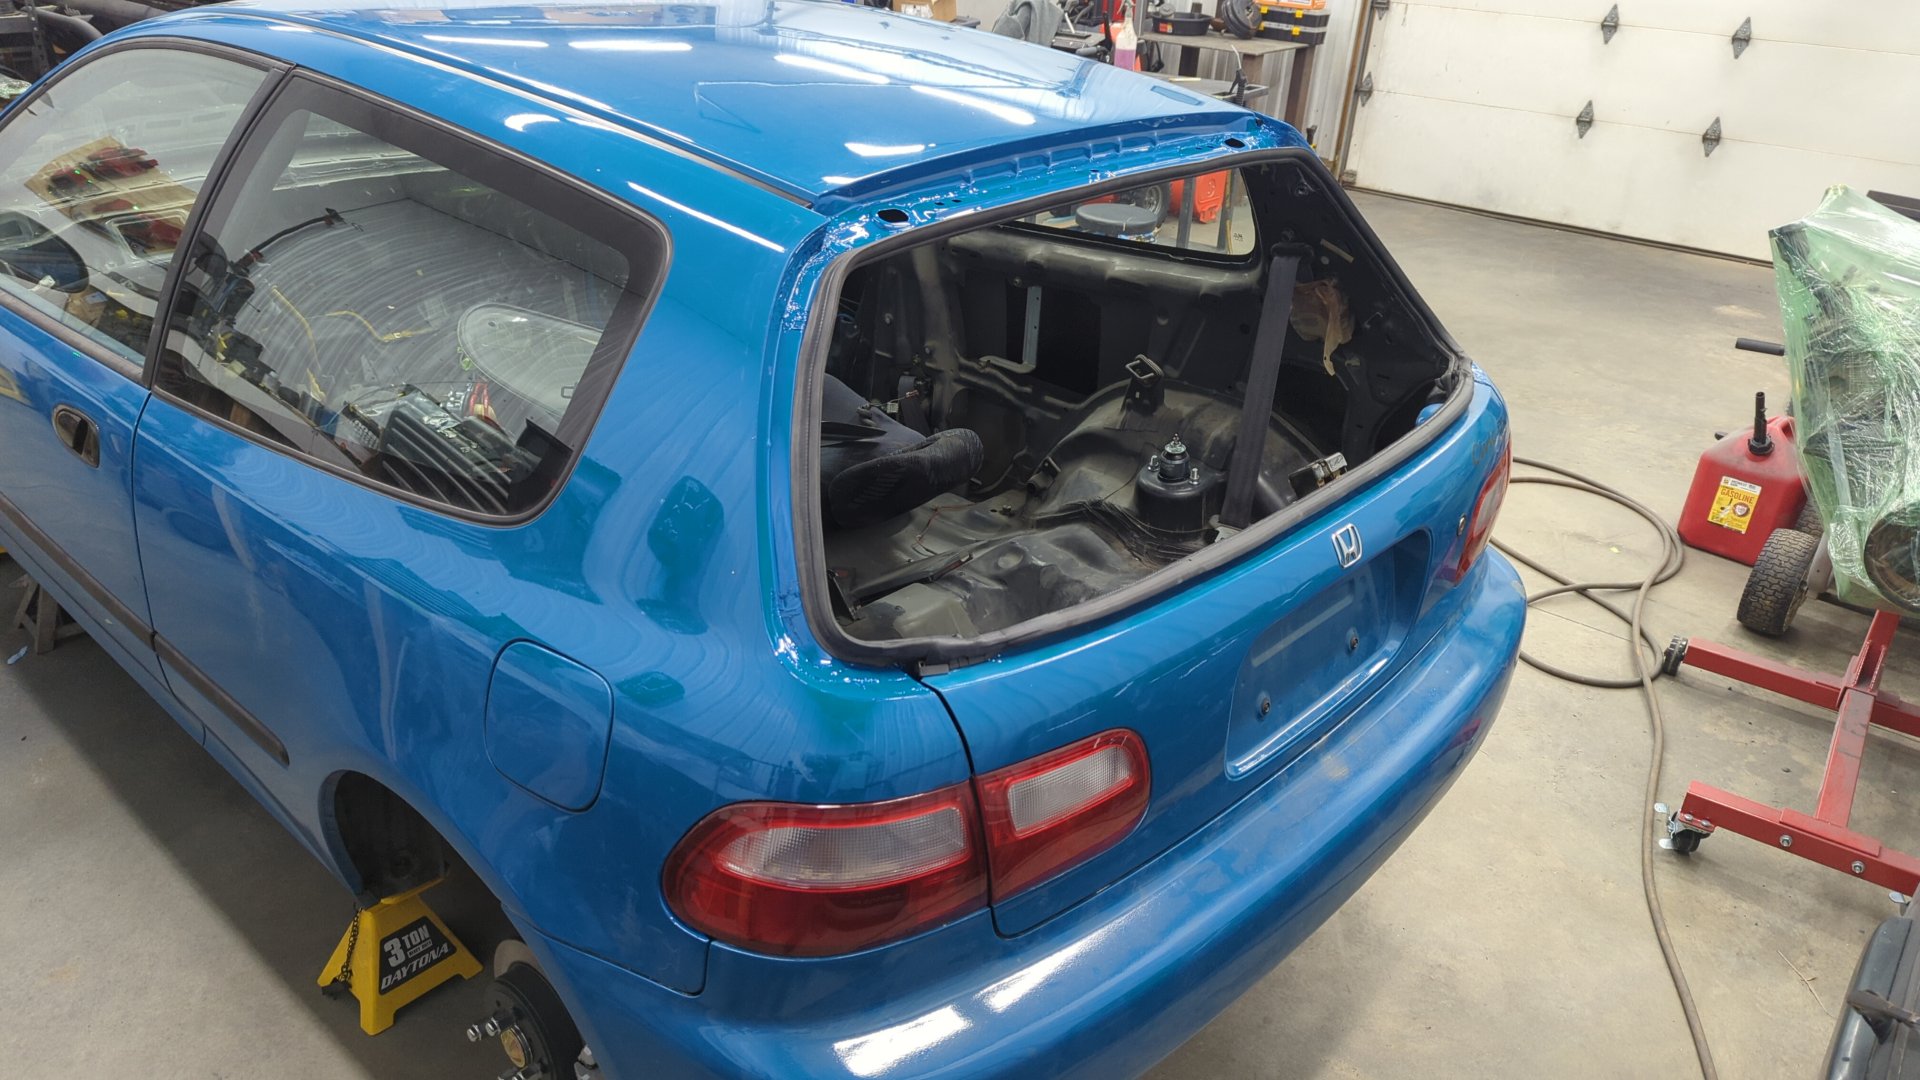
Sealing up the Roof and Hatch Area
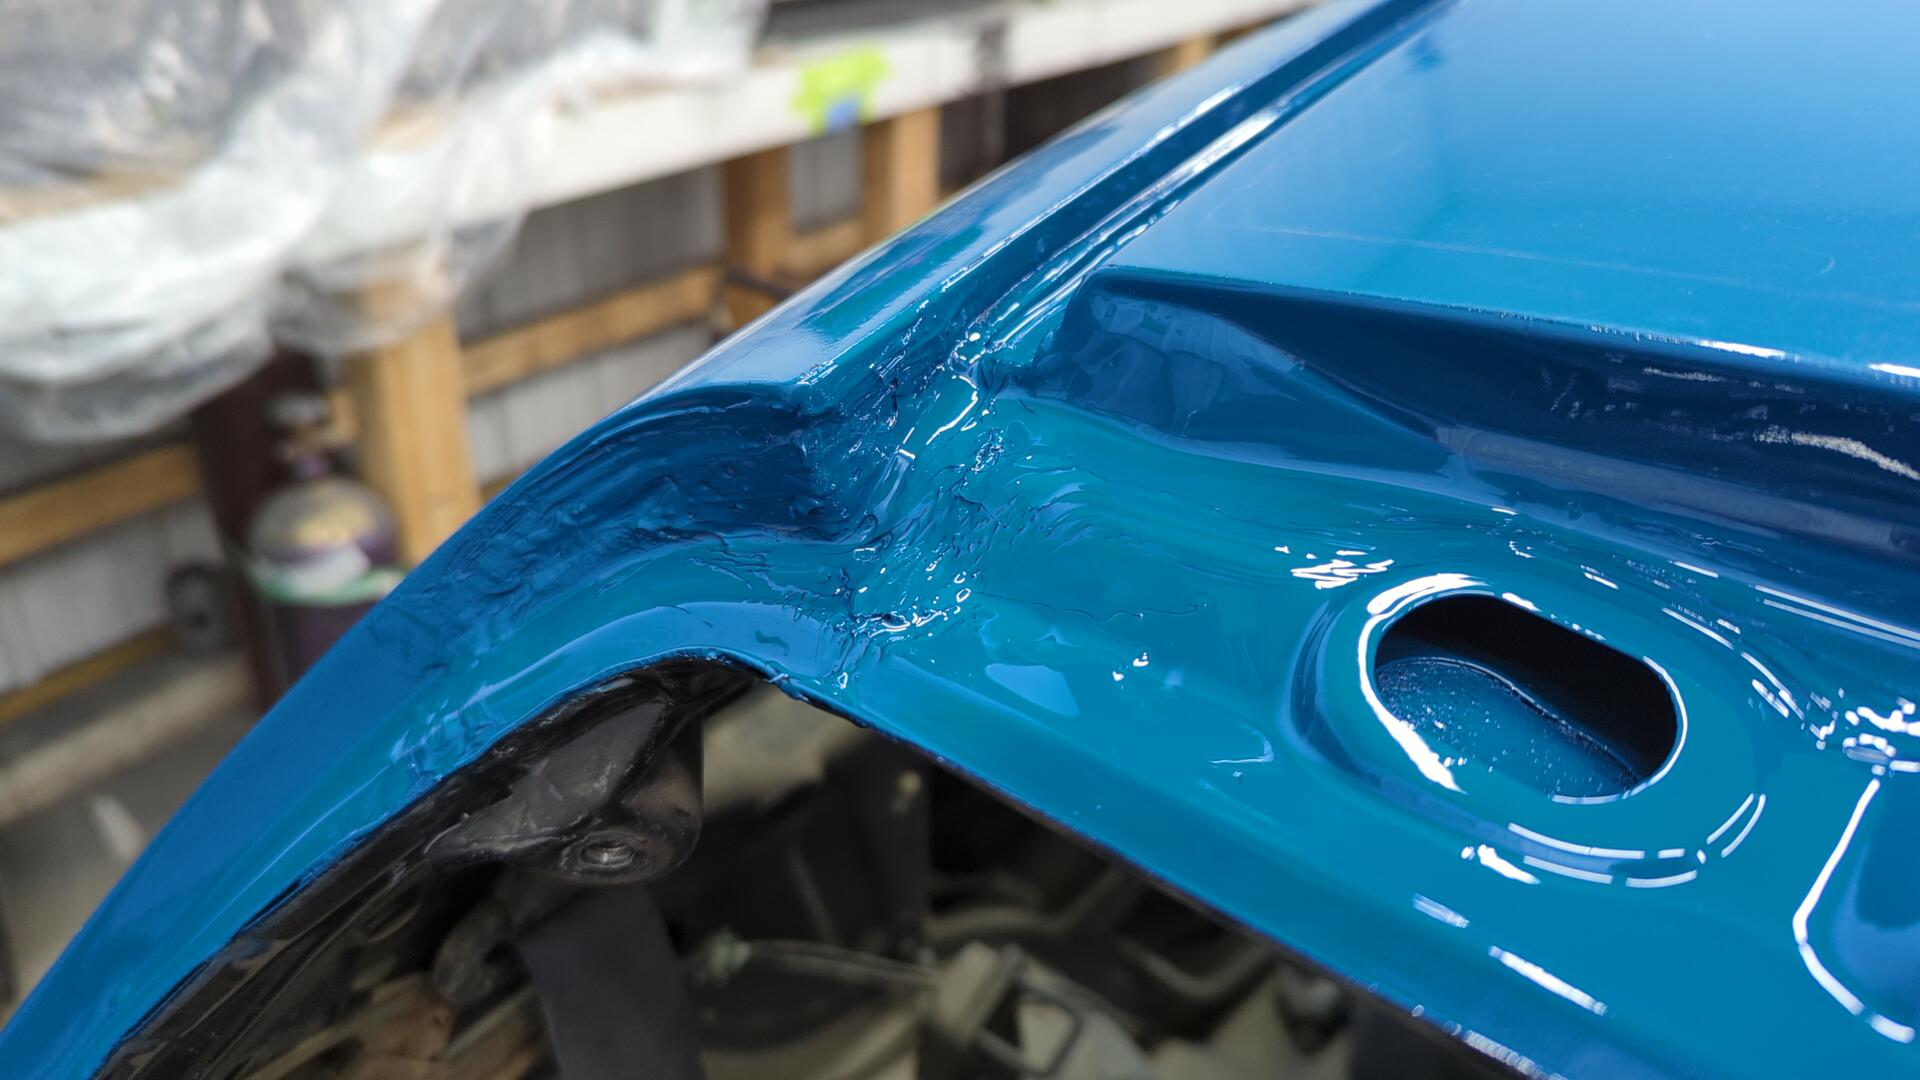
There was a ton of sanding that needed to be done in the hatch area to prep for paint. Everything already had 2 coats of epoxy on it but I needed to sand it down with 320 grit in order to prep for top coating.
I don’t have any power tools that can fit in the tight spots so this was all done by hand.
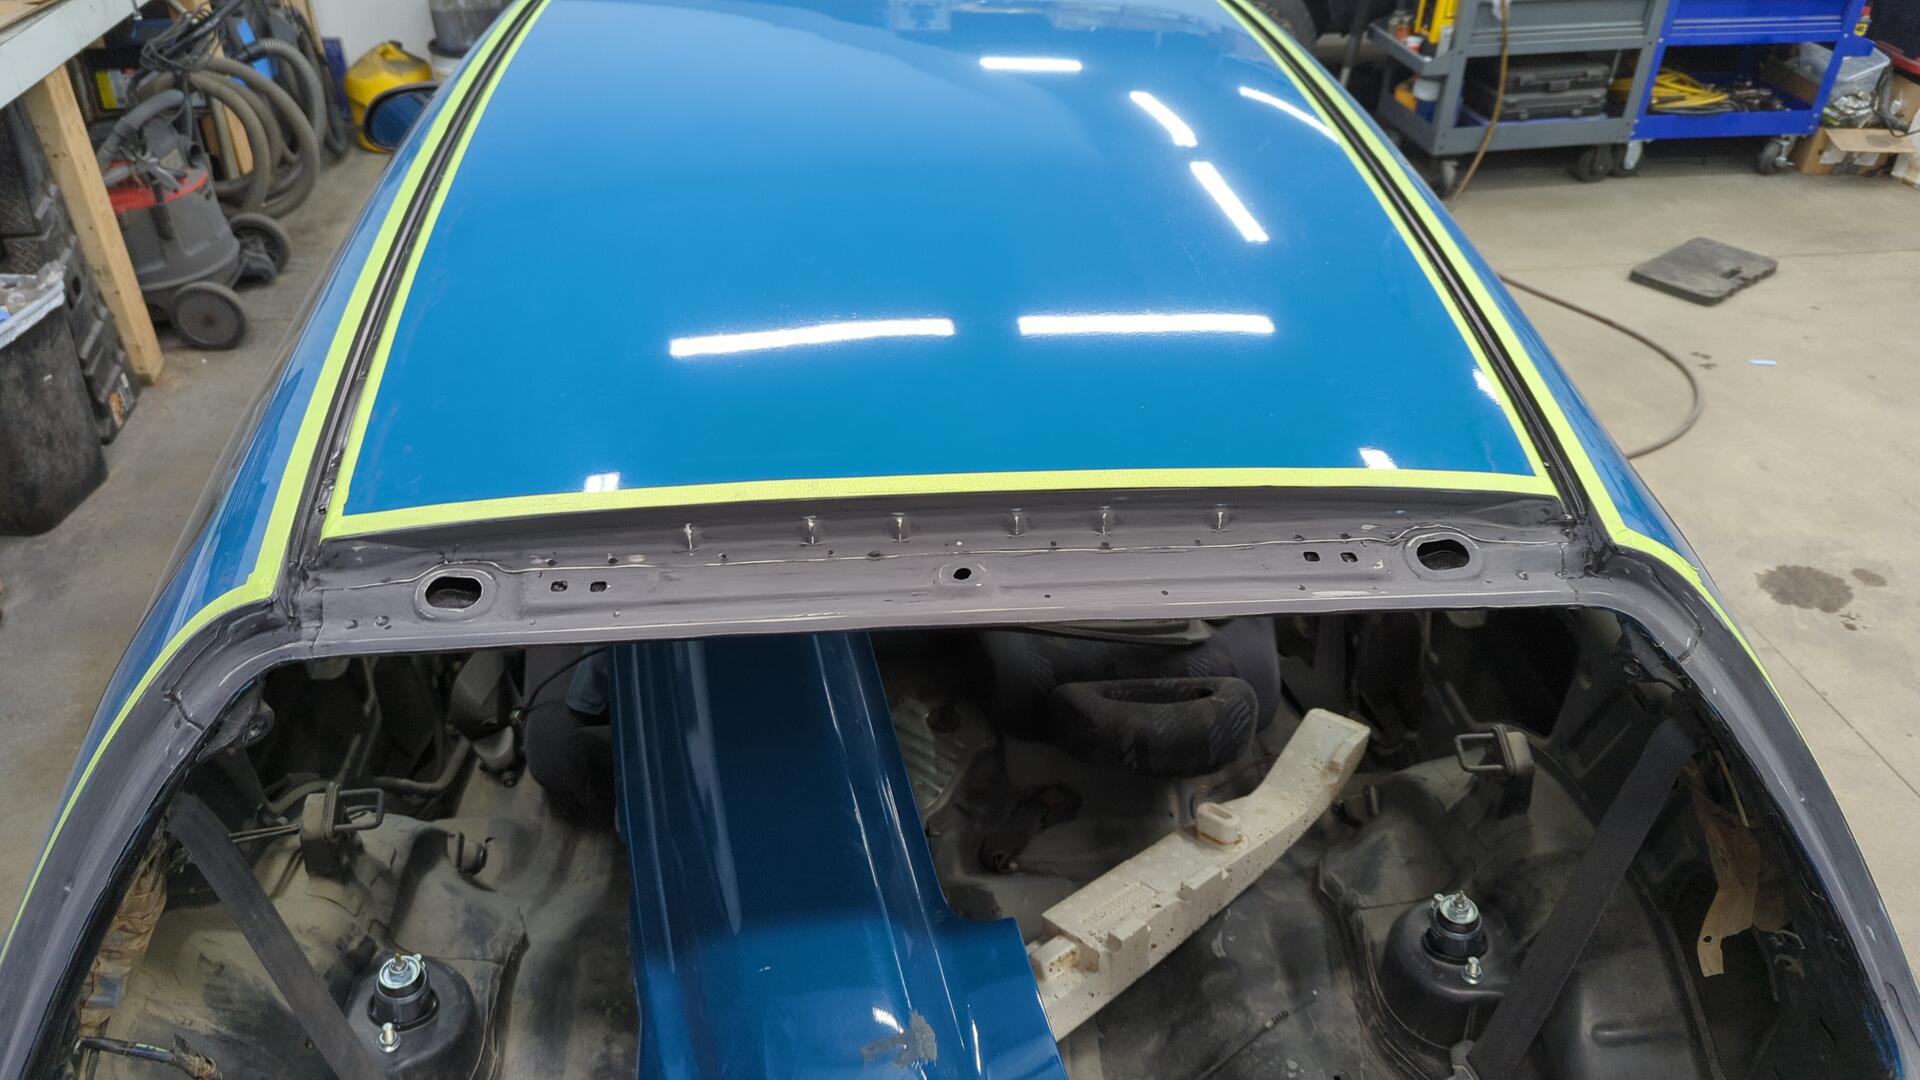
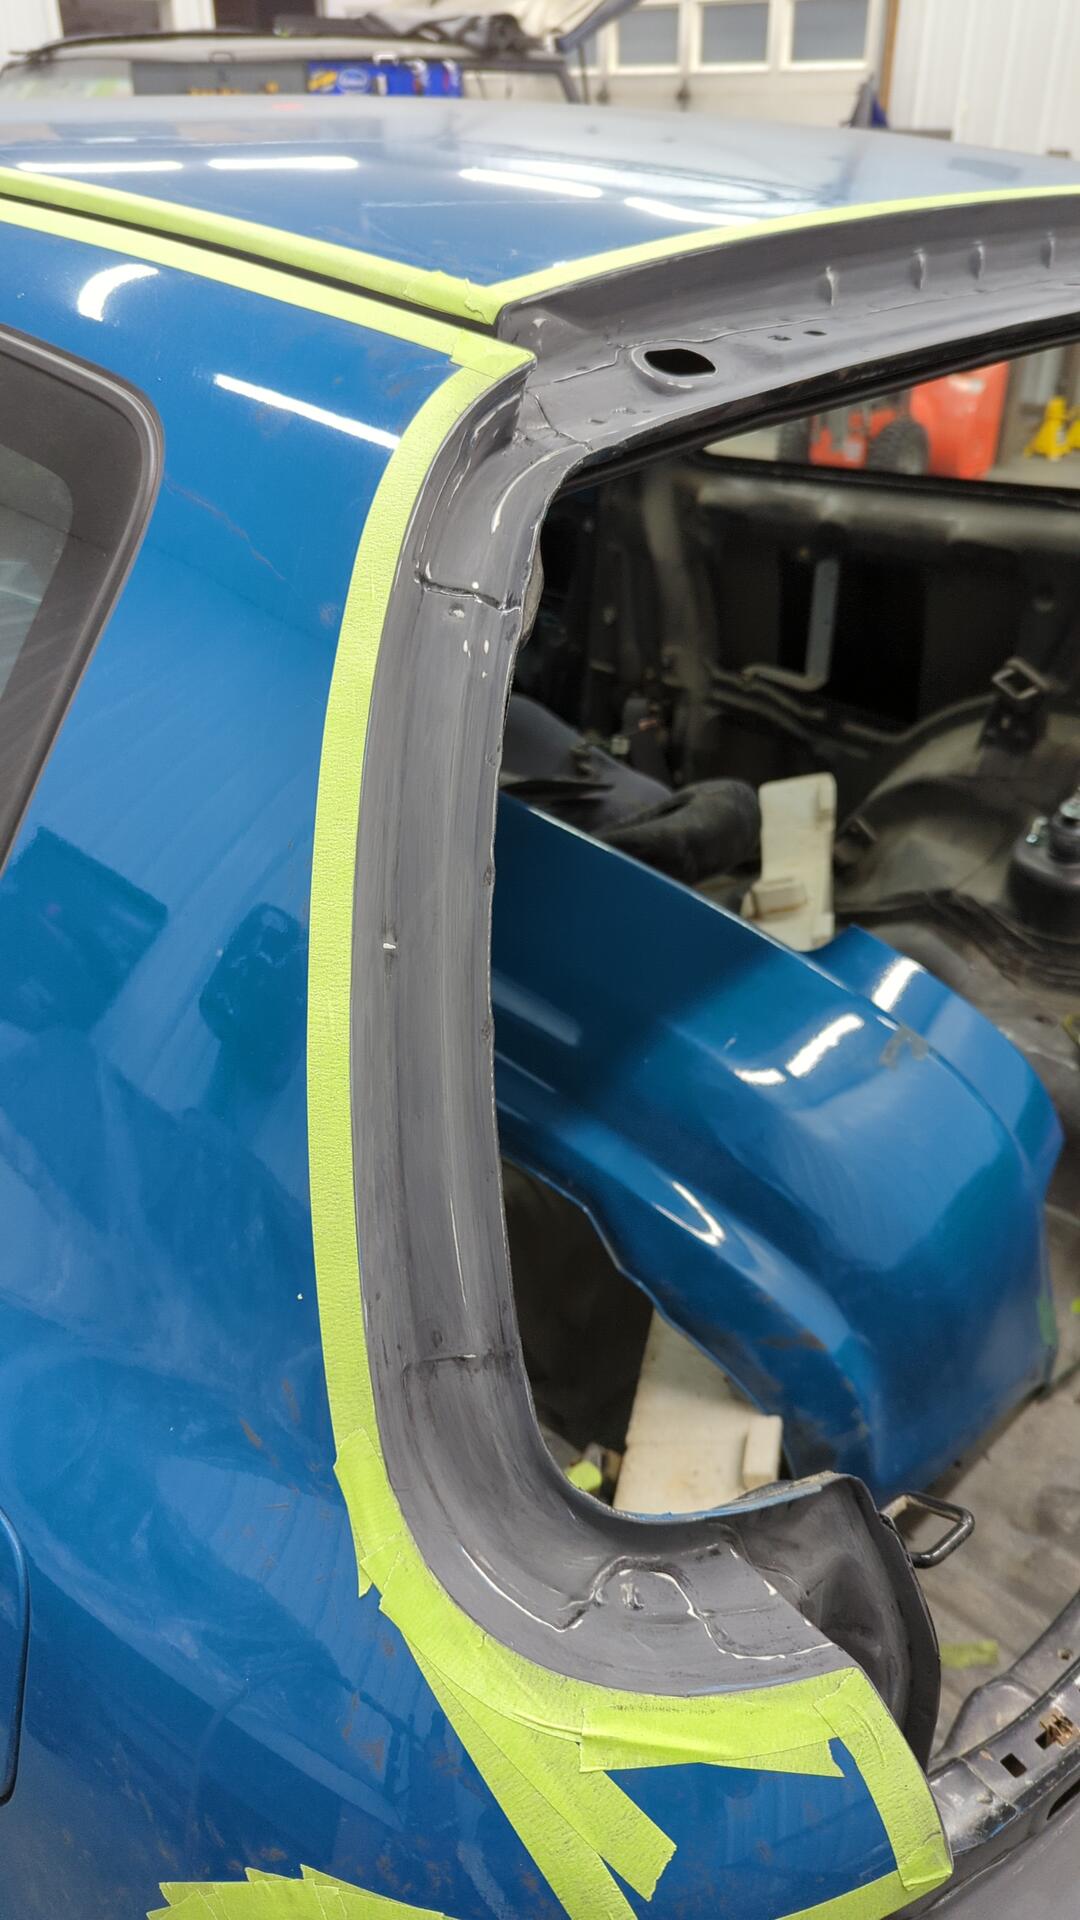
Several hours of sanding later I was ready to move onto paint.
I opted to paint the shock tower bolt holes at the same time since it felt like it’d save some time.
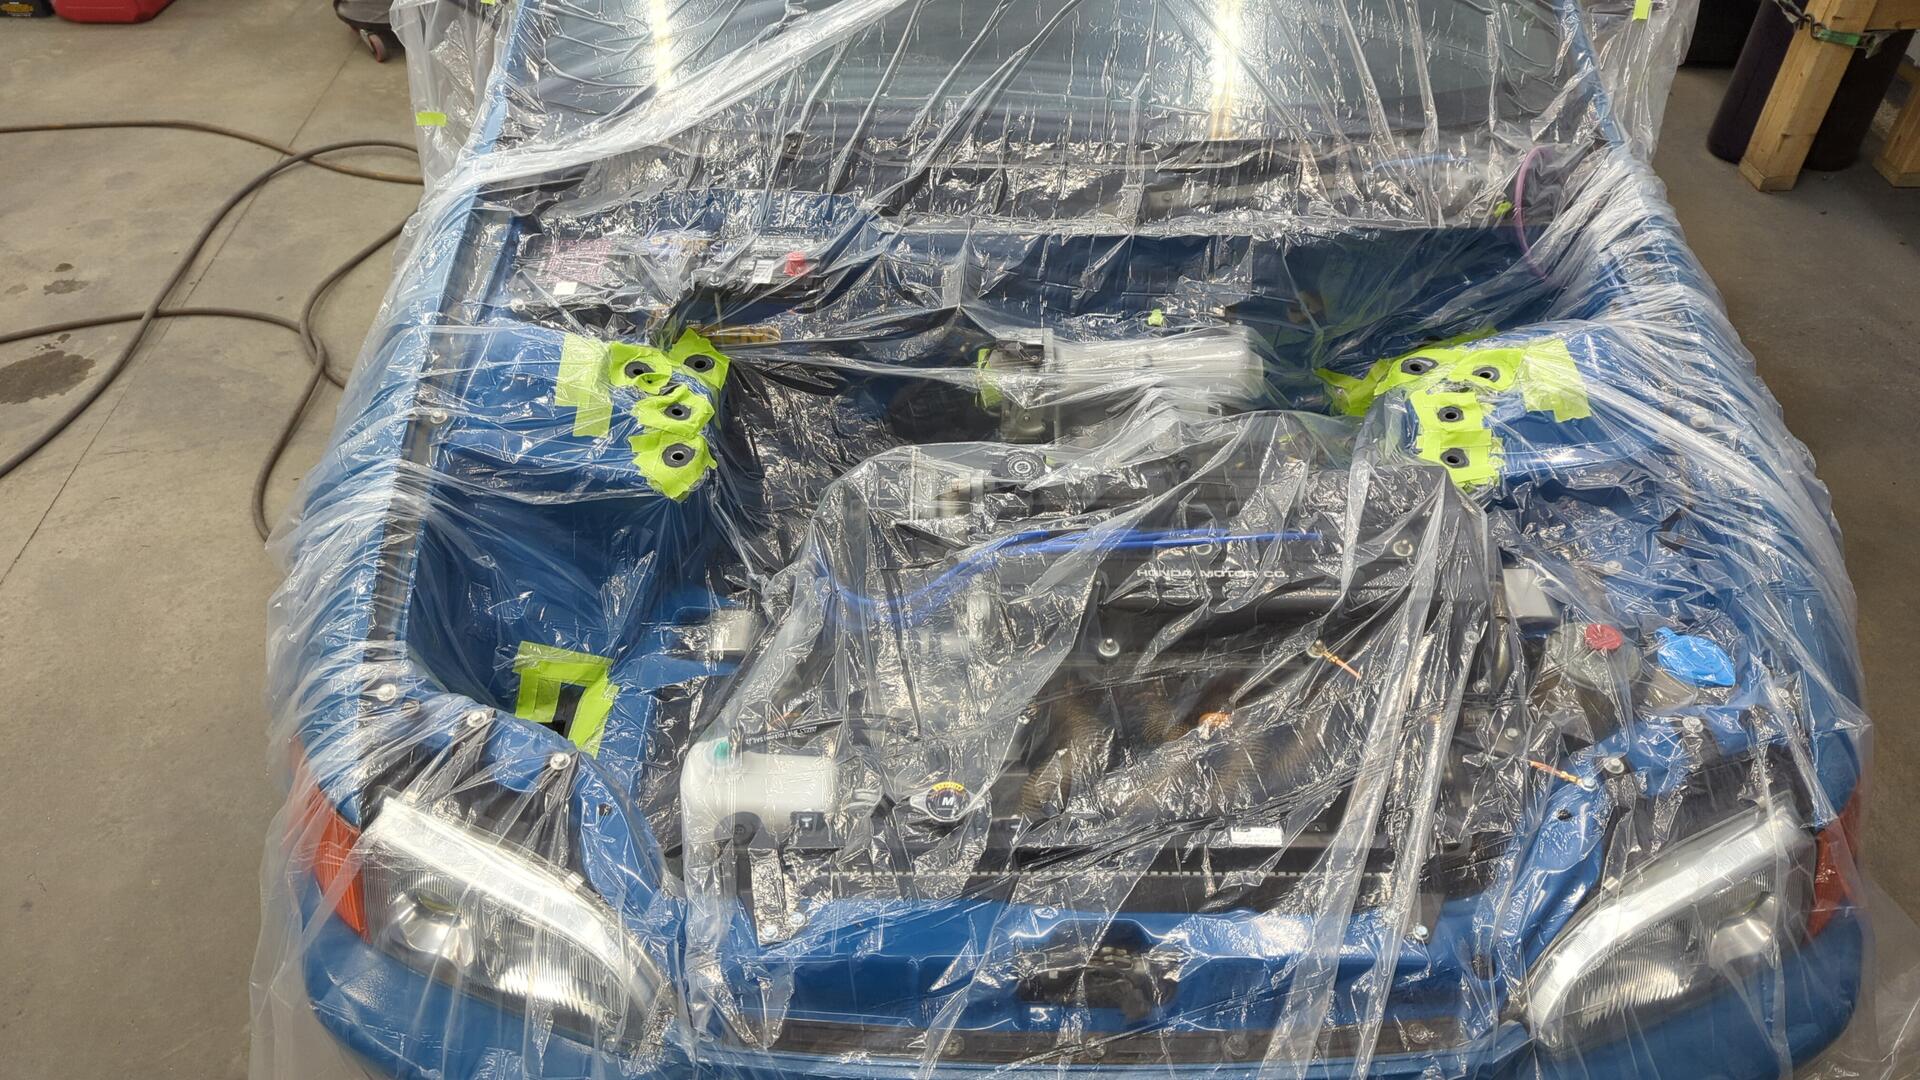
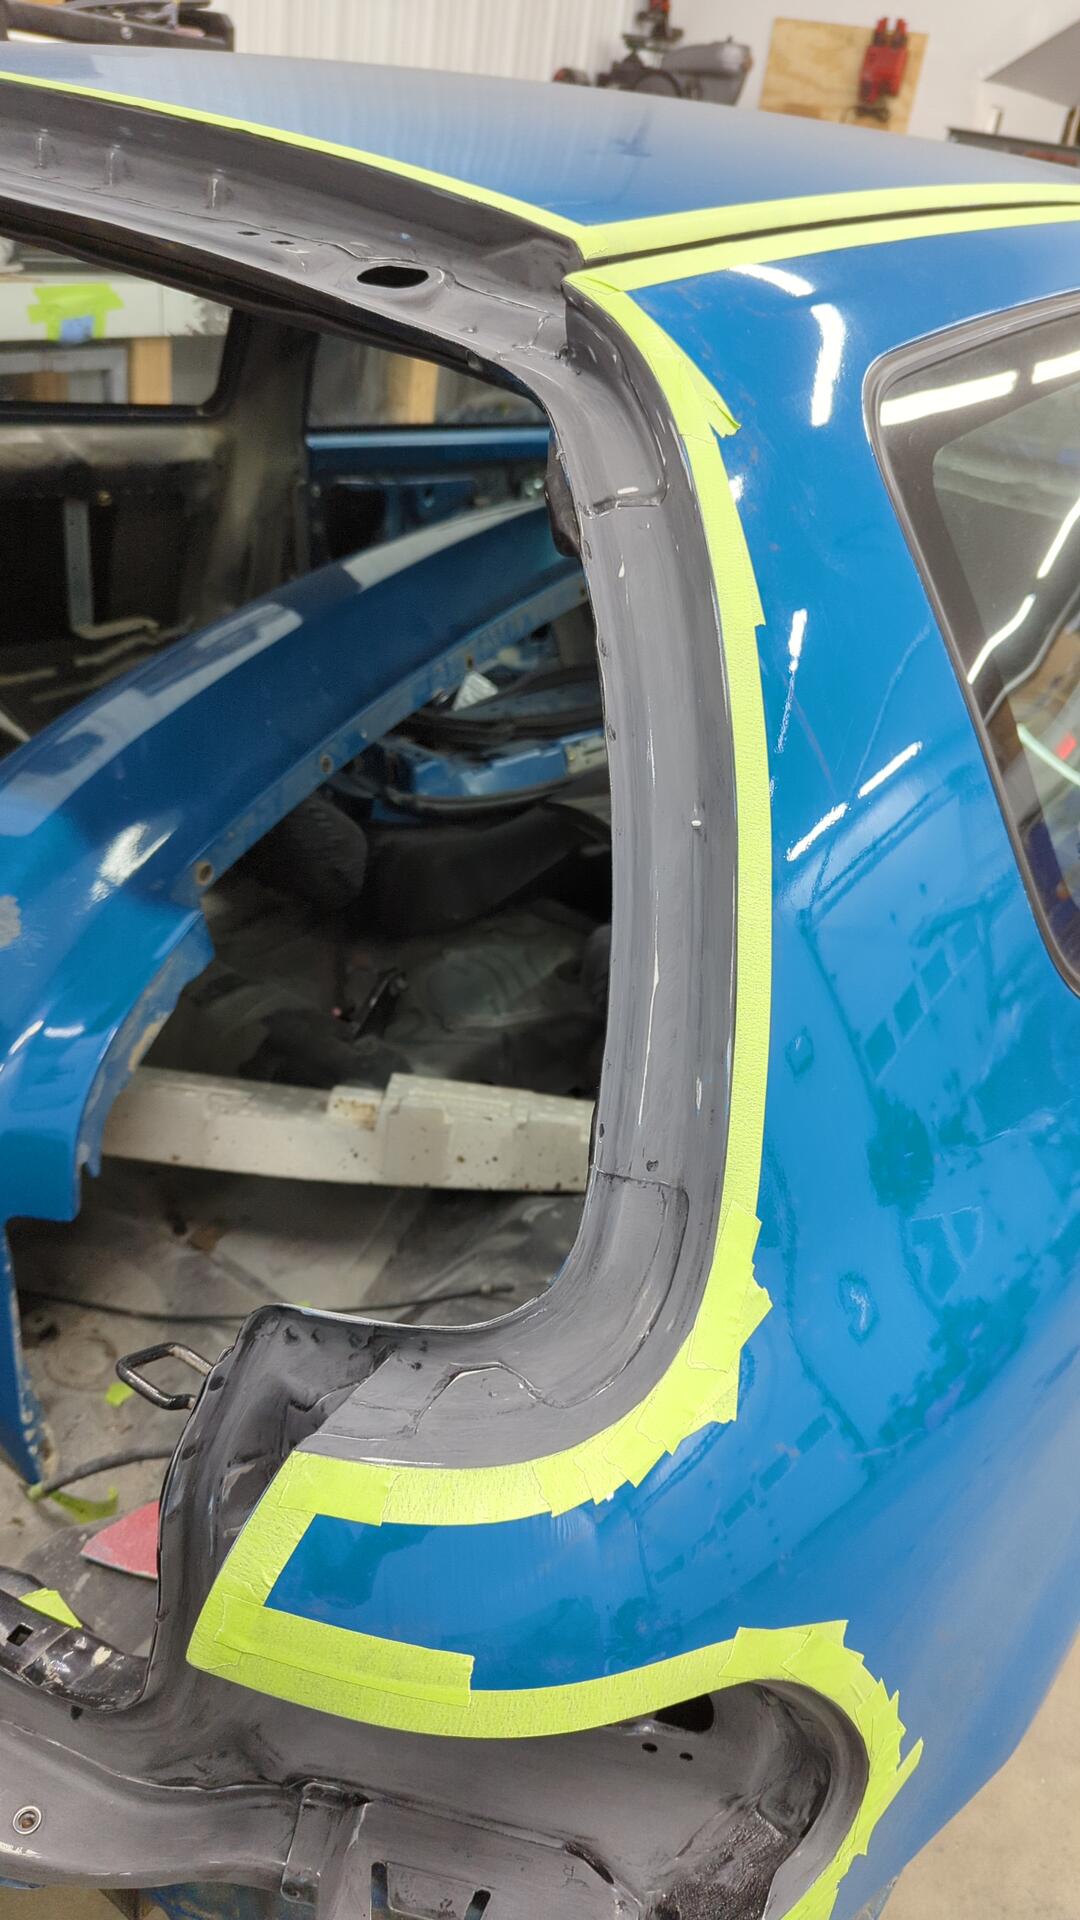
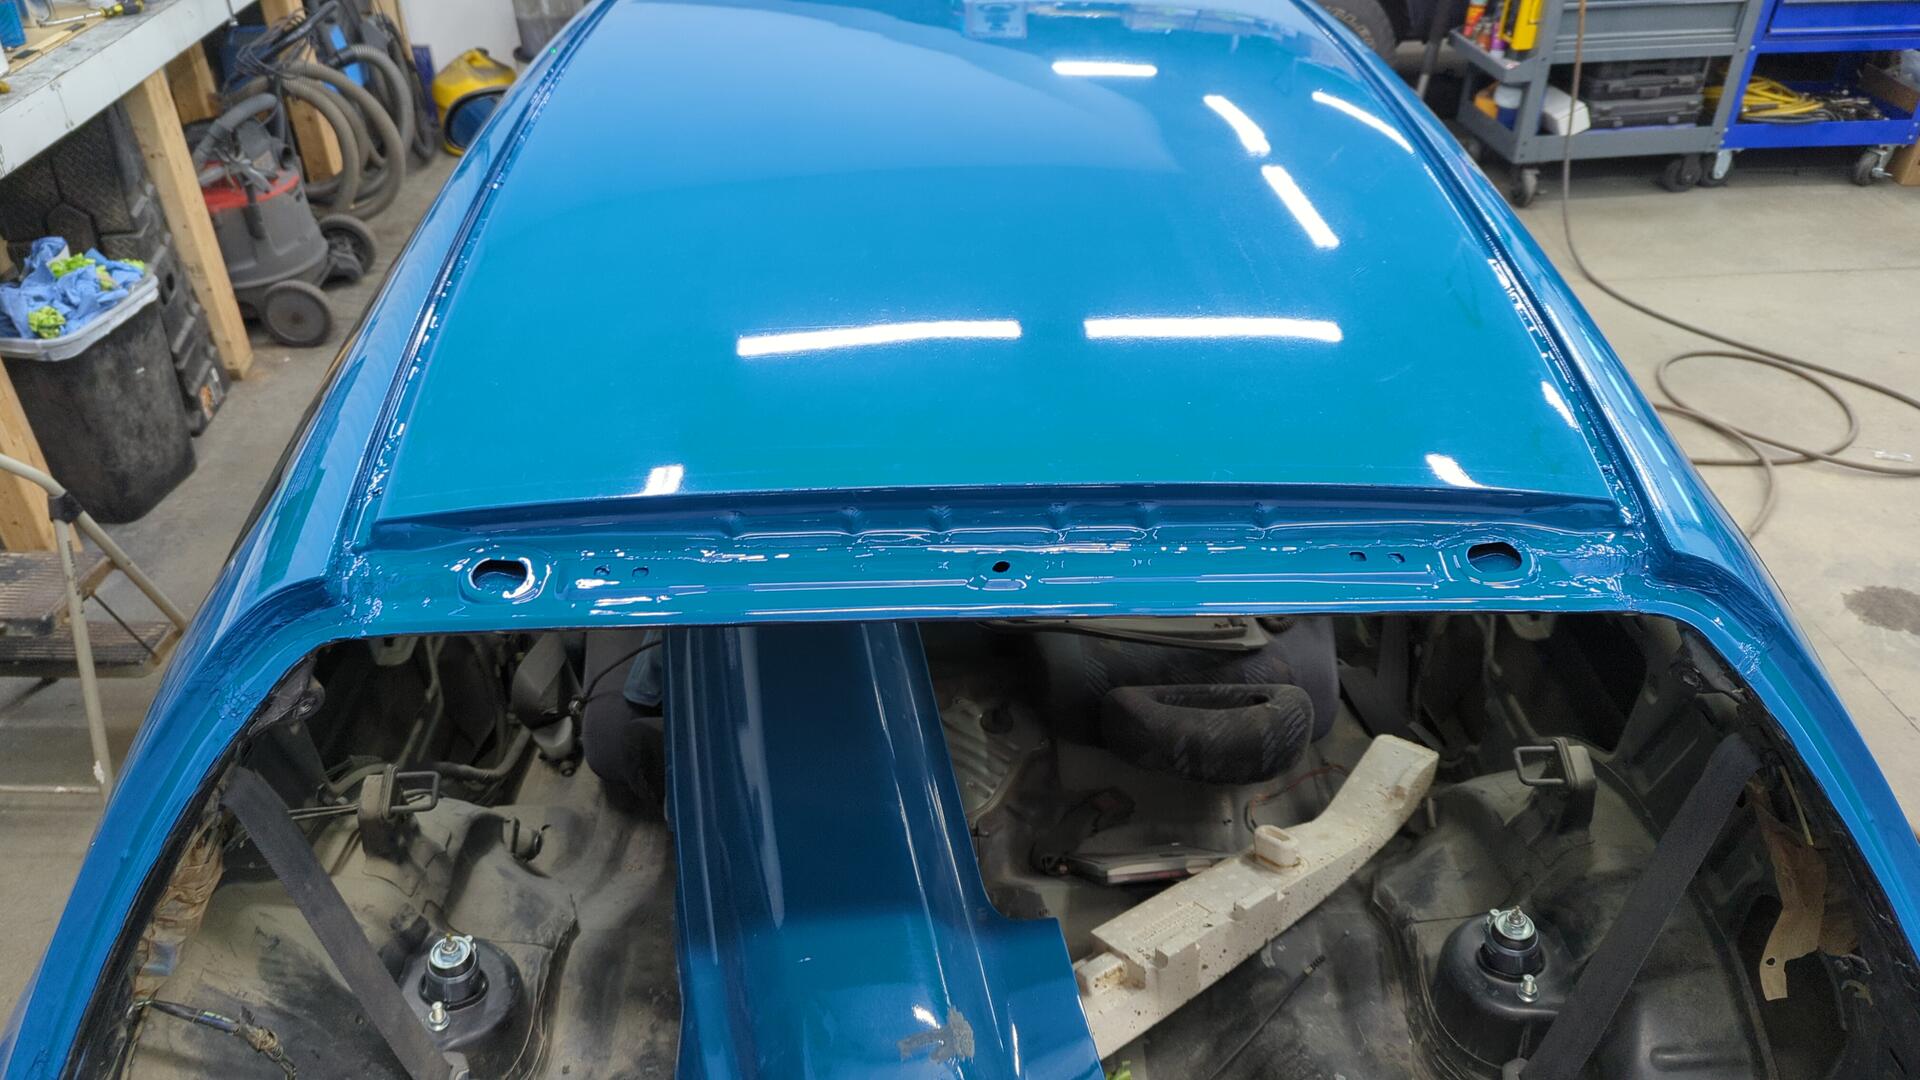
All done.
I’m a little embarrassed by how the seam sealer came out as it’s kinda sloppy but at least it was a good learning experience.
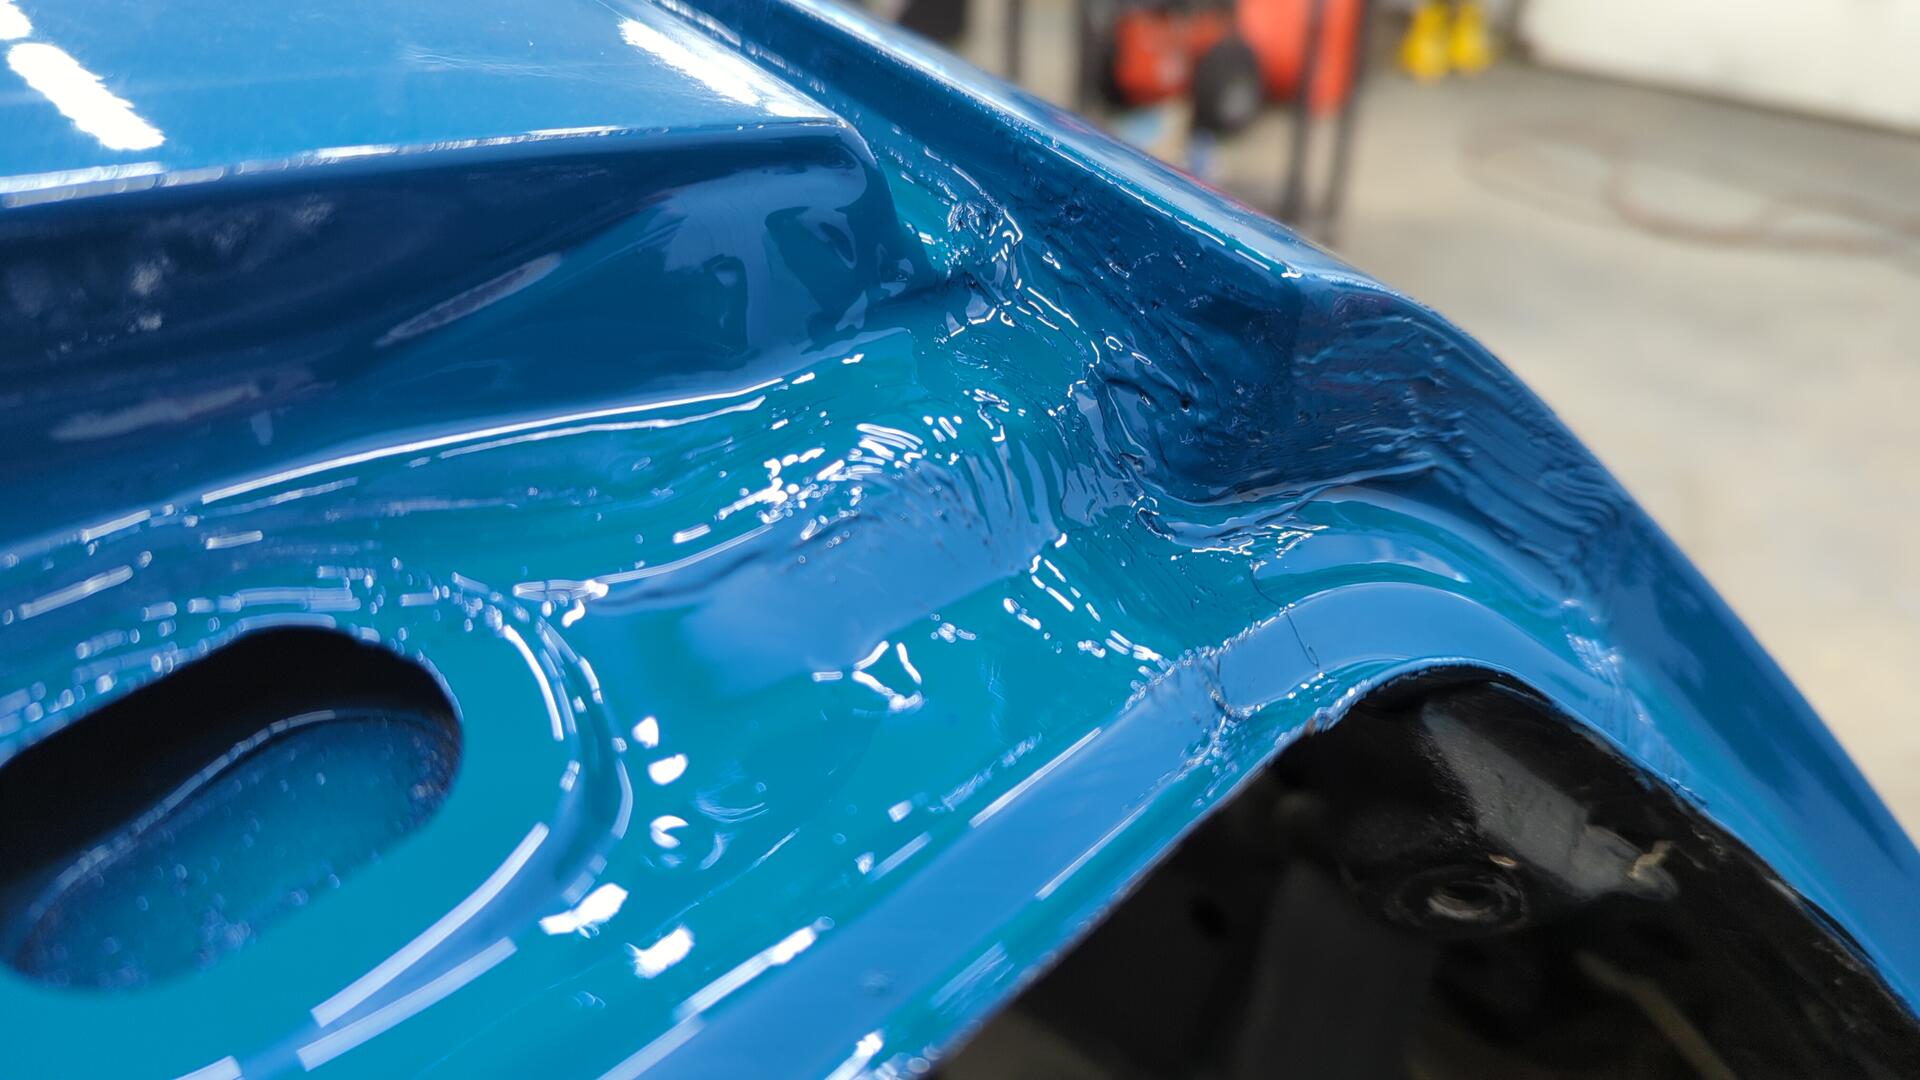
If I could go back and redo it I would have tried to smooth it out better by dipping the brush in lacquer thinner.
As long as it doesn’t leak though I’m happy with it.
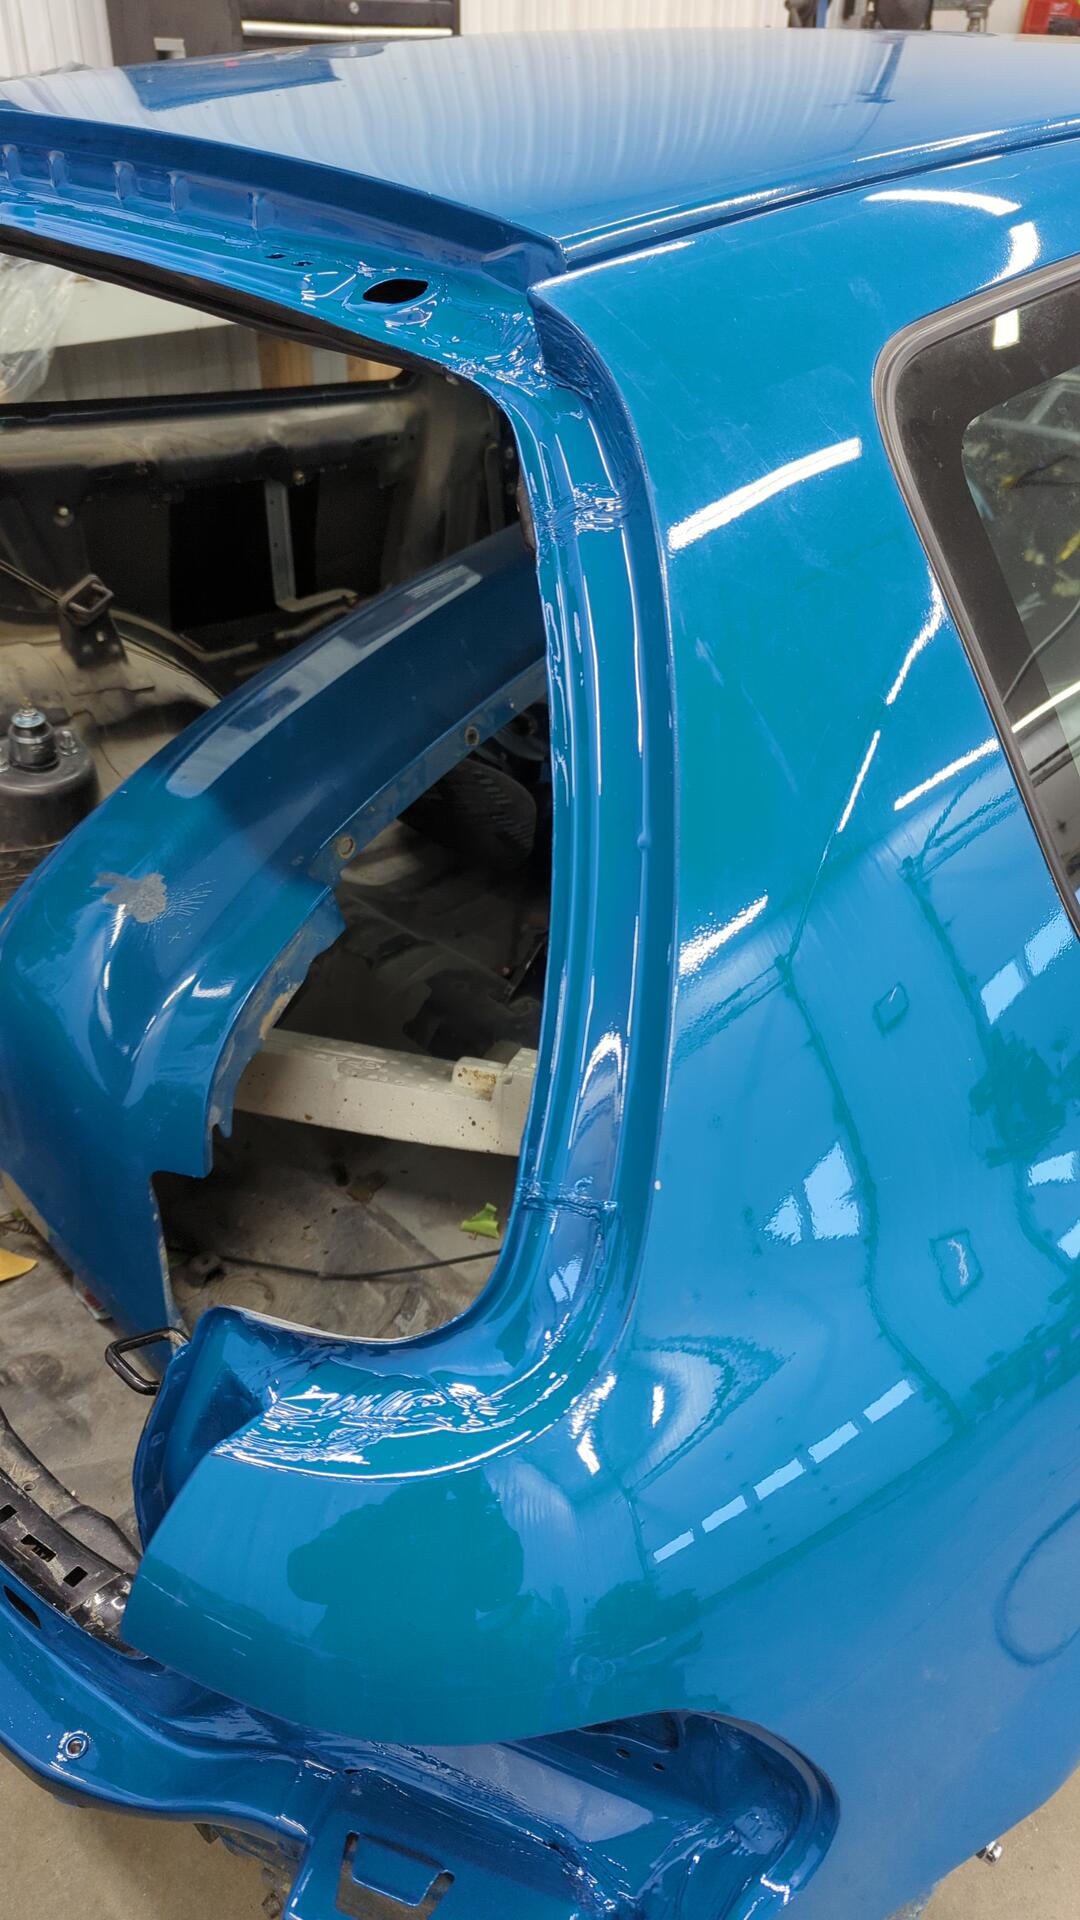

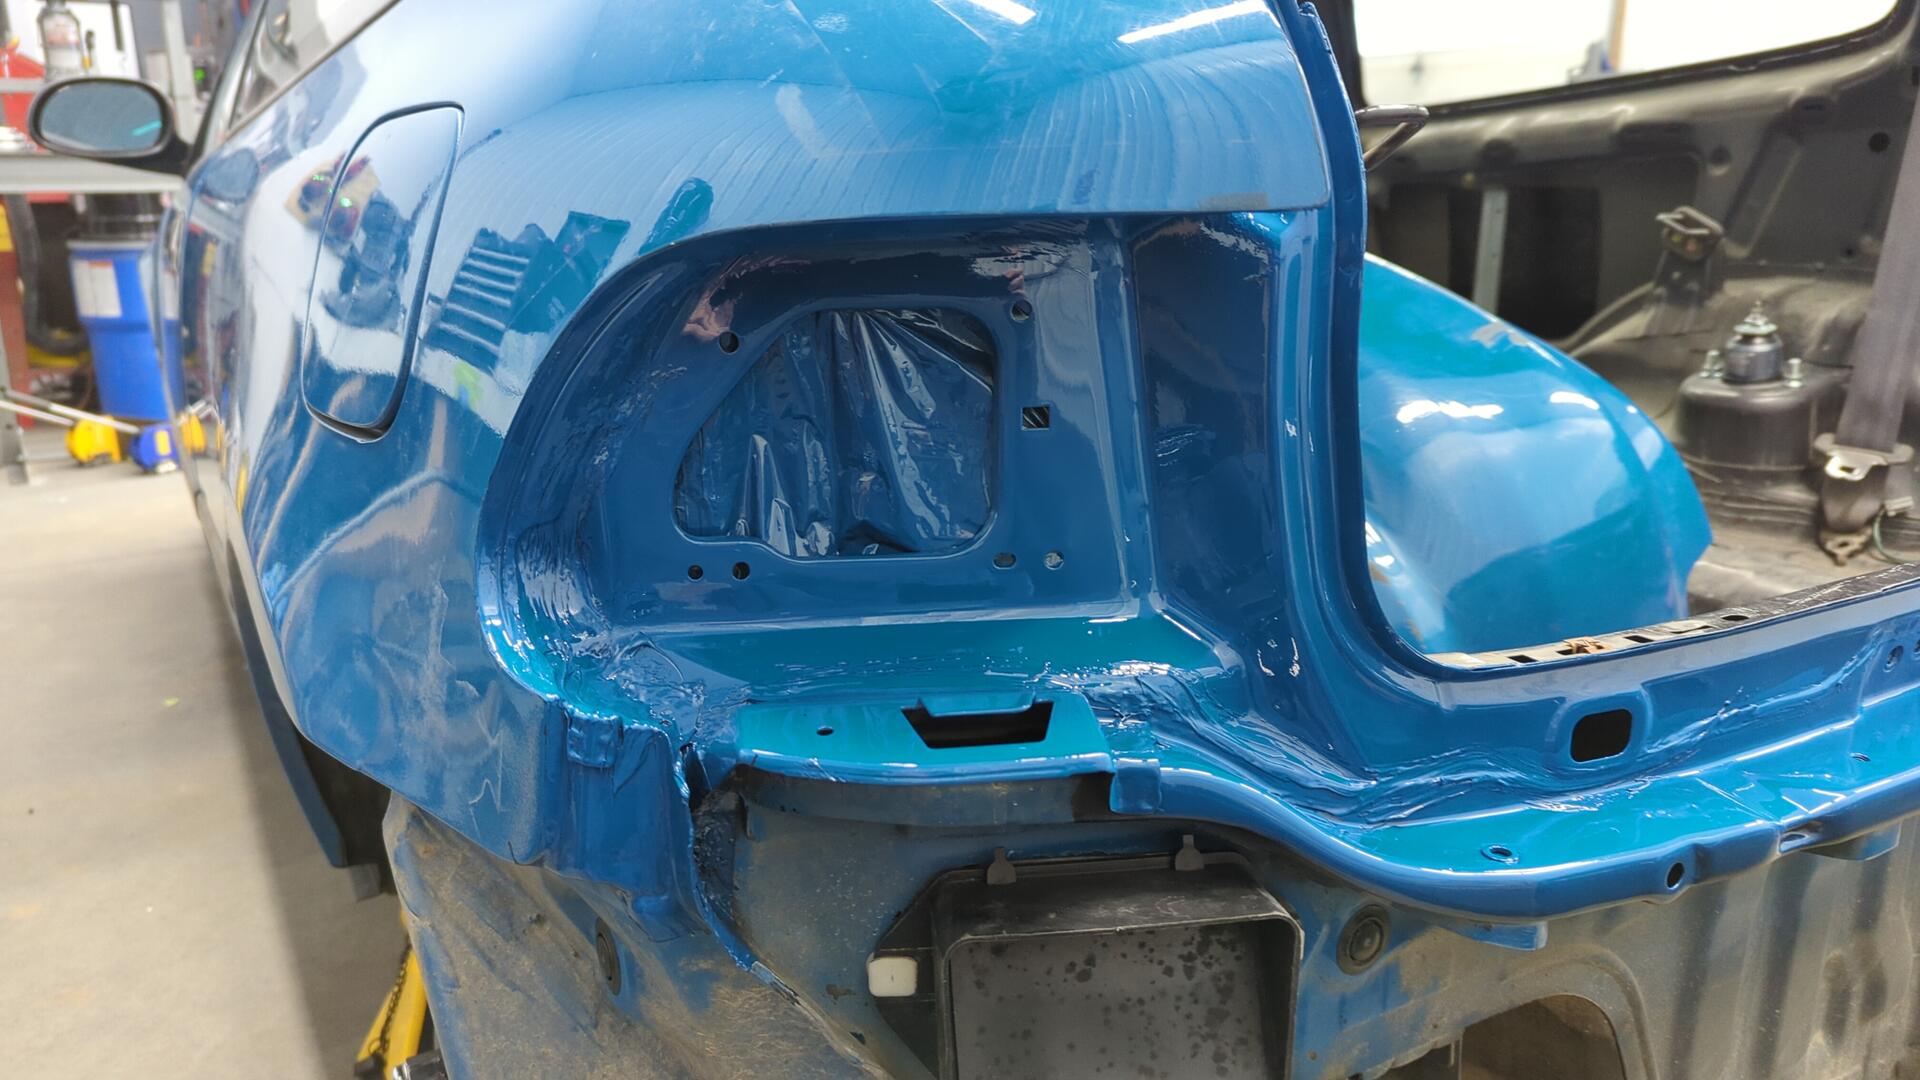
It’s nice seeing the hatch area look normal again.

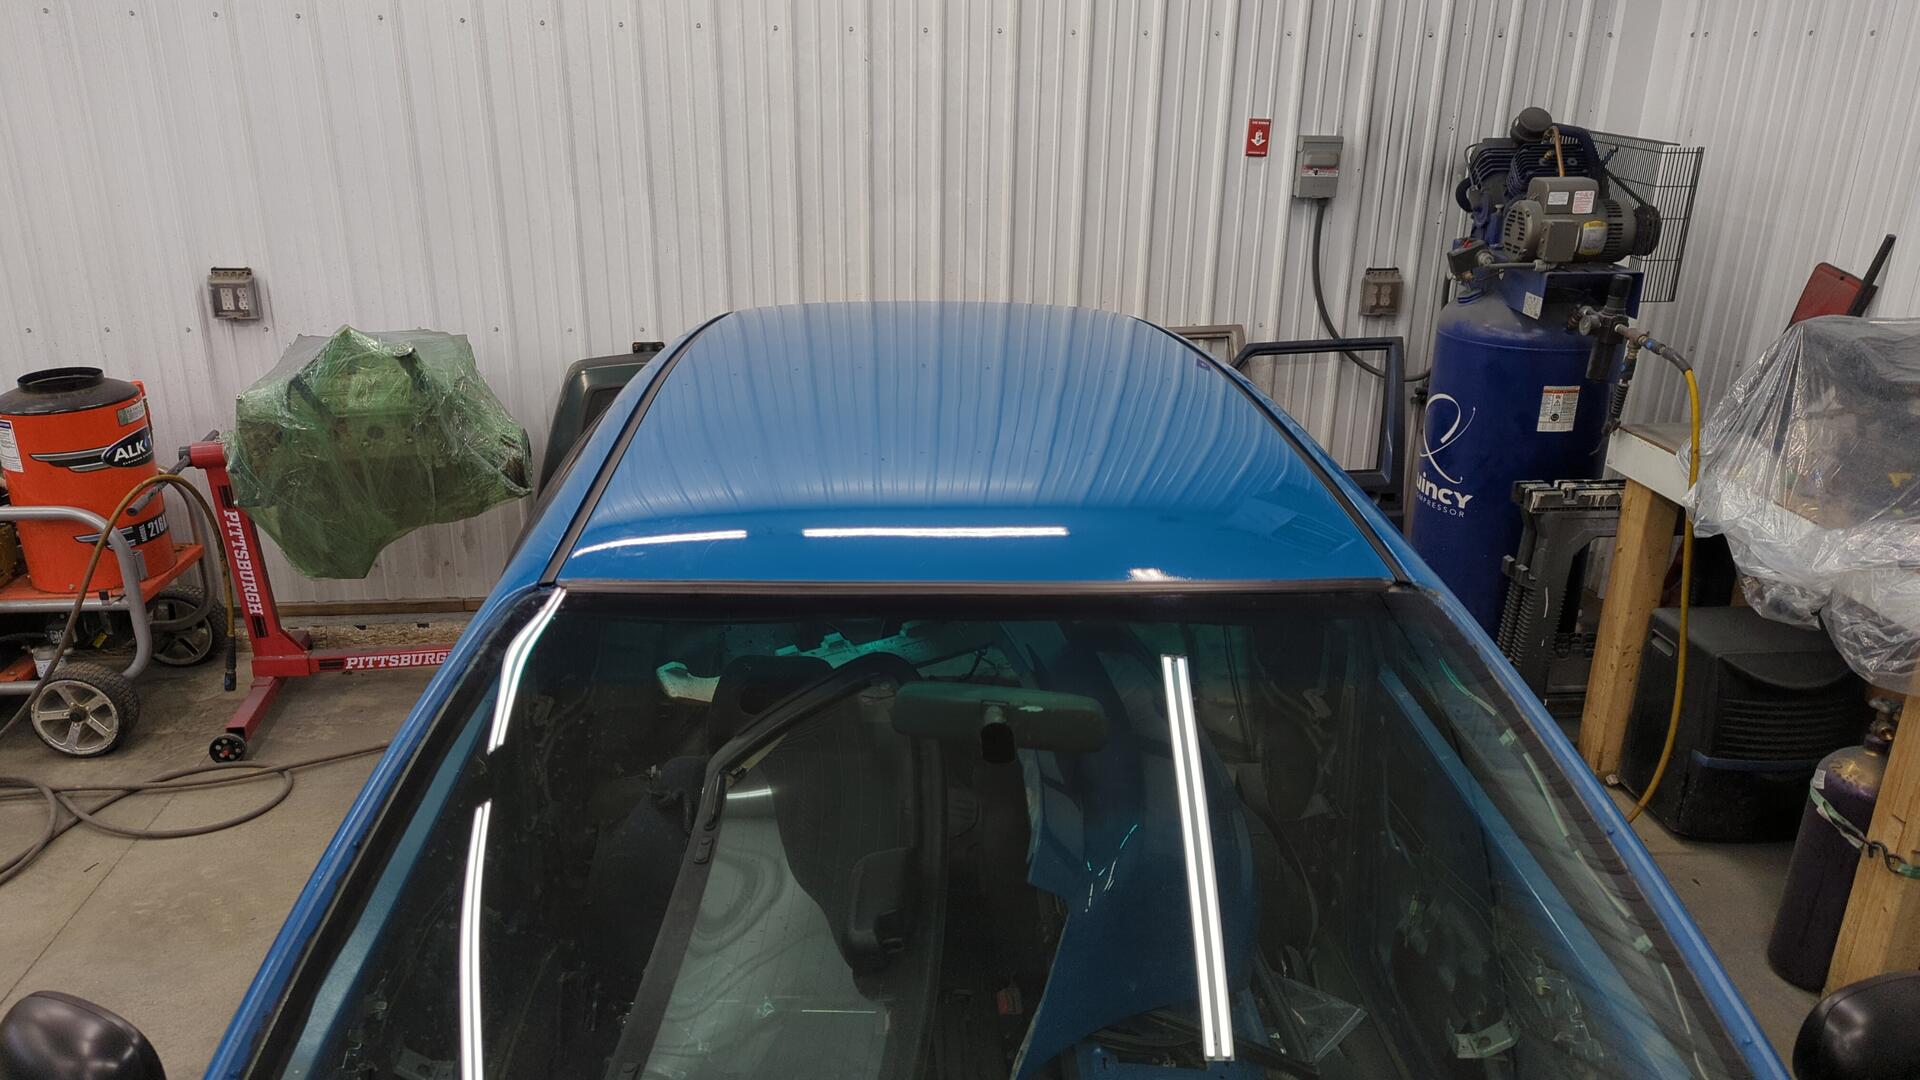
New Roof Trim
Instead of re-using the old roof trim I had laying around I splurged and picked up a brand new OEM set. The old trim was pretty faded, and I wanted to refresh it.
Plus it came with new clips.
Driver side done.
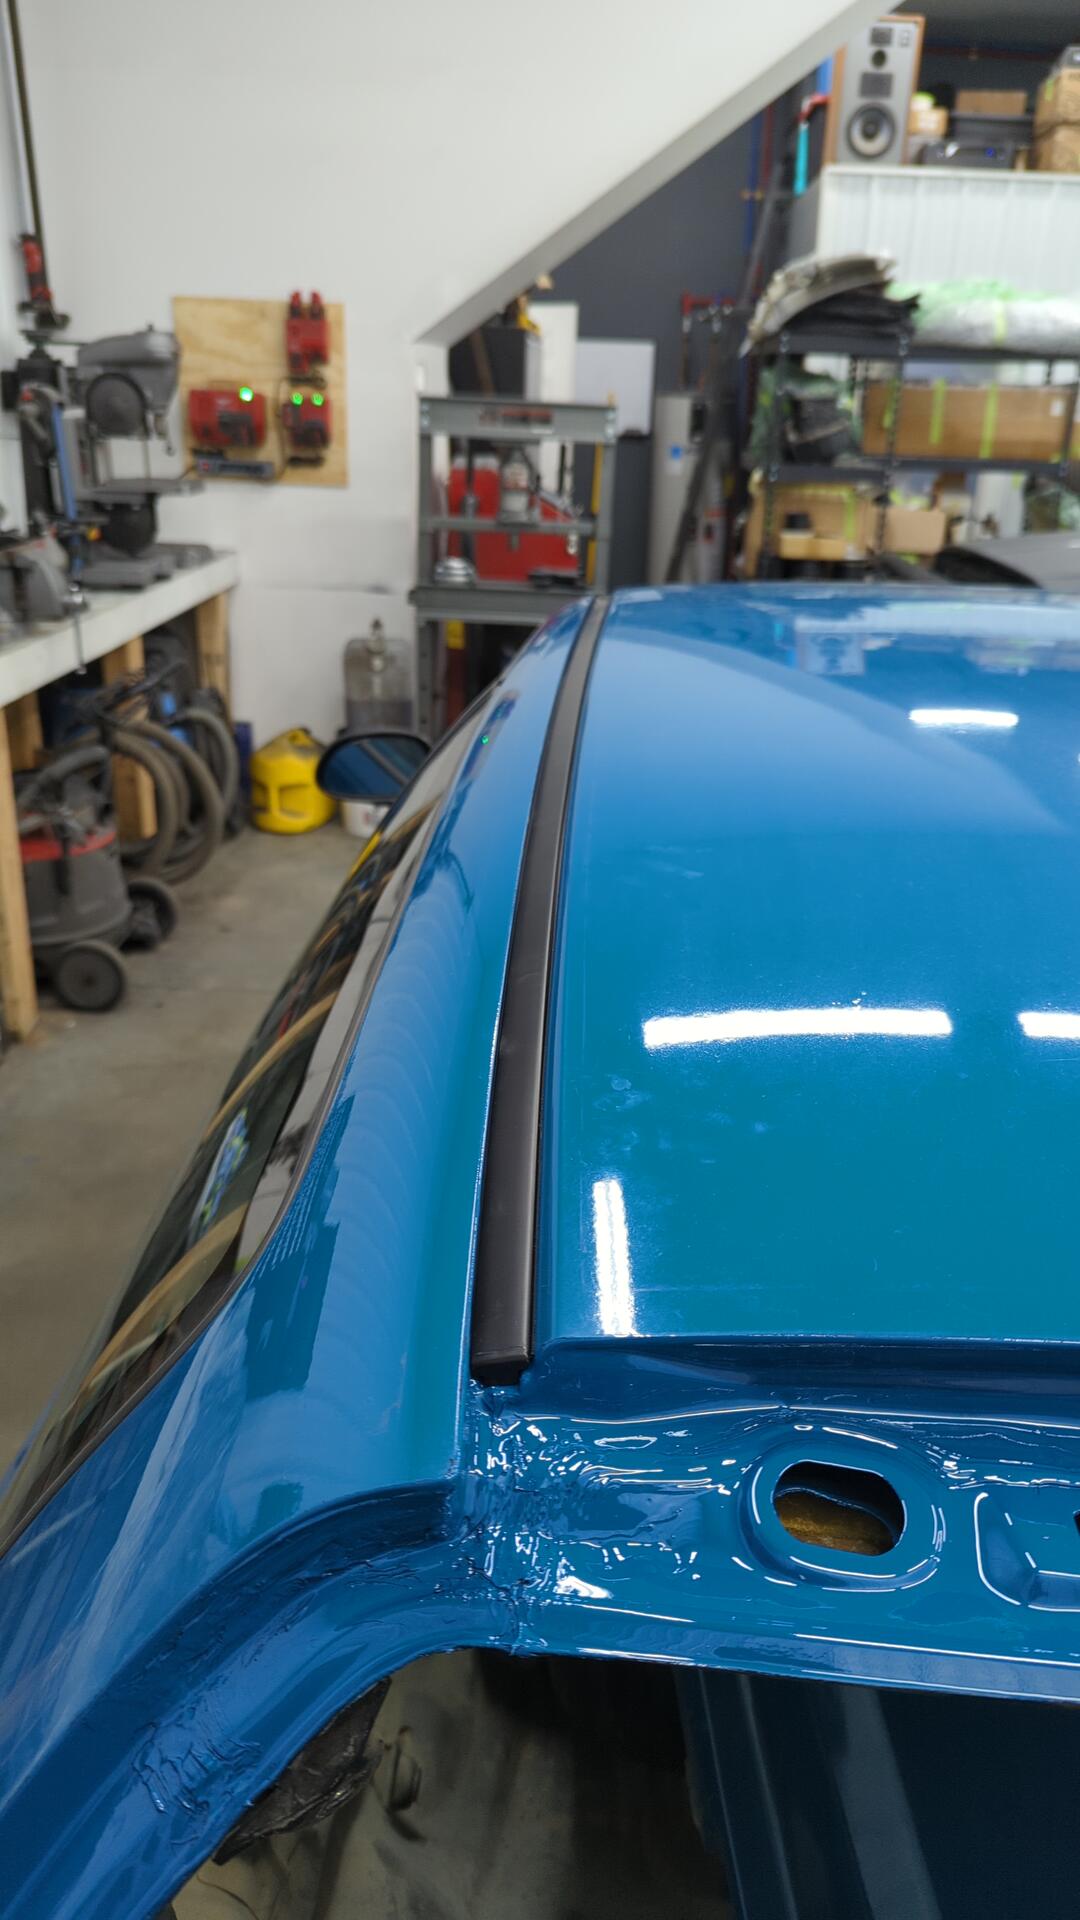
Both sides done!
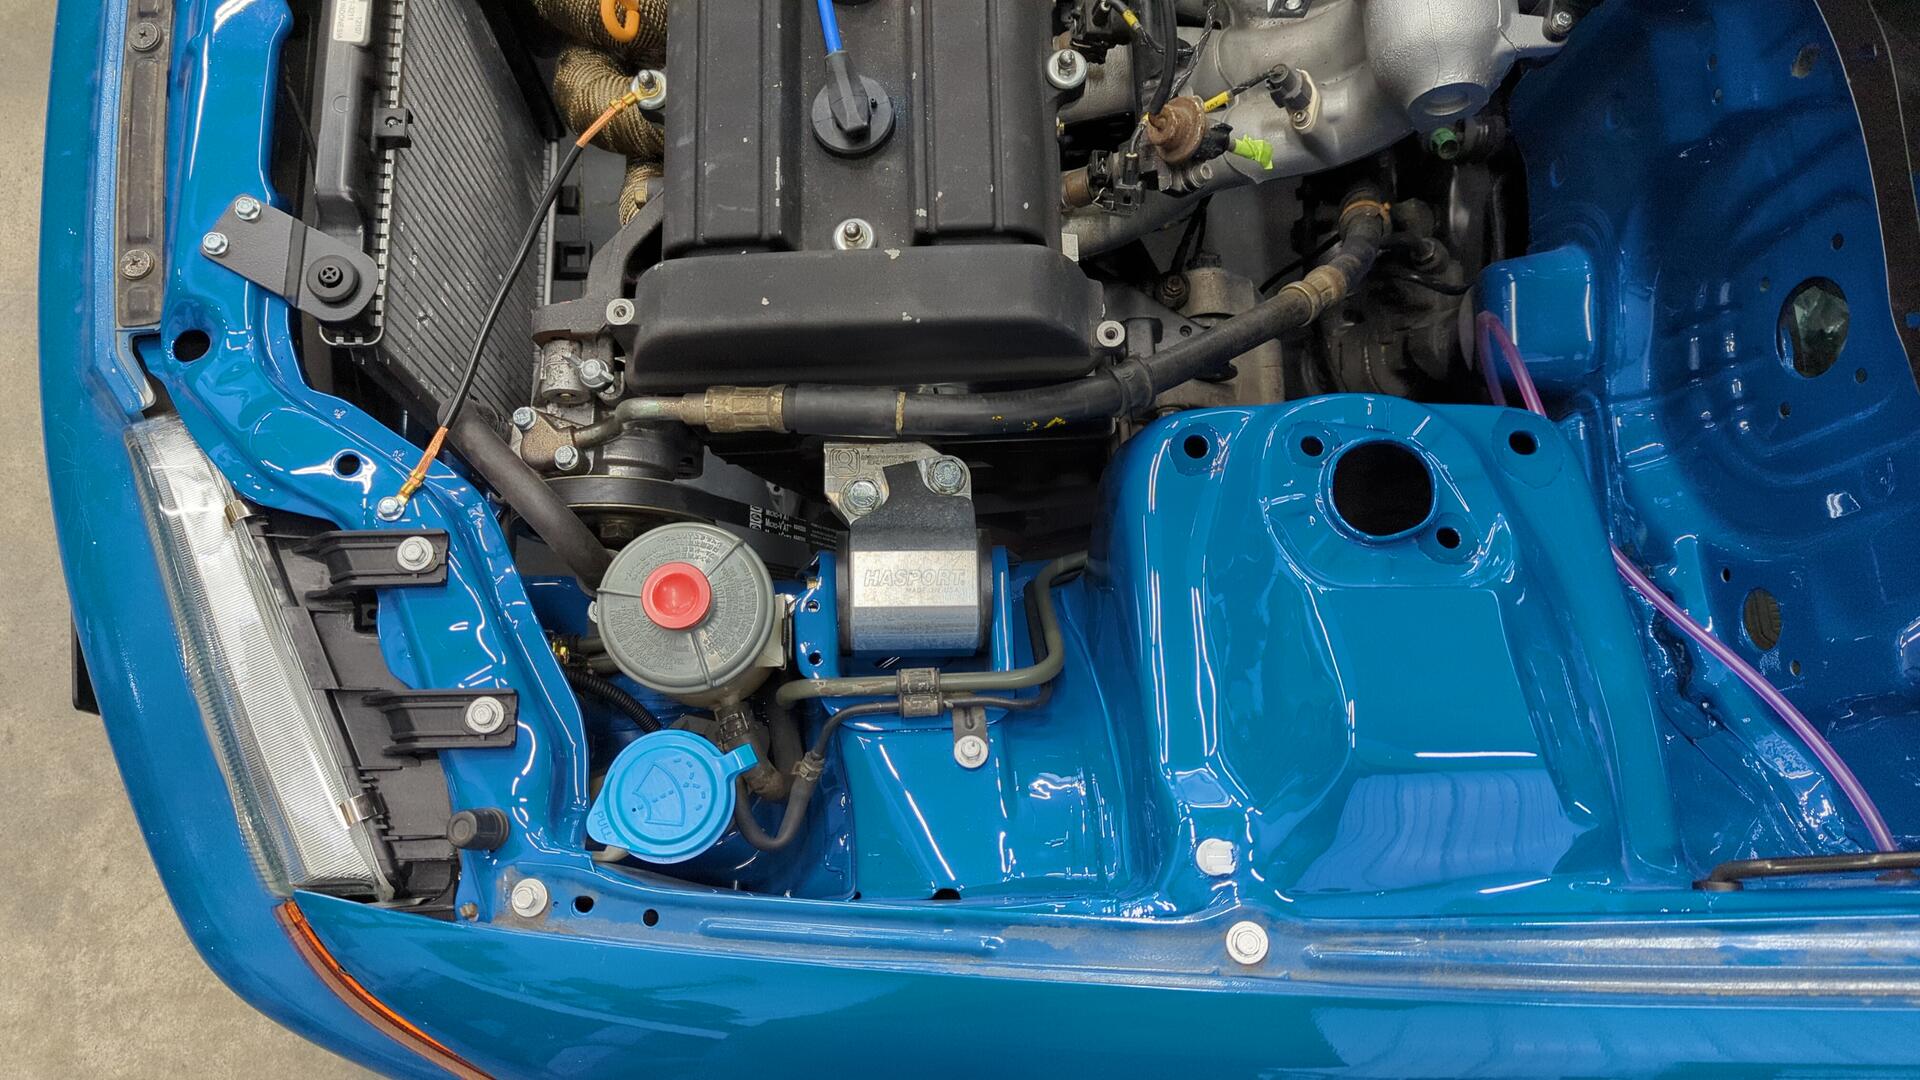
3 Months Later the Hood Goes Back On
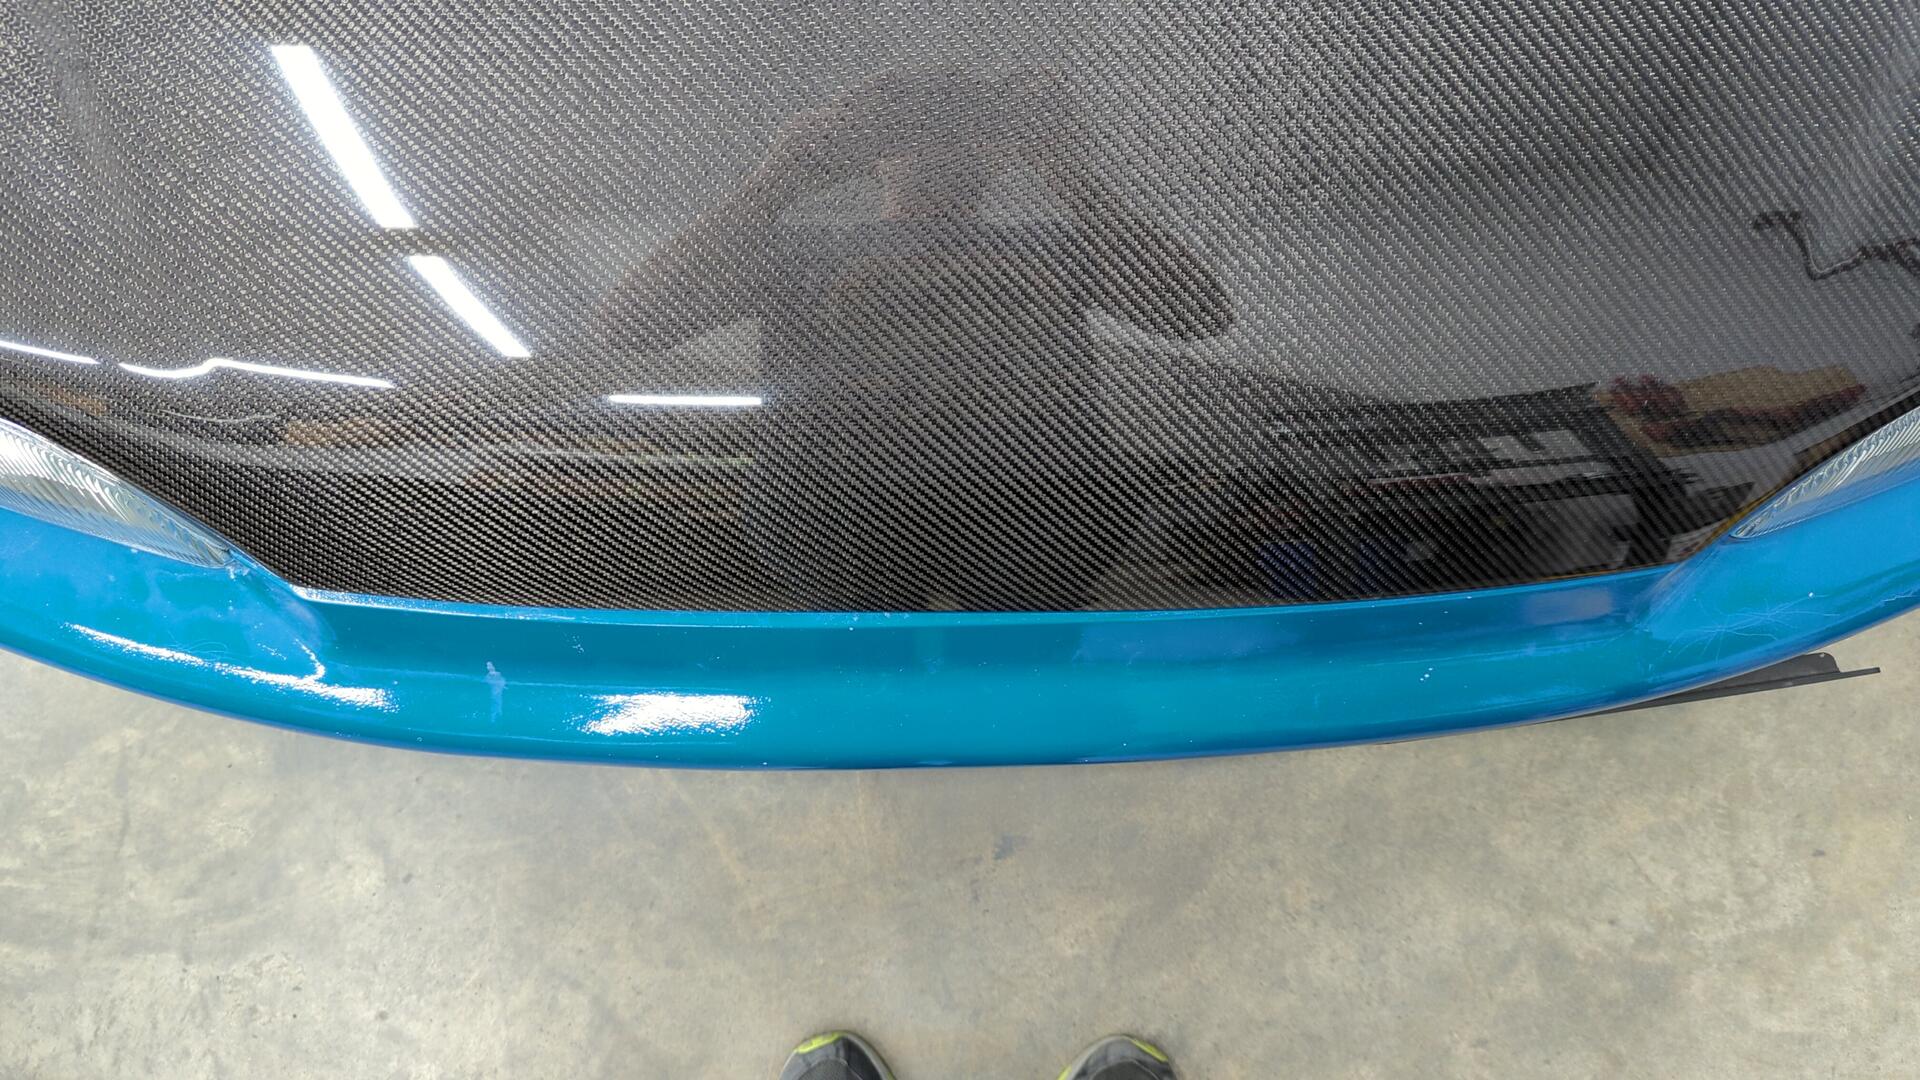
Getting to re-install the hood was pretty exciting. When the hood first arrived 3 months ago I had installed it on the car for a test fit, but after that it was removed so it wouldn’t interfere with the engine bay bodywork. Now that the bodywork is done I was finally able to re-install it.
I really like how it compliments the Laguna Seca Blue

The engine bay looks a lot better back in one color again.
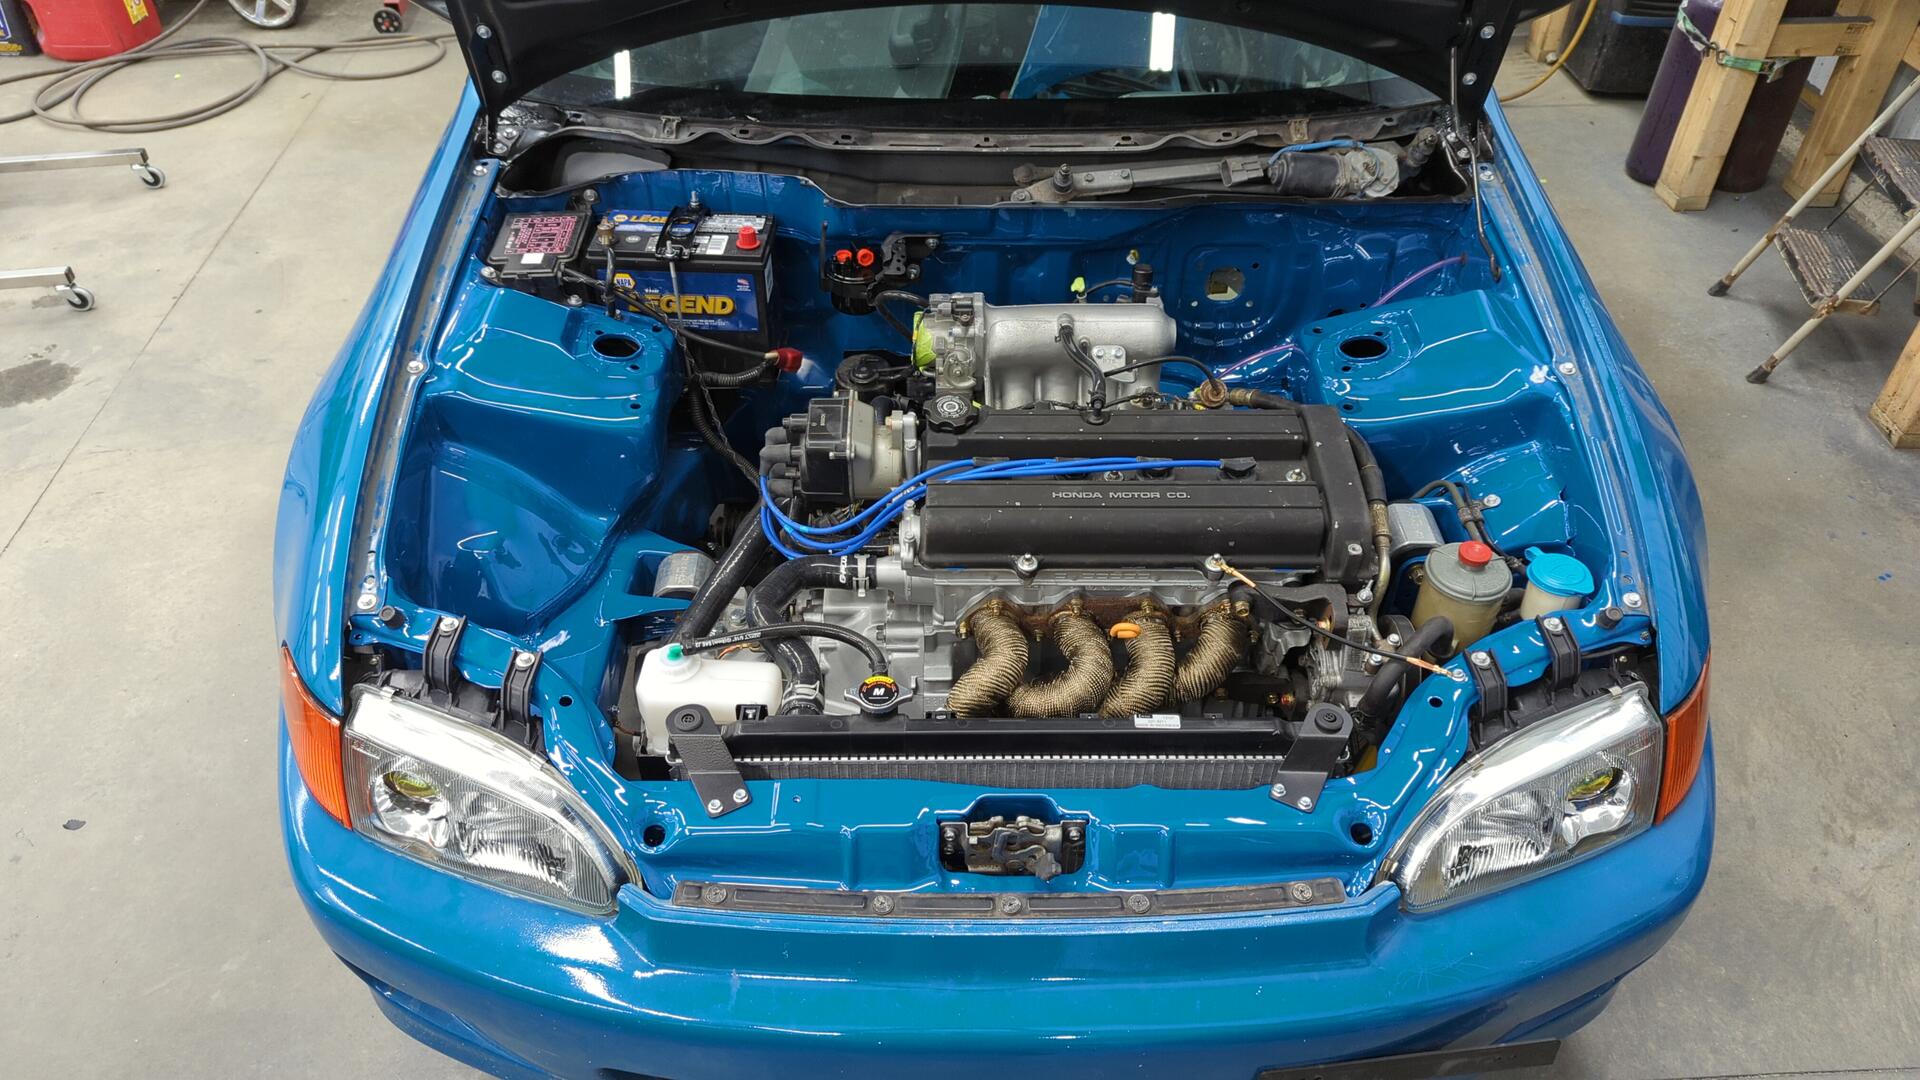
The touch up paint on the shock tower bolt holes isn’t perfect, but from 5 feet away it’s hard to notice and that’s good enough for me.
All in all the Seibon hood fits pretty decently but I did notice the front doesn’t line up with the curve of the front bumper as well as it should. It’s almost like the hood curls inwards too much and even when the front bumper is pushed all the way inwards I can’t get body seam to blend nicely.
It doesn’t really bother me as I’ve read that carbon body panels are notoriously difficult to get good fitment with, and this is a pretty hard to notice spot unless your looking down at the hood from above.
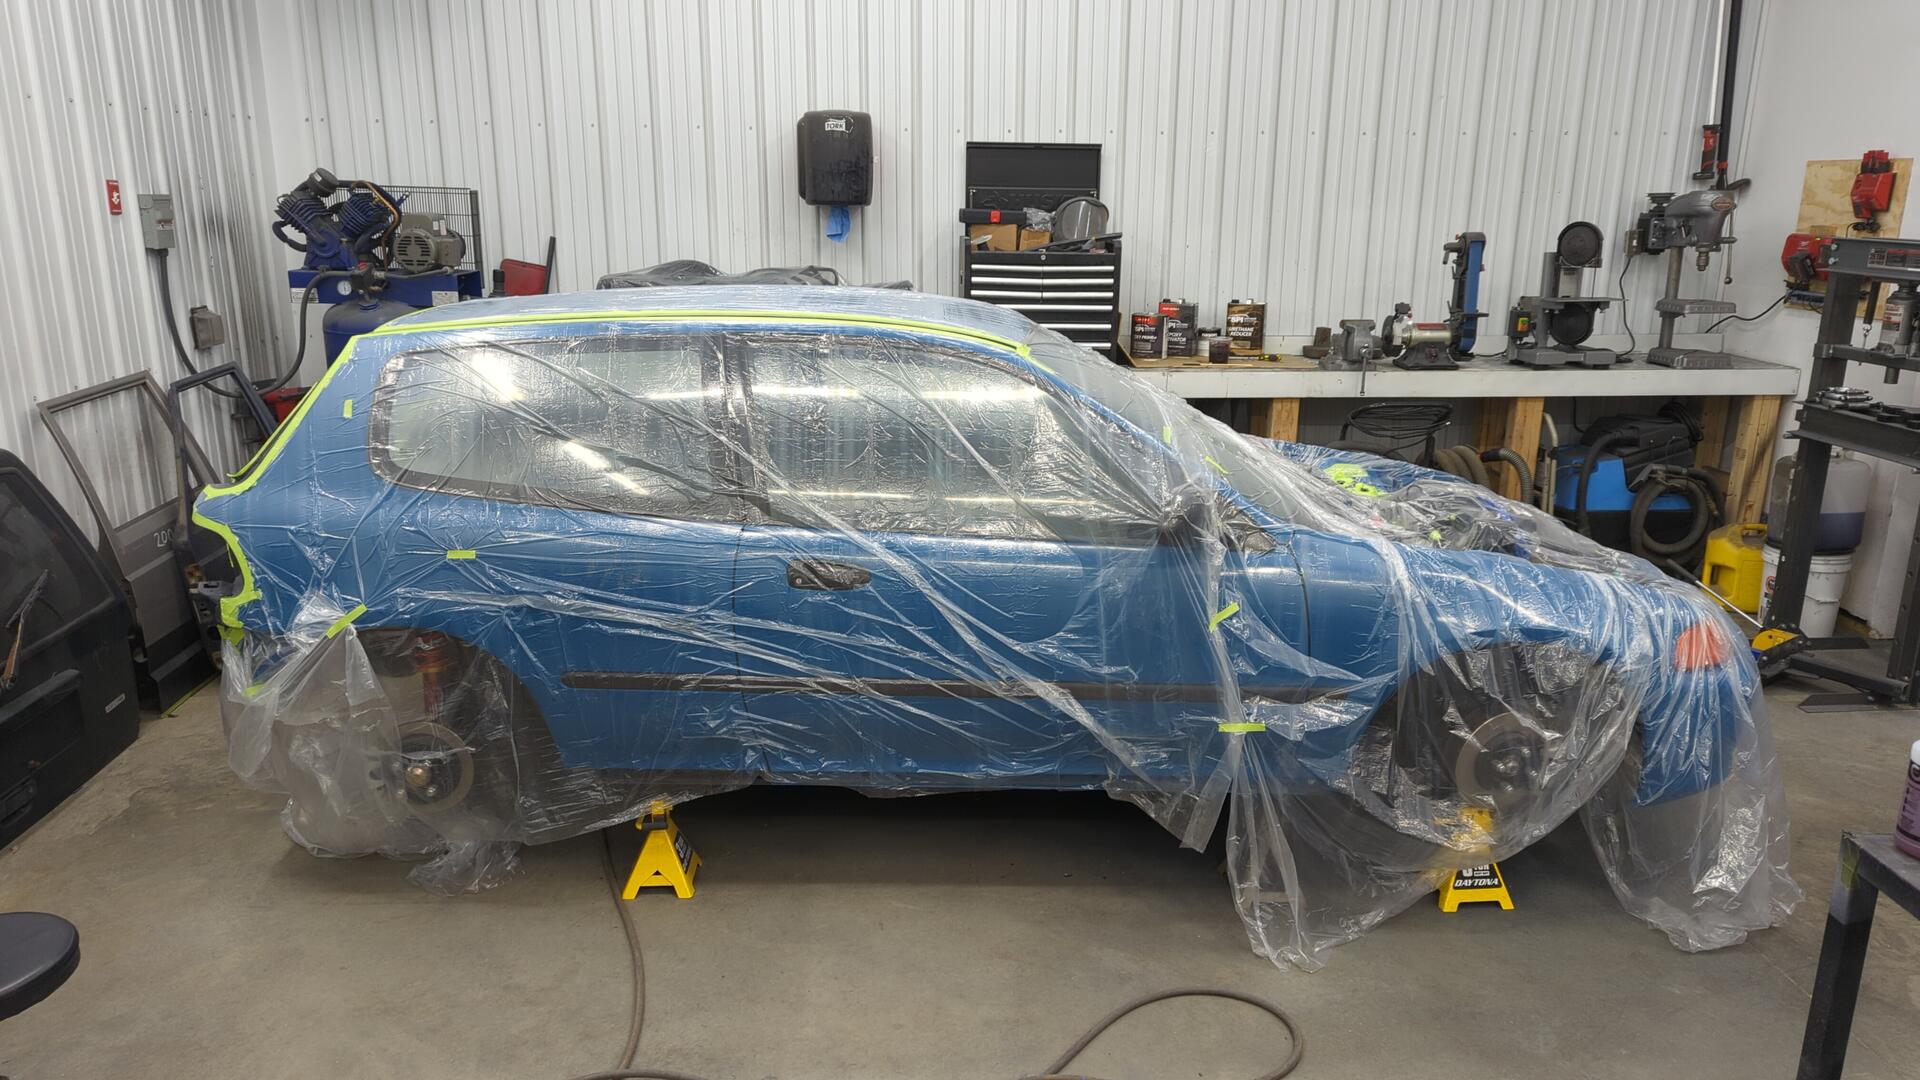
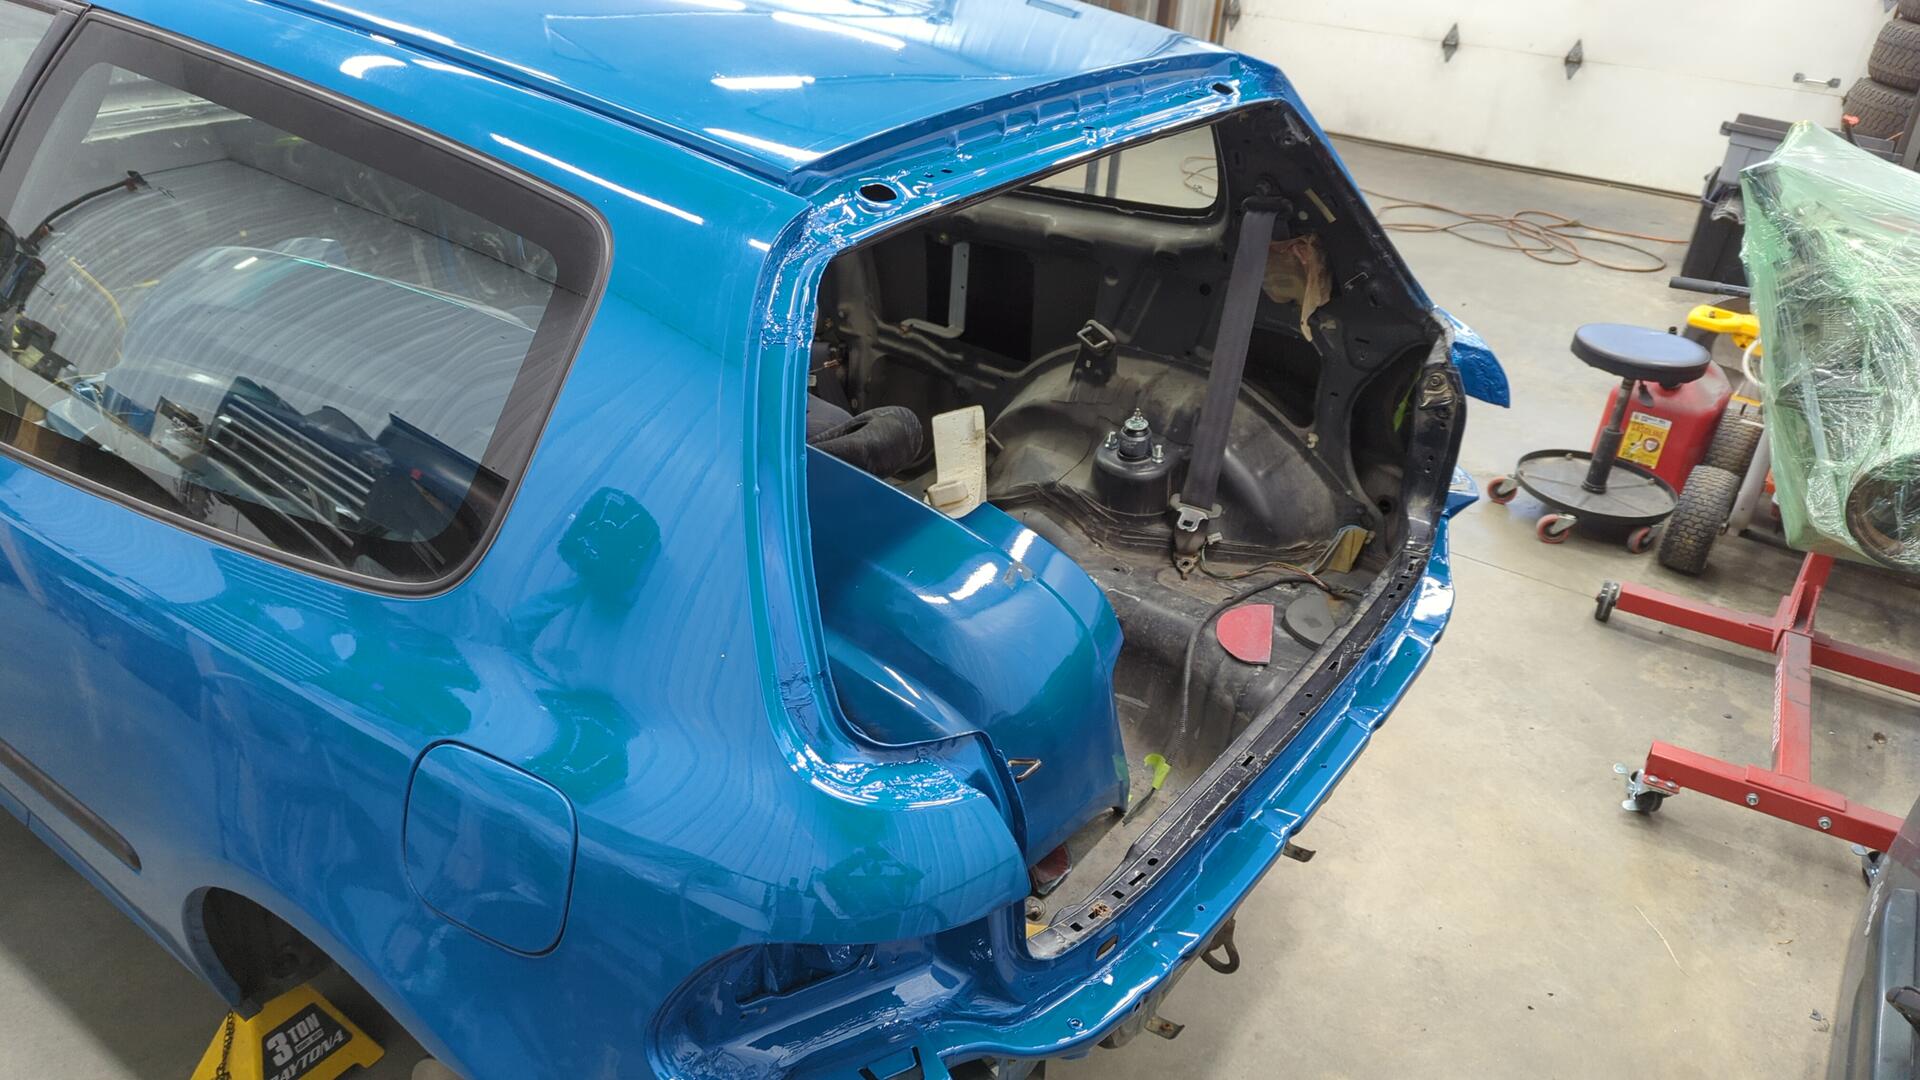
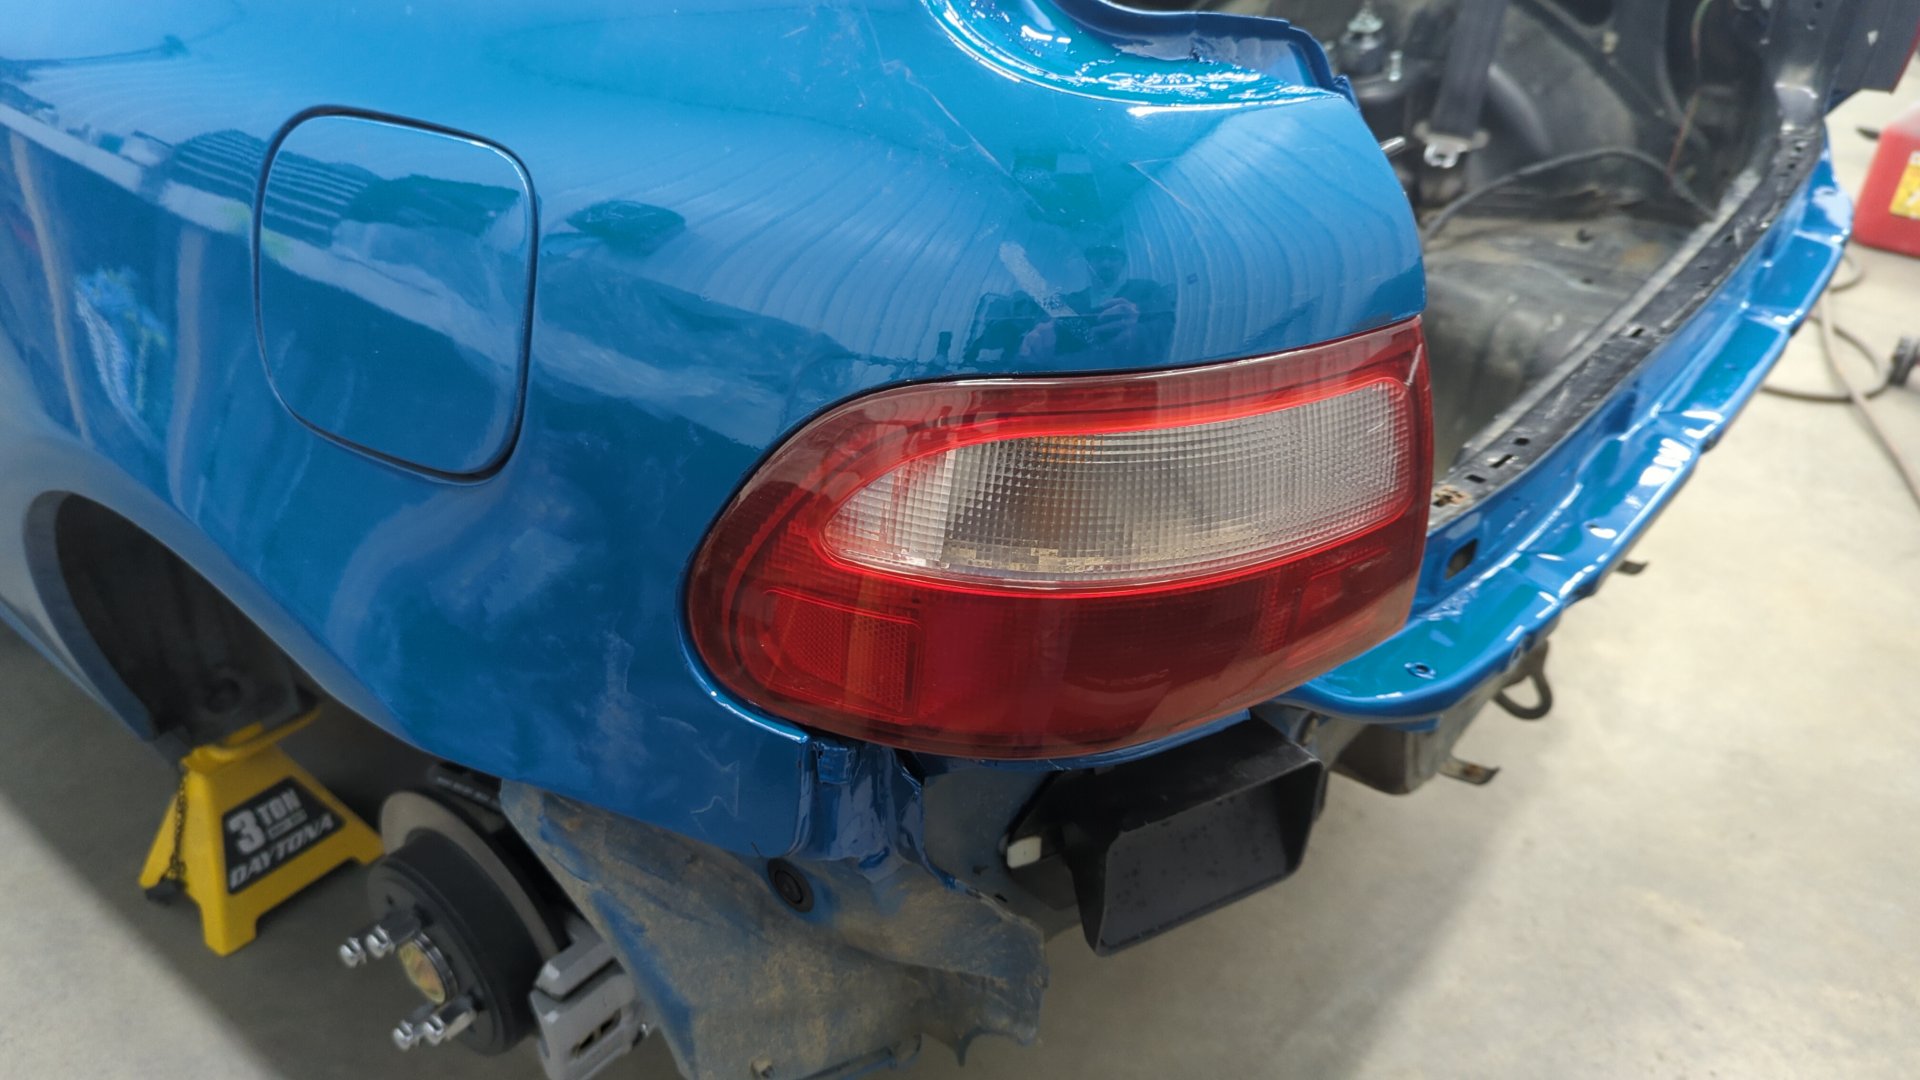
Starting on the Back
After letting the paint harden for a day or two I was ready to pop my old taillights back in.
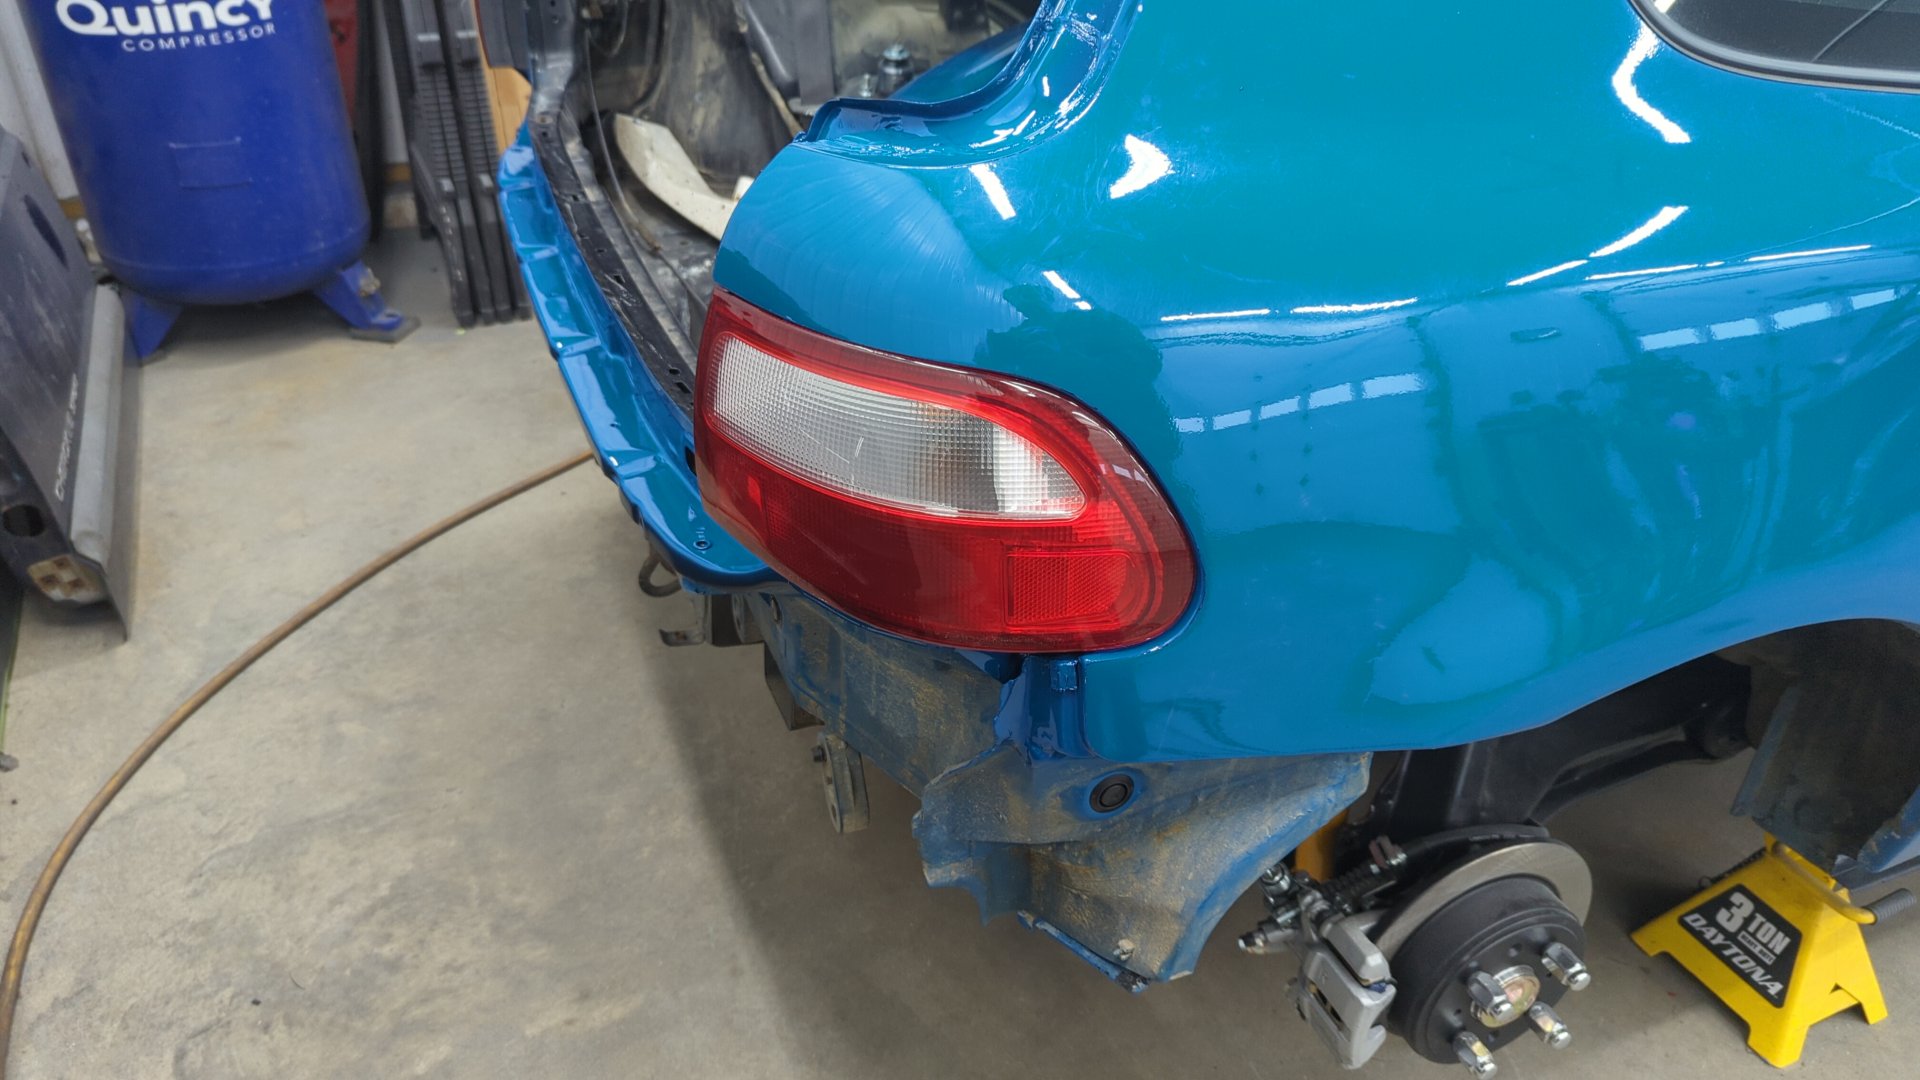
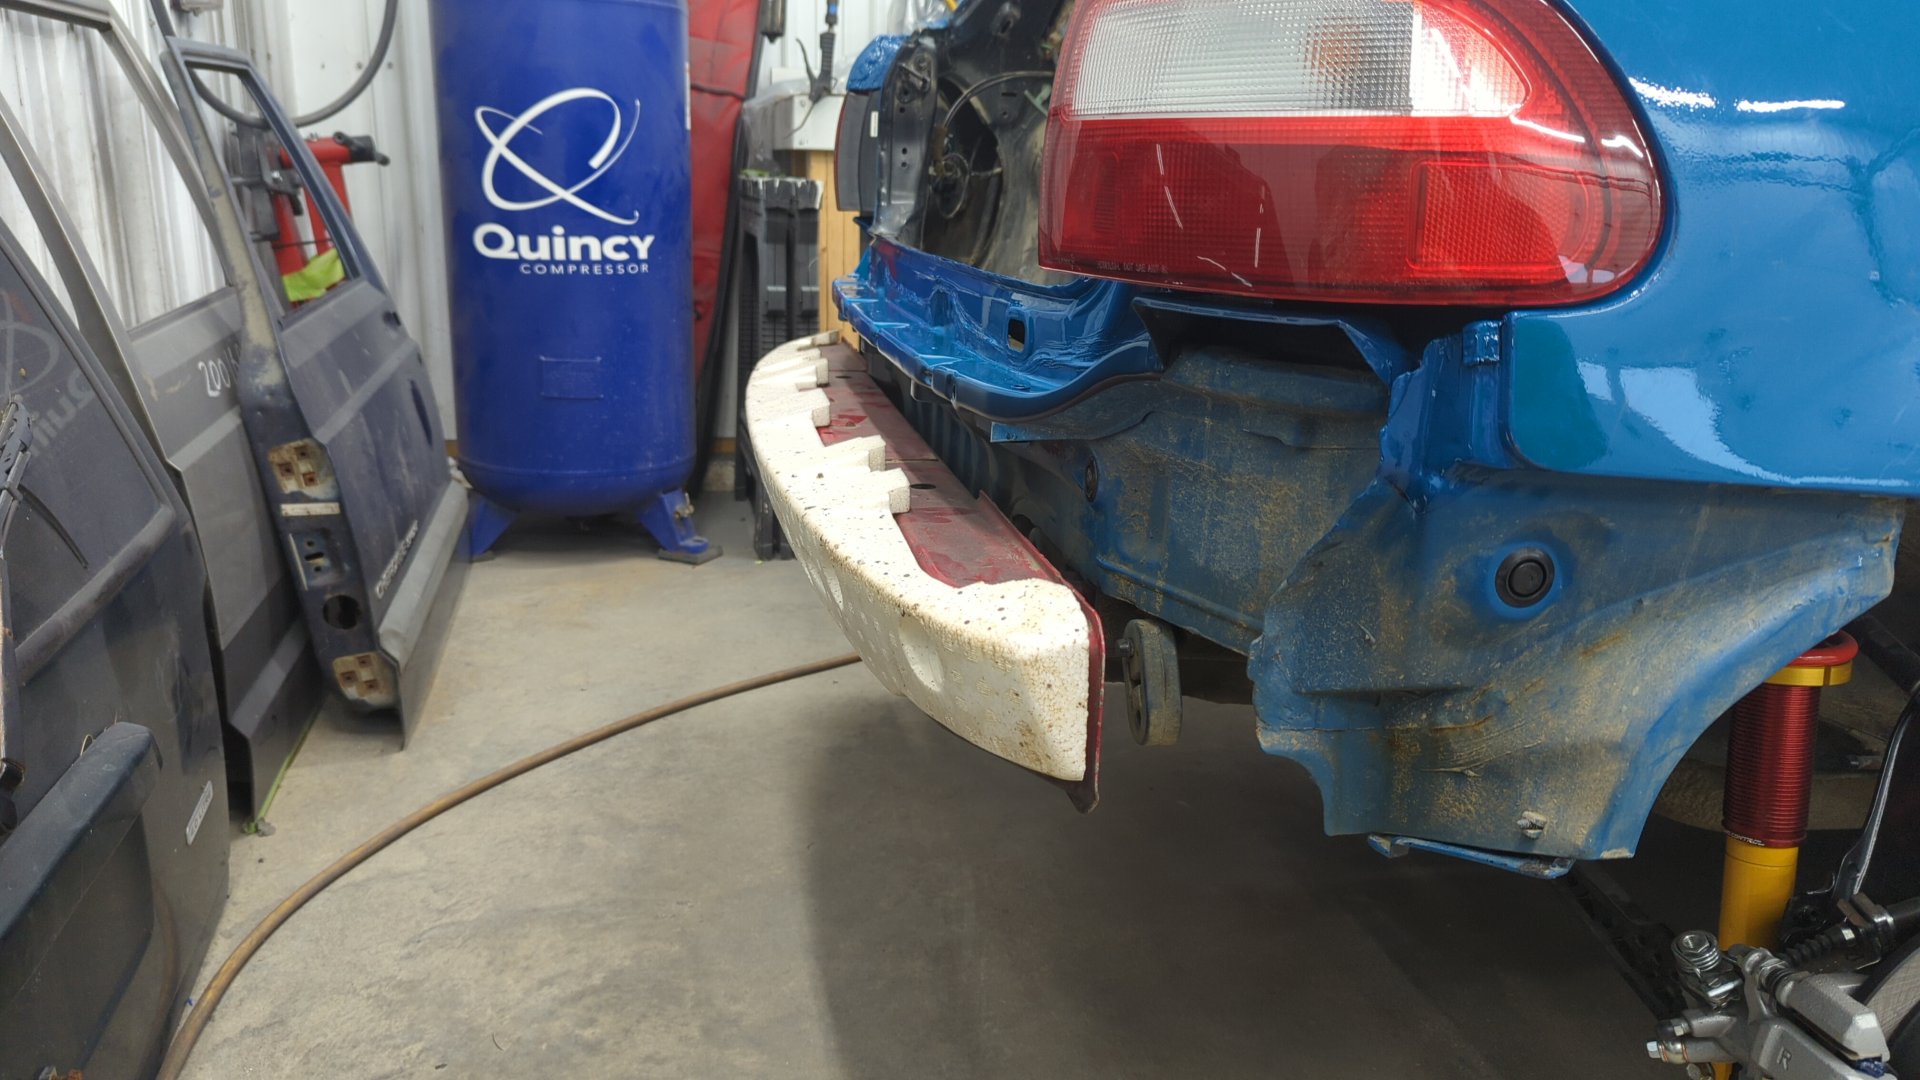
Then I bolted up my new to me crash beam. It doesn’t quite match the car but I didn’t think it was worthwhile to repaint it since it’ll be hidden.
Rear bumper re-installed.
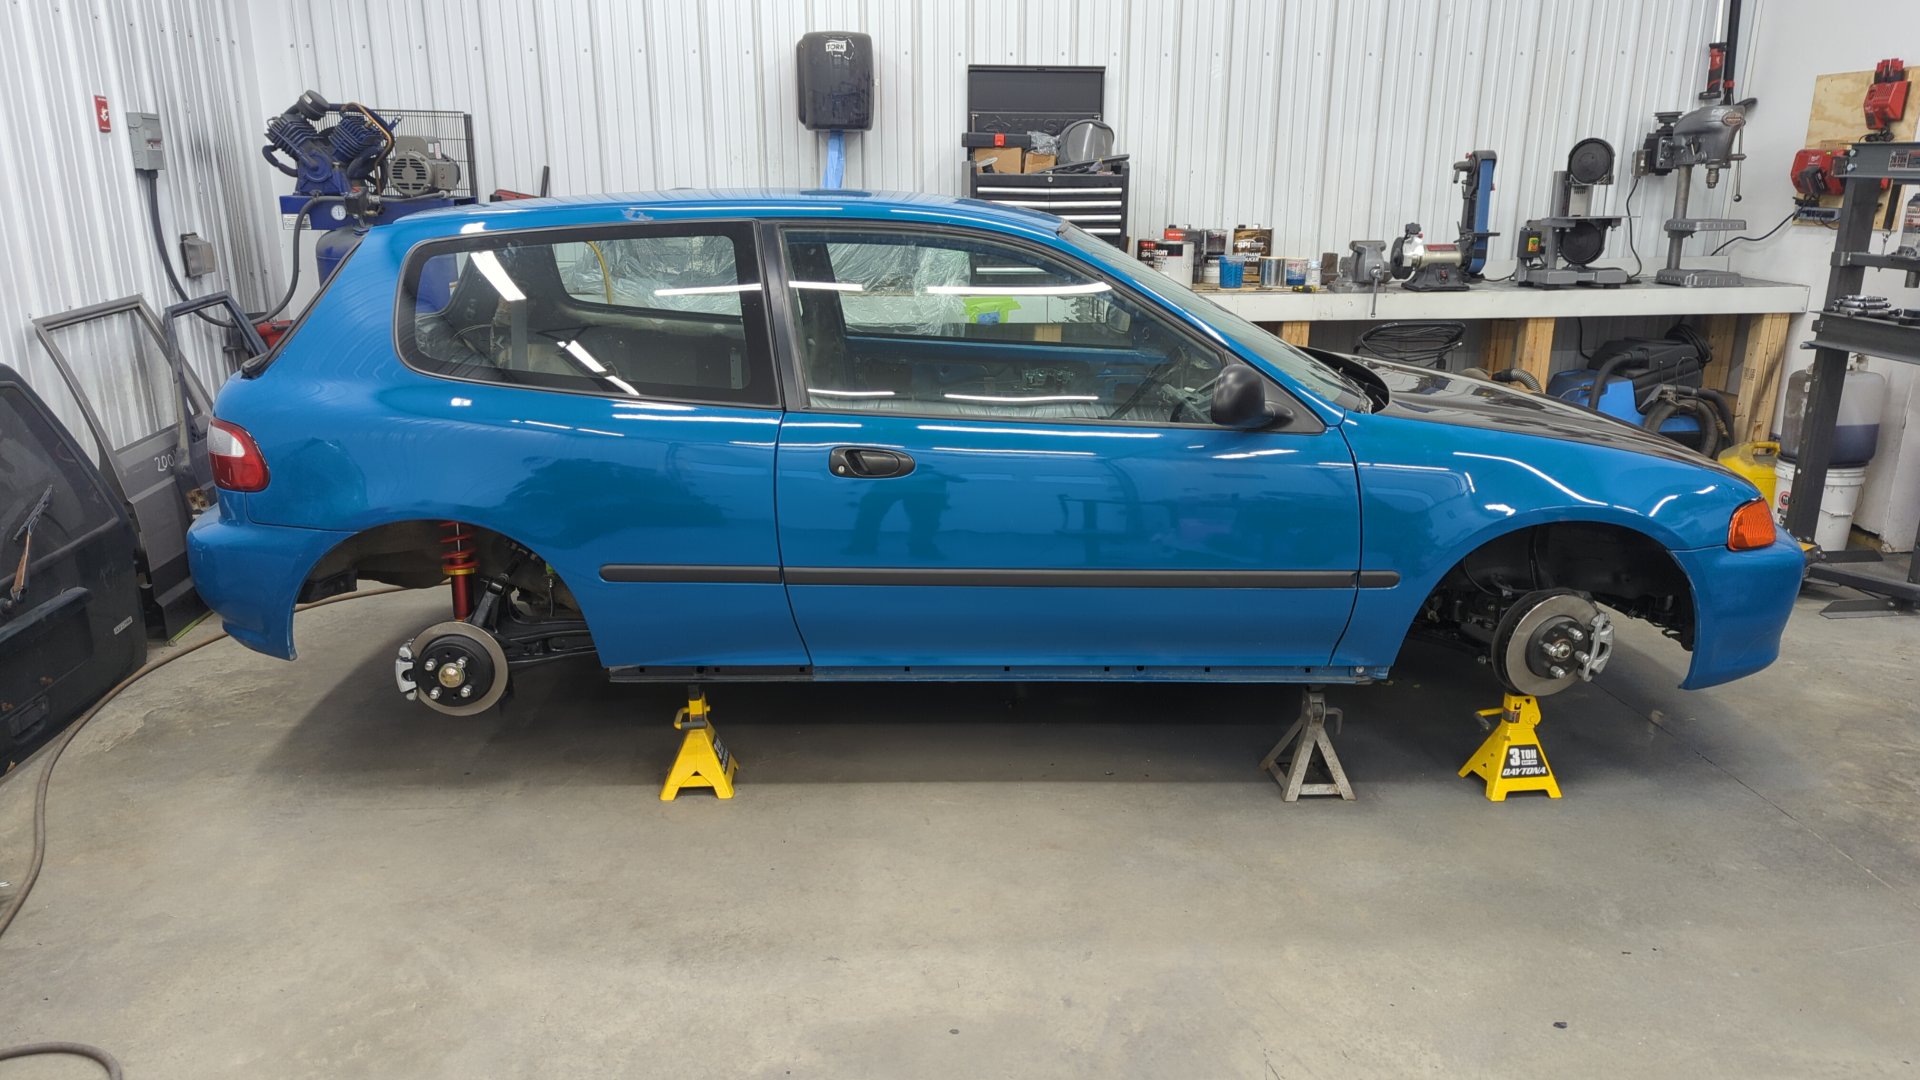
Tailgate re-installed.
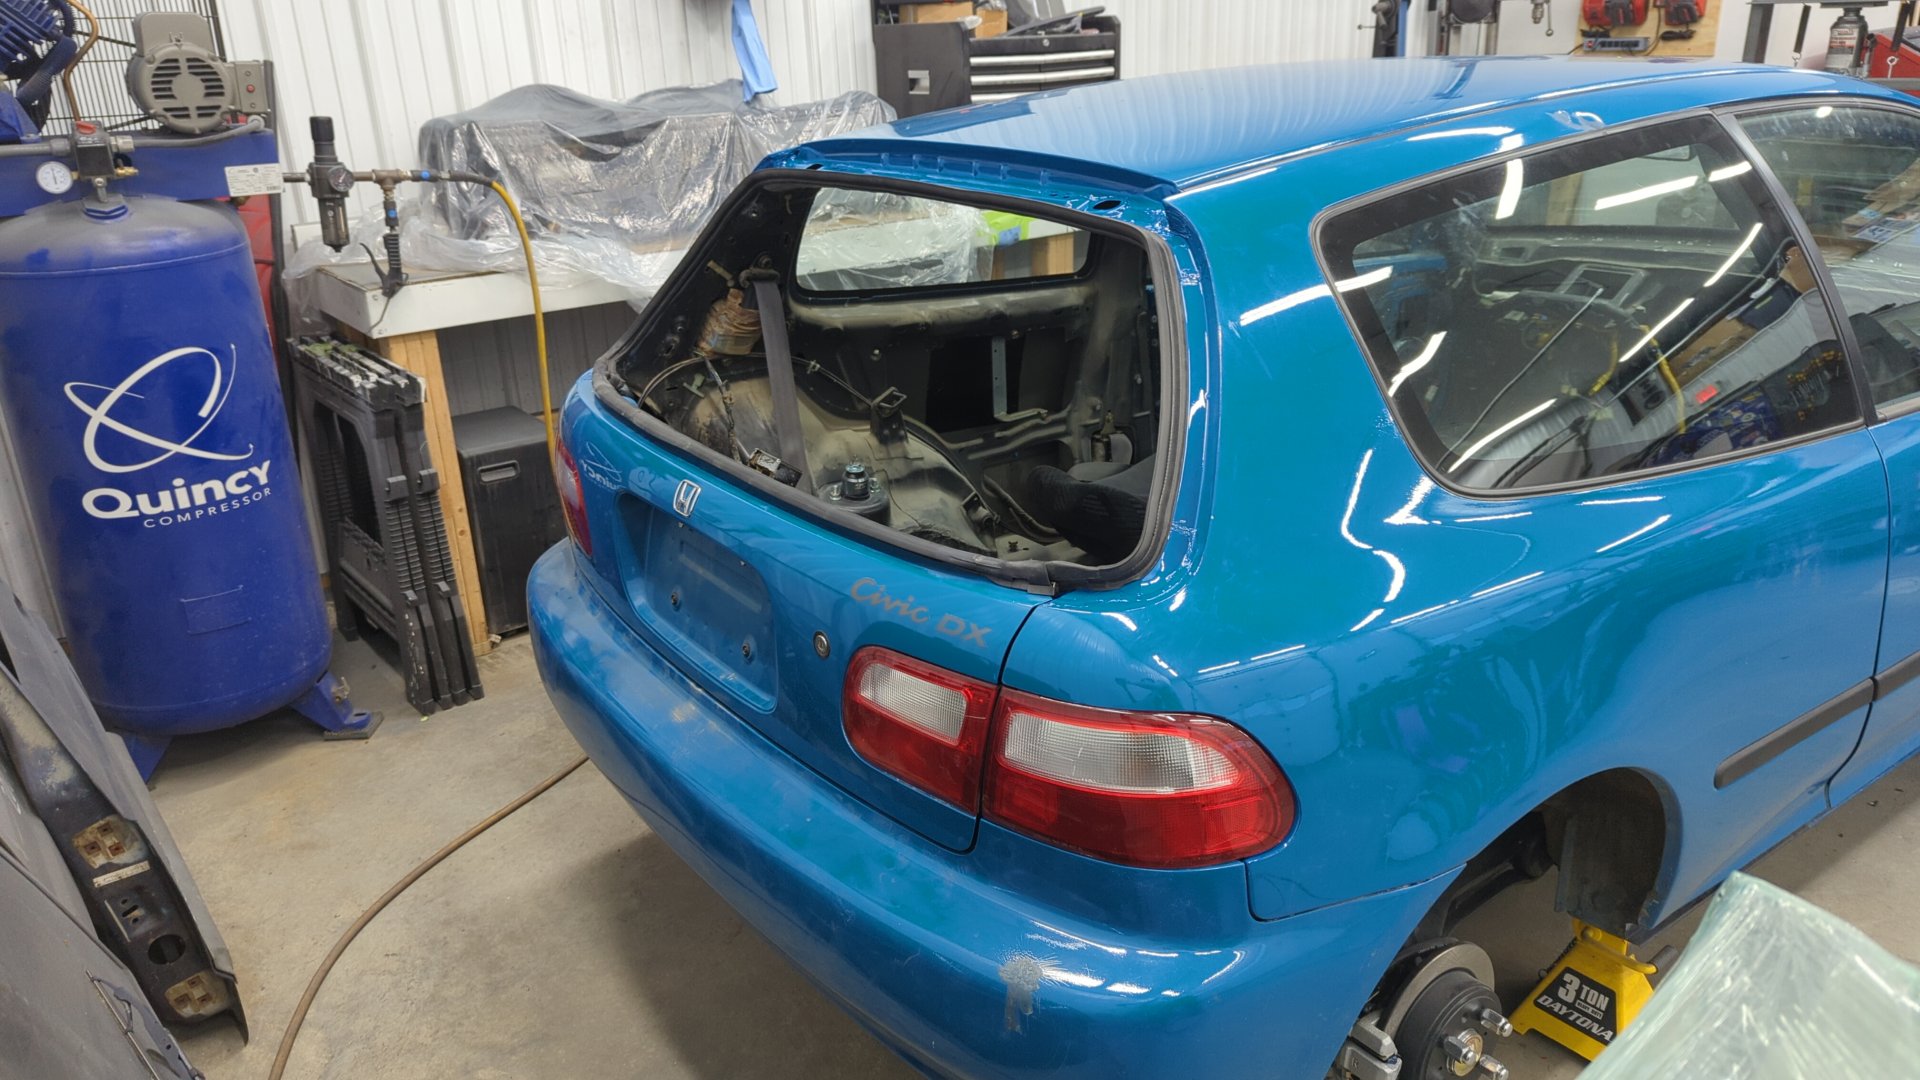
That’s it for now!