Revival of the Hatch Part 9: Taking the Engine Bay From Primer to Paint and All the Filler Inbetween
Bodywork is probably my least favorite step when it comes to a project. It takes a ton of time and it often feels like your just going in circles. I’m grateful I didn’t have to worry about painting the entire vehicle but even just doing the engine bay I spent somewhere around 120 hours on it.
In terms of products I decided to use SPI’s epoxy primer and 2k primer because I’ve had great luck with their epoxy on other projects and for base coat I went with Nason Ful-thane.
Ful-thane is a single stage paint which I picked because it’ll be easier touch up later on if needed, and also requires less coats than a base coat / clear coat setup which helps reduce how much dust can get into the paint while still wet since I’m not spraying in a paint booth.
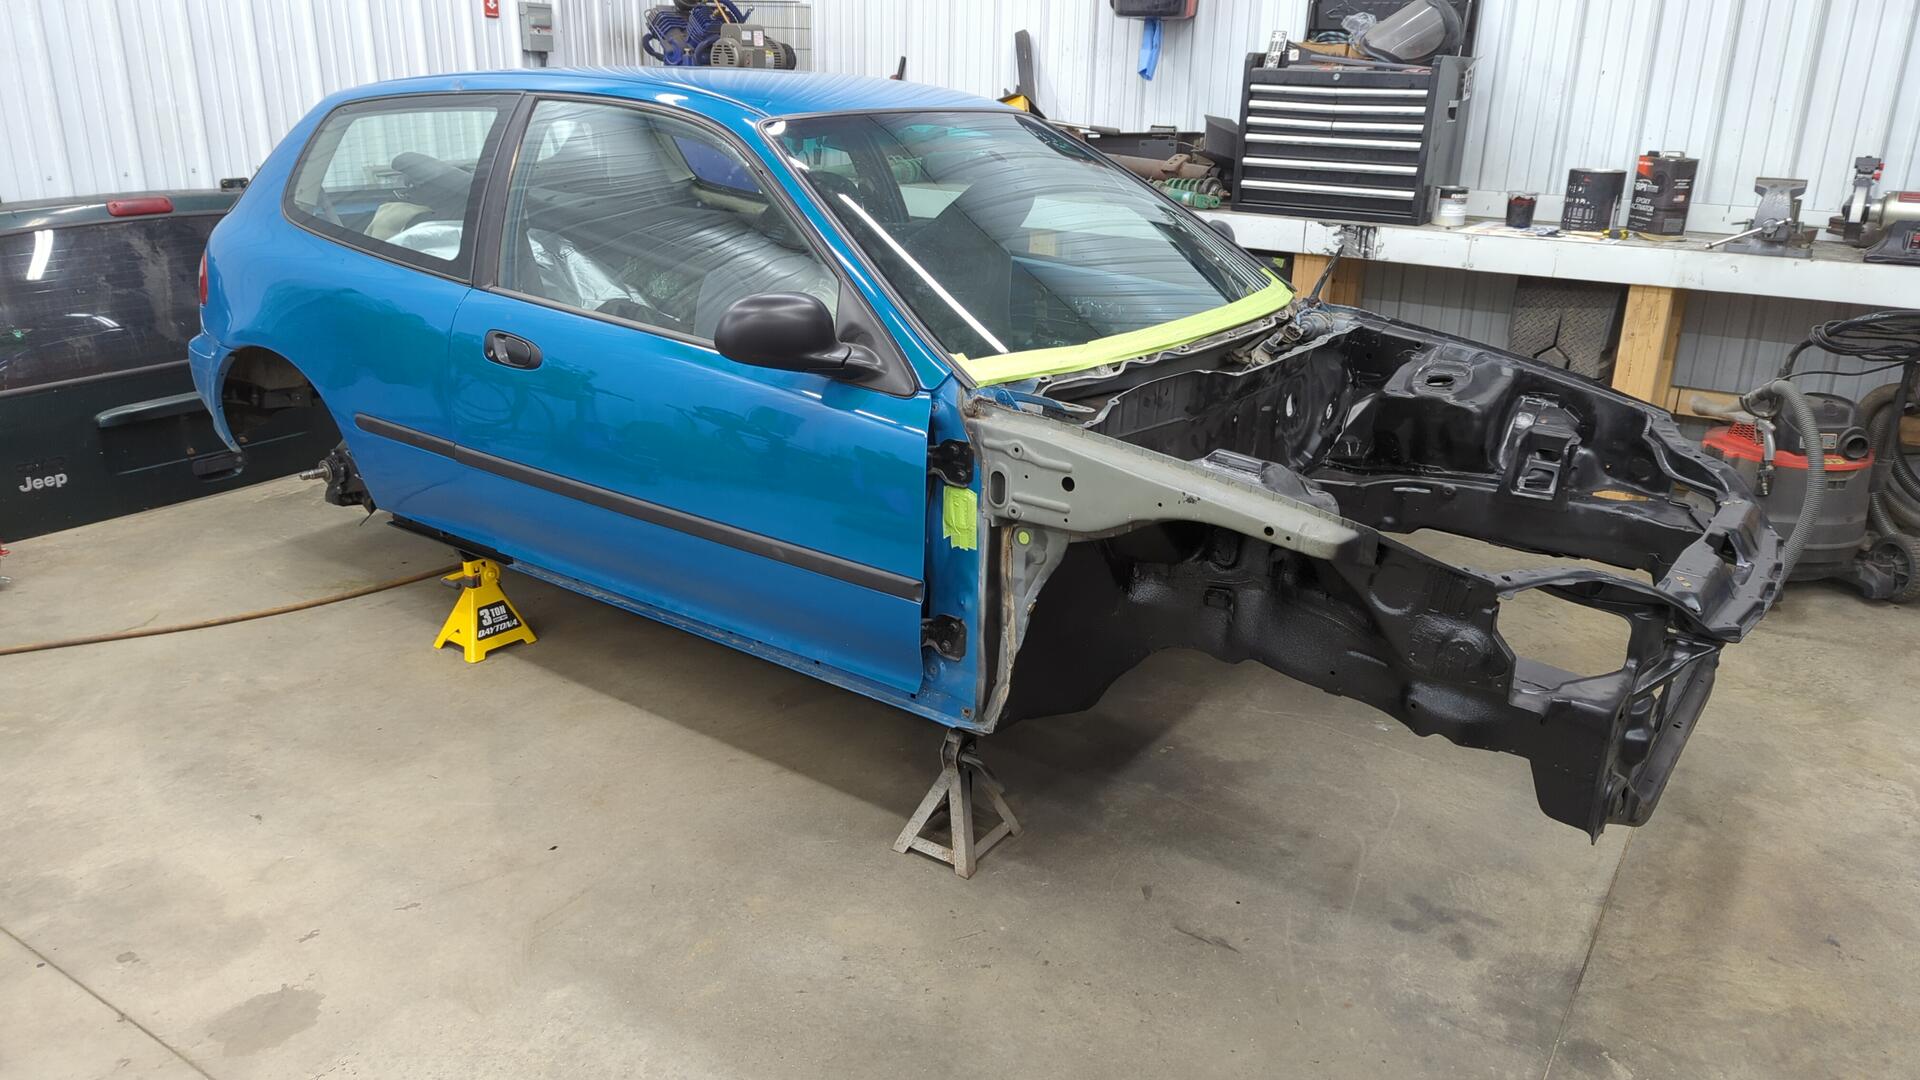
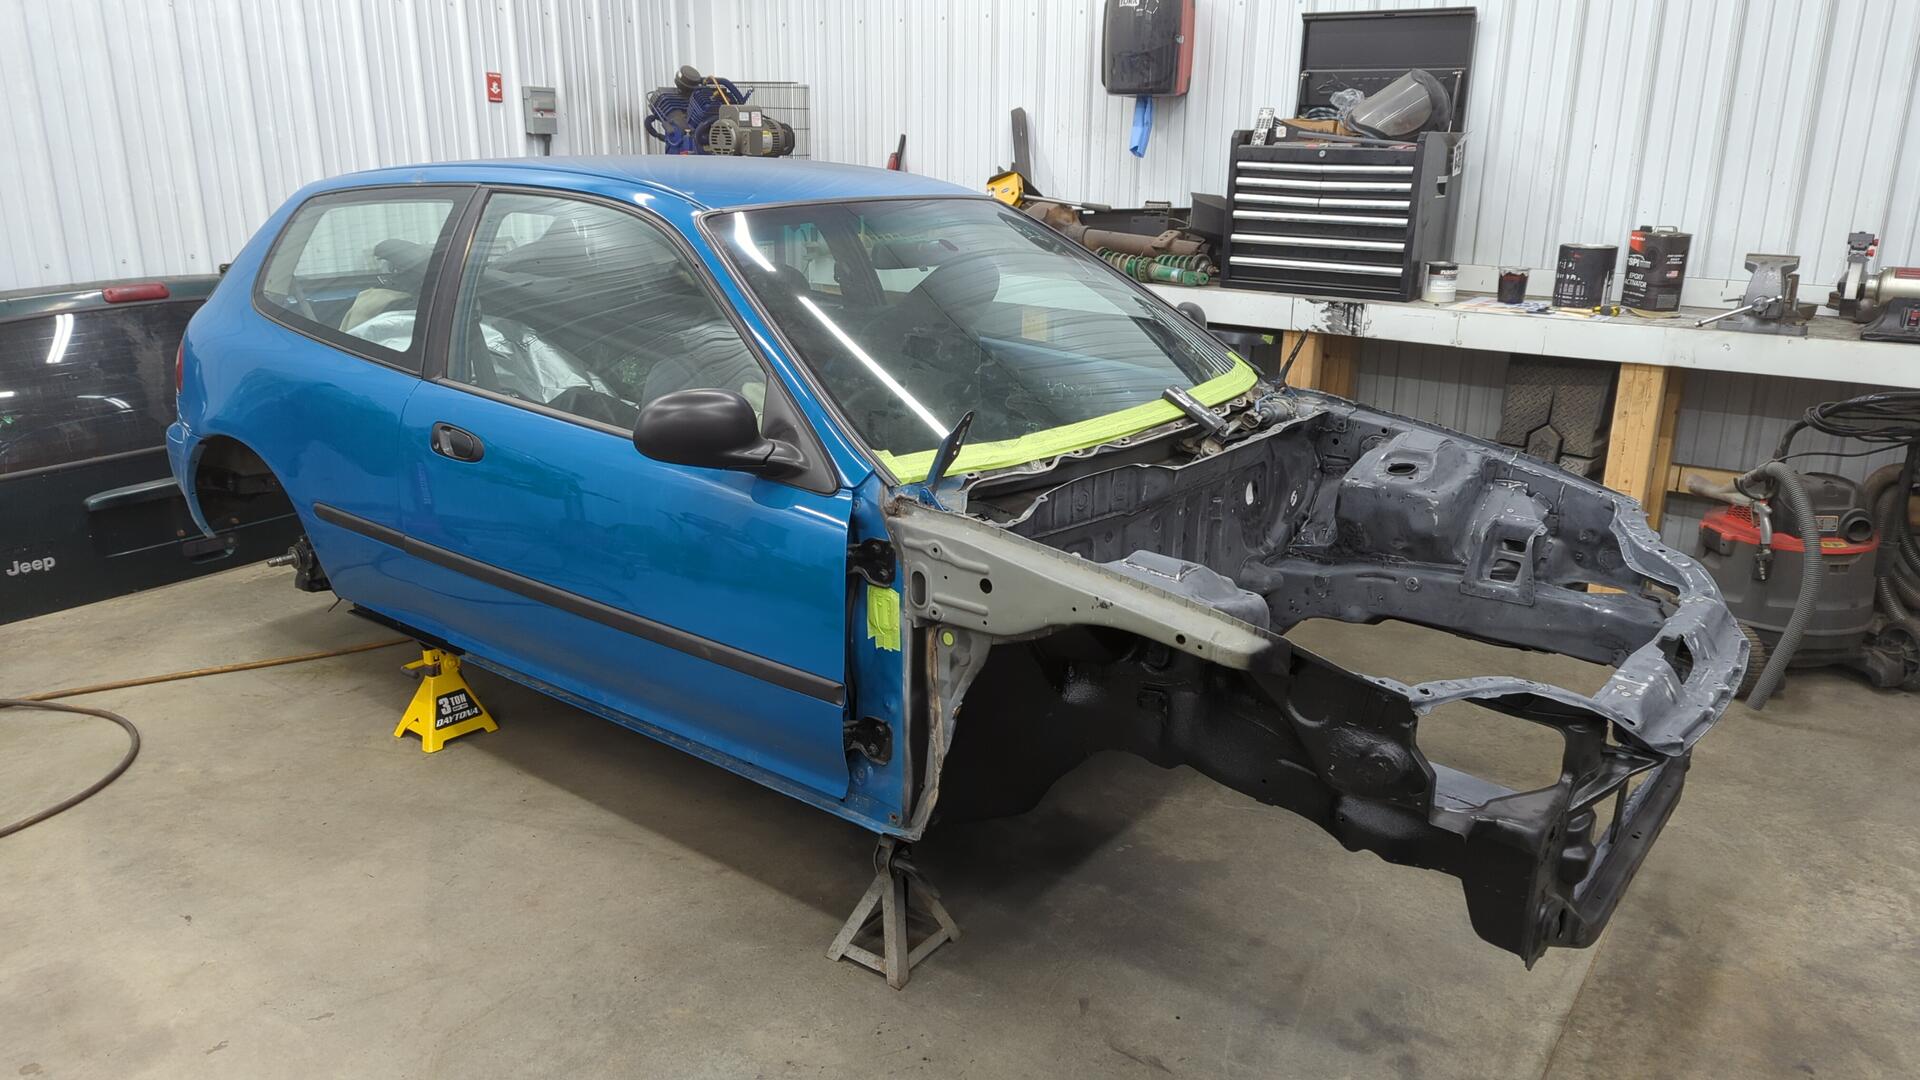
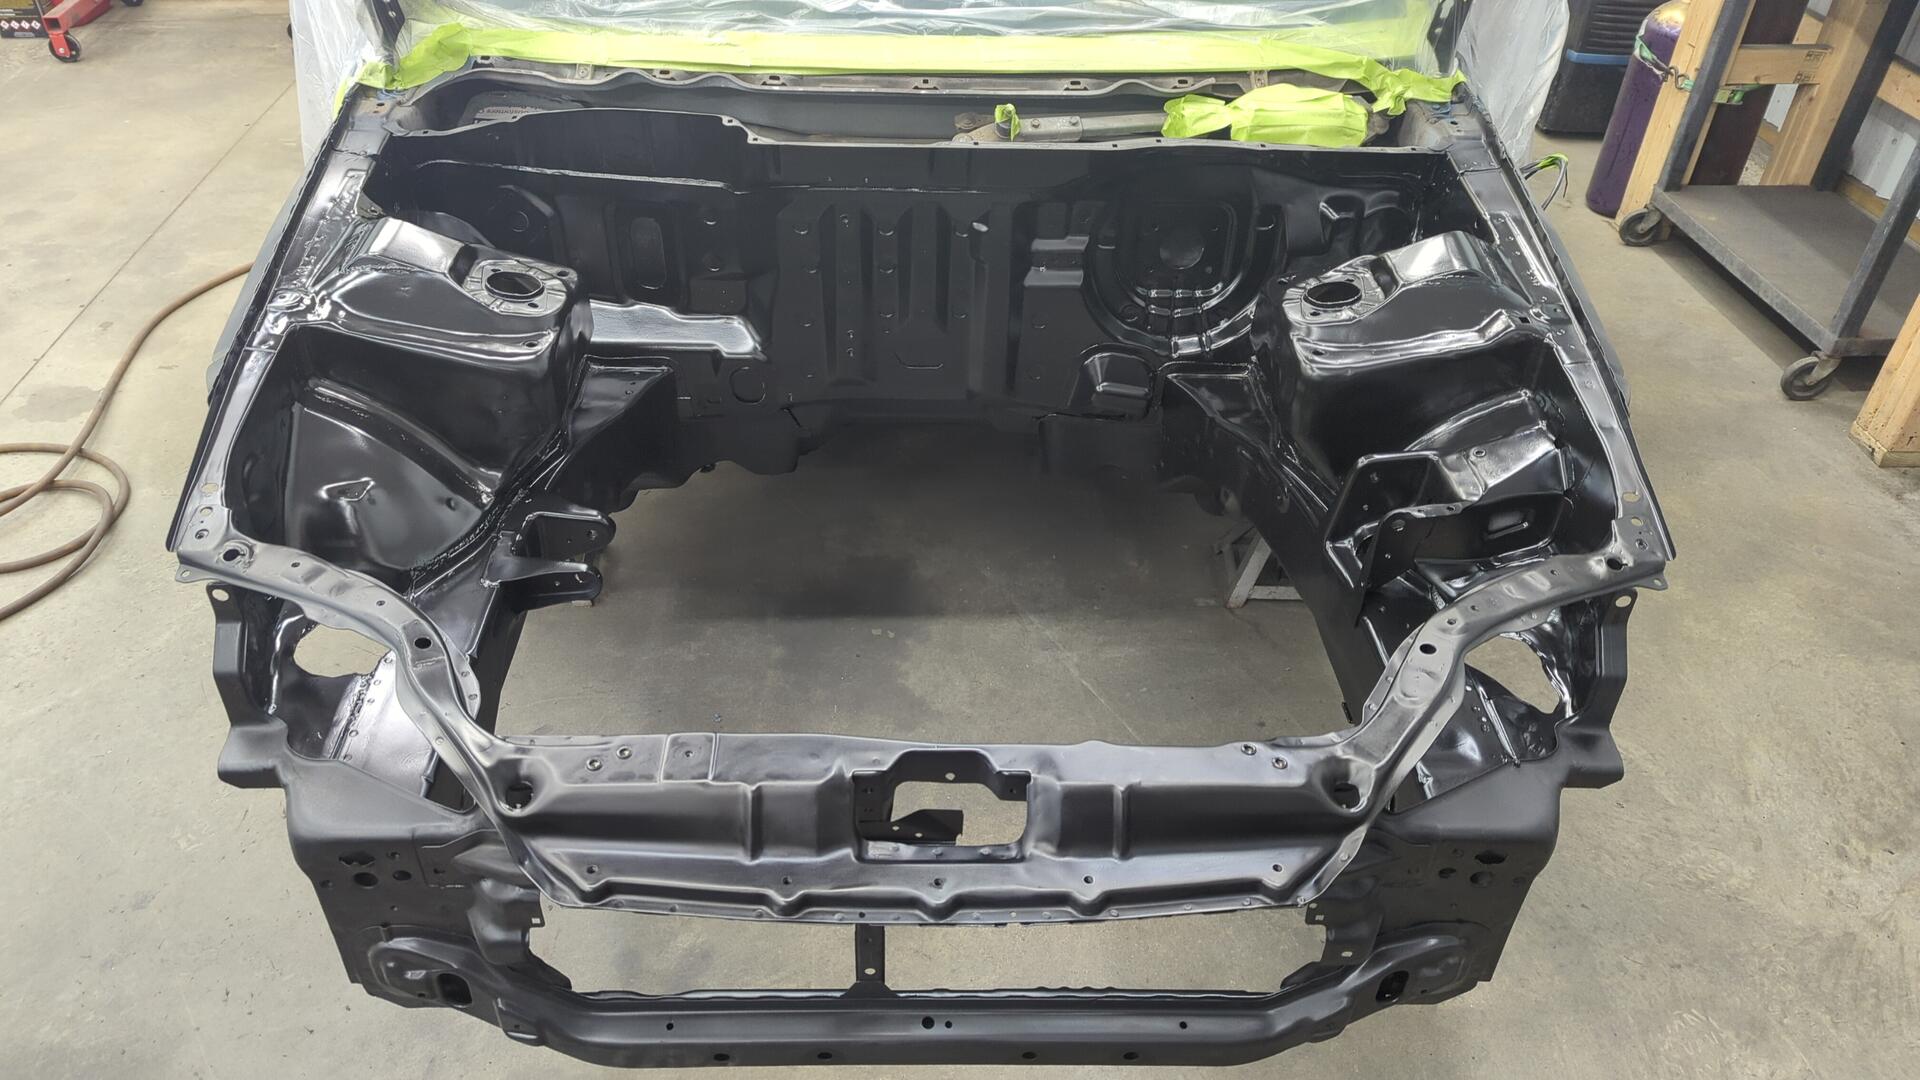
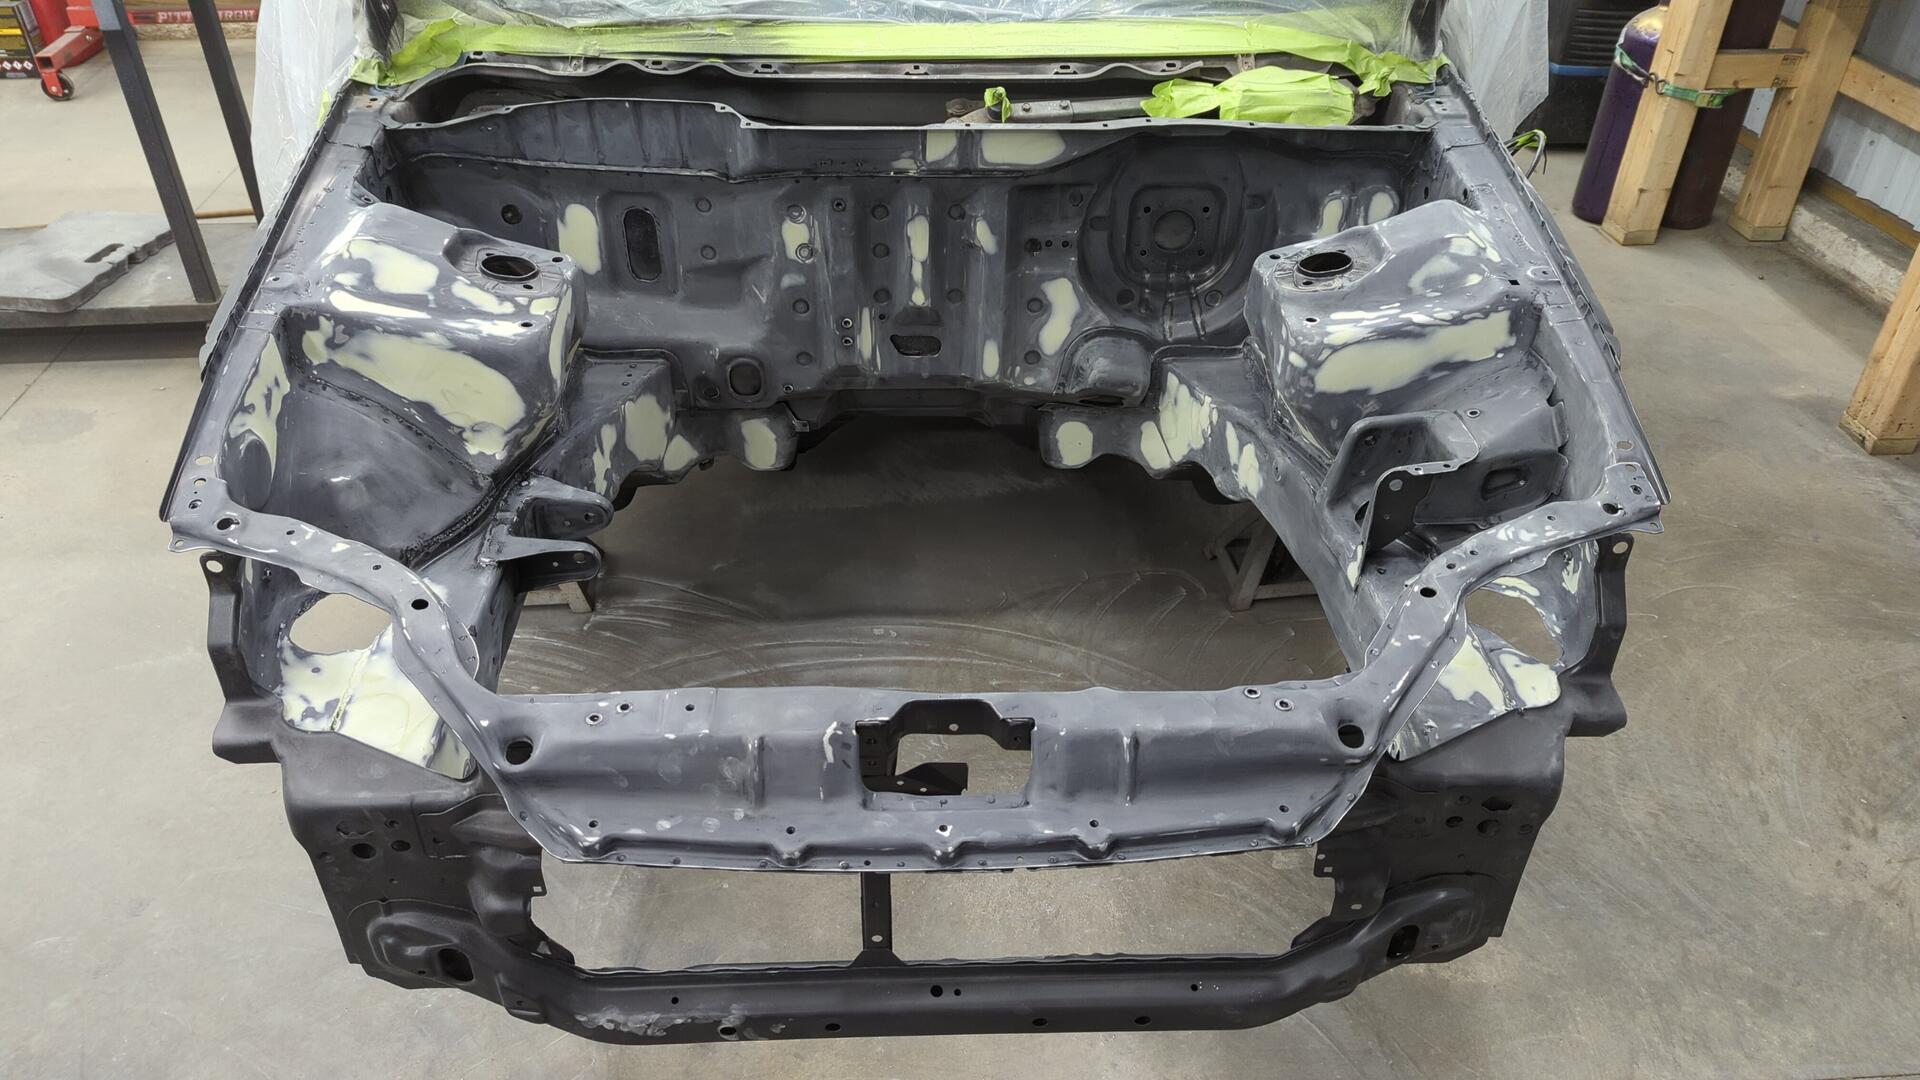
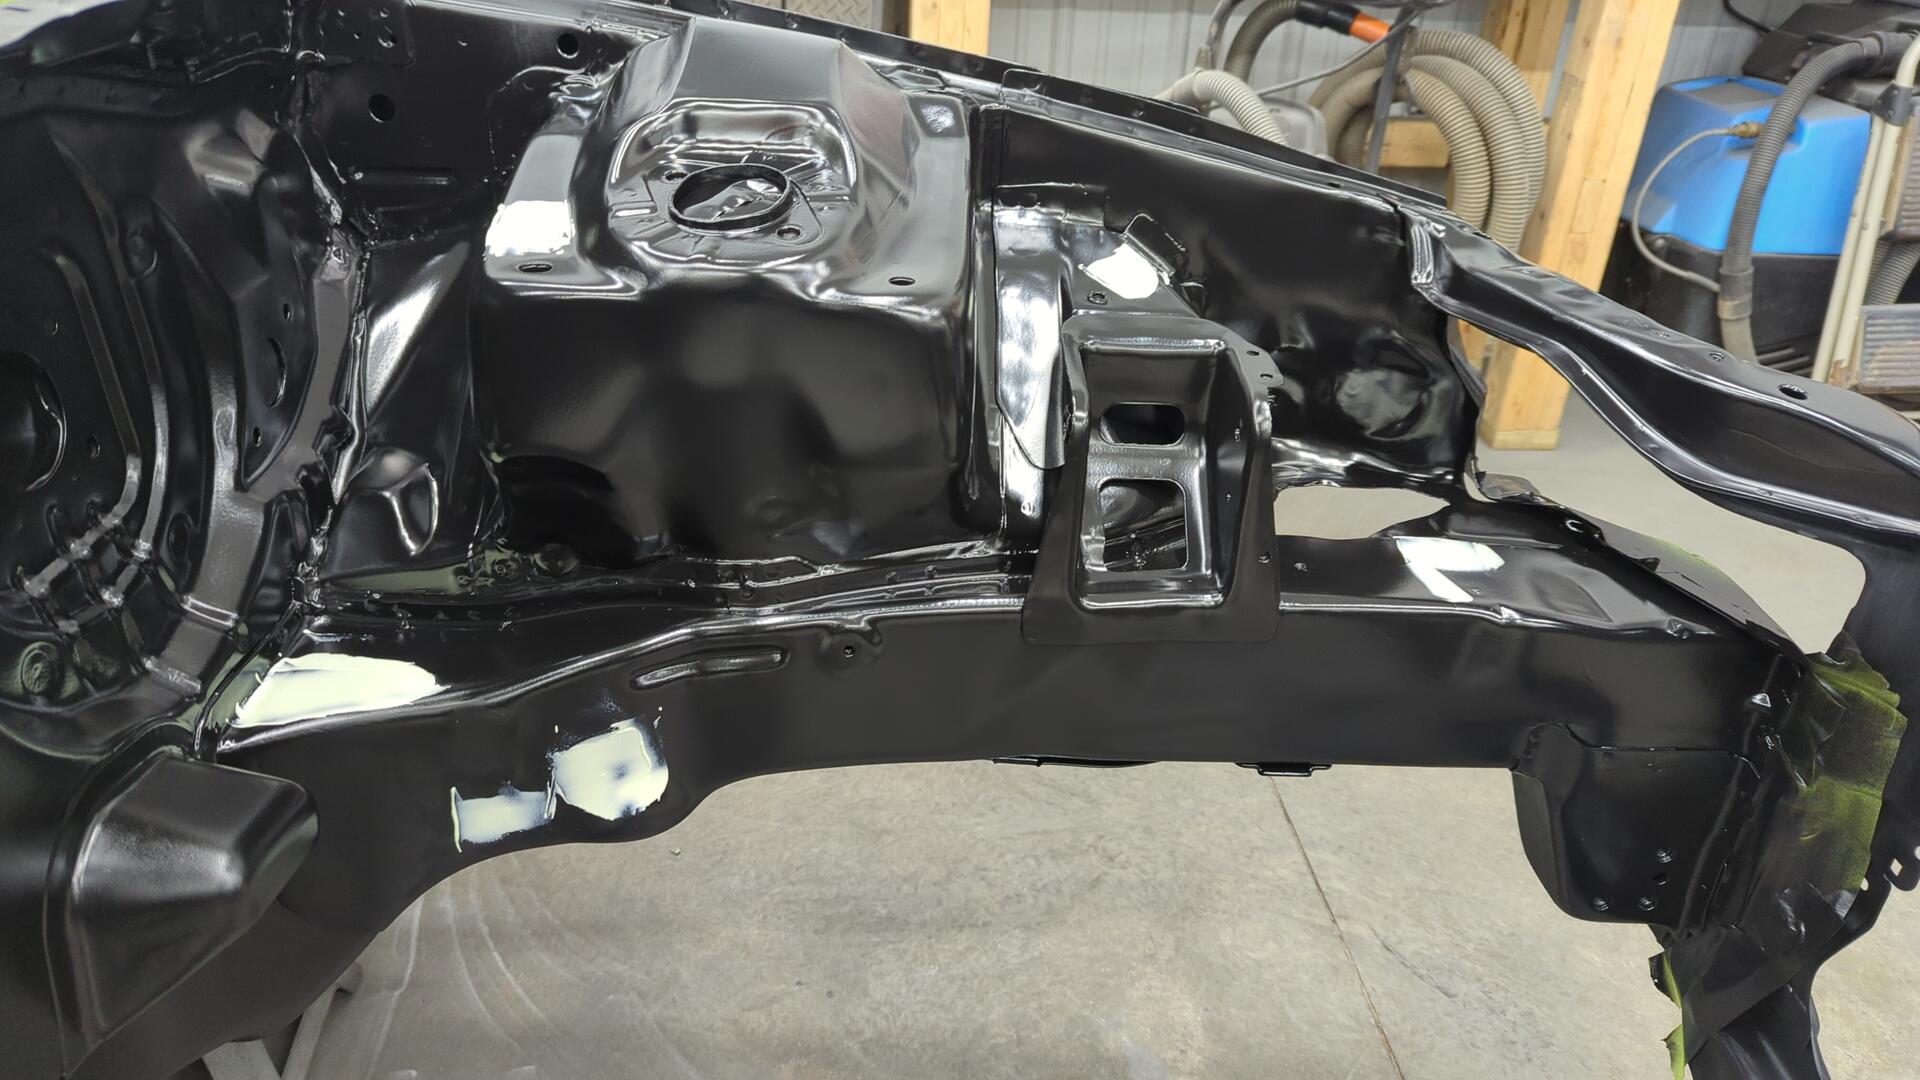
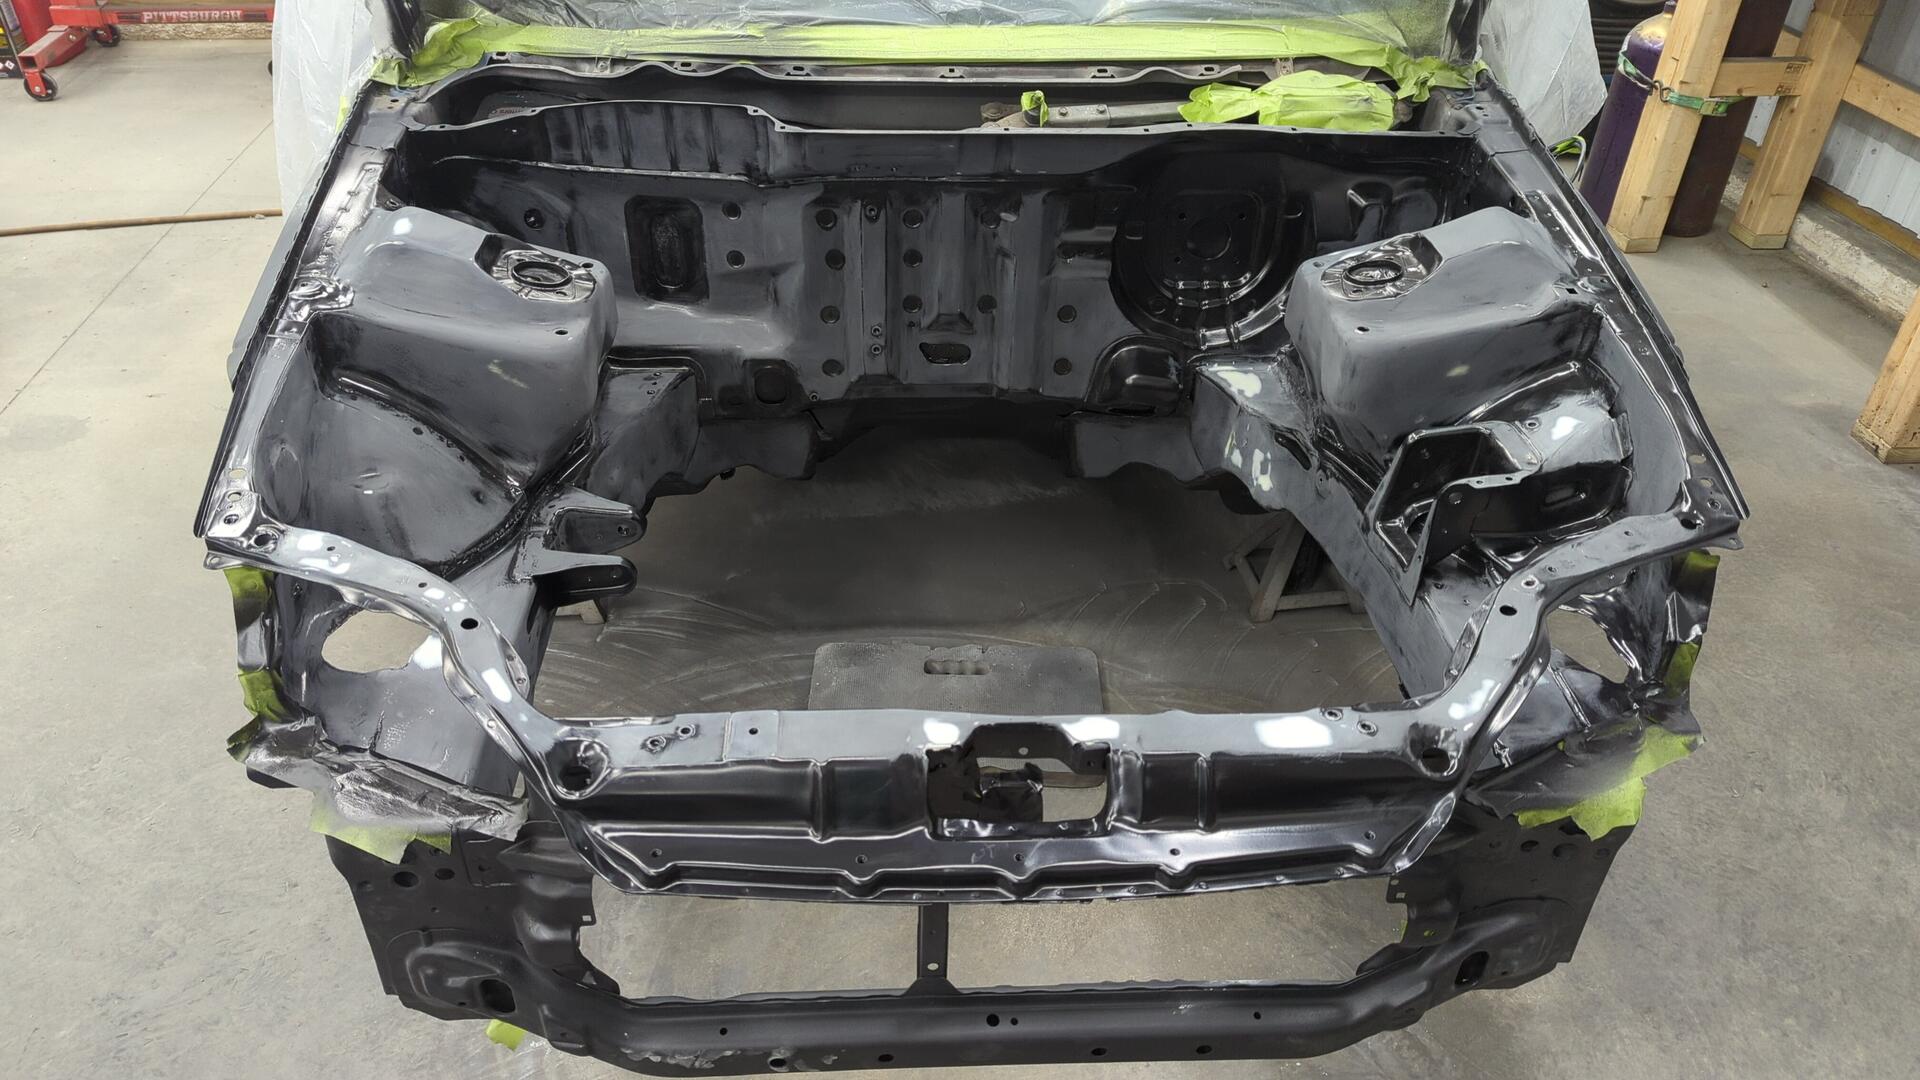
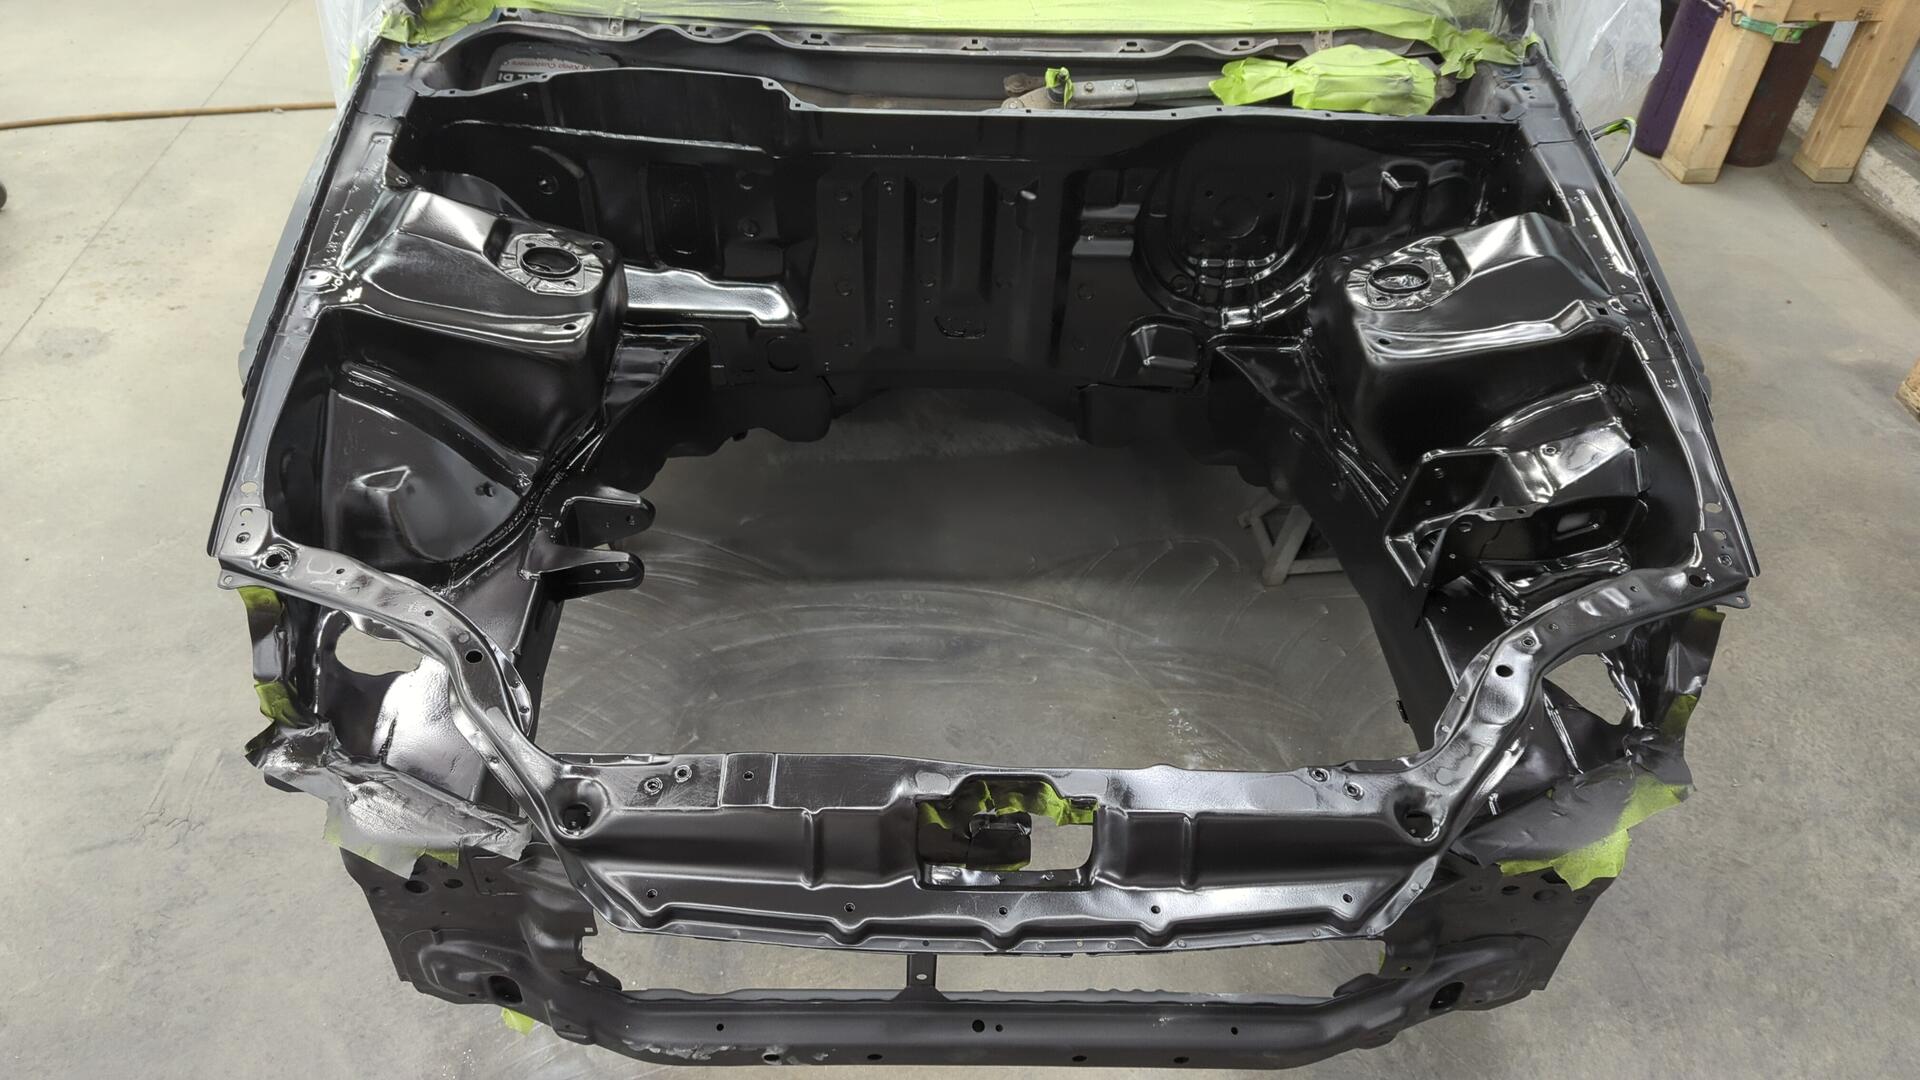
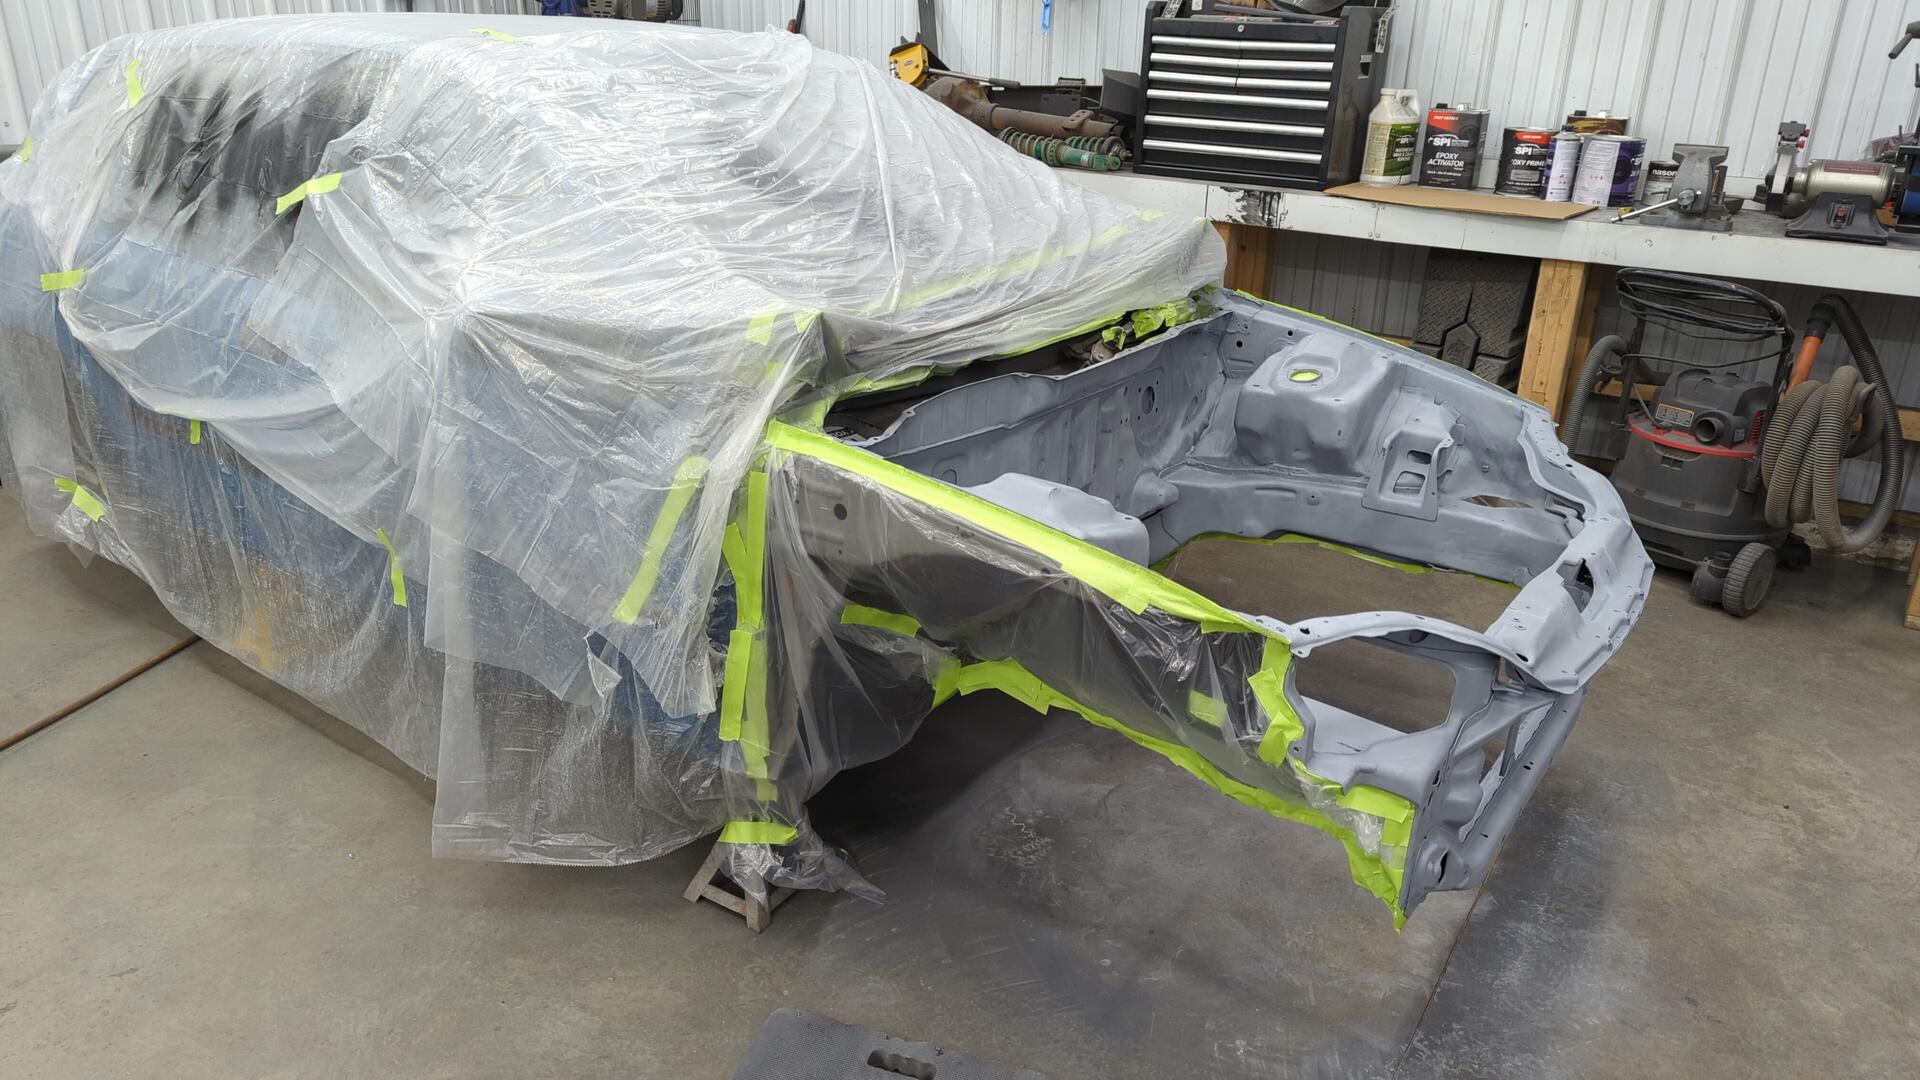
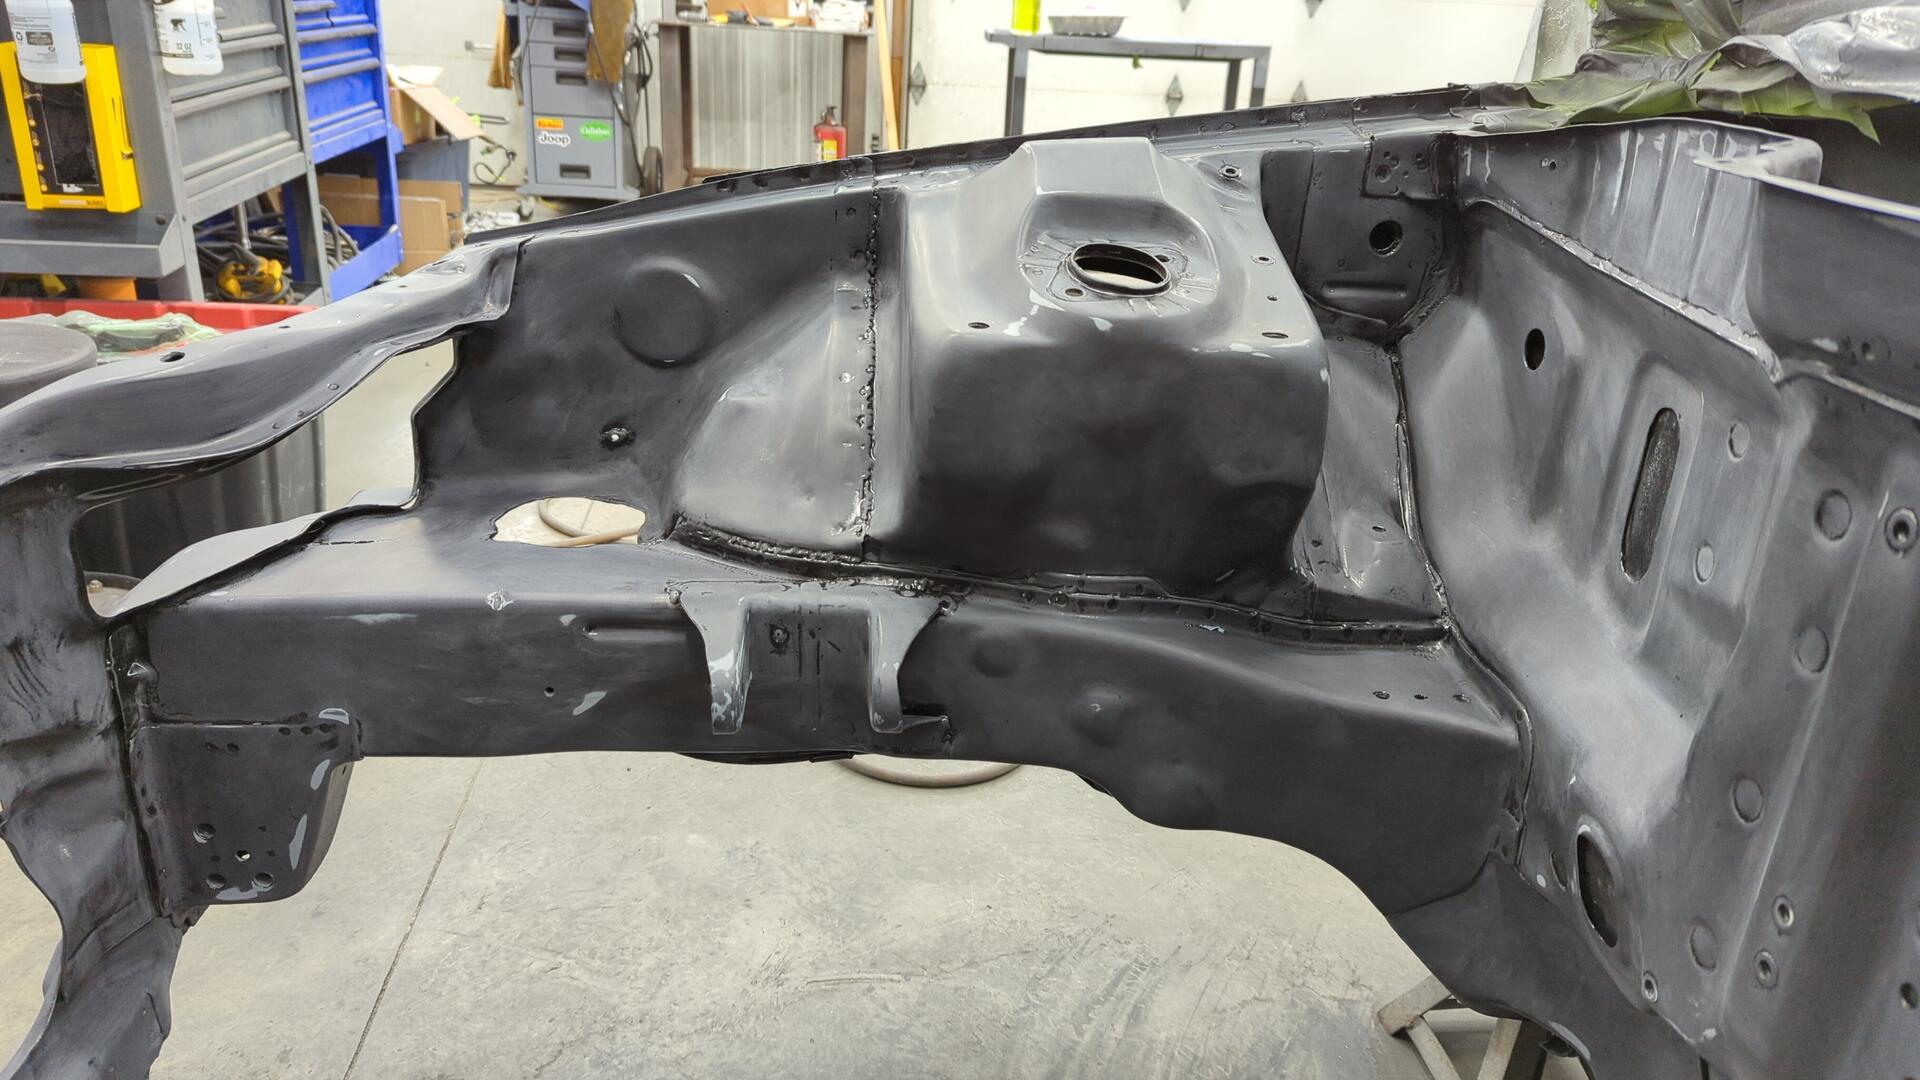
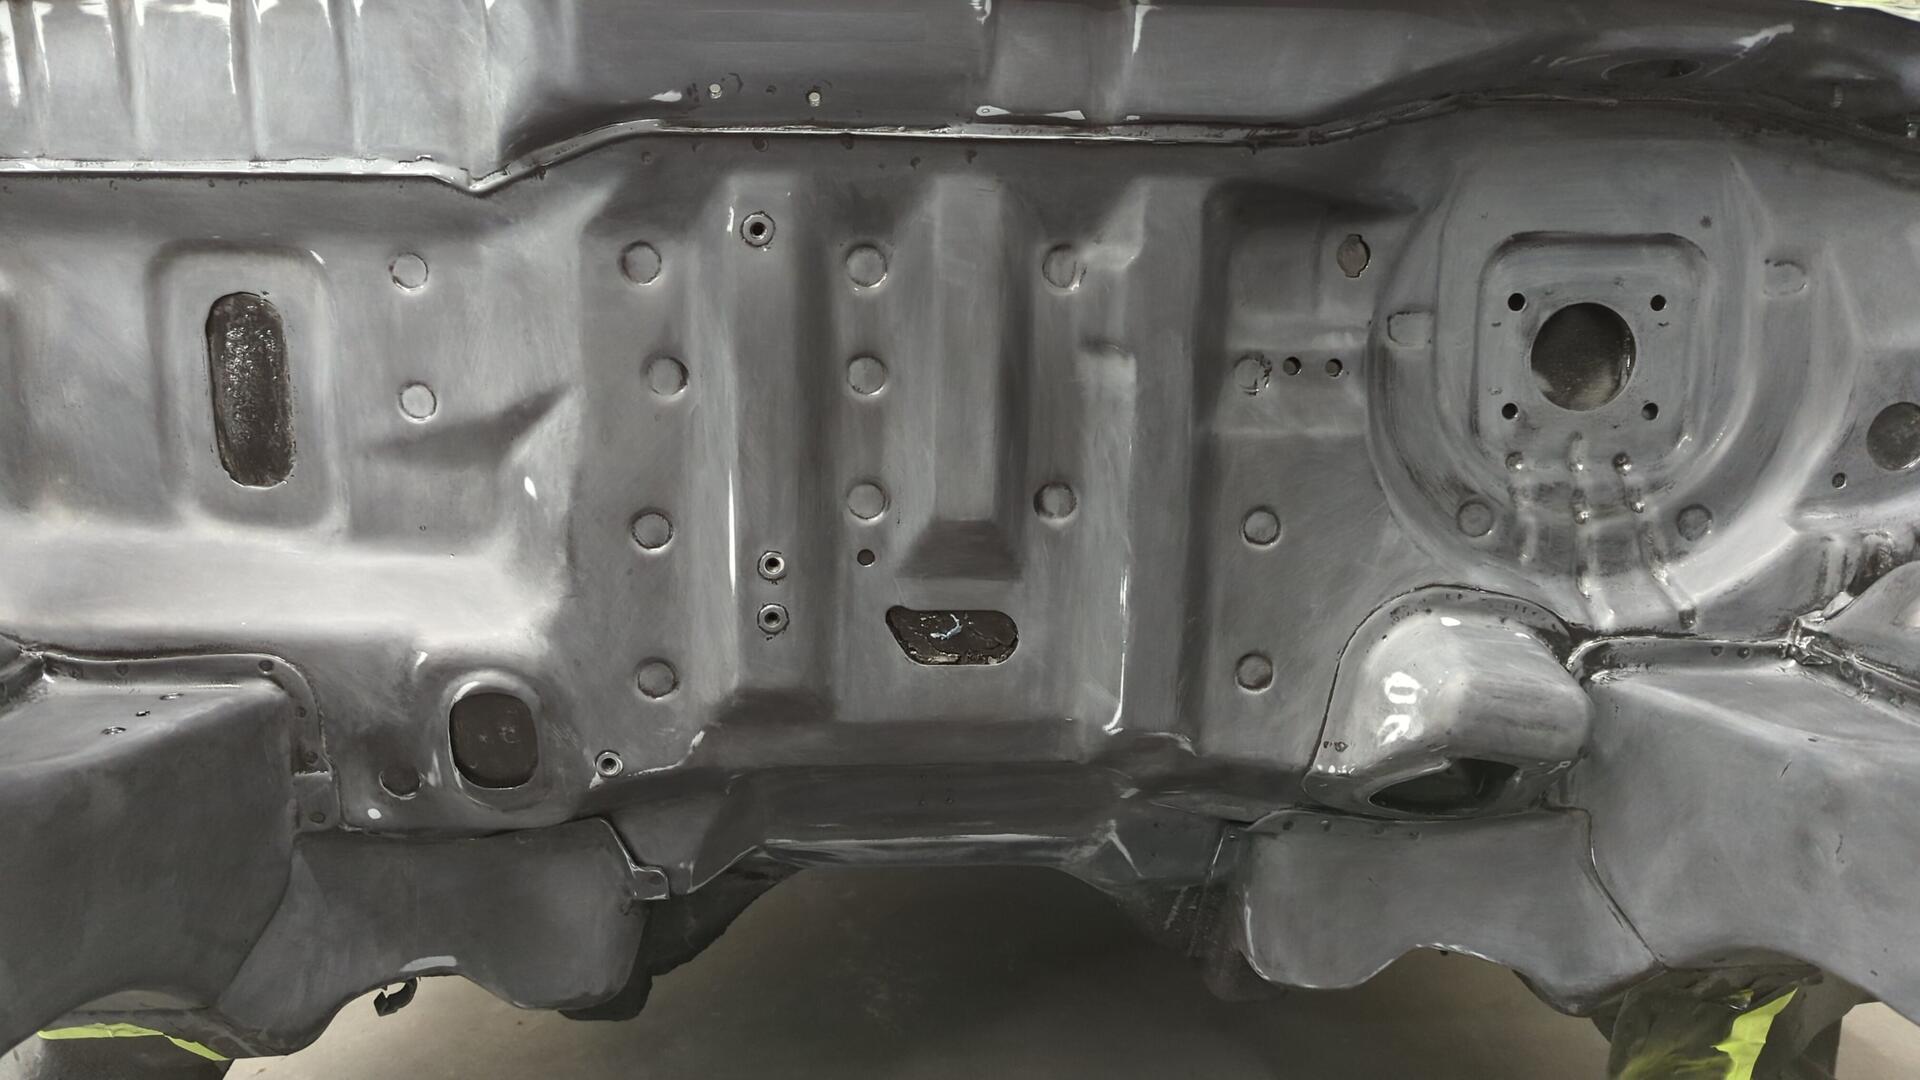
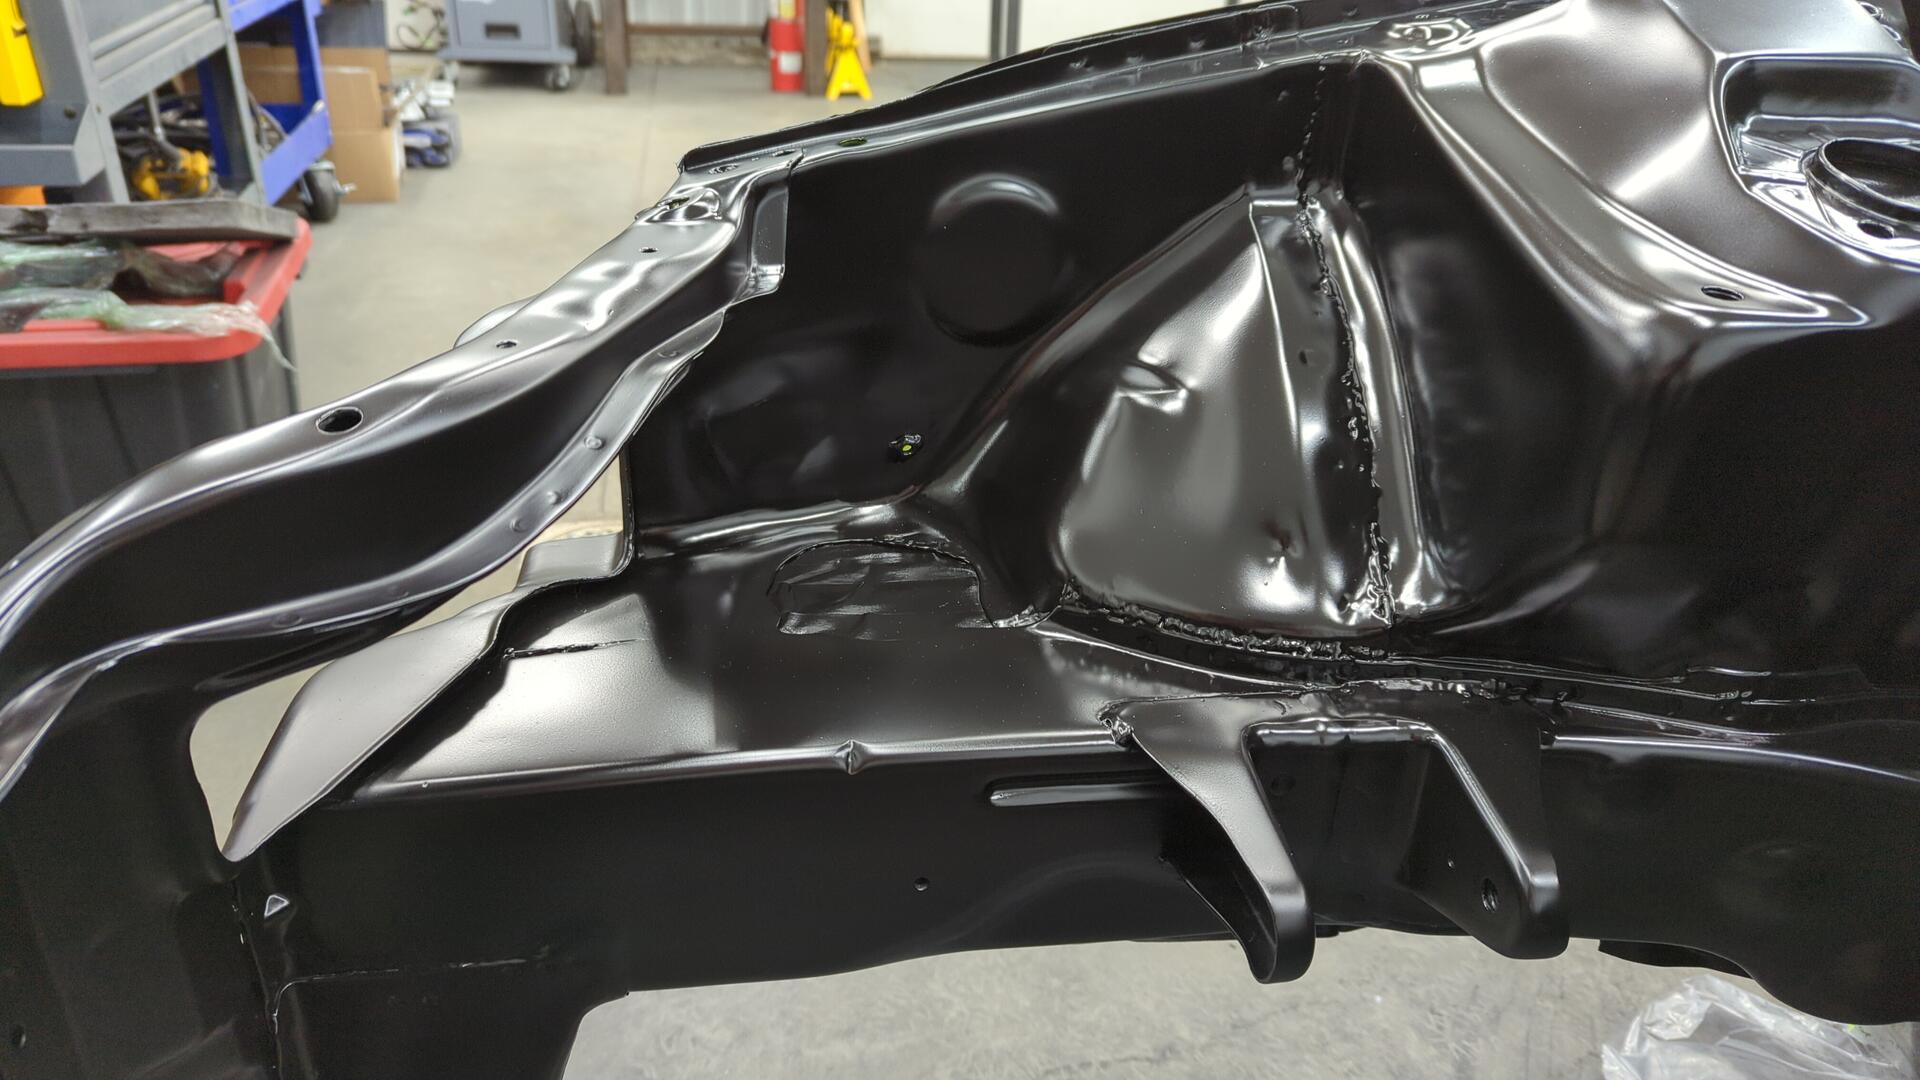
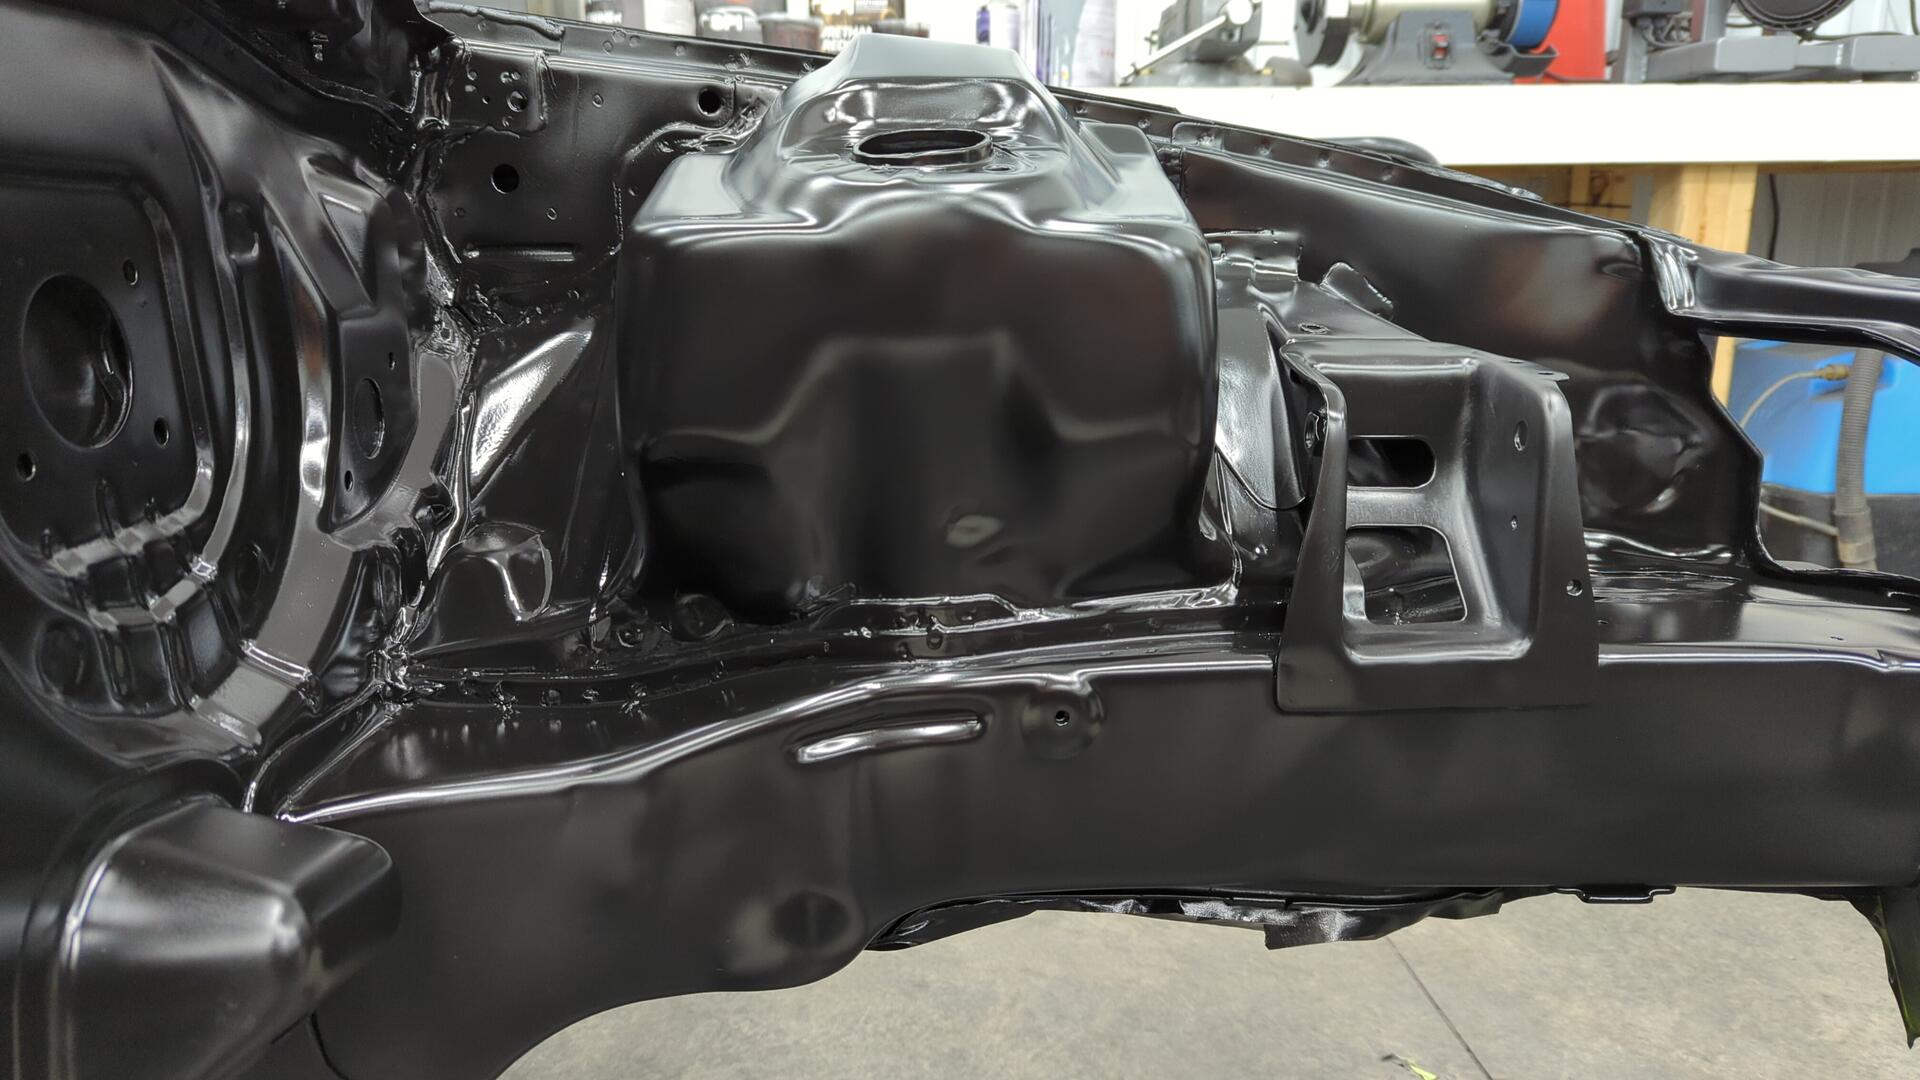
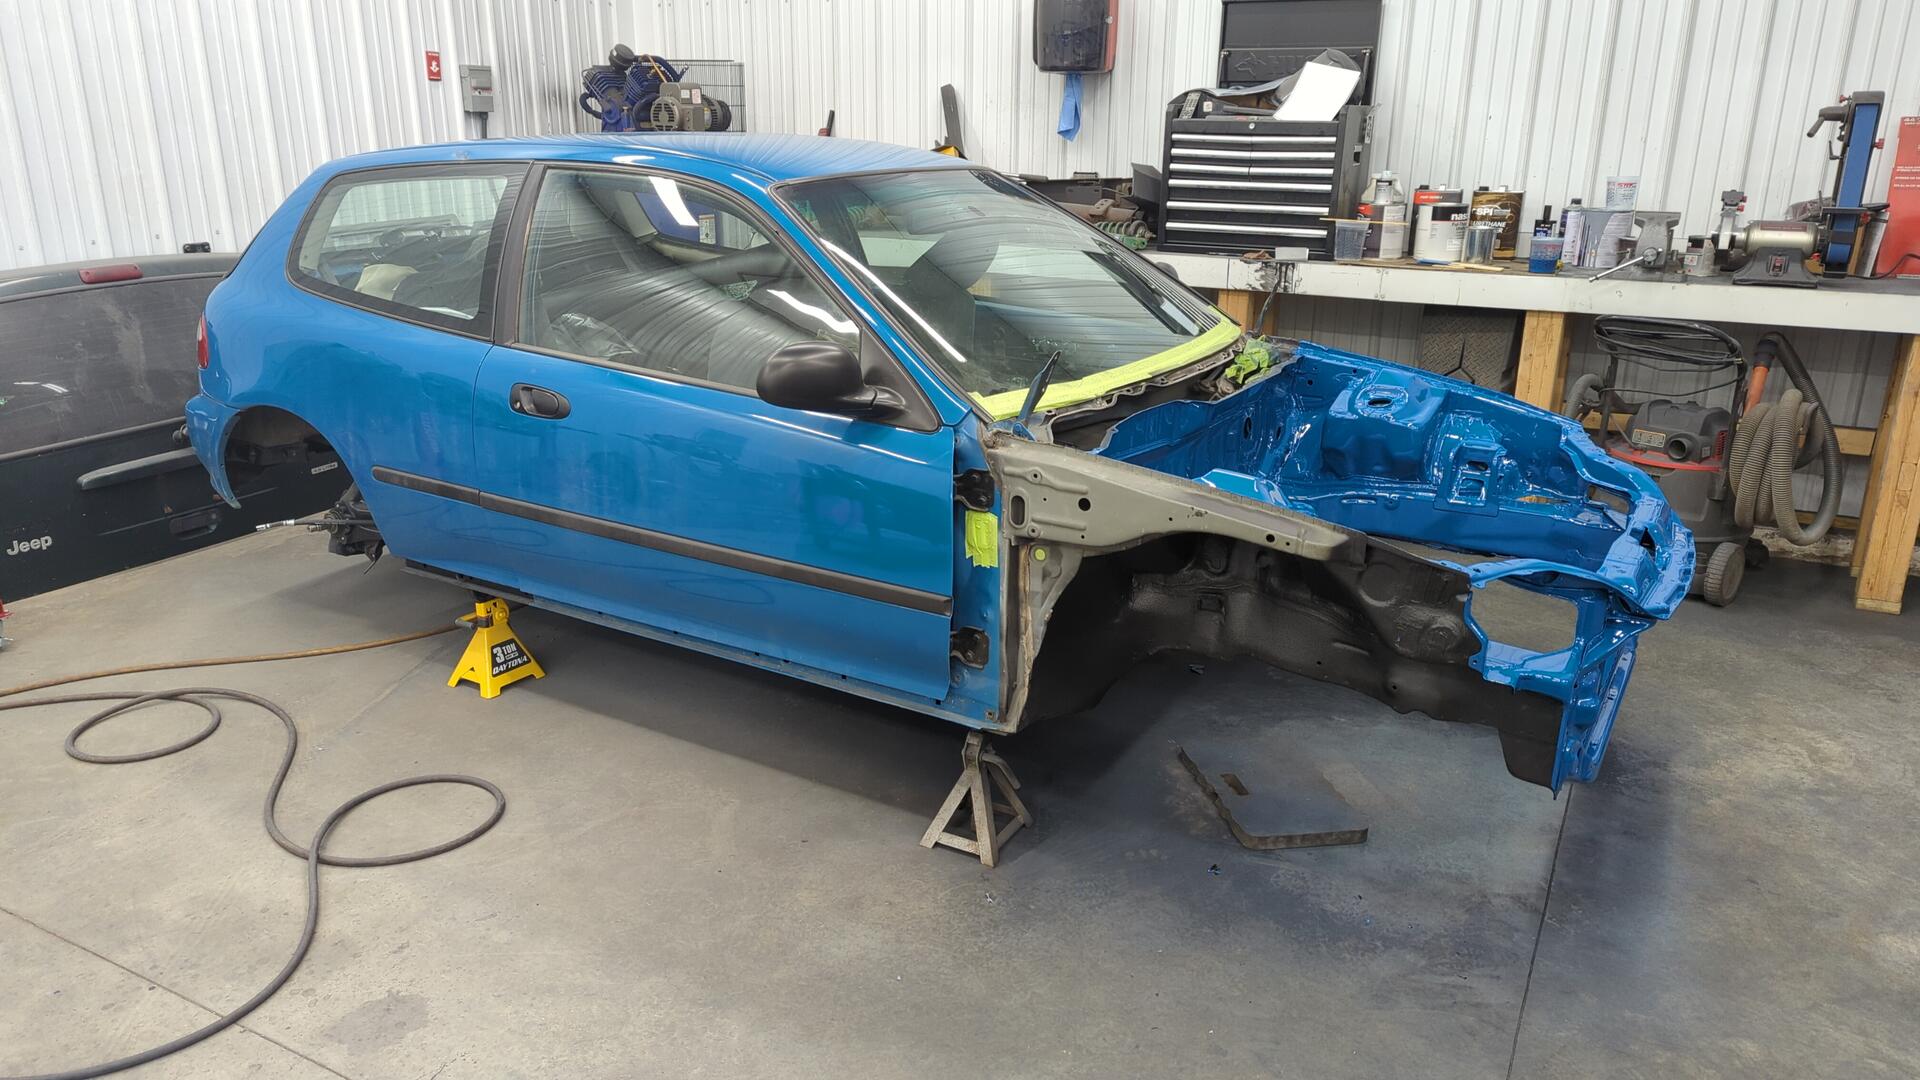
How the Civic looked prior to starting the engine bay bodywork.
Starting With a Fresh Coat of Epoxy
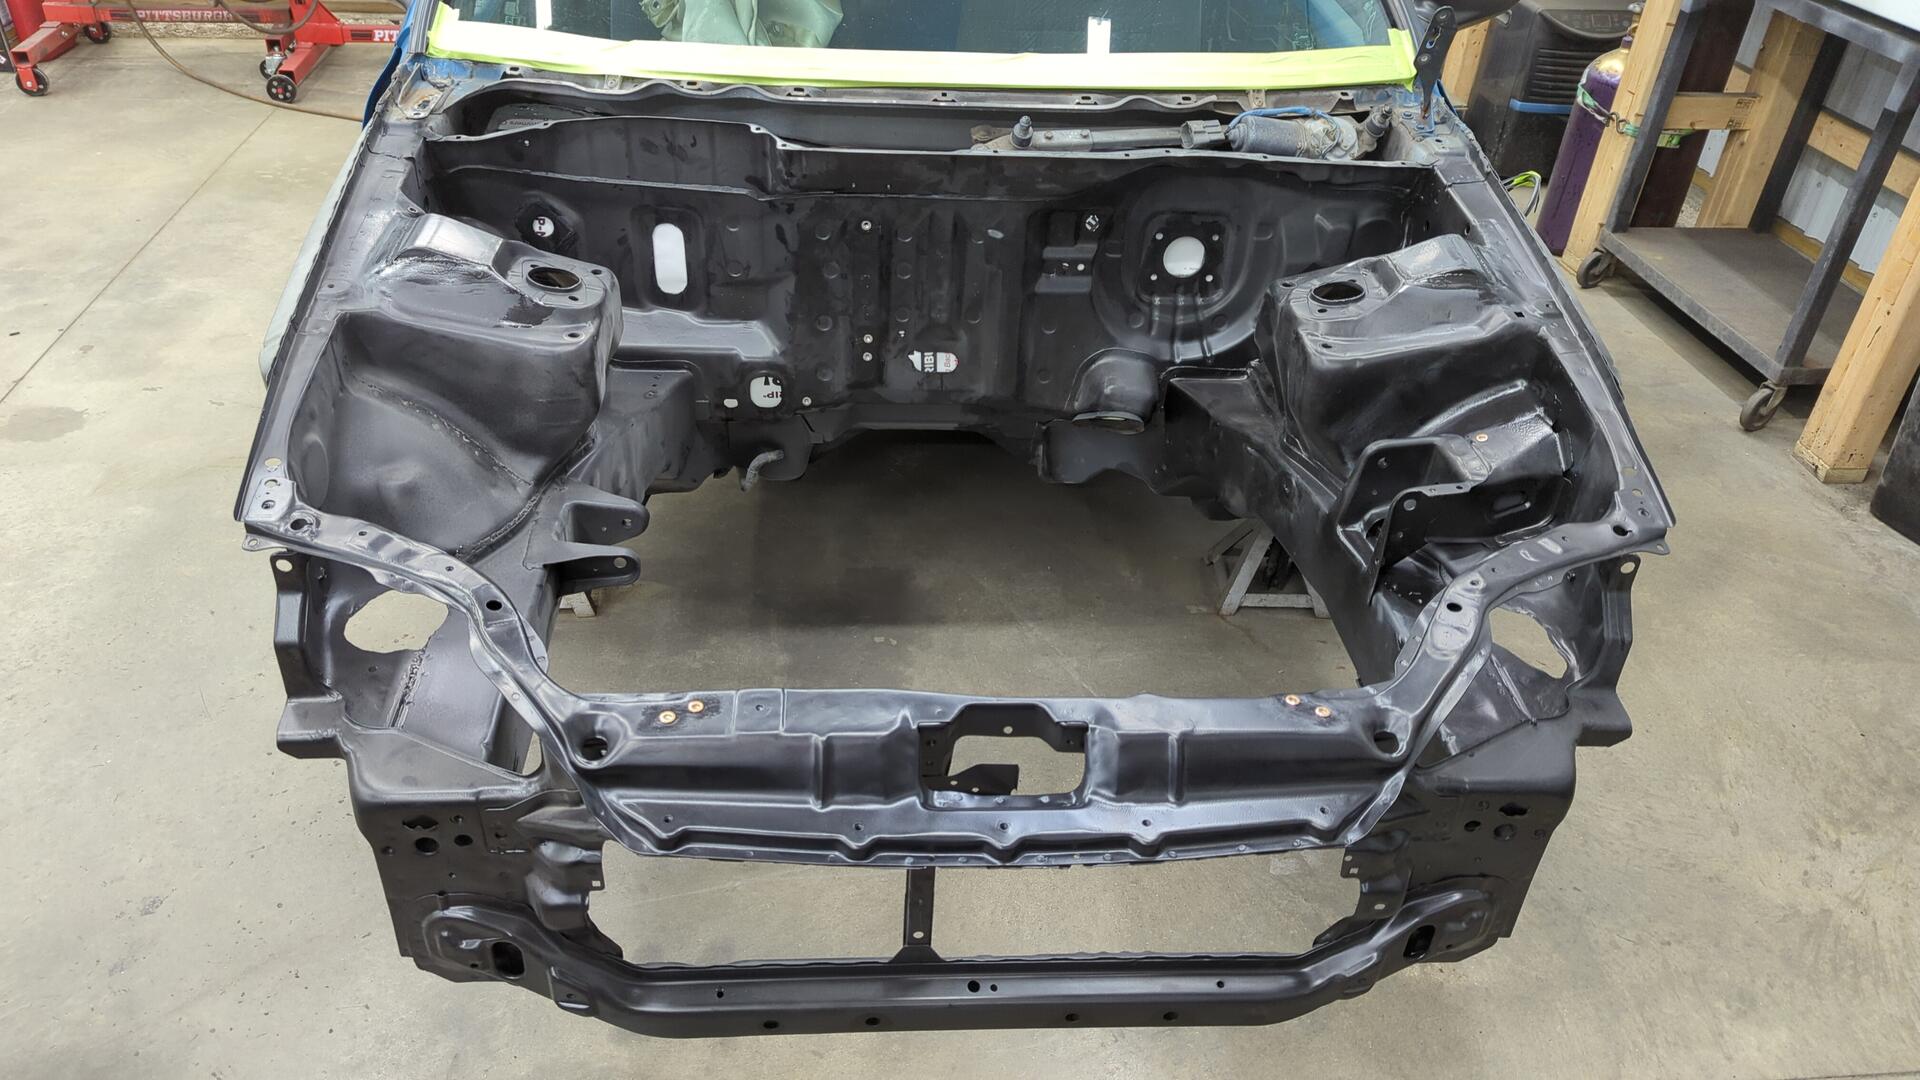
In order to ensure the paint had a nice solid base I started off by spraying a fresh coat of epoxy. The existing epoxy in the bay had been touched up so many times from all the metal work over the past few months that it was getting kinda messy. Plus portions of it were well over 30 days old which is the maximum recommended age for it if your planning to apply body filler over it.
They recommend a max of 30 days because after that the epoxy is considered to be fully cured, and any filler applied on top won’t be able to chemical adhere to the epoxy. The filler would still have mechanical adhesion provided the epoxy was properly scuffed but it won’t be as strong.
Using a couple small sanding blocks and a bunch of 80 grit all the old epoxy was sanded down. It took about 3 hours to do this by hand.

After sanding, everything was de-dusted using my air nozzle. The dust cloud was so large I had to wait a couple hours before I could move on to painting.
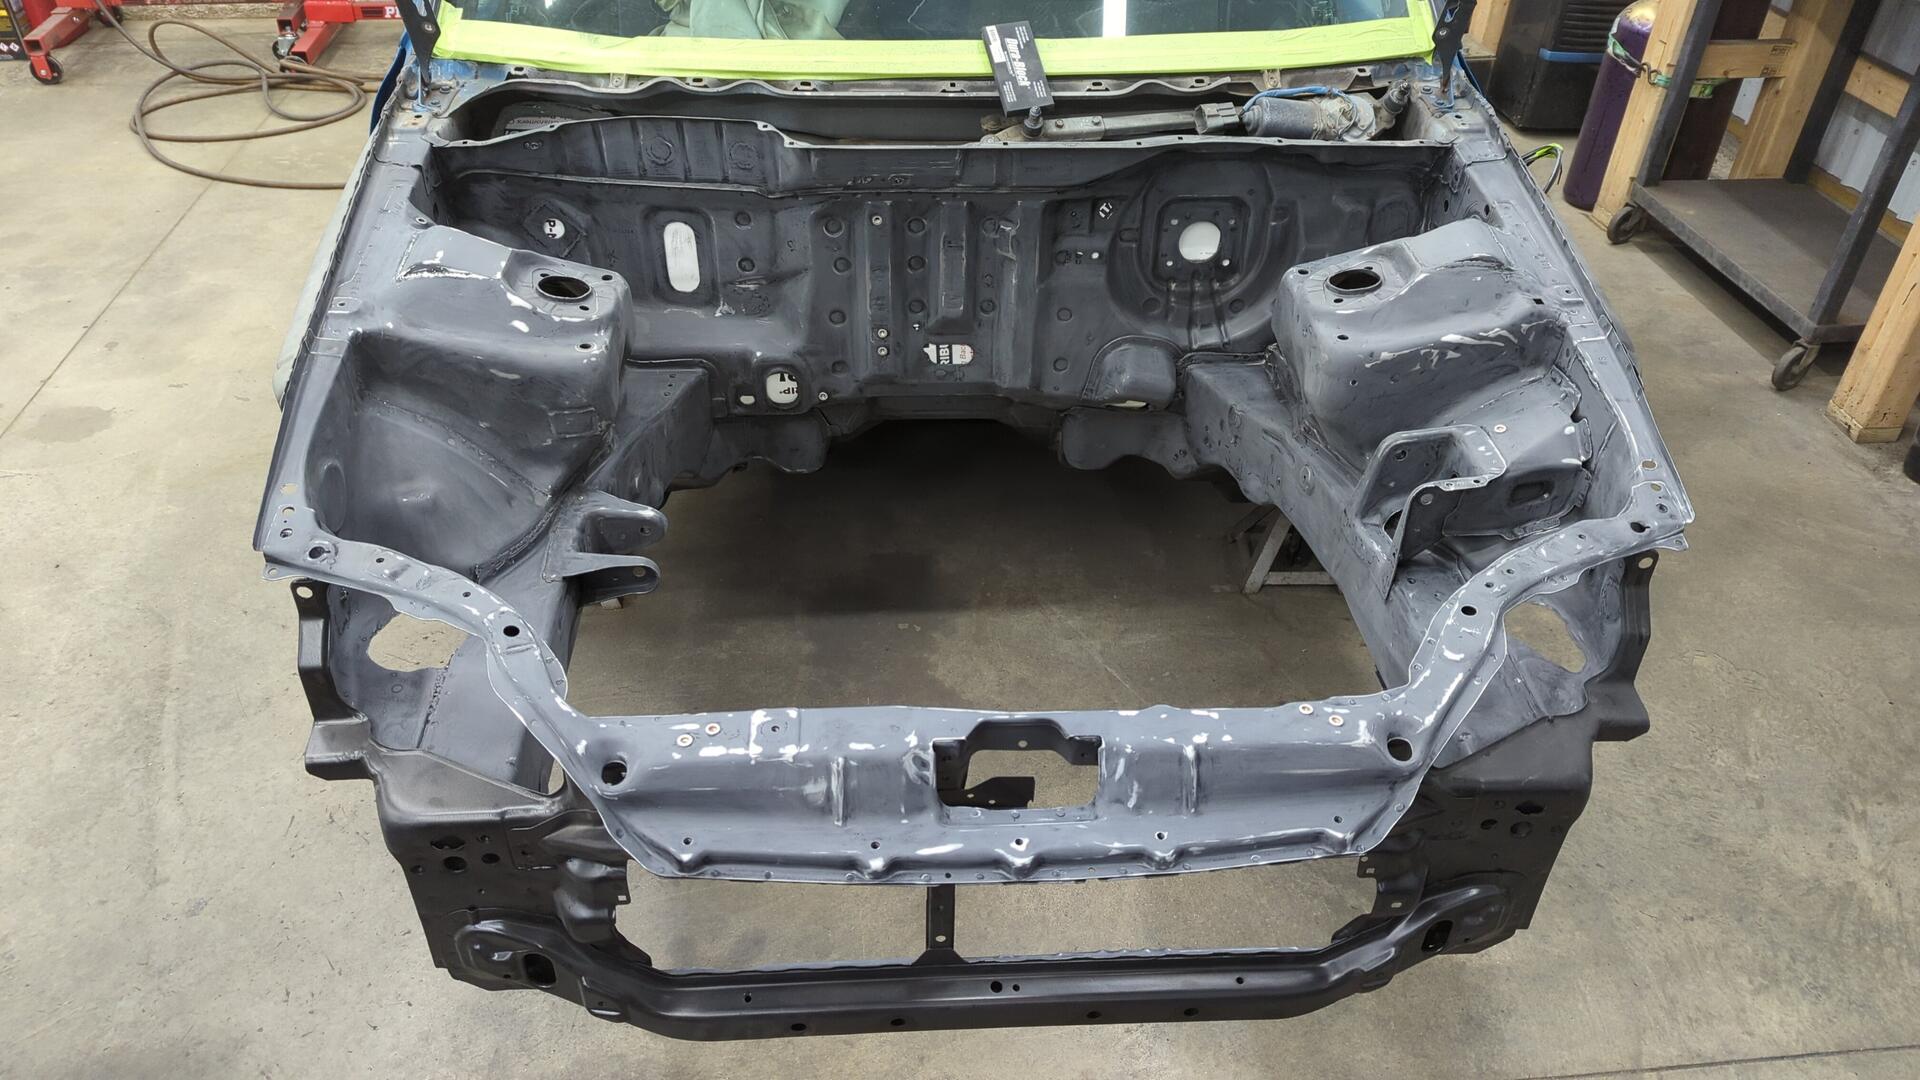
All taped up and ready. The metal was wiped down with waterborne for final prep.
Two coats of epoxy later. Each coat took roughly 24ozs as I was spraying everywhere in the bay and the undersides of the frame rails / radiator support.
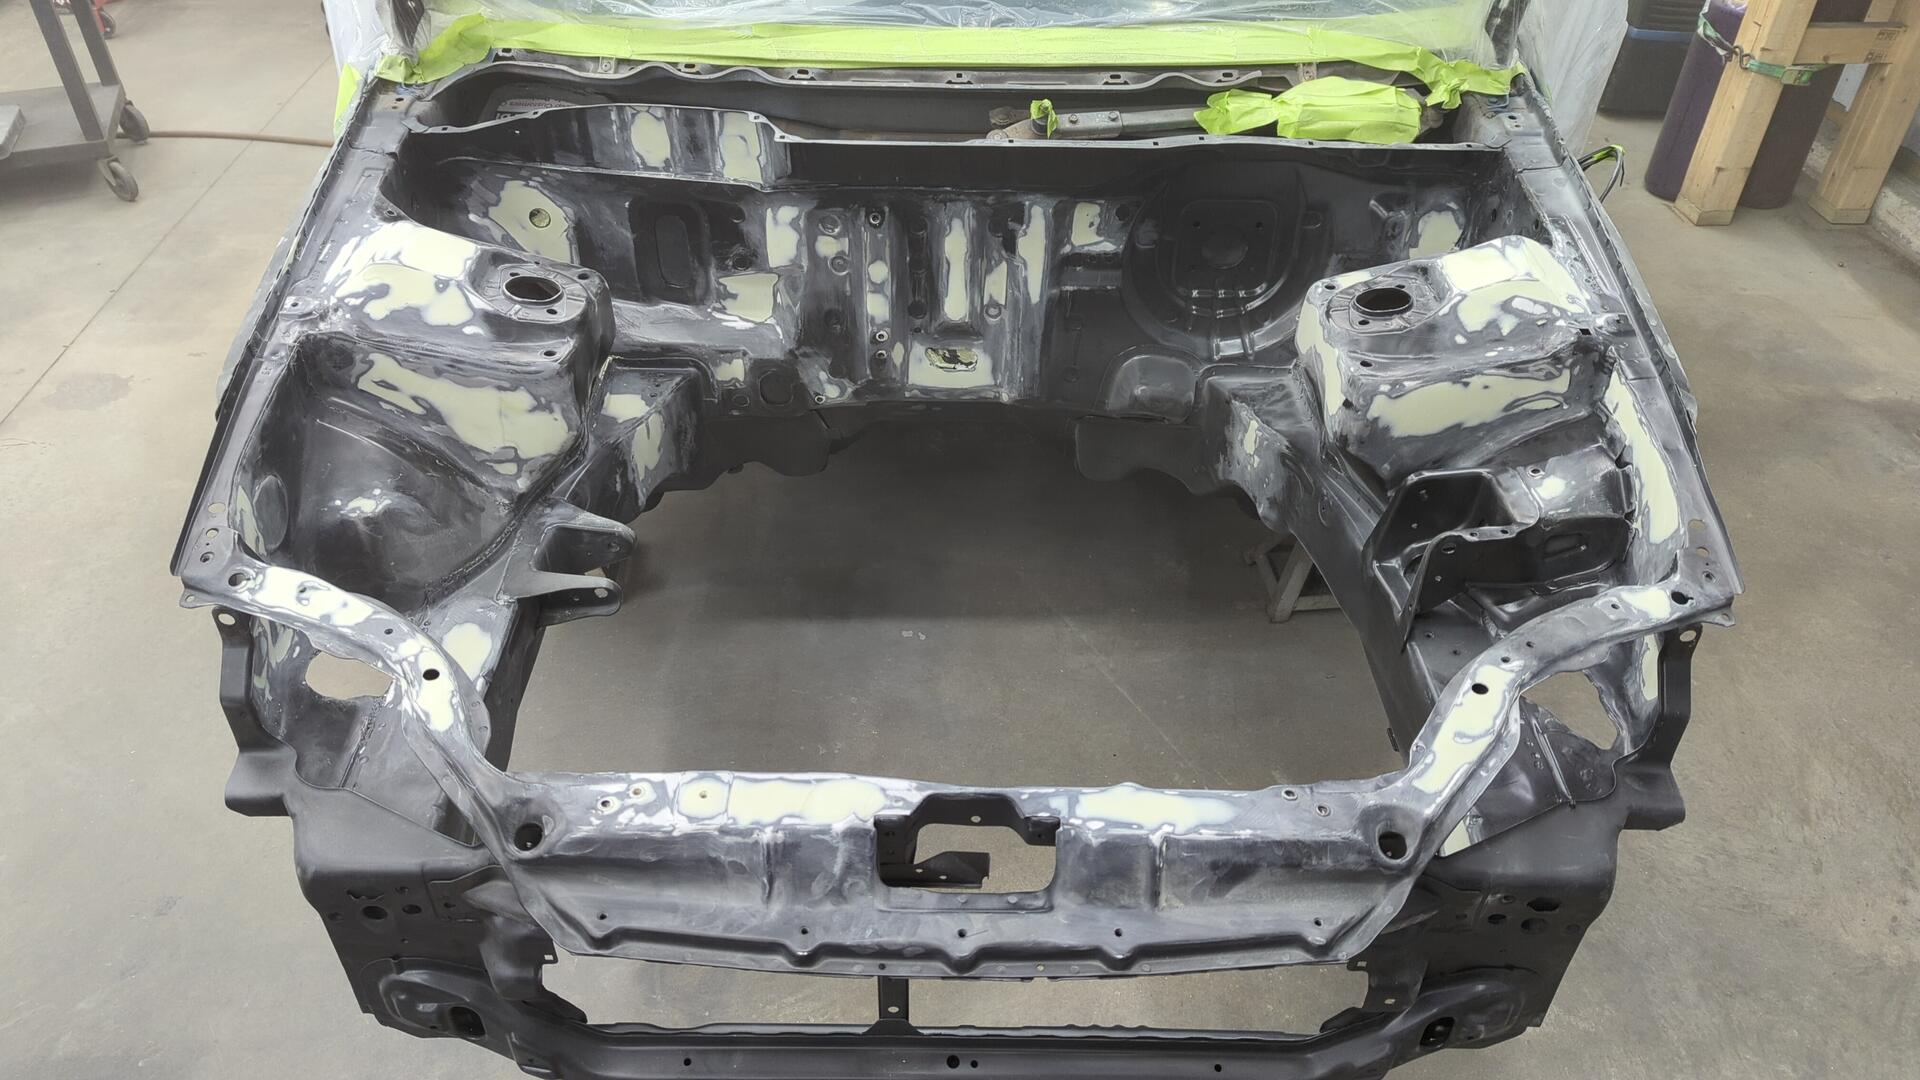
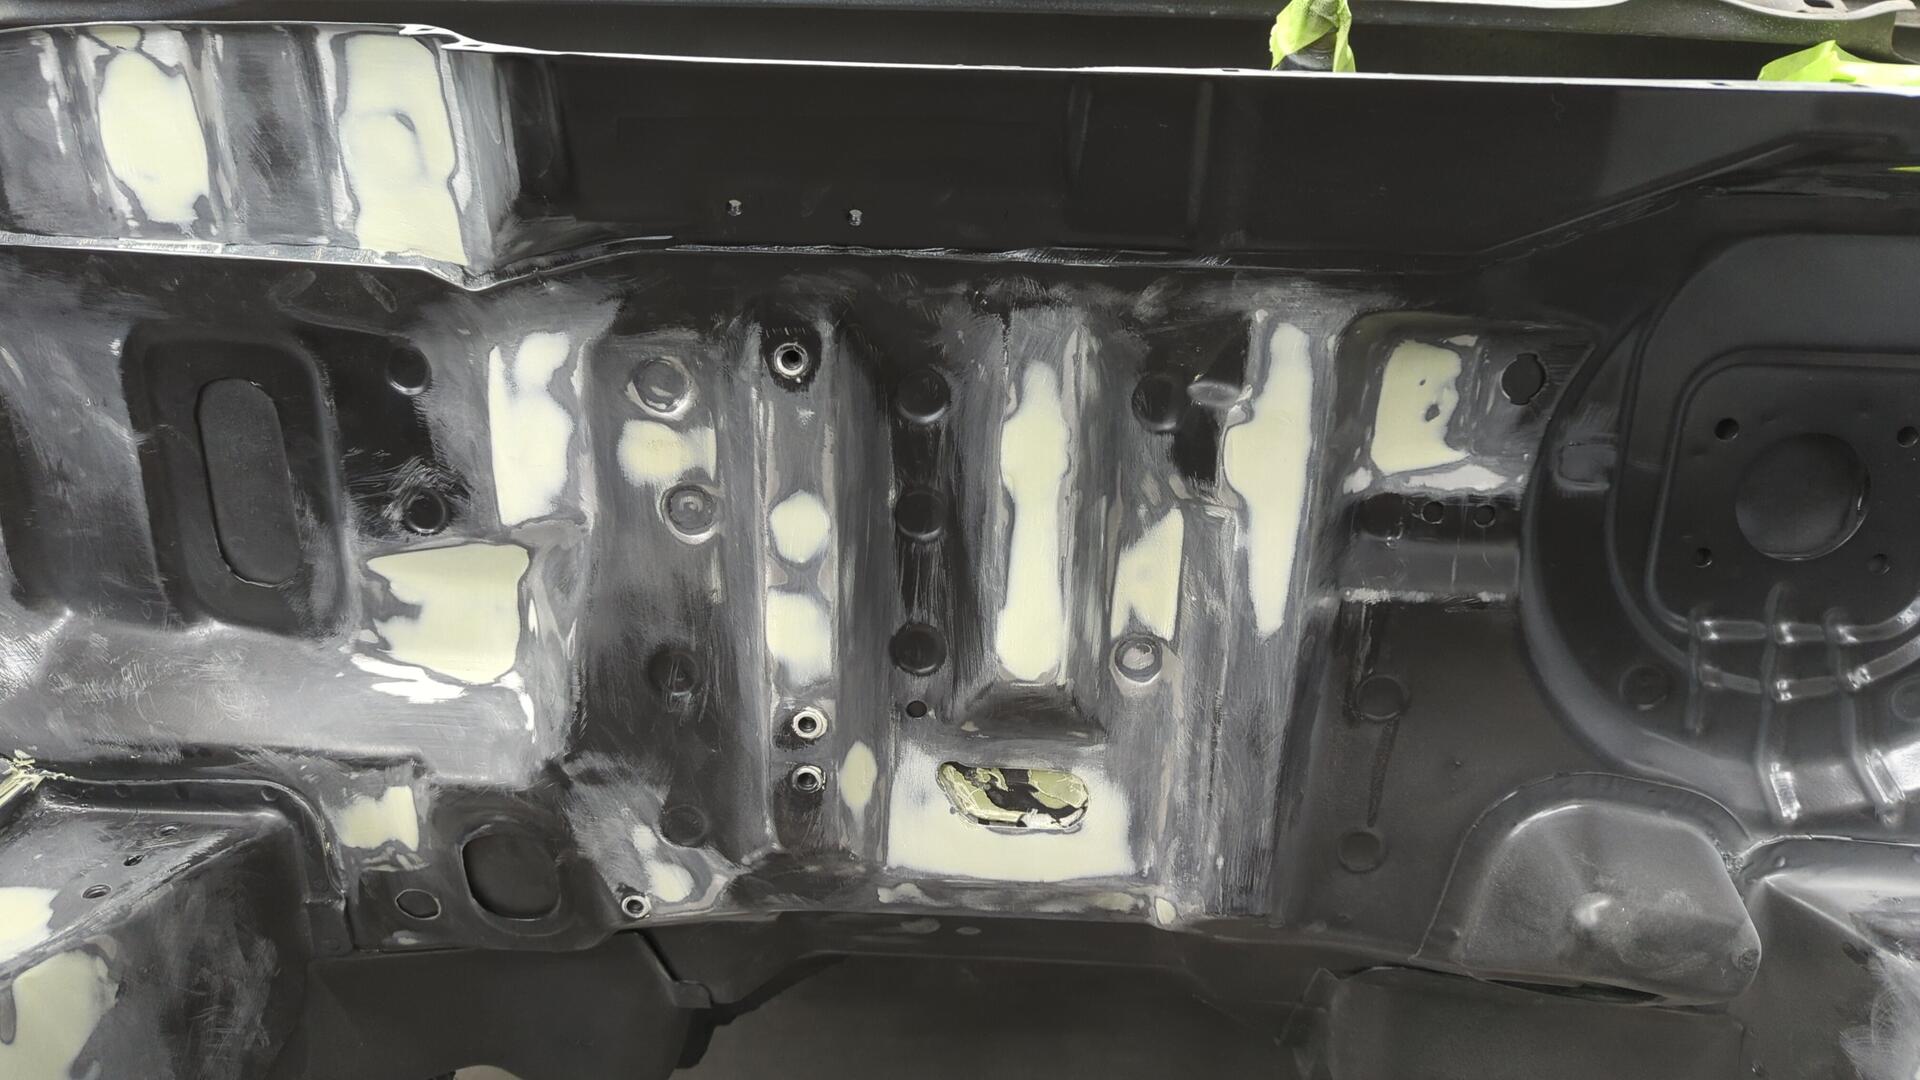
So Much Body Filler
For body filler I used Chrome-a-Lite and shaped it with 80 grit before finalizing with 180 grit. Finishing the filler with 180 helps eliminate all the 80 grit scratches as 80 grit is too coarse for epoxy to fill.
And while sanding I made sure to use blocks that way everything would be nice and flat. I found a small rectangular block and a half round block that was semi-flexible were perfect for working all of the tight spots in the engine bay.
I tried my best to not get filler in the bolt holes but that was easier said than done.

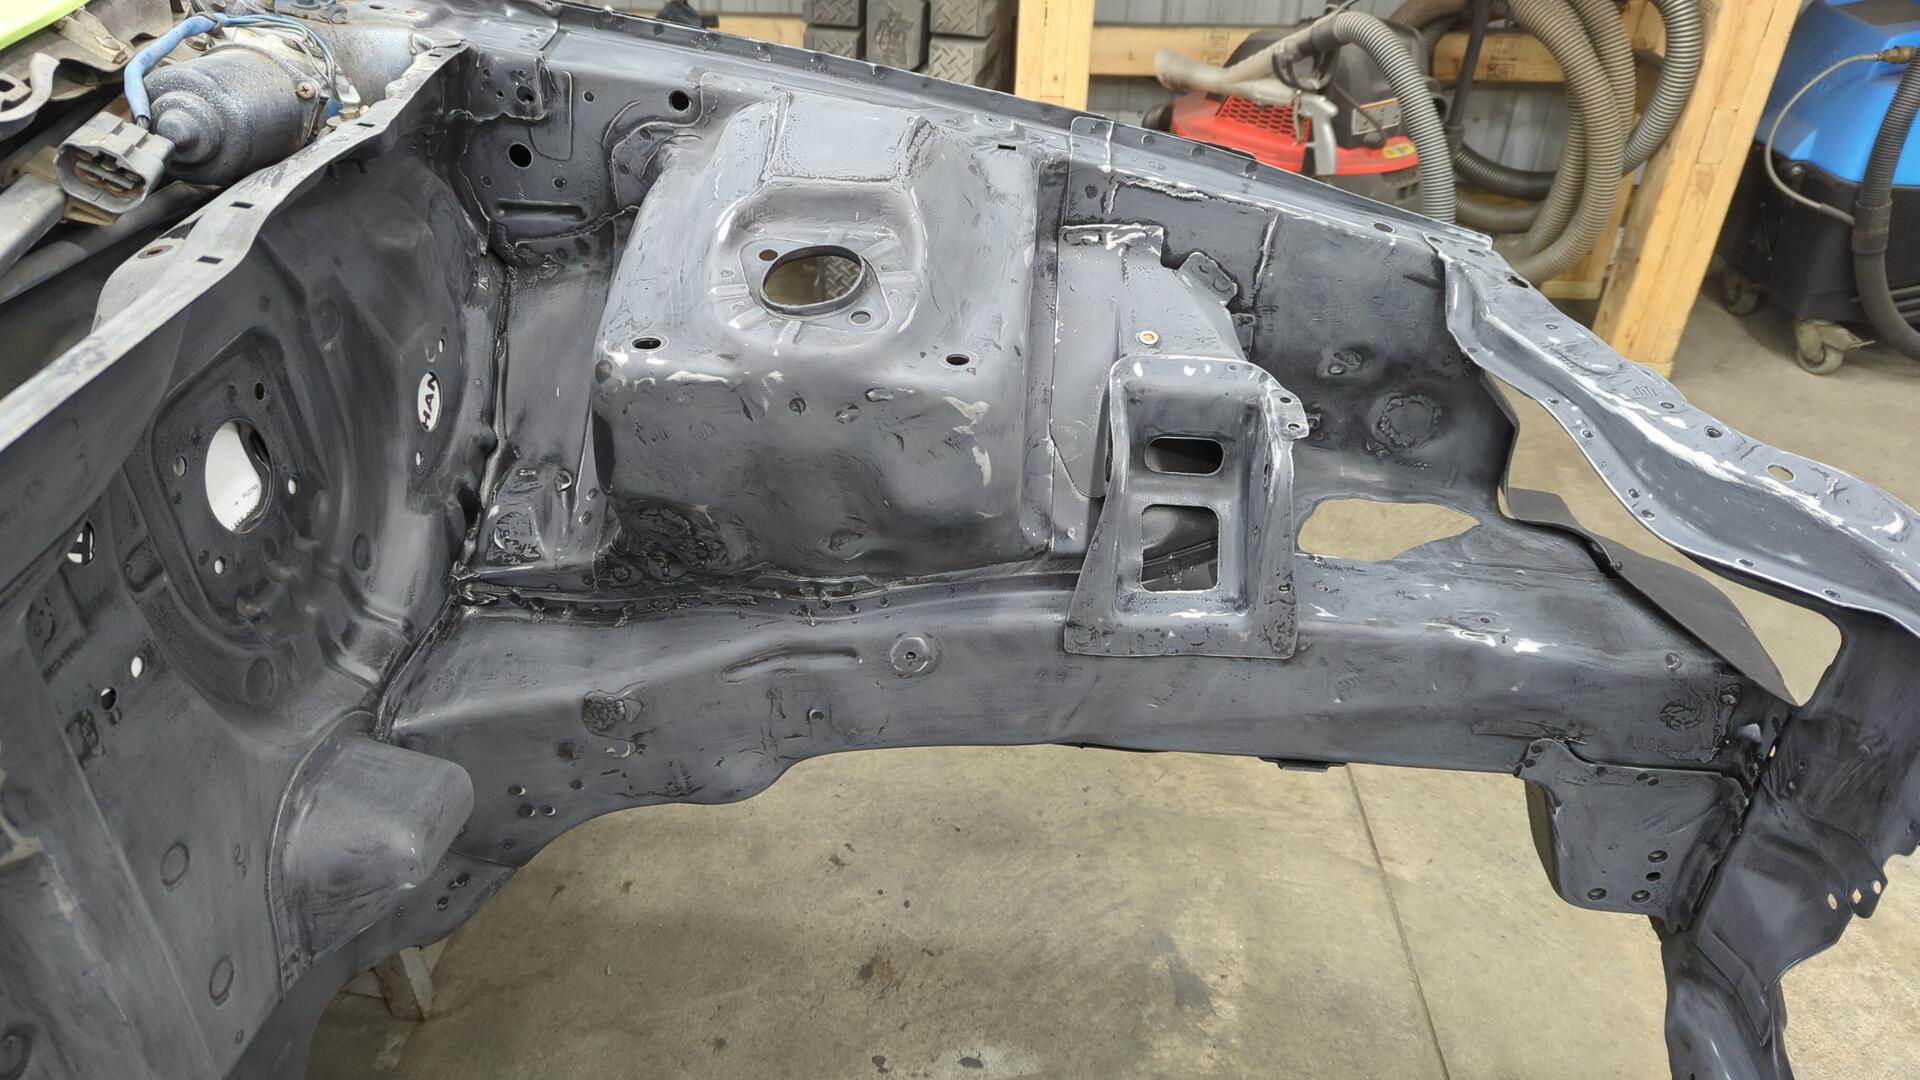
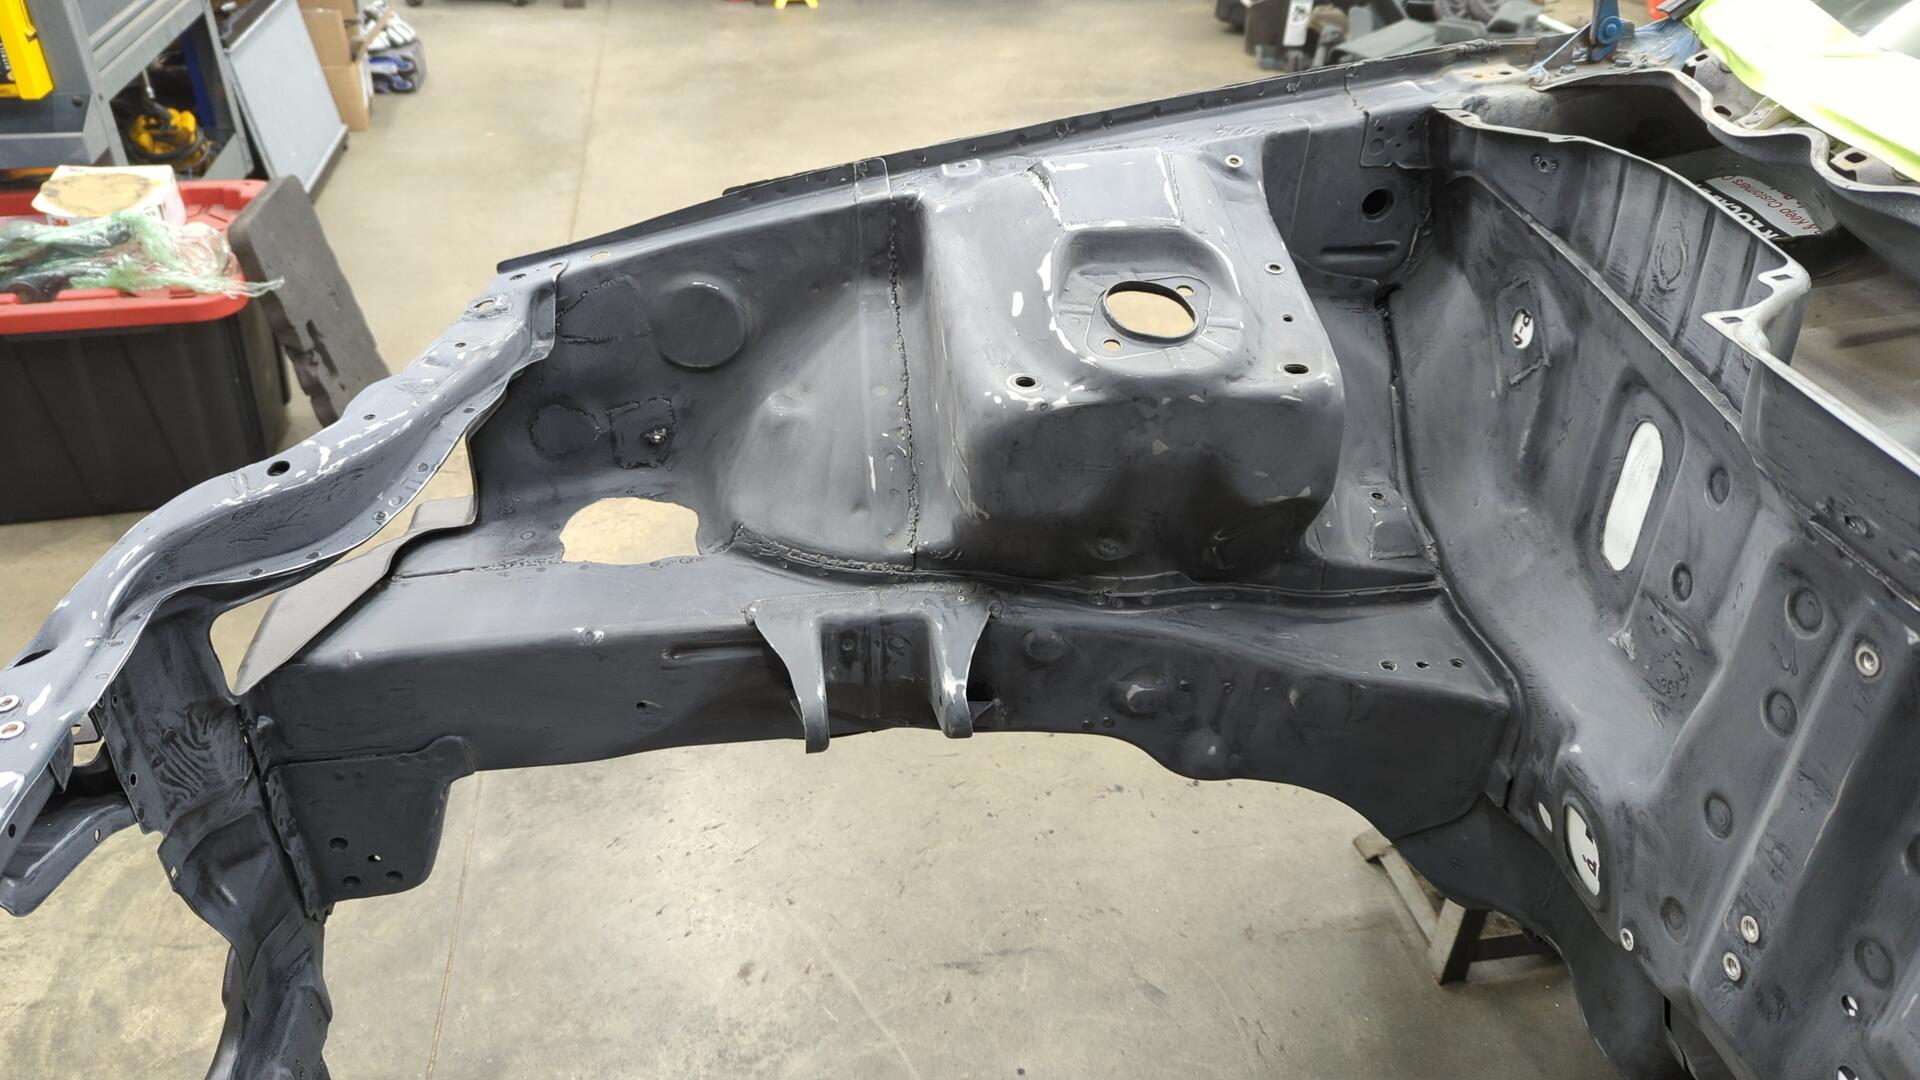
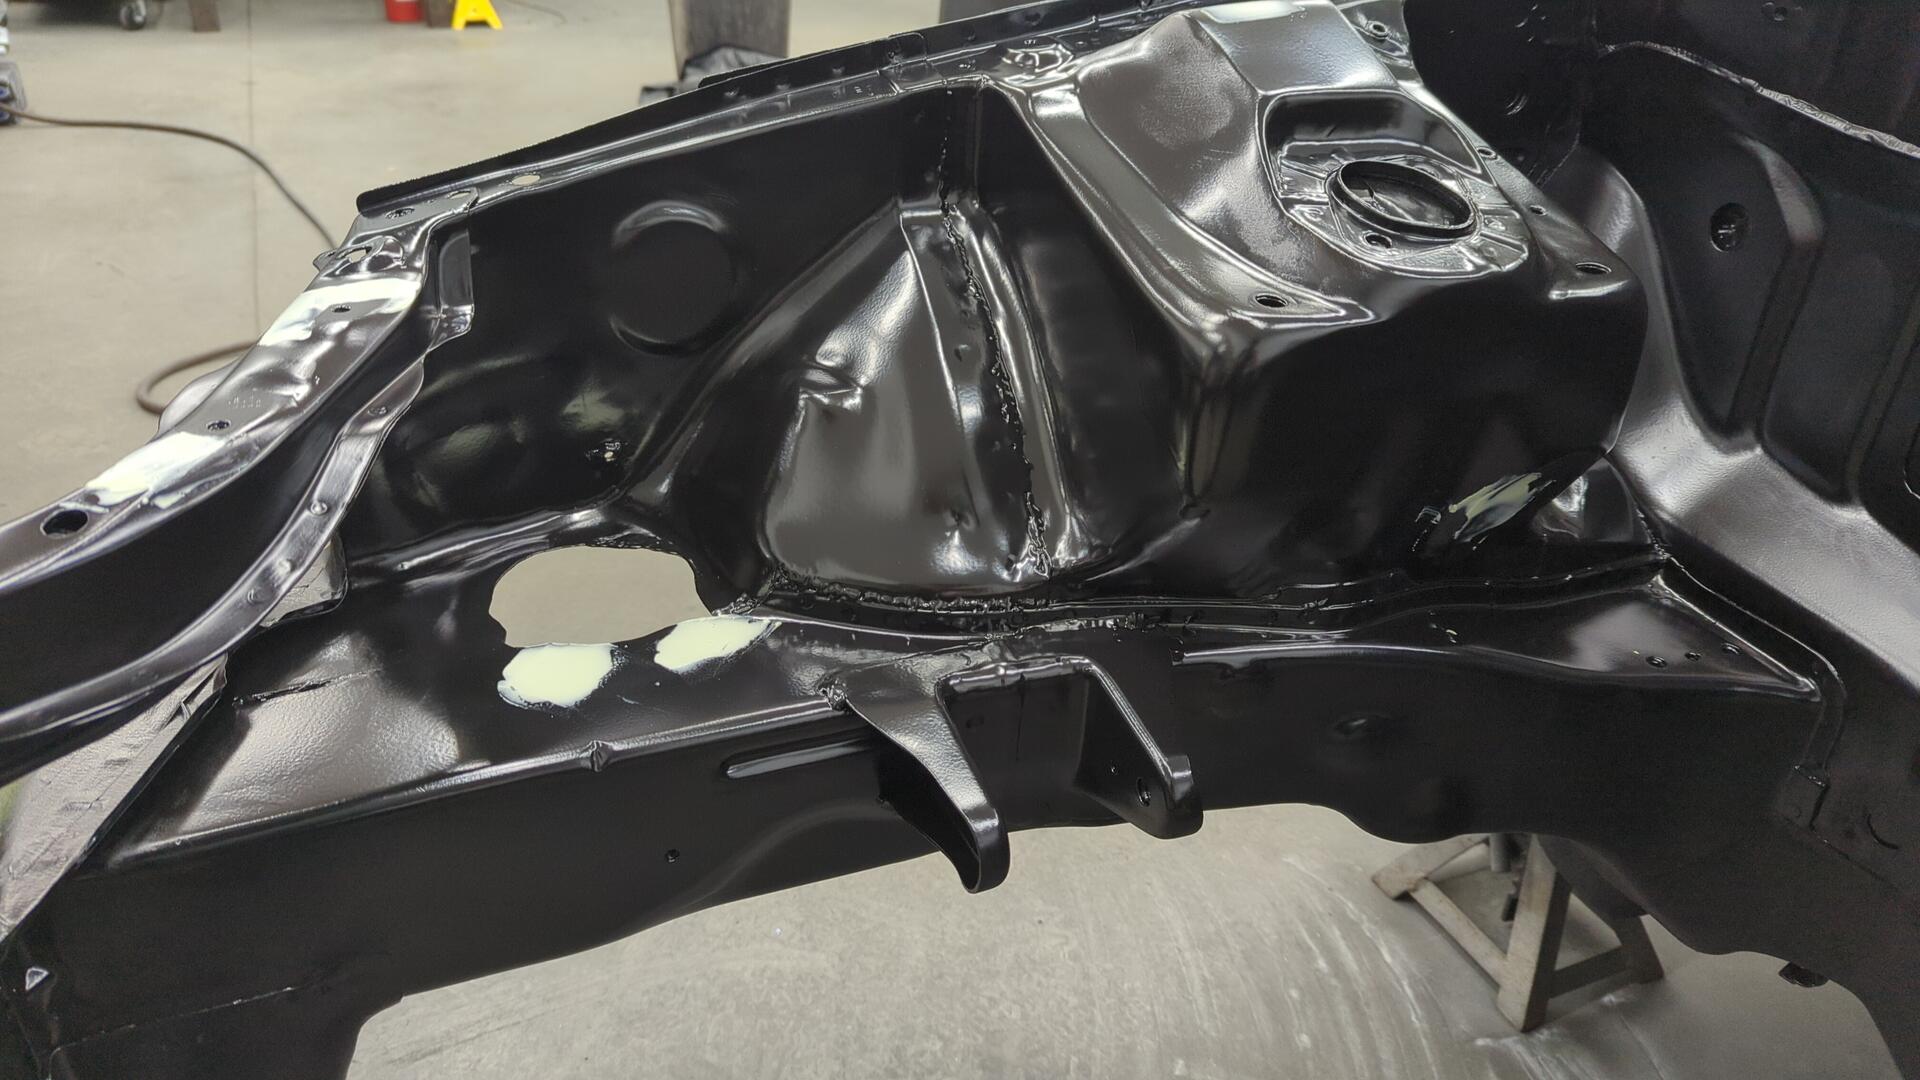
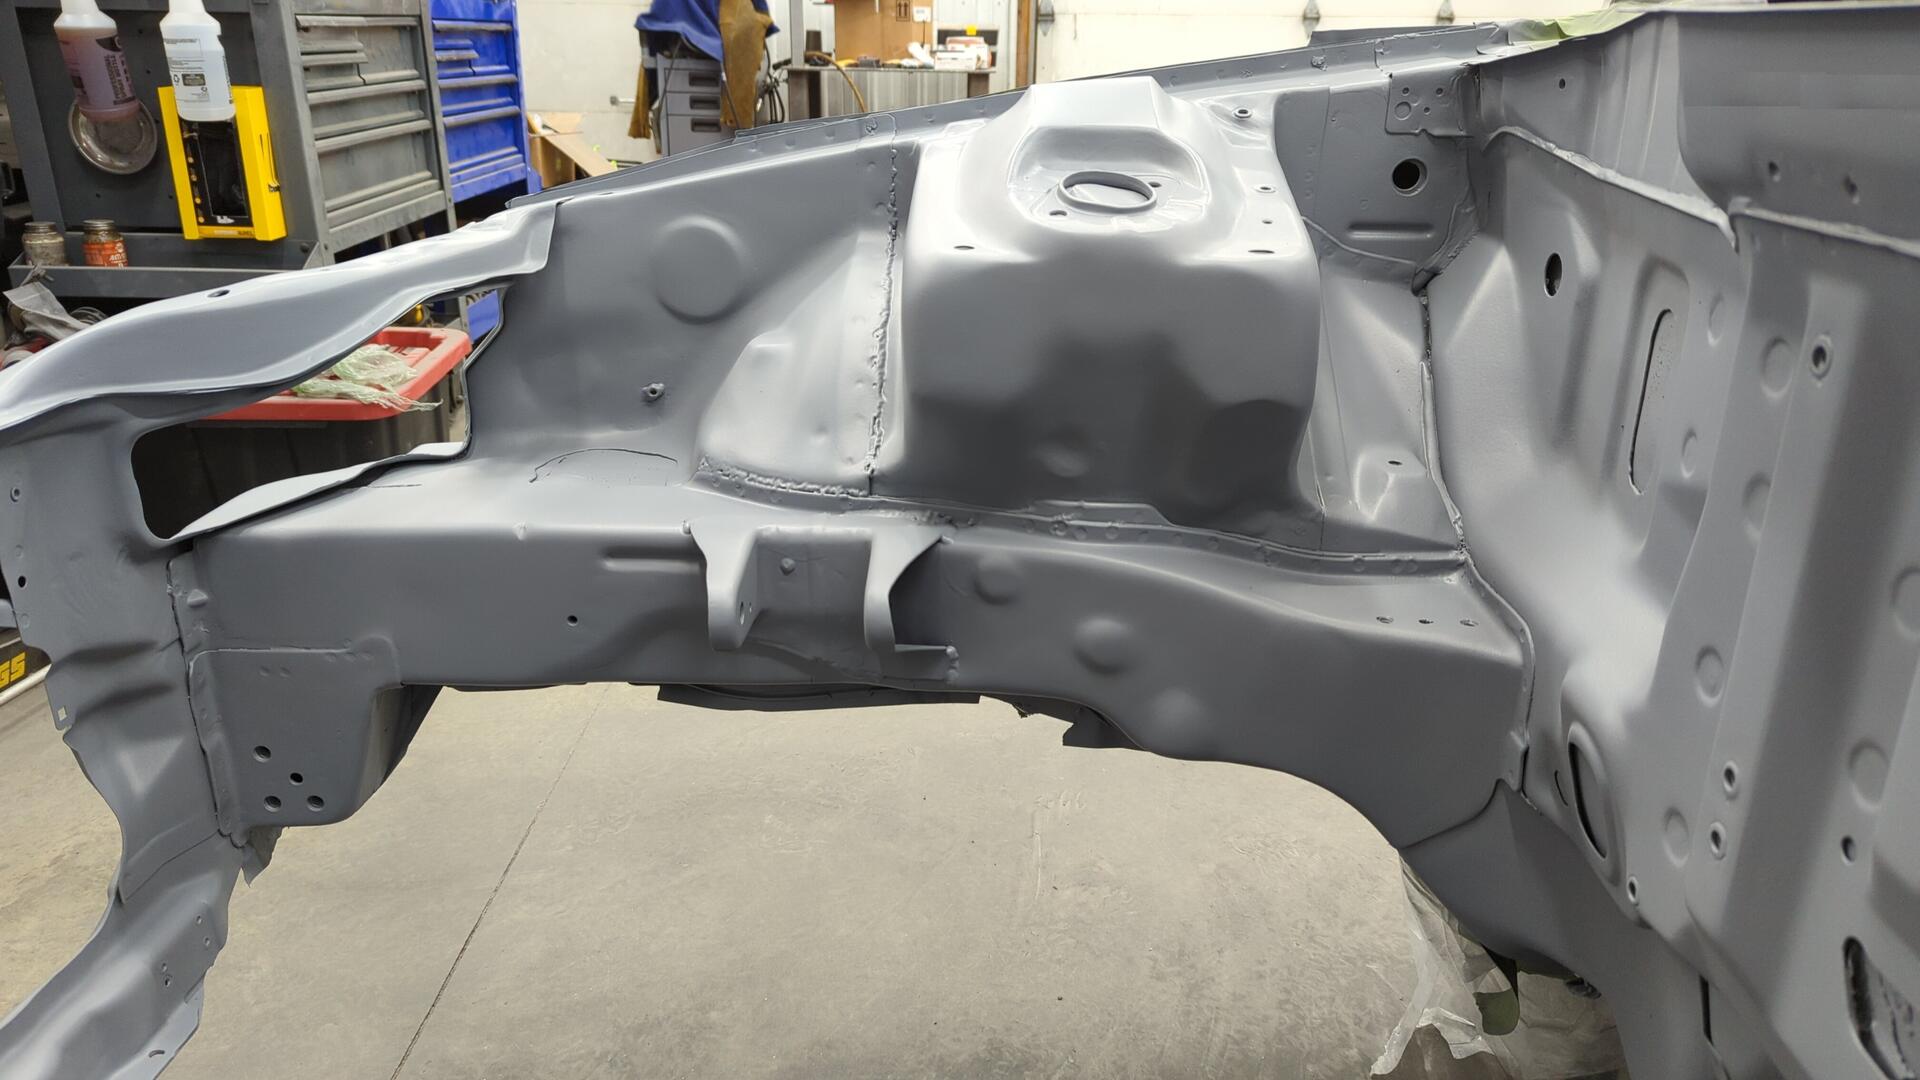
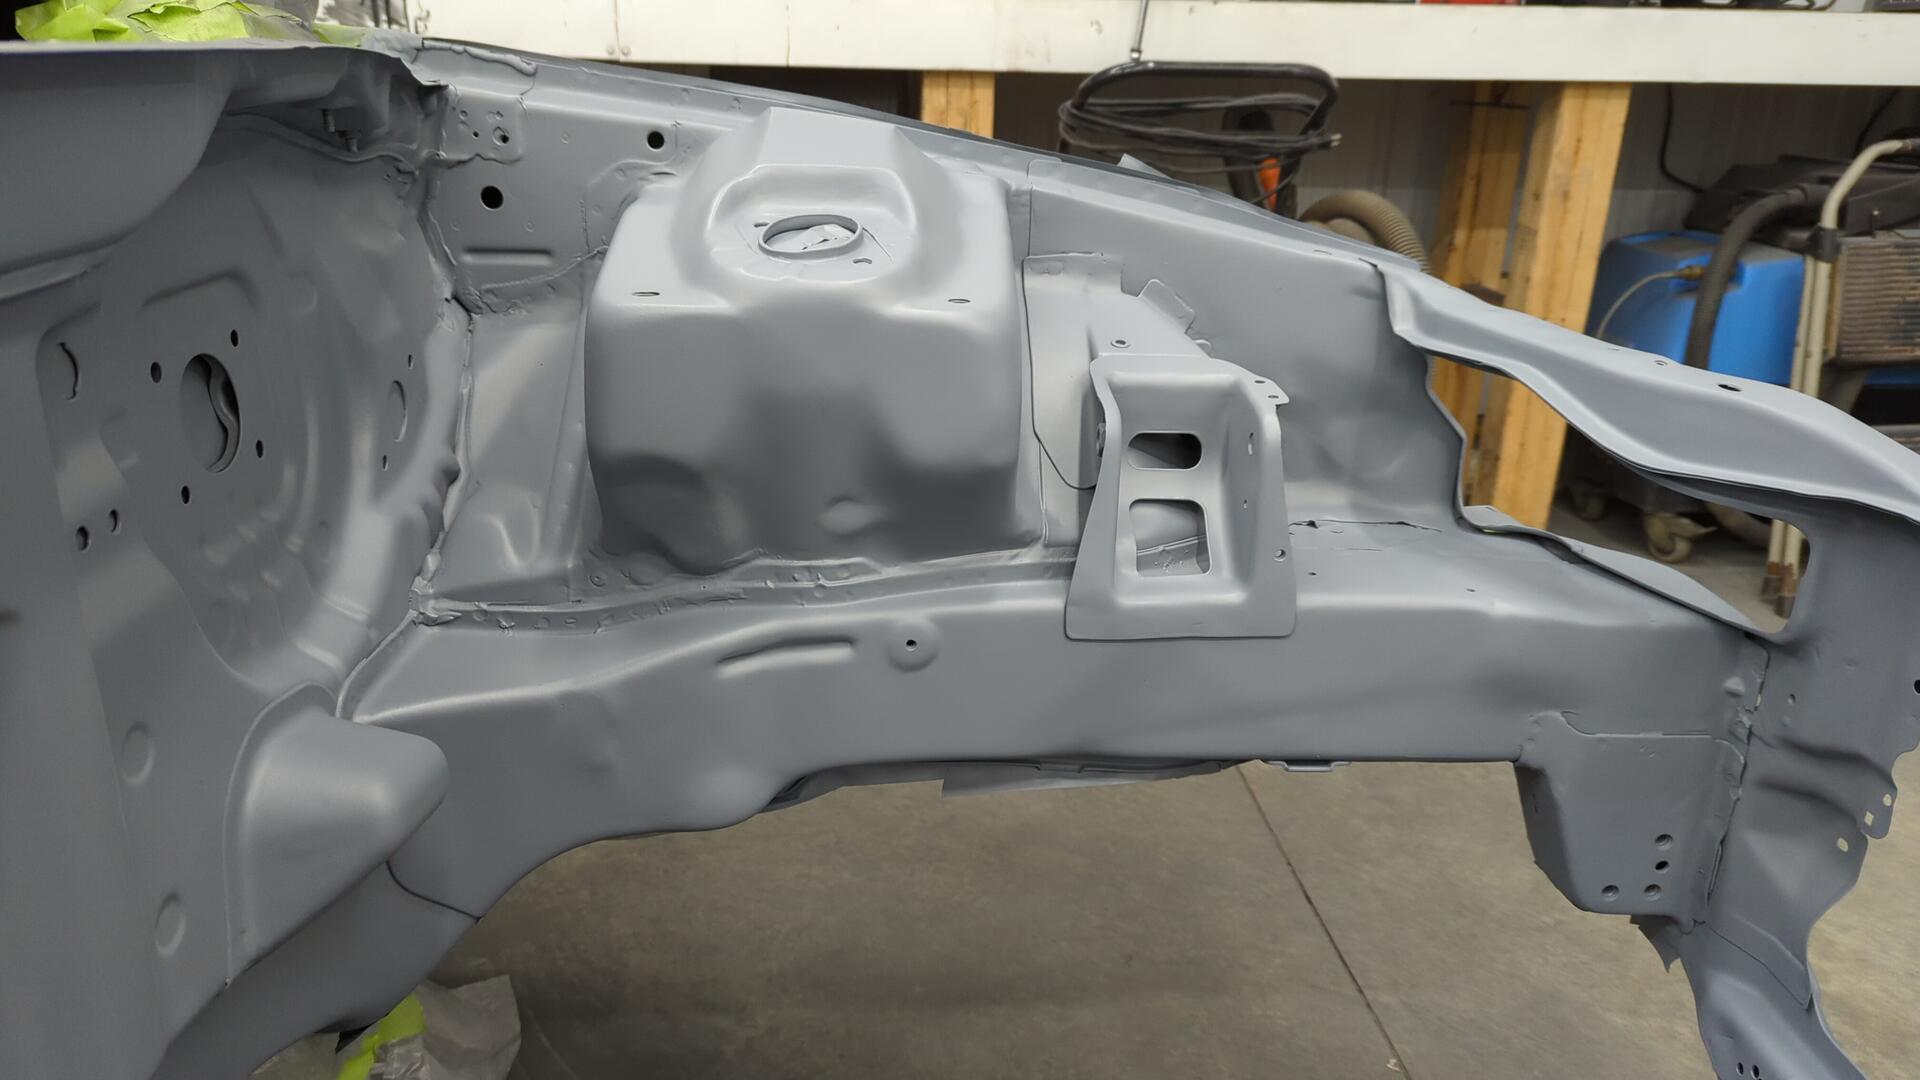
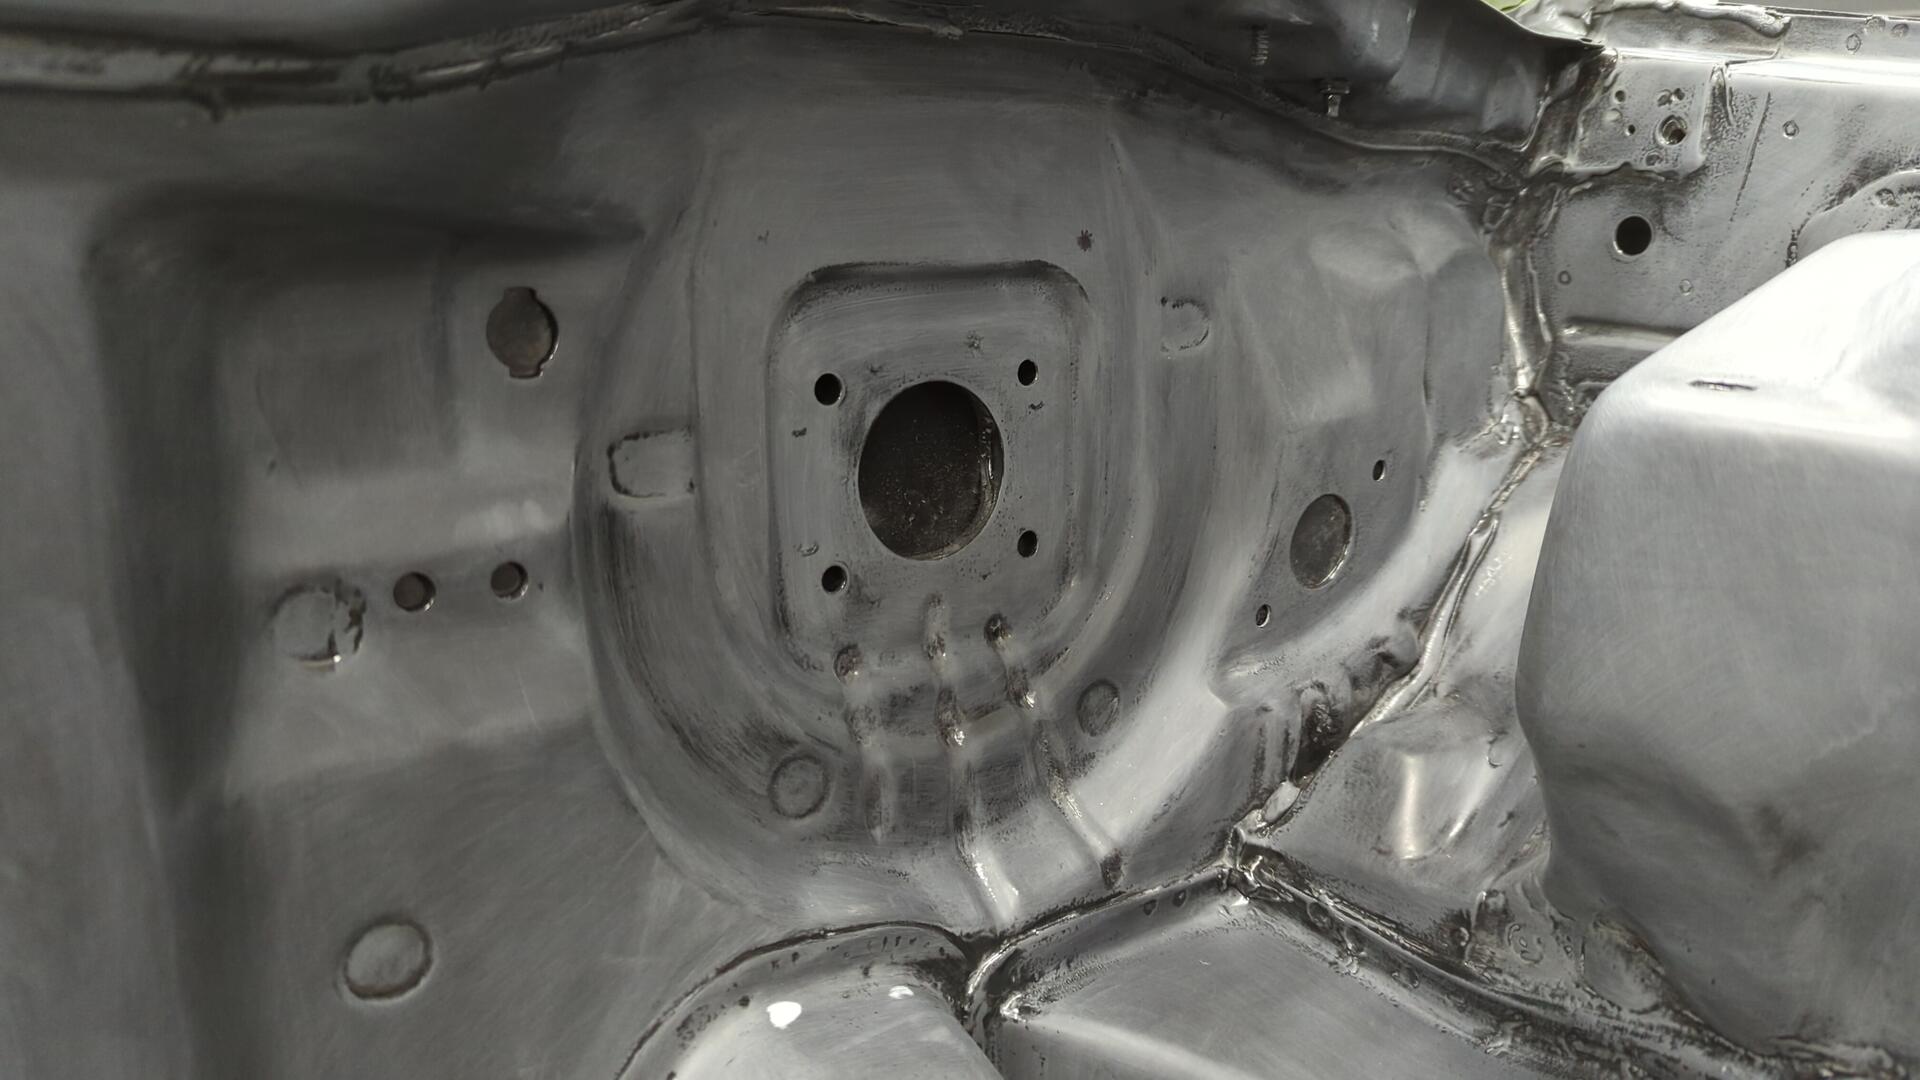
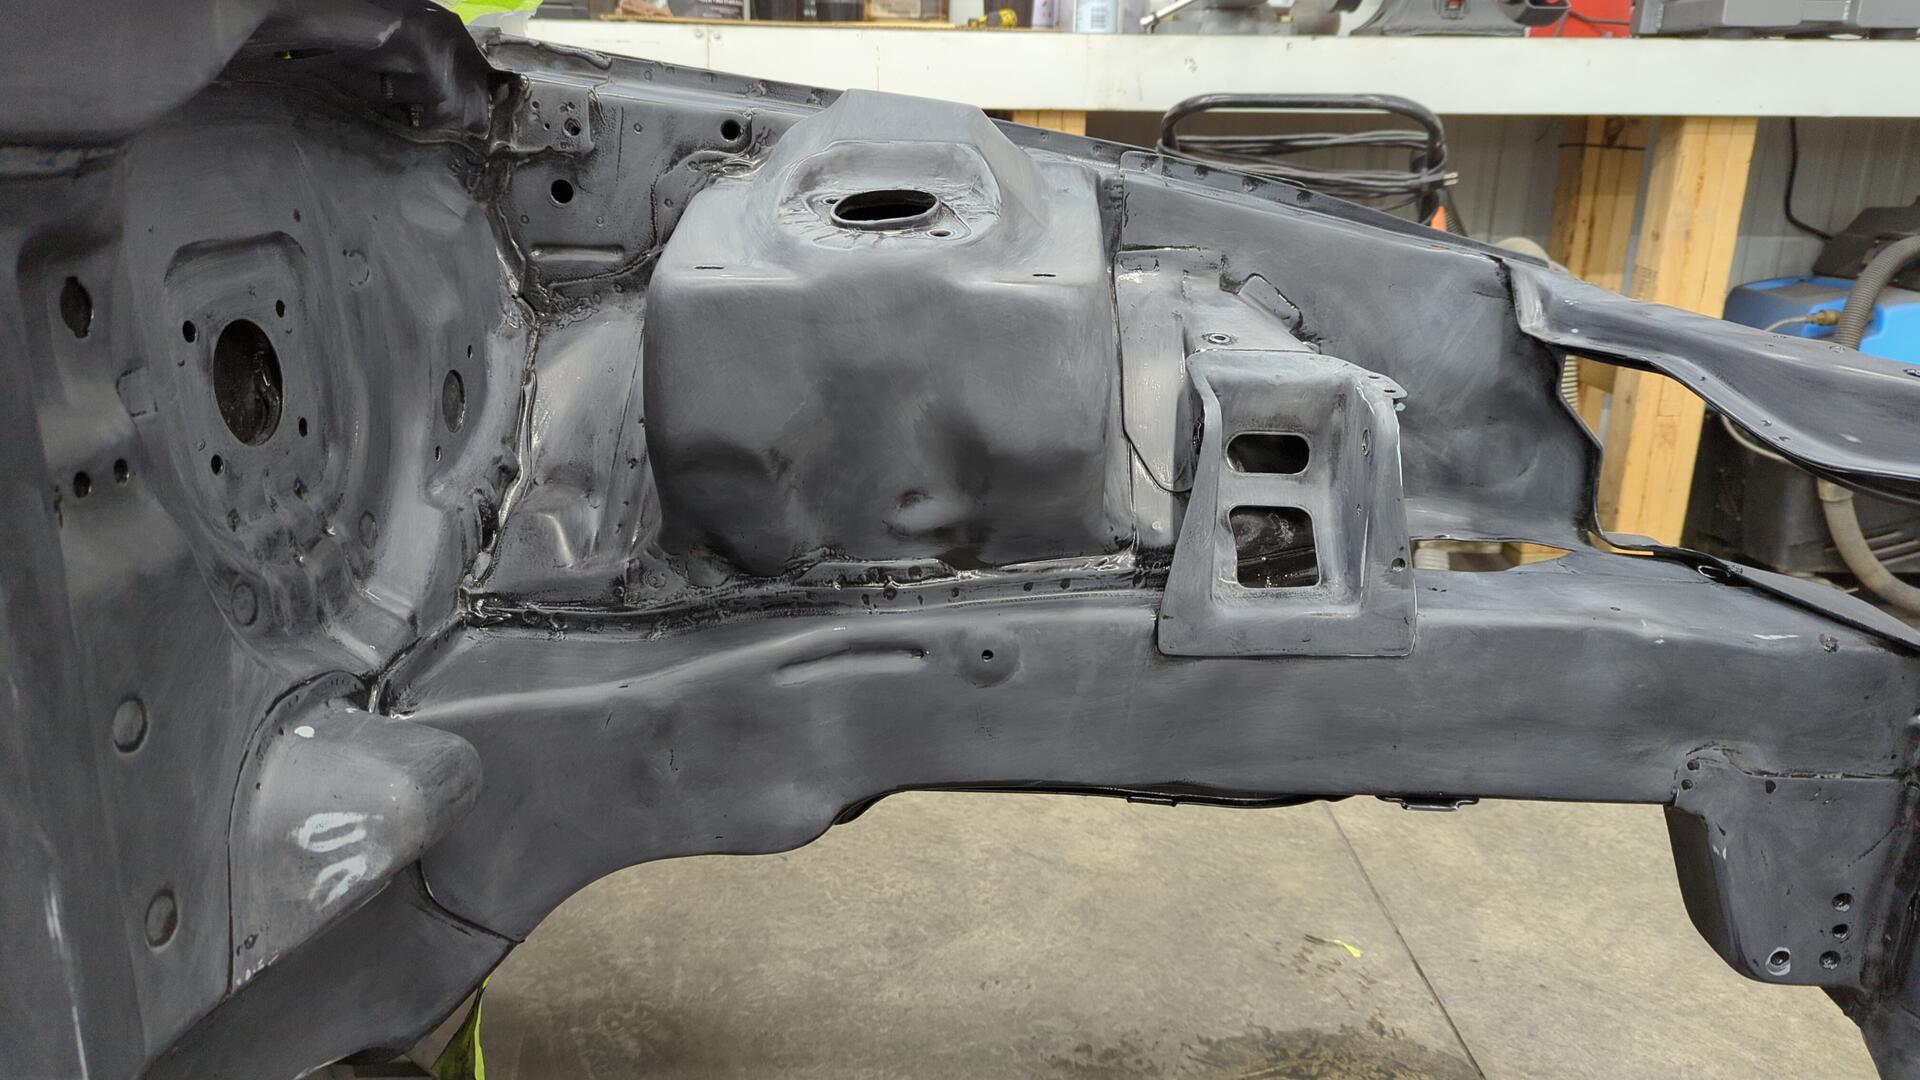
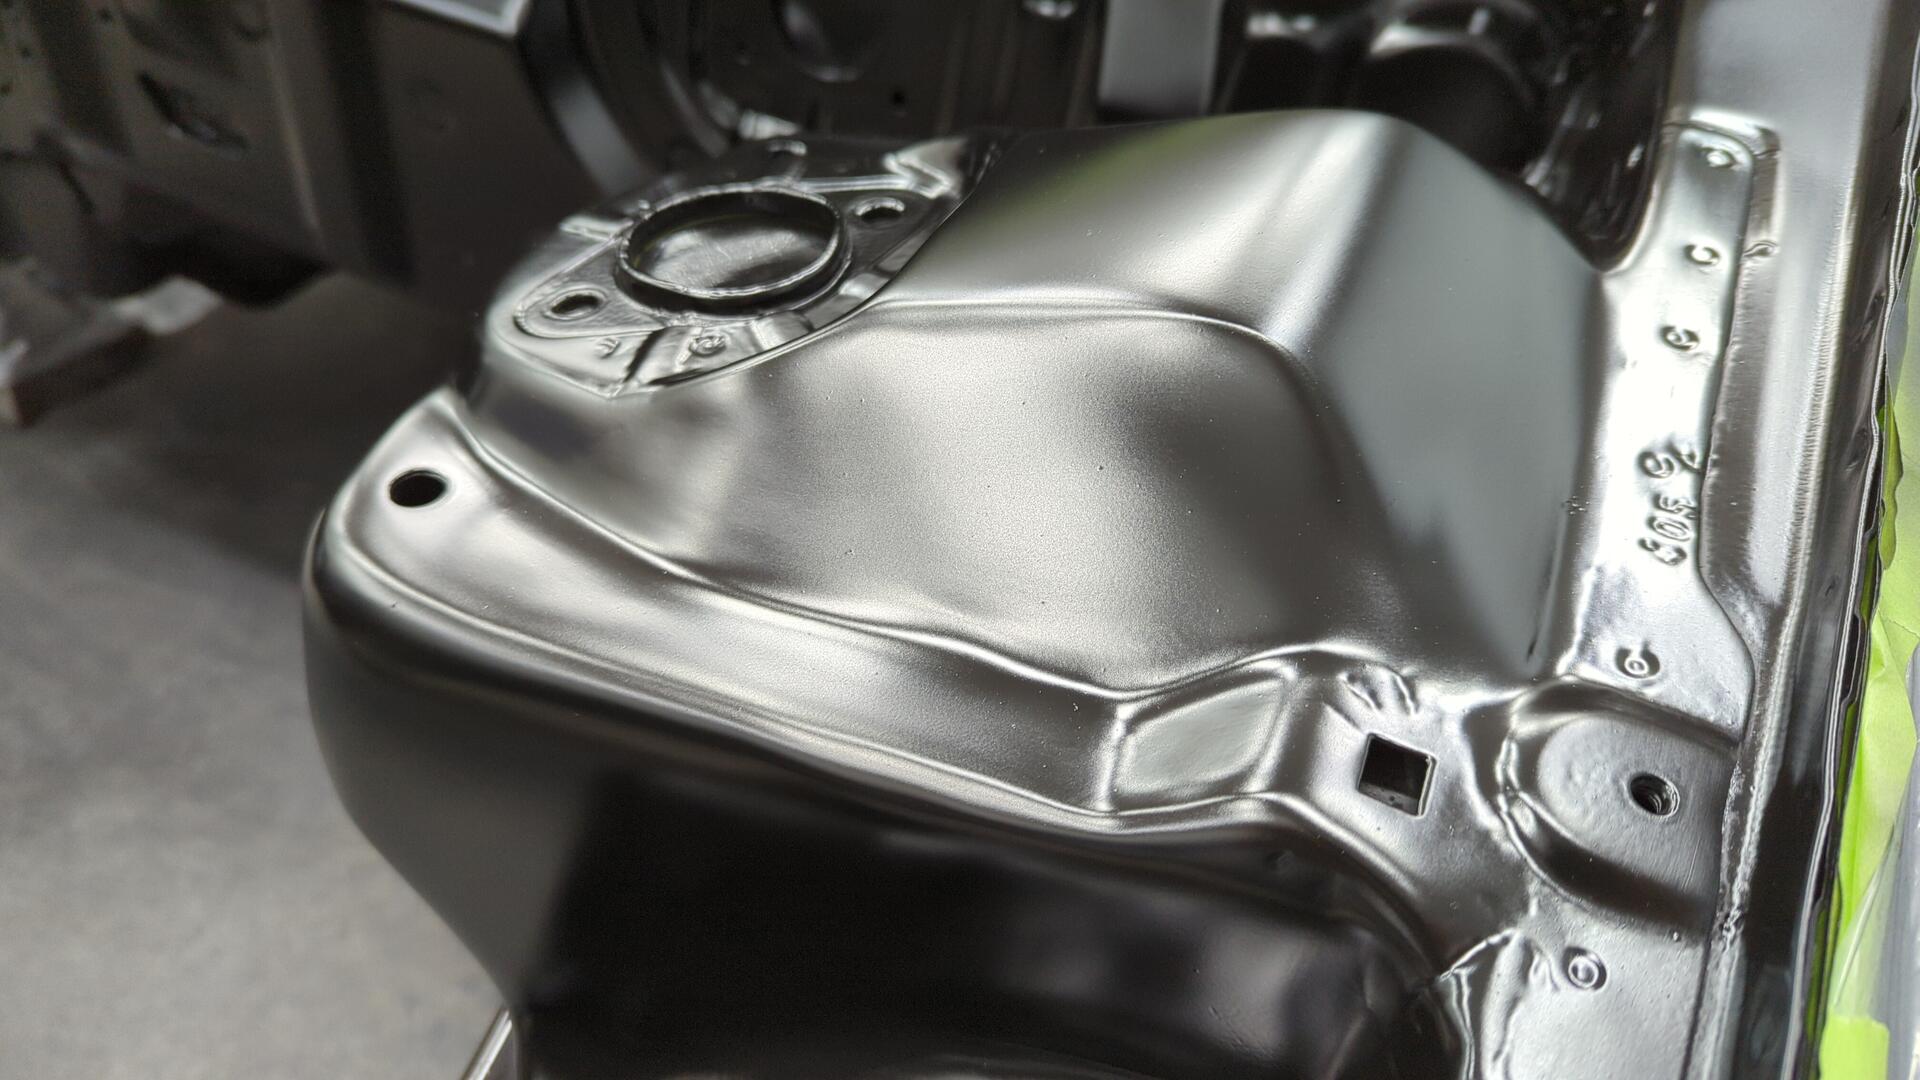
The inner fender behind where the headlights sit were the hardest areas to work because the the metal isn’t flat and I had previously welded a couple of patches on both sides back there that made things even harder.
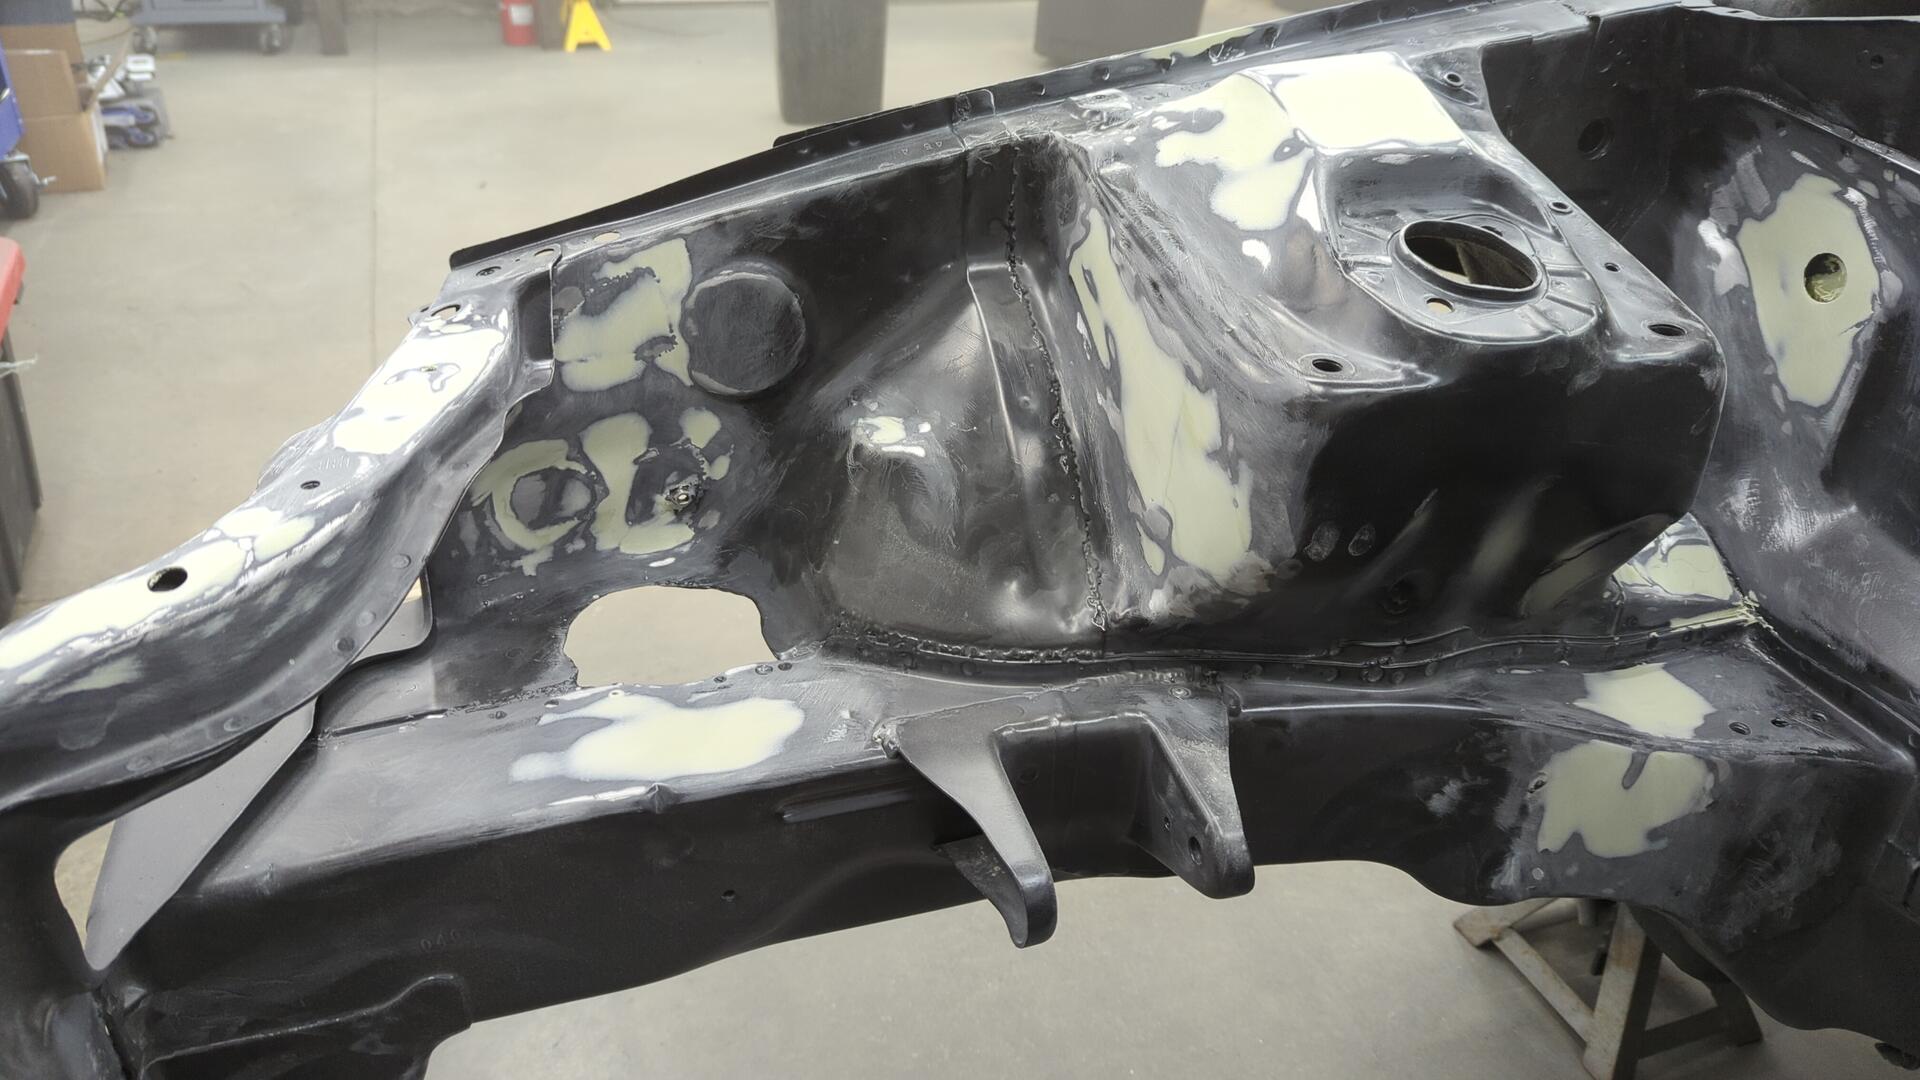
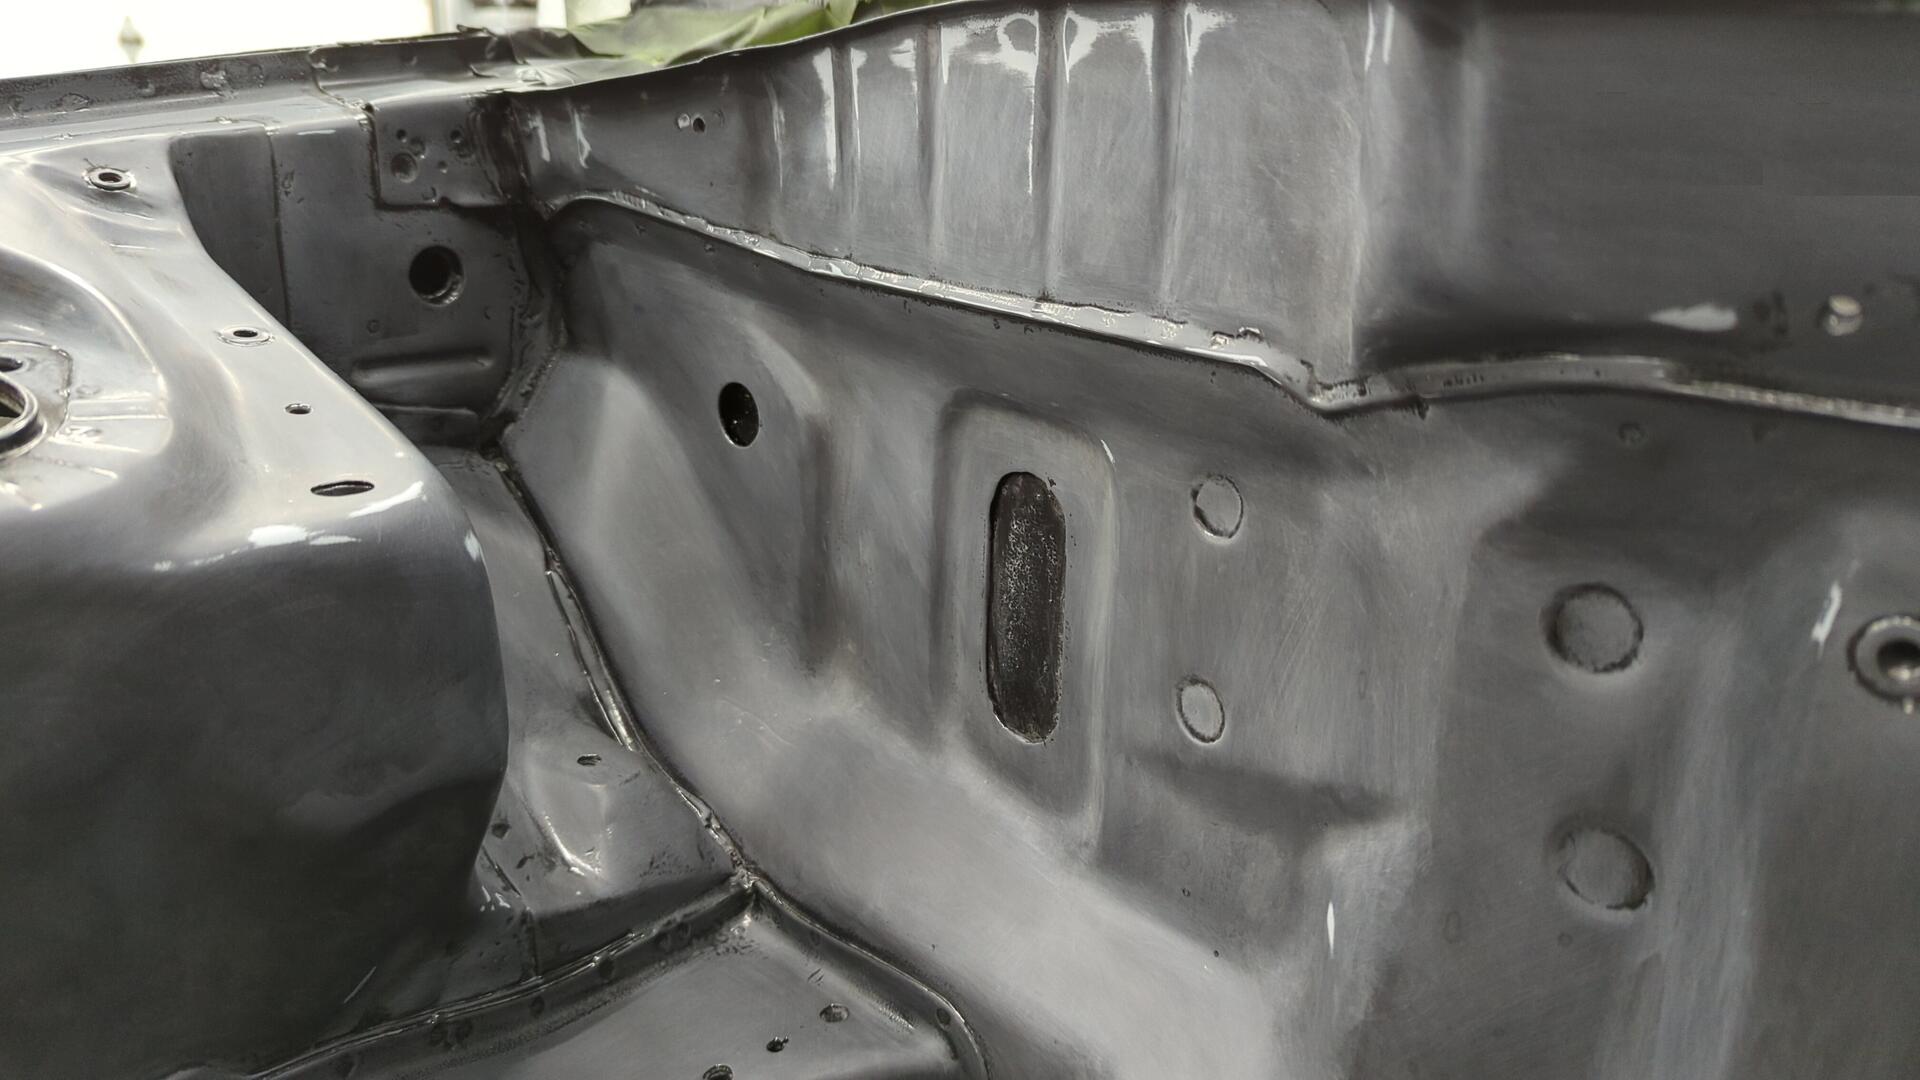
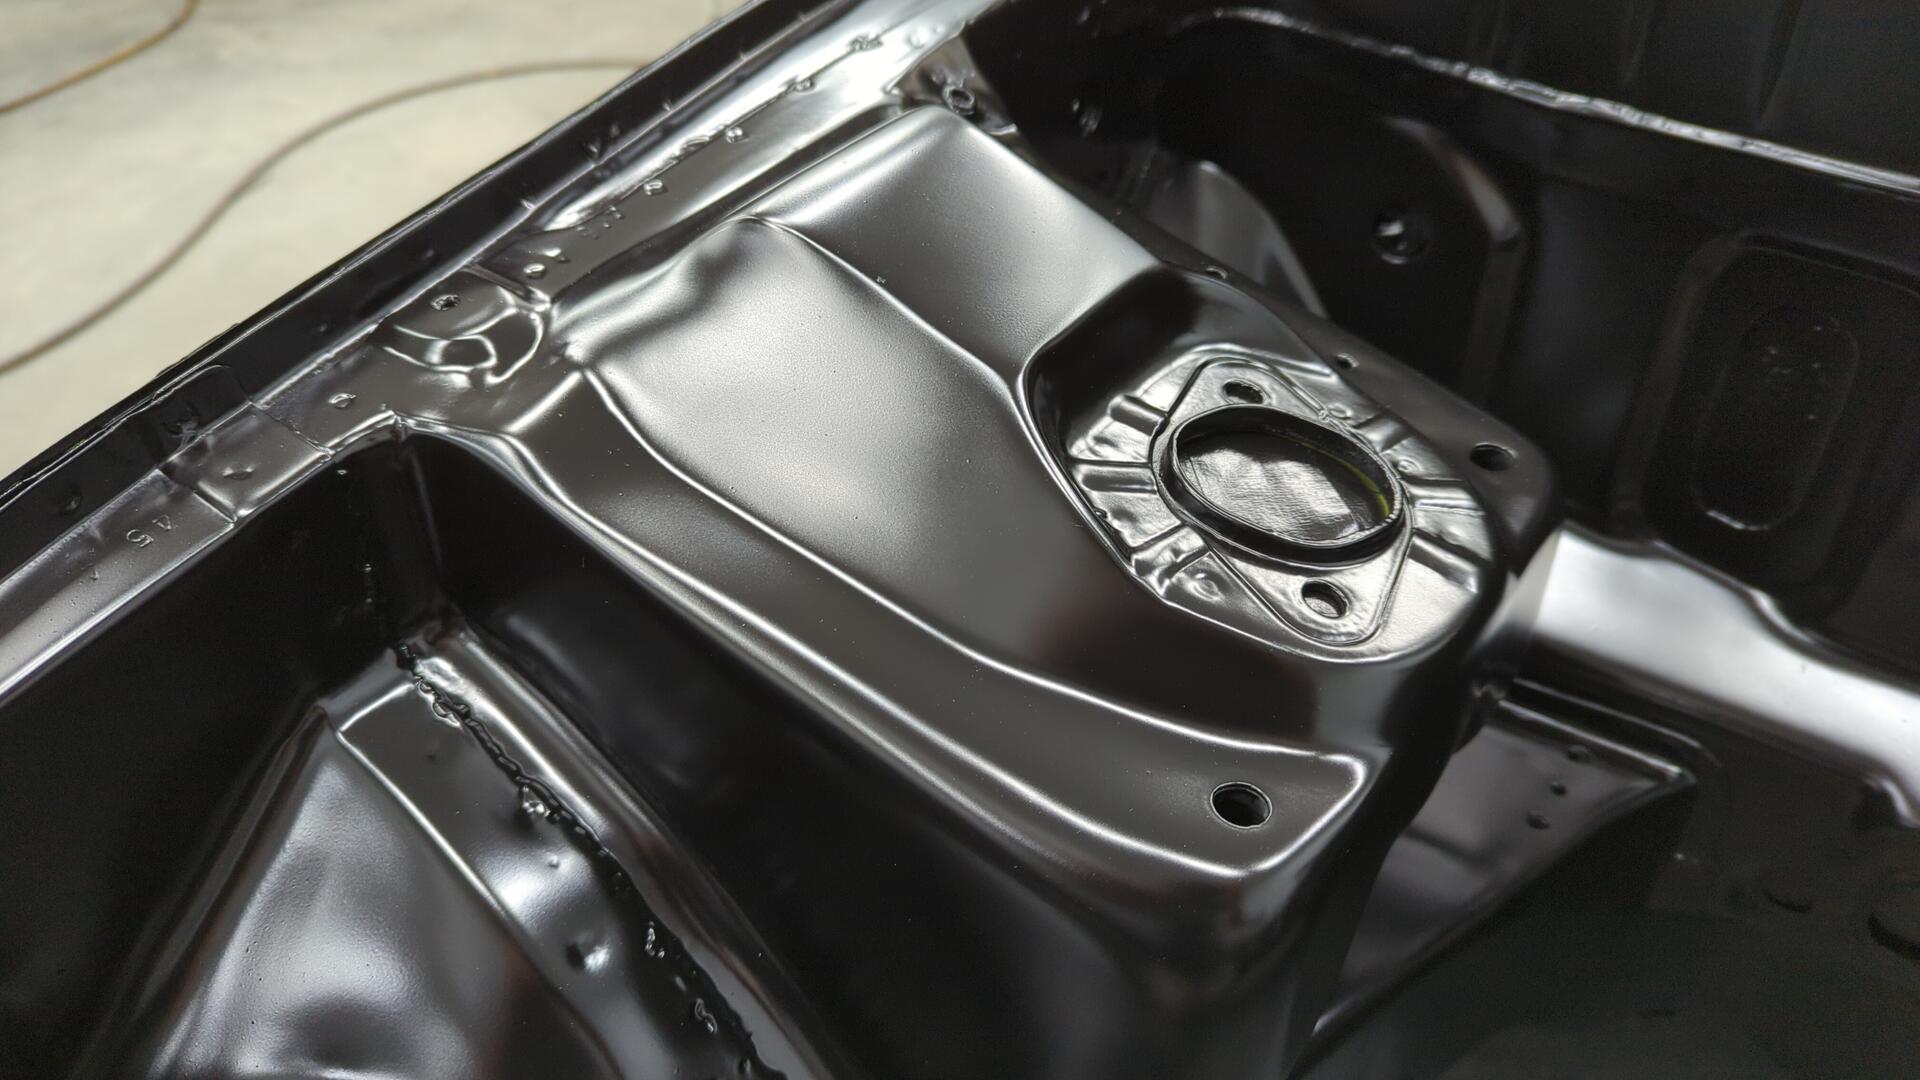
I also did my best to prevent from building up too much filler on the shock tower extensions. My biggest fear here was that the filler would be too thick and crack off in chunks over time.

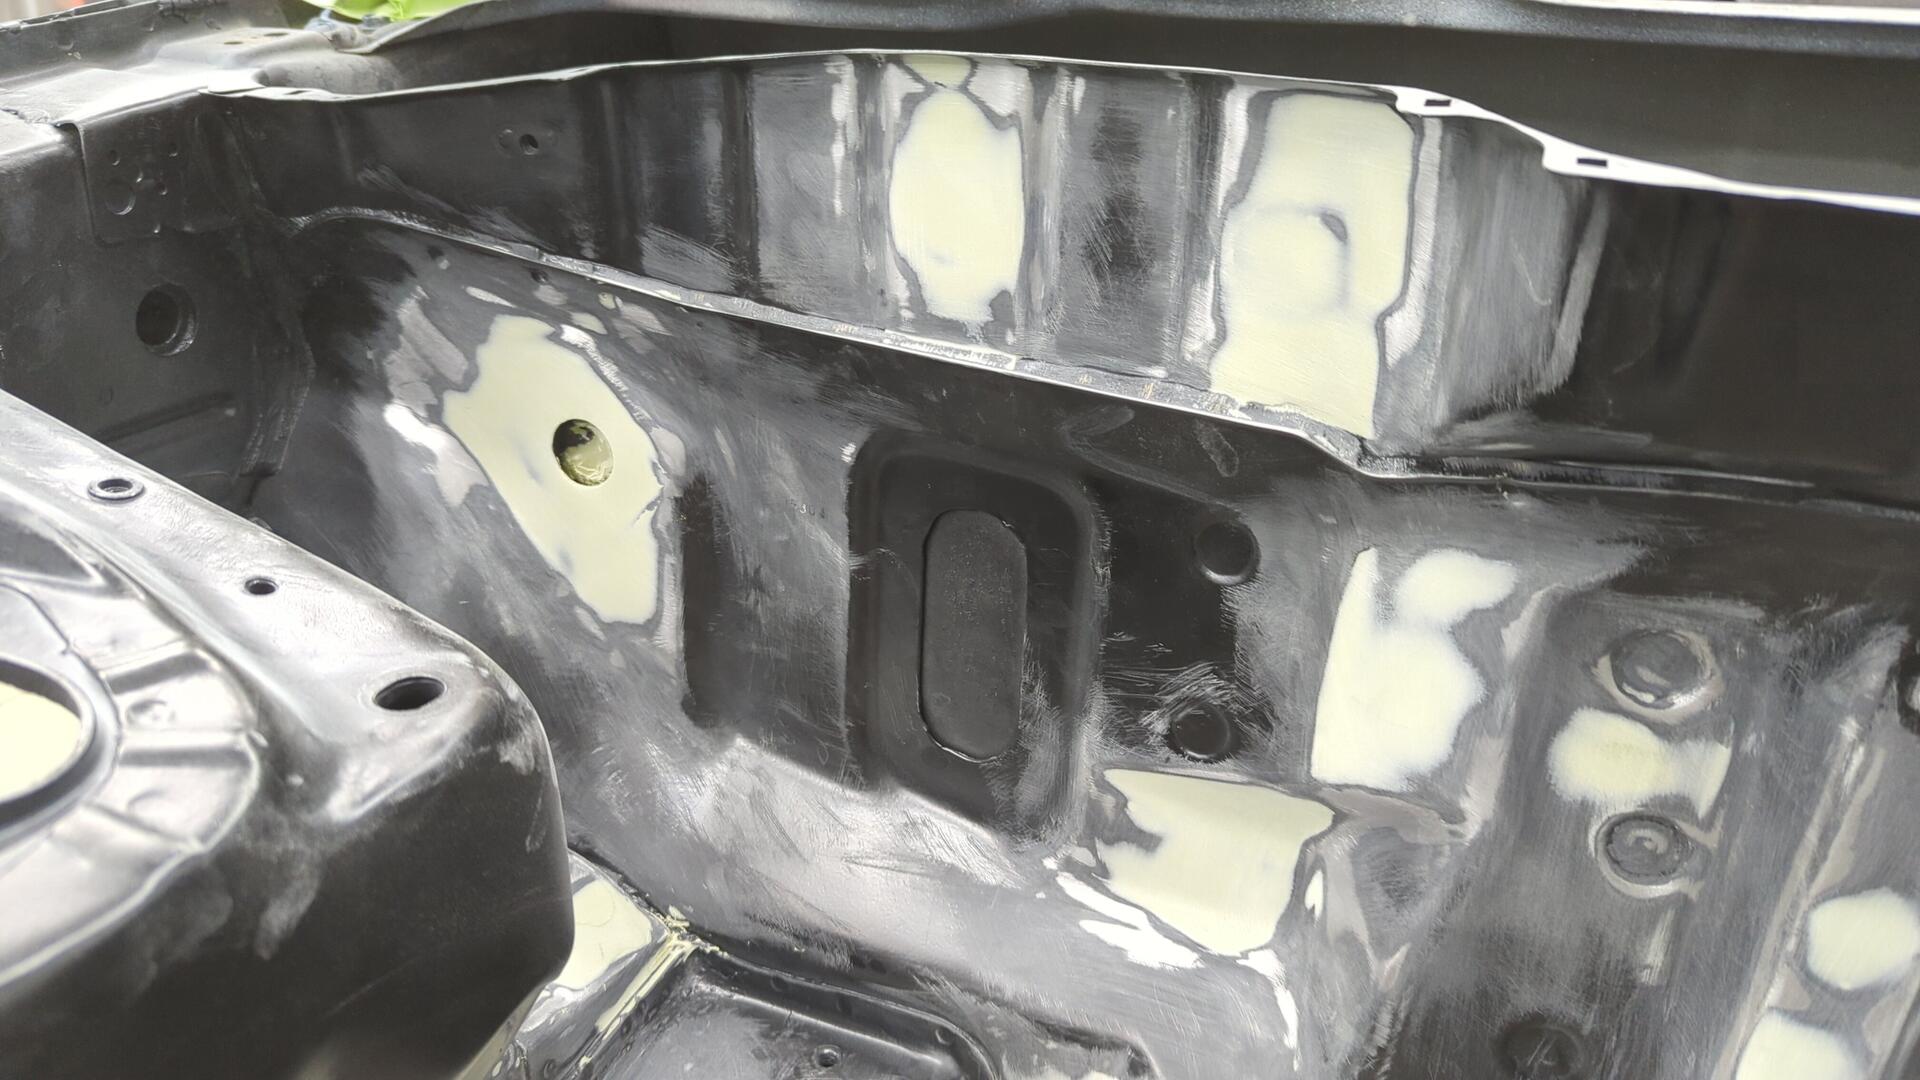
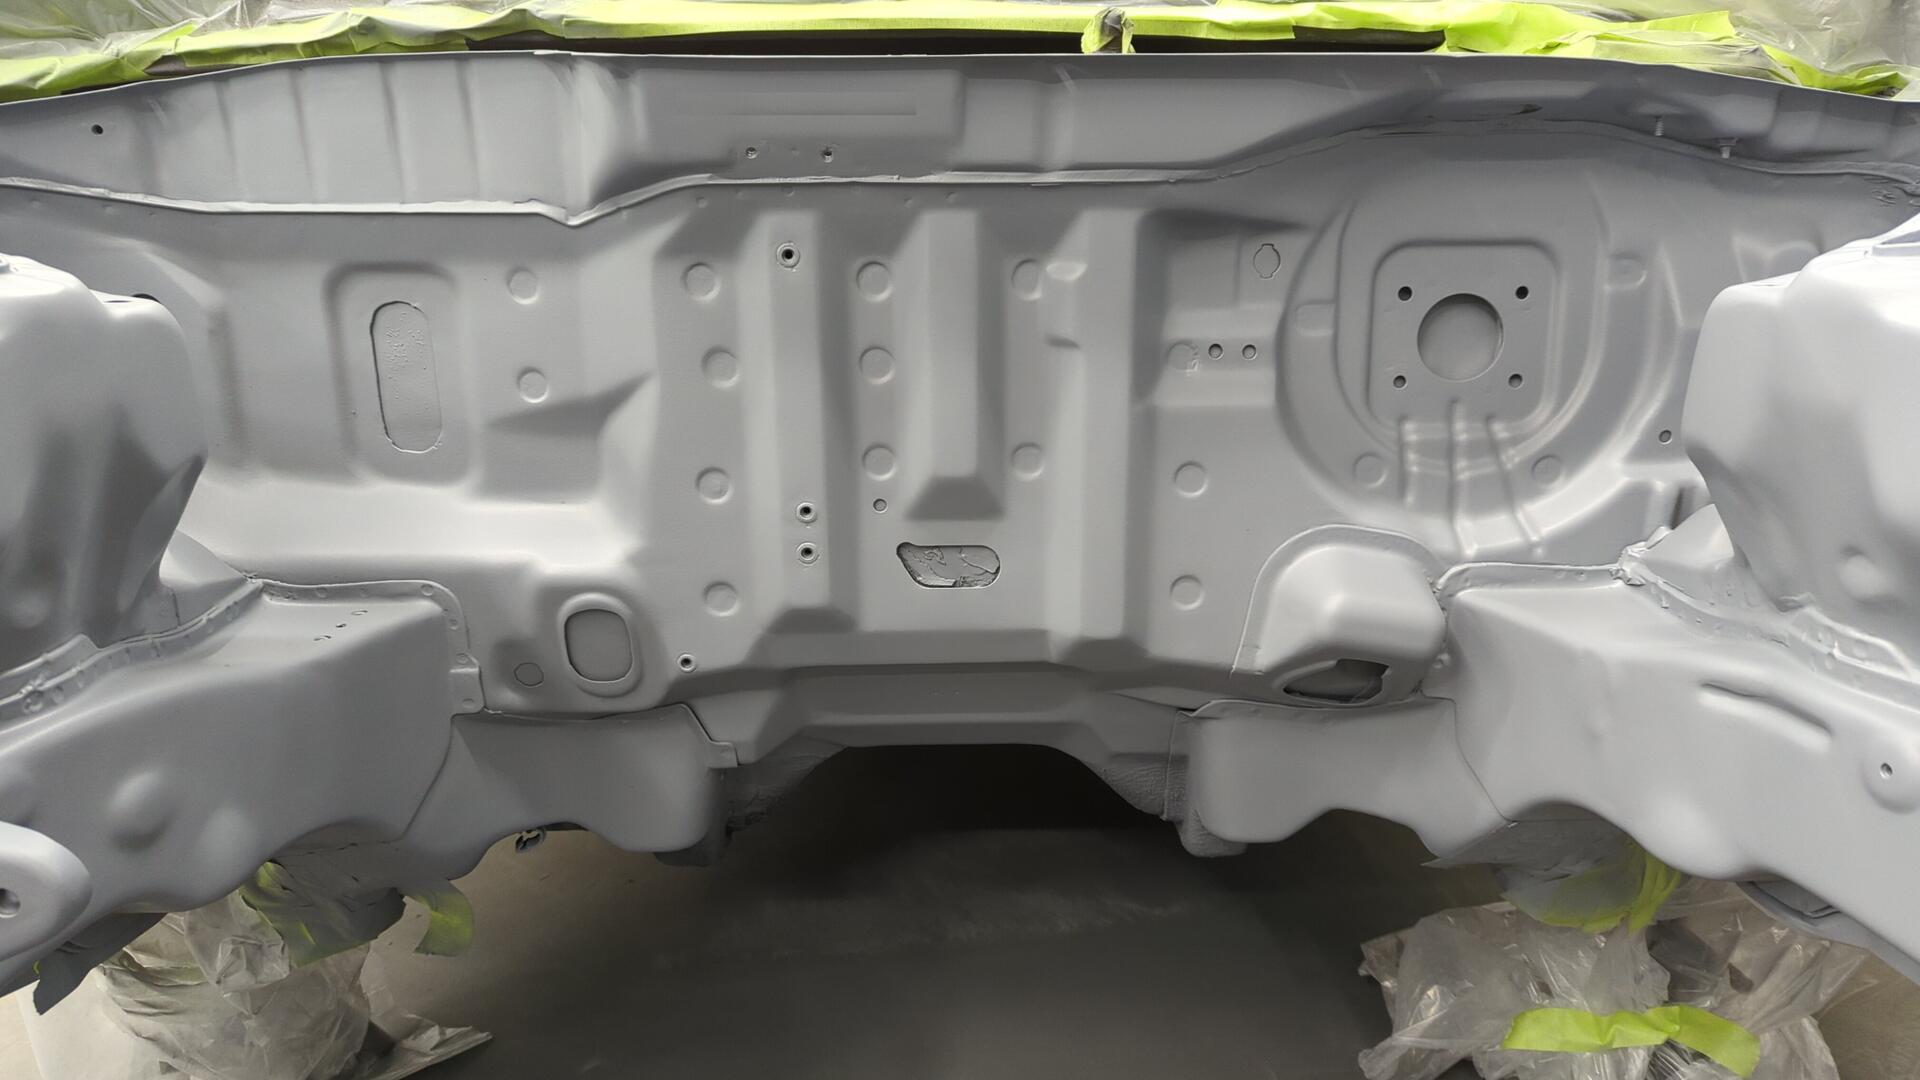
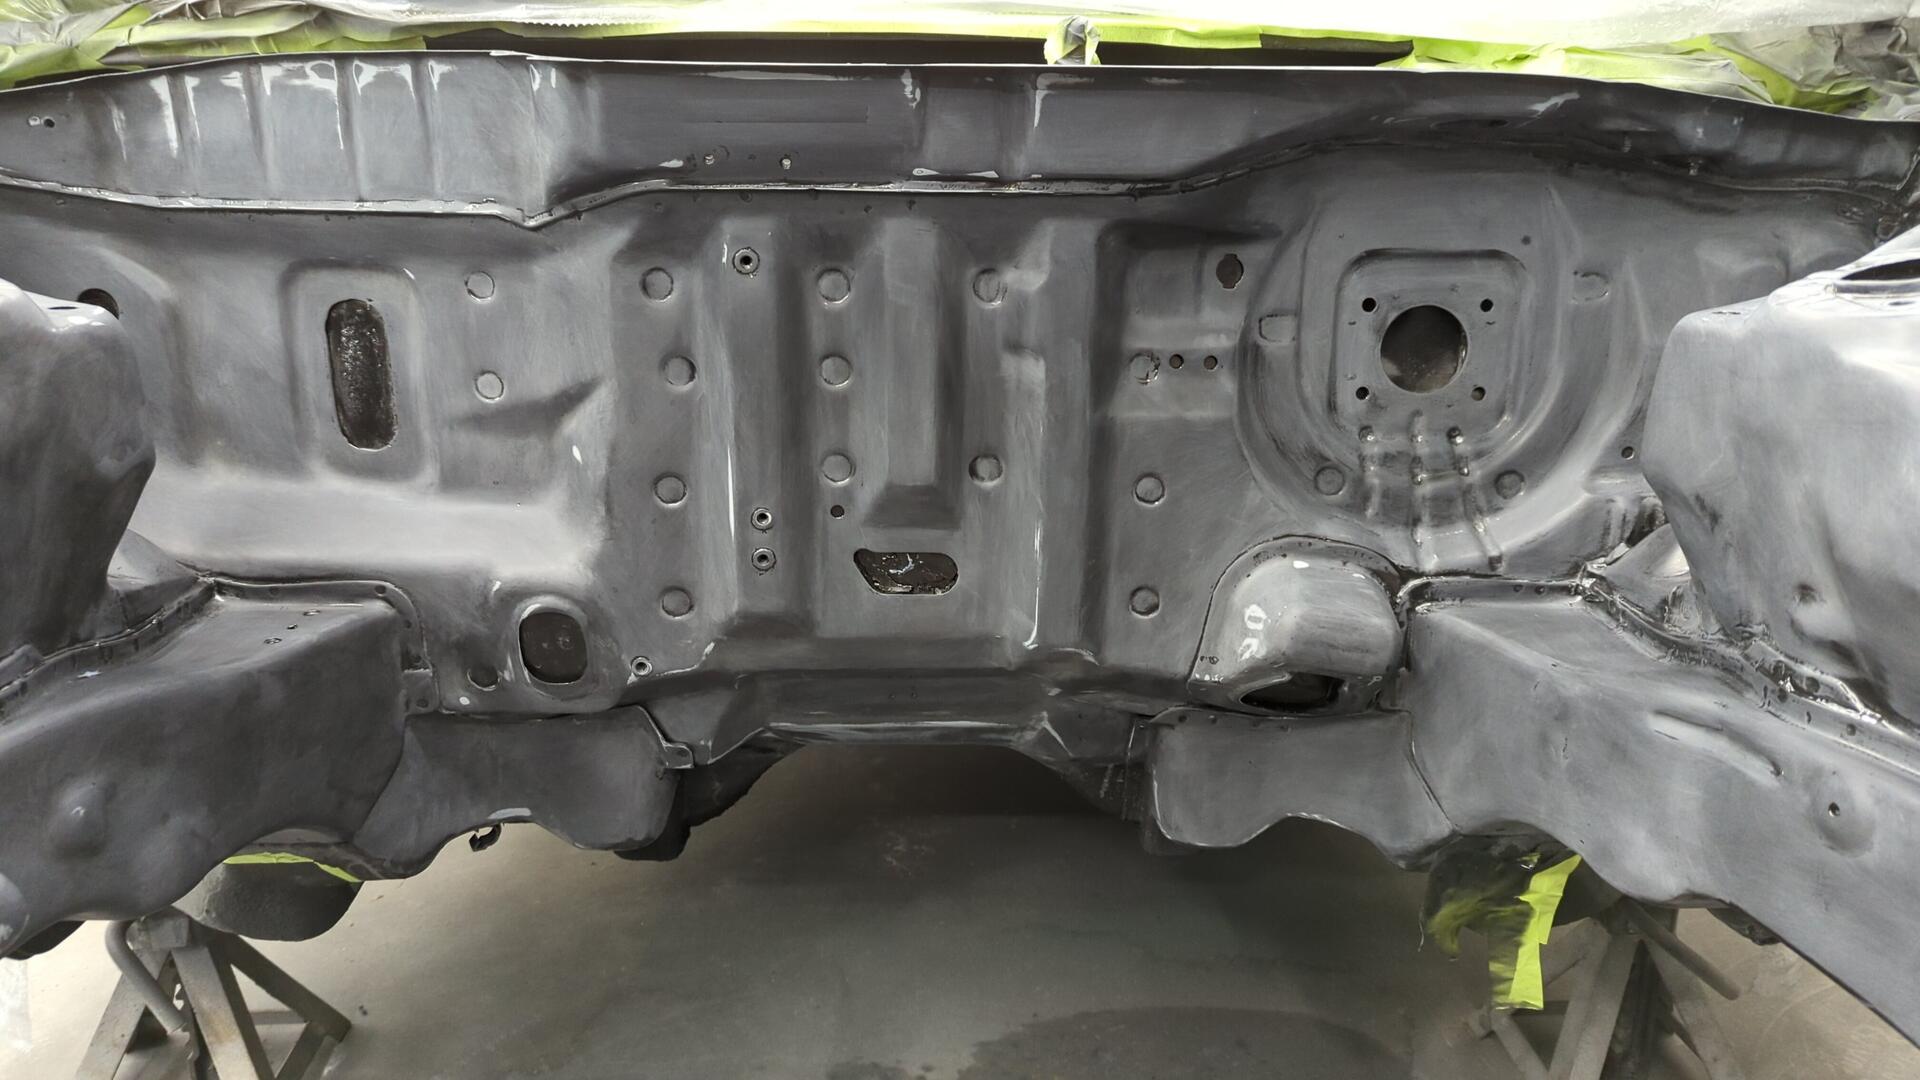
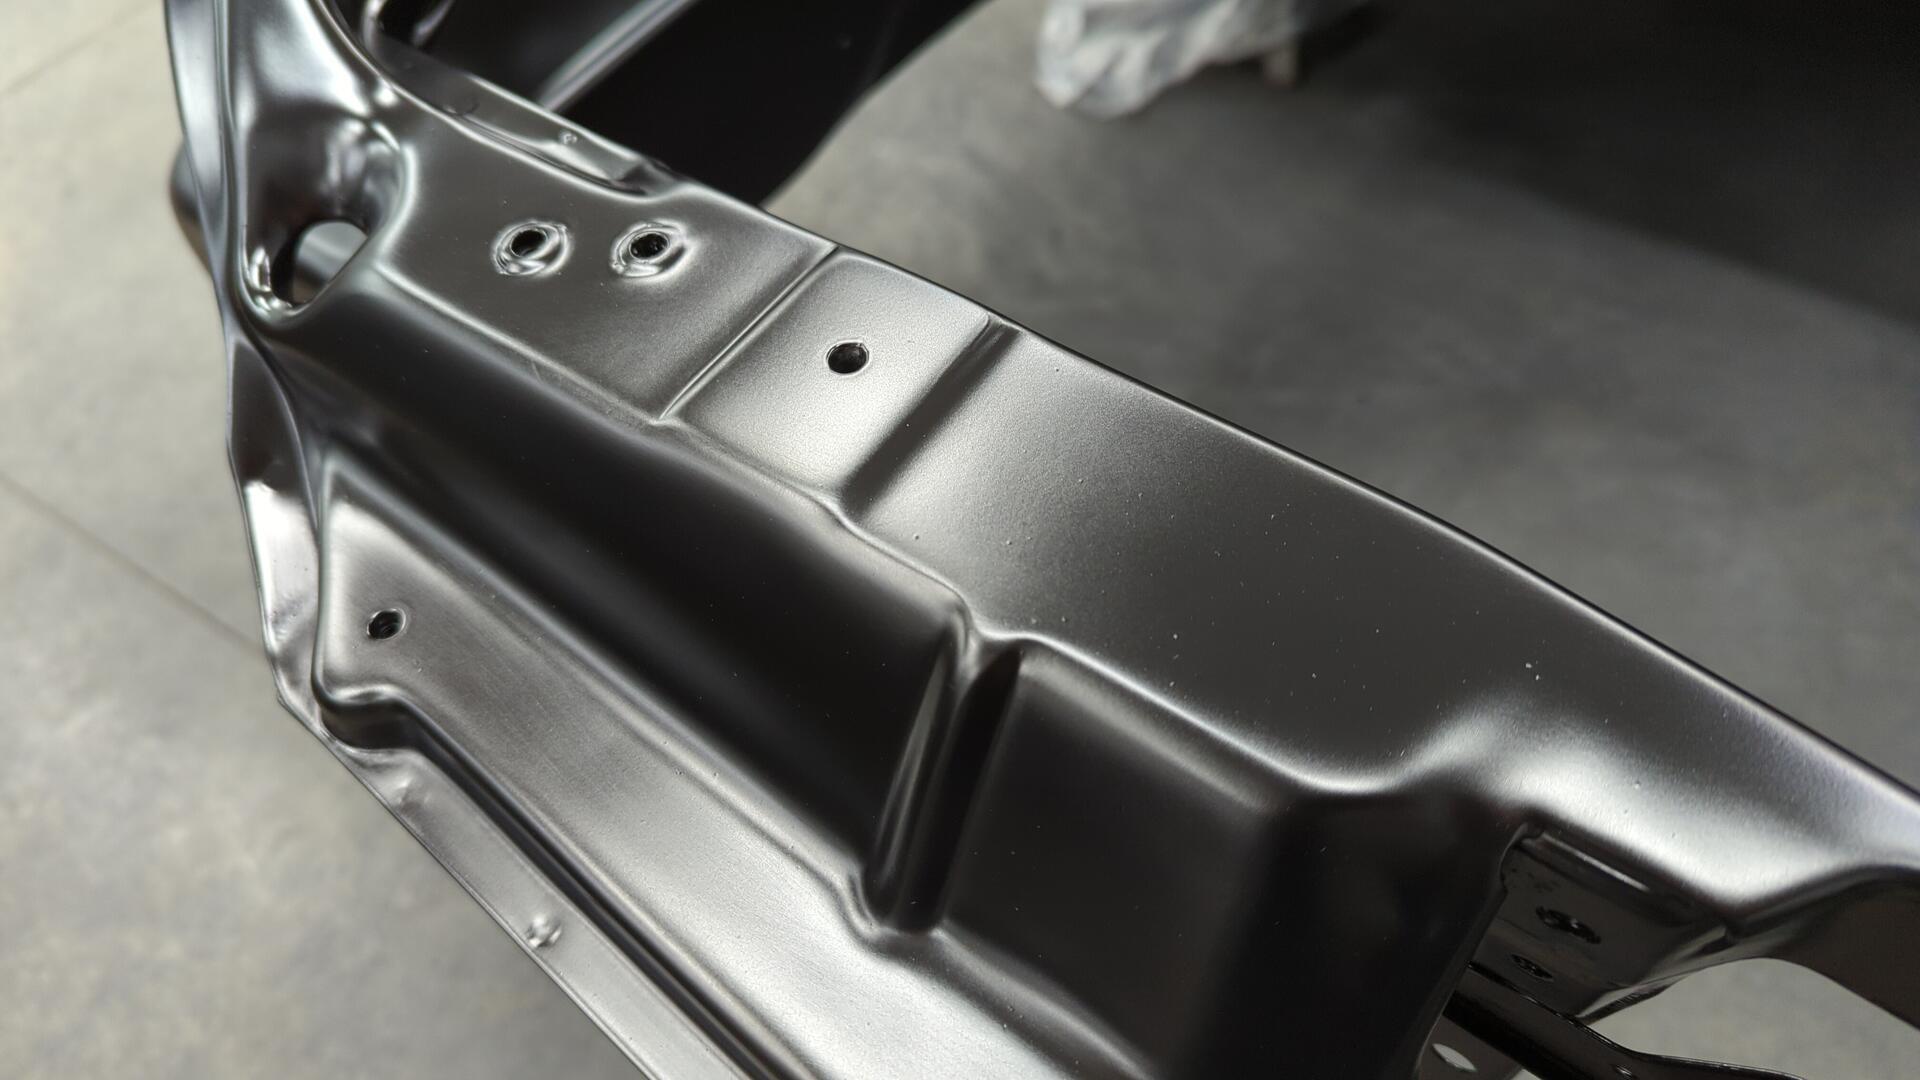
There was plenty of spots on the firewall that had to be smoothed out.
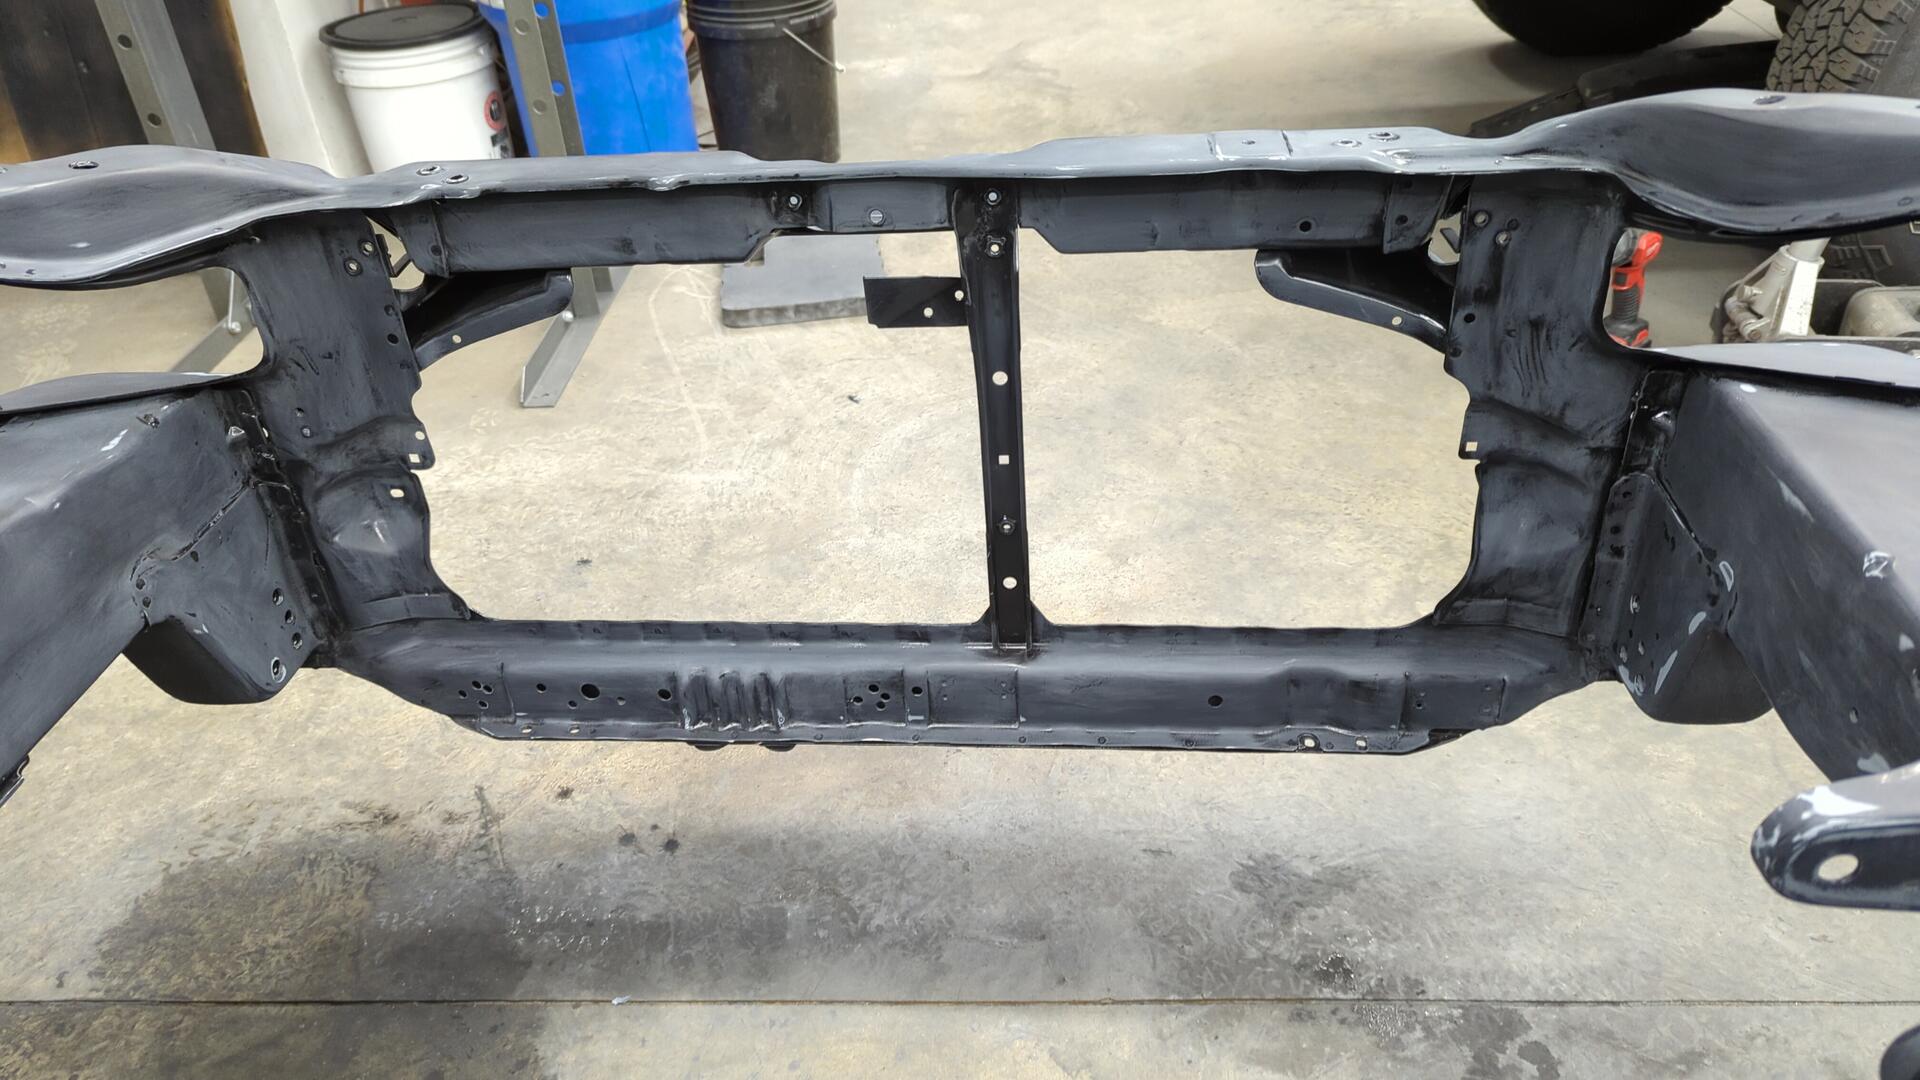
Working the driver side felt a little faster than the passenger side. I’m not sure if it was from me getting the hang of things or the metal was in better shape.
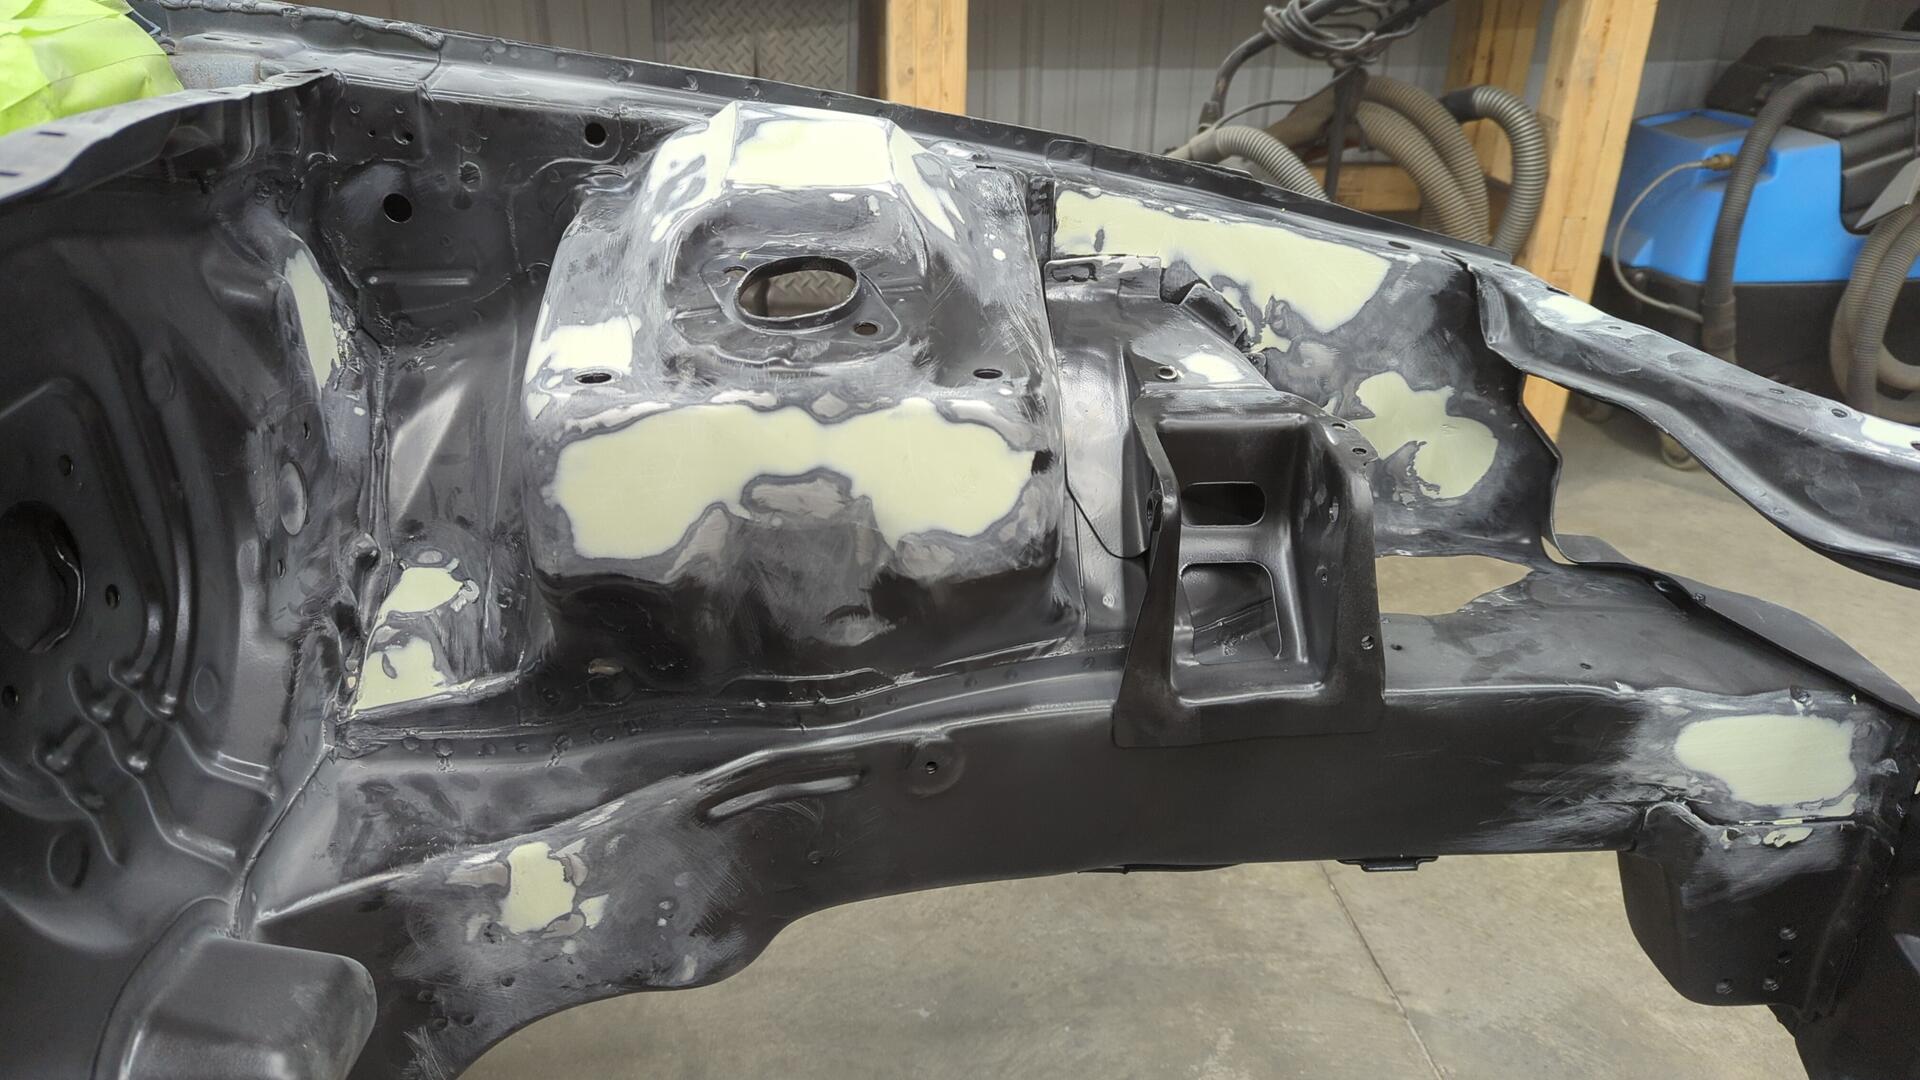
Once I thought I was finally done with filler I went ahead and sprayed 2 coats of epoxy over everything. This was done as prep for the 2k primer in order to give it a nice uniform foundation.
But while block sanding the epoxy I realized just how many spots I had missed and had to break out the filler again.
Several more hours of blocking and filling later.
Much better!
Glazing a Few Pinholes
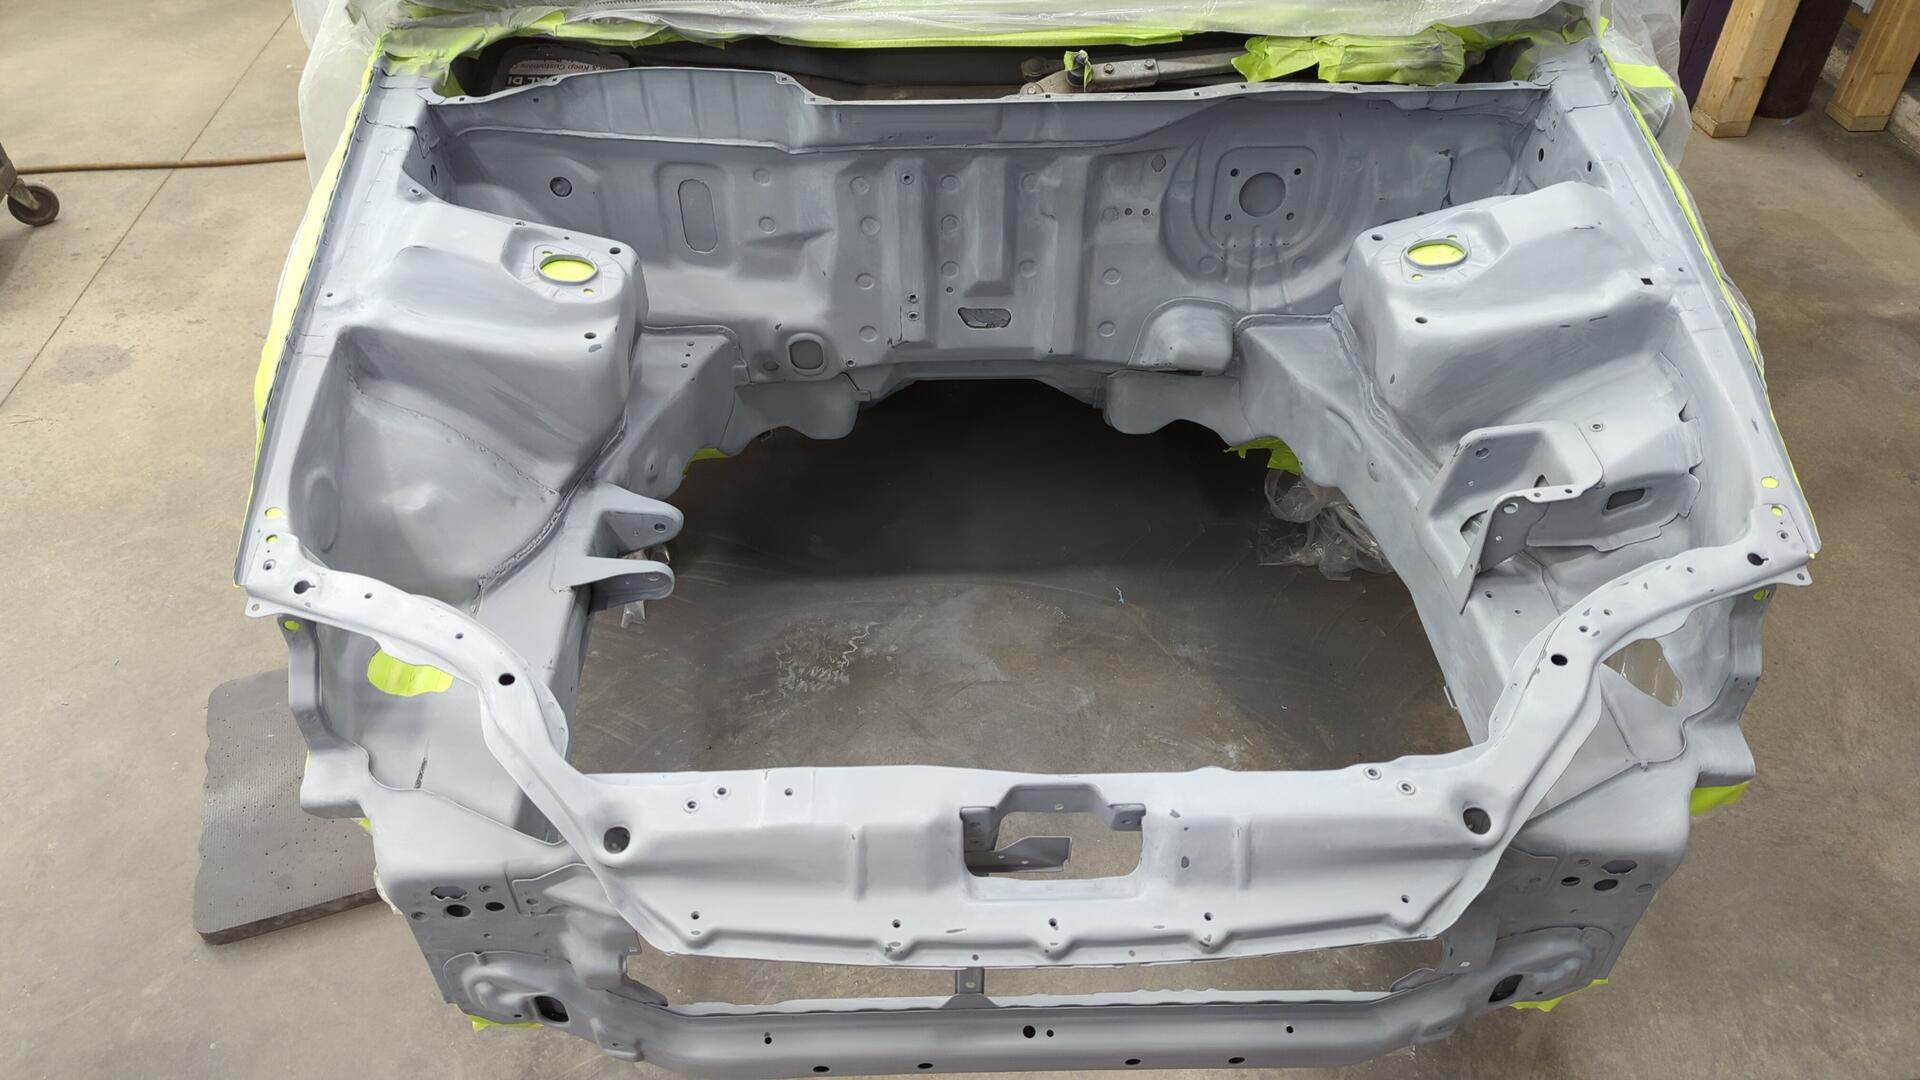
The engine bay was starting to look pretty good. All the metal was nice and smooth and the only real defects I could find now were some pinholes and some filler was mapping through the epoxy.
I used UPOL’s Doplhin glaze to touch up the pinholes.
Okay, maybe there was more than a couple pinholes.
After all the glazing I blocked the epoxy with 180 grit. This was done to help fix the filler mapping through the epoxy, and was also a good way to check for any pesky low / high spots I had missed.
I didn’t see any defects though so it was time for 2k.
Time for 2k Primer
Up until now I’ve been spraying all the epoxy with the classic purple Harbor Freight gun but the tip on the HF gun was too small for 2k primer so I decided to step up to a DeVILBISS Finishline (FLG5) with a 2.0 tip.
A bit nervous about using a new paint gun I did my best to spray 3 coats of 2k regular build primer.
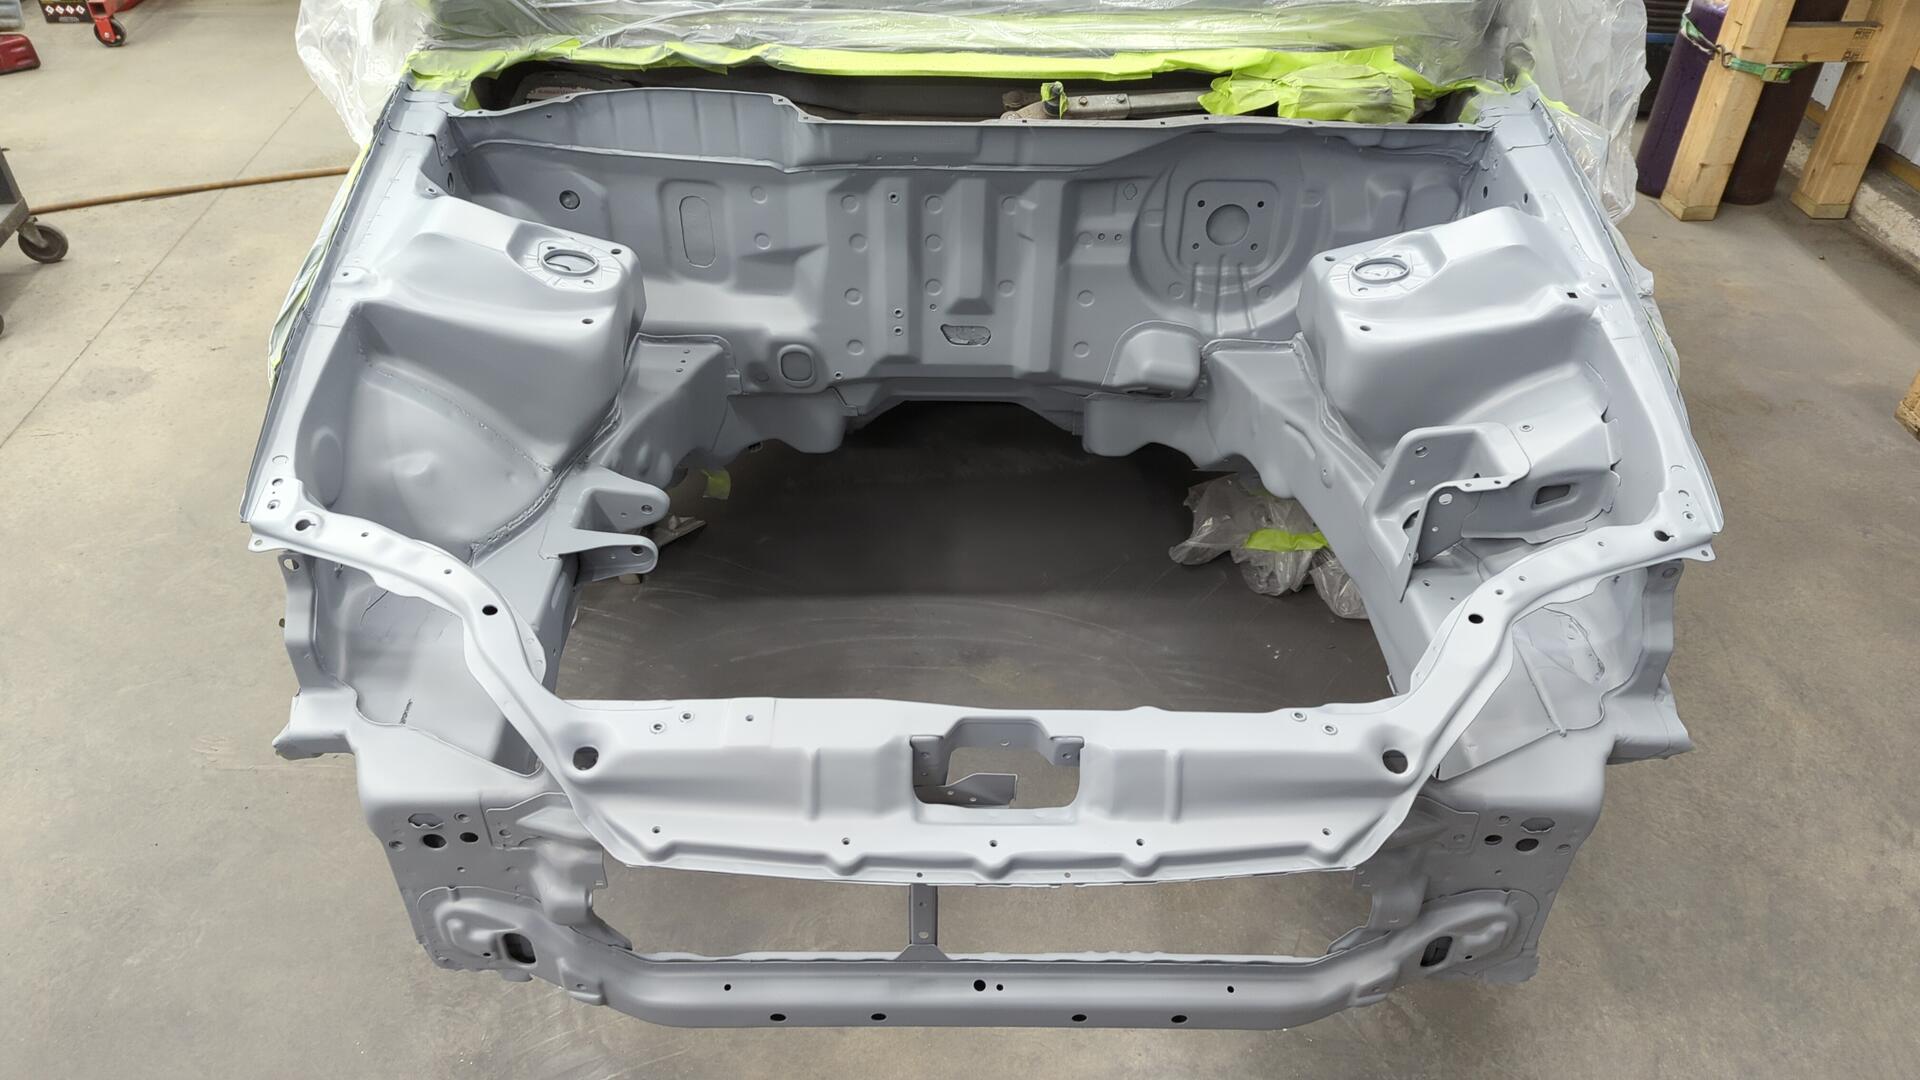
All in all it went pretty smooth.
I had some trouble getting the gun to lay down enough 2k but I was able to work around it by spraying slightly slower. I didn’t realize until the very end that I had bumped the air knob at the bottom of the gun and it was restricting the air flow slightly. Oops!

Thankfully though 2k primer is meant to be sanded down and the overall finish doesn’t matter too much. For sanding I started off by blocking the entire engine bay with 180 grit and then wet sanded it again with 320 grit.
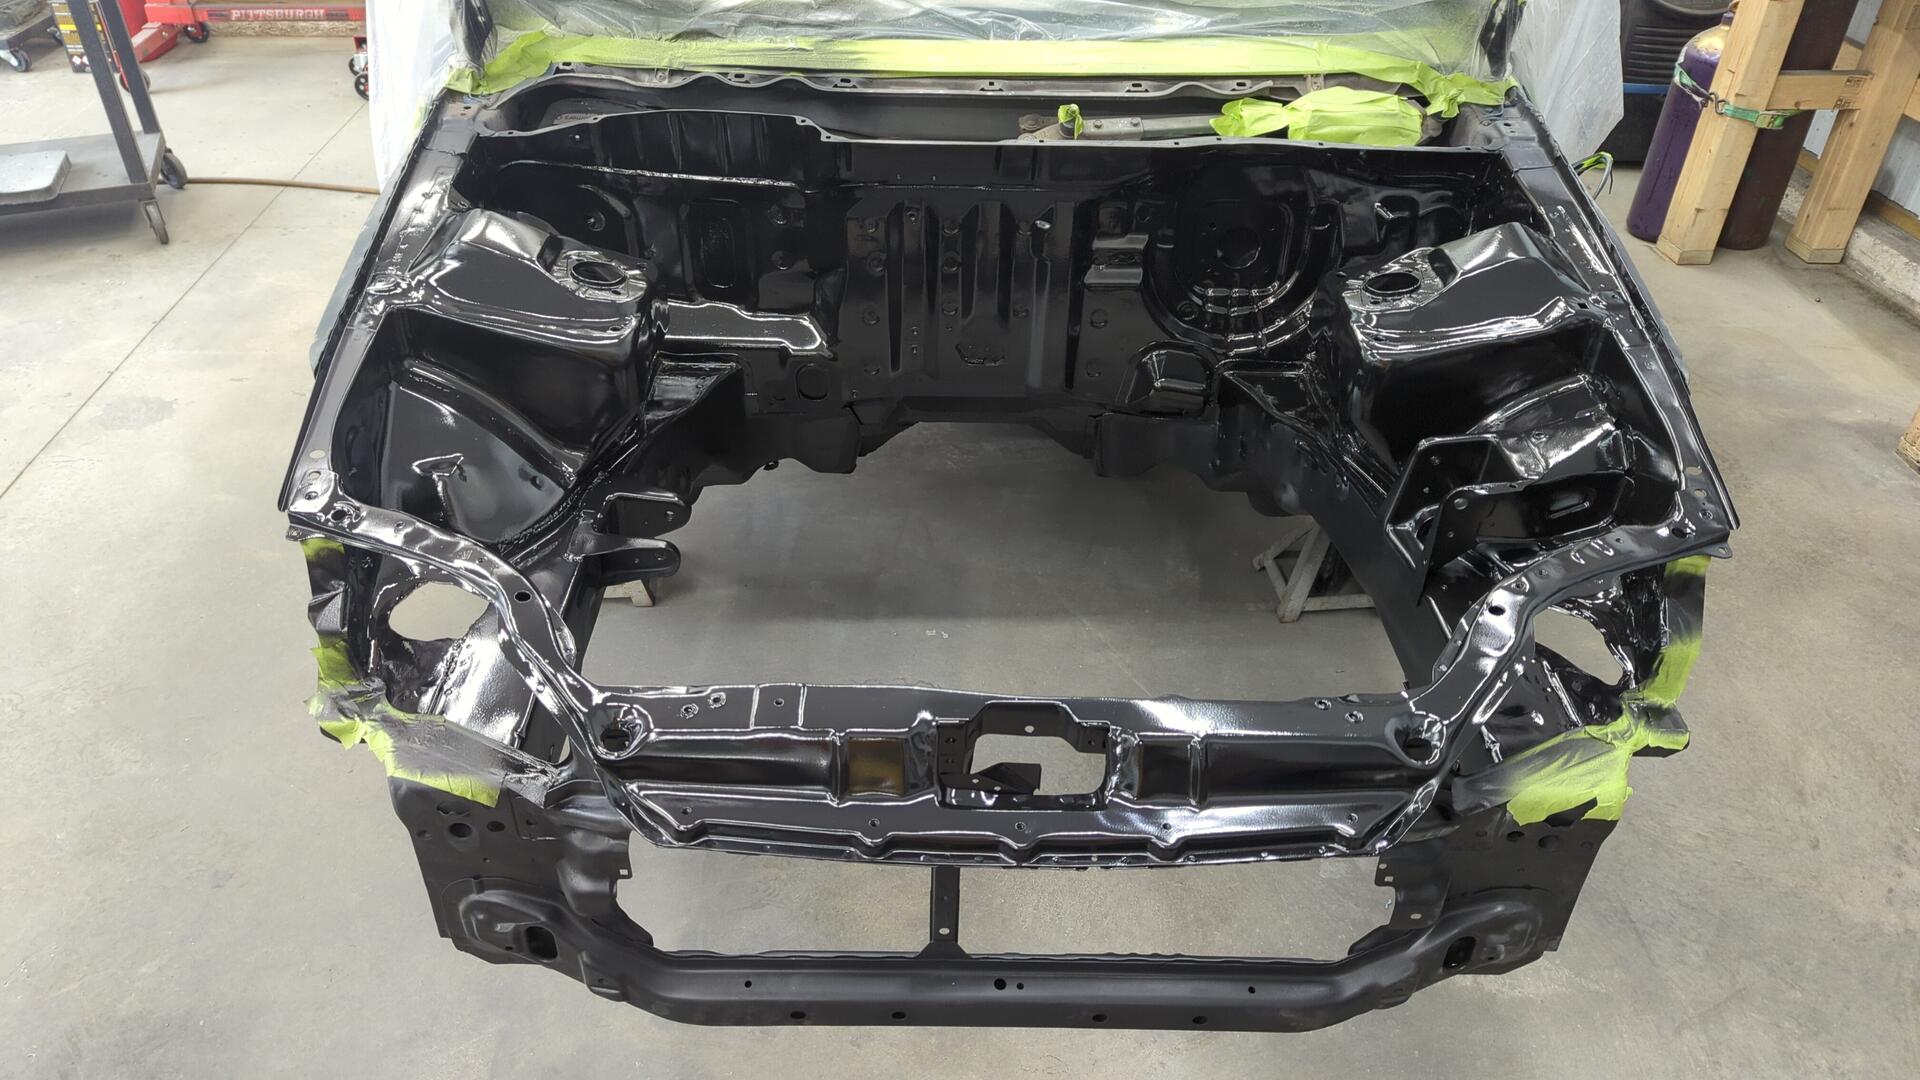
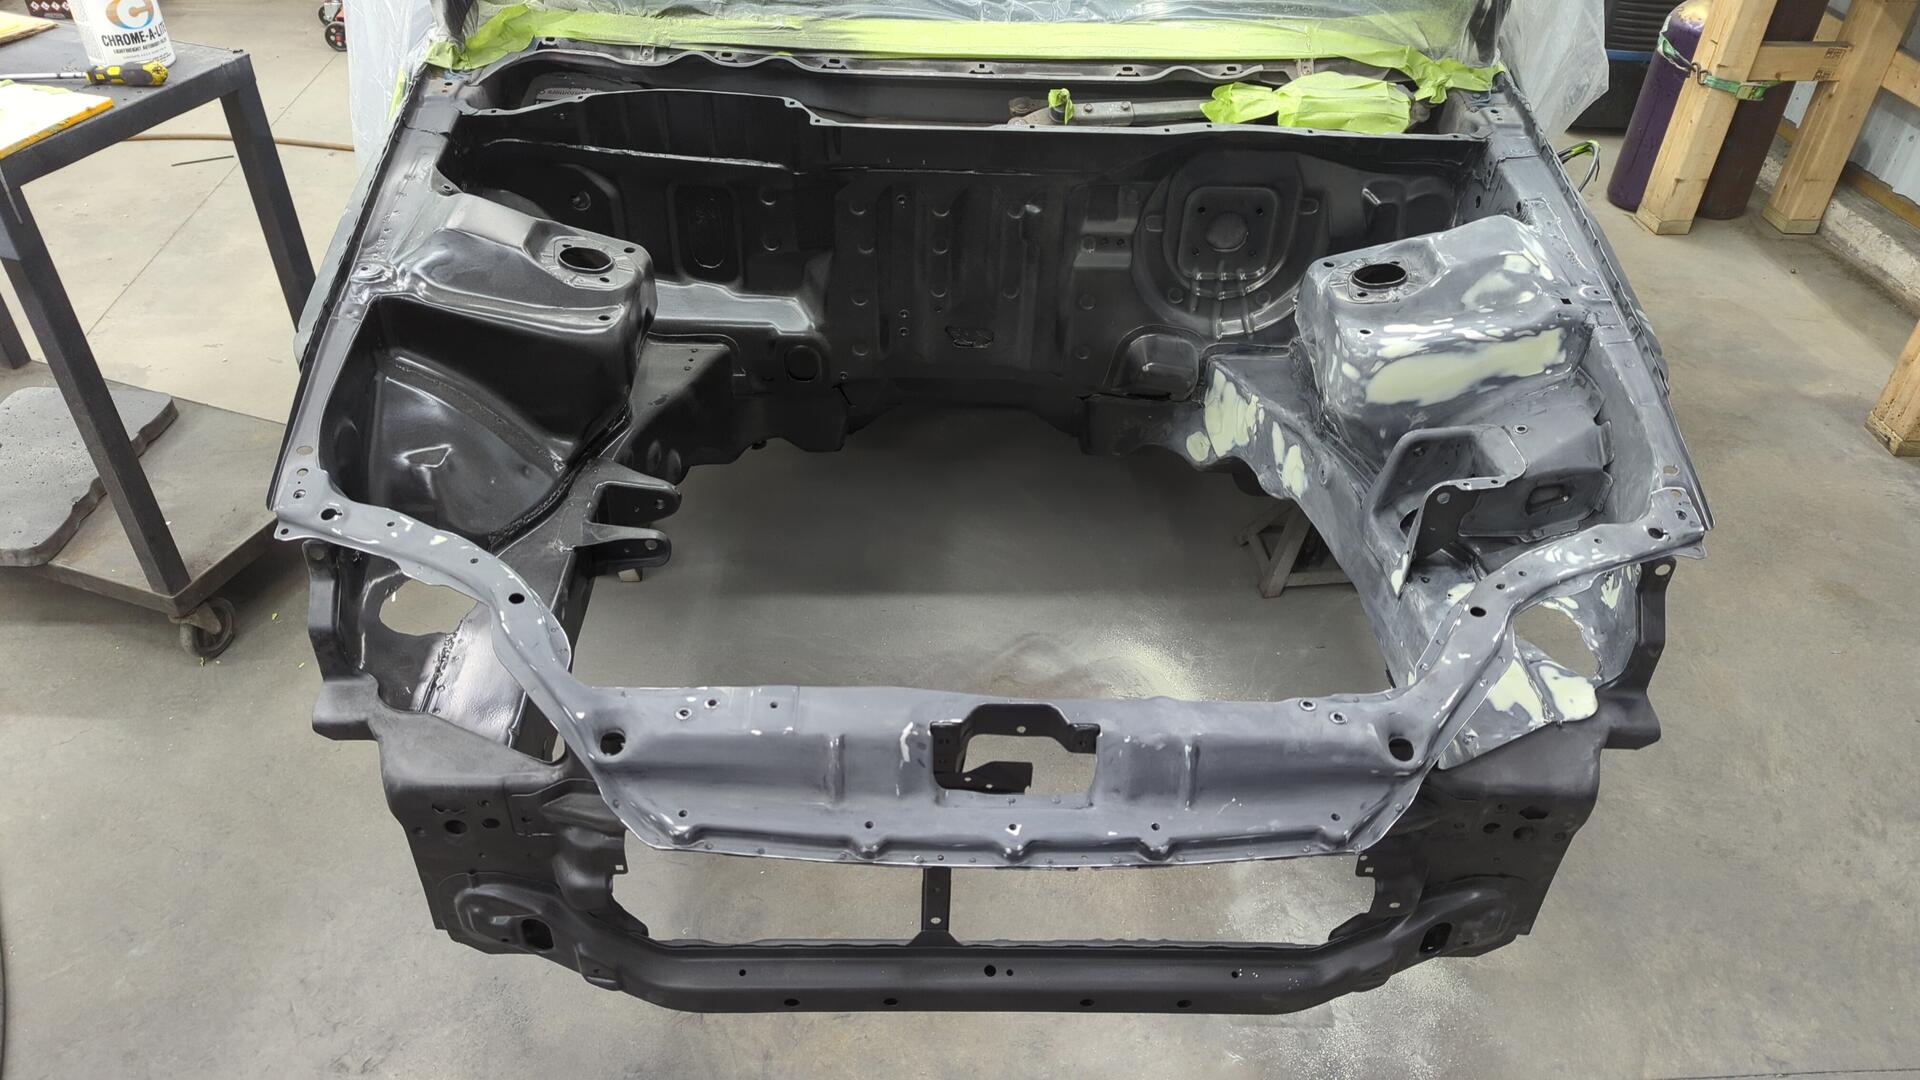
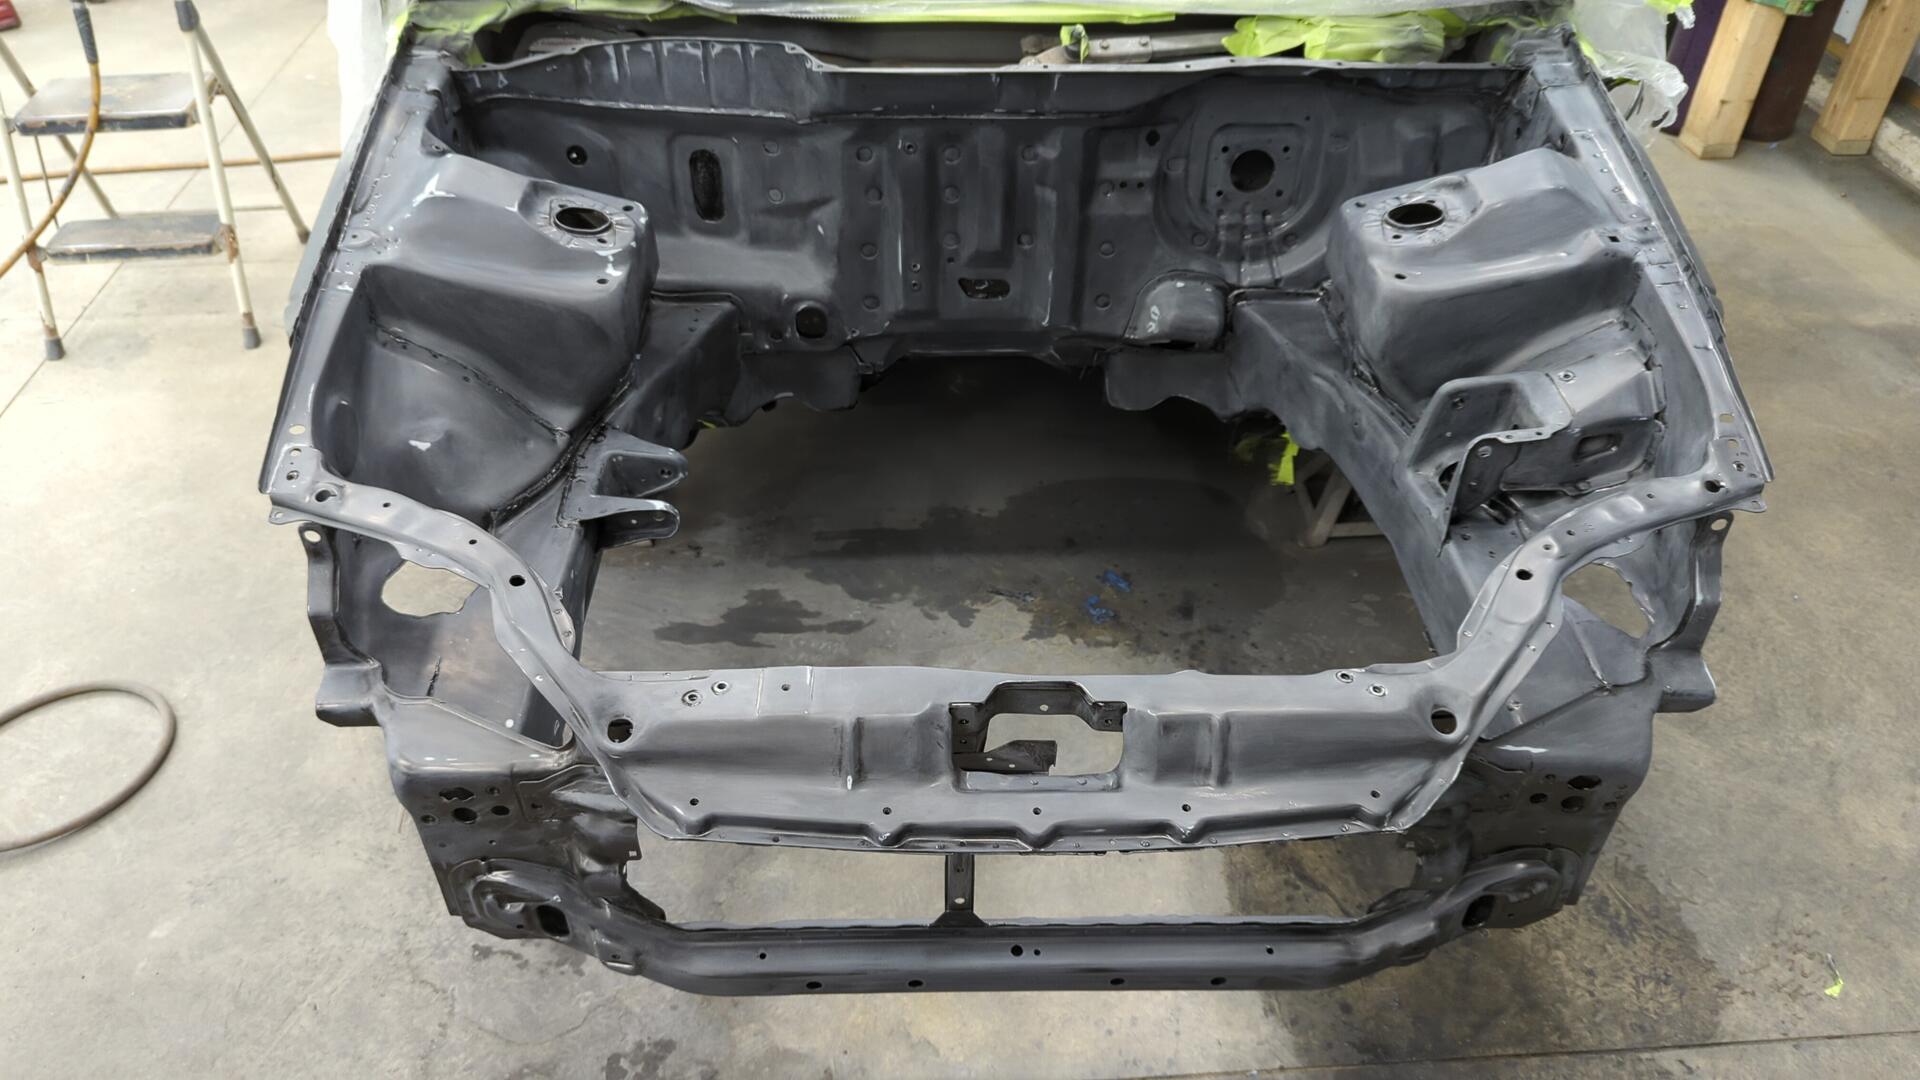
After that the bay looked smooth enough that I felt it was time to spray my sealer coat.
Spraying Some Sealer
For sealer I sprayed 2 coats of epoxy reduced 25% (2:2:1).
The sealer looked goo but when looking really close I could see my sanding marks.
It turns out I didn’t sand long enough with the 180 so not all of the 80 grit scratches were removed (a guide coat would have revealed this). This wasn’t the worst mistake to make as the fix is fairly straightforward but it meant I had a bunch more sanding to do.
Using 320 grit I extensively sanded down the entire engine bay and after that wet sanded everything with 400 grit.
All in all these two steps took roughly 6 hours and my hands were pretty sore by the end but it felt a lot better to stop and fix my mistake instead of proceeding with spraying the base coat.
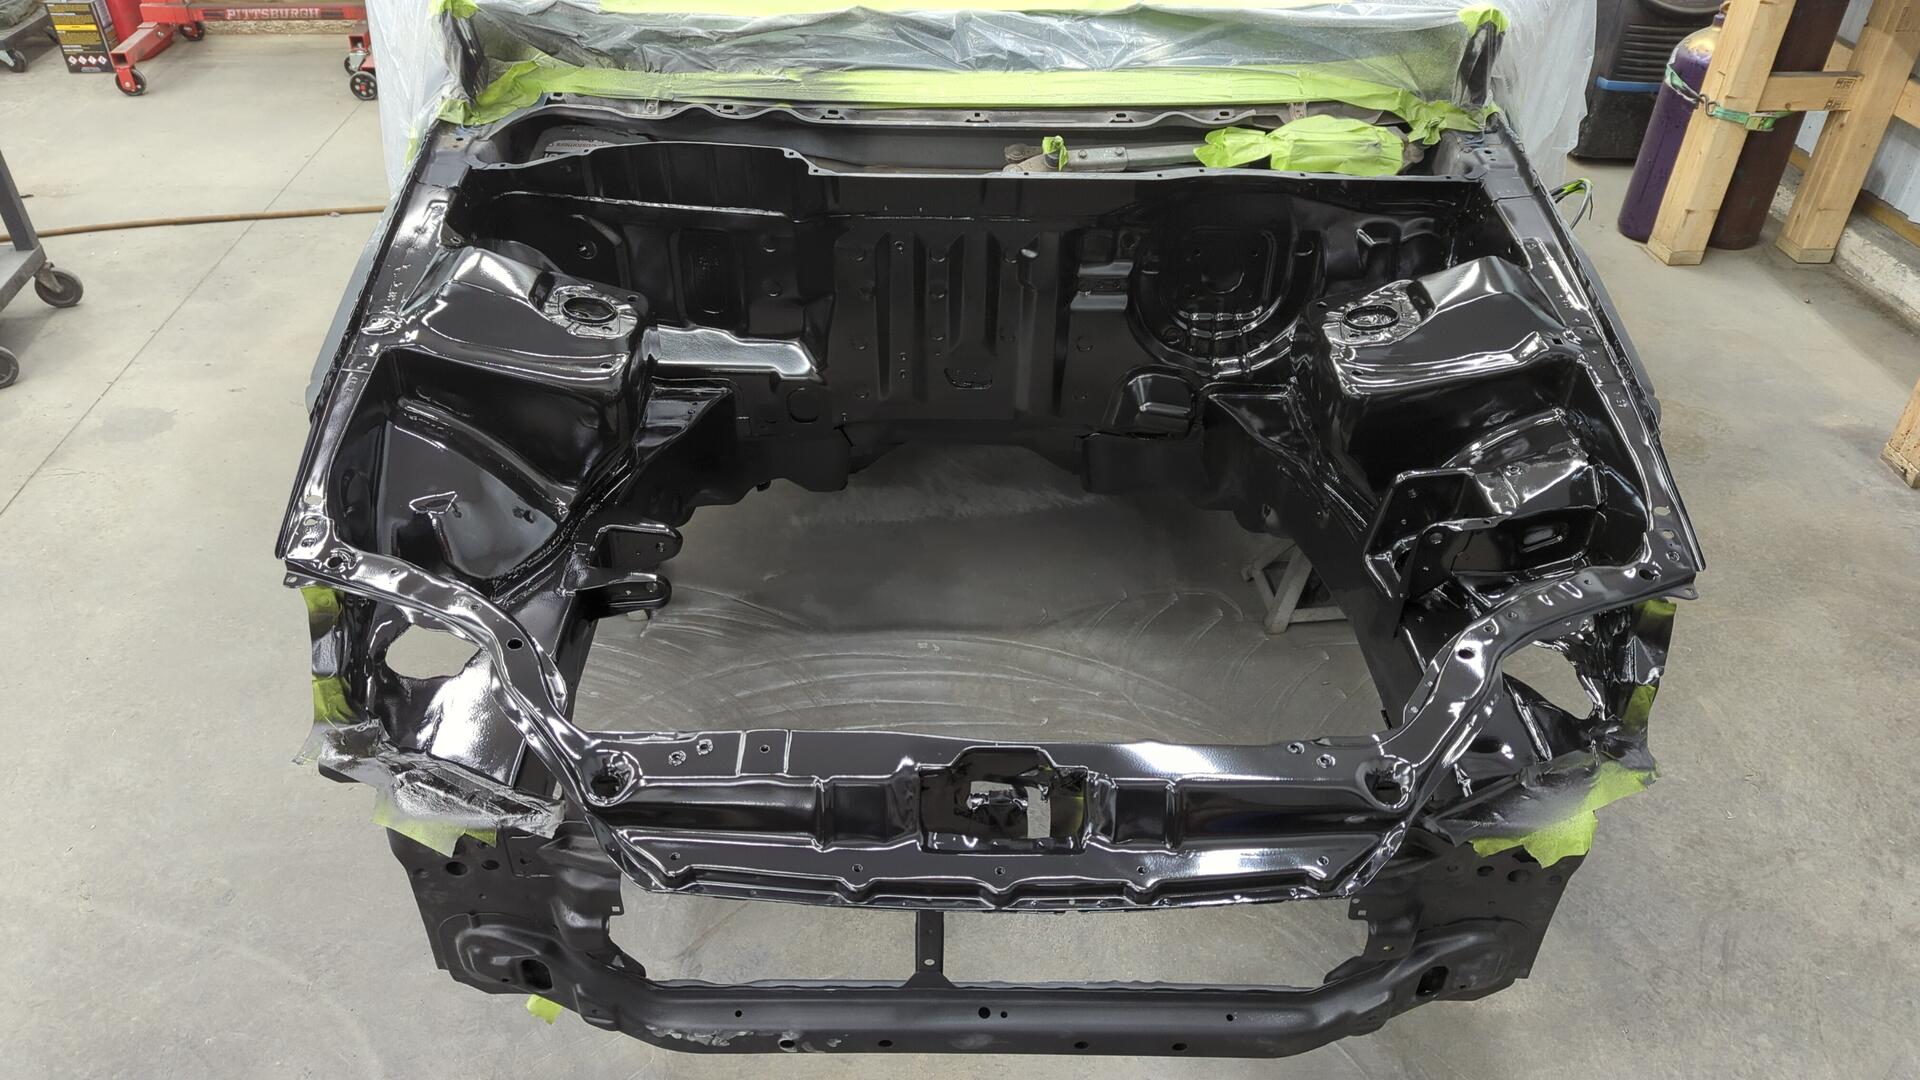
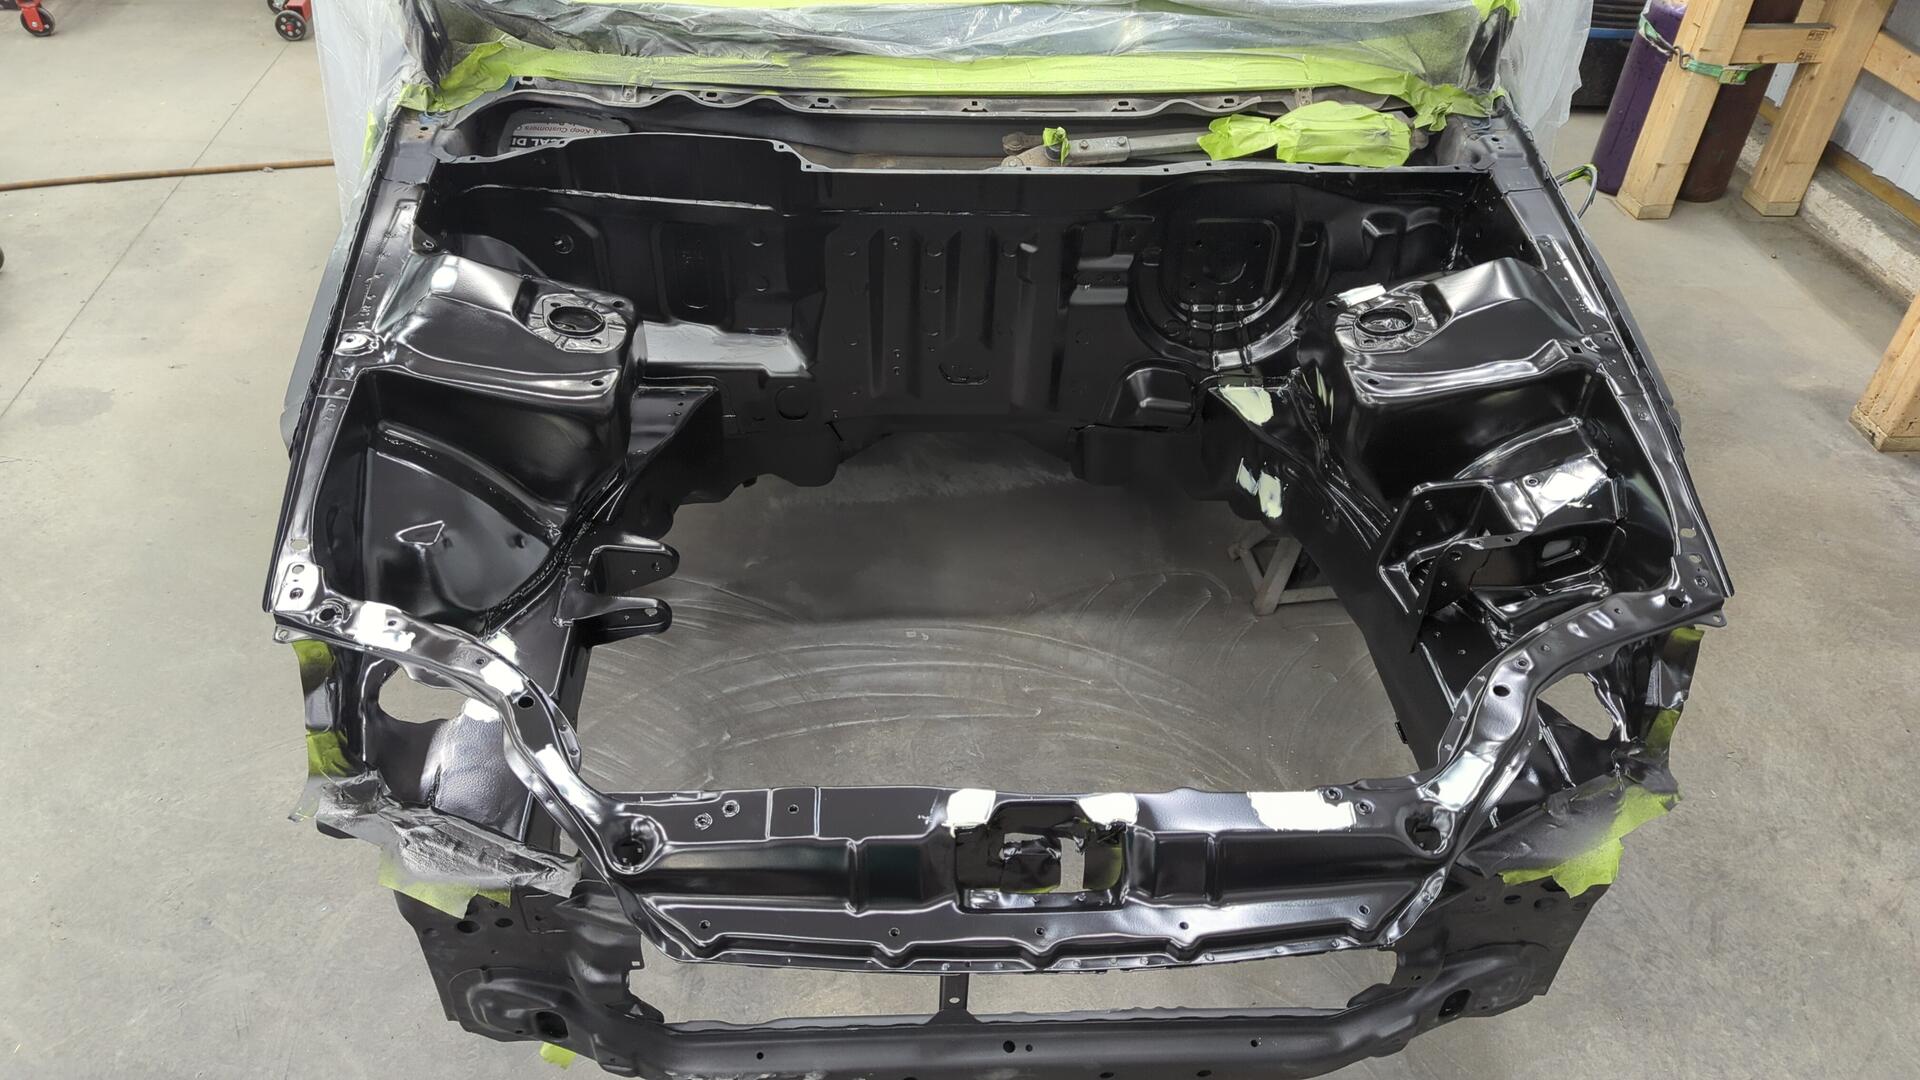
Then I sprayed two more reduced coats of epoxy for sealer.
So much better!
I couldn’t find any scratch marks anywhere.
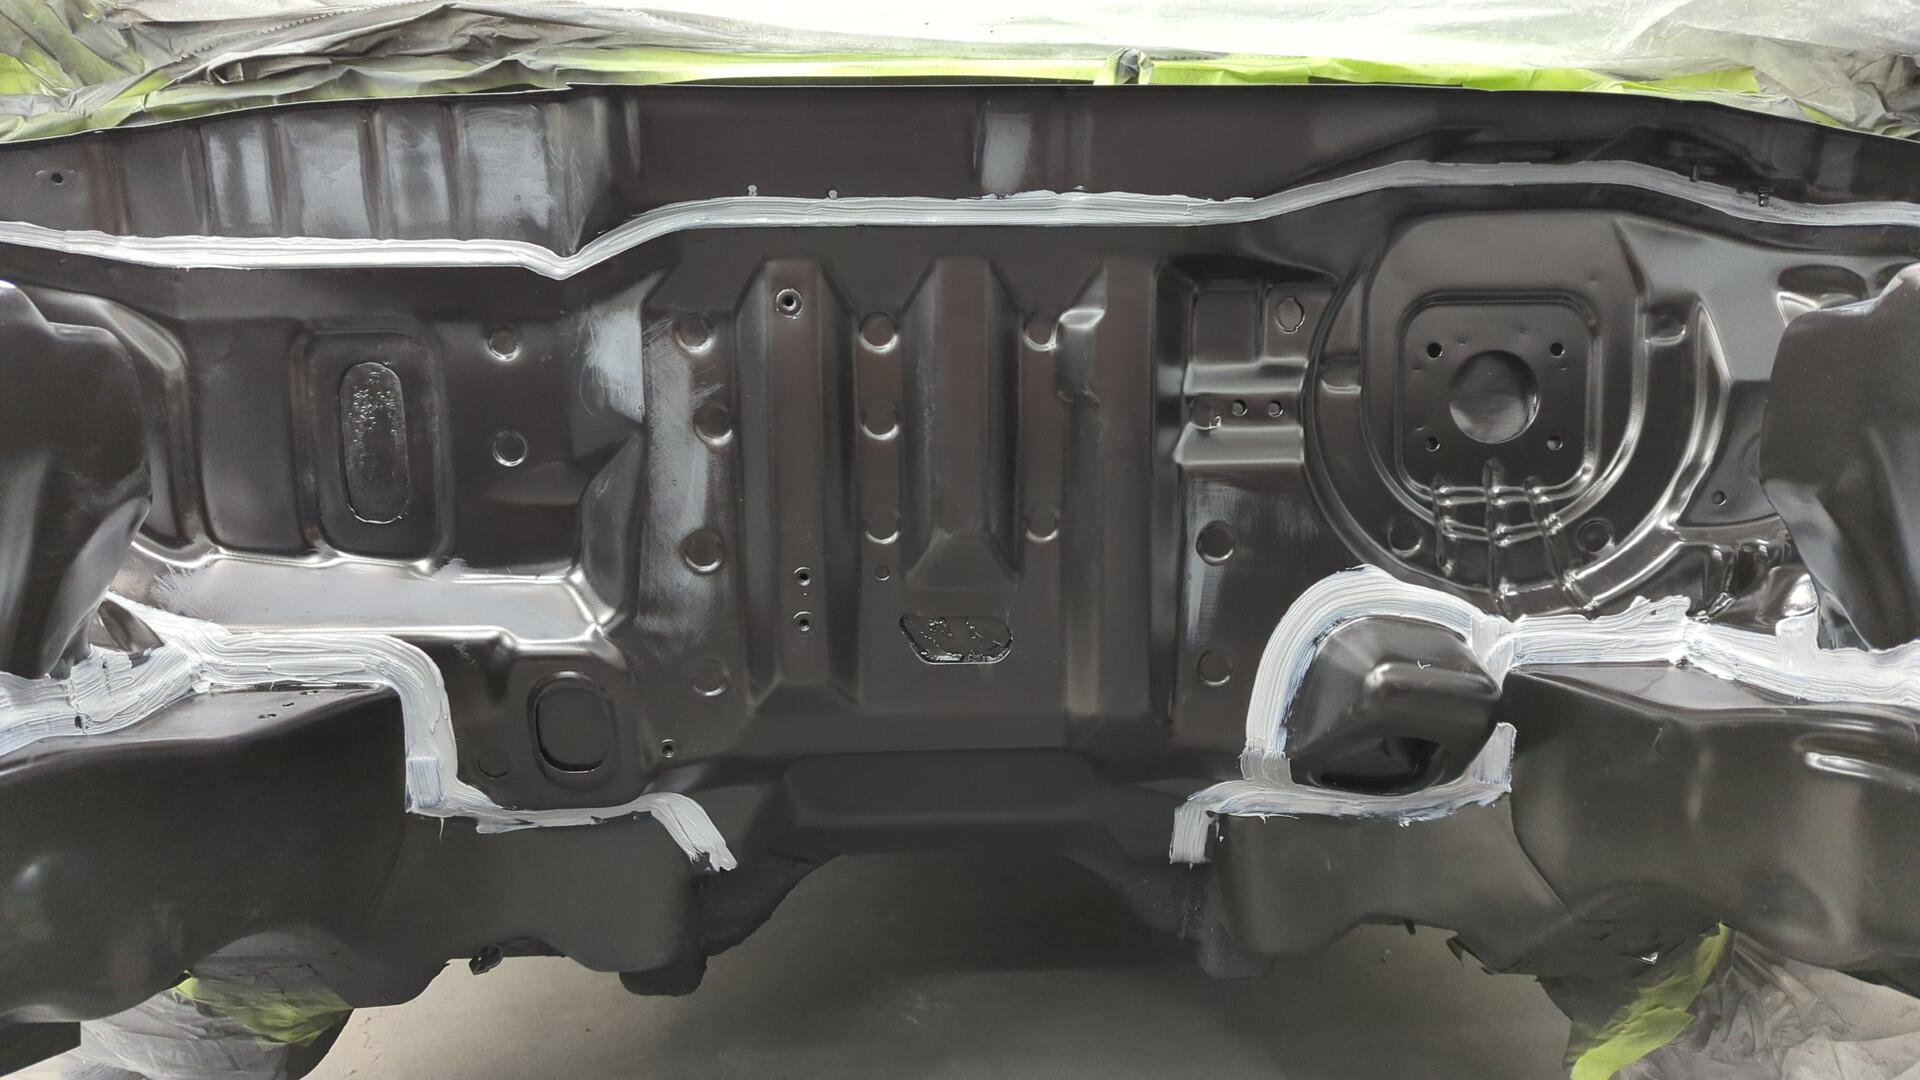
Seam Sealing
For seam sealer I used SEM 40177 (it’s a two part sealer that requires one of those special guns). I’ve been super hesitant to make the switch from 1 part to 2 part seam sealer for a long time due to the price of the gun but now that I’ve tried it I’ll never go back.
Two part seam sealer cures soo much faster and dries more solid. All of the 1k seam sealer I’ve used has felt a bit spongy once cured whereas this stuff feels nice and solid.
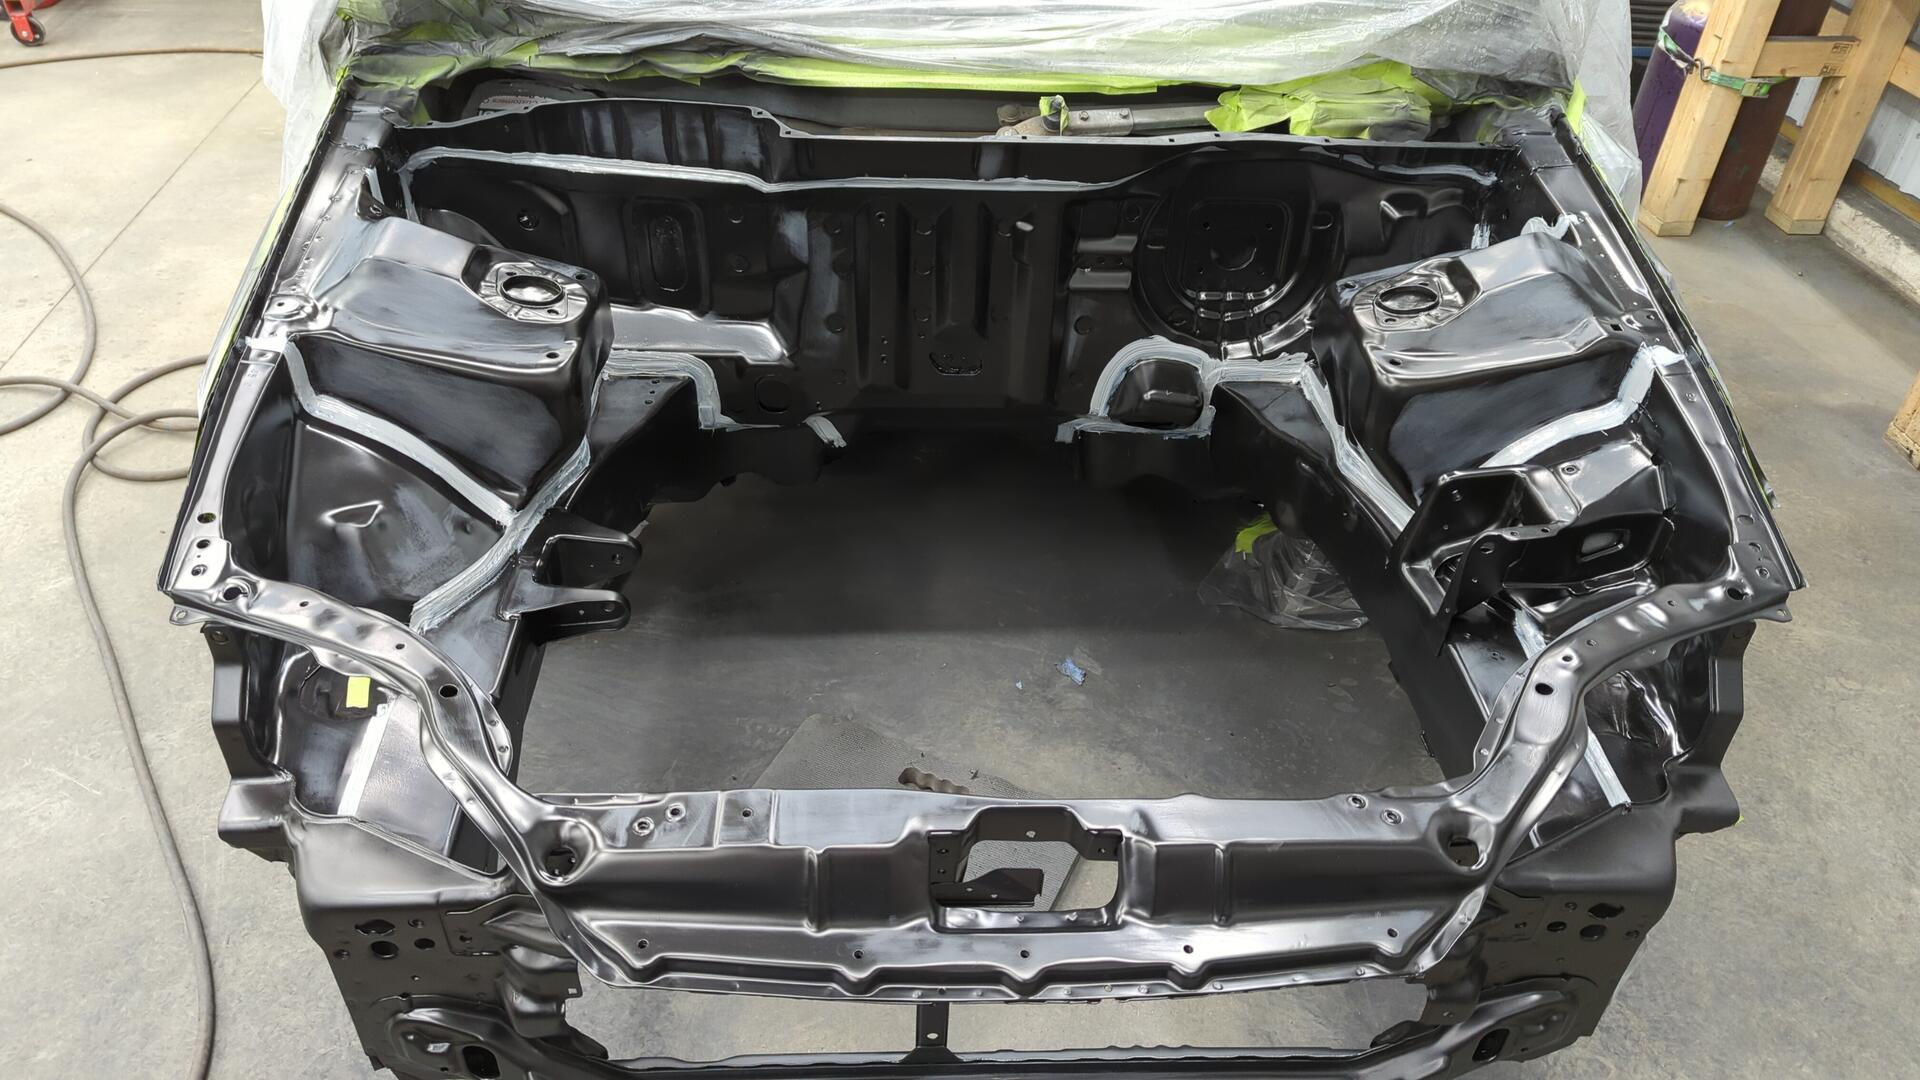
I used a bunch of 1" paint brushes to smooth out and texture the sealer.
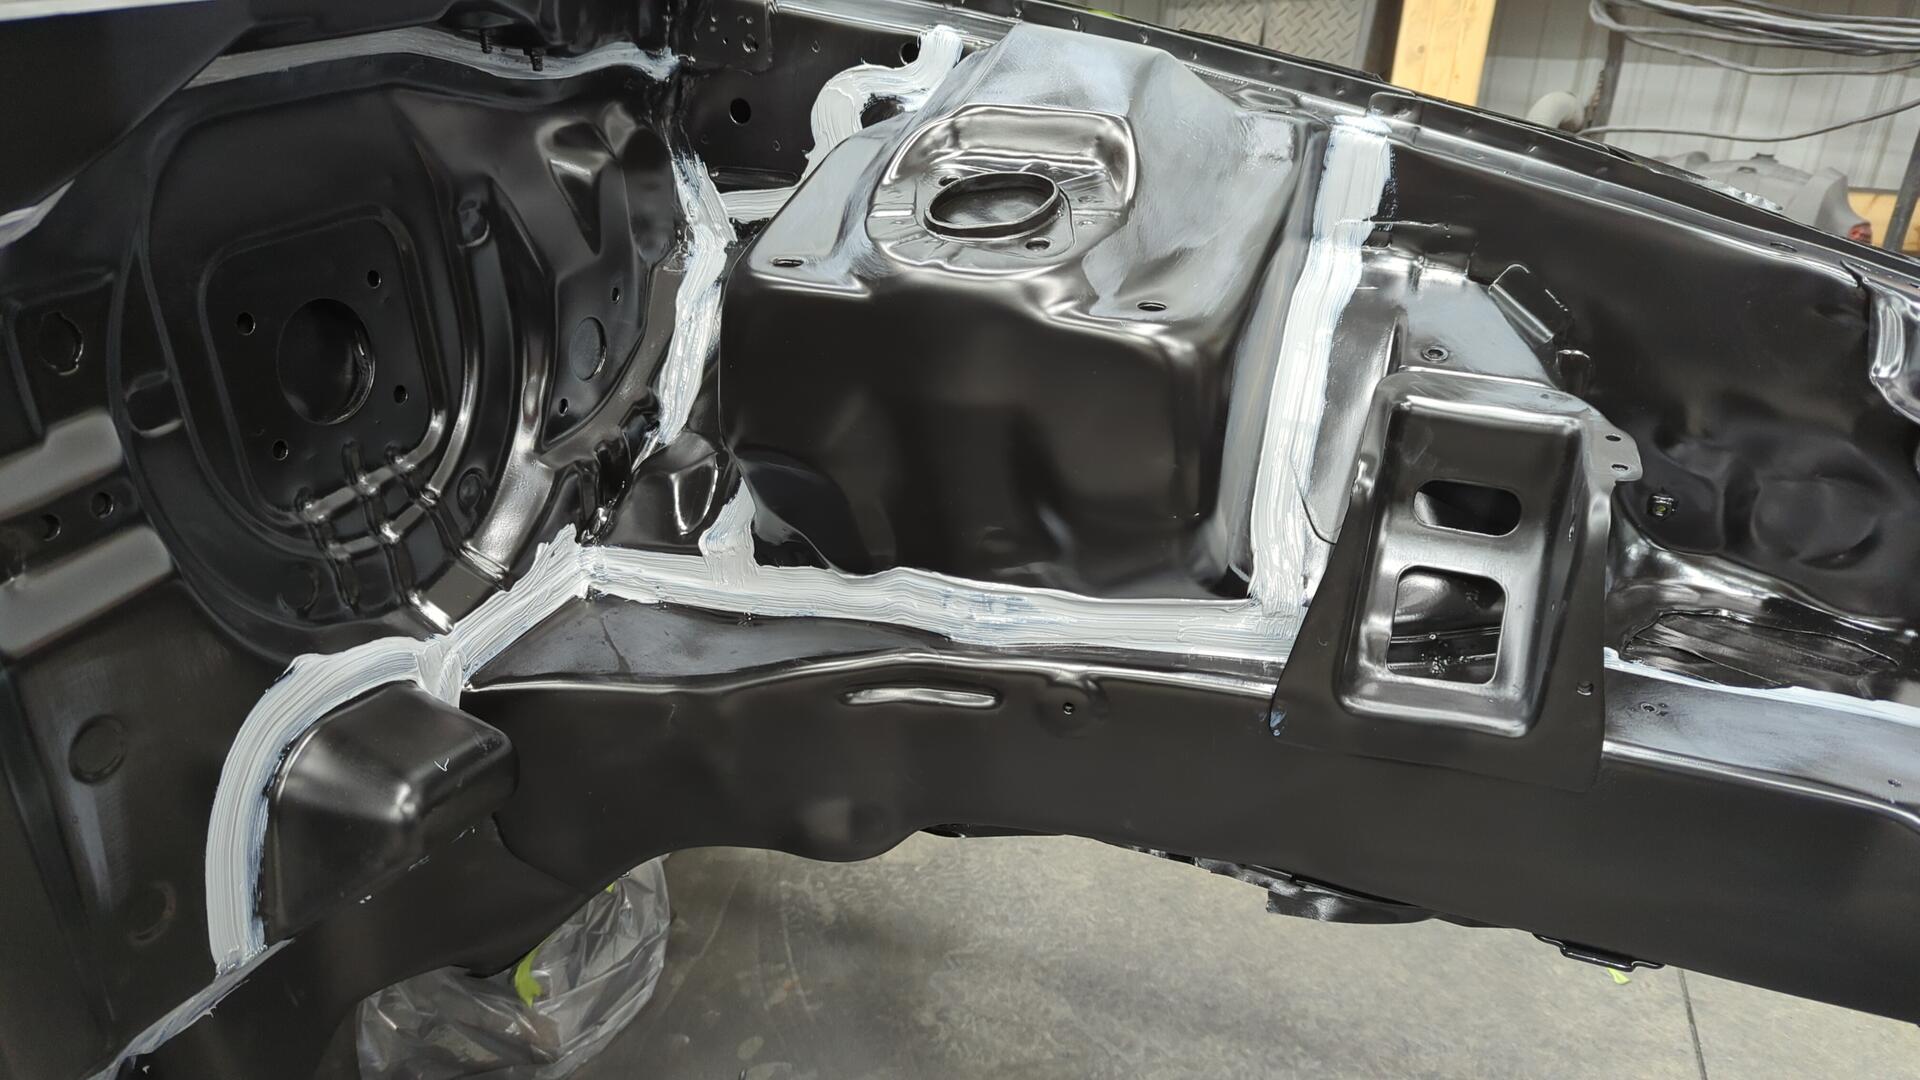

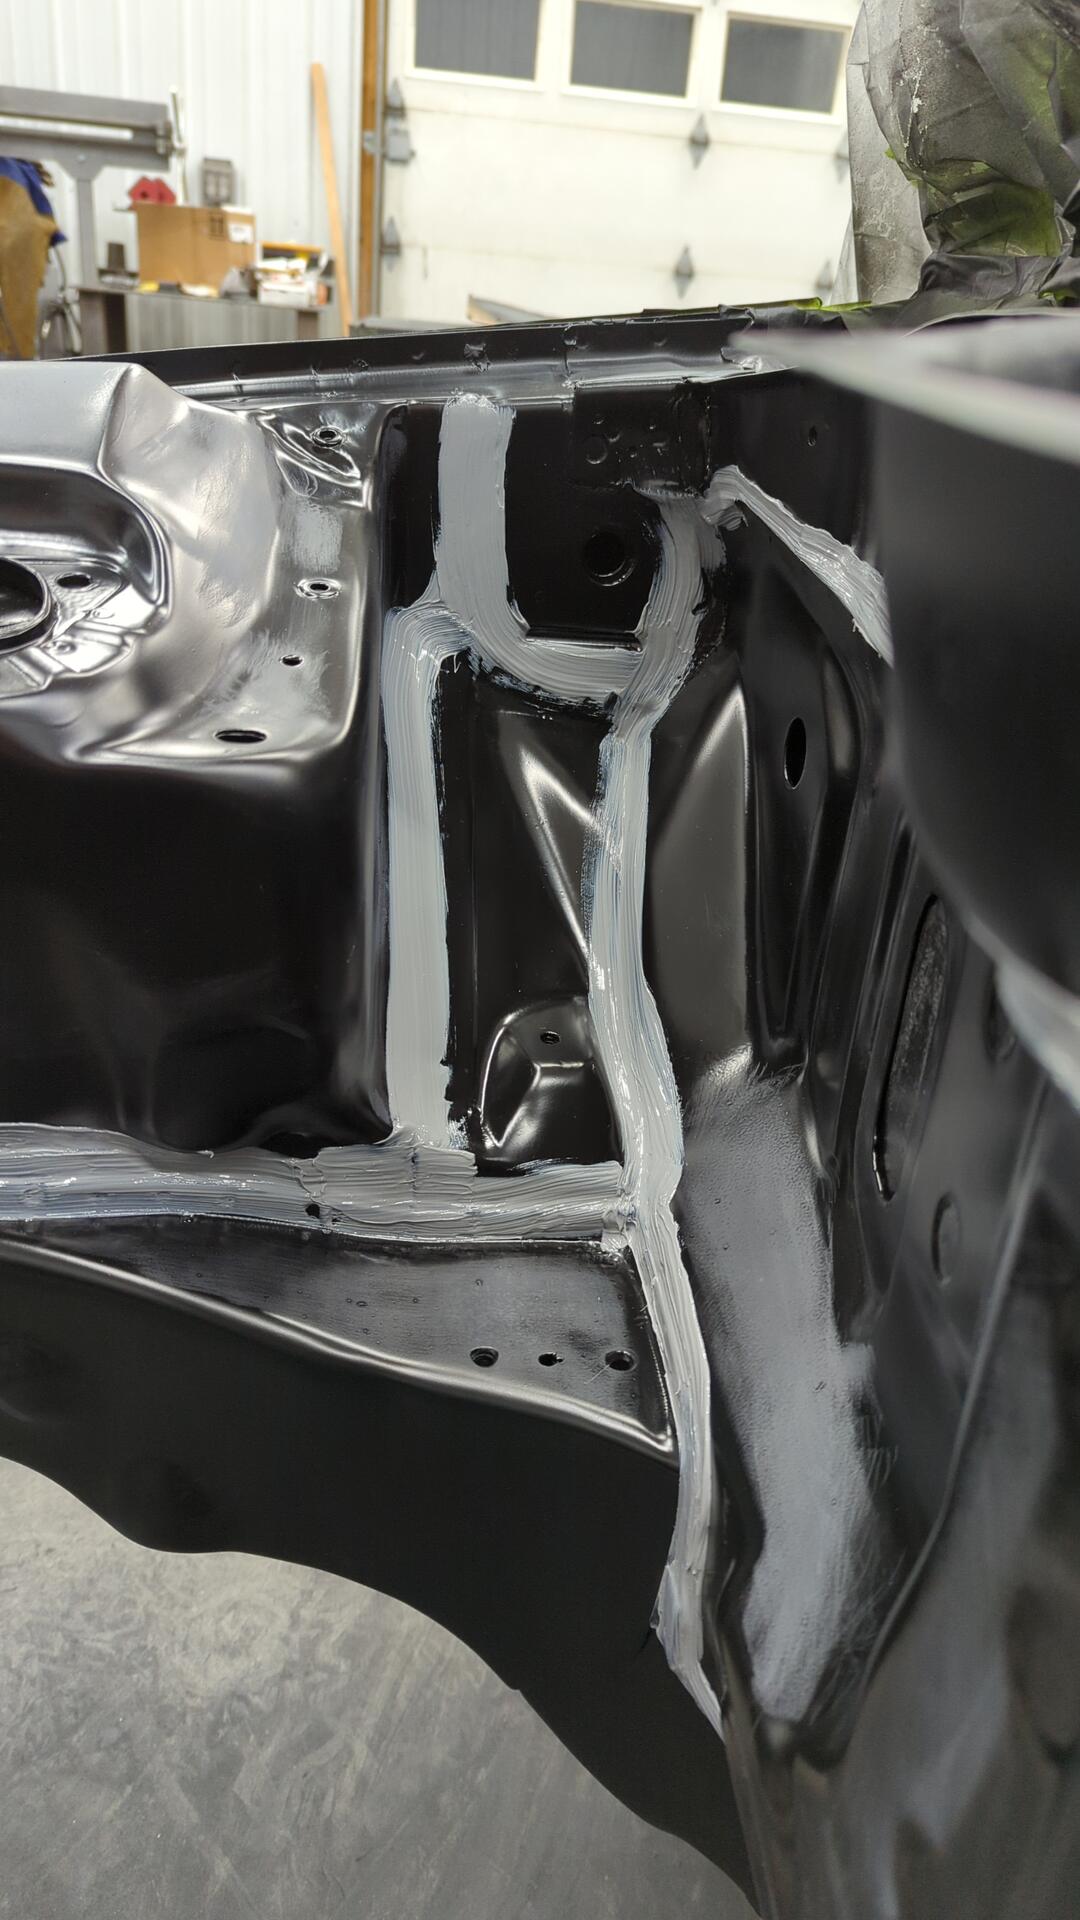
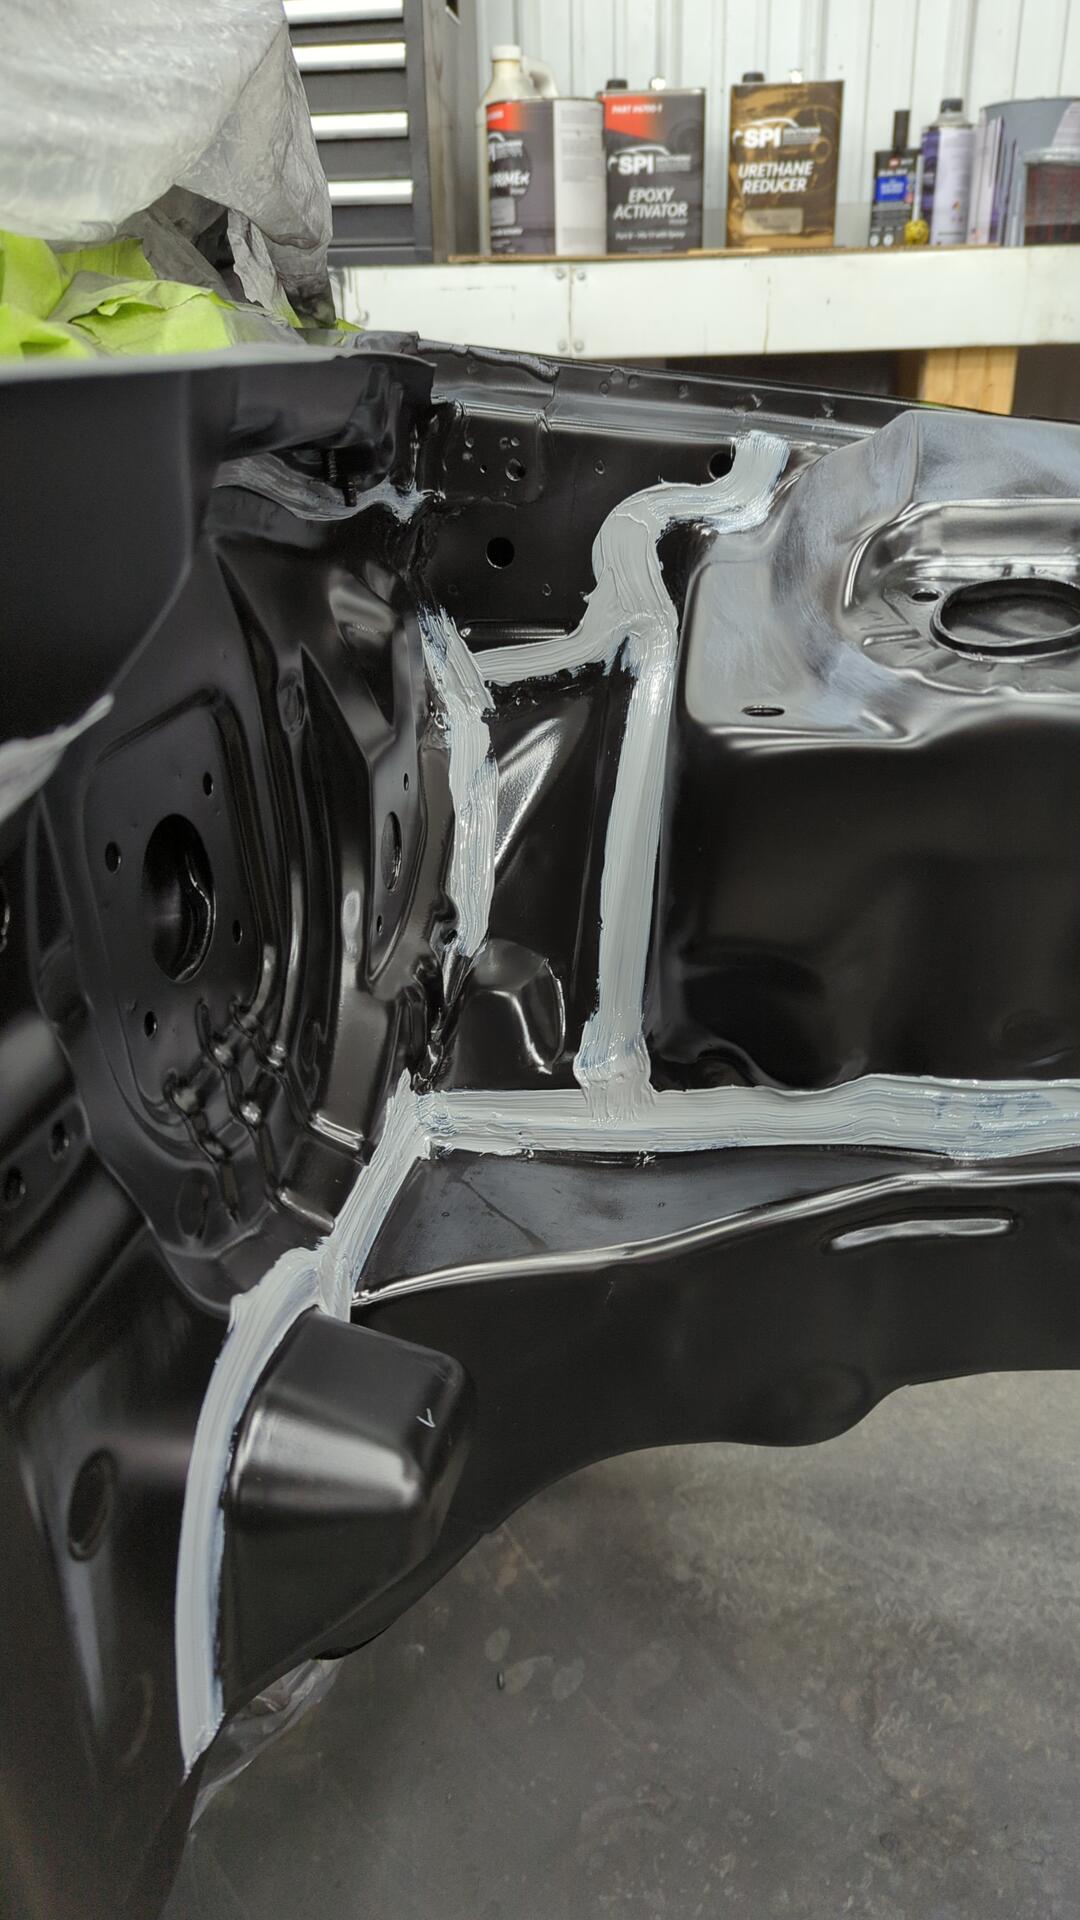
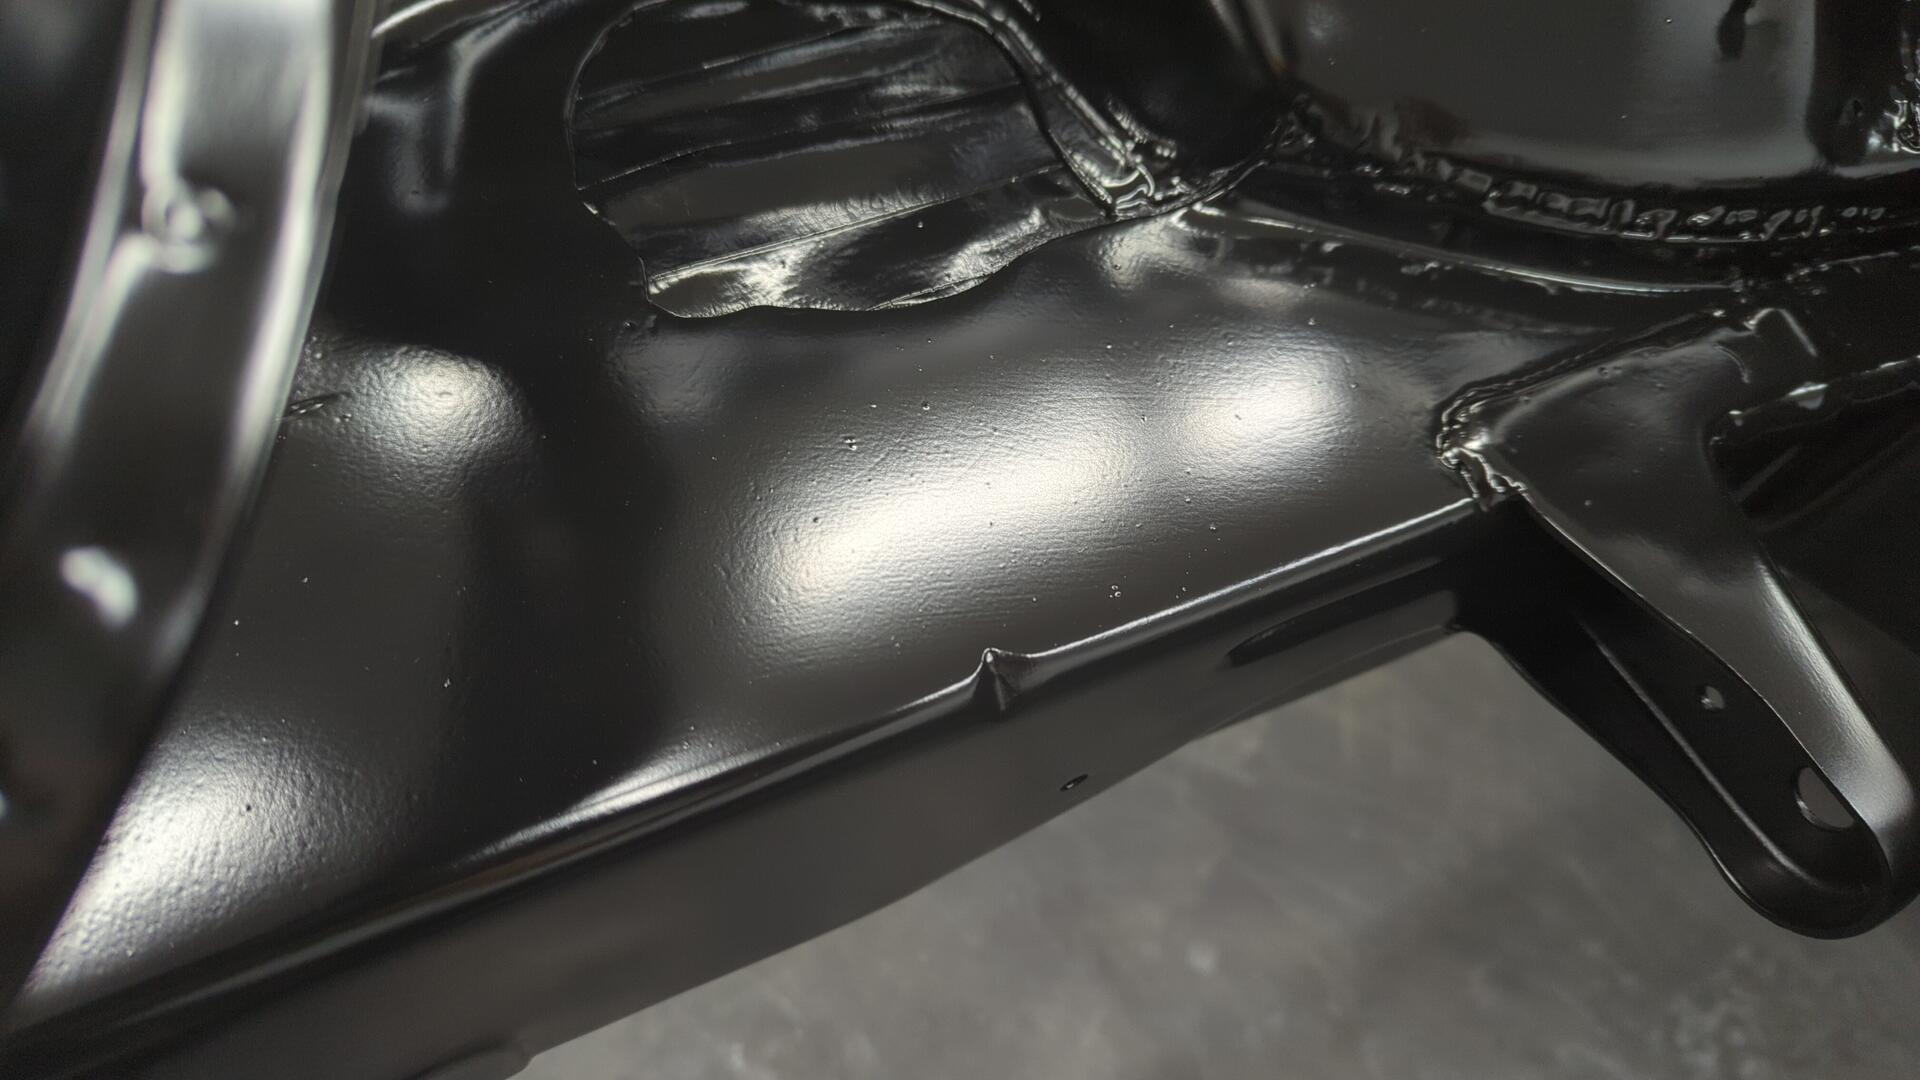
Seam sealing the long seam on the fire wall was a little tricky.
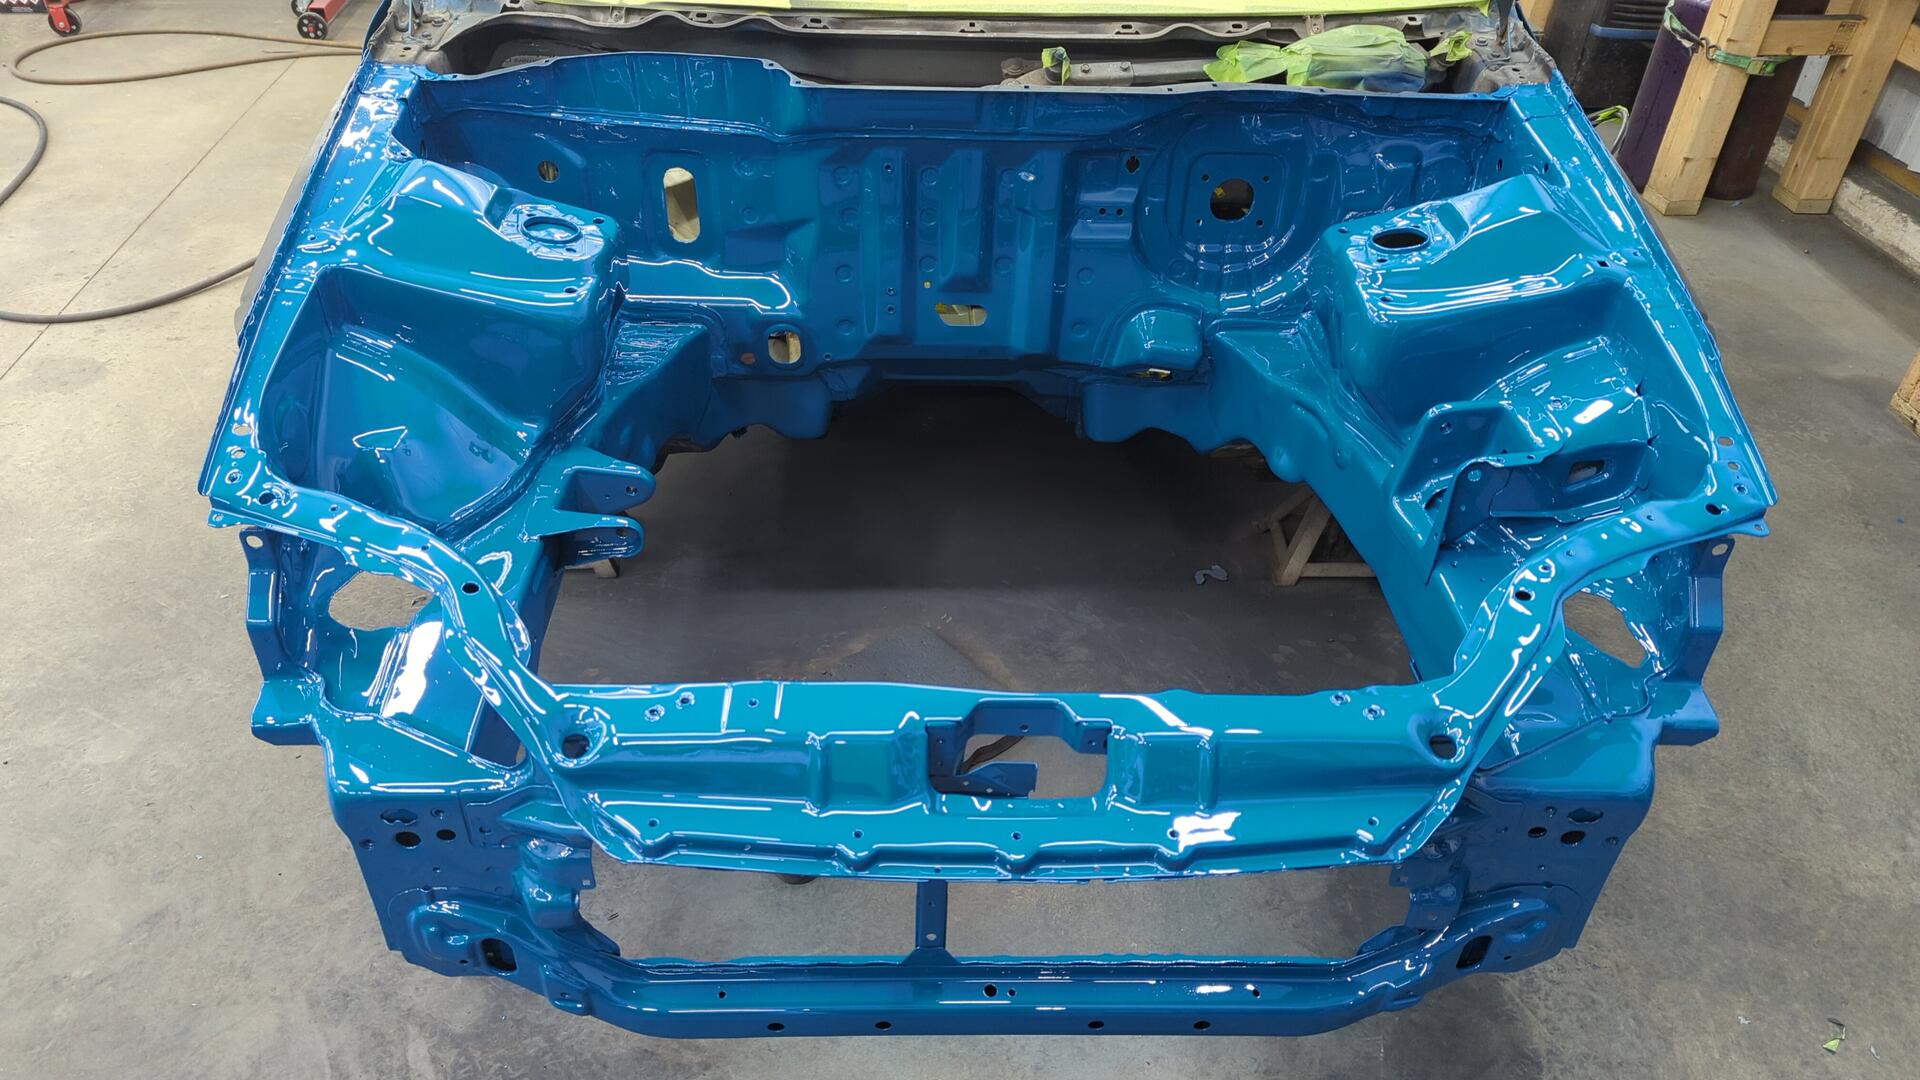
My First Time With Single Stage
With everything else taken care of I had nothing left to do but spray my color.
I probably could have sprayed it fine with the Finishline gun I had, but I went a little crazy and picked up an Iwata LPH400 with an orange cap + 1.4 tip.
The LPH400 is an older design but they’re super popular because they work so damn good and are highly recommended for novices. The only negative feedback I’ve seen on the gun is that they spray slower than average which can be an issue for those working in production.
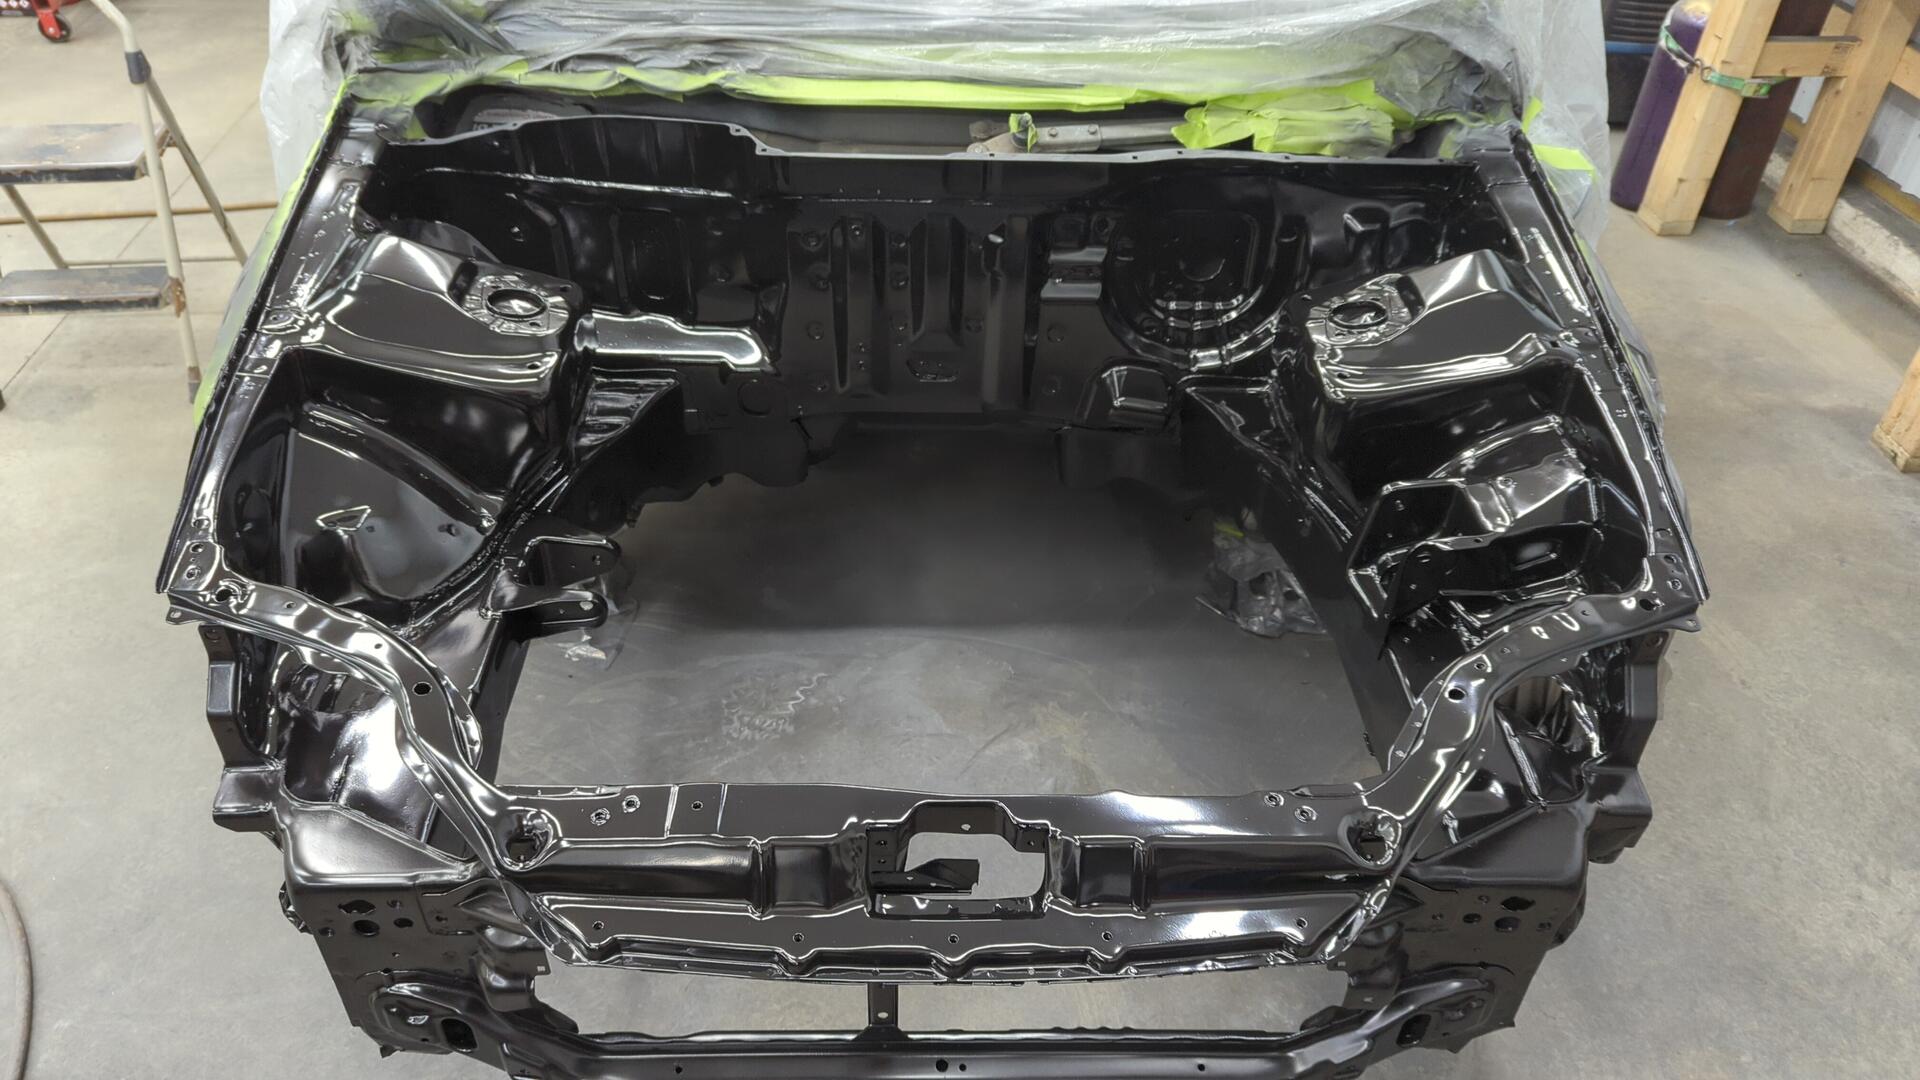
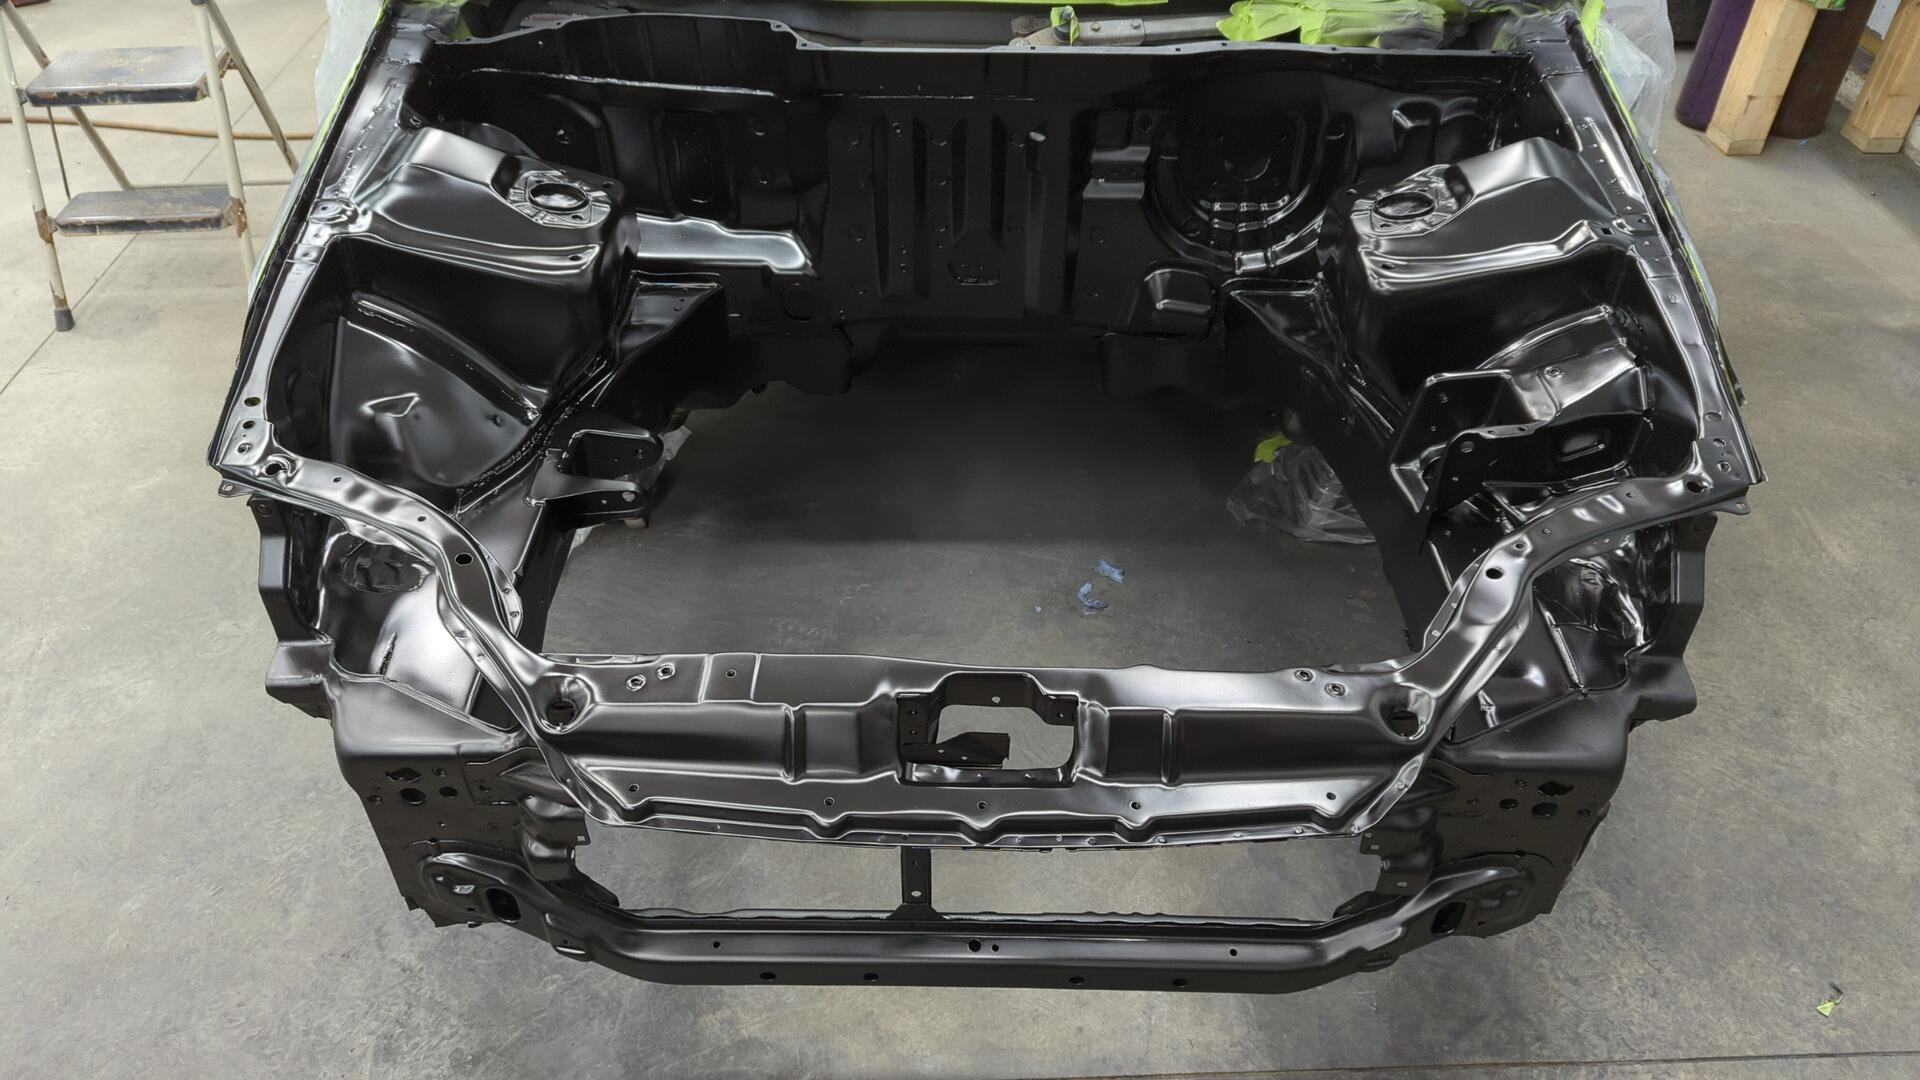
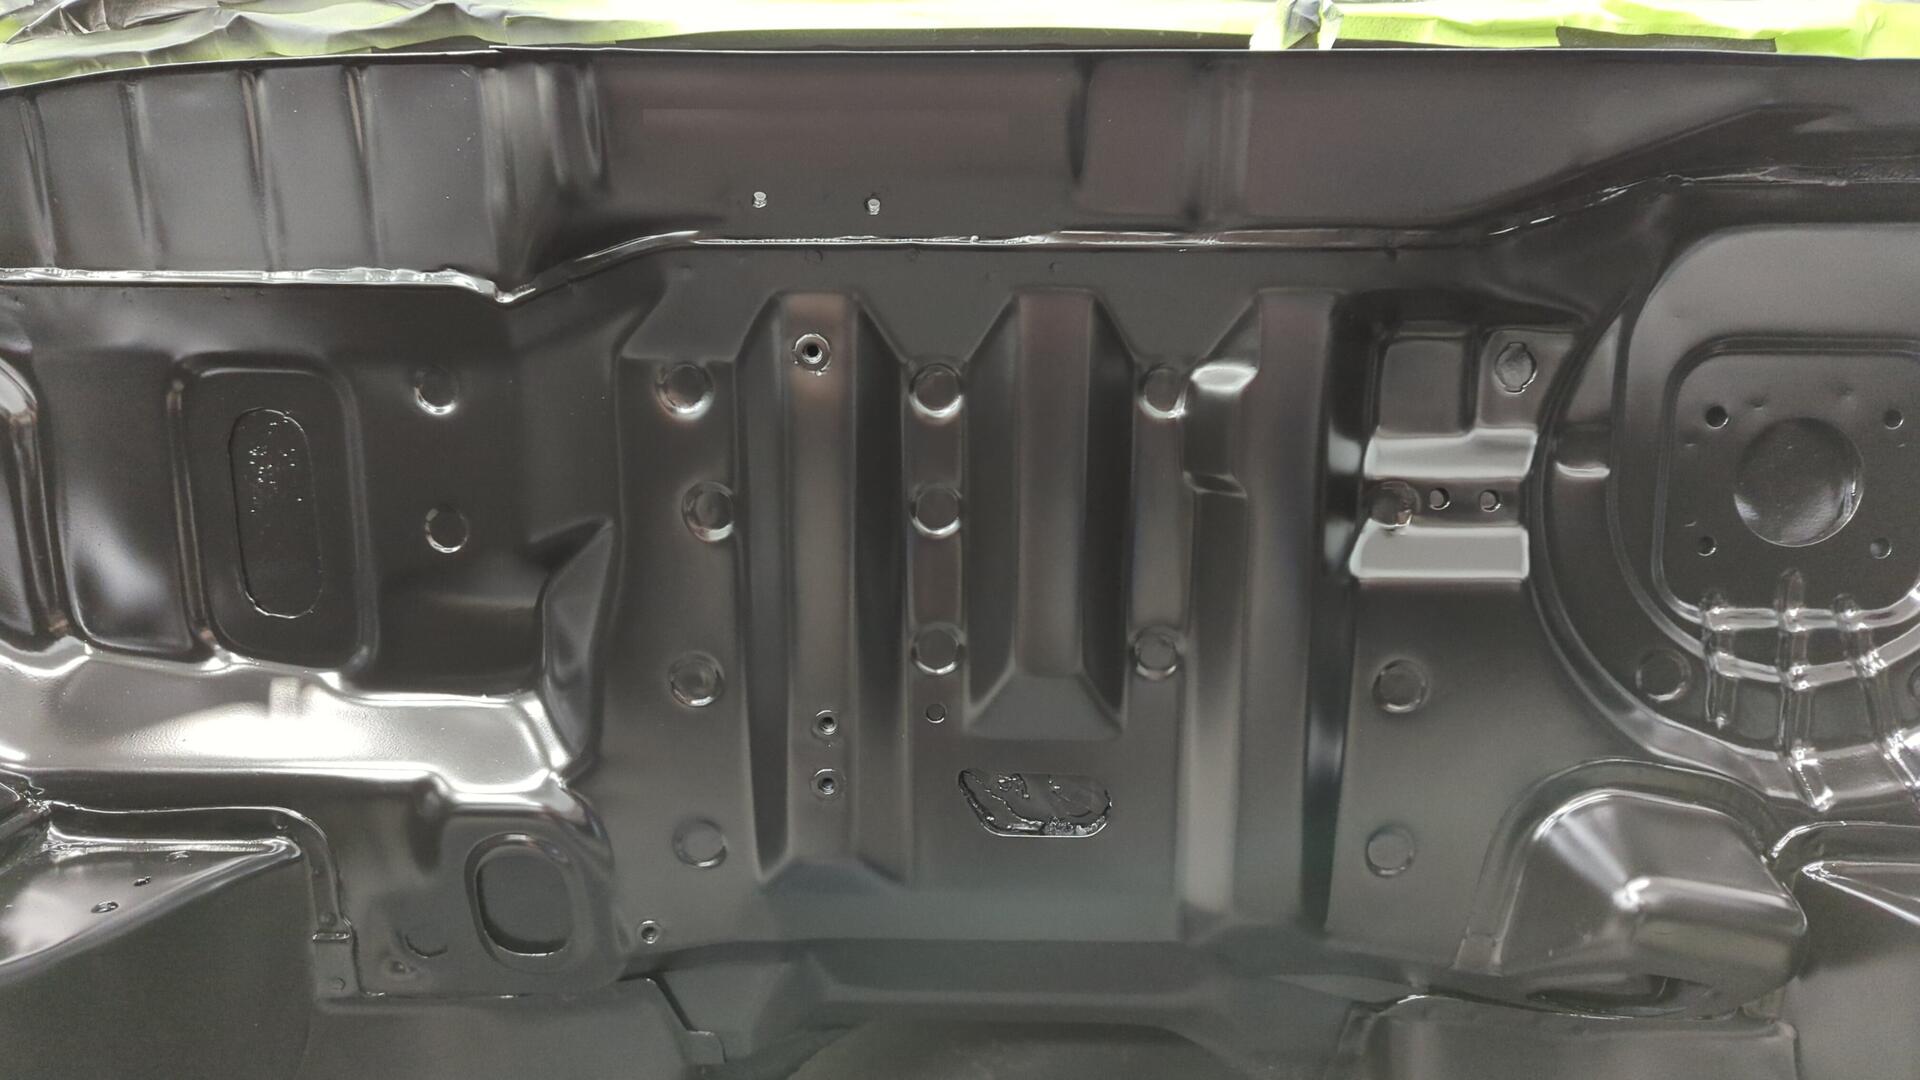
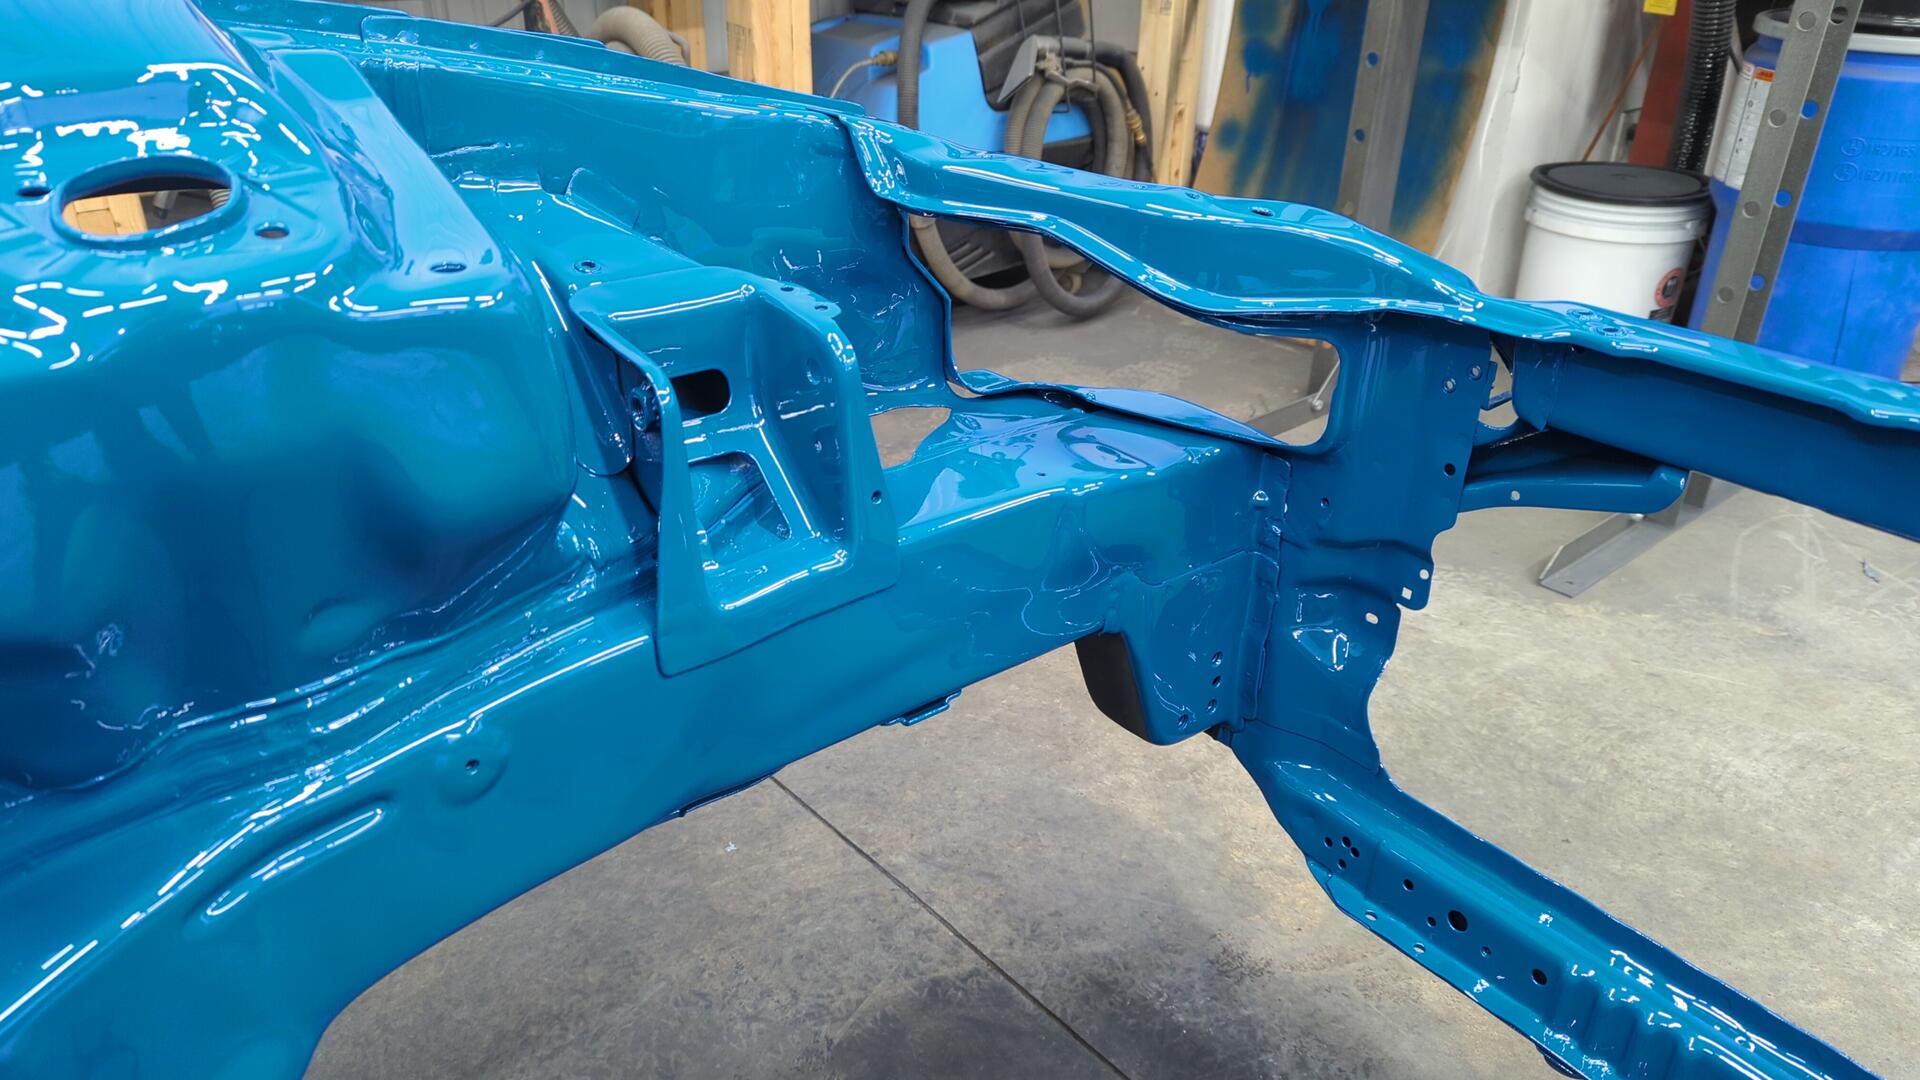
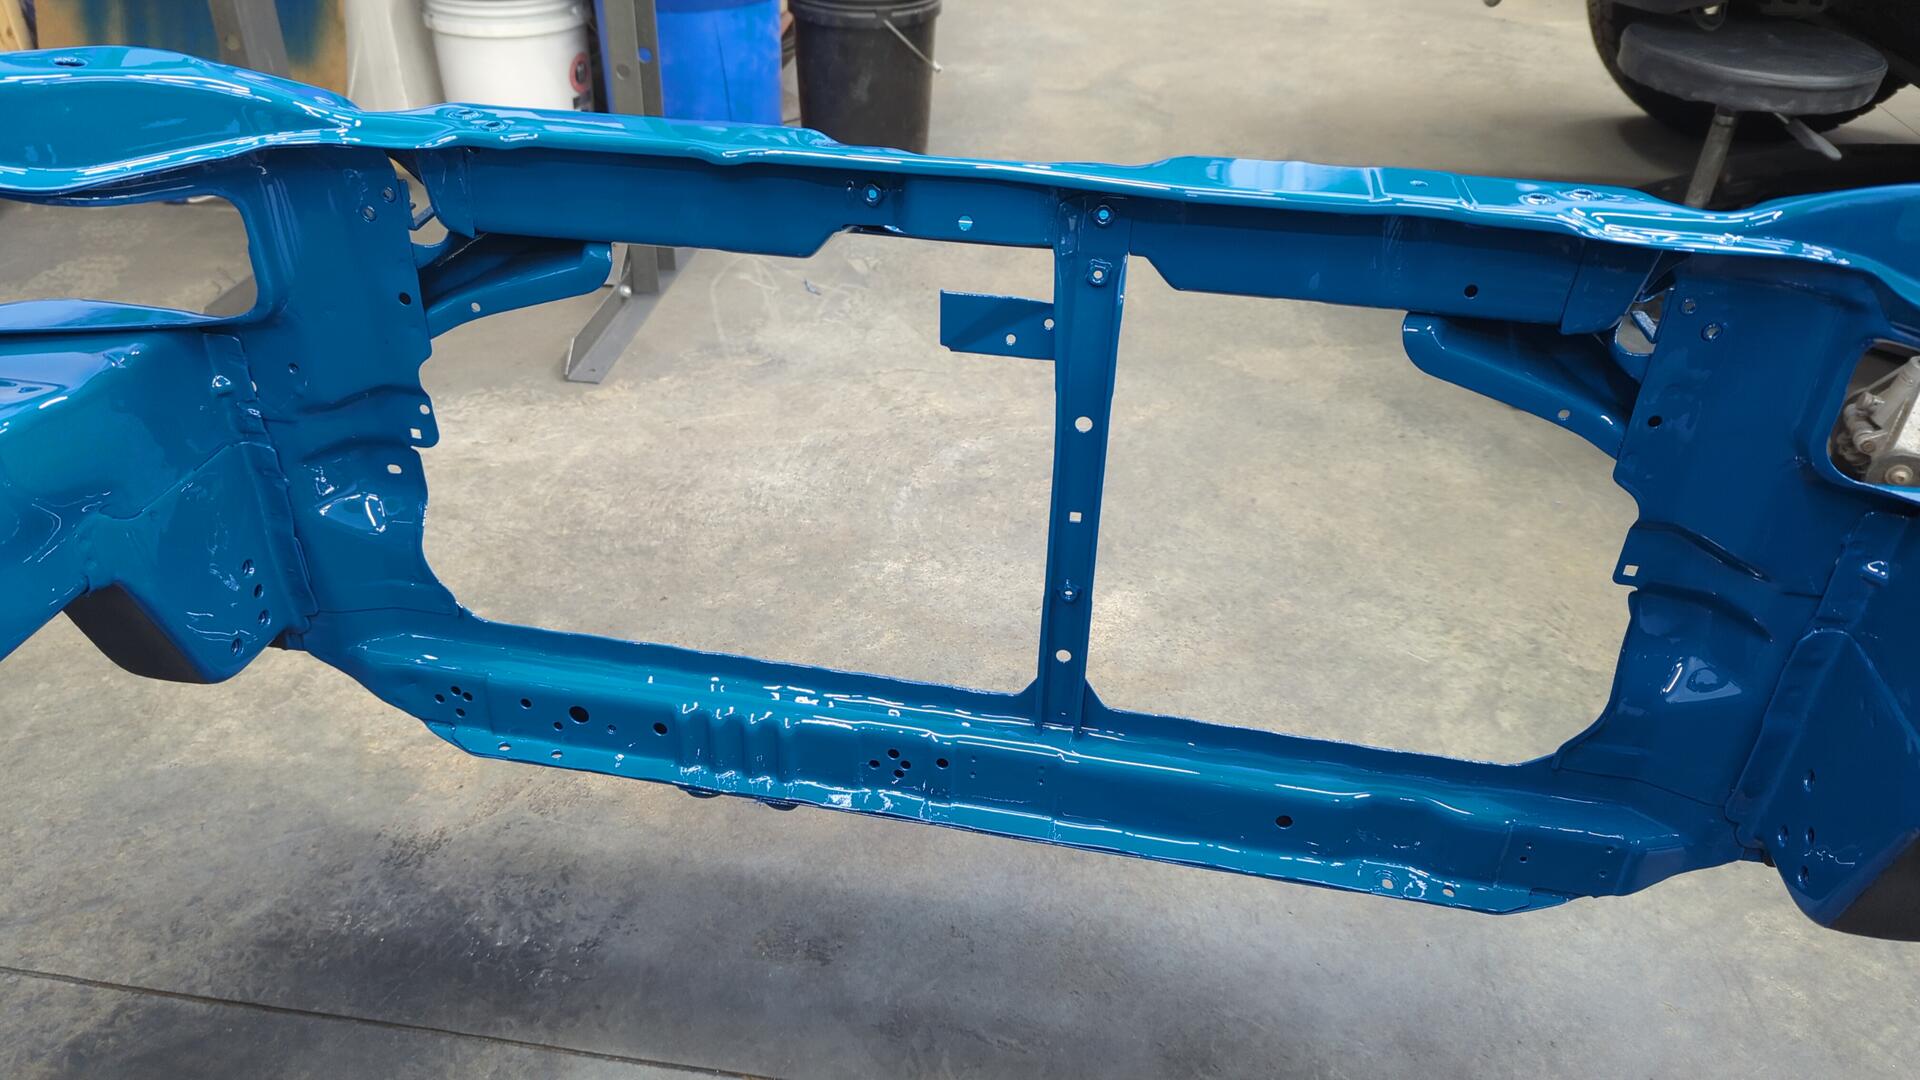
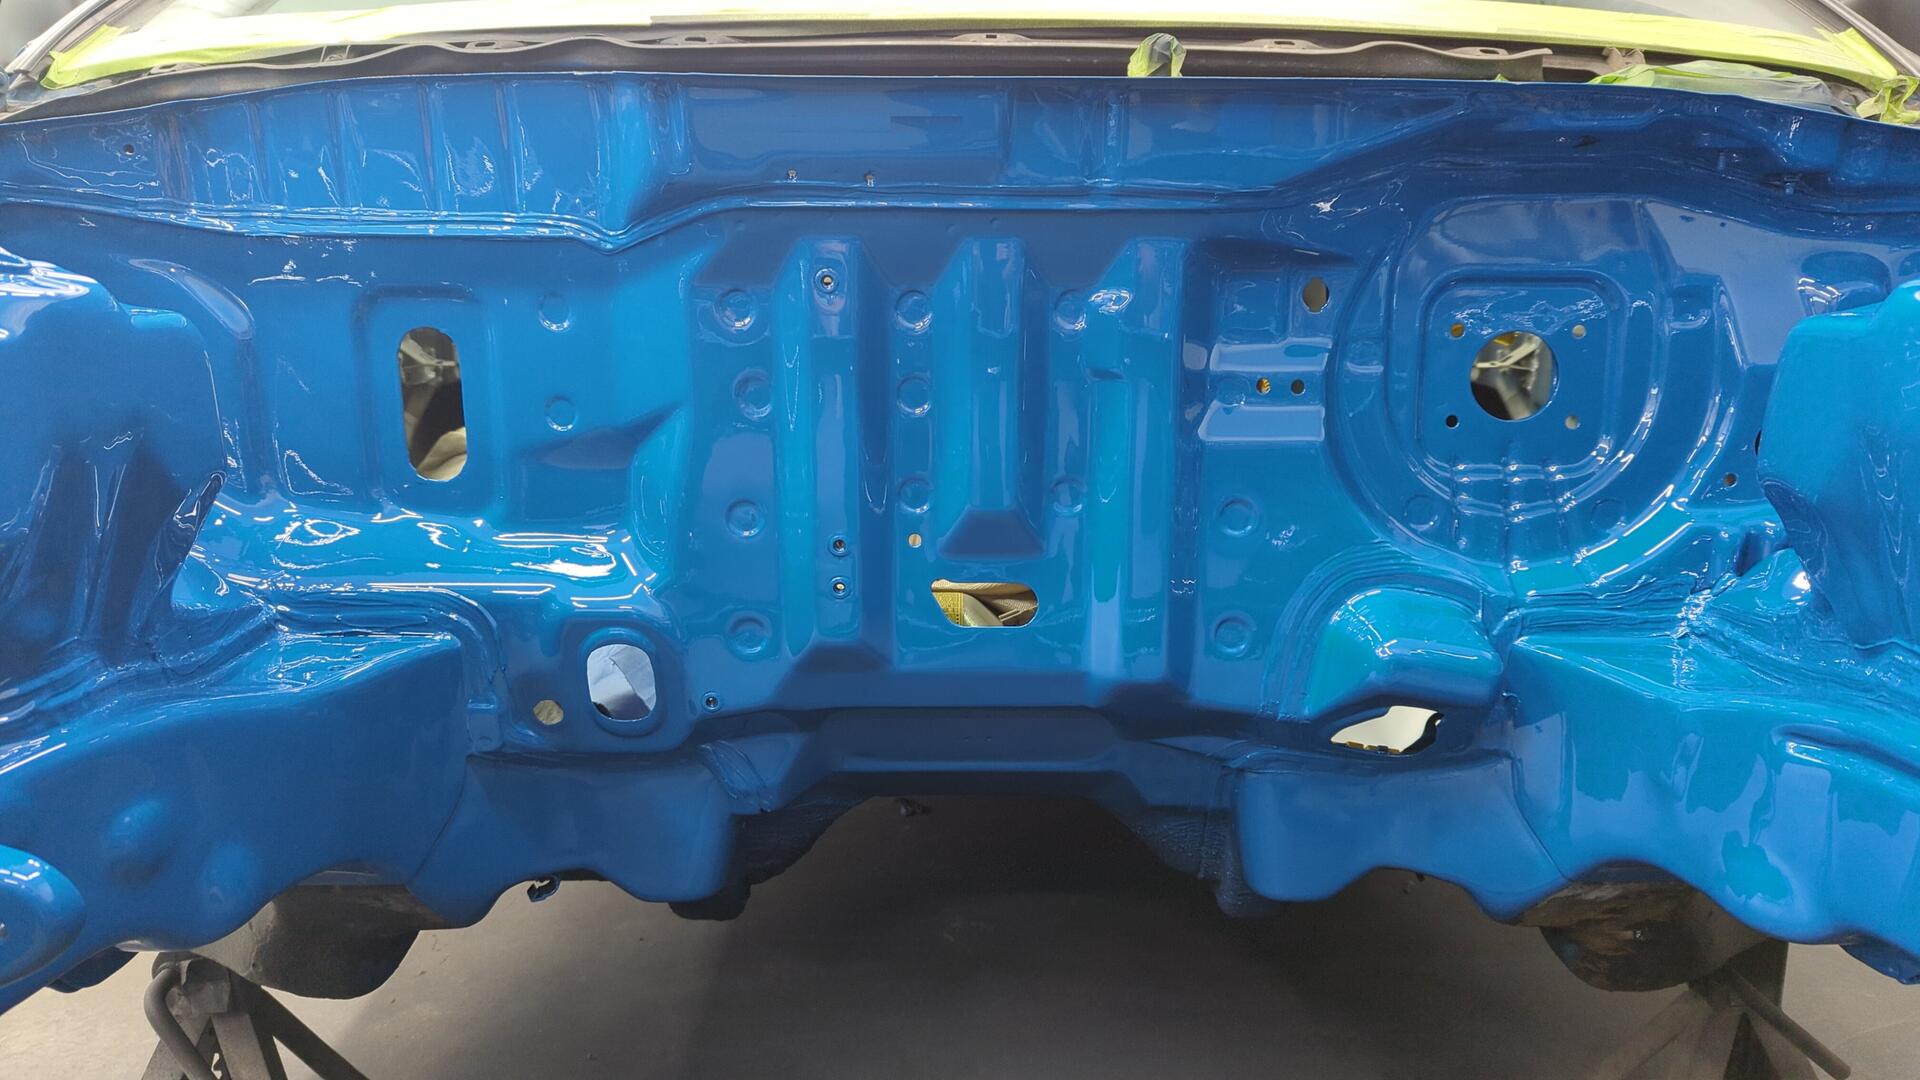
For my needs it was perfect and did great at spraying the color. 3 coats of color and the engine bay looked better than new.
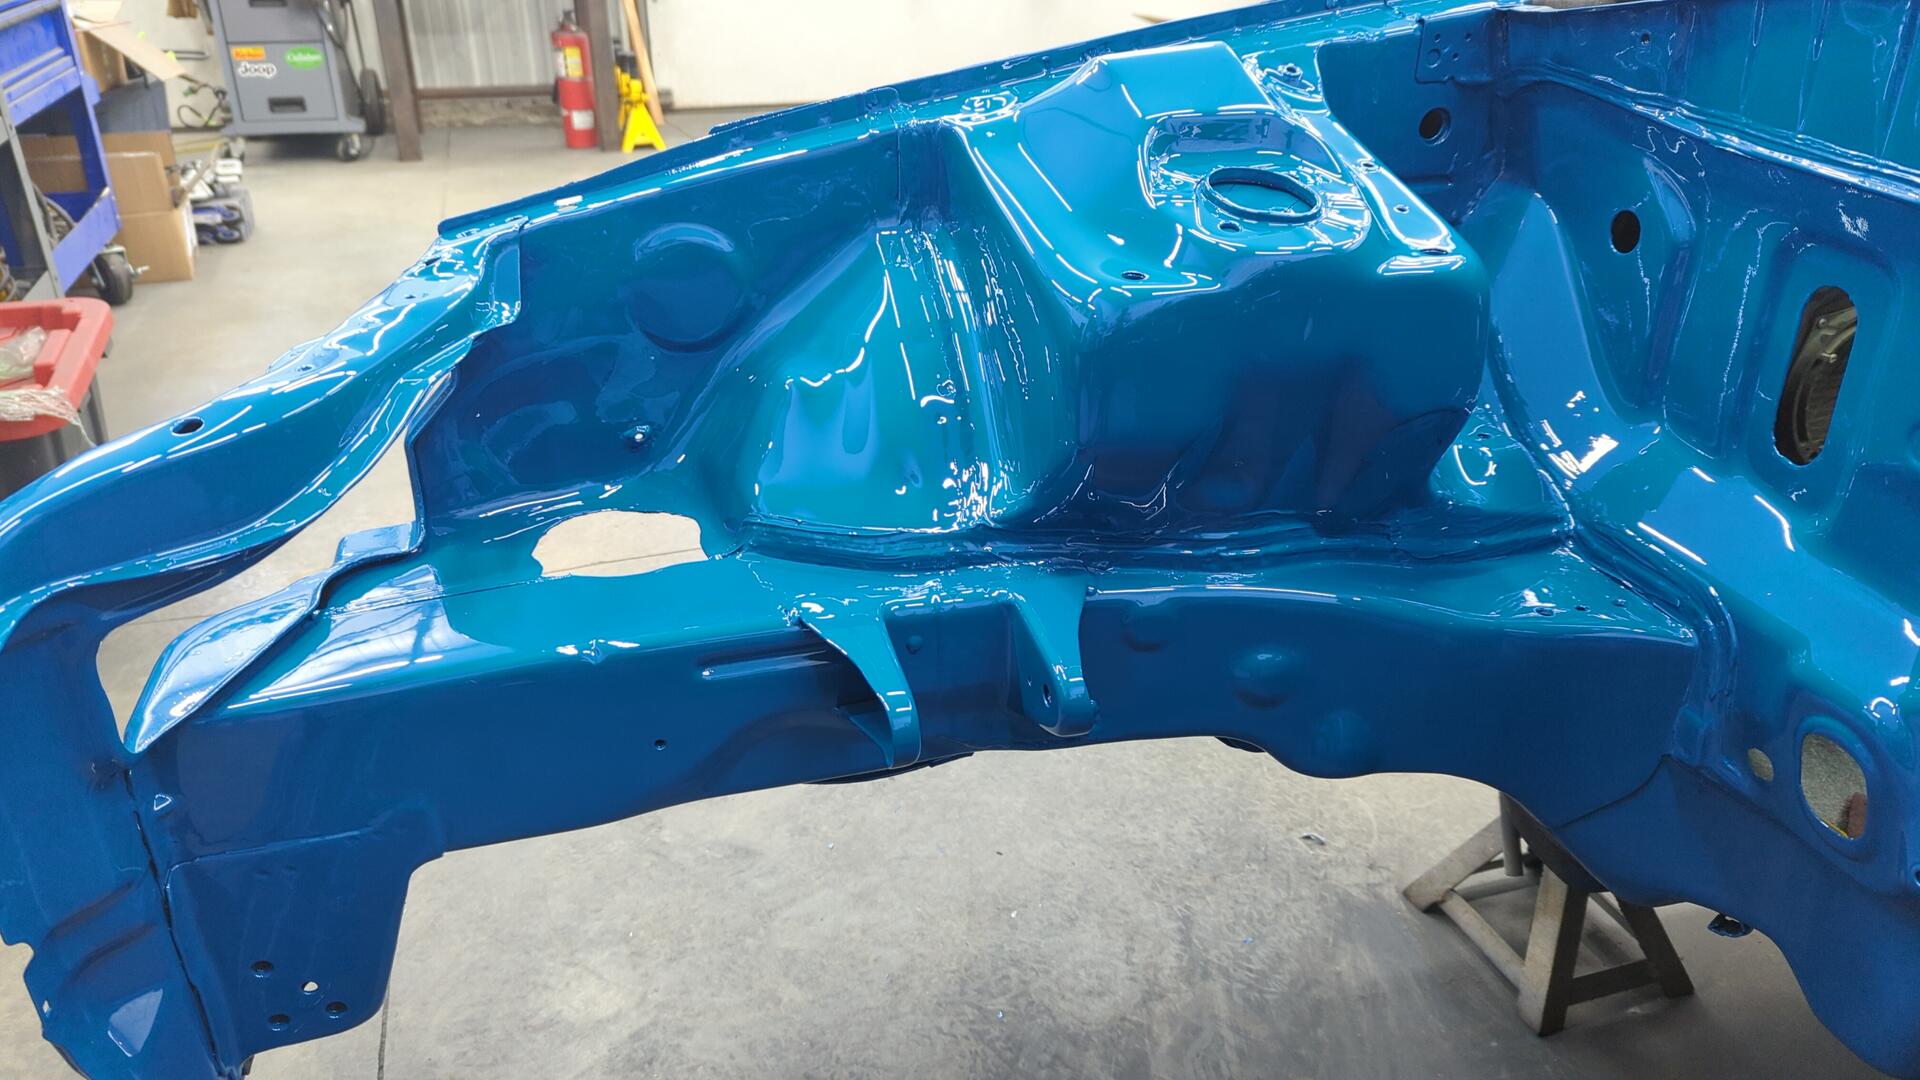
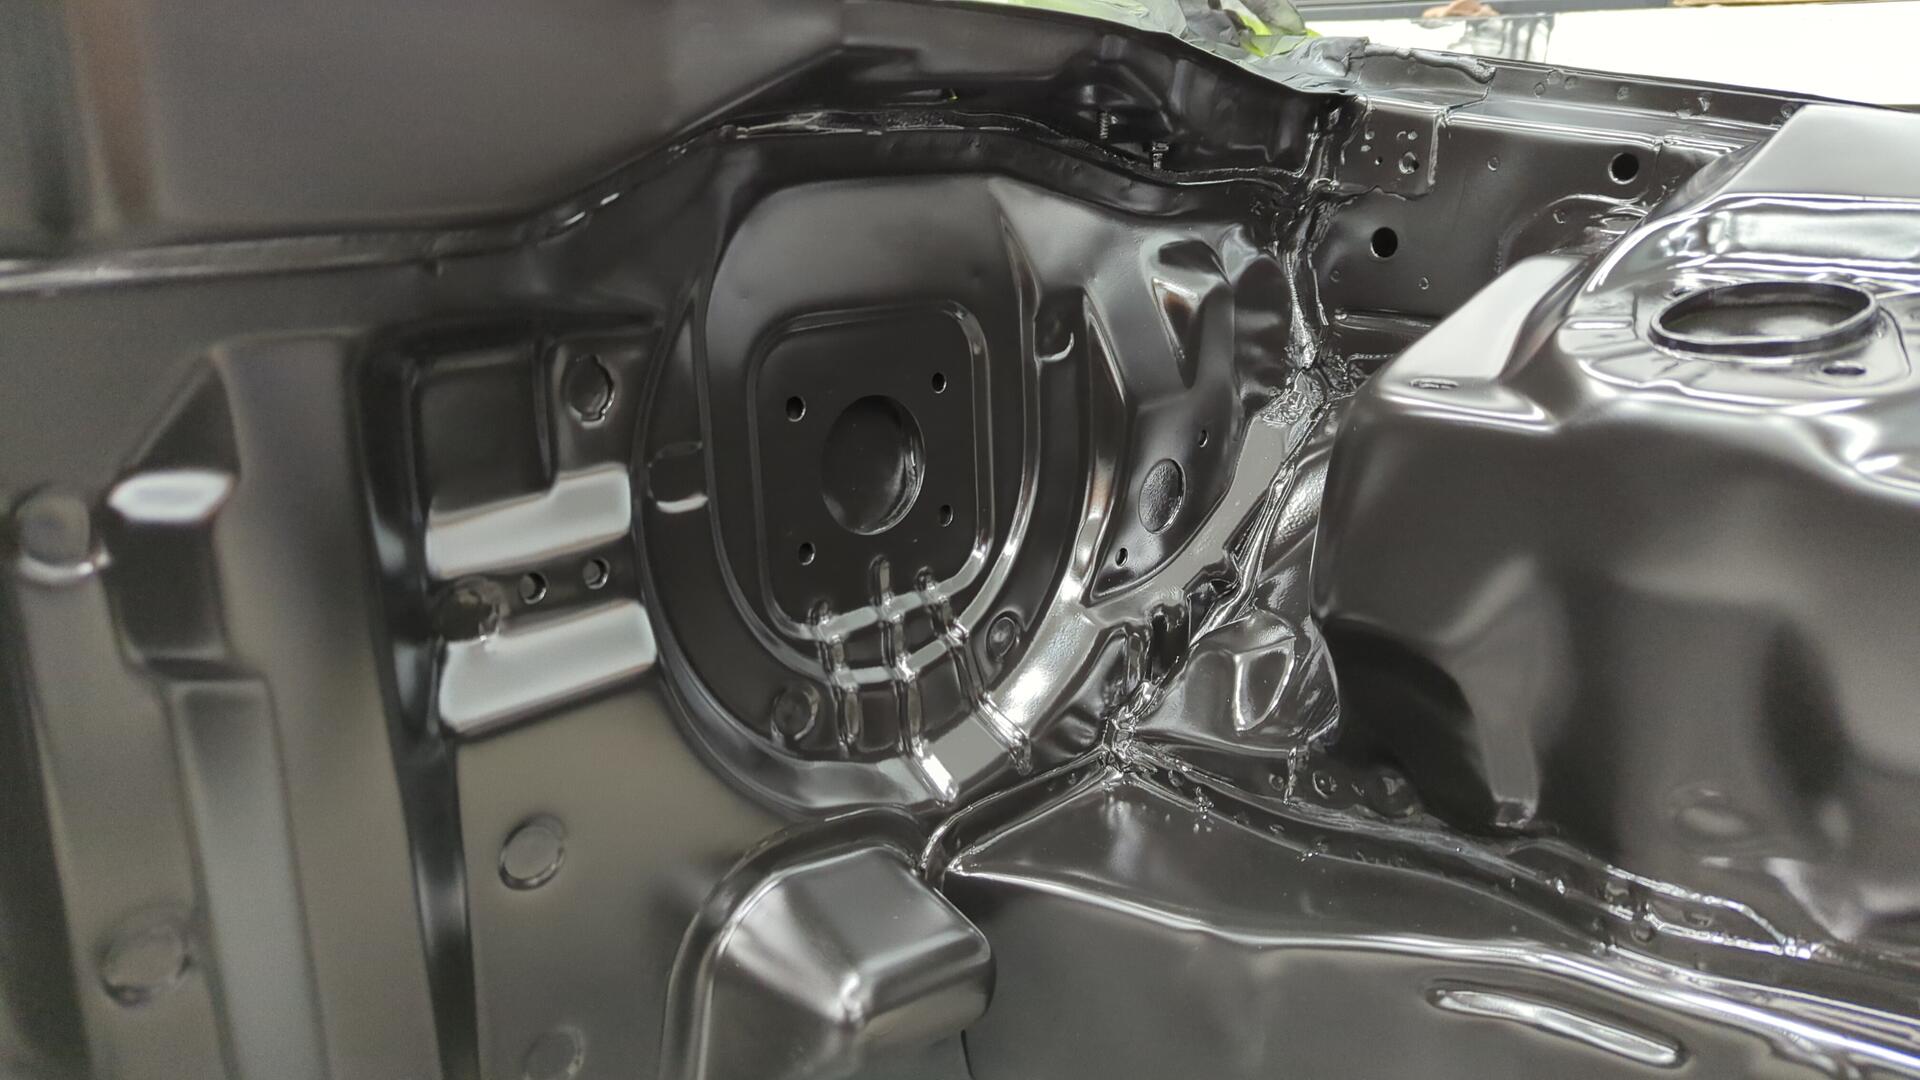
Spraying the tight spots was fairly tricky. The lph400 wants to be close to the surface it’s spraying but it’s physically impossible to get it to fit behind the shock towers. I had to turn the fan / fluid basically all the way in until the gun was spraying just a small circle so it could throw paint from a distance.
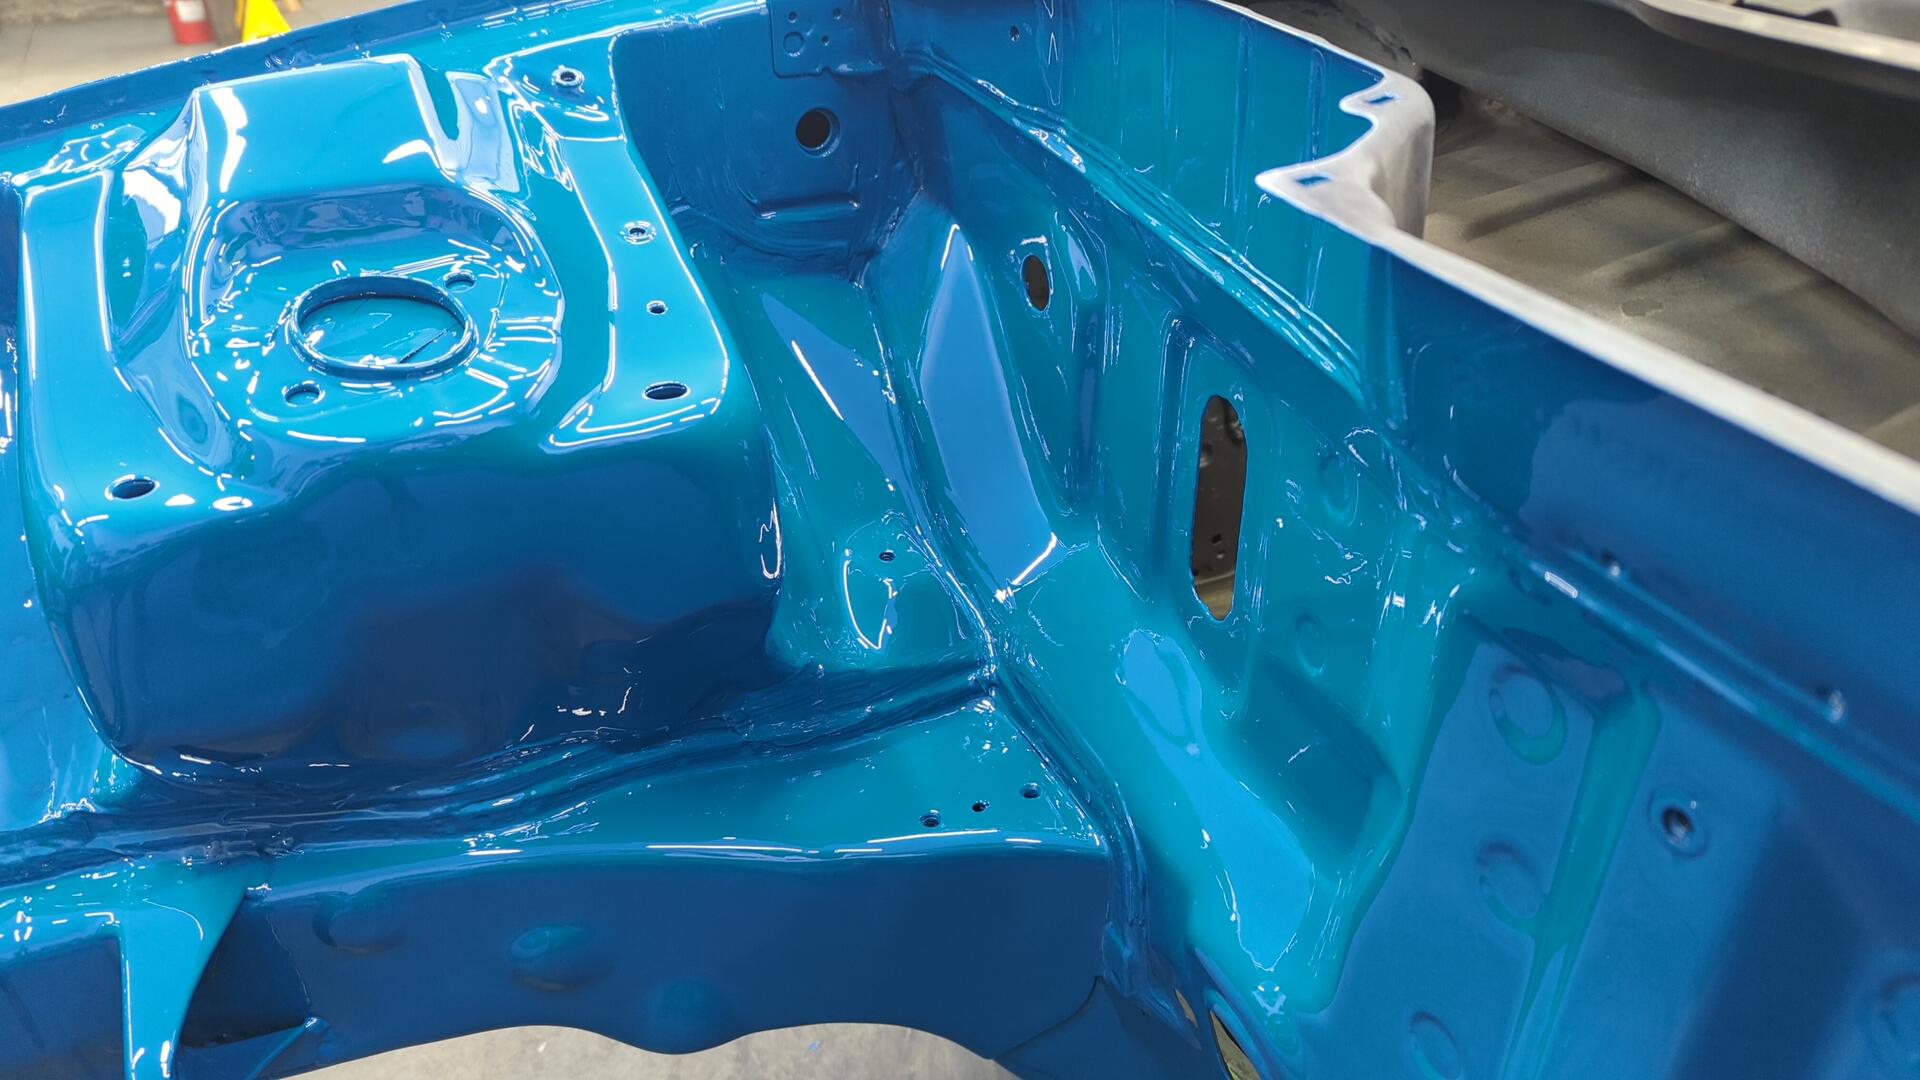
Ful-thane flows out real nicely. When spraying primer I was having trouble with it drying slightly dusty on the backsides of the towers but the Ful-thane is super glossy back there.

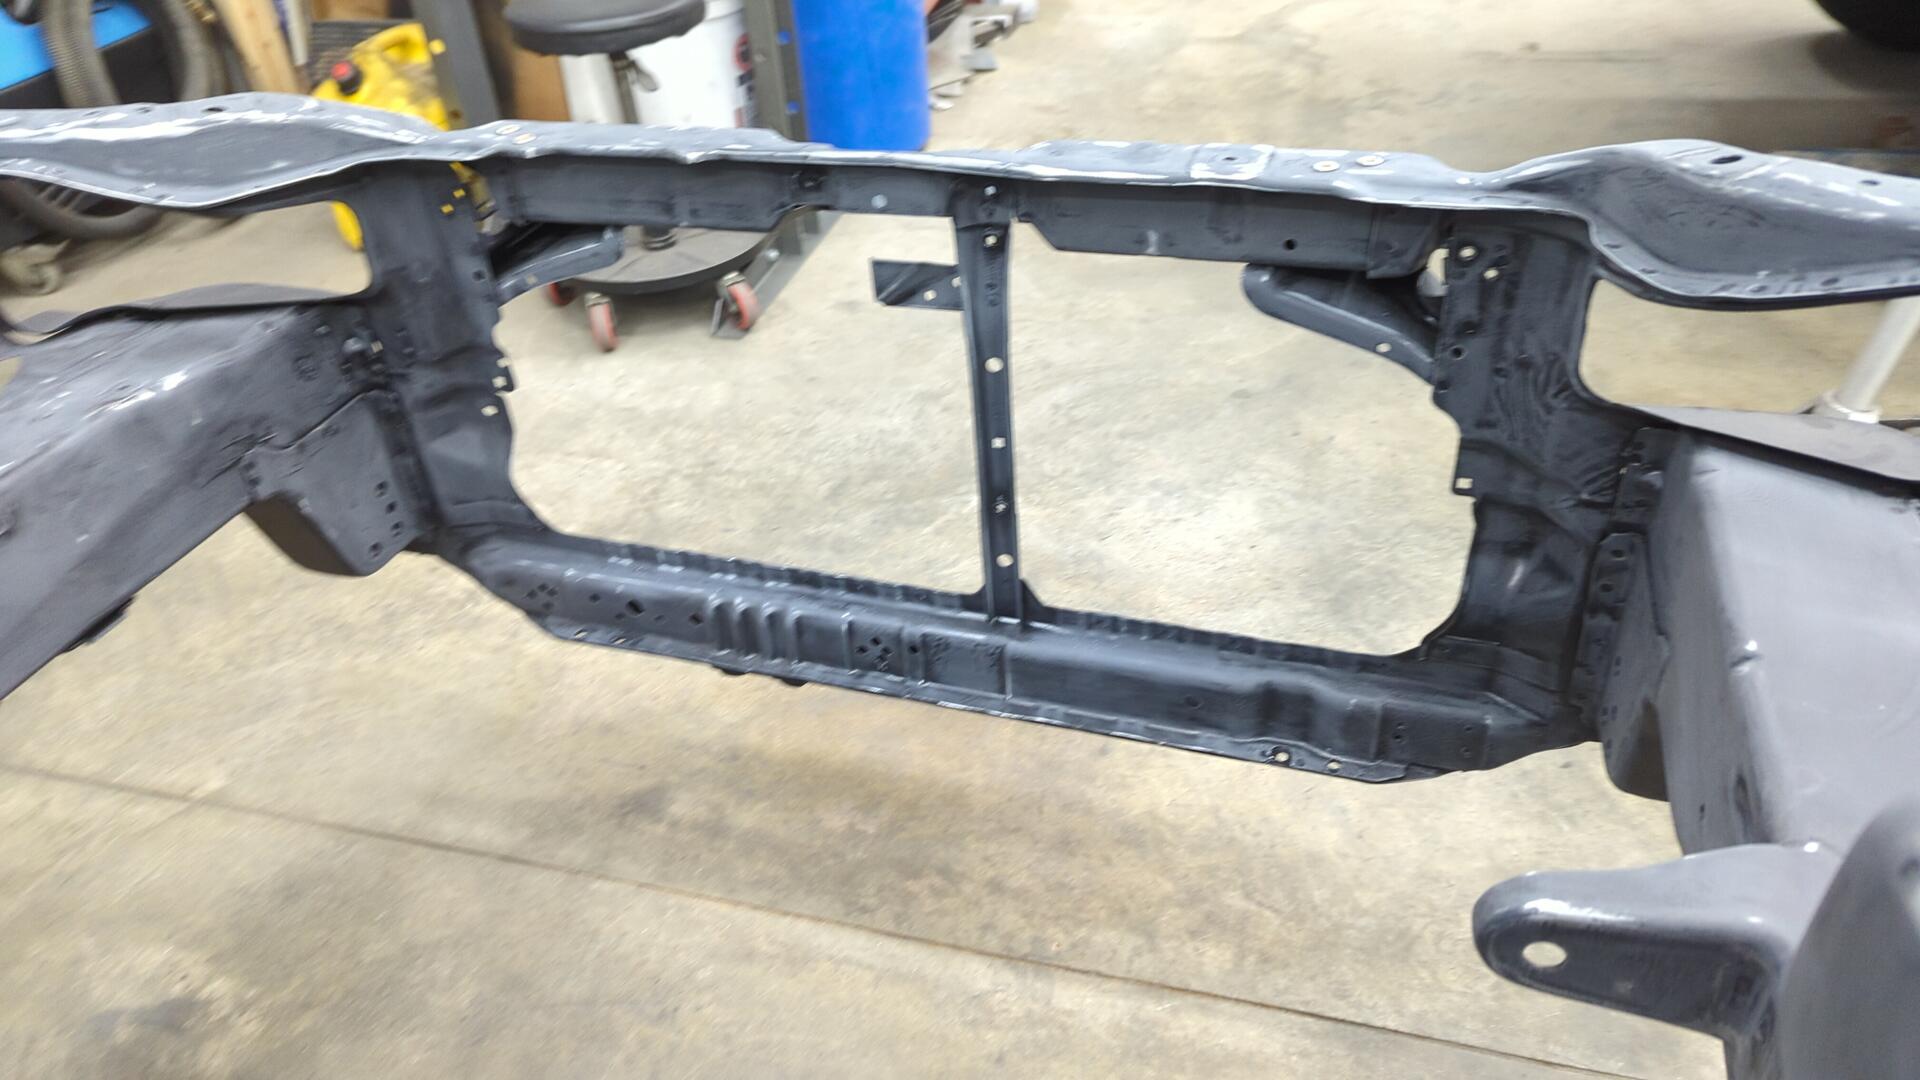
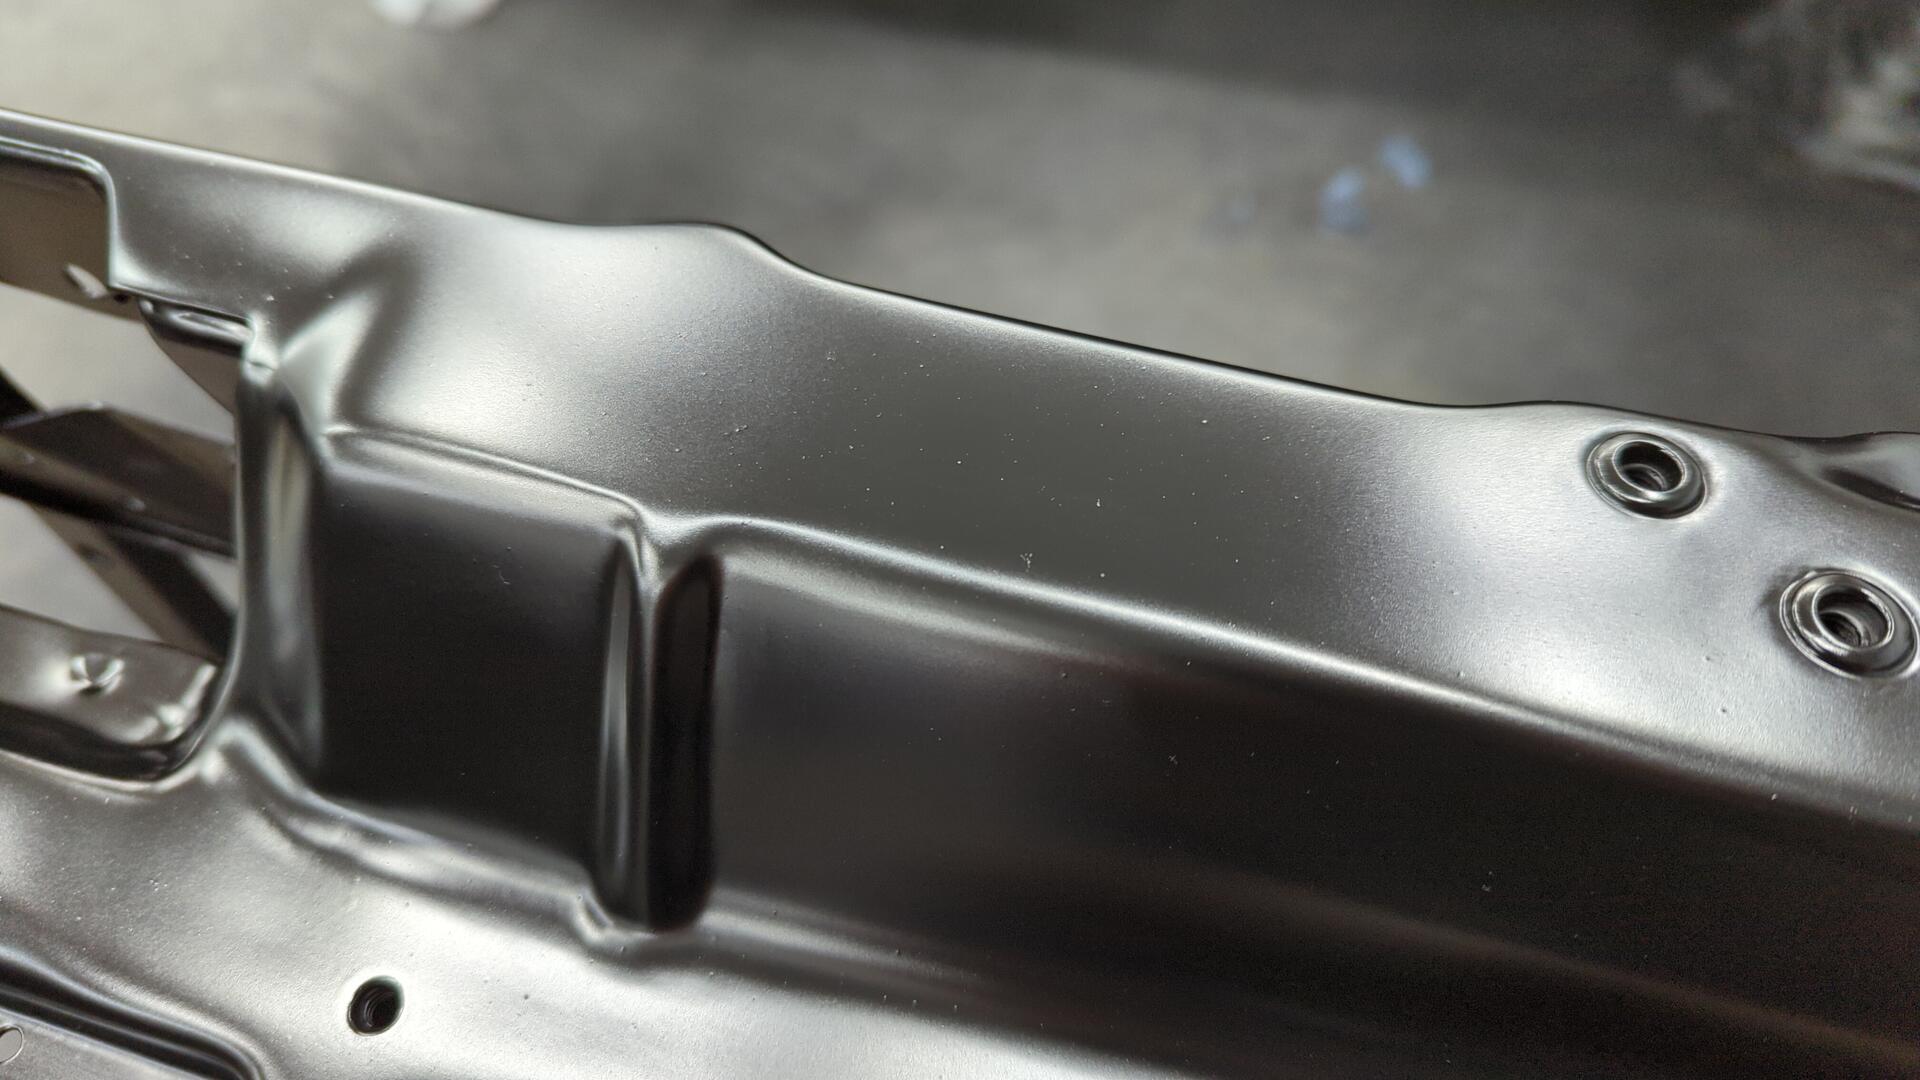
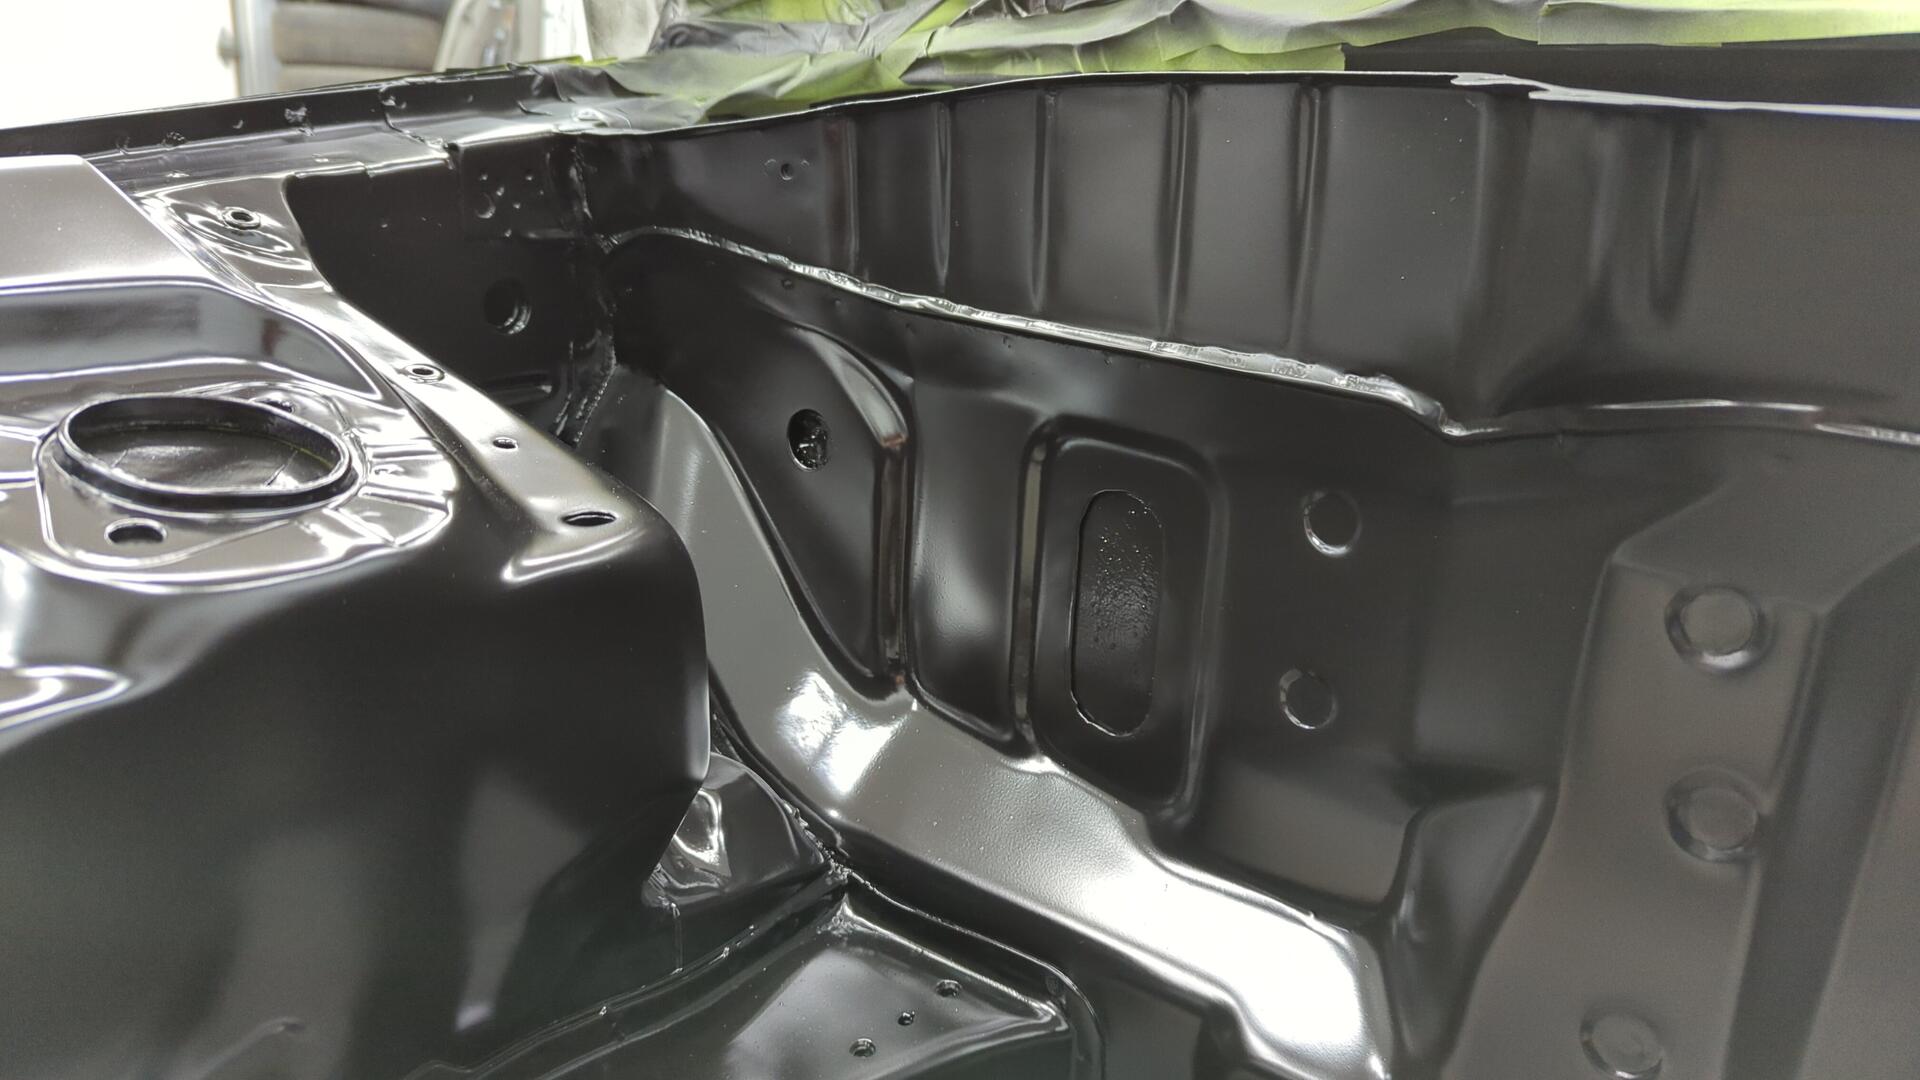
The firewall looks great.
All in all I’m pretty happy with it came out. It ended up being a fun learning experience and going completely through the process from raw metal to base coat was great practice for when I get back into my XJ.
It really feels like I’ve hit the turning point on this project now.