Revival of the Hatch Part 2: Revamping the Trans with an LSD
Itching to take a break from all the metal work I’ve been doing on my XJ, I decided to start with the transmission for my civic. There’s nothing actually wrong with it, but I can’t resist adding an LSD to it.
Tearing it Down
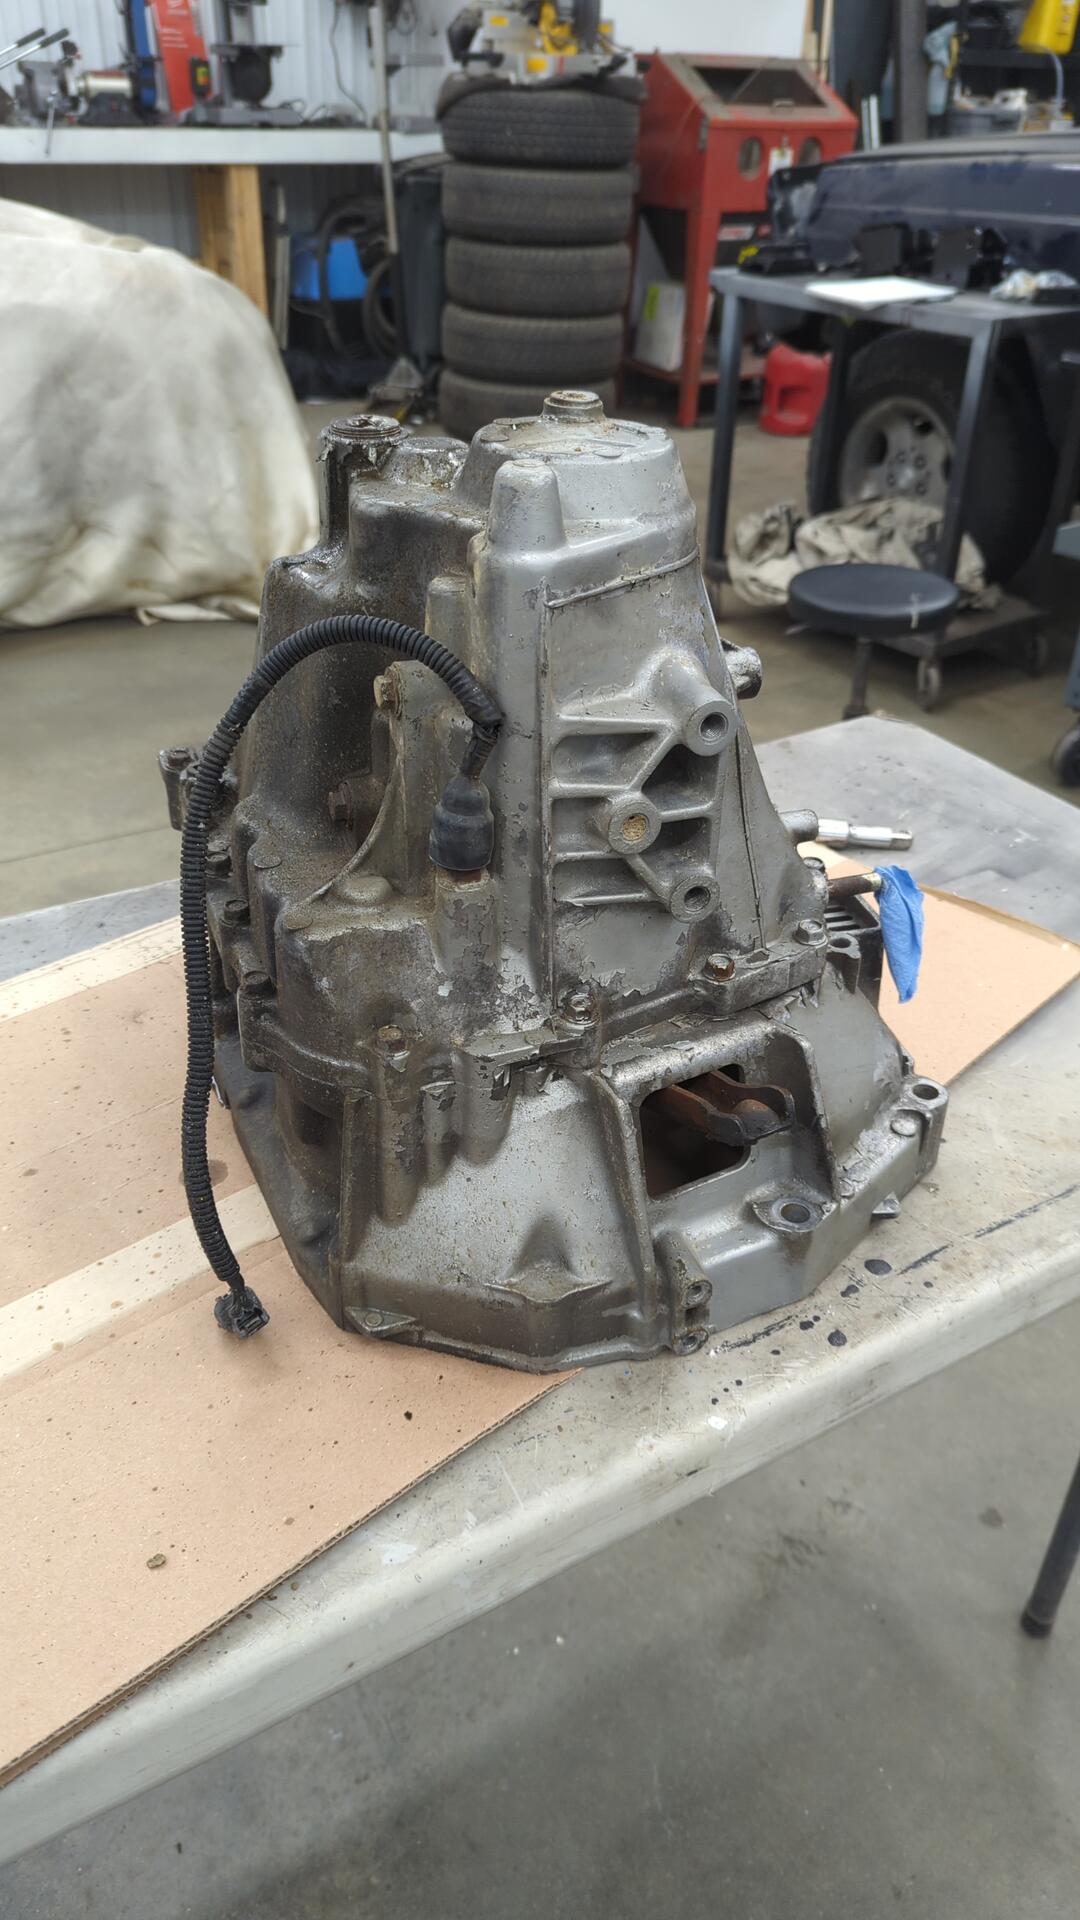
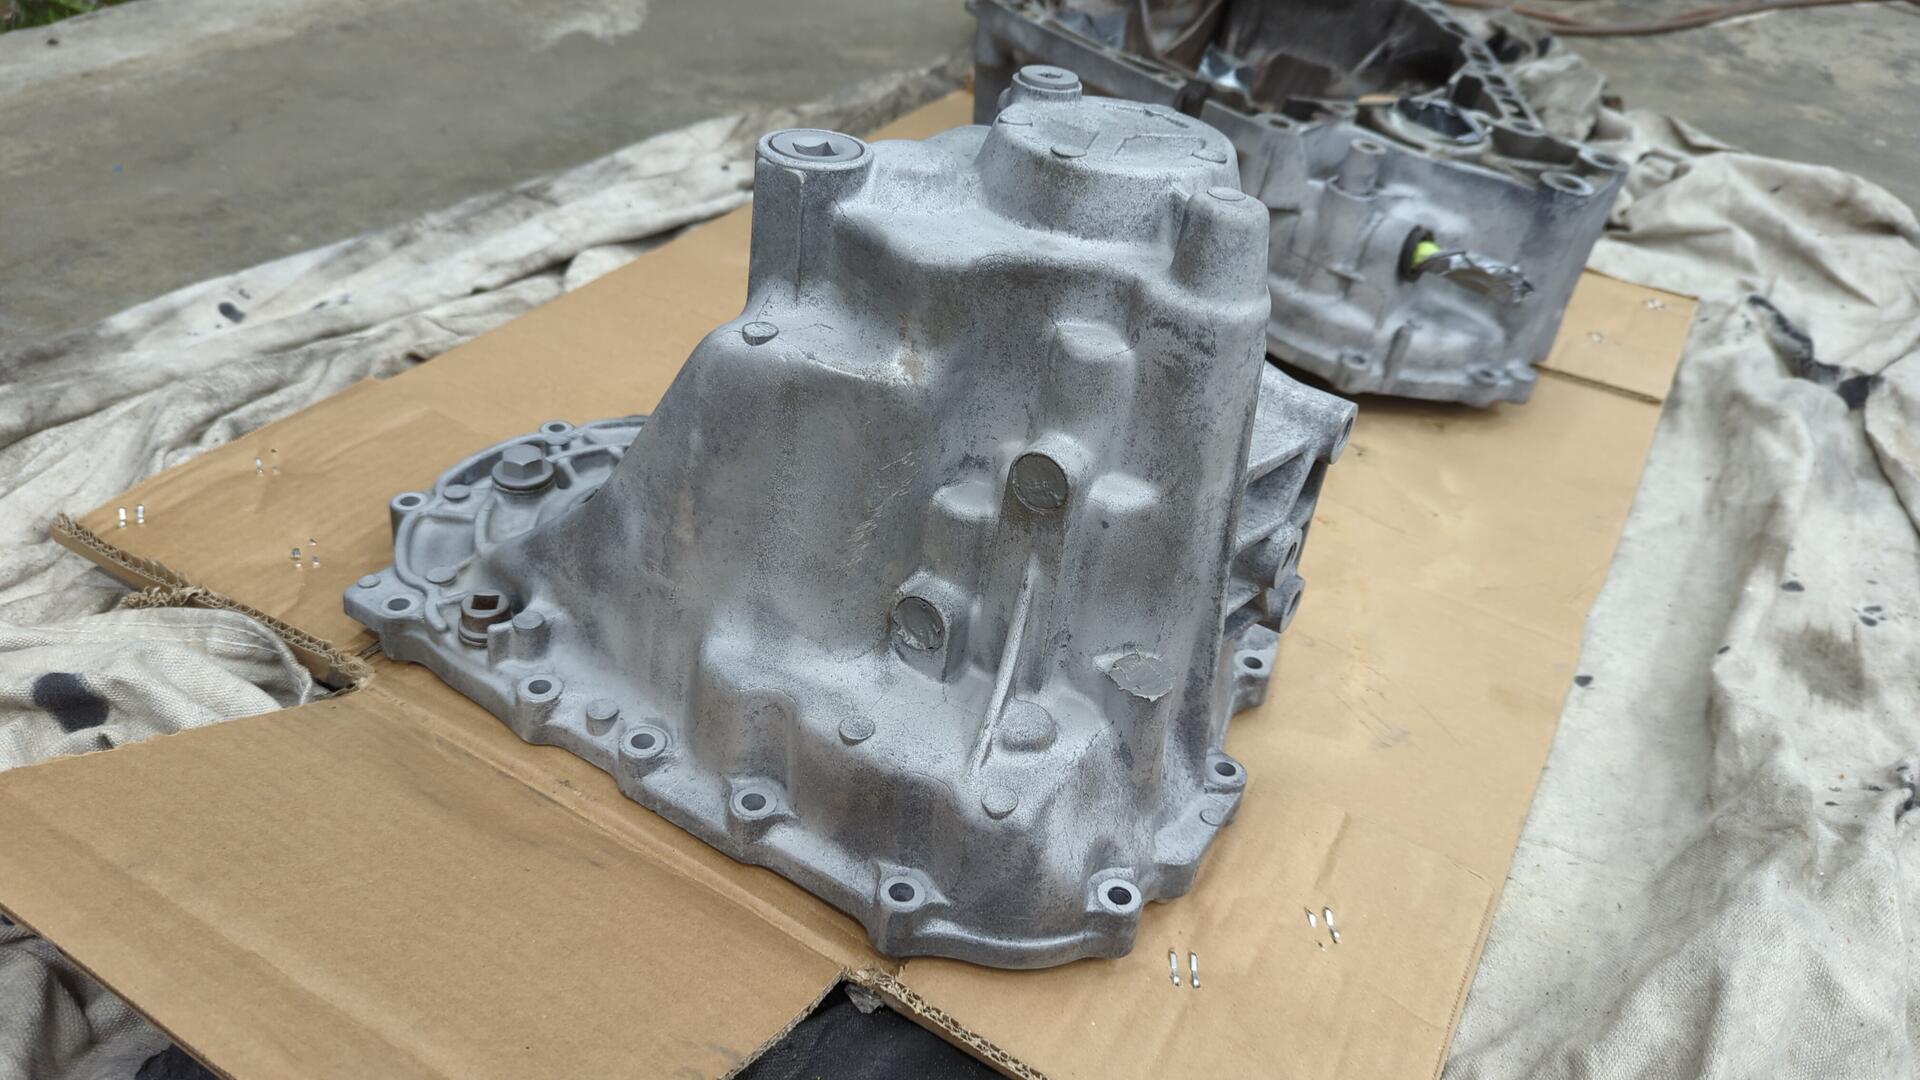
The exterior of the transmission was pretty well oiled because the axle seals have been leaking for several years. I figured I may as well start off by giving it a quick cleaning with a rag and some brake cleaner.

That’s kinda better…
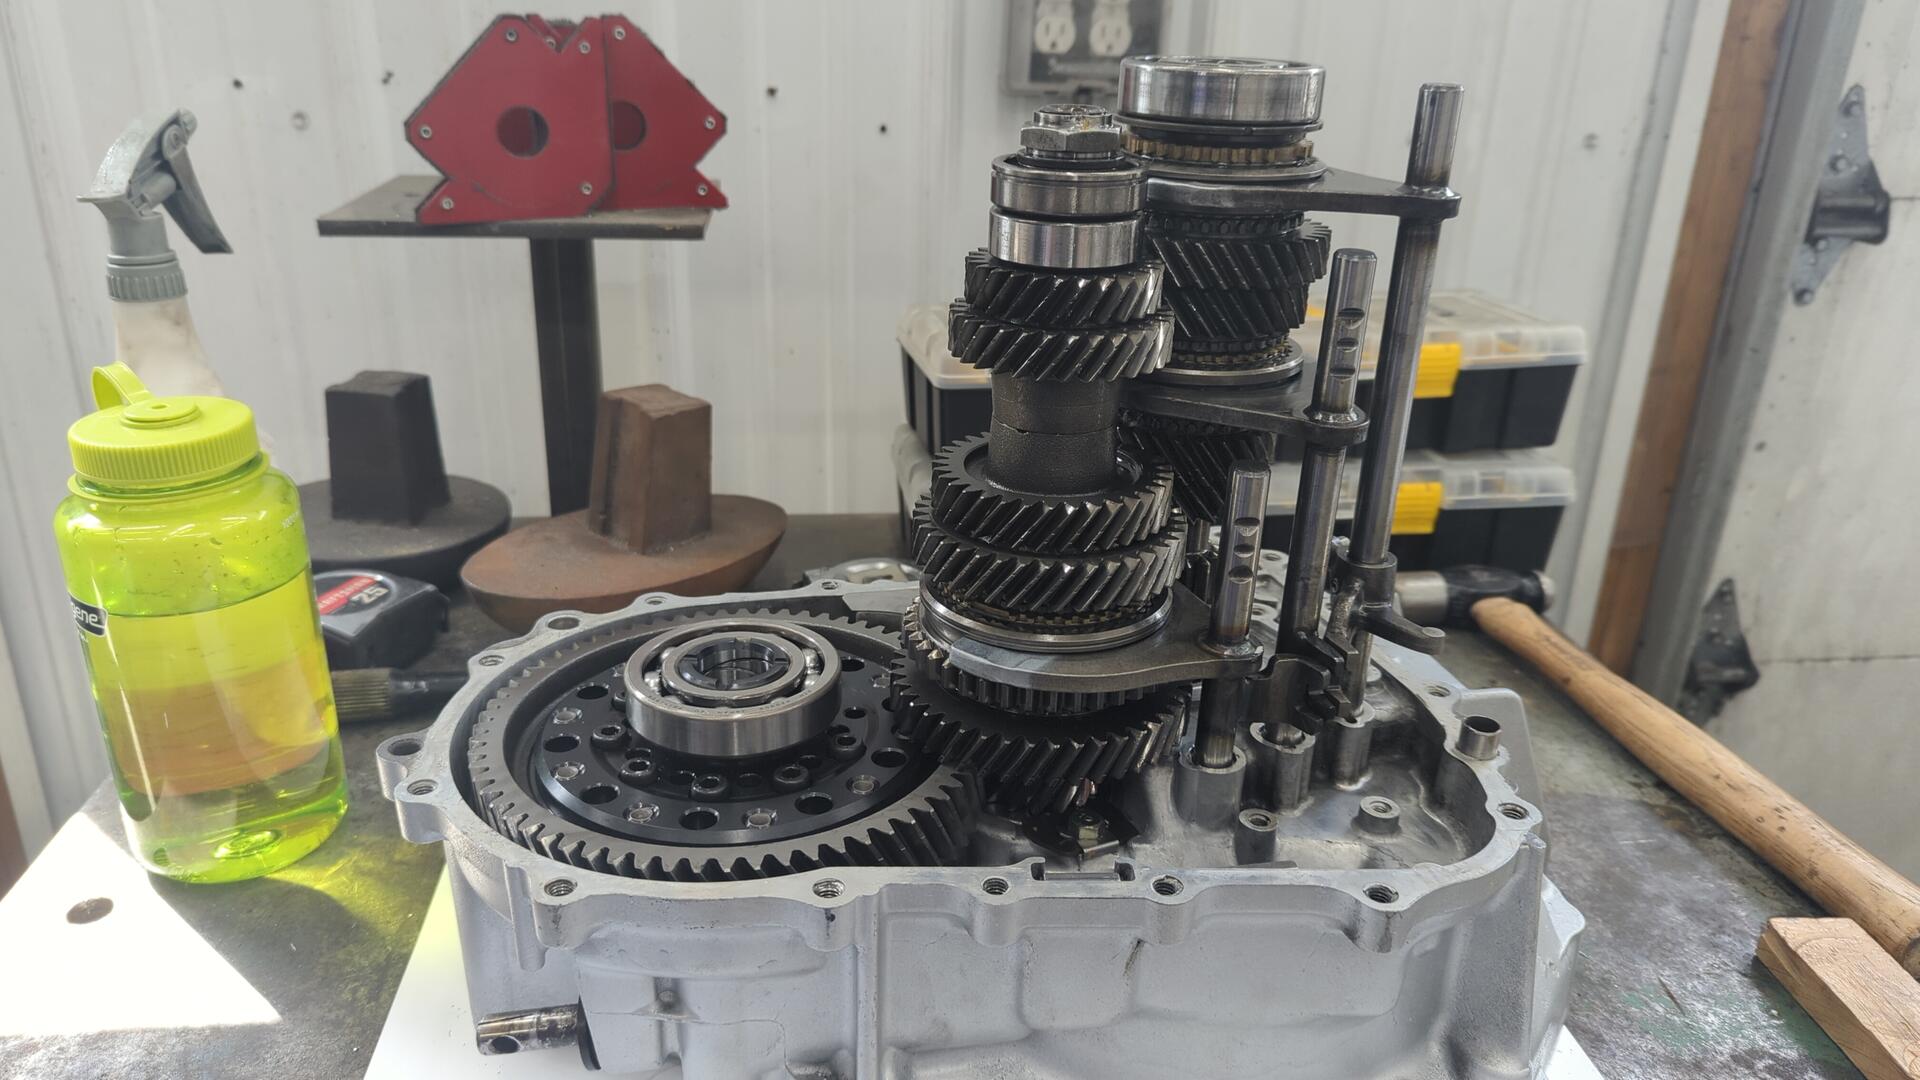
It’s actually pretty easy to pop these transmission apart. I followed this video as a guide.
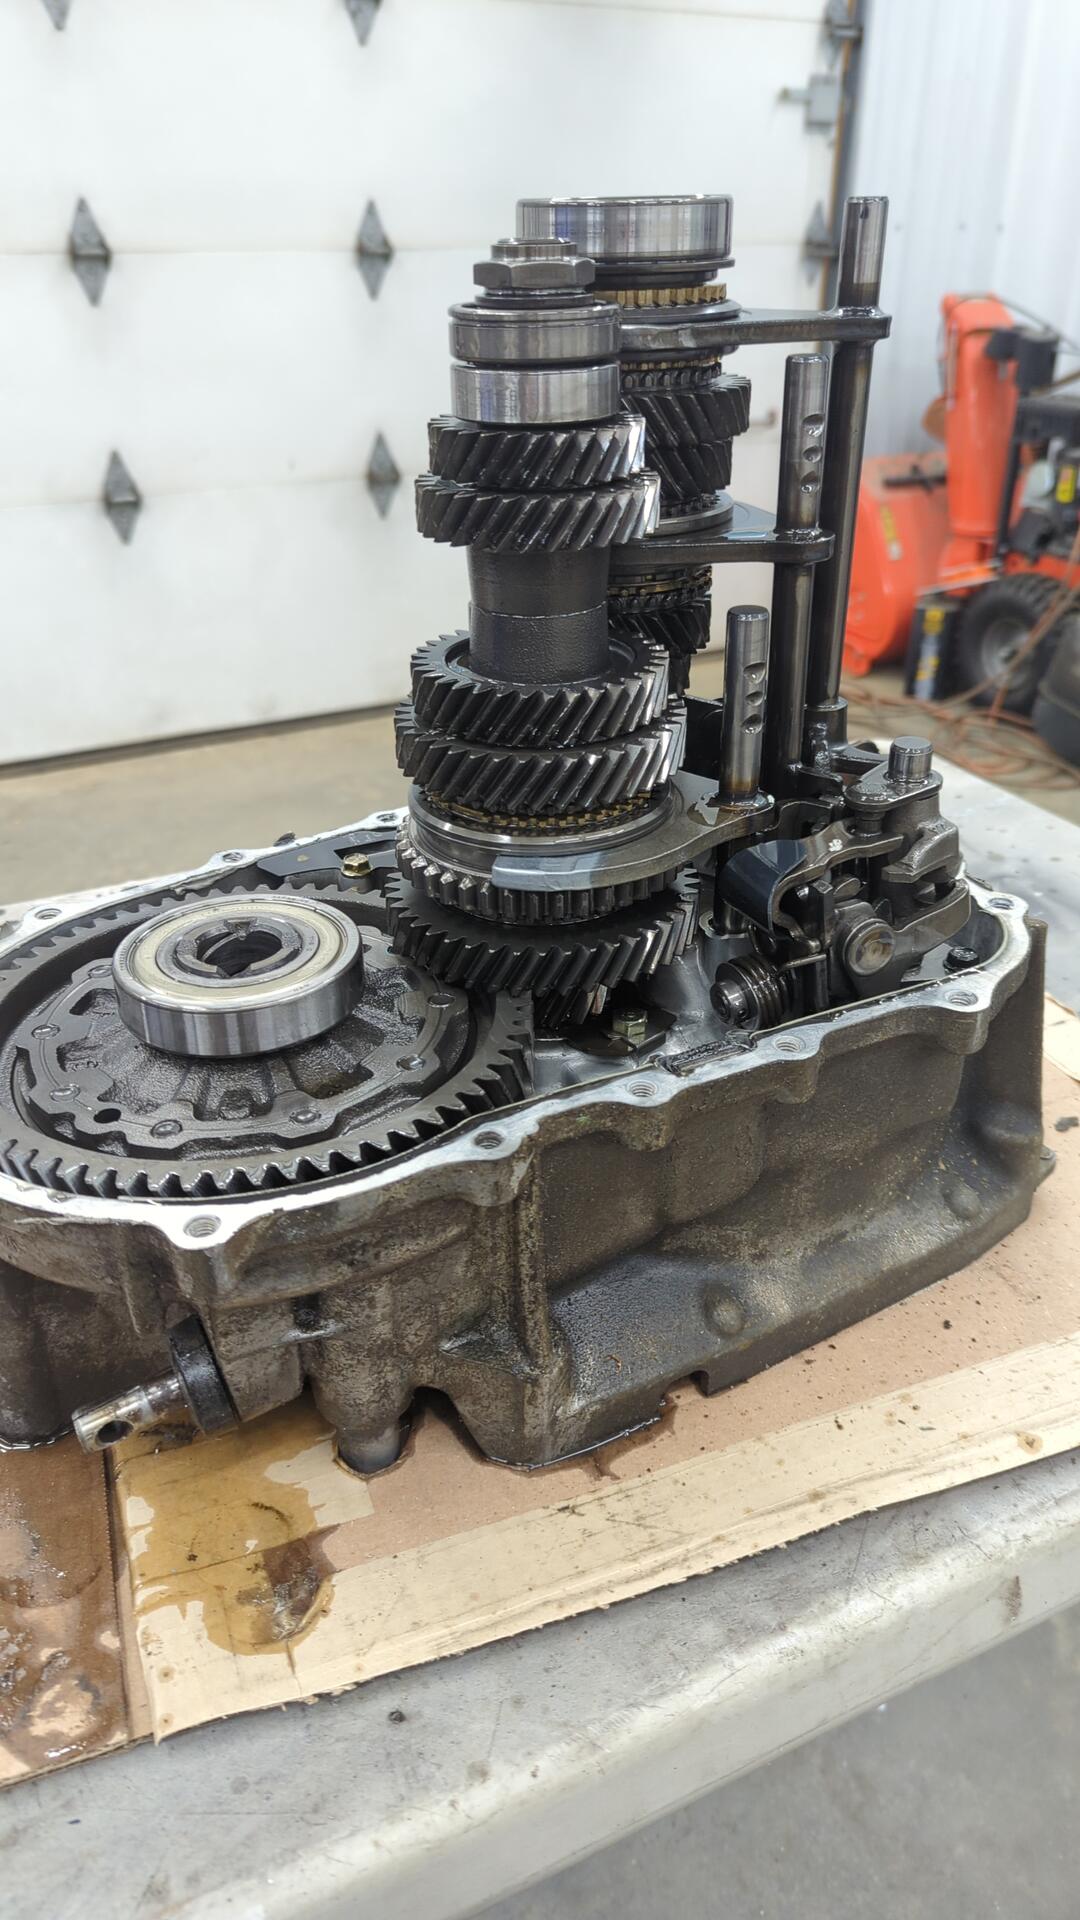
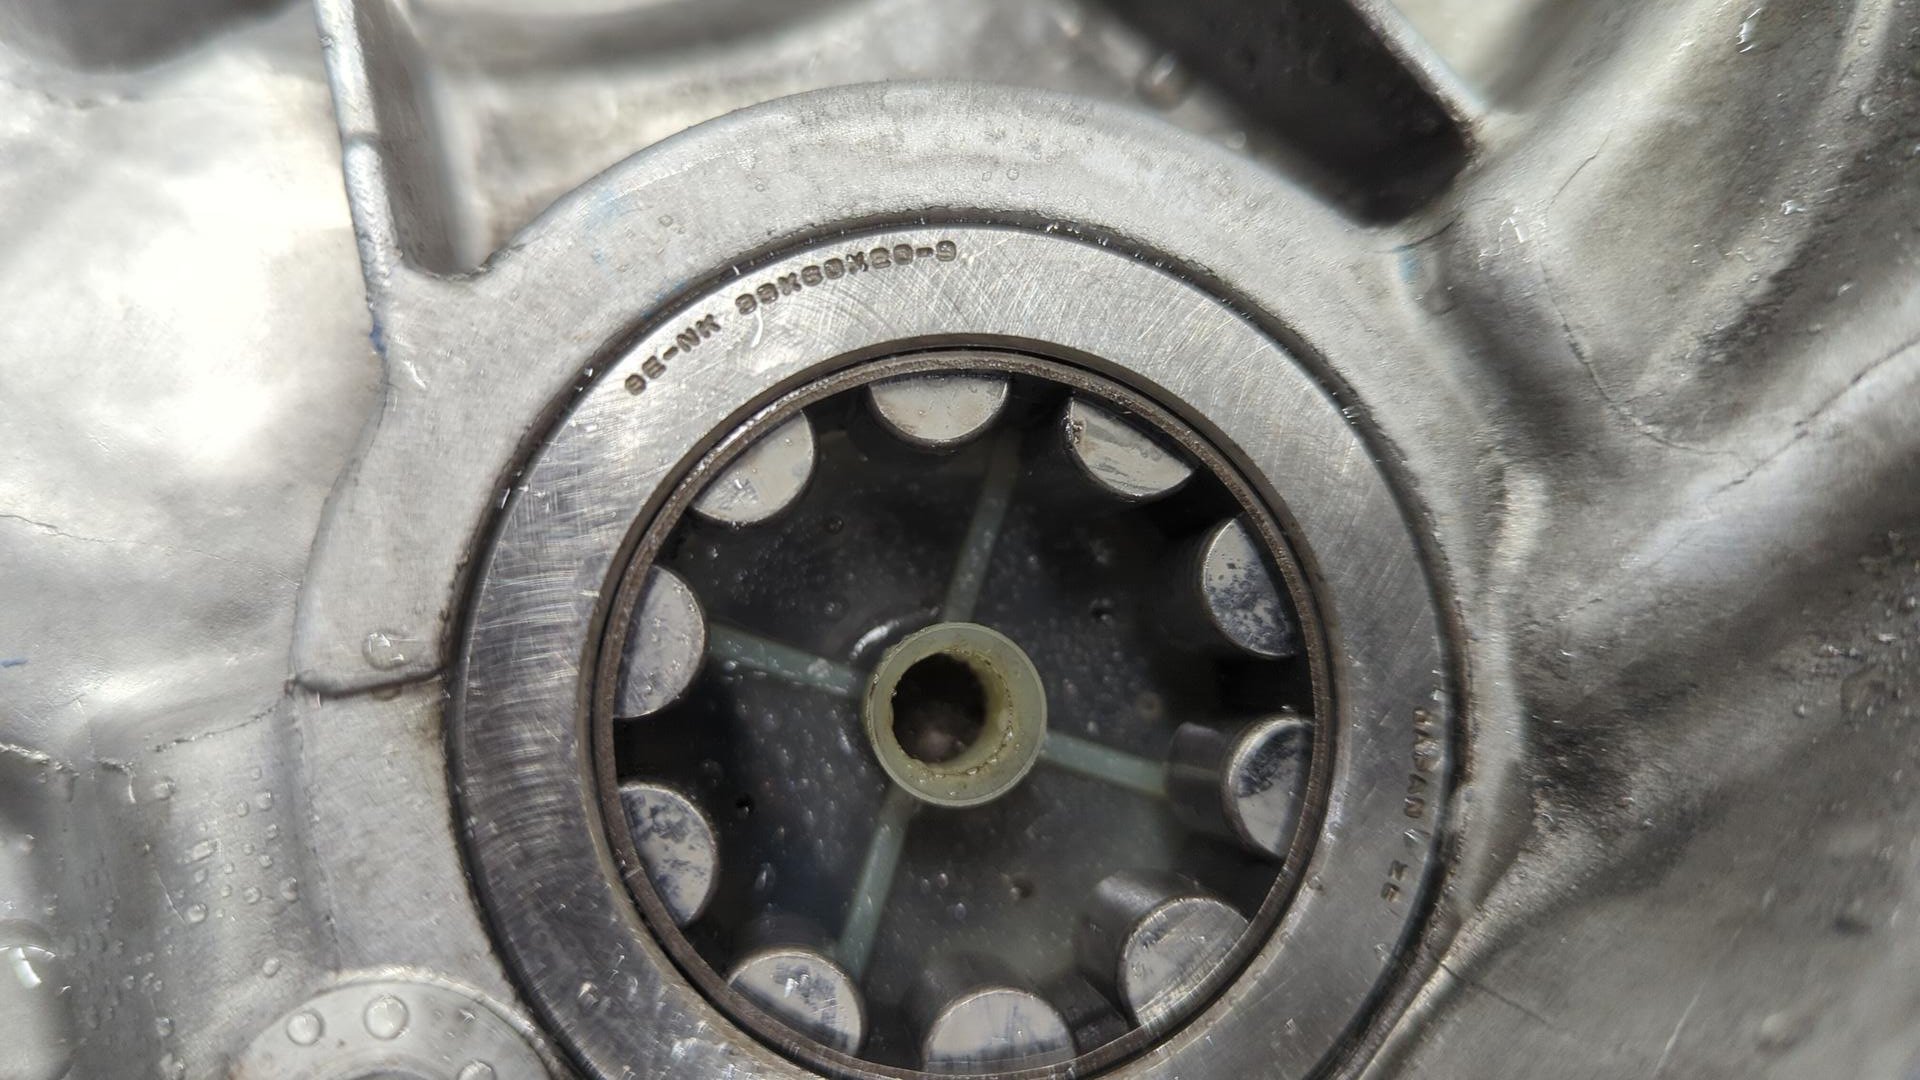
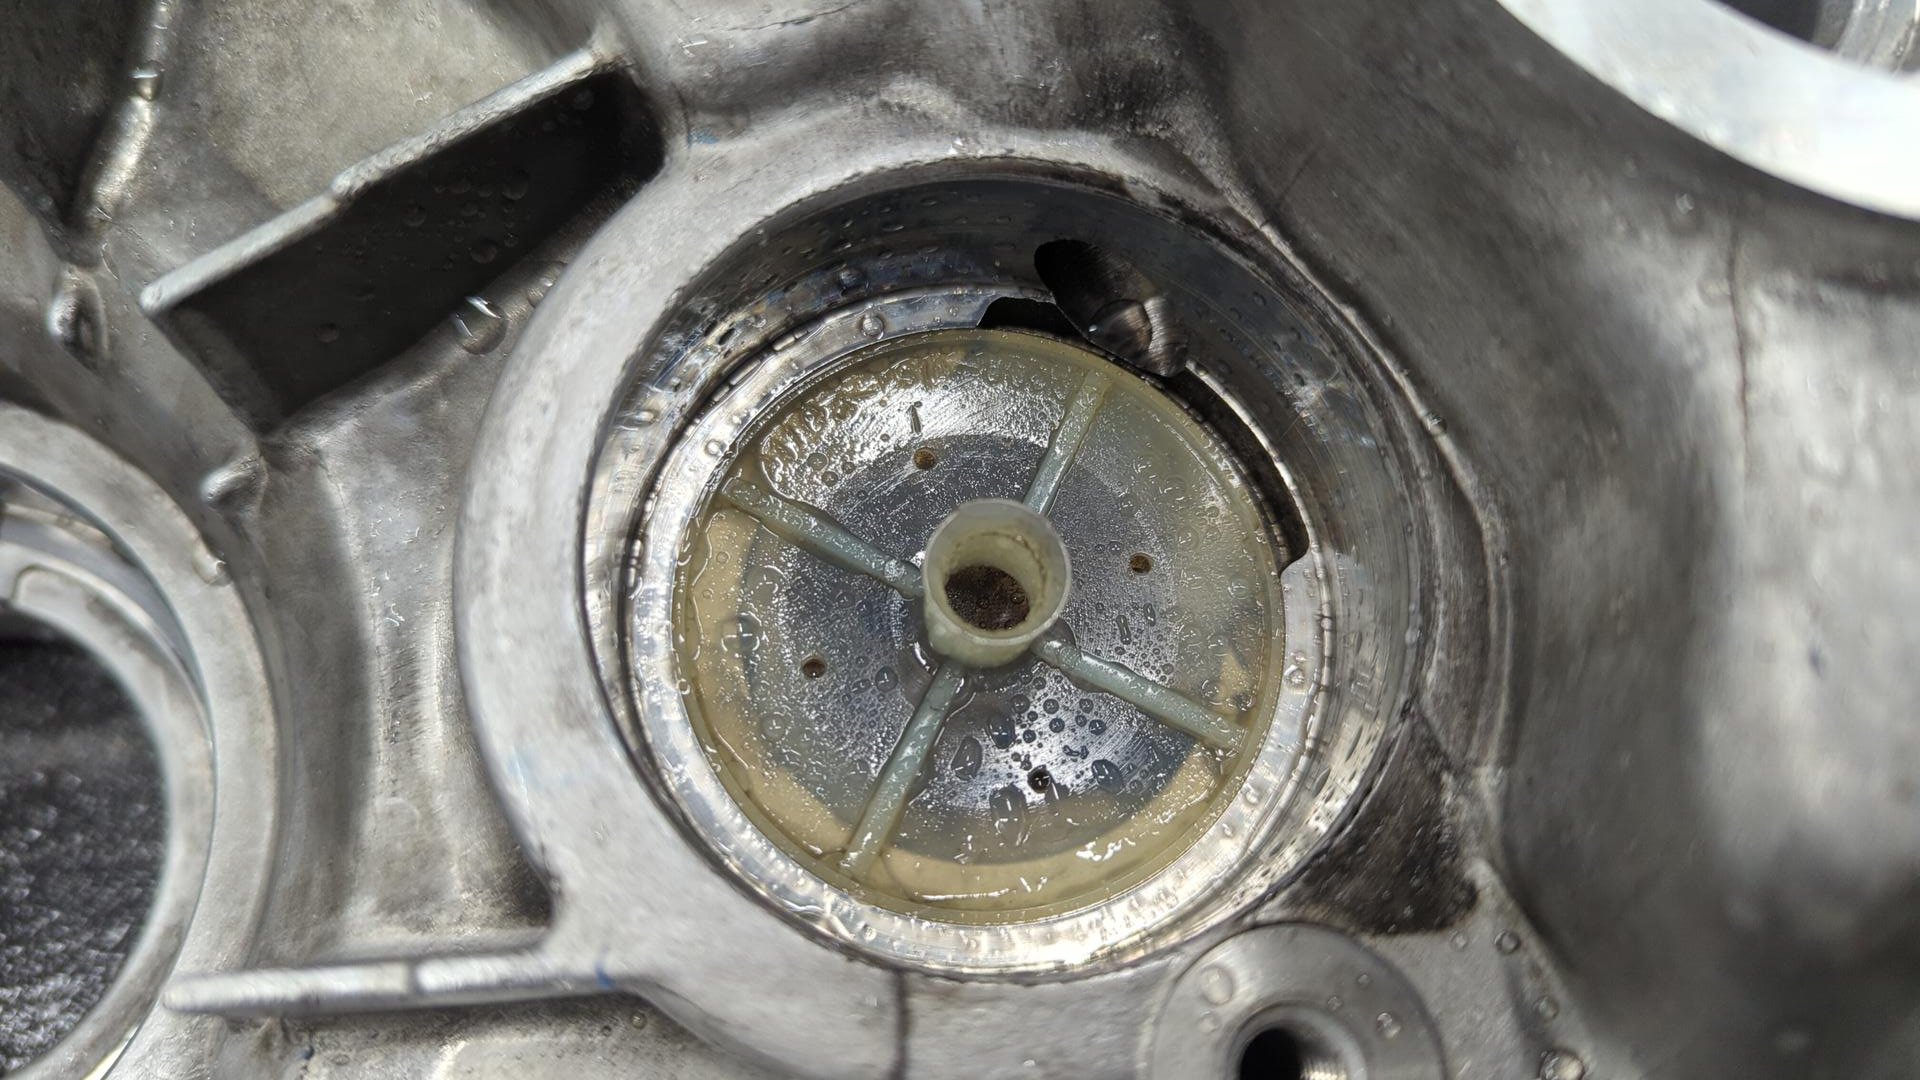
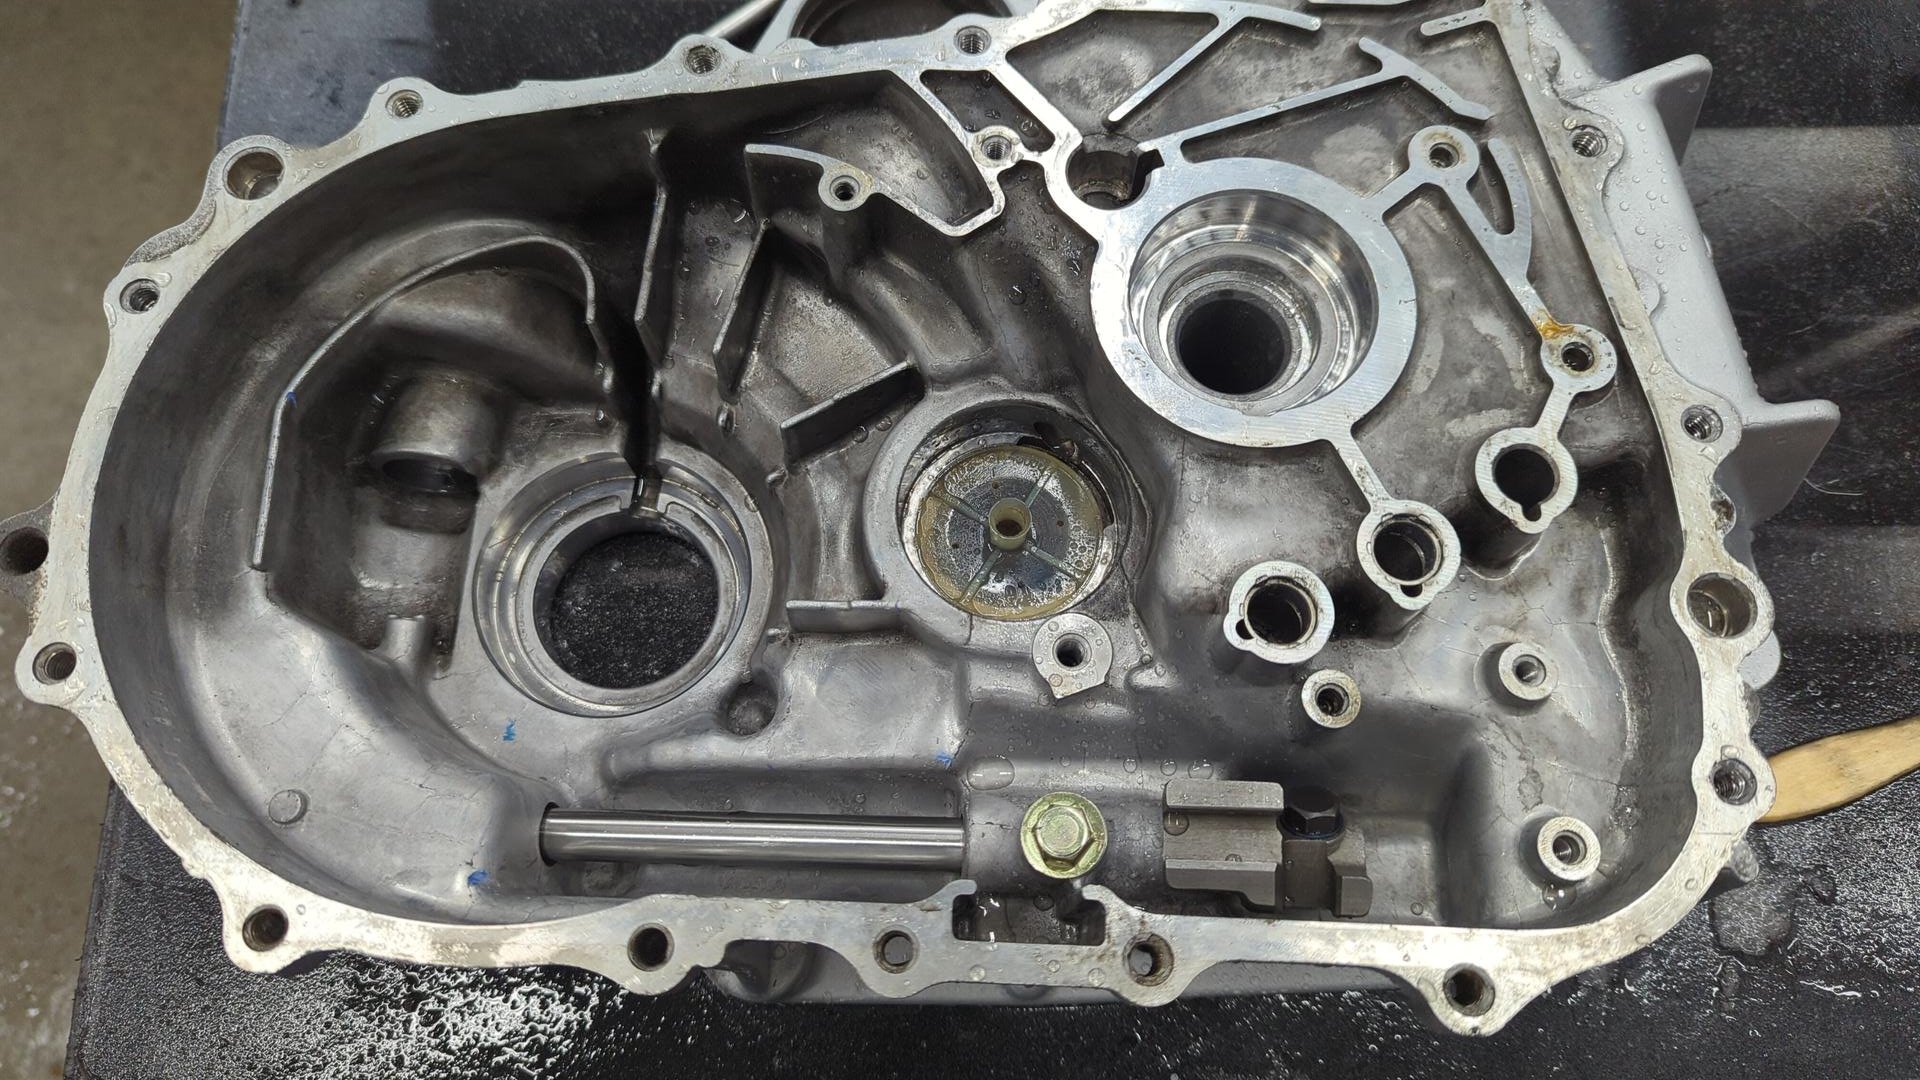
Everything looks to be in pretty decent shape.
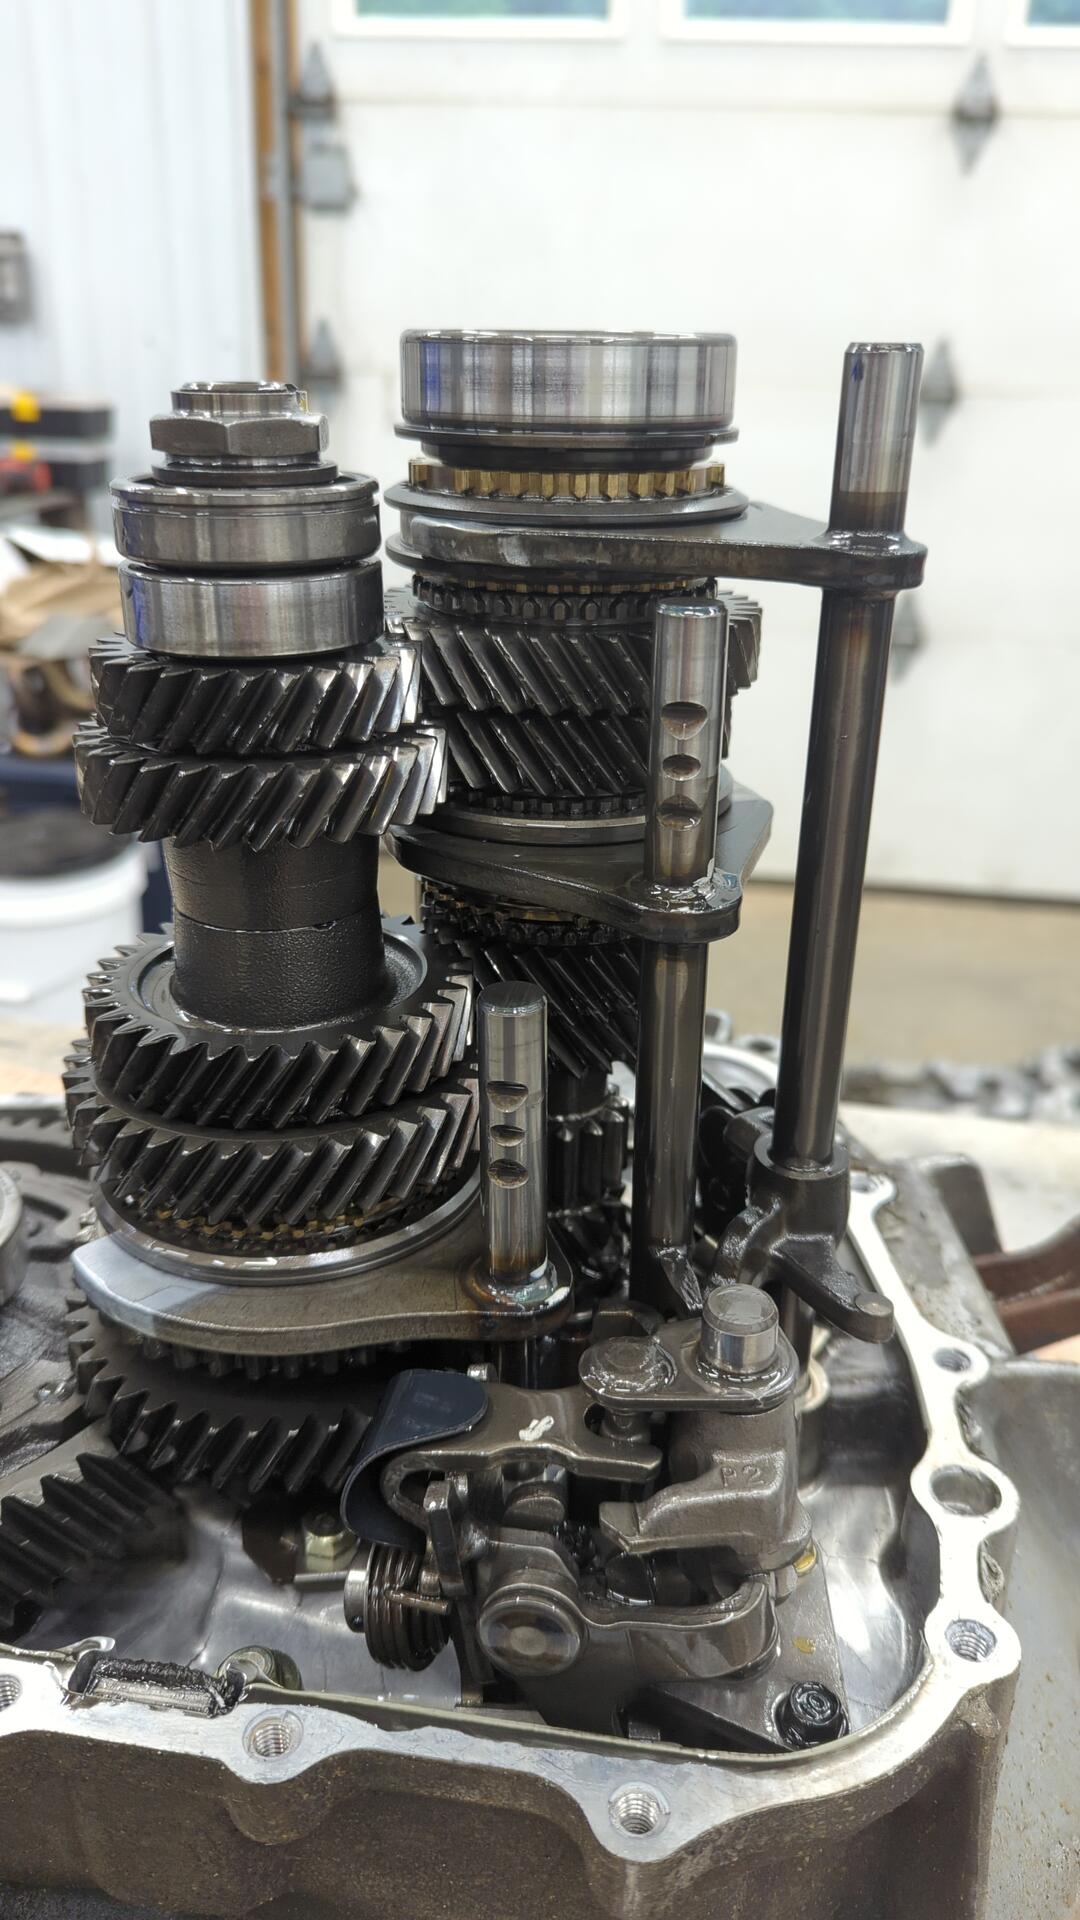
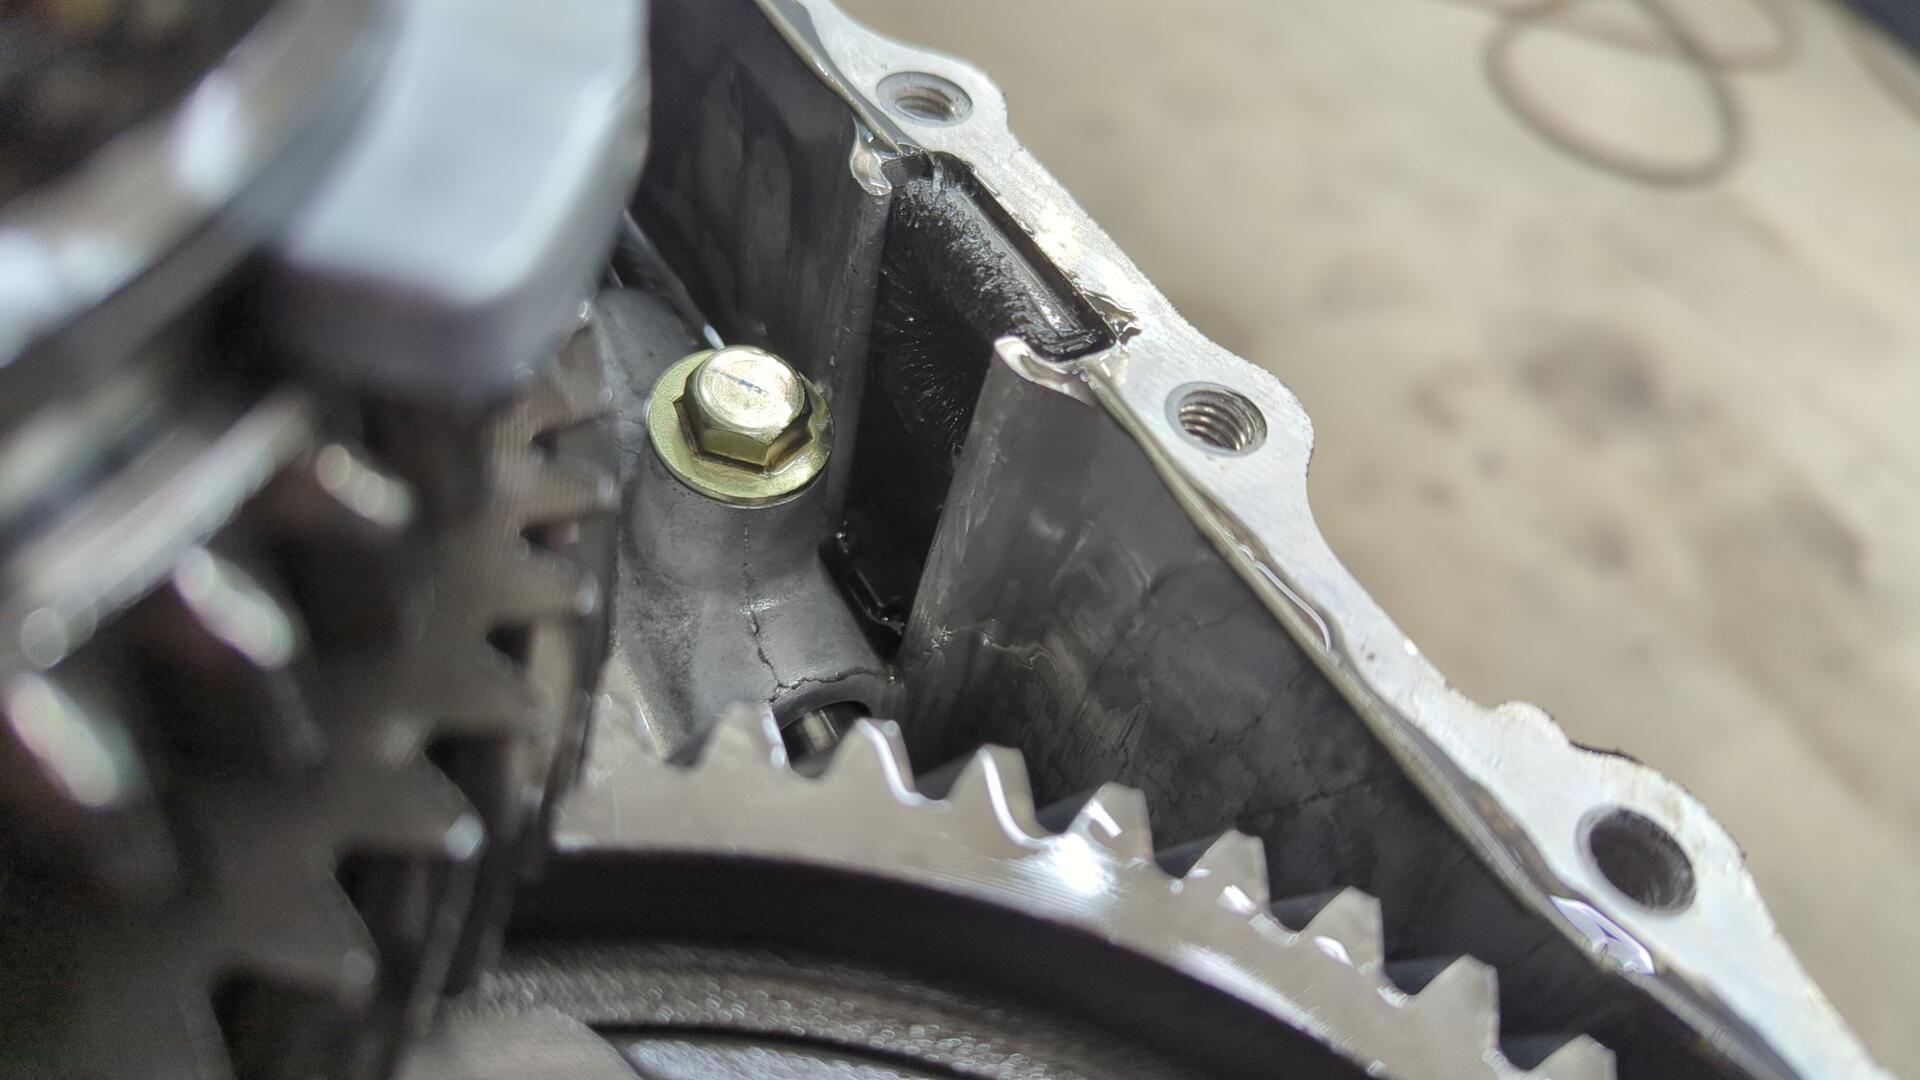
None of the shift forks appear to be bent as I didn’t see any unusual wear marks on them.
Magnet has some shavings but nothing too major. I’m not sure of the exact mileage on this trans but I’d guesstimate somewhere around 180k.
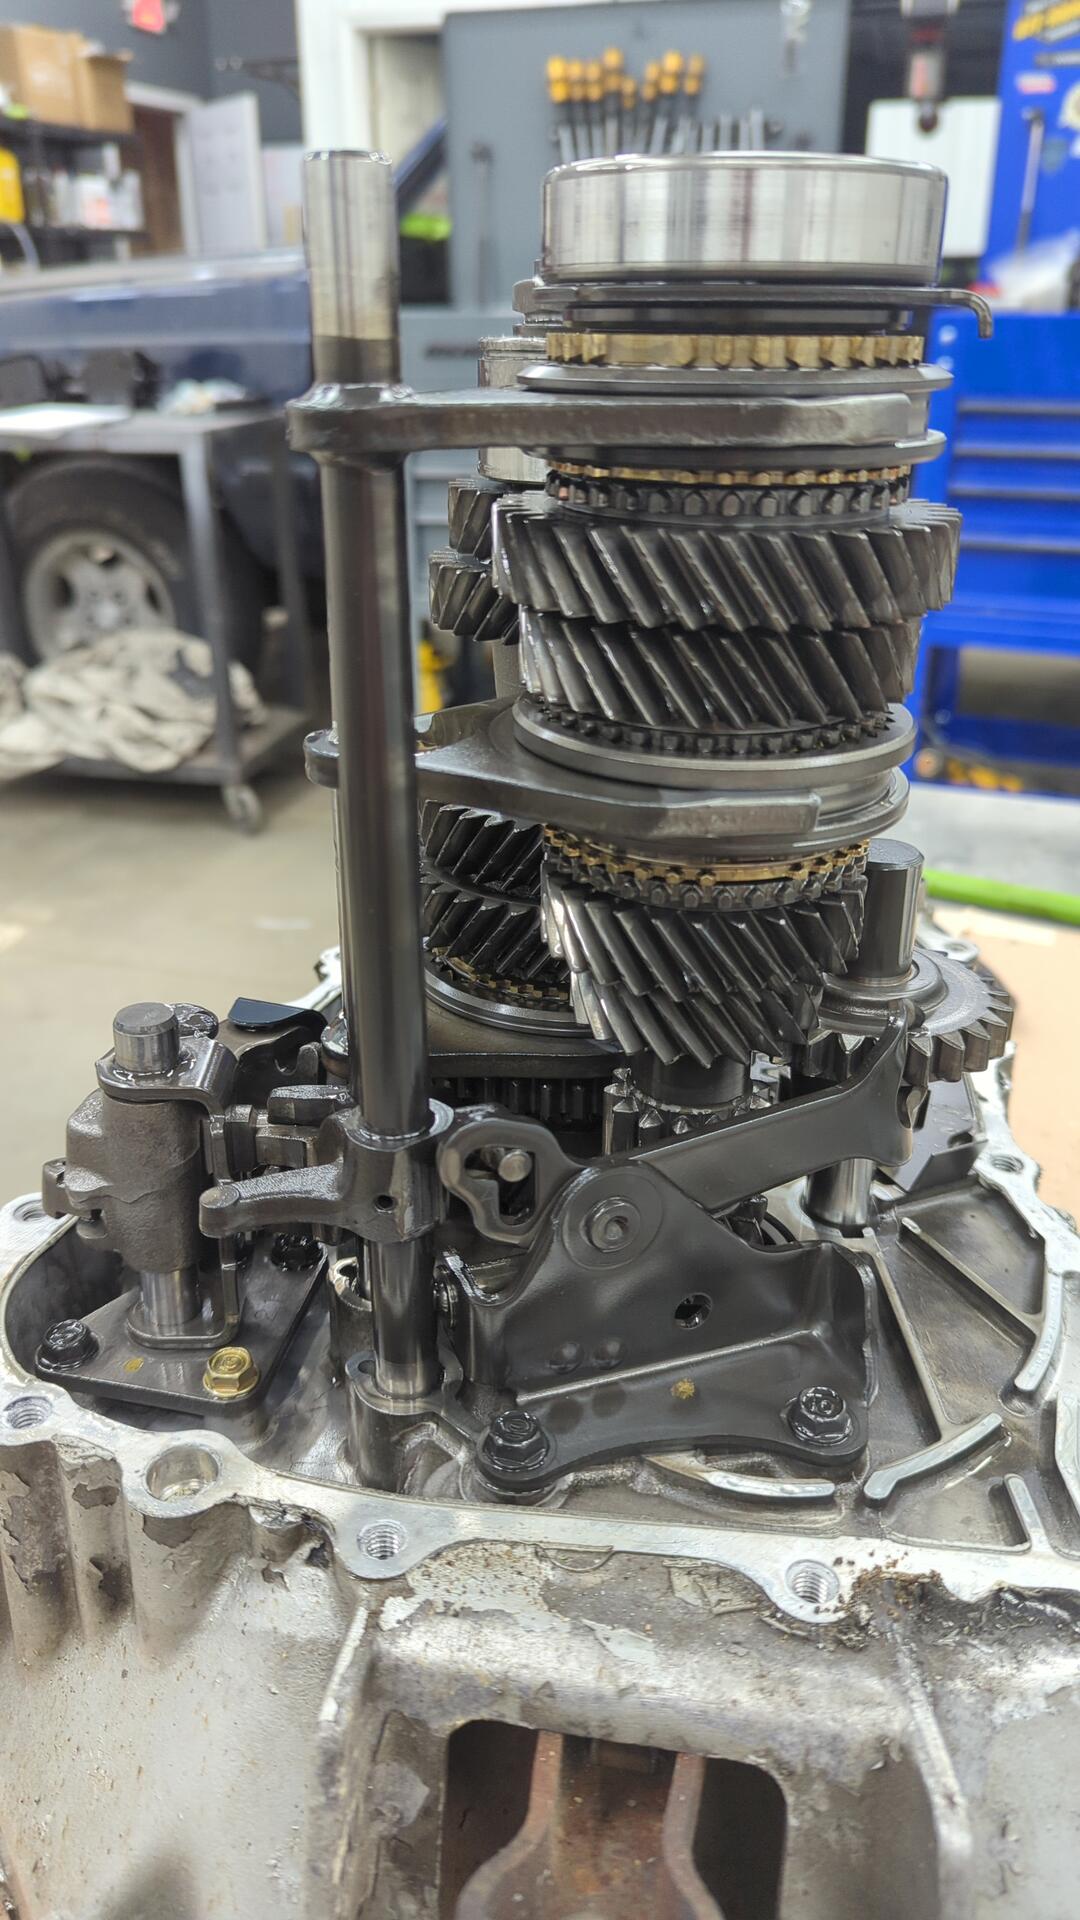
Internals removed, minus the differential.

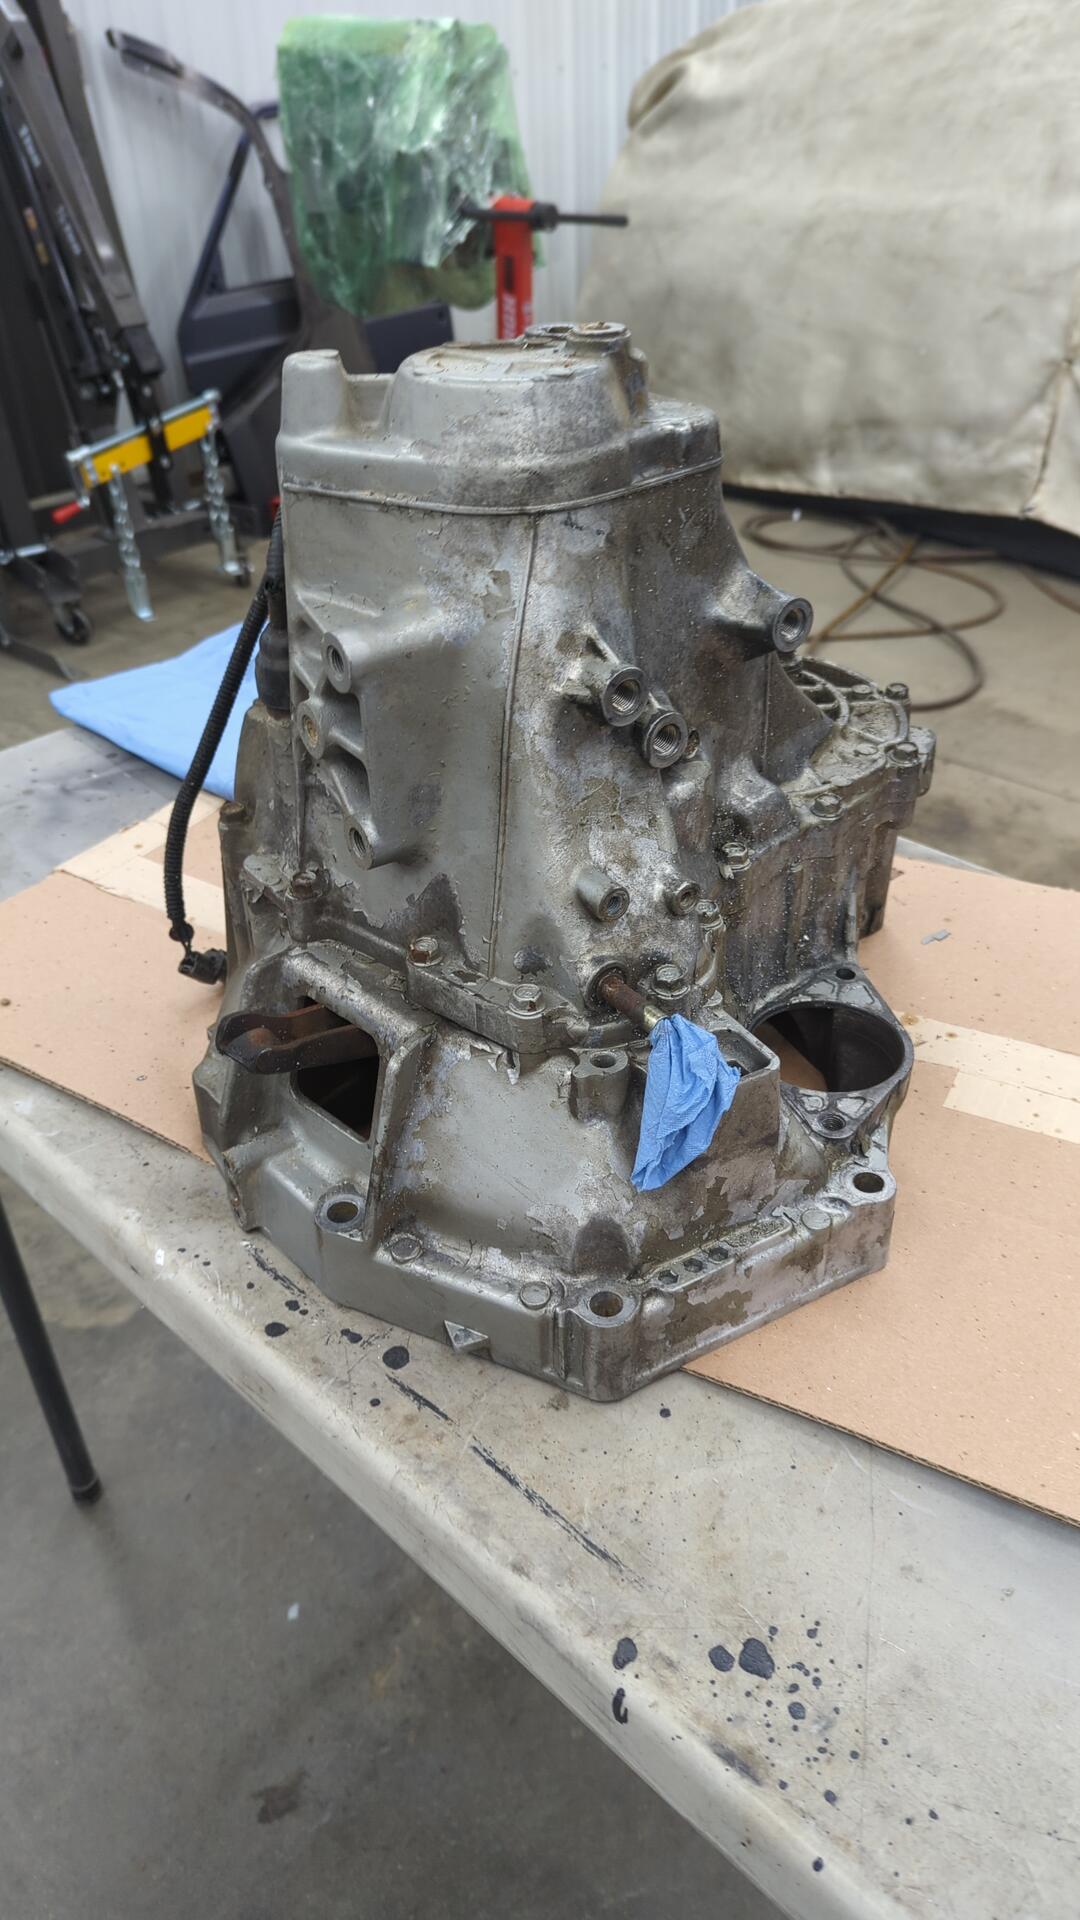
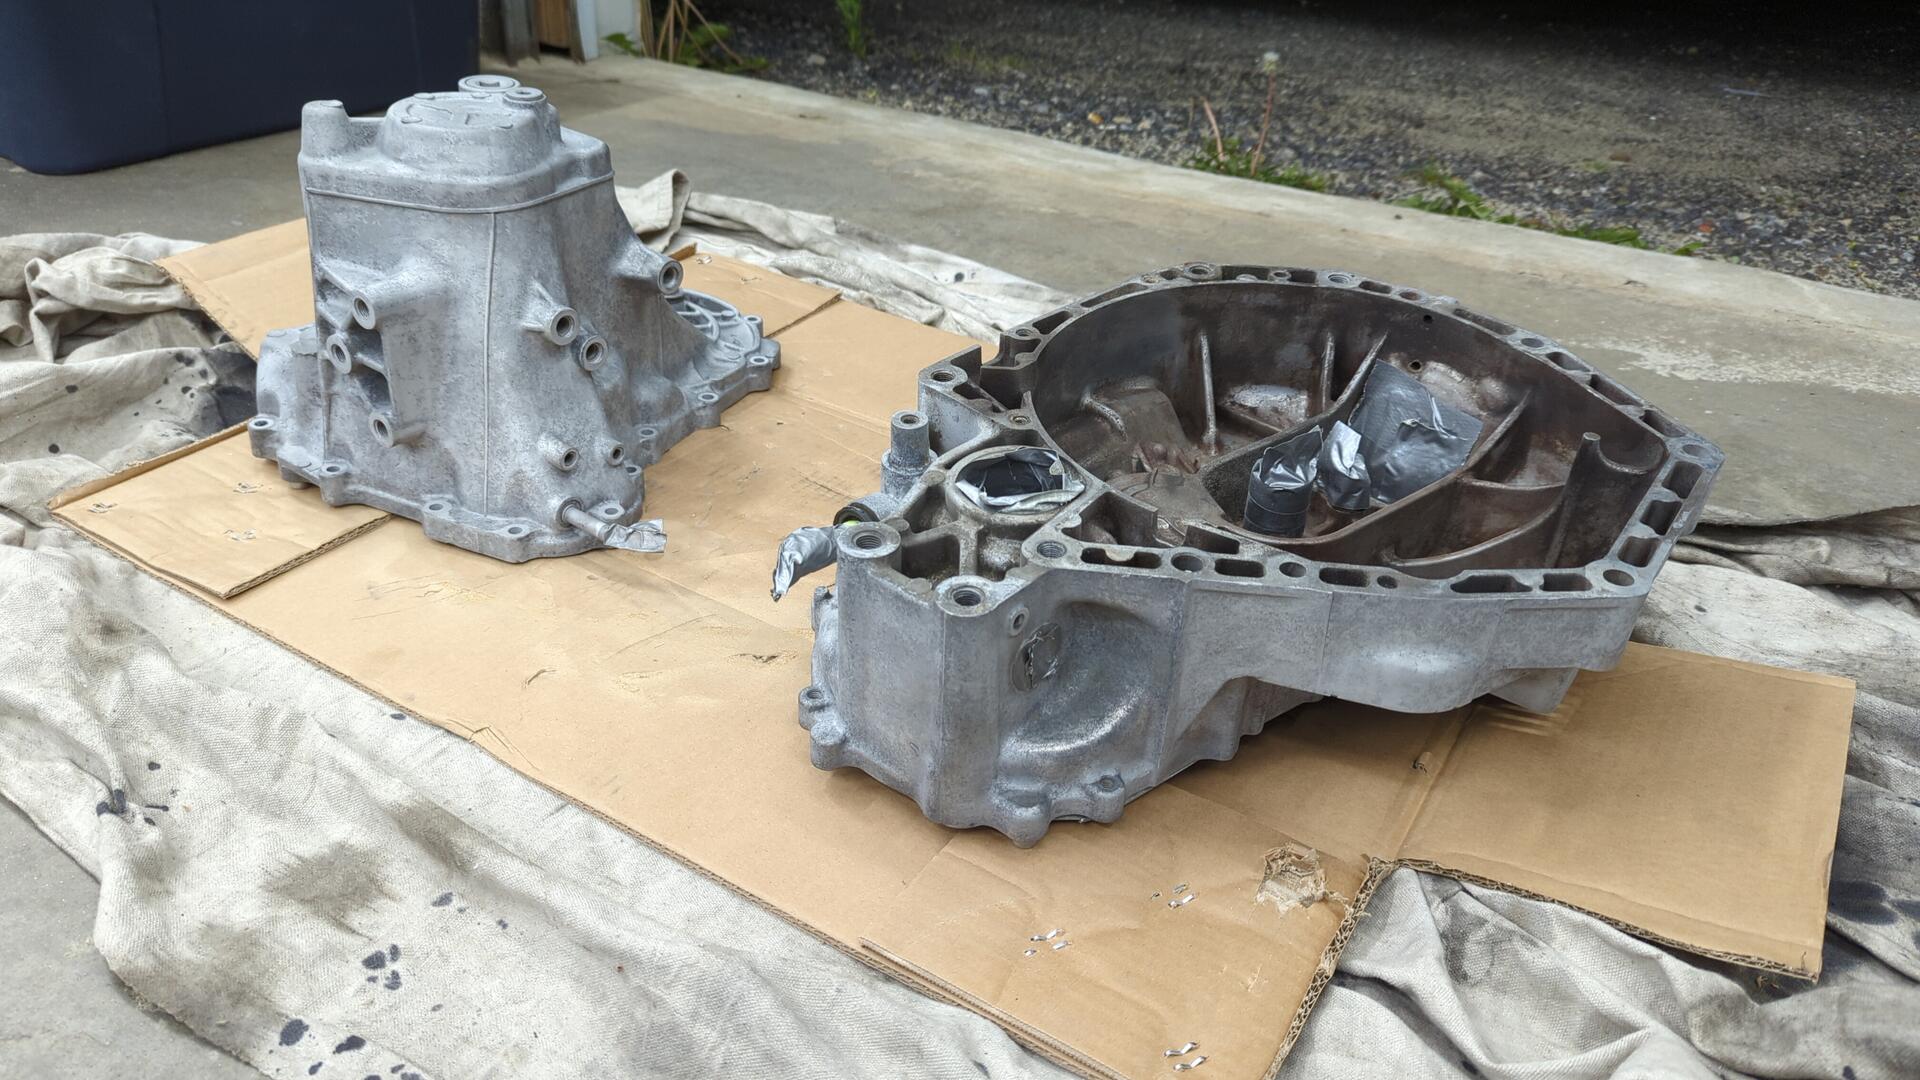
Refreshing the Casing
Since all of the paint had basically flaked off I decided to sandblast the halves for a fresh start.
Normally I like to use coal slag for blasting but I was worried about that being too aggressive as these are aluminum so I tried out some play sand from Home Depot.
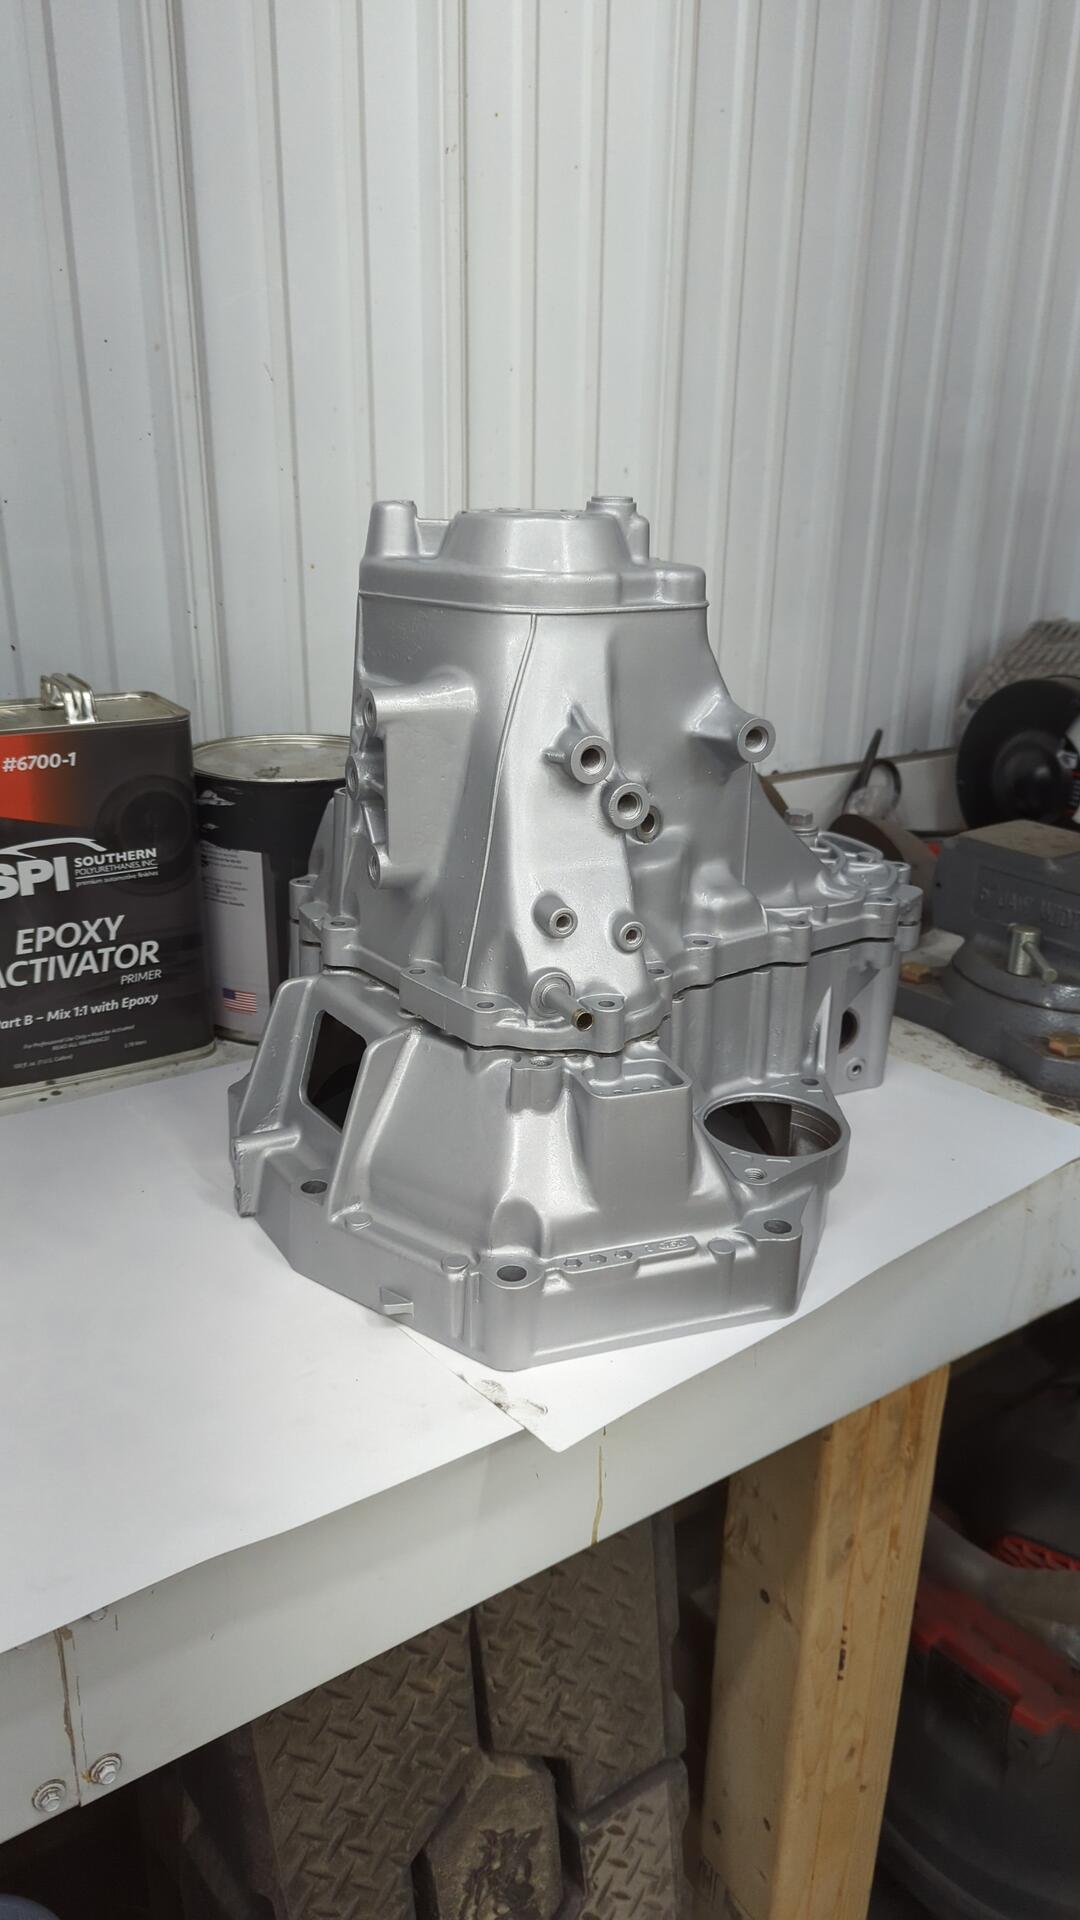
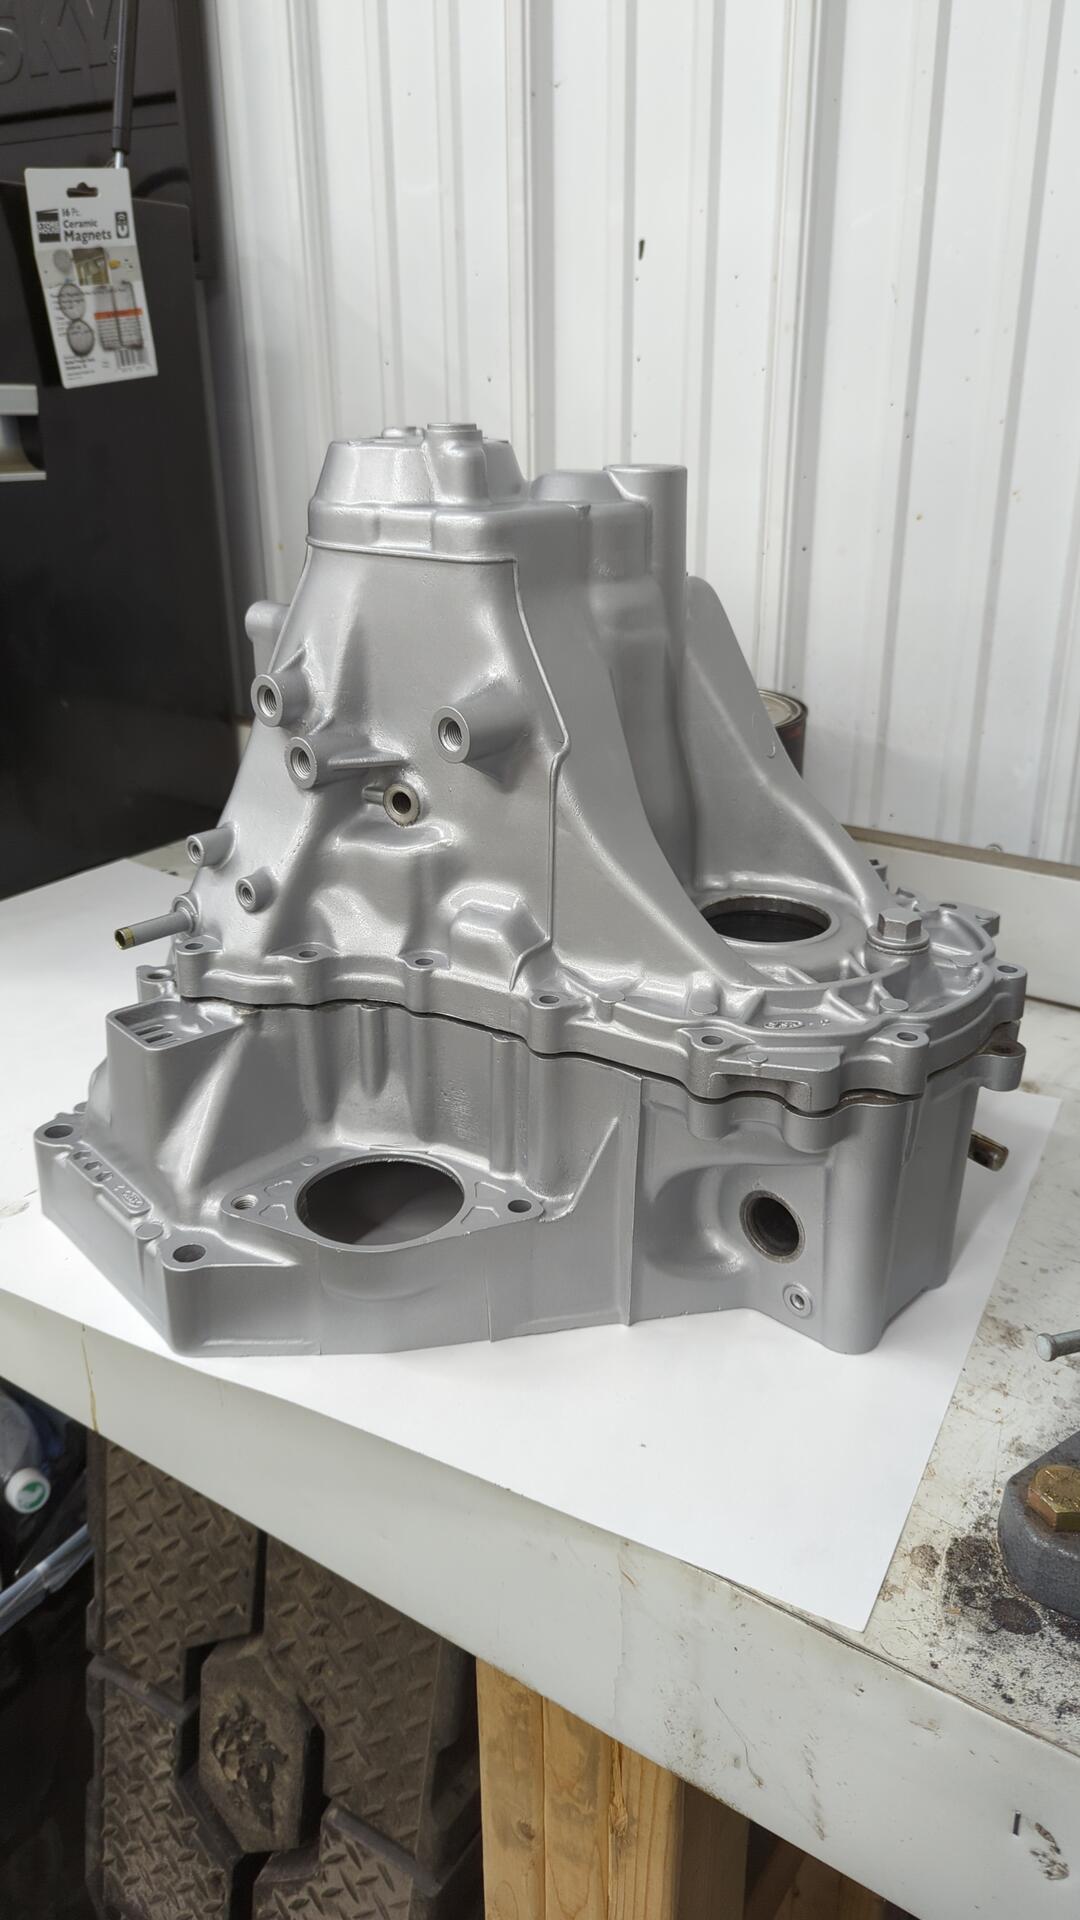
After that I gave the casing two coats of Bill Hirsch engine enamel to protect it. I’ve heard nothing but good things about Bill Hirsch enamel from Jalopy Journal so I decided to give it a try.
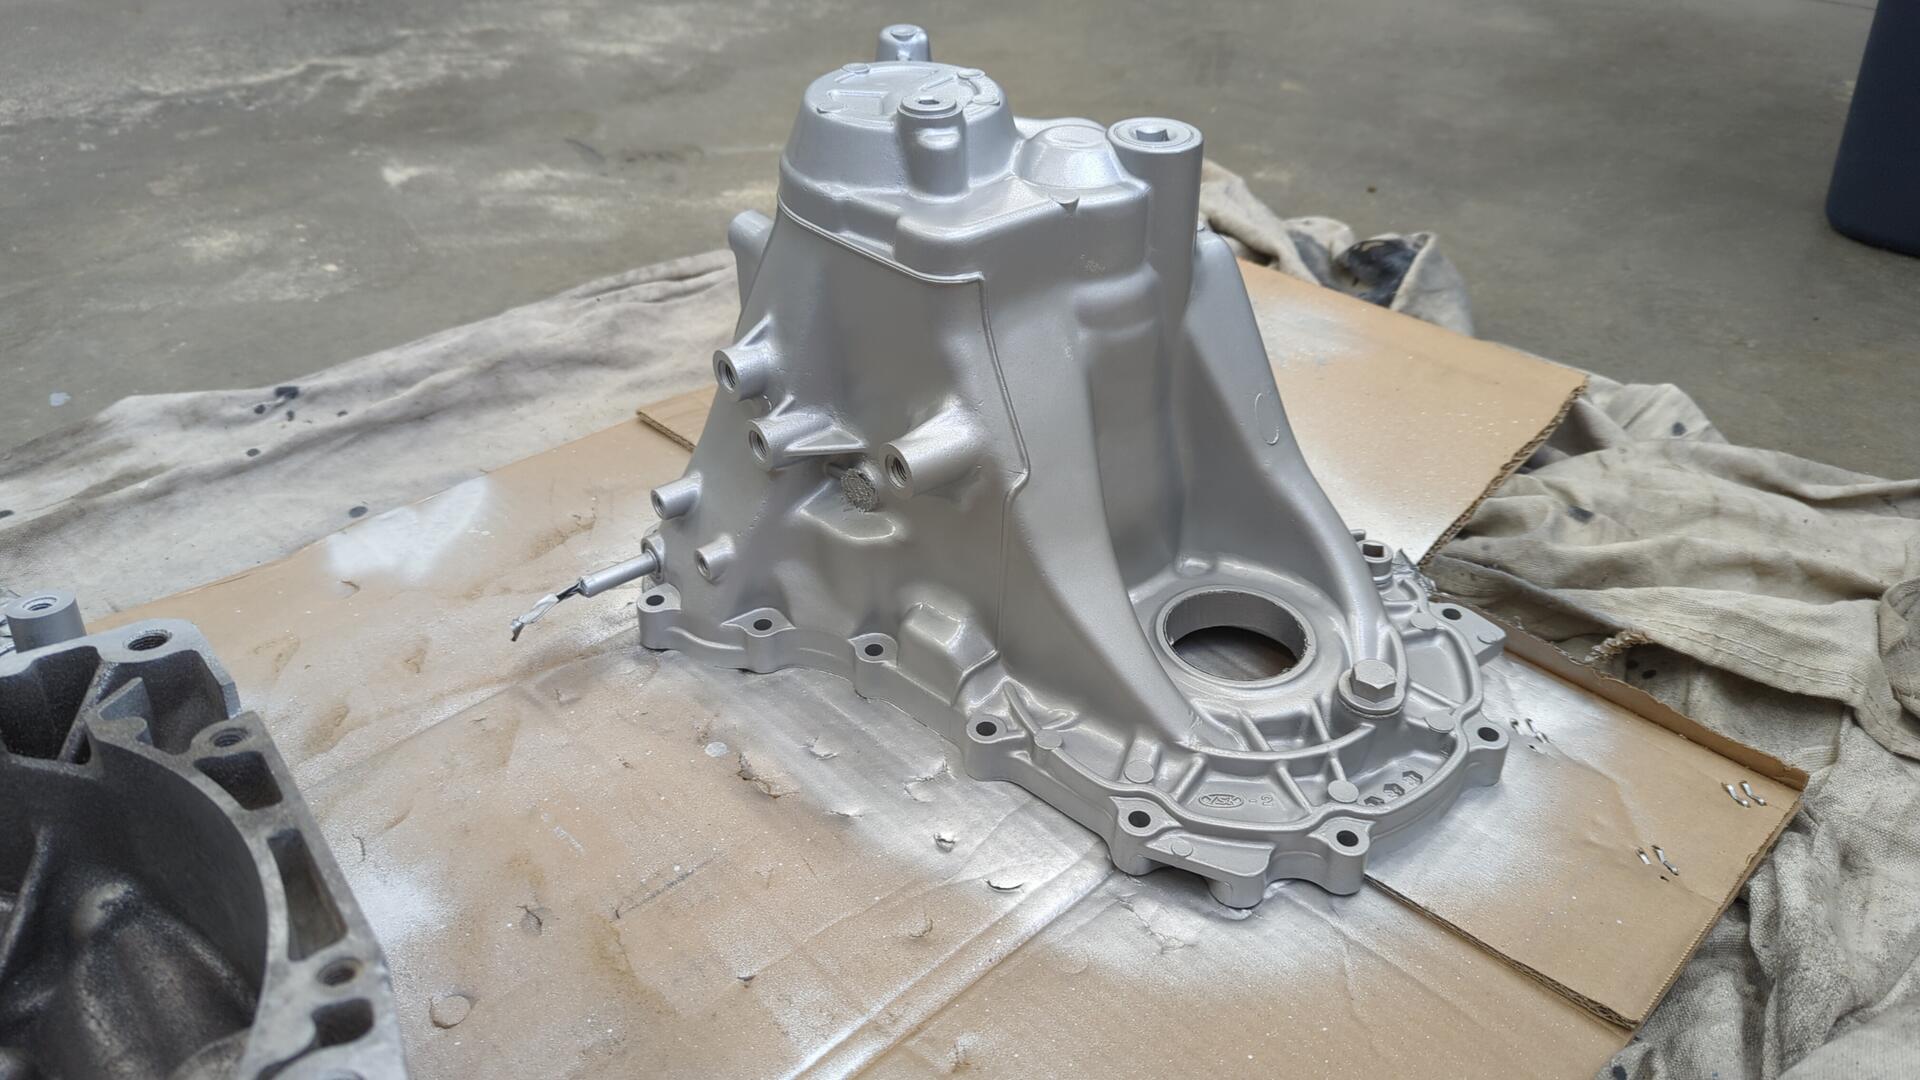
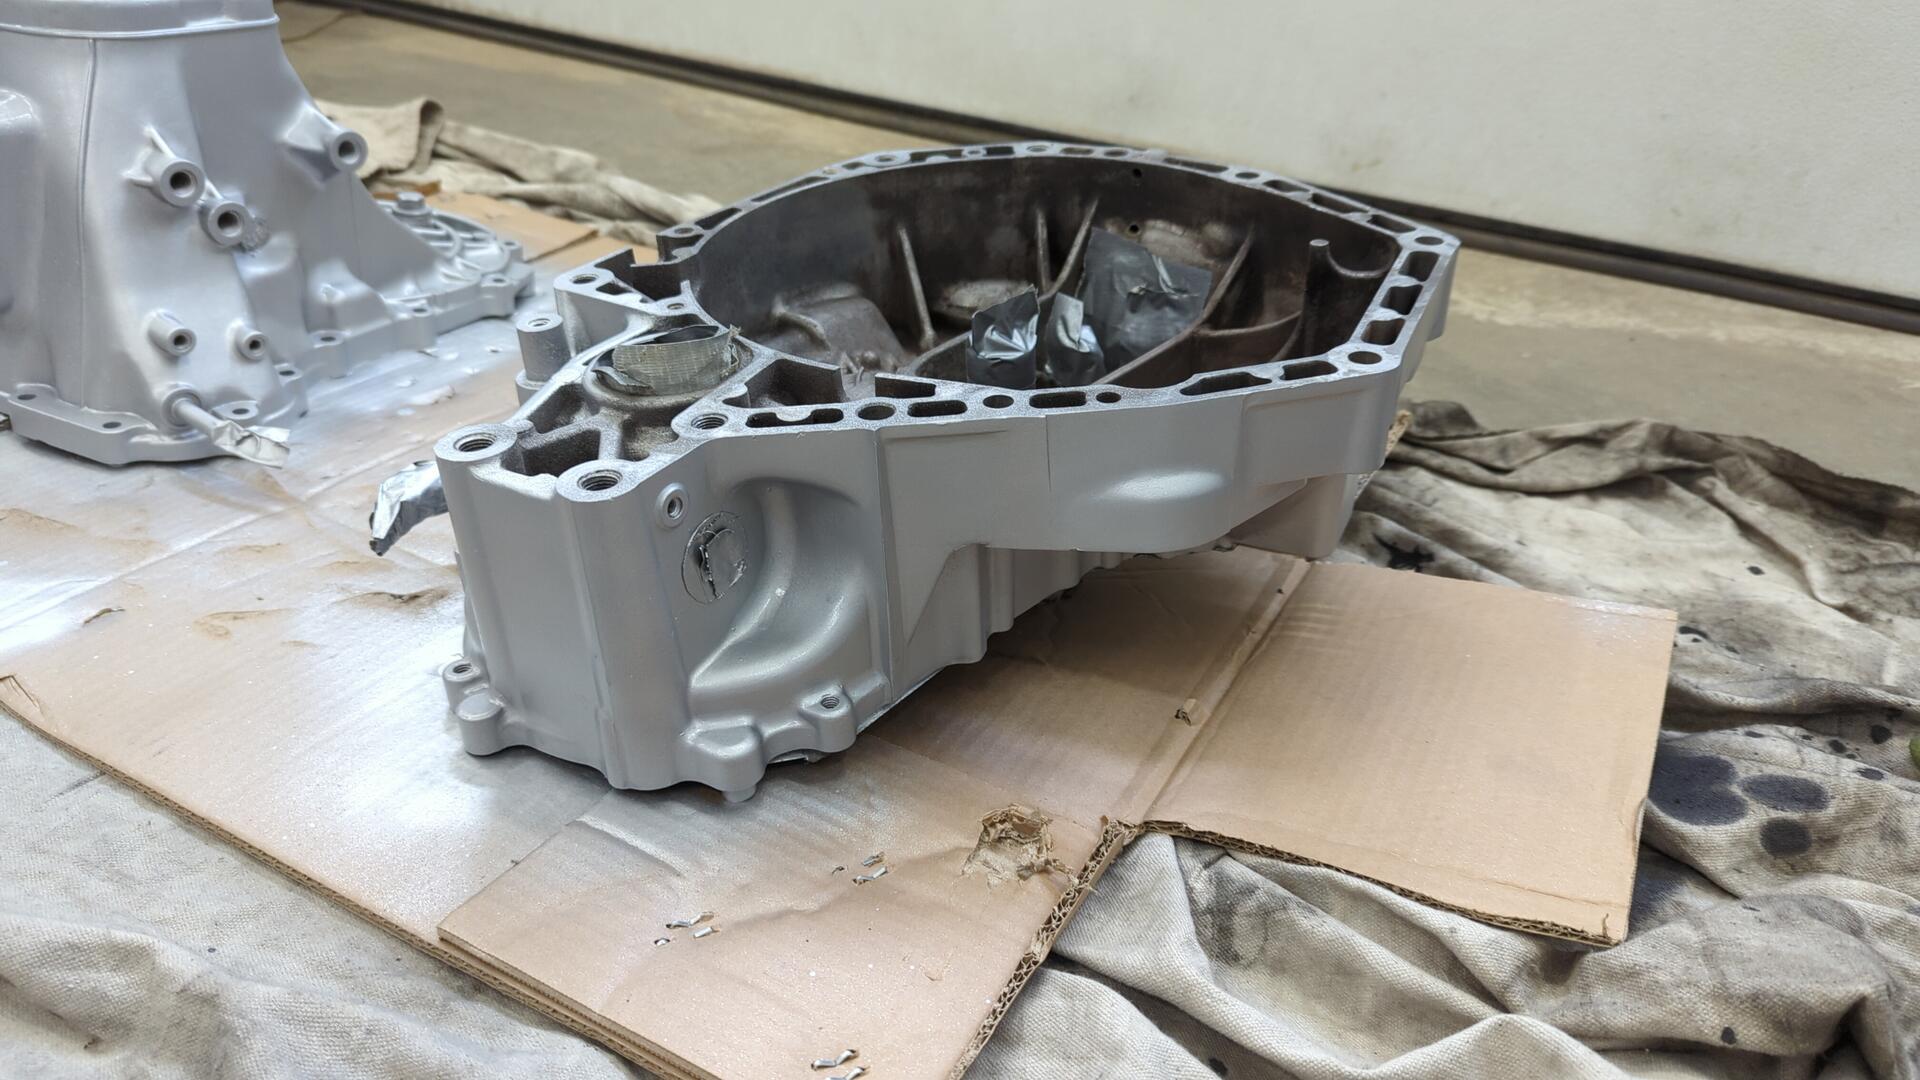
It took a couple days of waiting before the enamel was fully hardened.
But it looks awesome!
Adding the Limited Slip
This was by far the most nerve wracking step of this mini project.
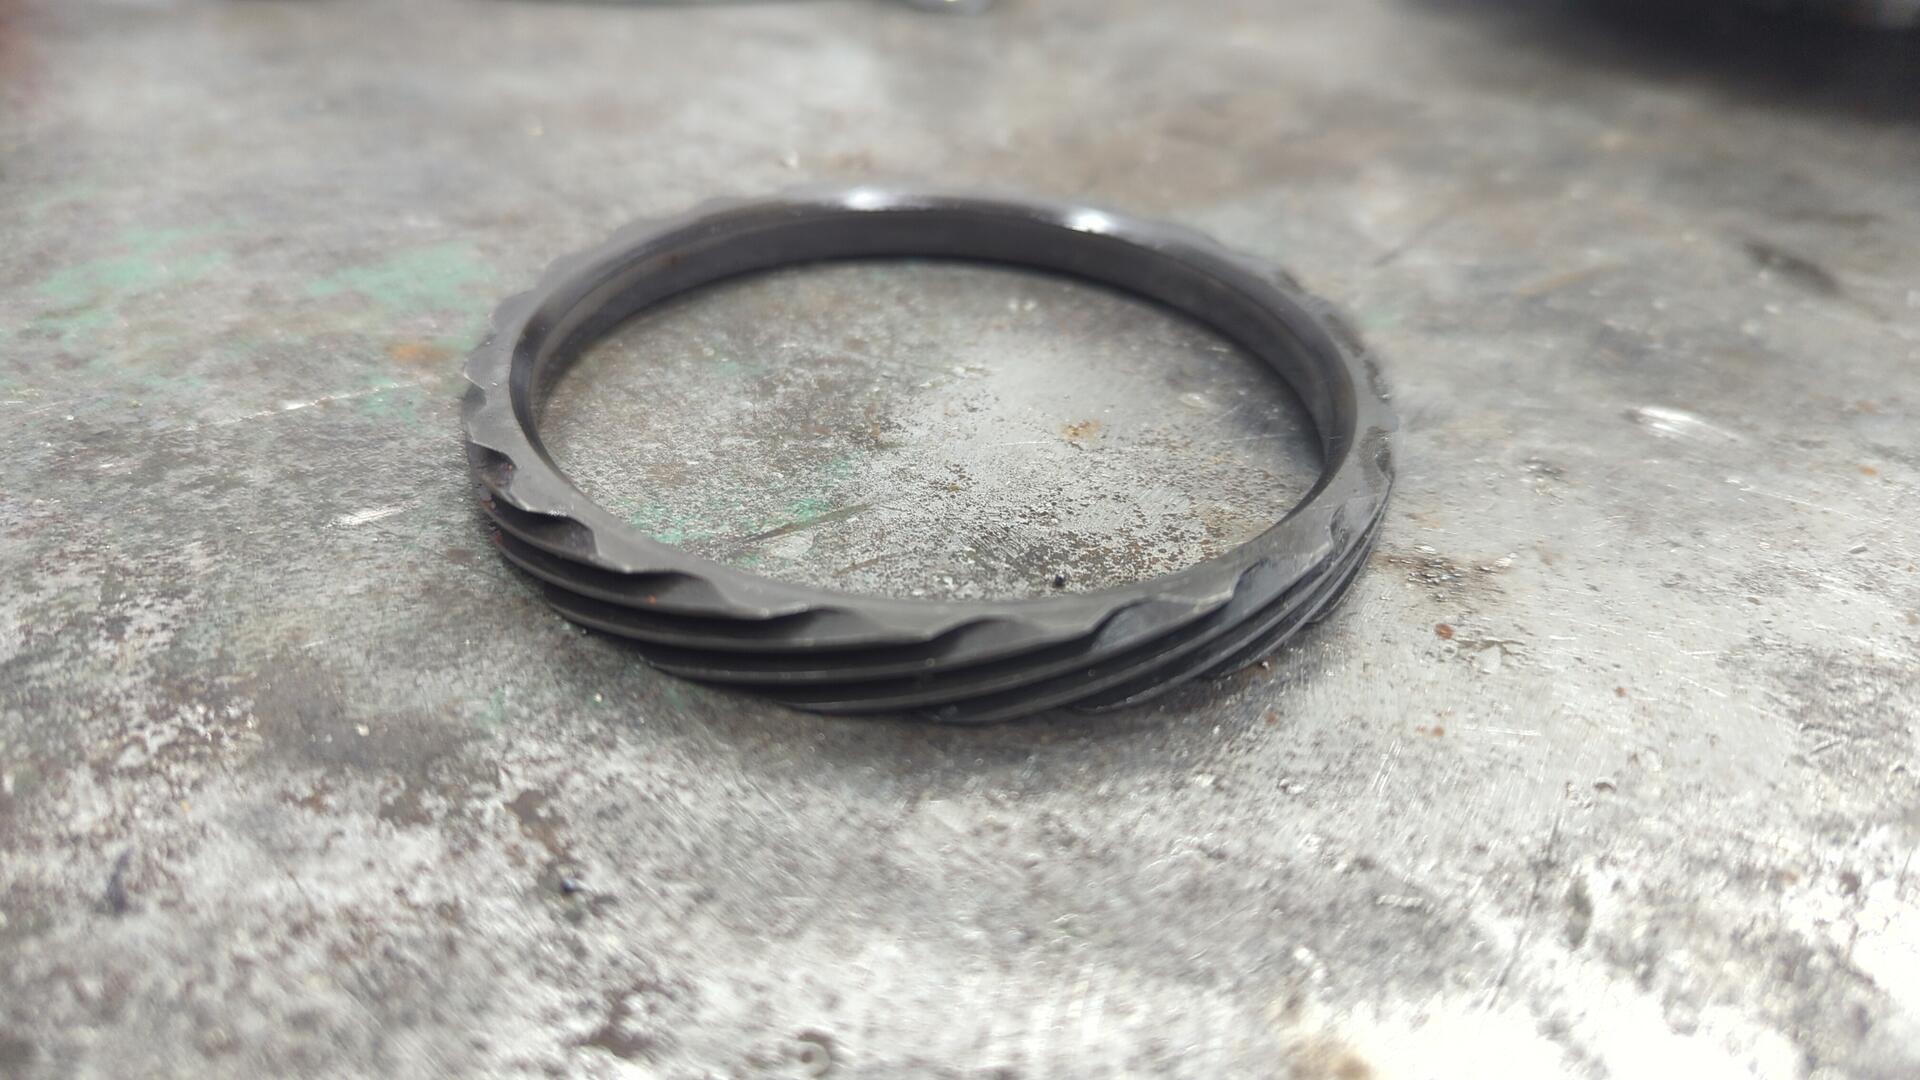
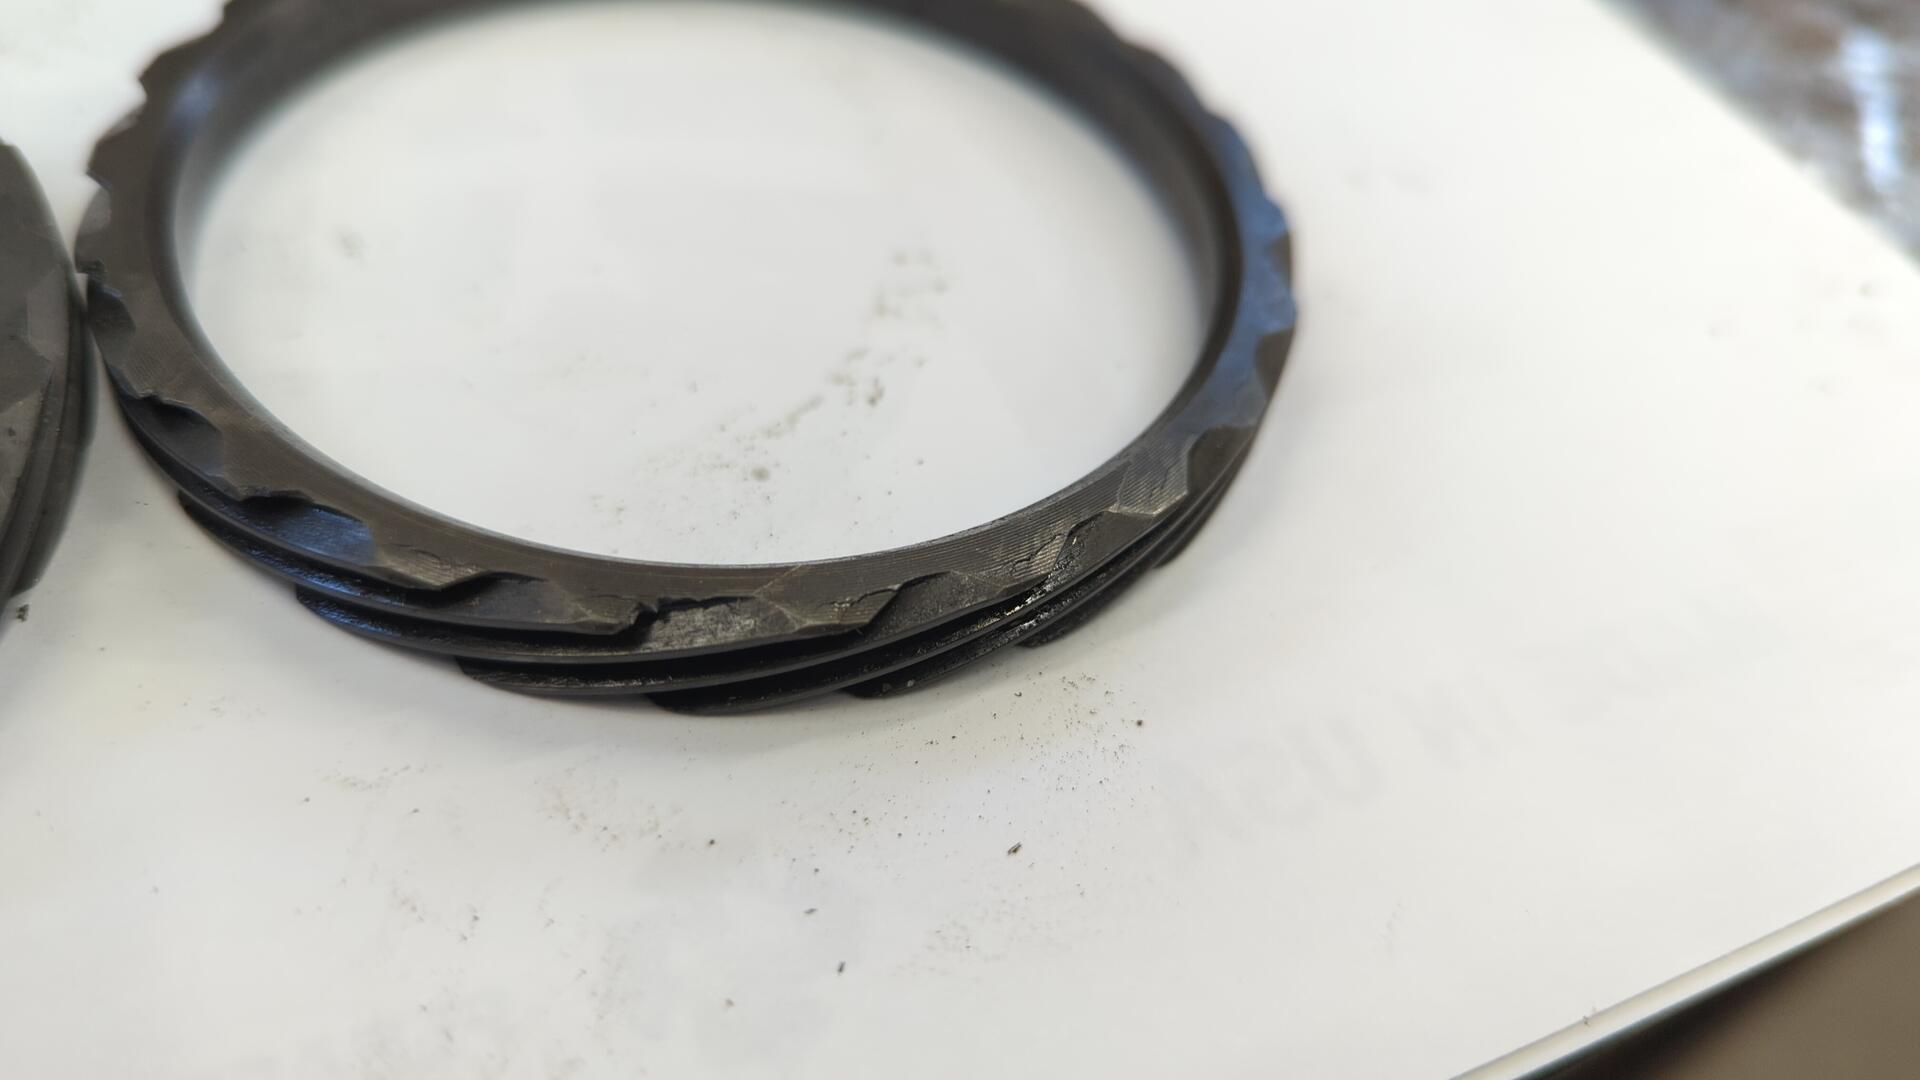
I was warned multiple times to be very careful when pulling the speedometer gear ring as it’s hard to find a replacement, and they’re notoriously fragile.
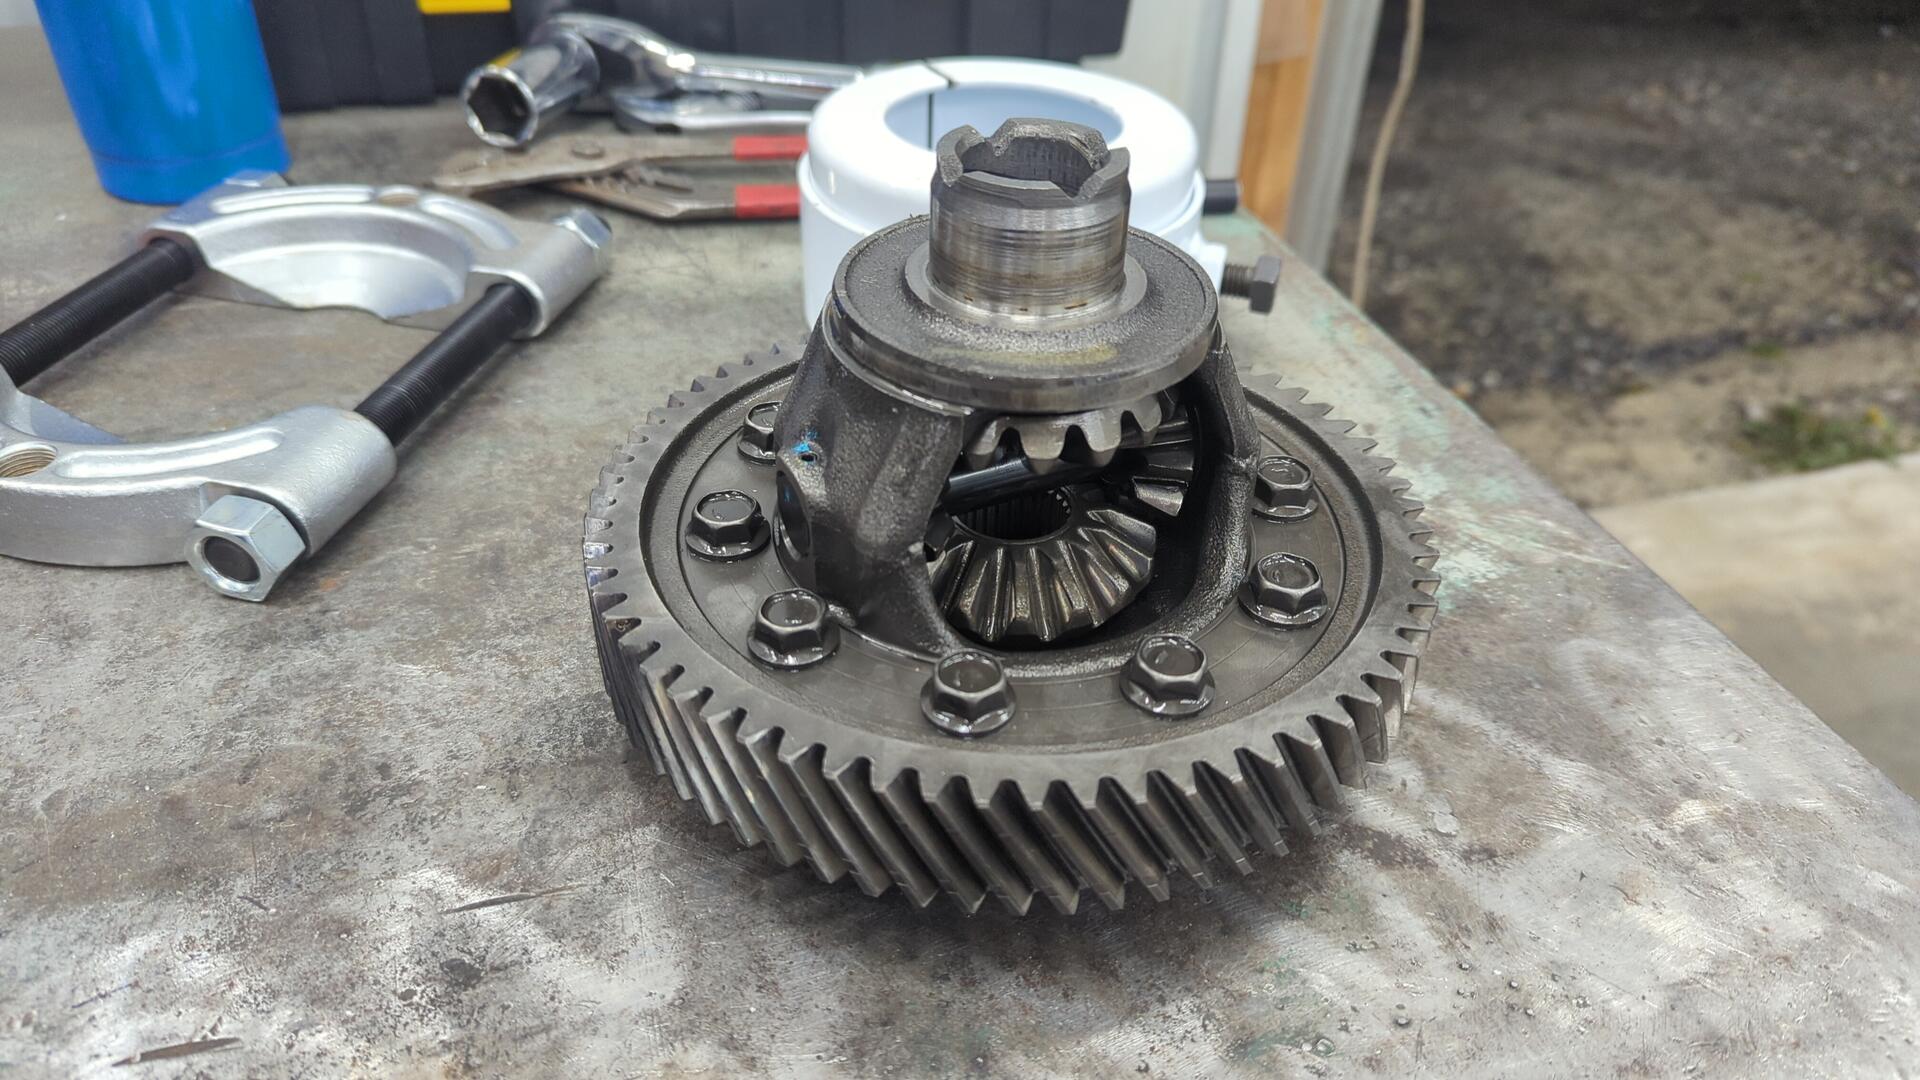
So, keeping that in mind I got started by first pulling the diff bearings.
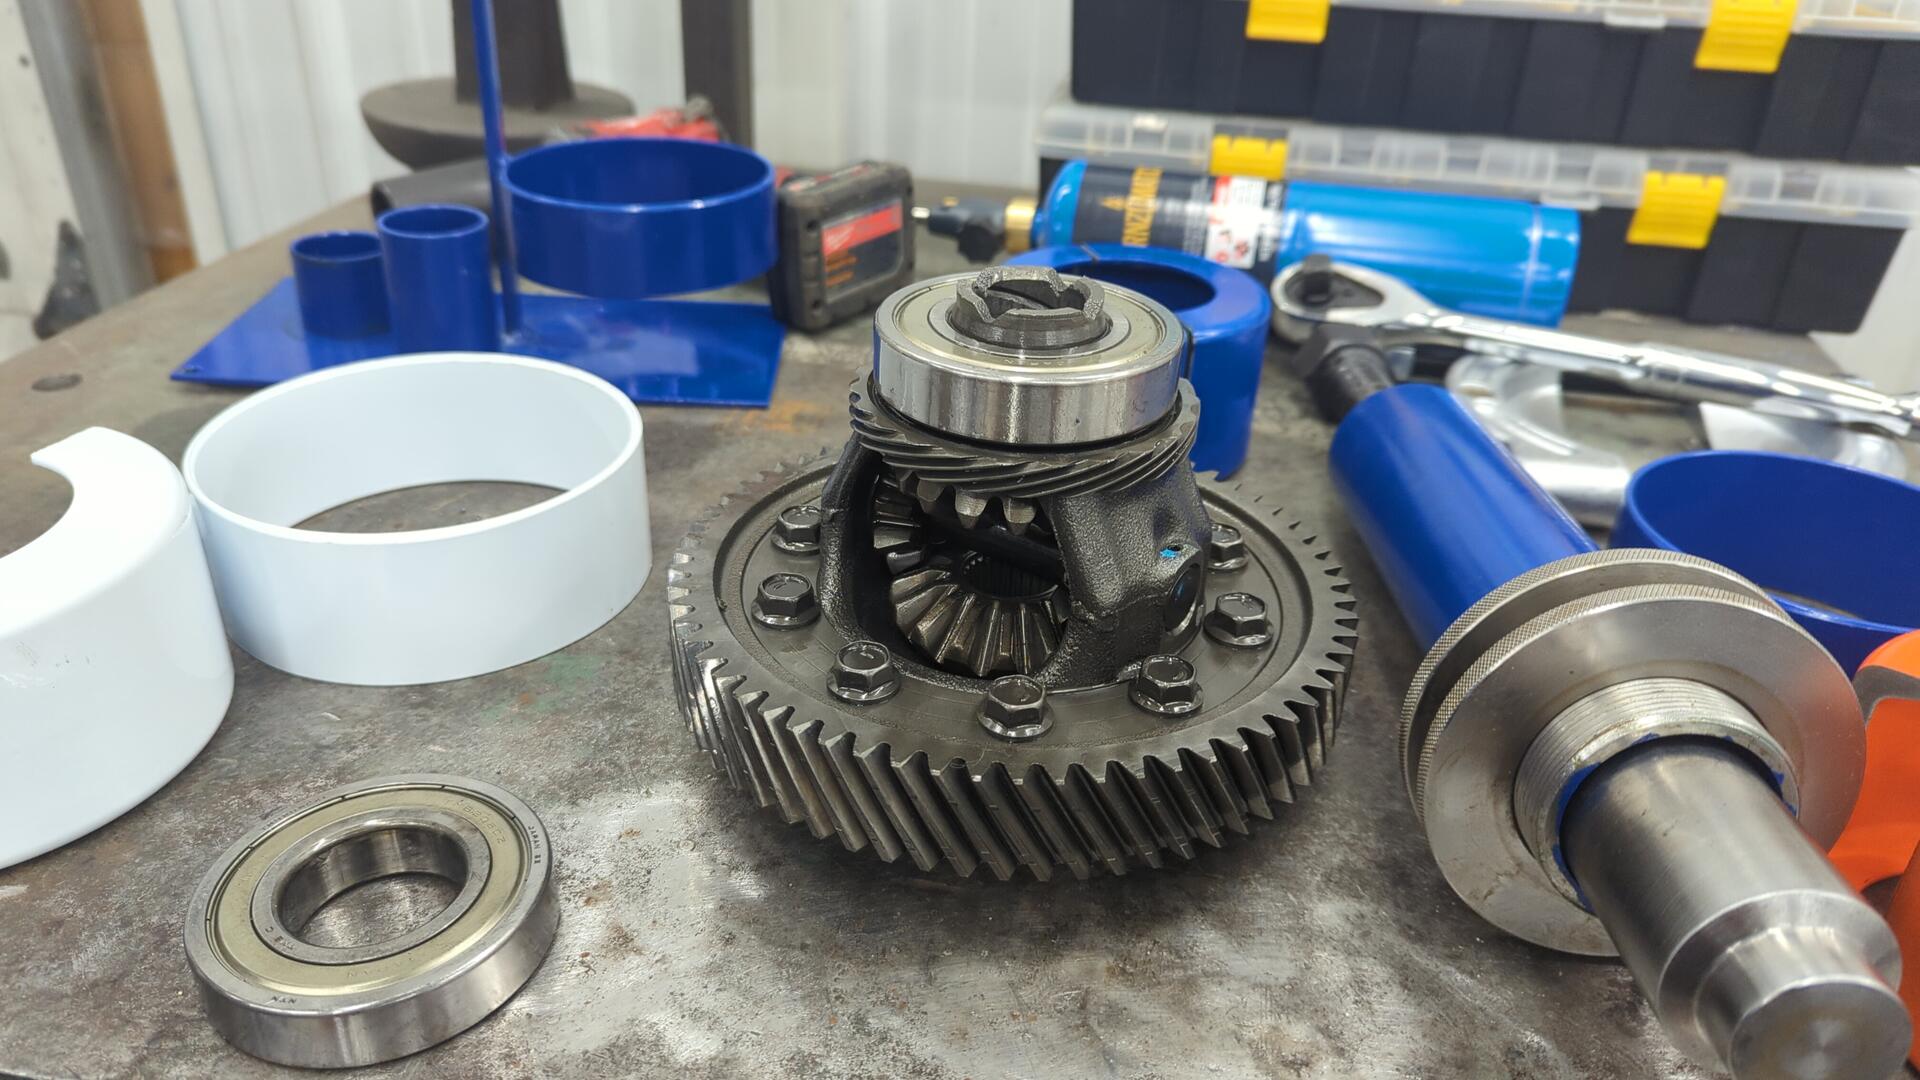
And after that I went for broke and pulled the differential gear. When I first started pulling it there was a loud pop which made me fear I broke it but it turned out the gear was fine and the pop was from it breaking loose.
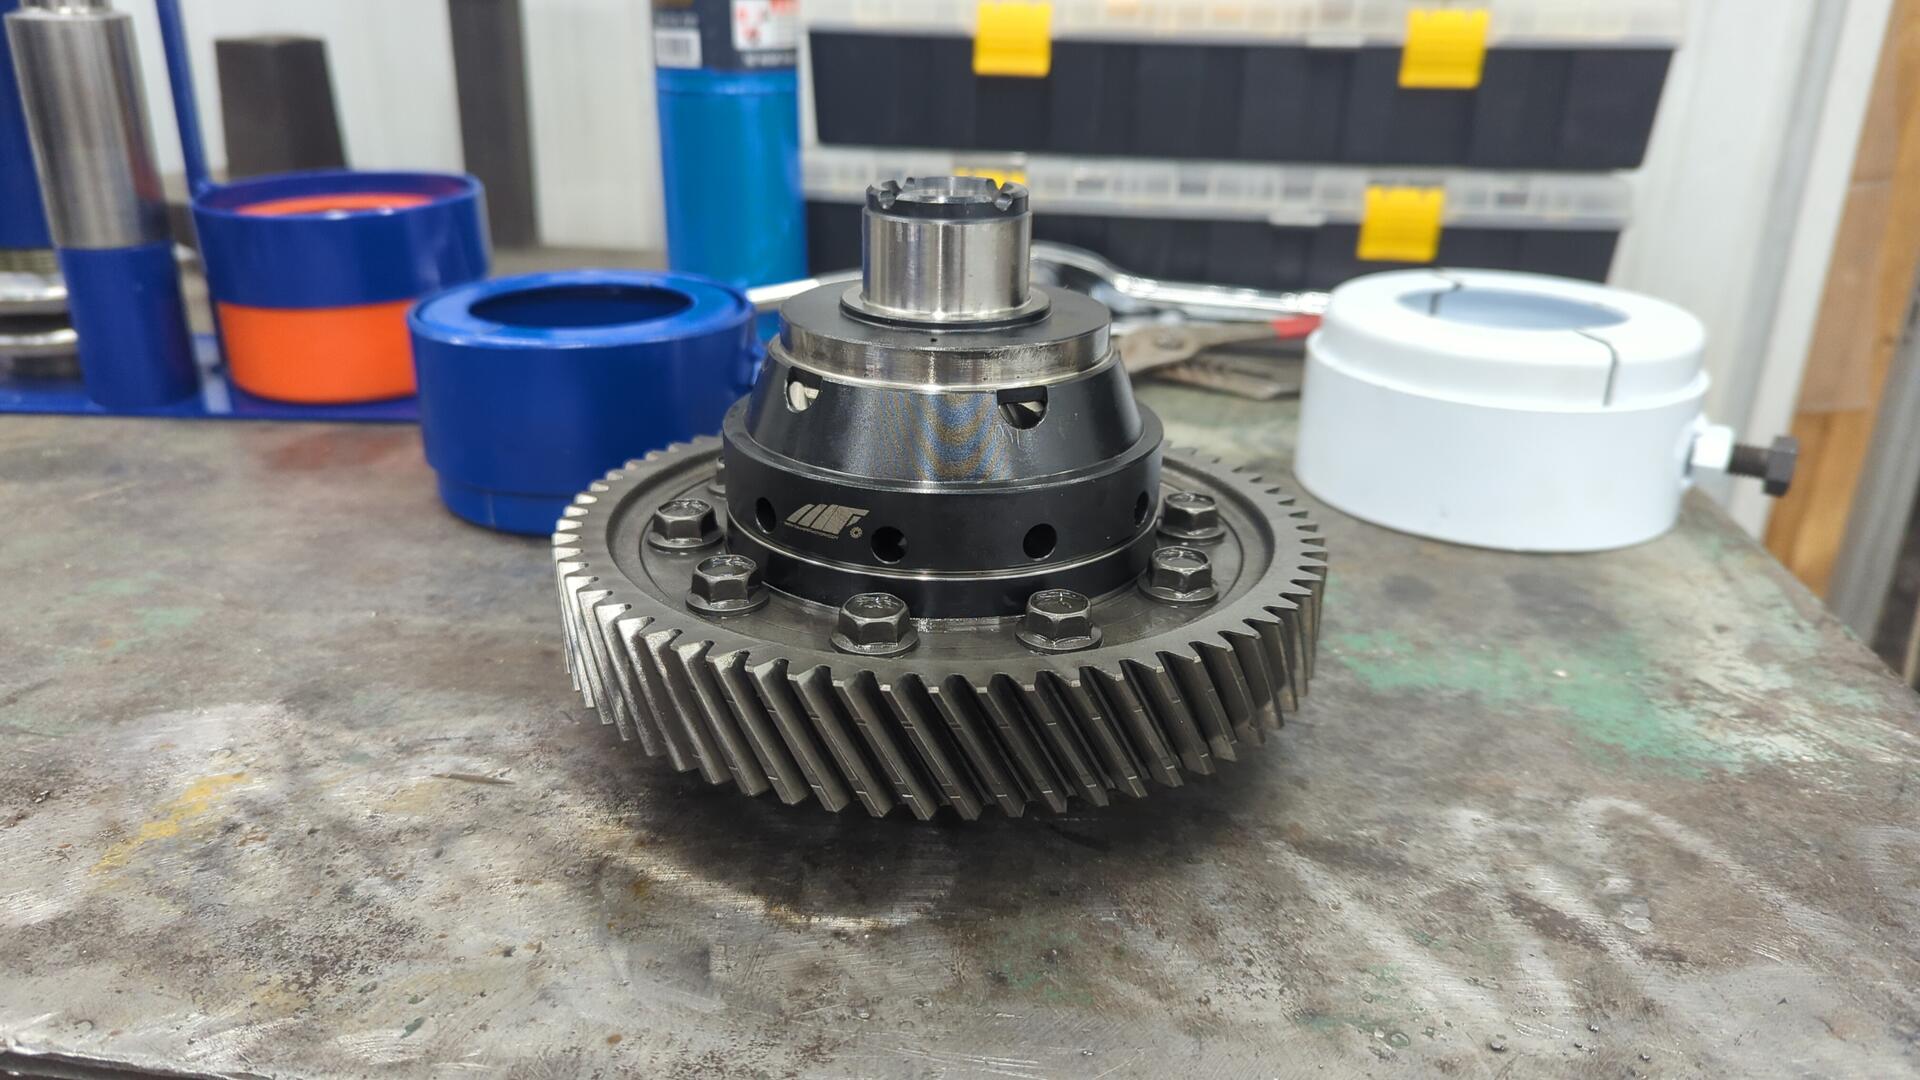
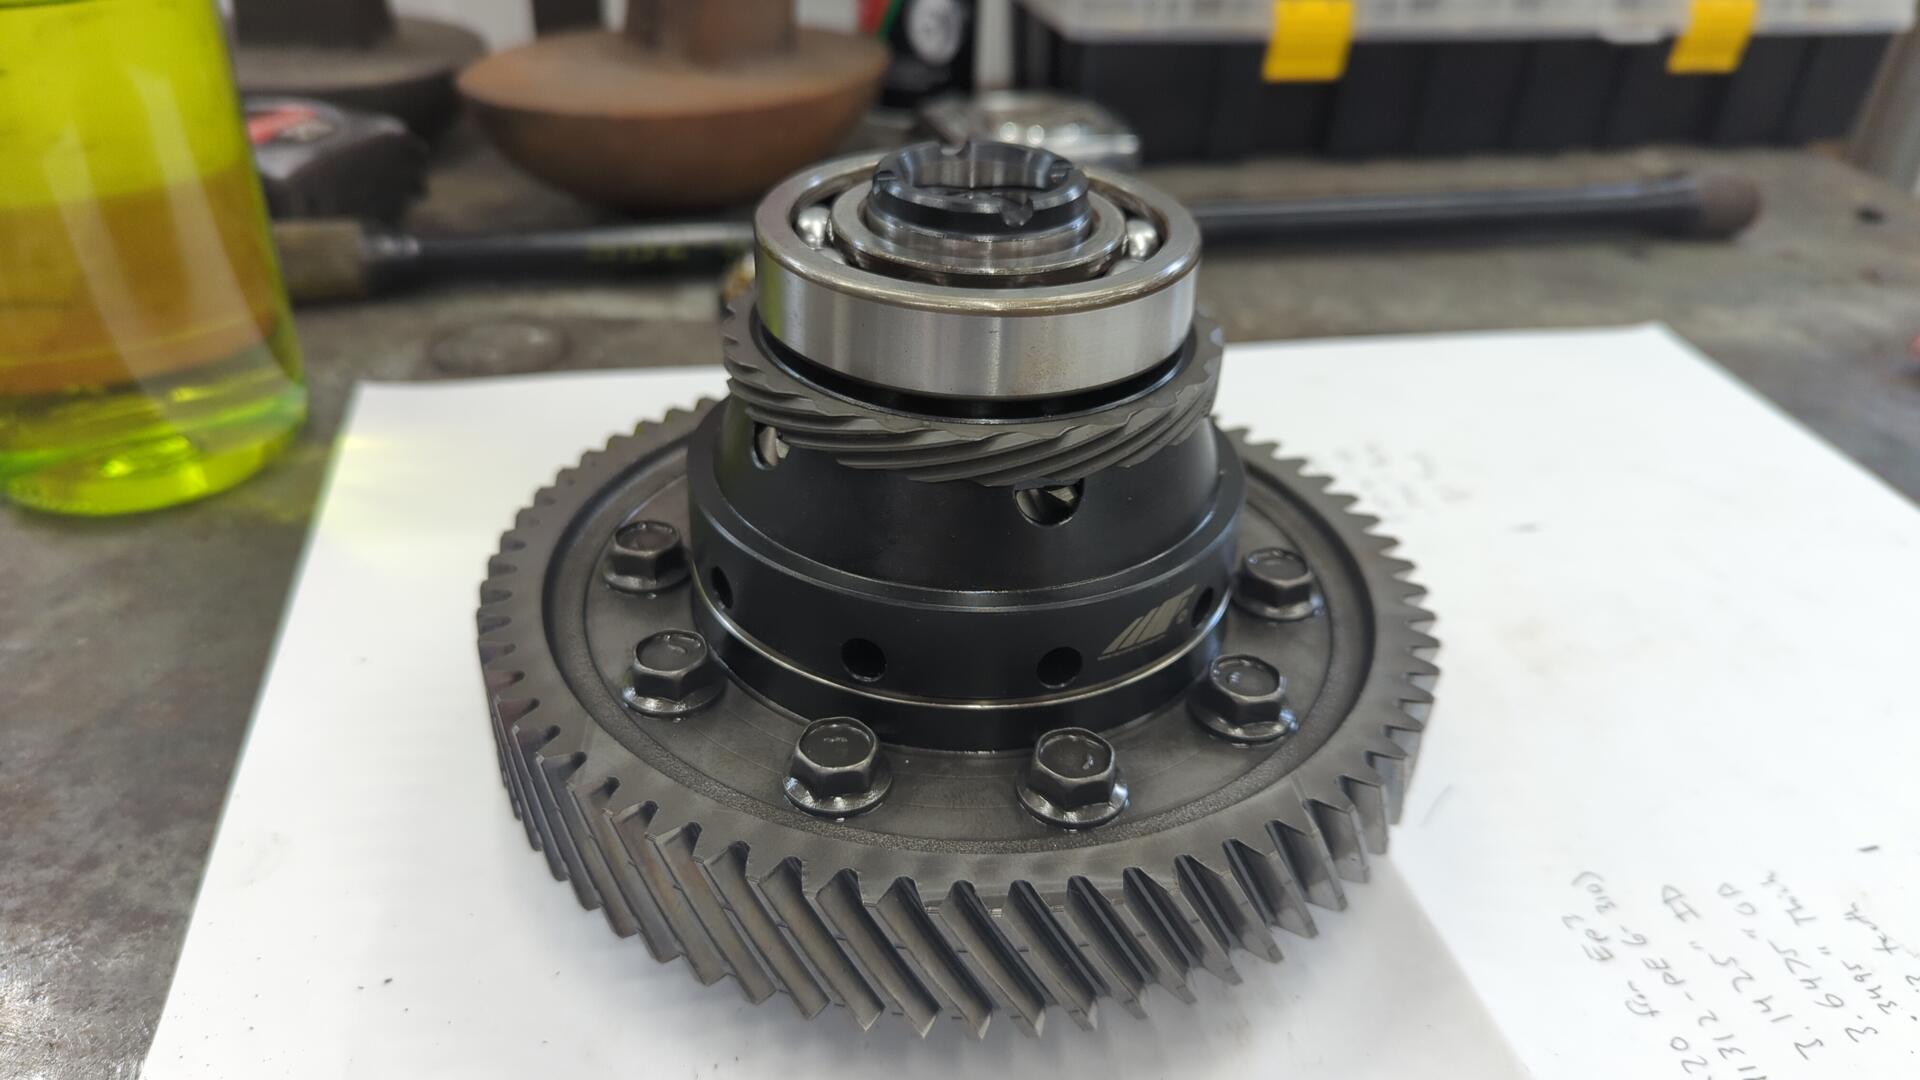
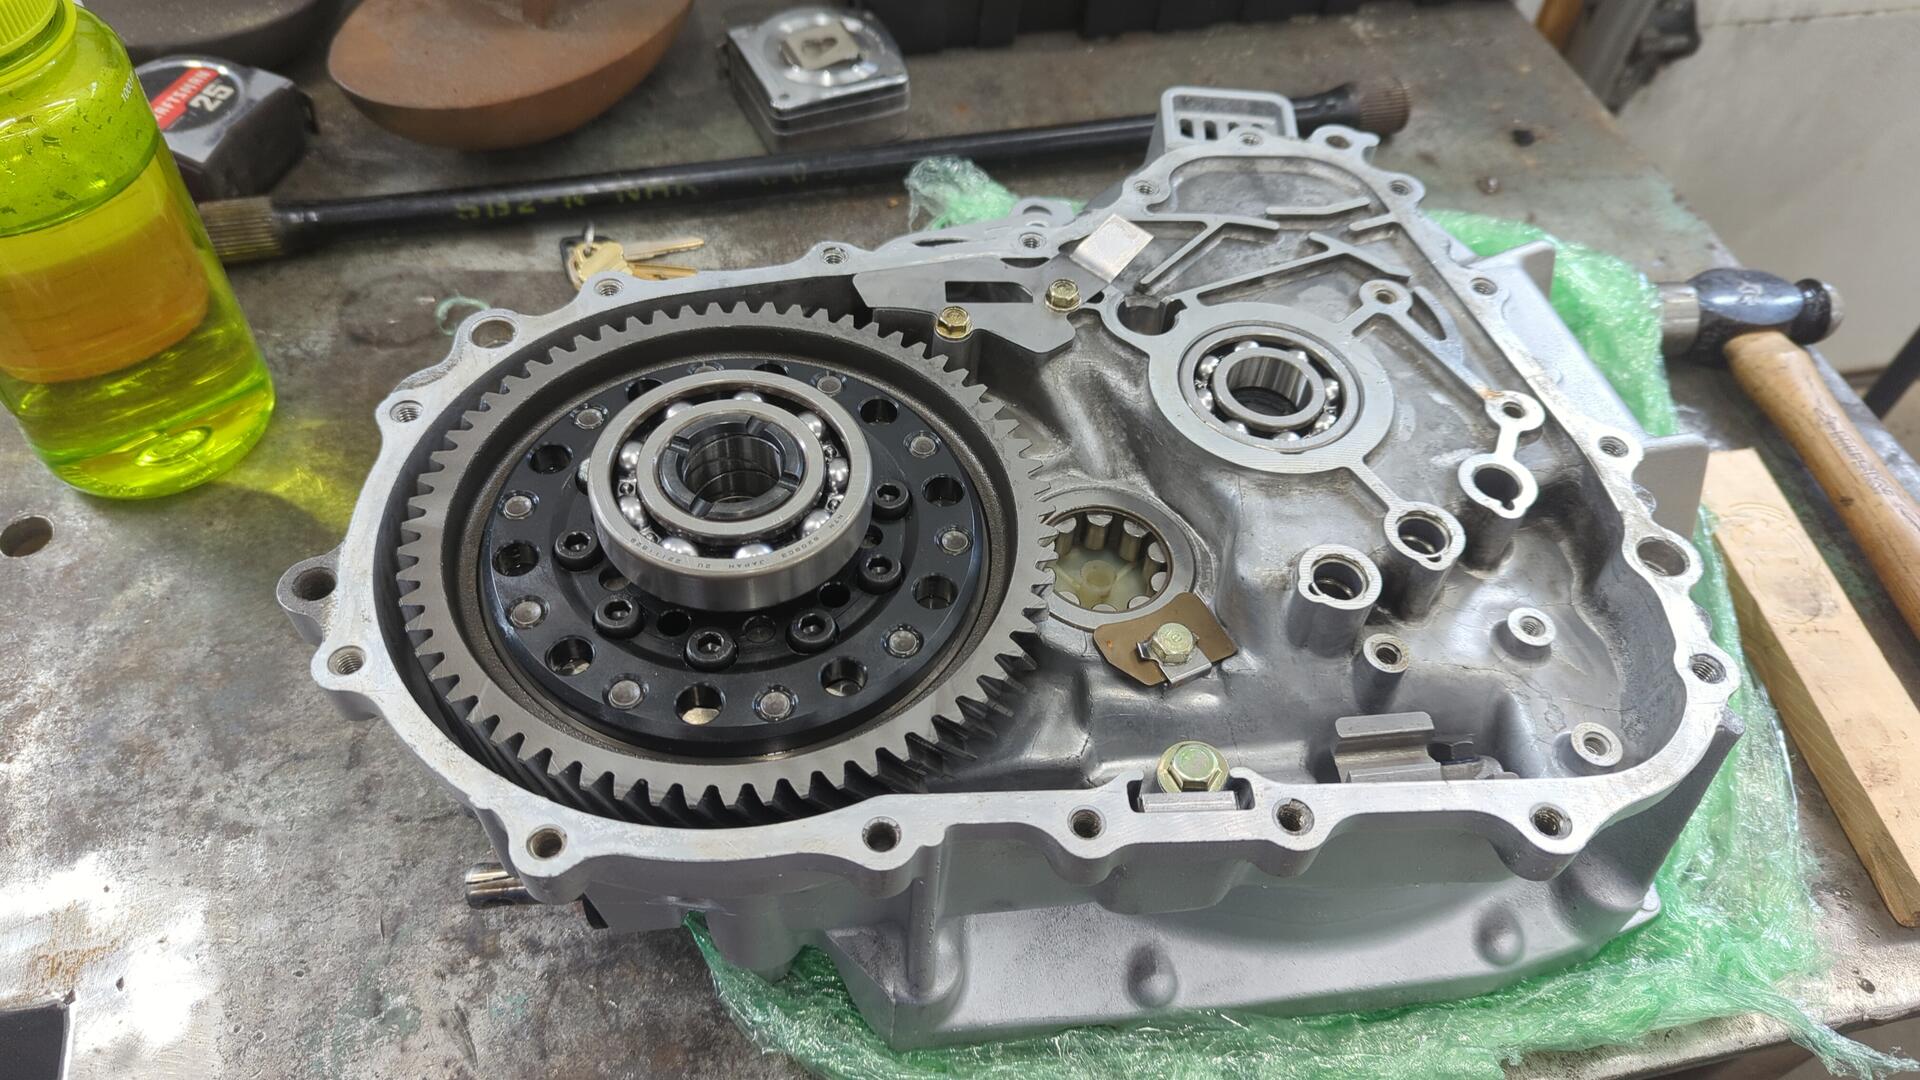
Getting the new differential ready. It’s an M-Factory MF-TRS-05B16.
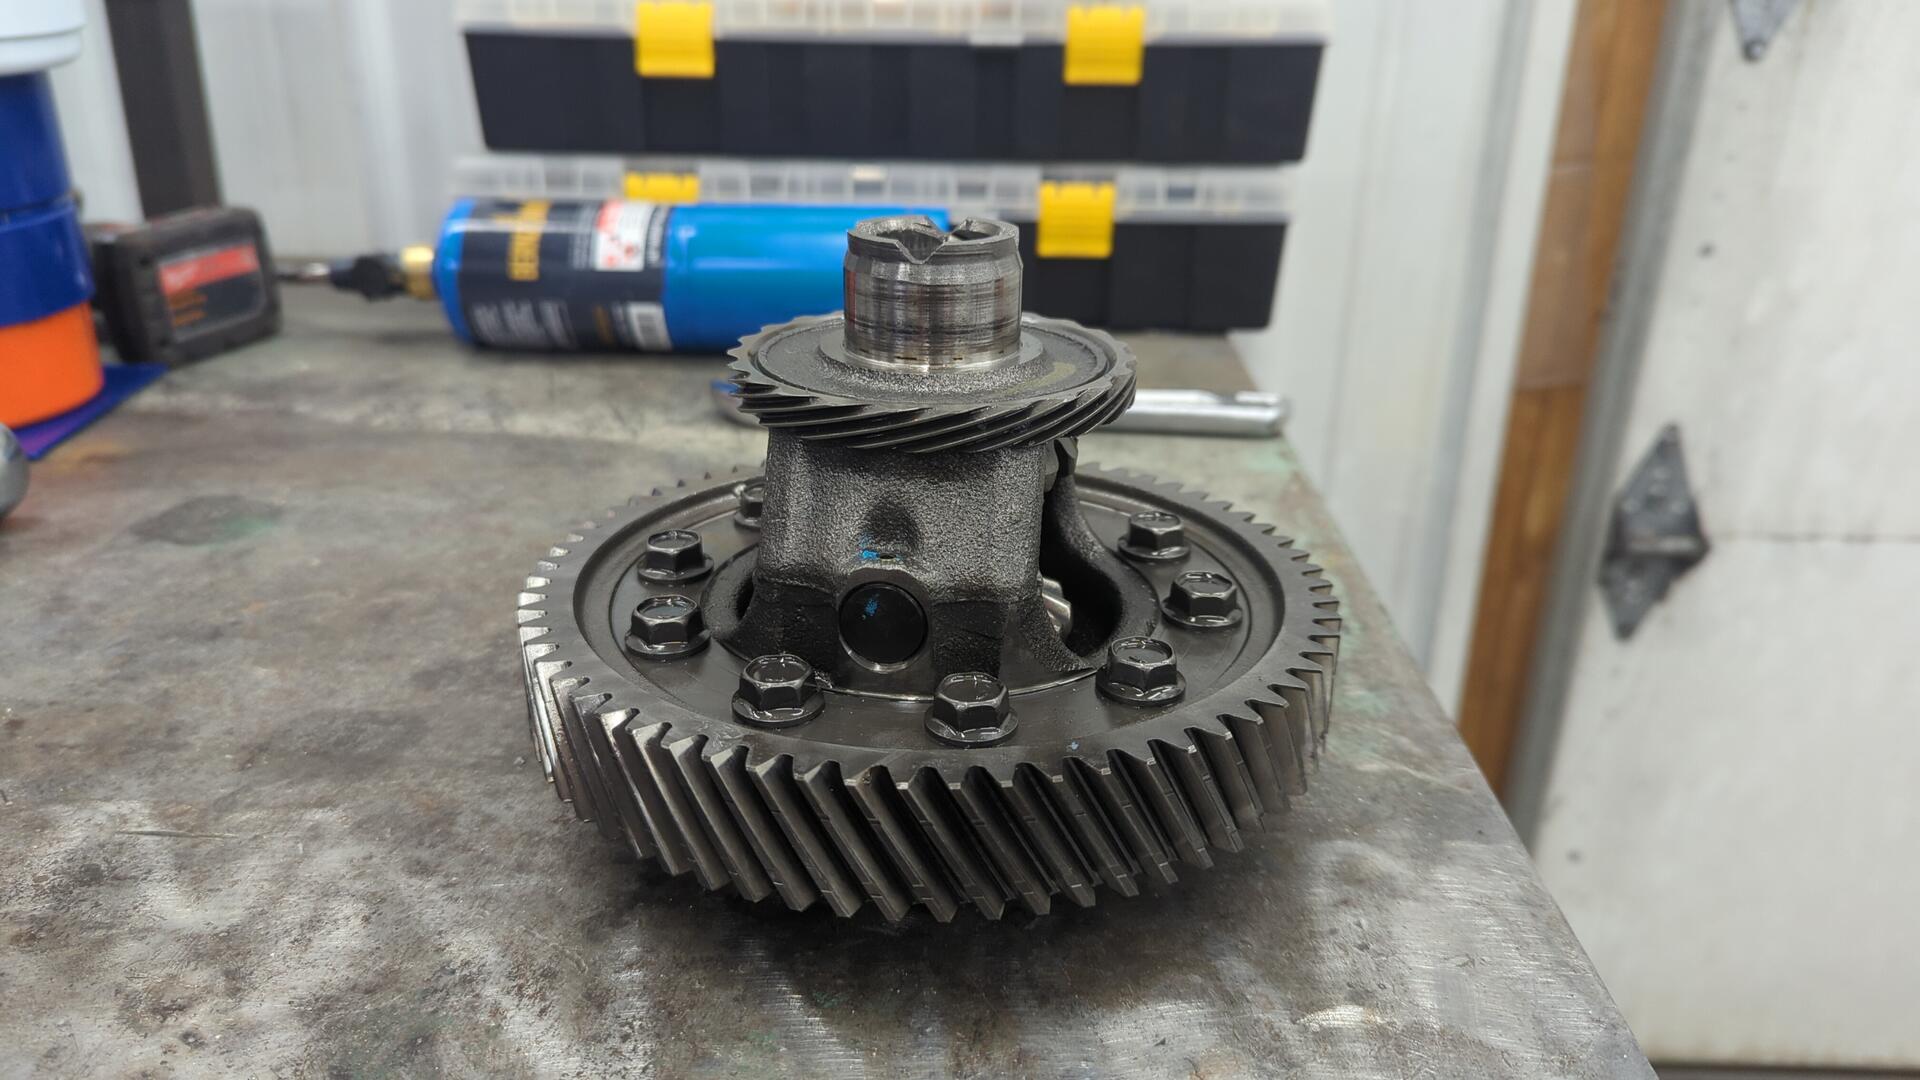
Sadly as luck would have it, I ran into some trouble when attempting to re-install the gear. I wasn’t as worried about this step so I got a little careless and tried to pop it on by heating it with a torch and then hammering it into position but that ended up failing and I chipped a couple teeth.
Oops.
I was pretty bummed about this because I wasn’t sure where I was gonna find another one and thought I had ruined my transmission at first. But while doing some research, I realized you can still source a new one from Honda even though Honda never sold them separately.
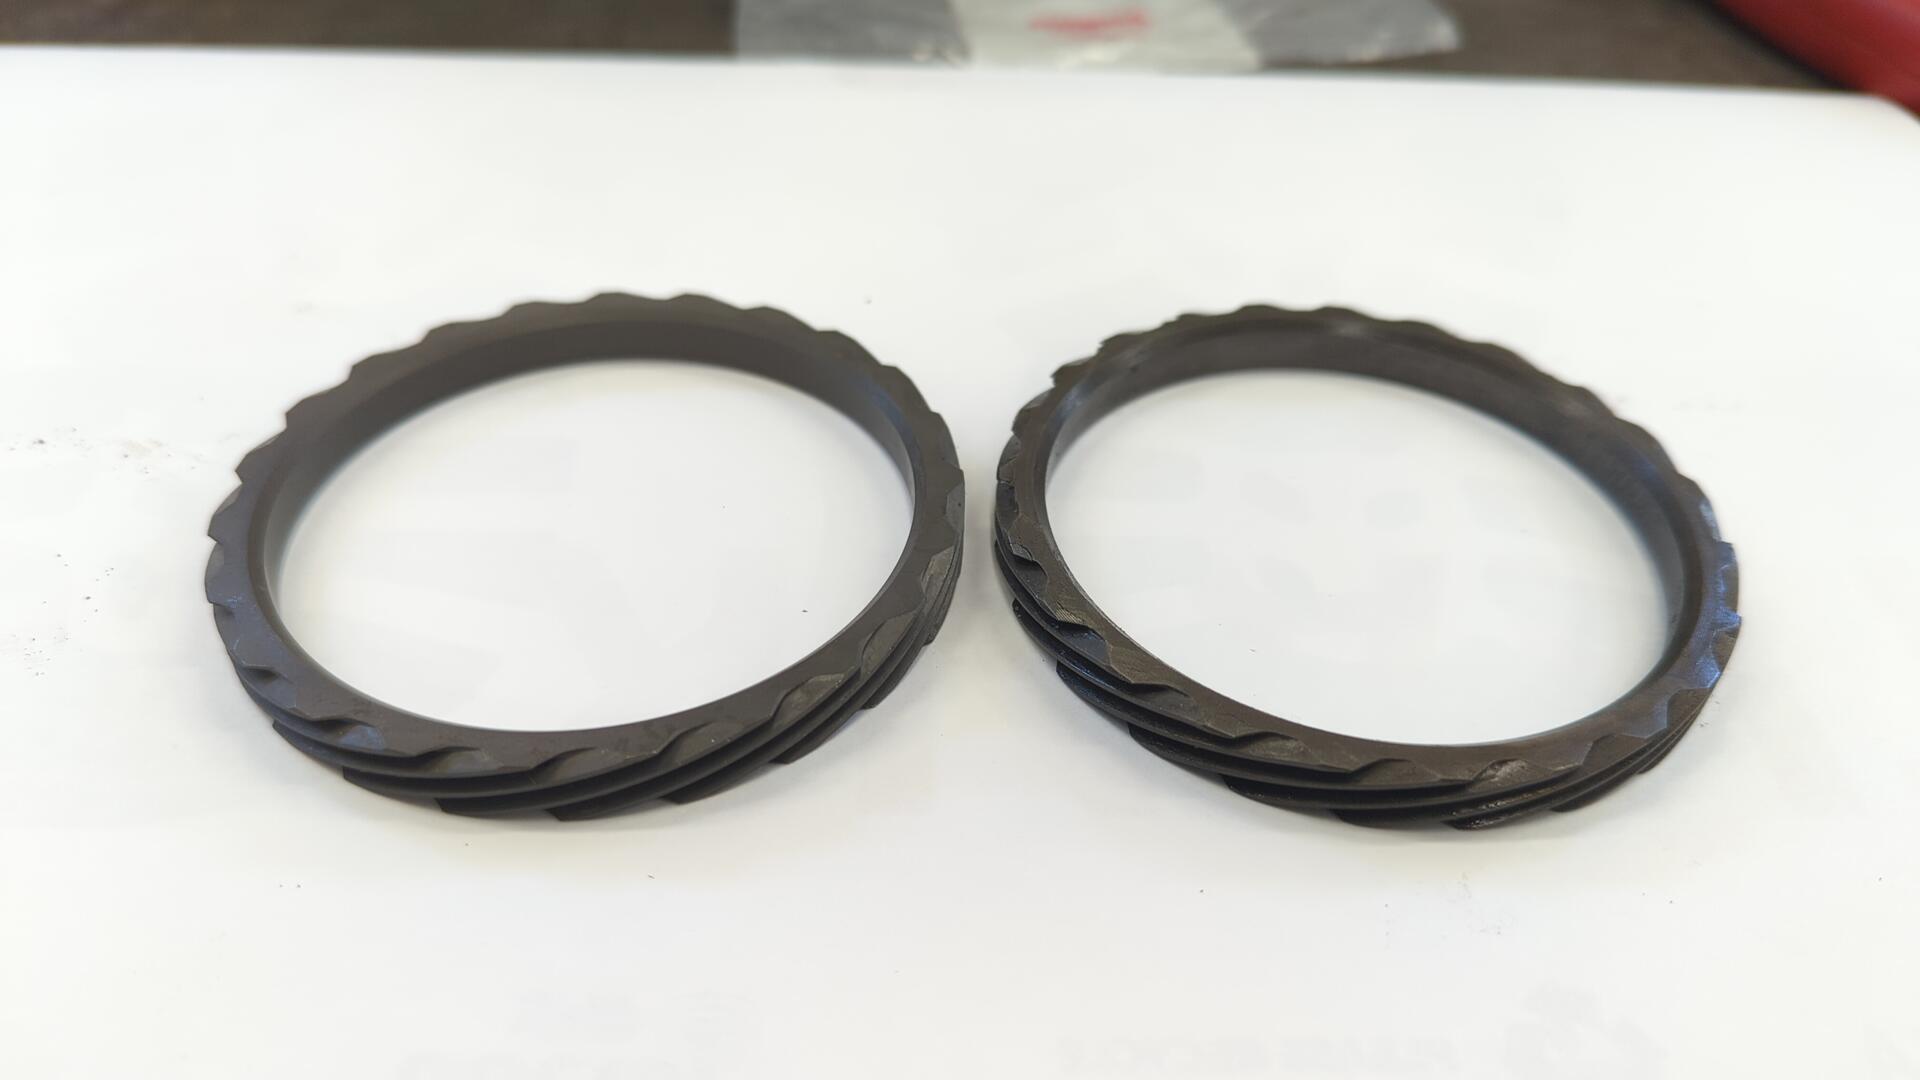
New one on the left, damaged one on right.
I was much more careful installing it the second time and used my press like I should have originally.
Reassembly
I hadn’t intended on replacing all the bearings in the tramission while I had it torn down, but I ended up having no choice because sand had somehow found it’s way down into them while blasting even though I had taped everything off carefully.
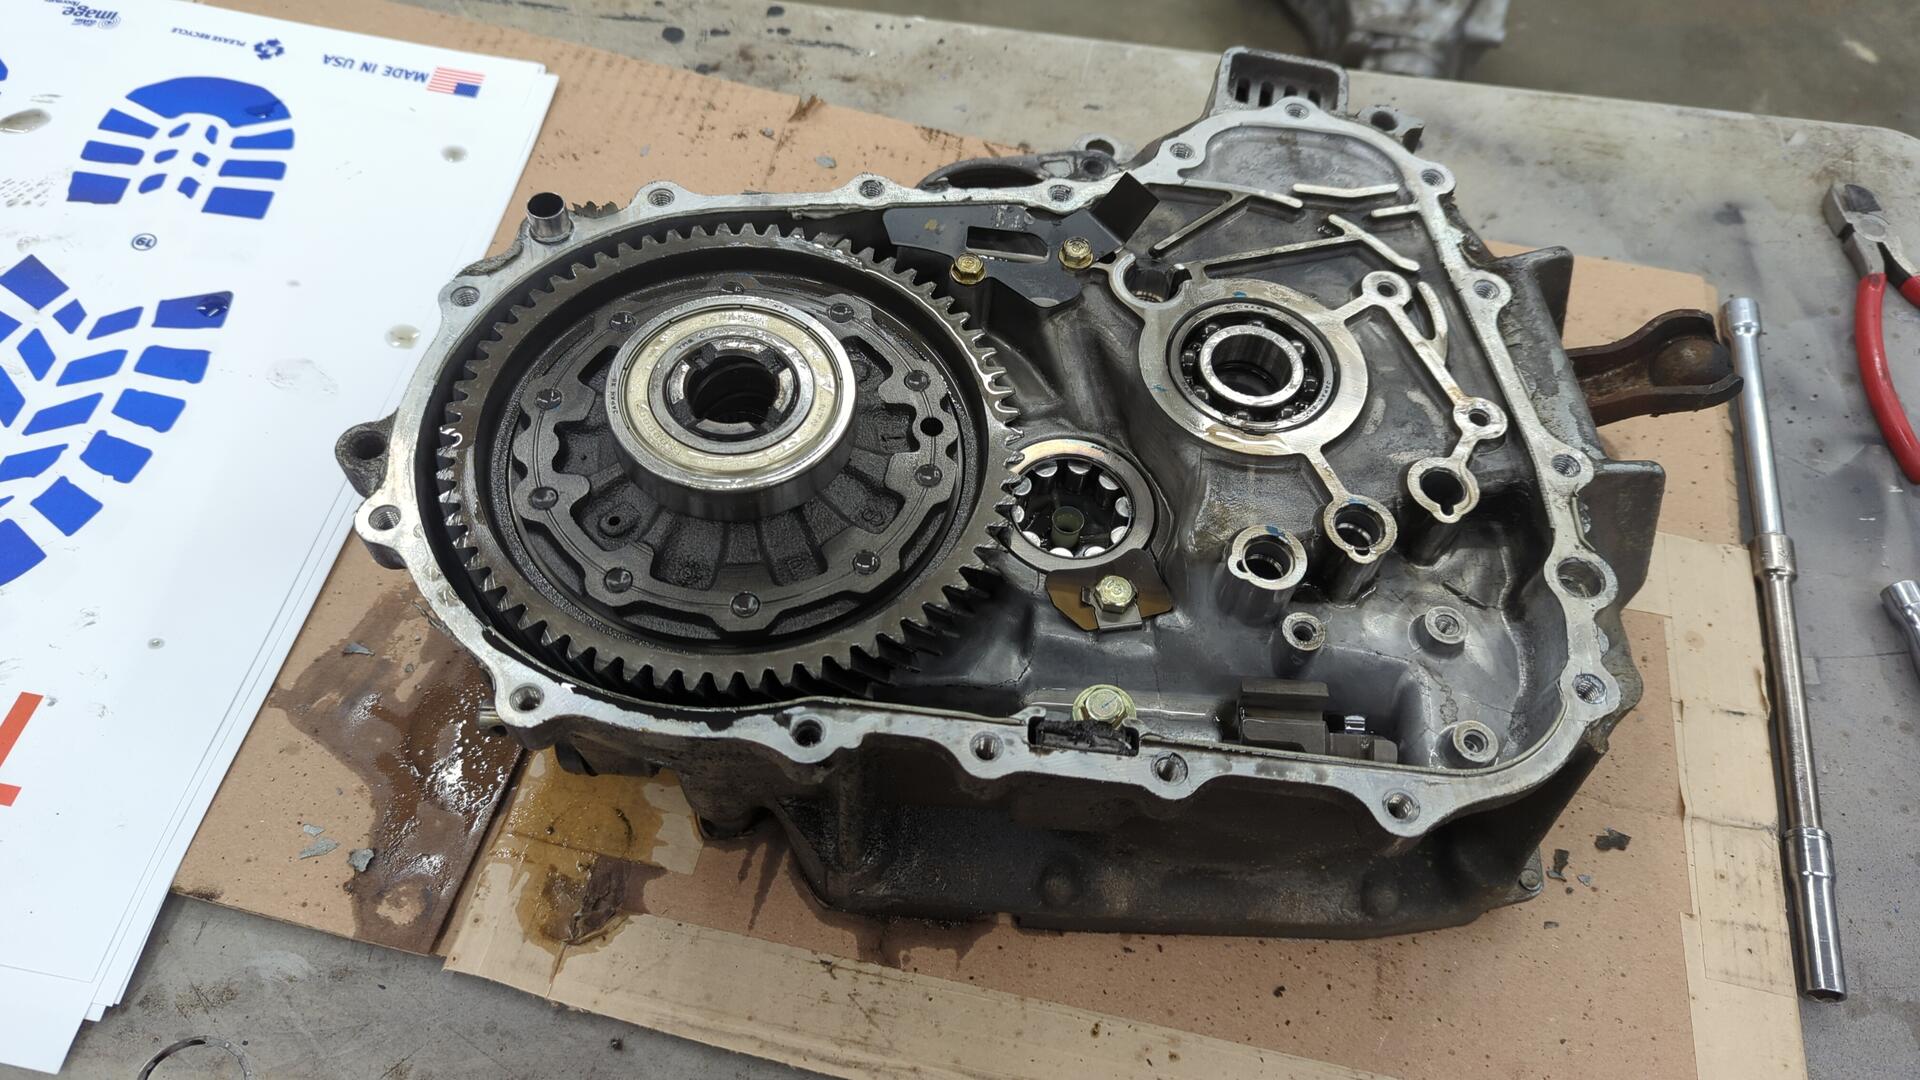
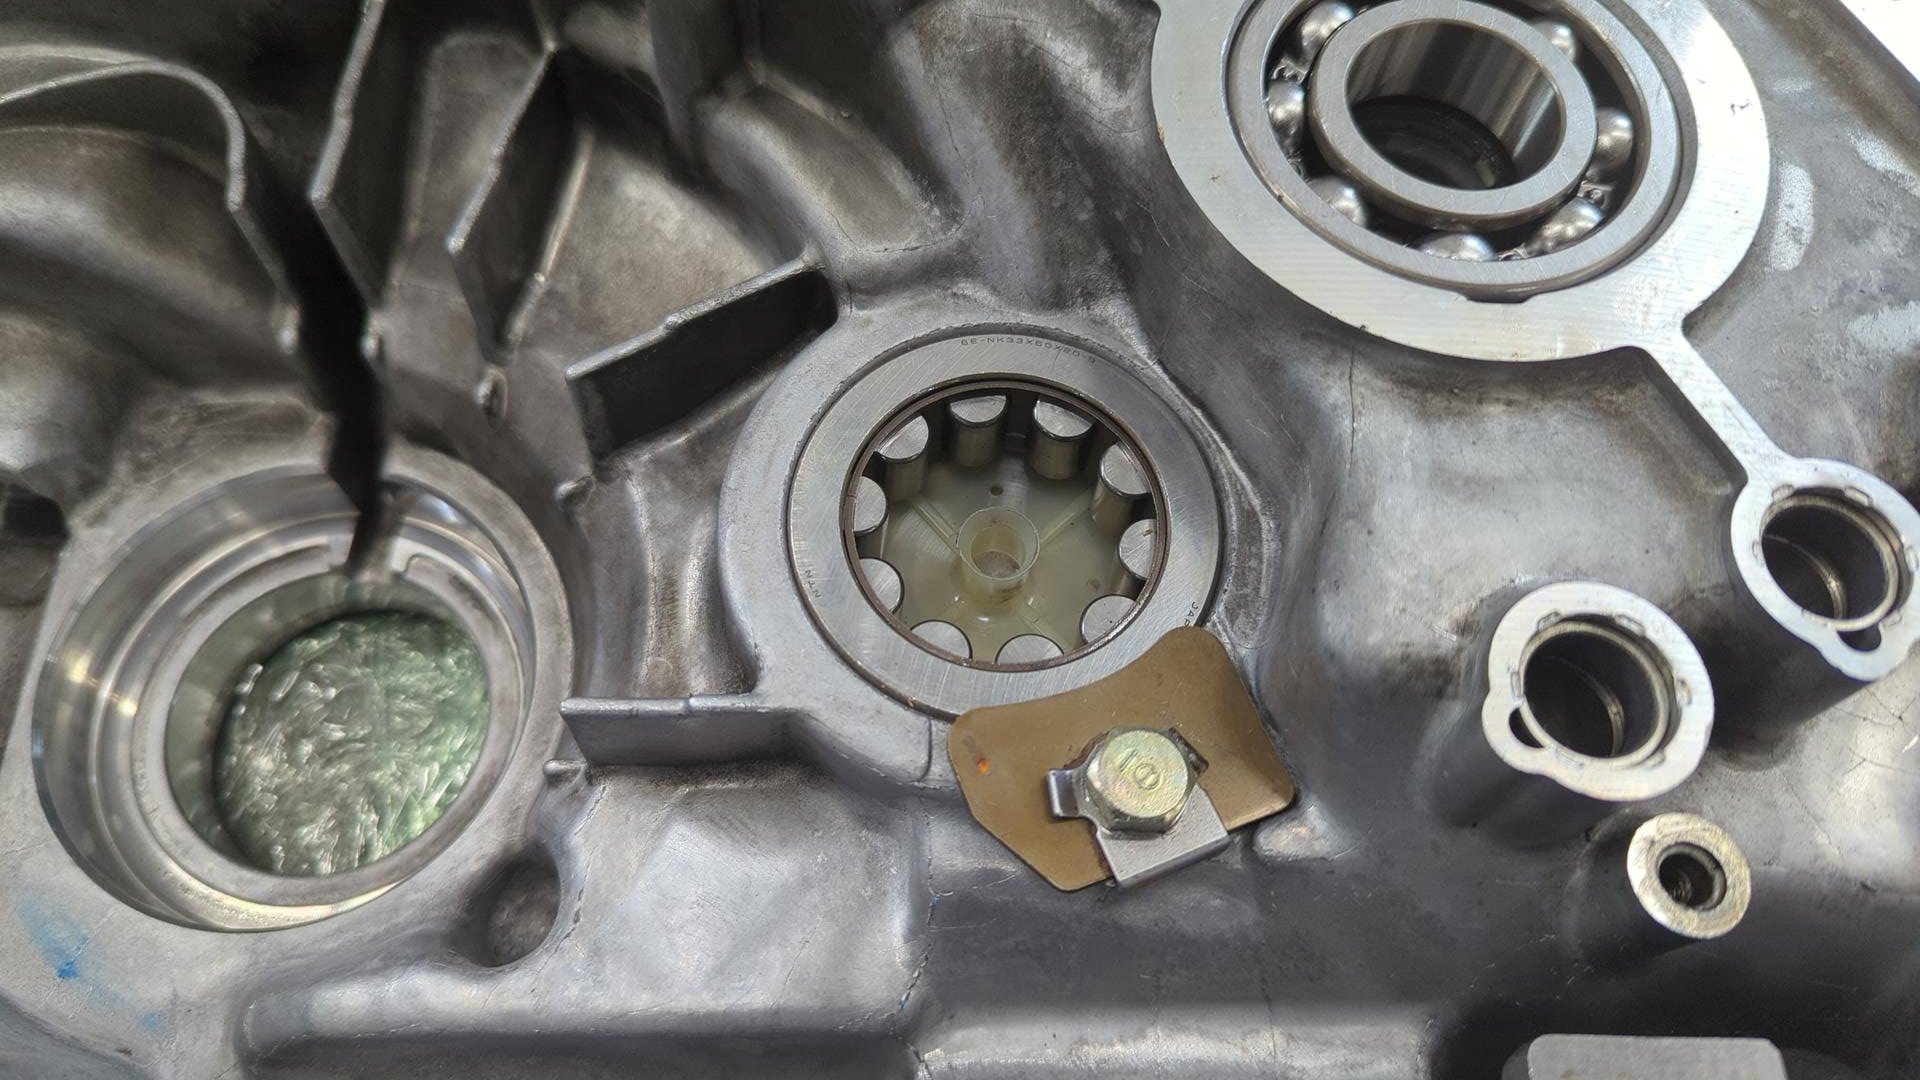
All cleaned up.
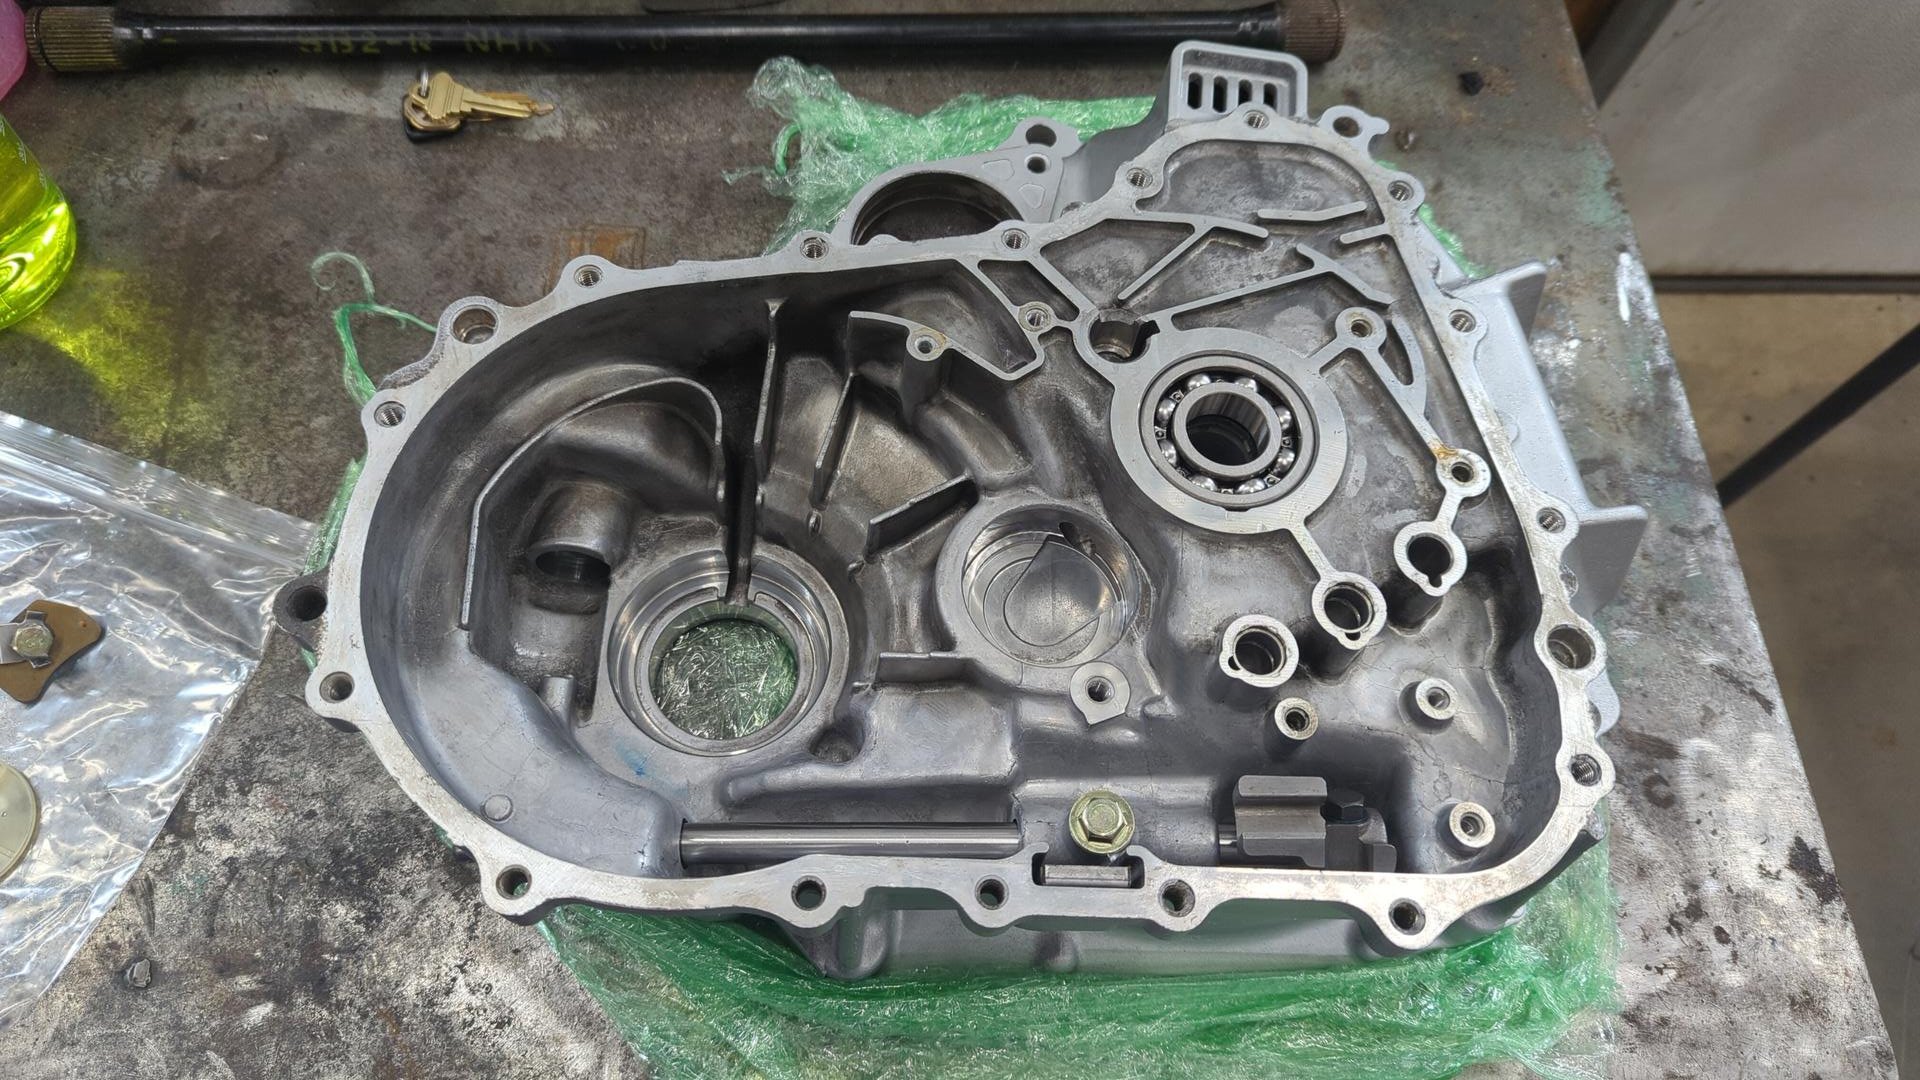
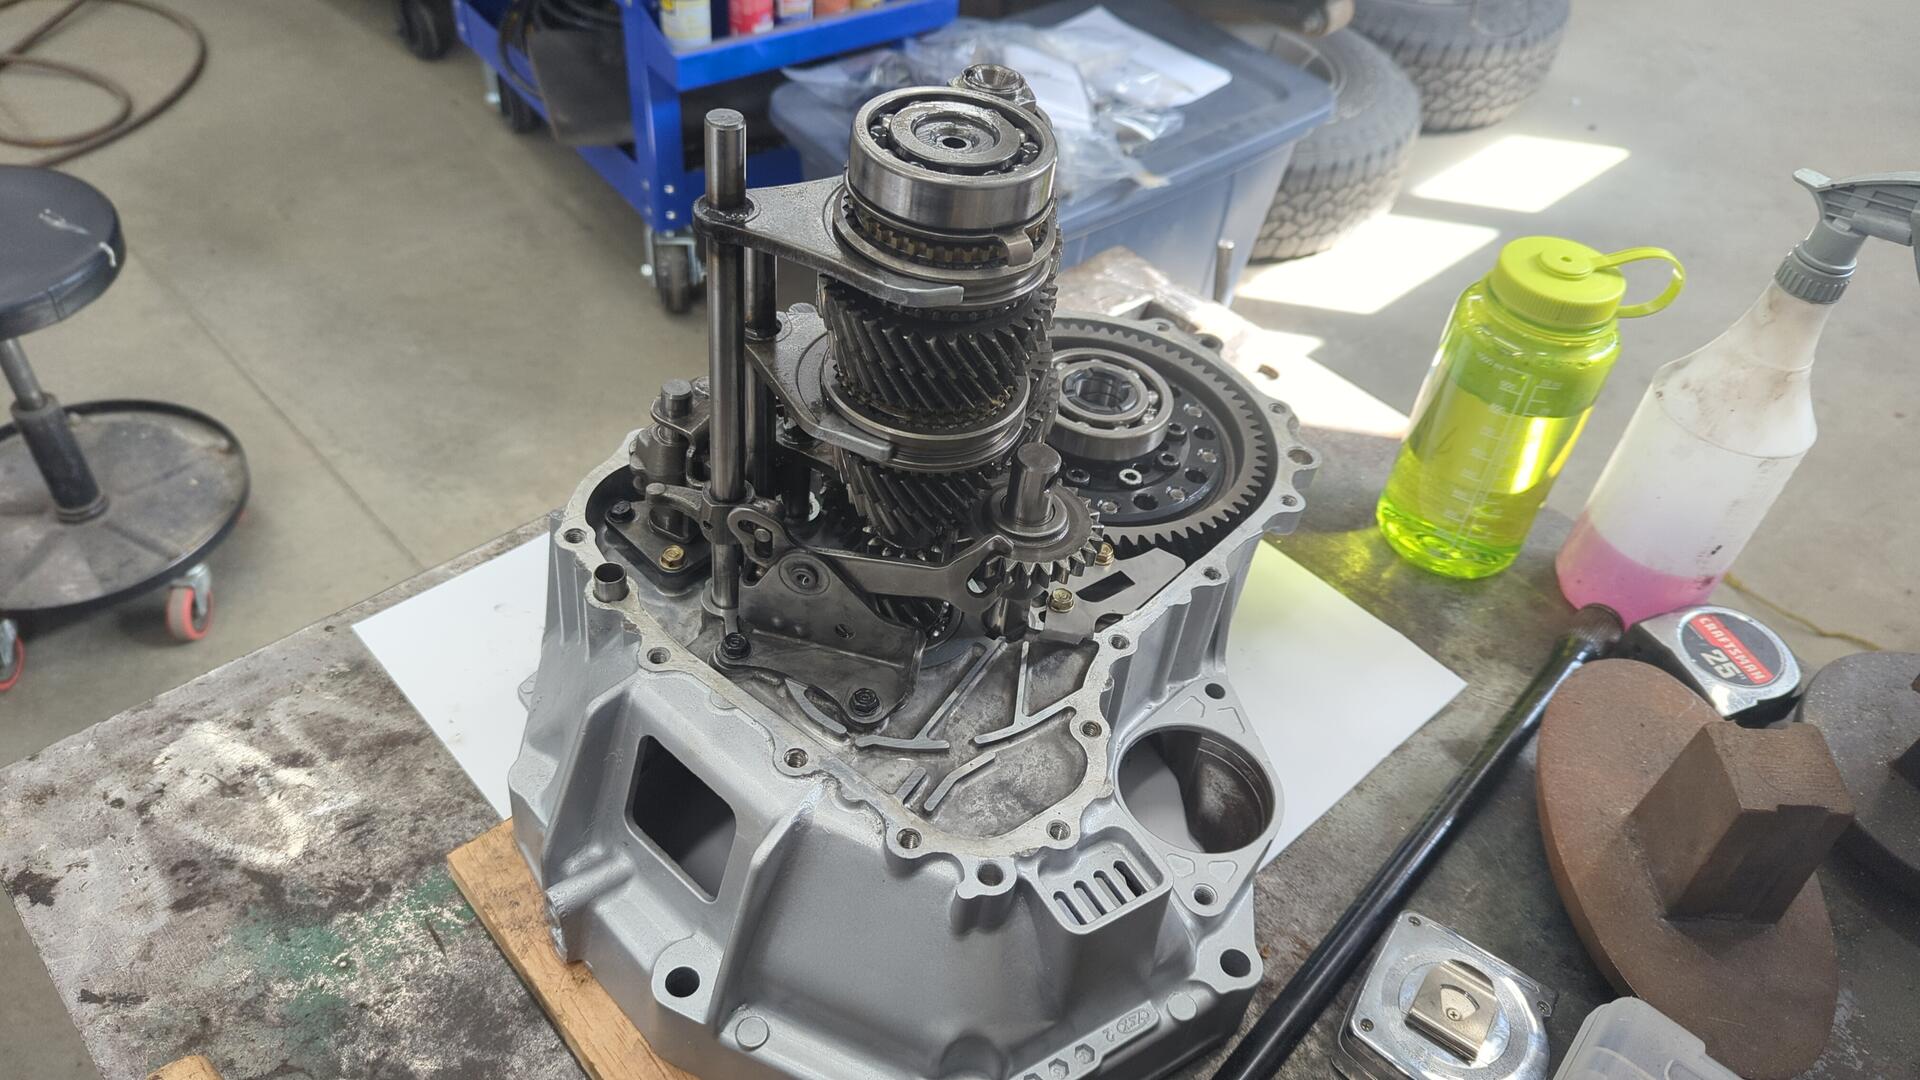
New bearings installed.
LSD installed.
I didn’t take any pictures of this step, but prior to fully re-assembling the internals I assembled and torque both halves of the casing together with just the differential so I could measure the measure the bearing gap to make sure I didn’t need a different spacer. Turns out my OEM one was perfect as I had no gap which is perfectly within spec.
So I tore it back down to install the gears and various shifting mechanisms.
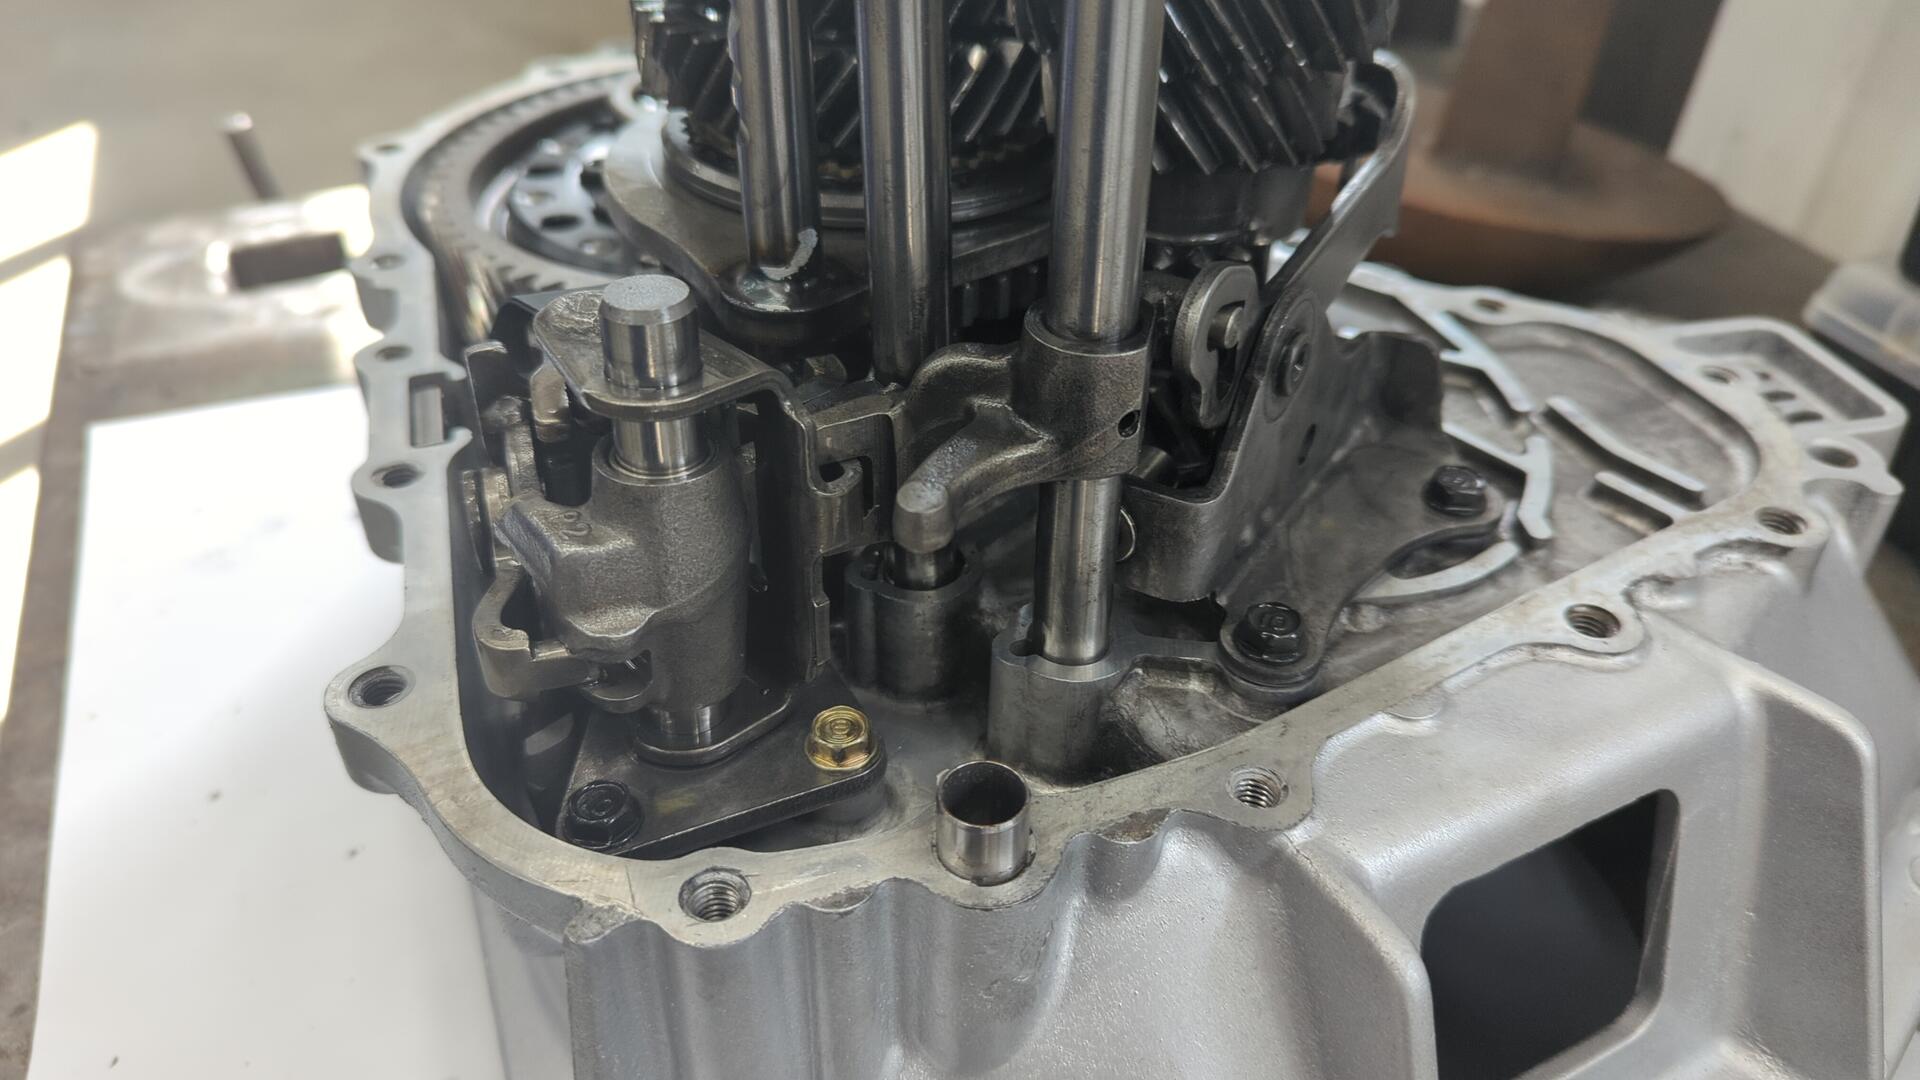
Can’t forget the reverse arm!
All buttoned up and new axle seals + shift rod boot installed.
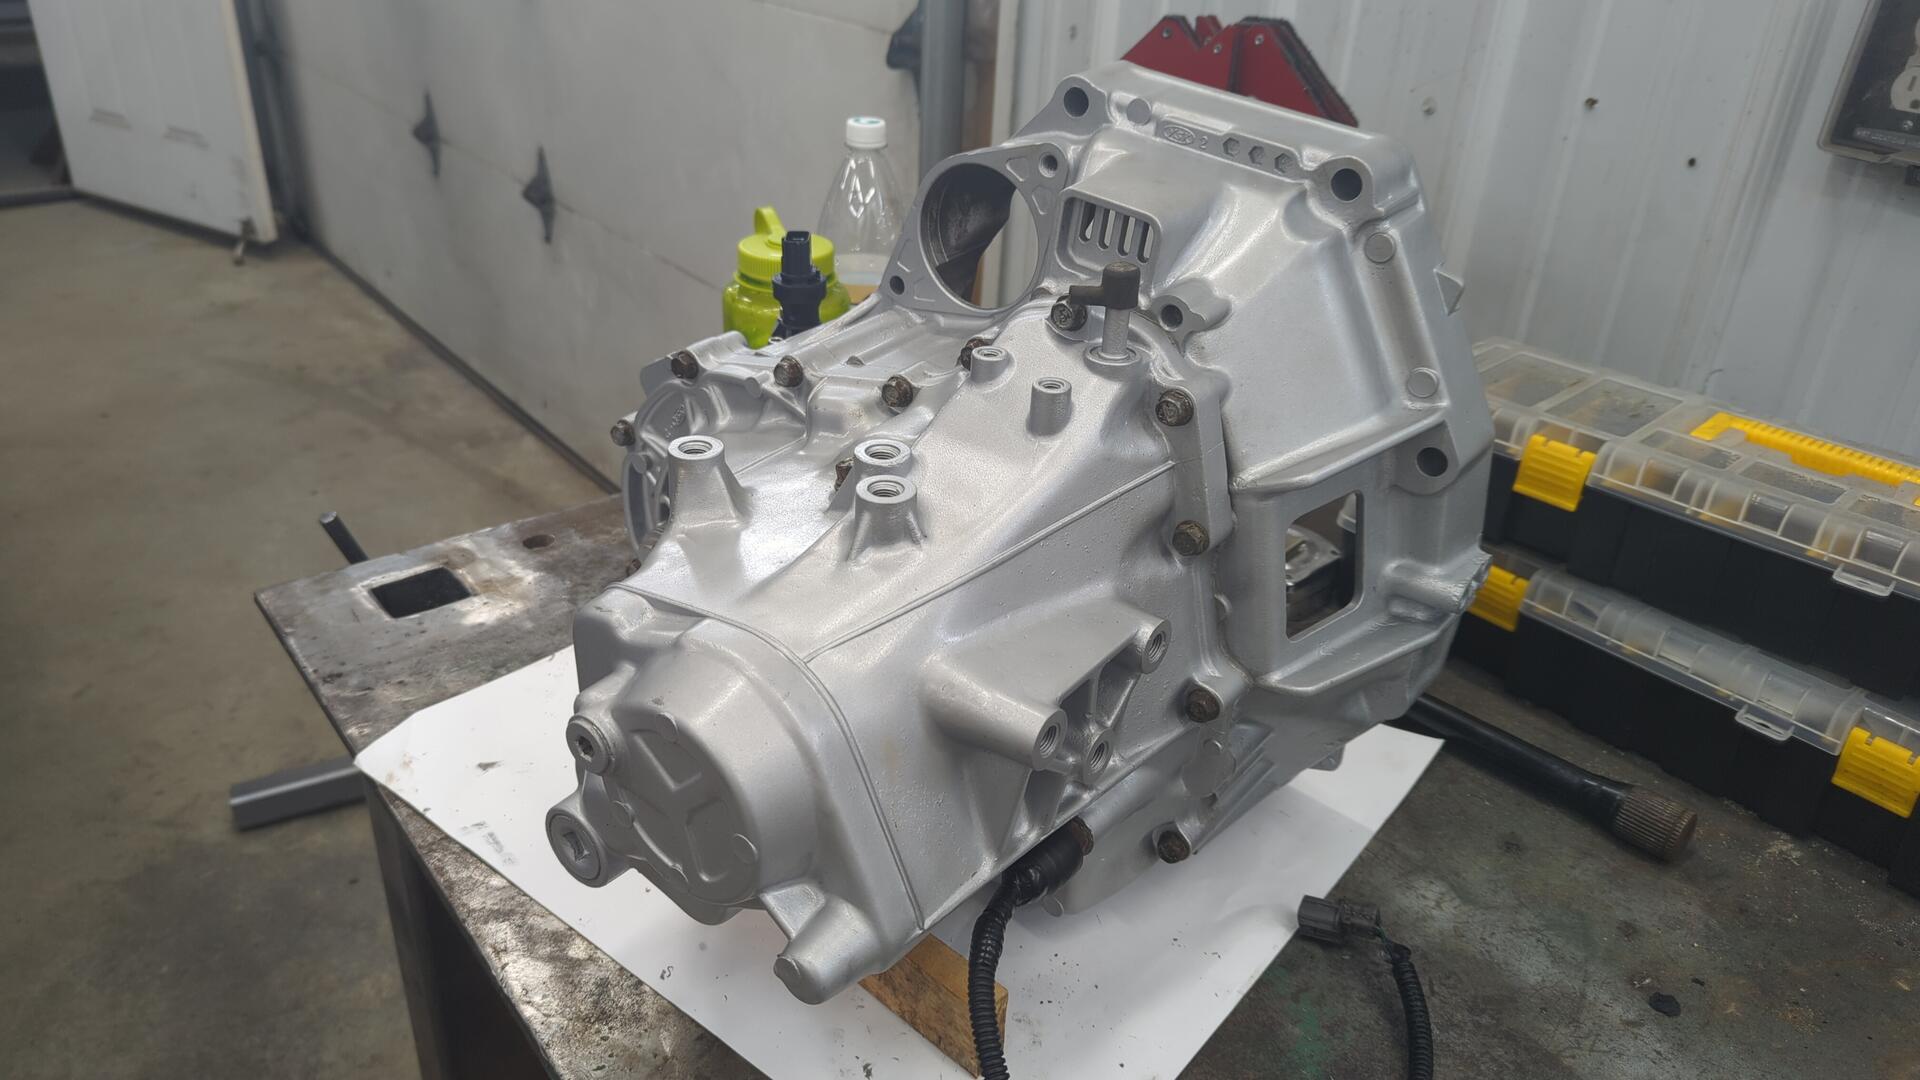
It looks so much better.

That’s it for now. I still need to plan out my clutch + flywheel along with prep the motor.
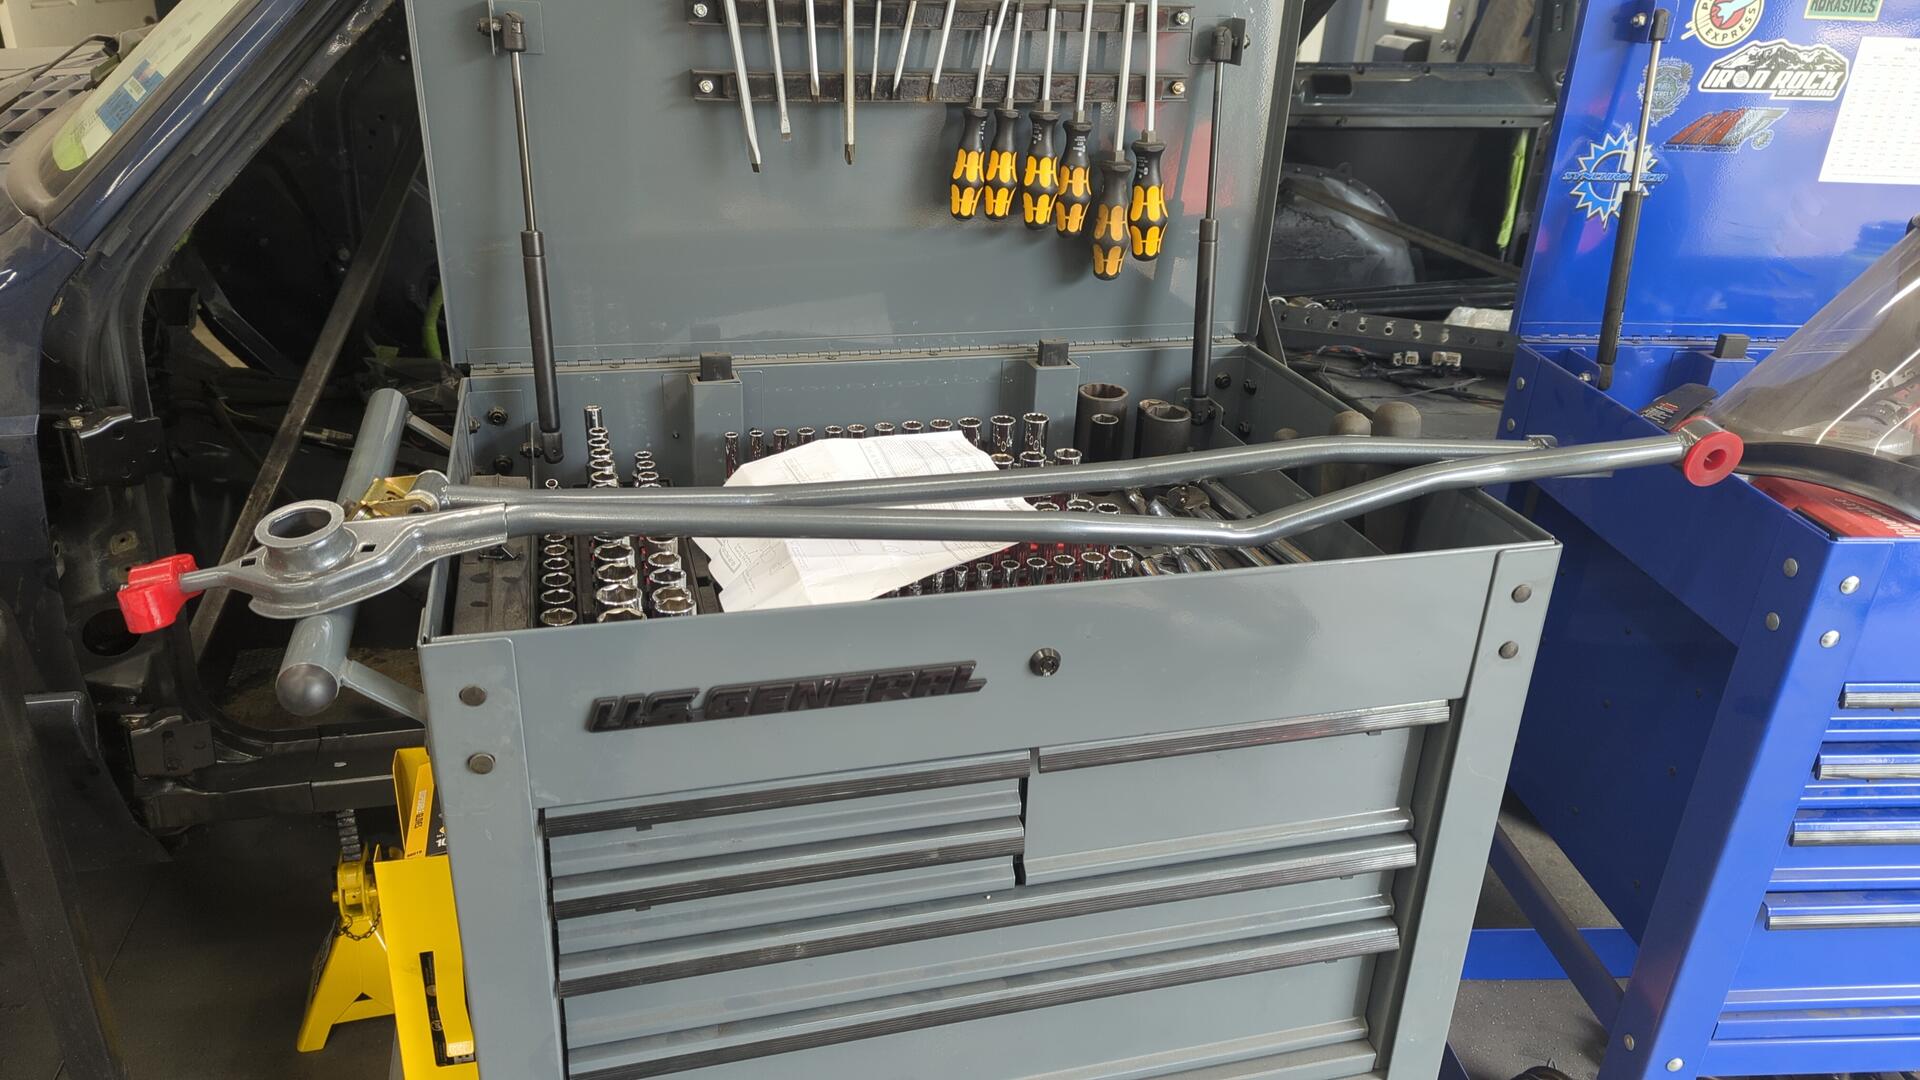
Sneak peak of the new shift linkage.