Revival of the Hatch Part 11: Beginning Reassembly
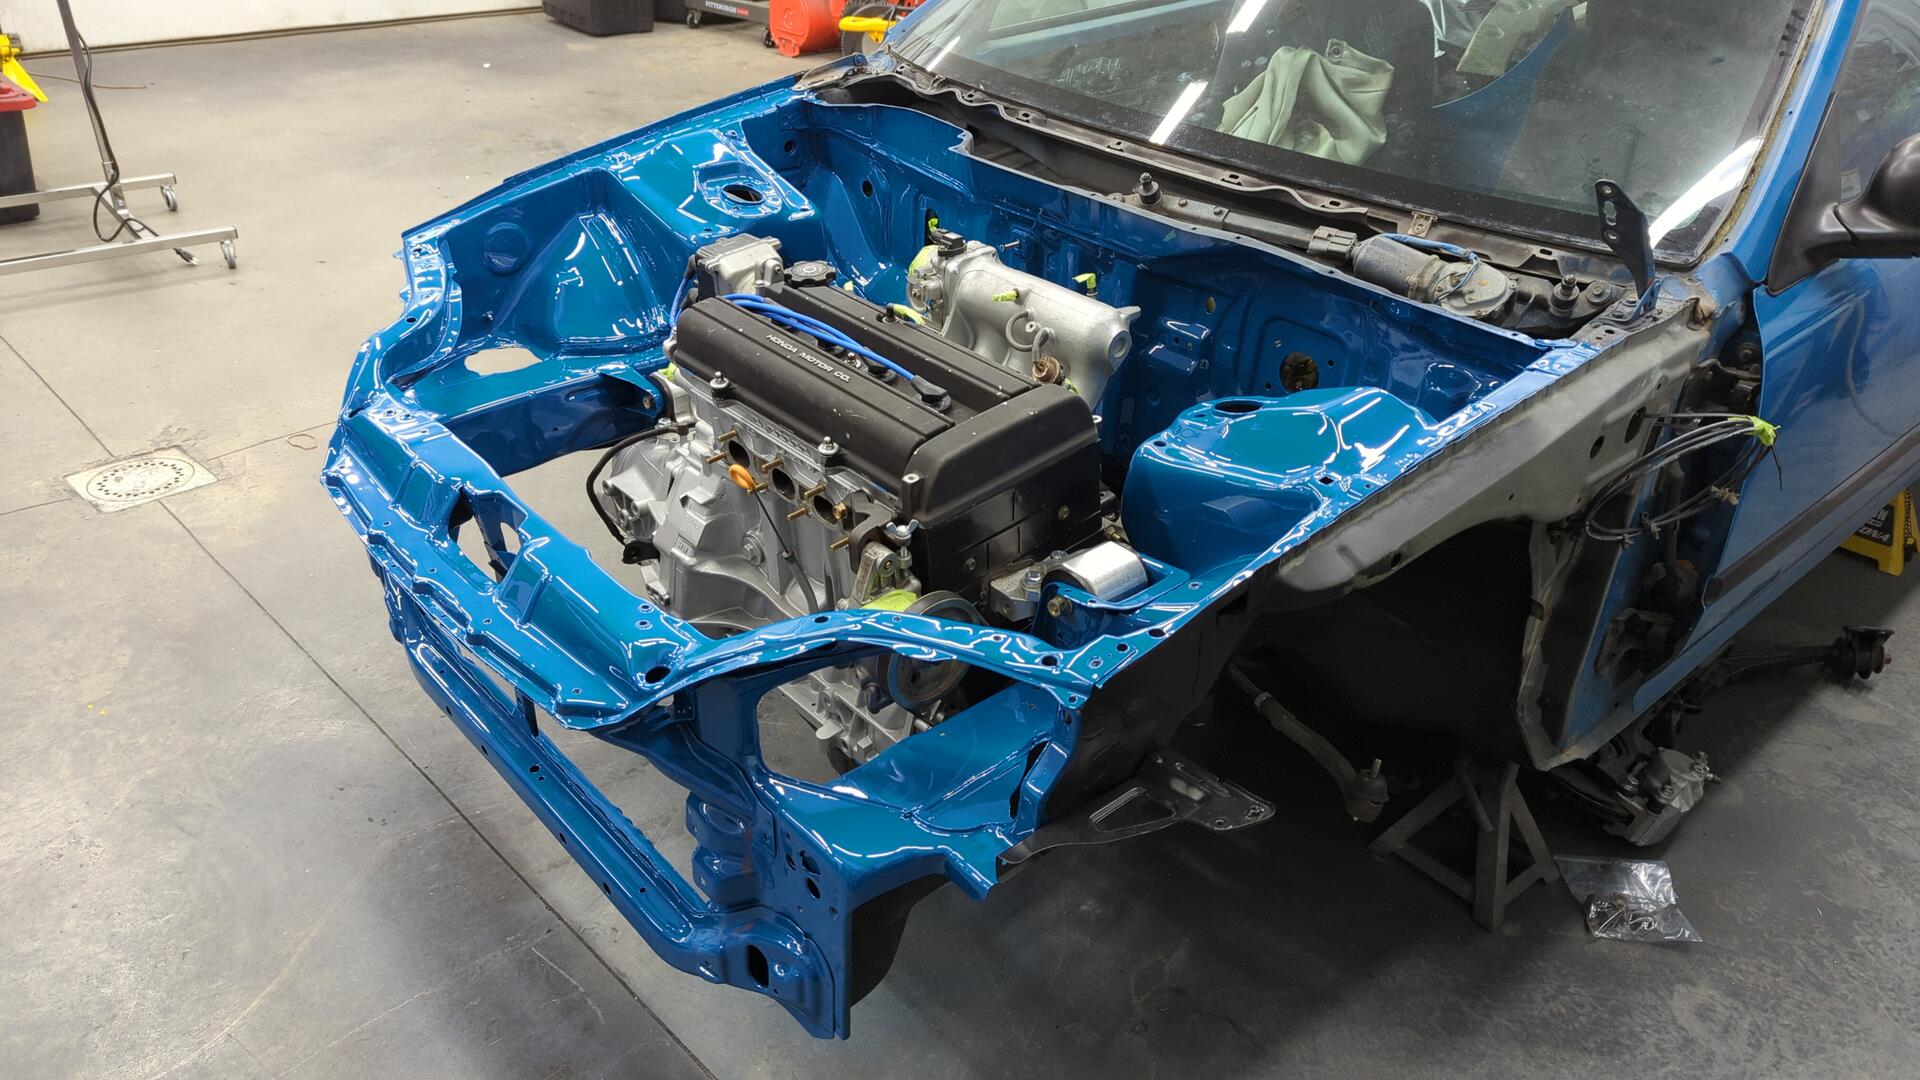
With the engine back in the bay, I couldn’t resist starting to reassemble as much of the car as I could.
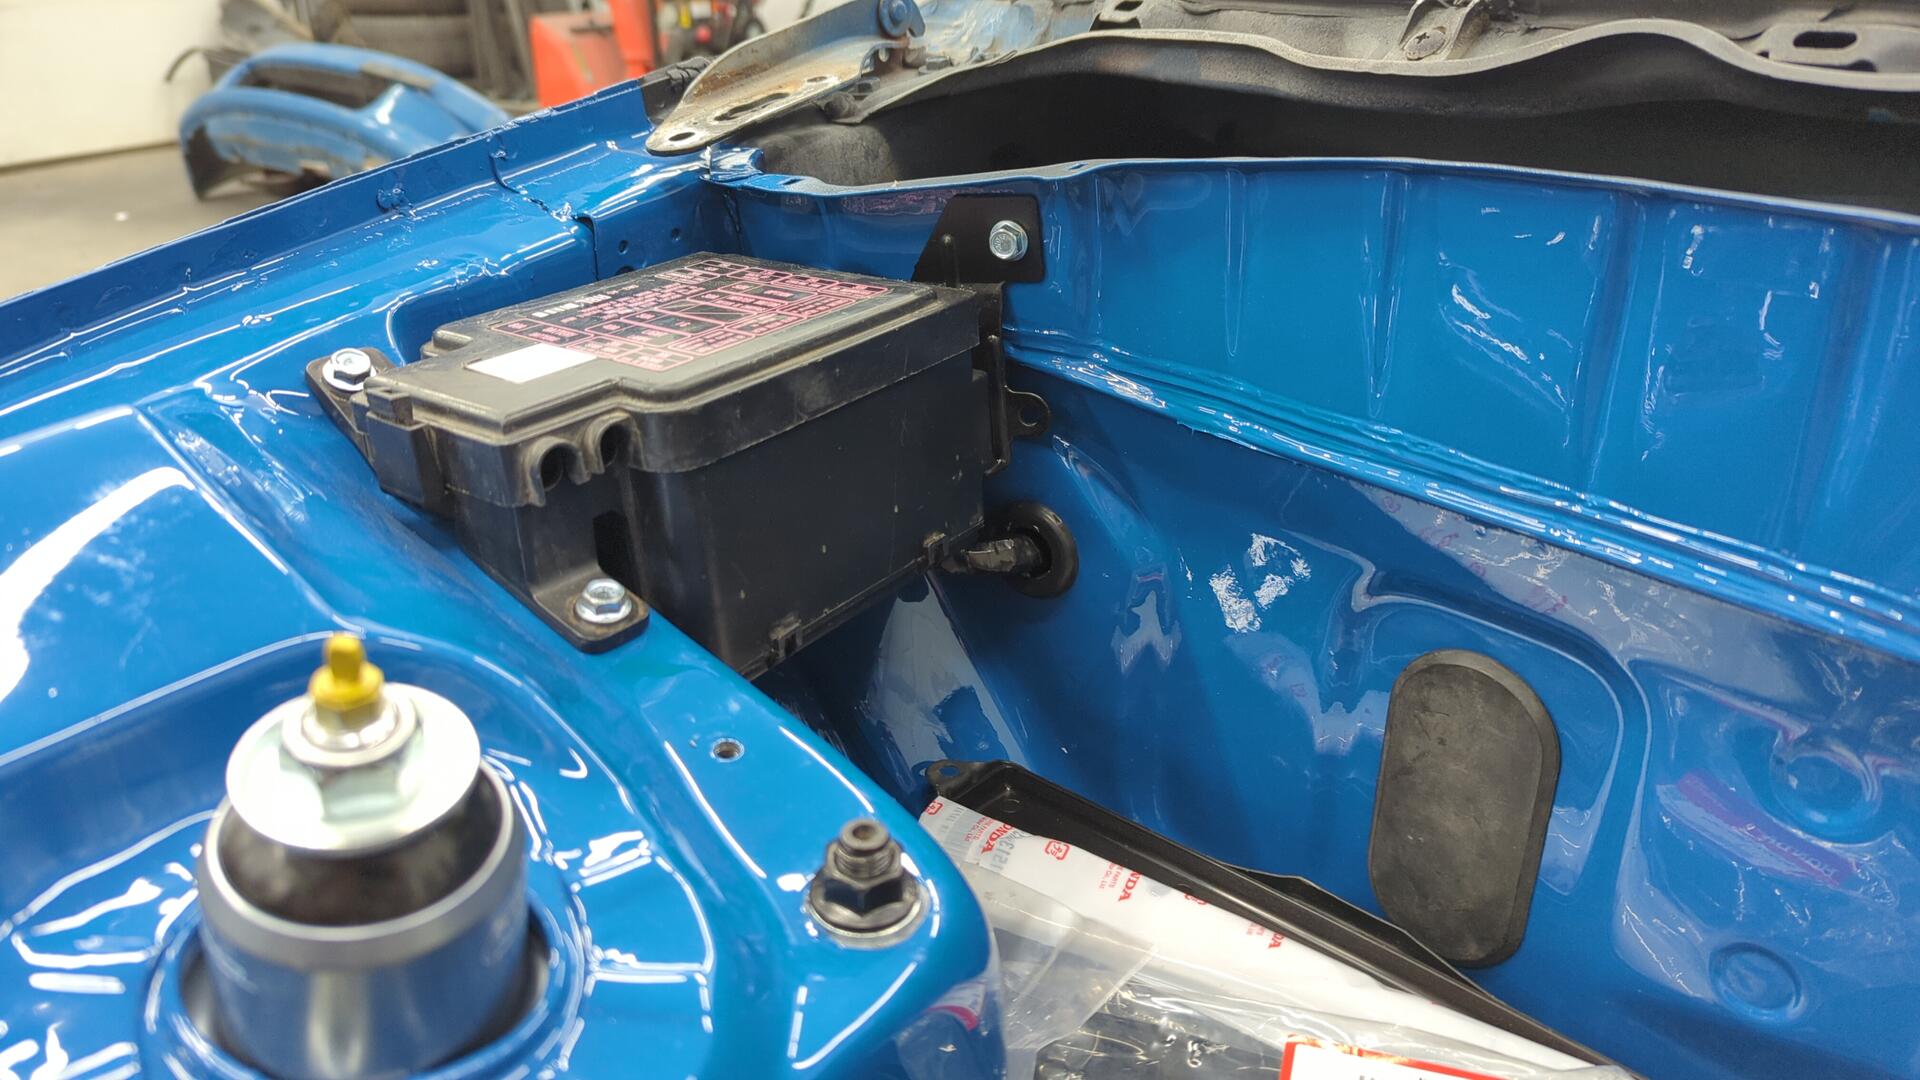
Right off the bat the battery tray and wiper fluid reservoir were installed.
I also bolted up the front crash beam but I haven’t fully torqued down the bolts yet as I need to test fit the front bumper to know exactly where the beam should sit.
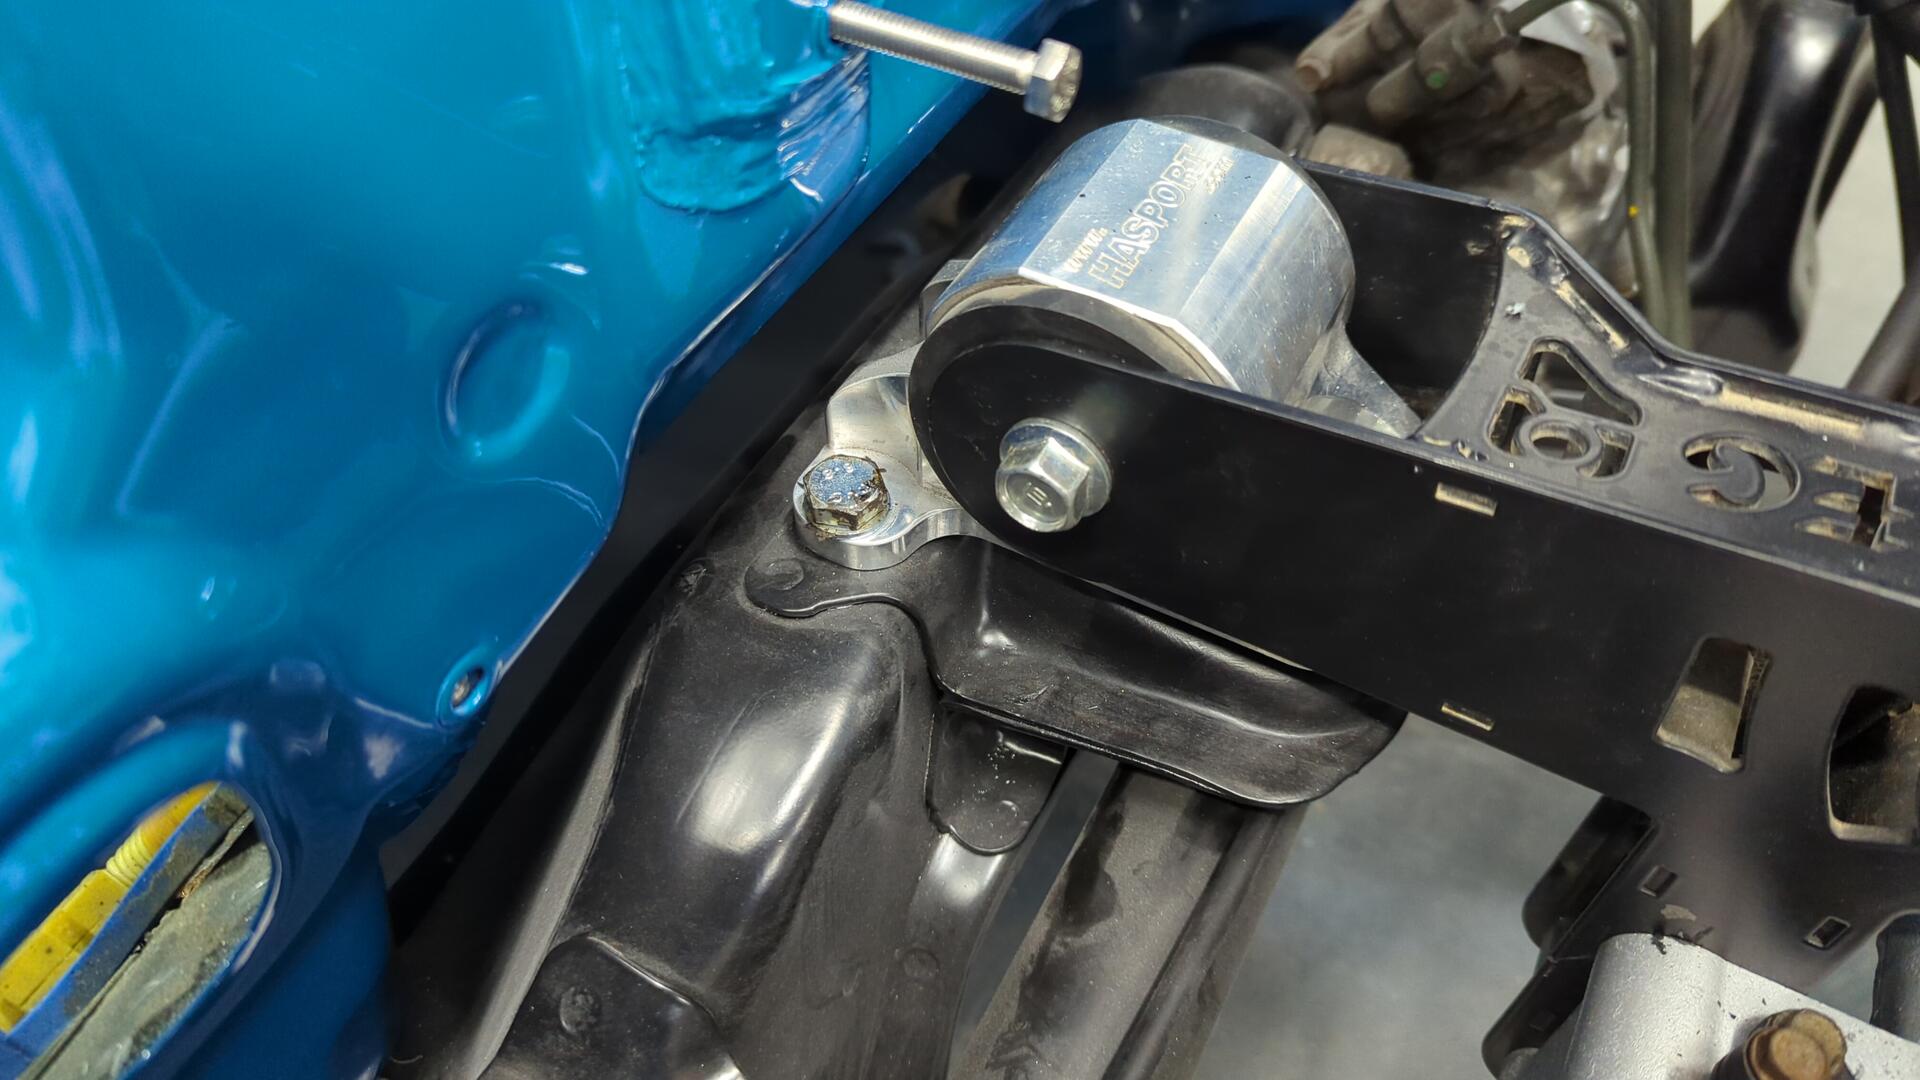
3 new M10x1.25x35mm bolts were used for the rear mount. I had previously tried using 25mm long bolts but these proved to be far too short.
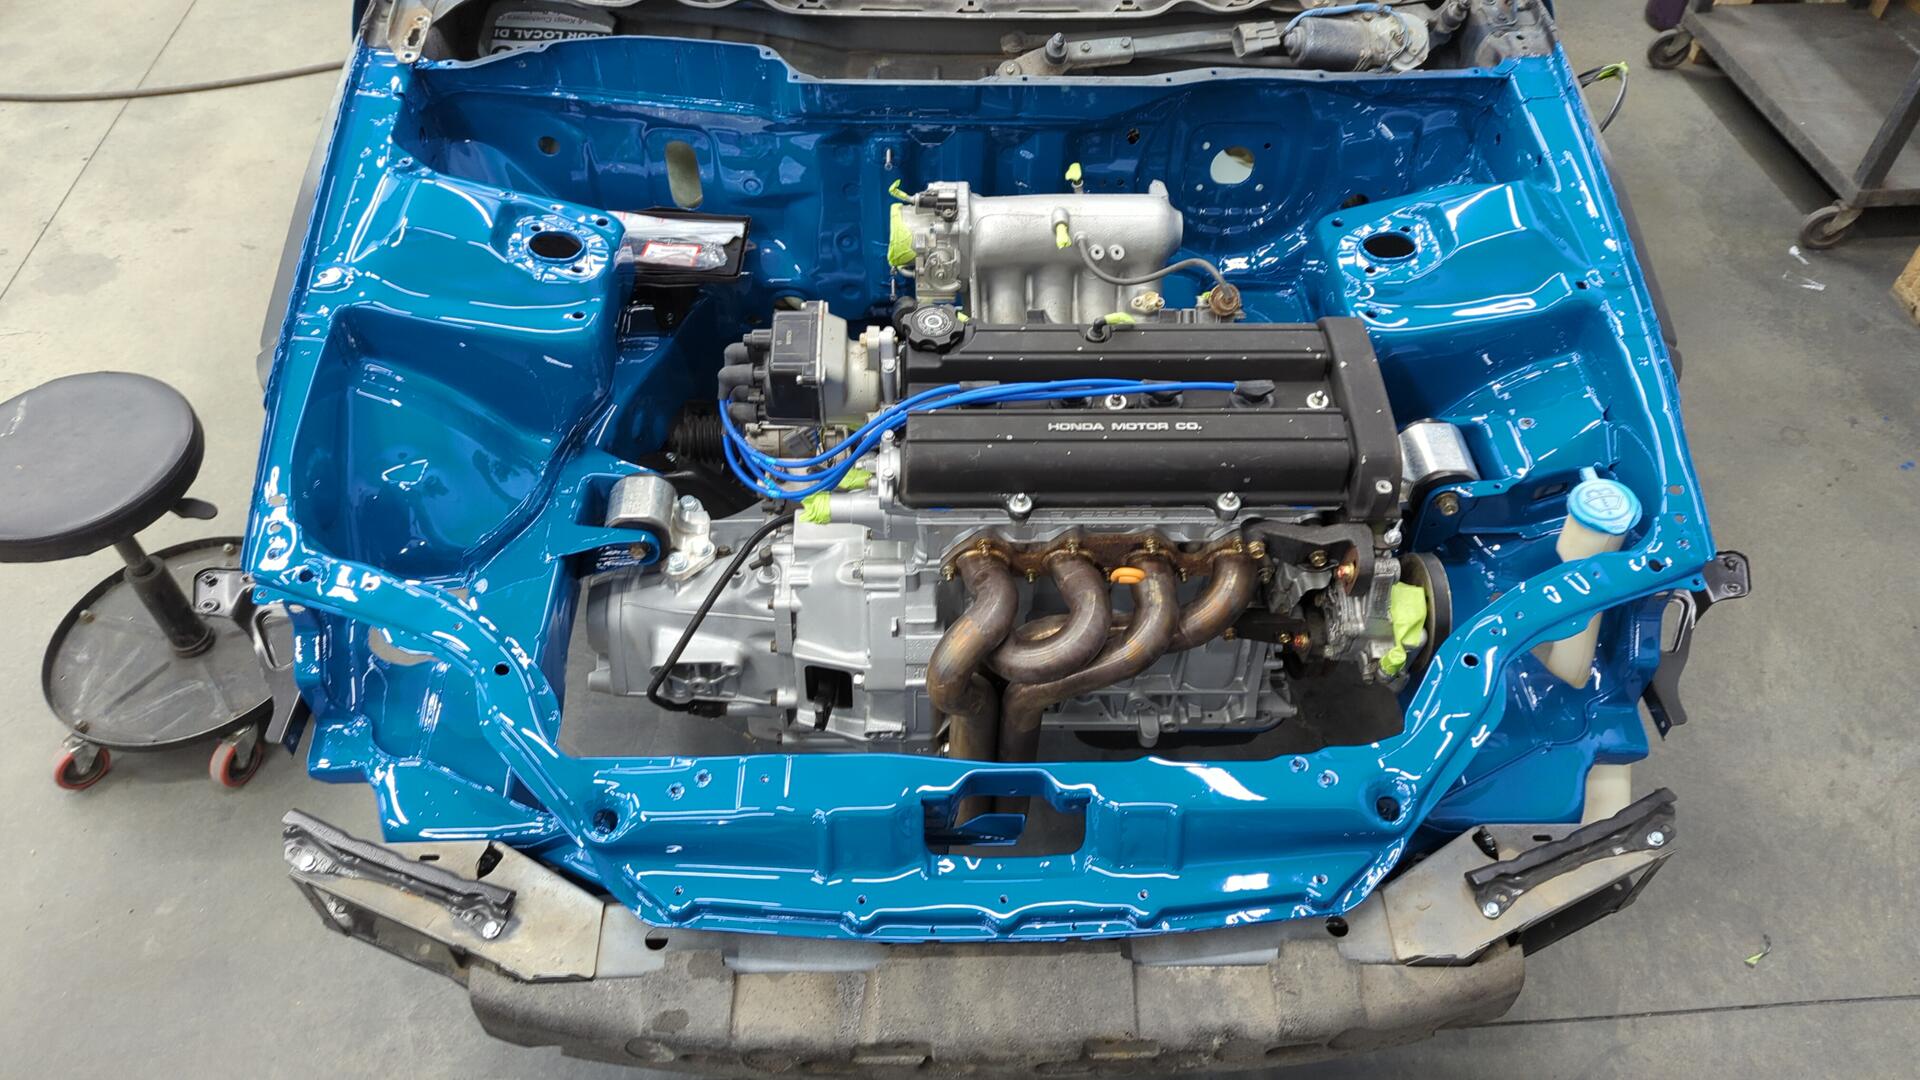
Engine harness re-installed along with the OEM AC delete plug.
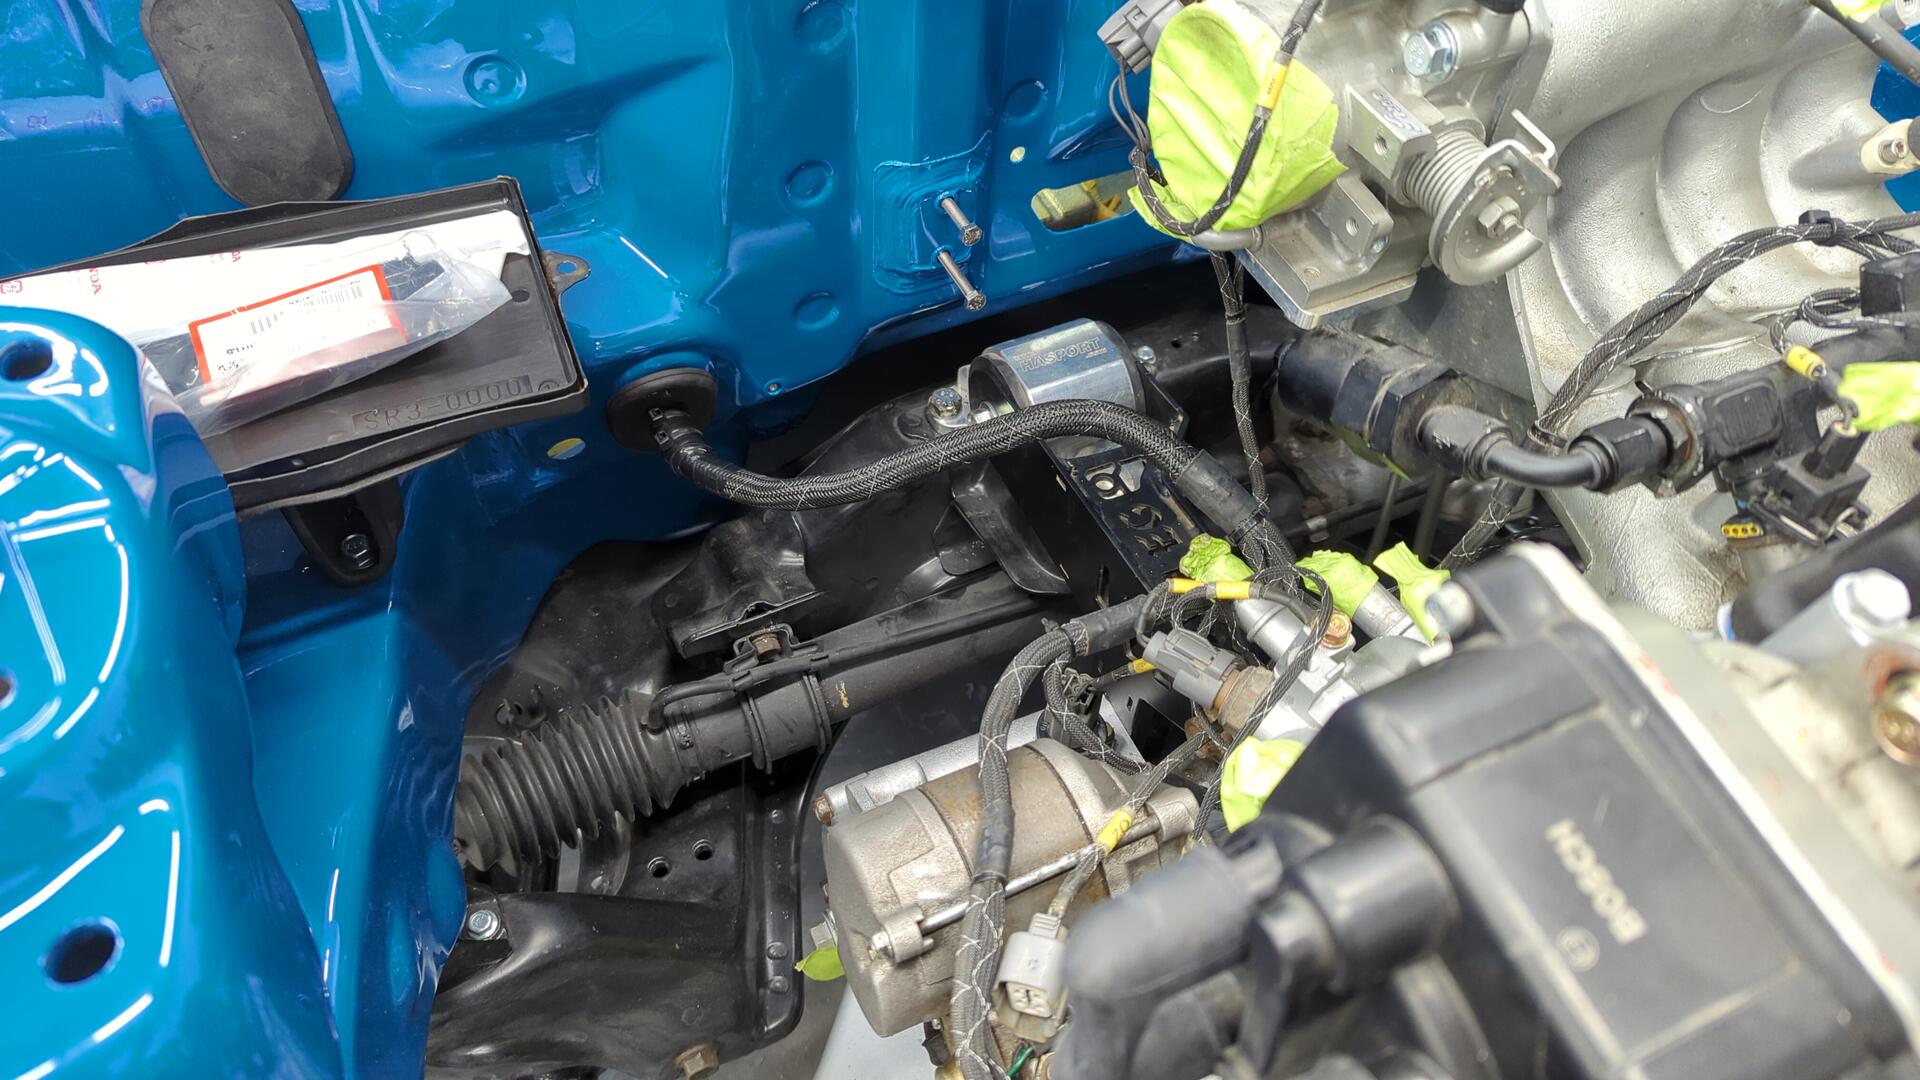
The harness is a custom built tuck harness from 2jz off of D-series.org.
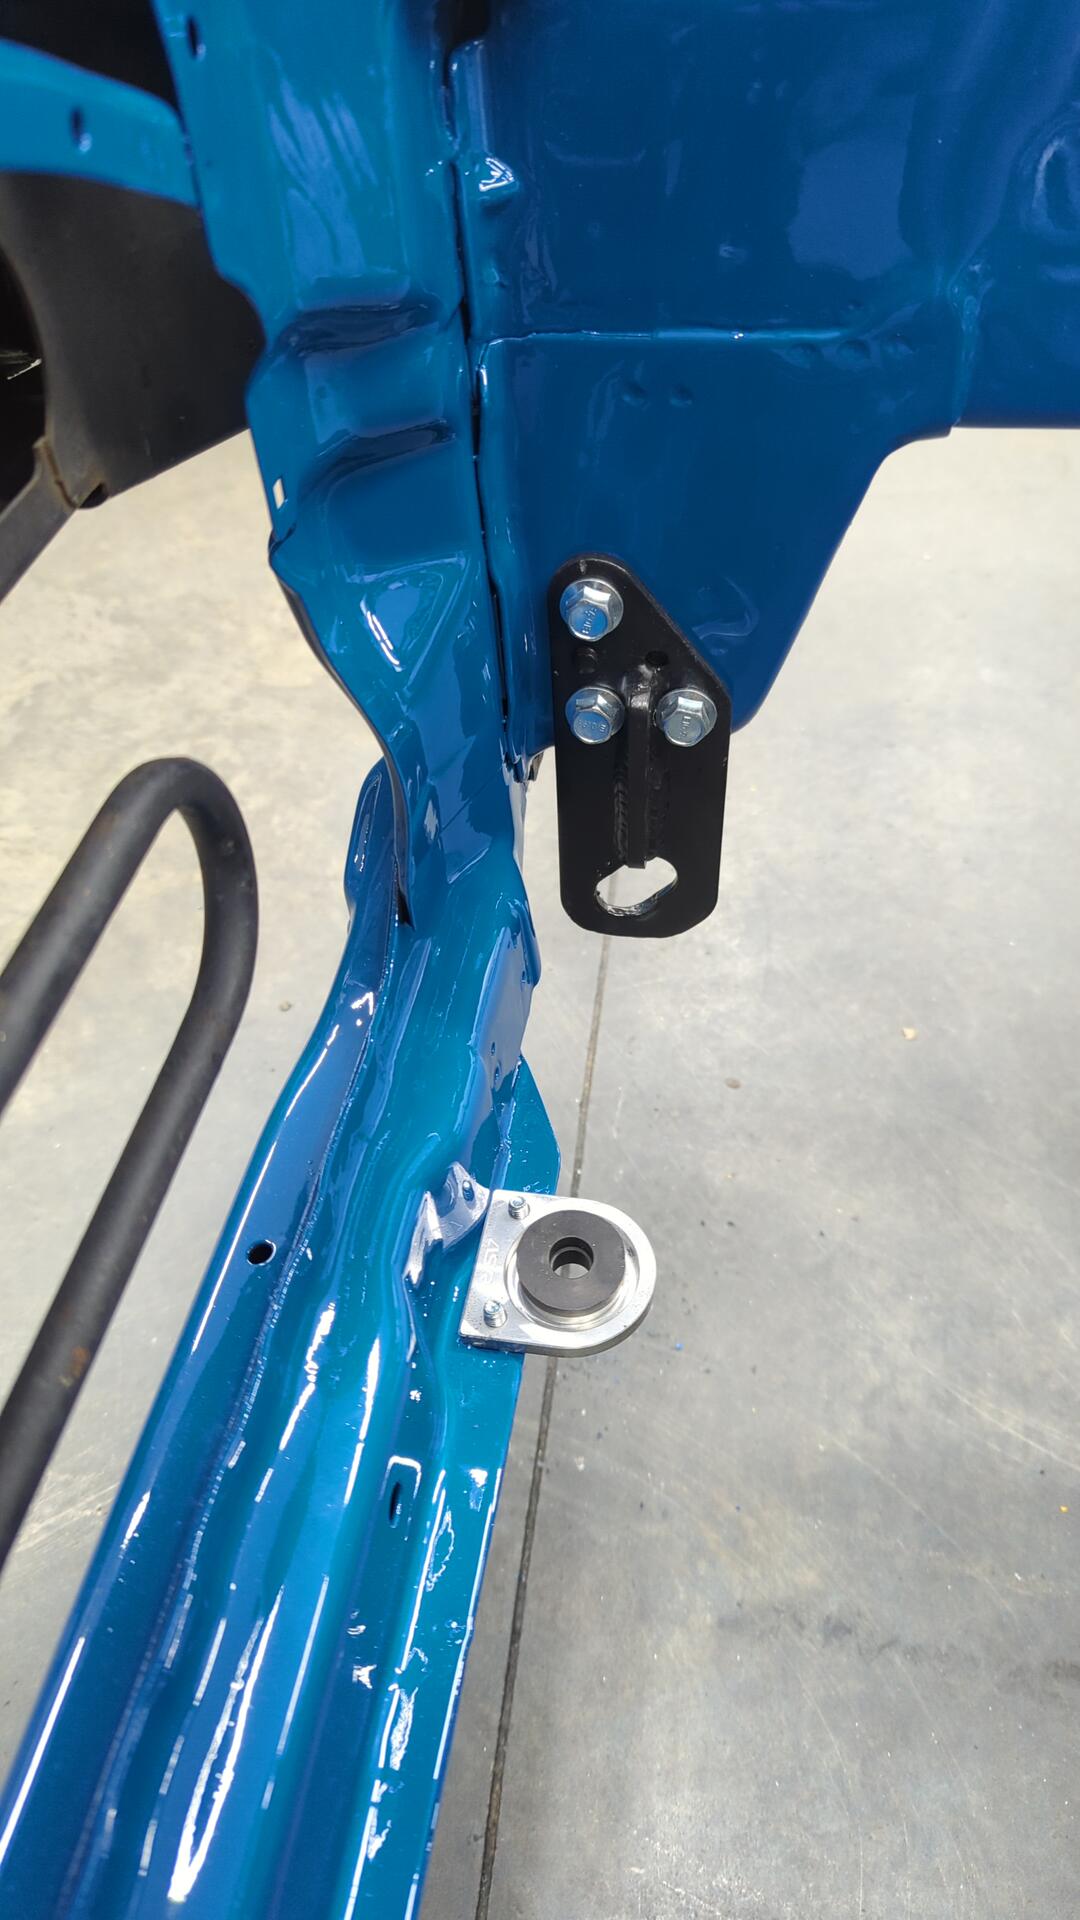
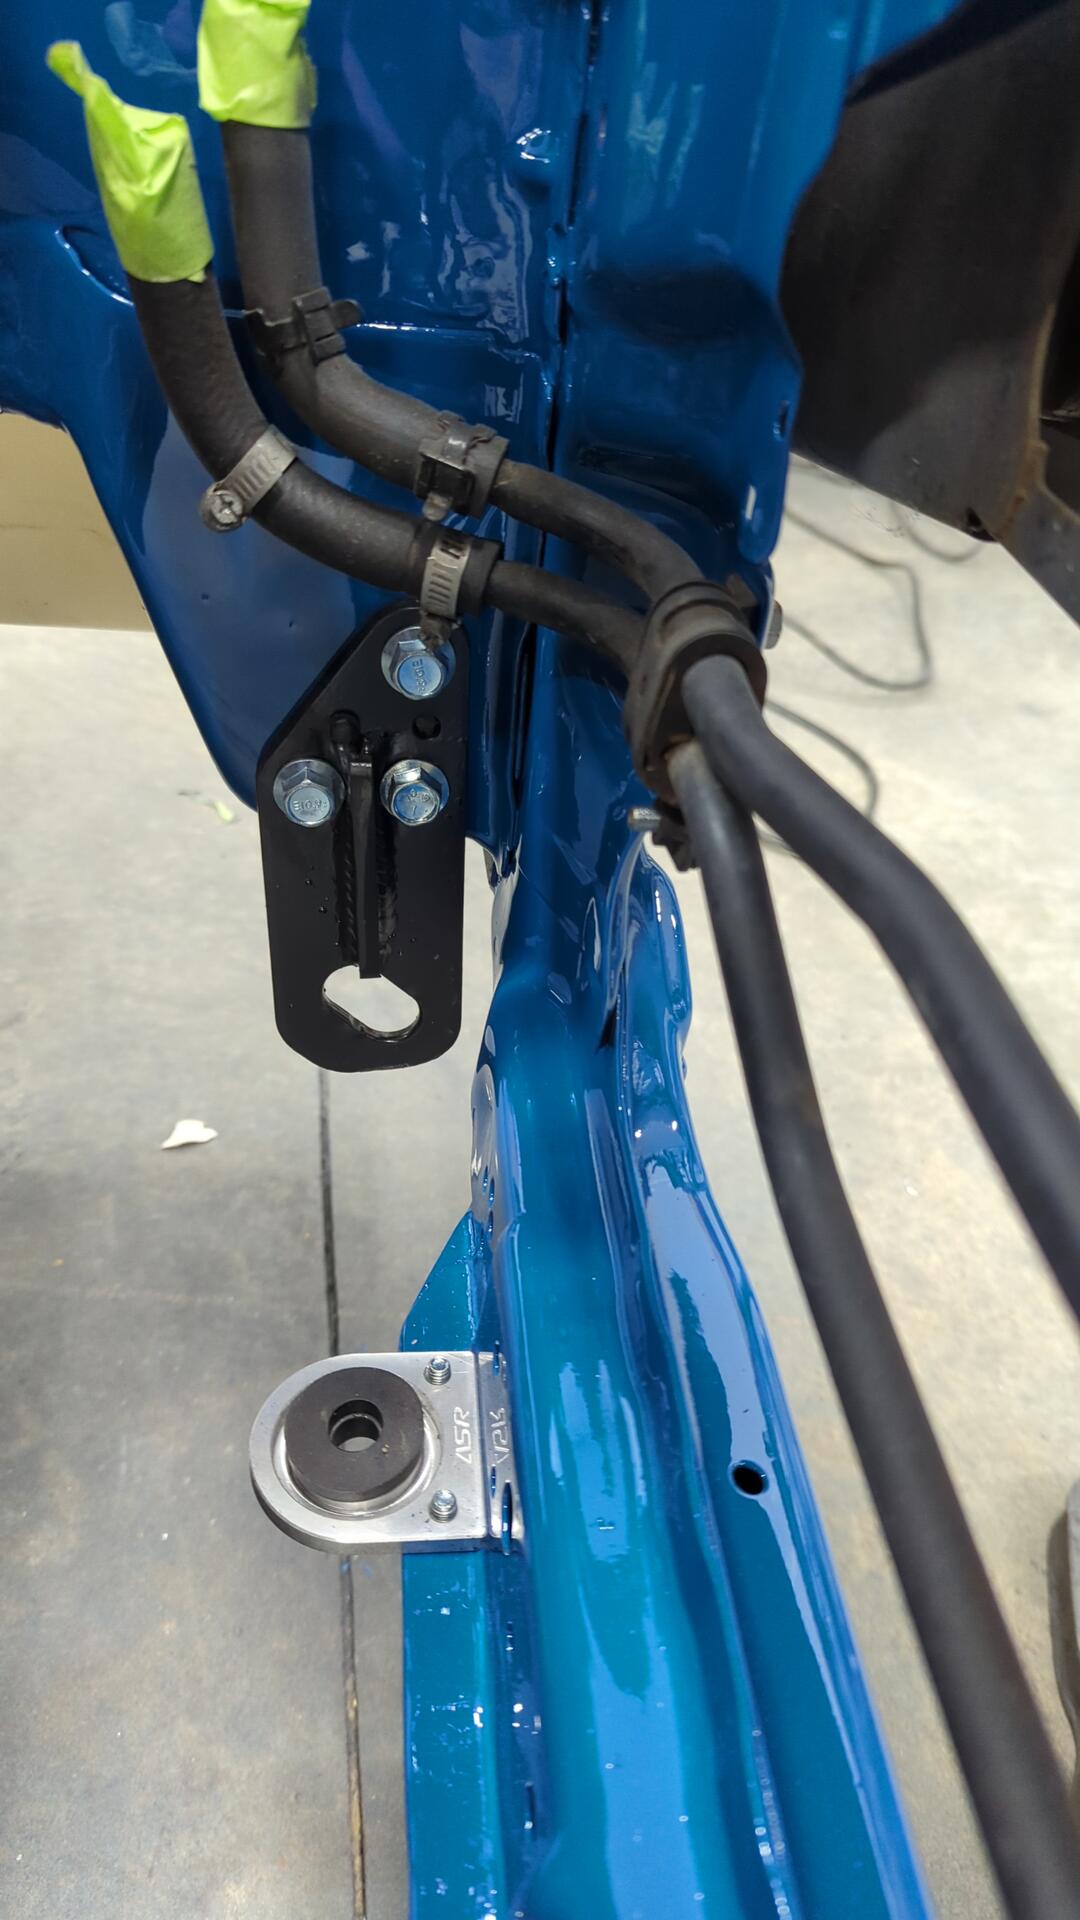
Tow hooks secured in place using 3 m10x1.25x25mm flange bolts per side.
The lower radiator brackets are made by ASR.
Hood prop re-installed along with a new grommet + bracket since mine were toast.

One of the new to me power steering lines was completely clogged up so I had to do some surgery to swap in a known good line I had laying around.
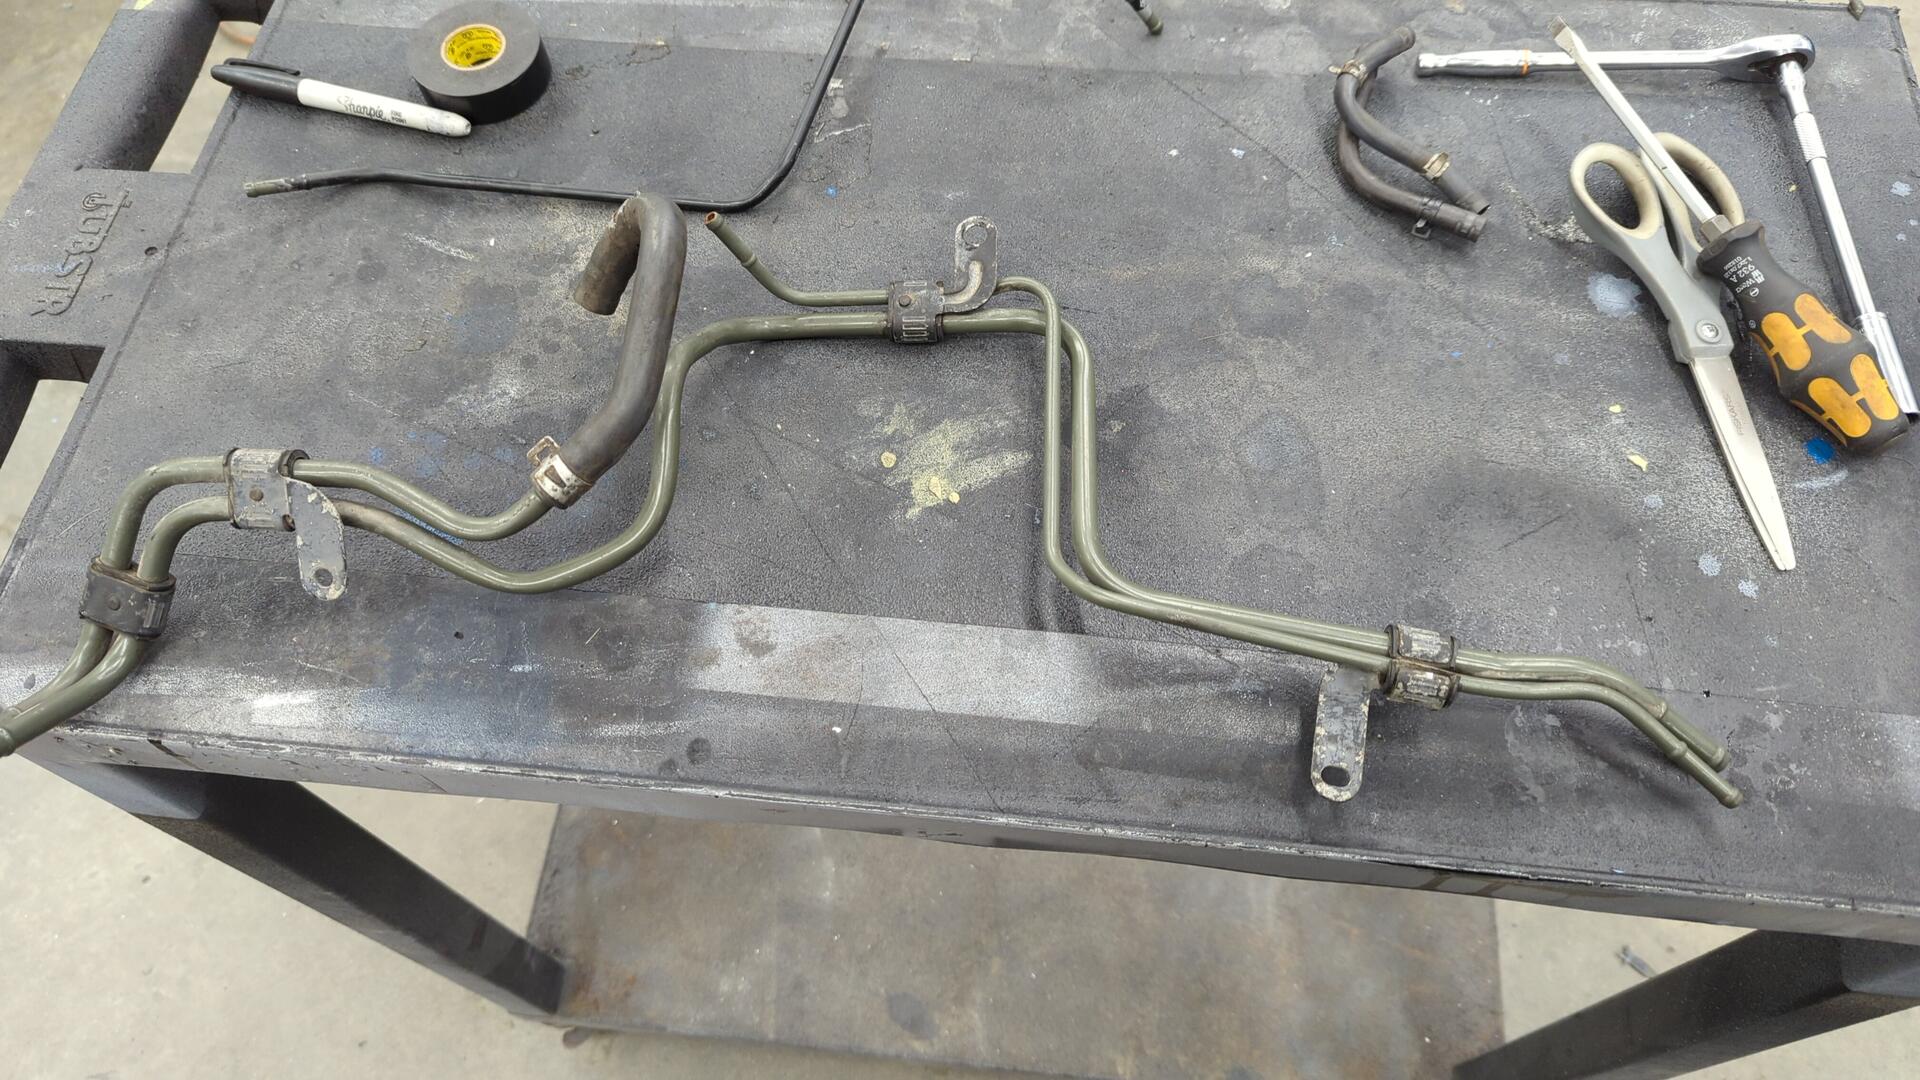
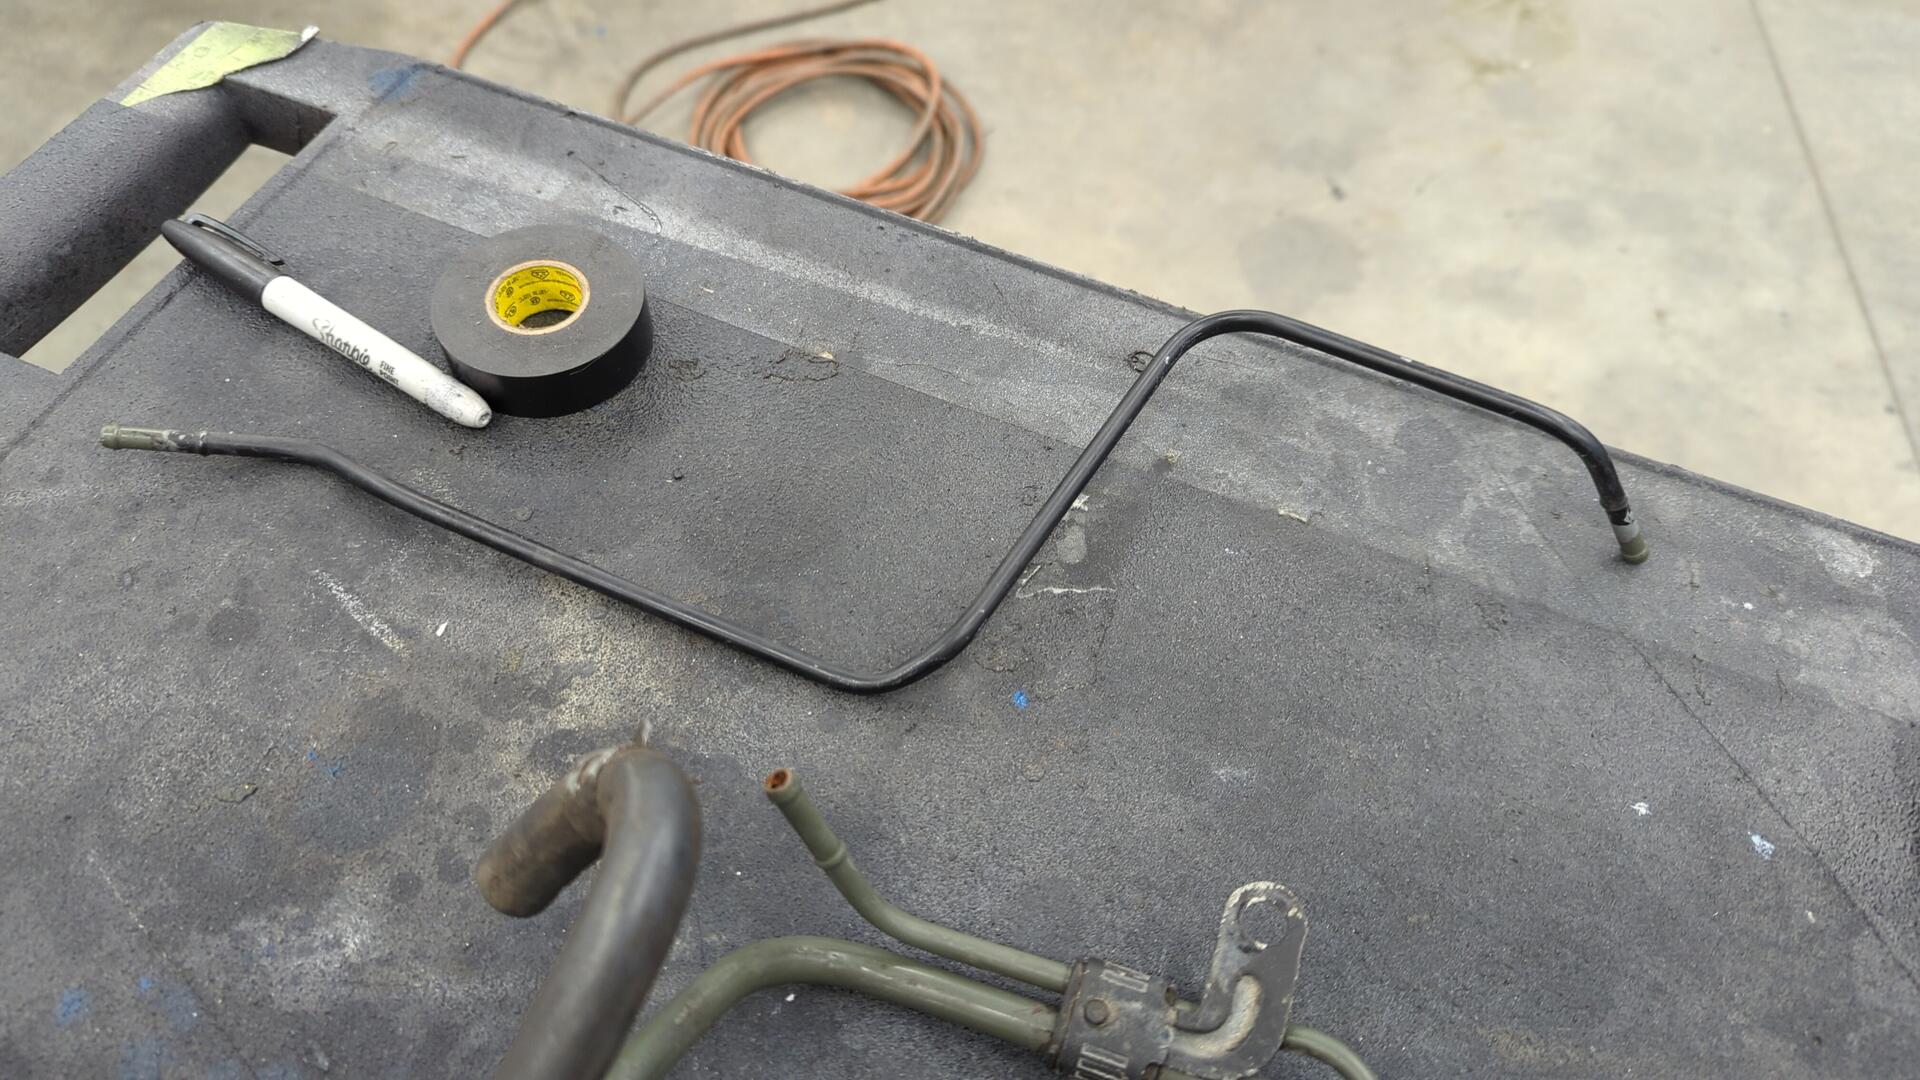
Don’t mind the color difference.
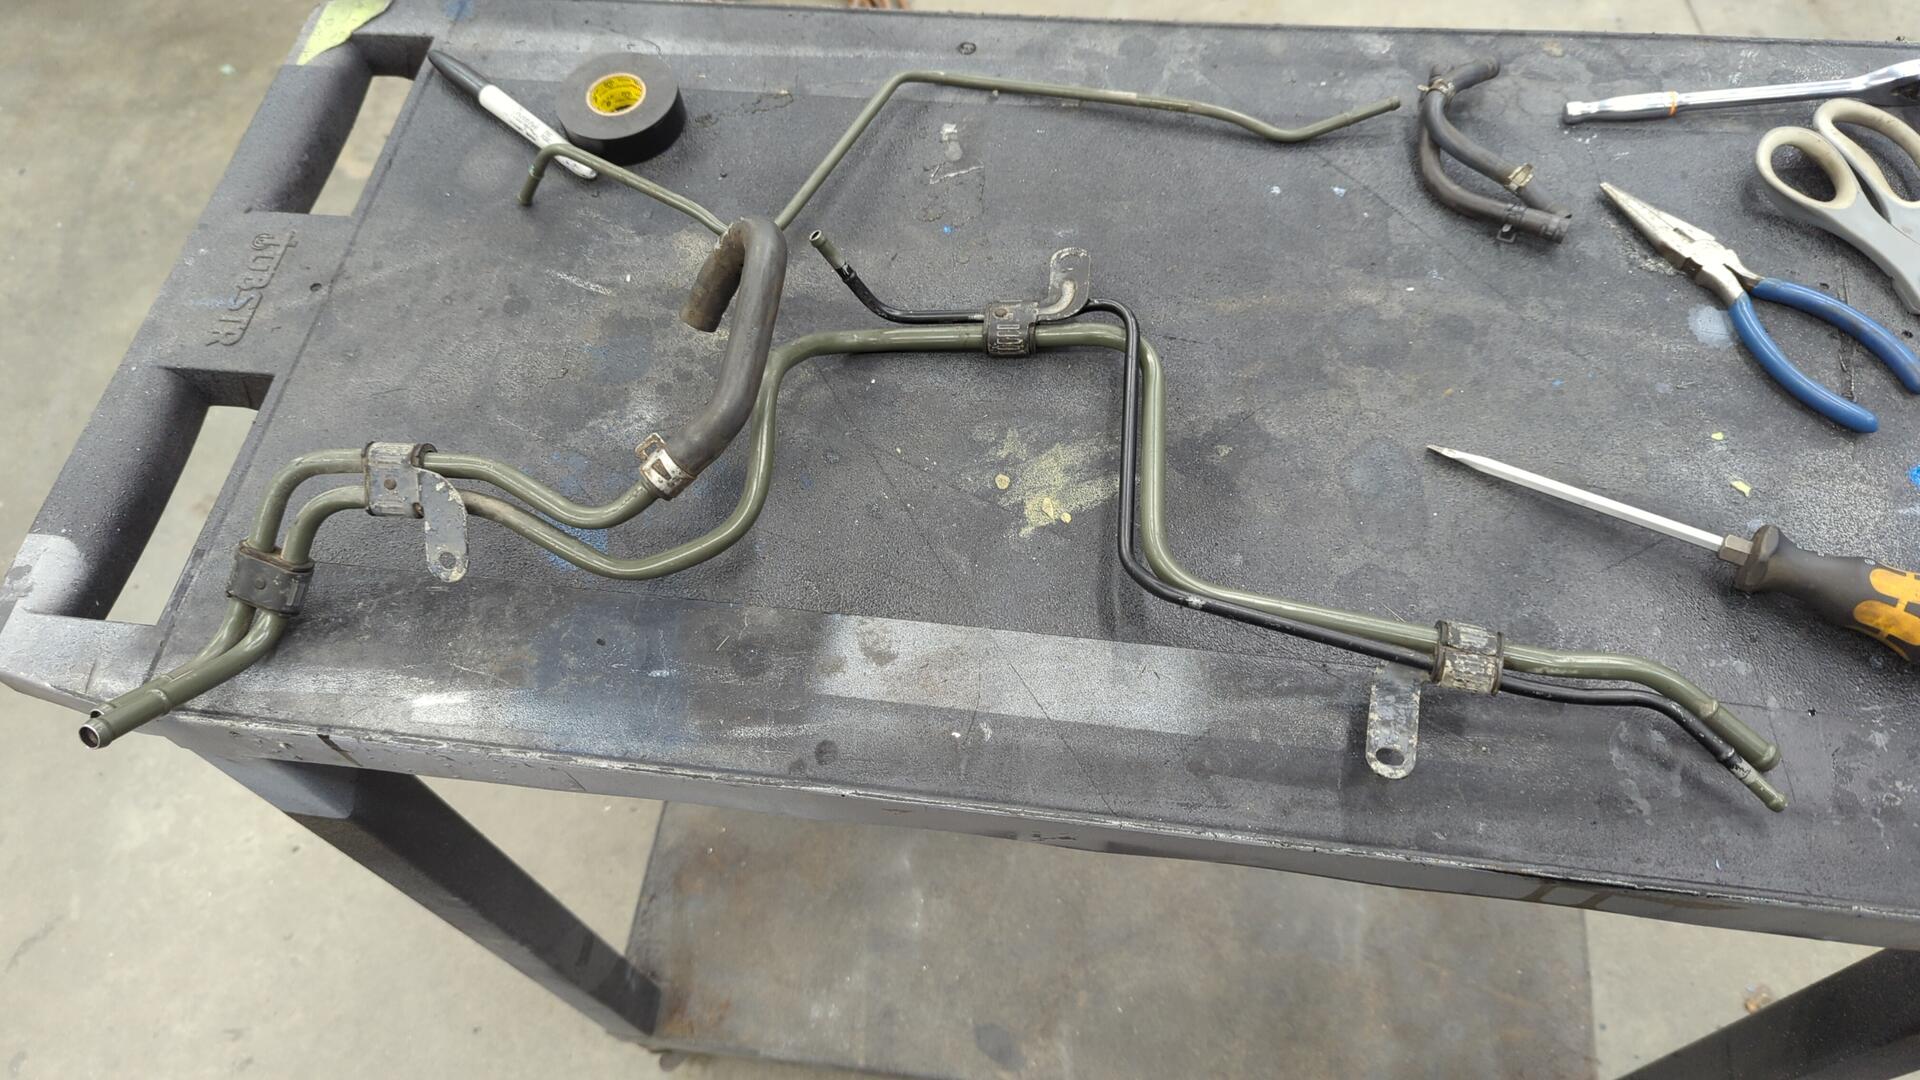
Lines installed along with the reservoir.

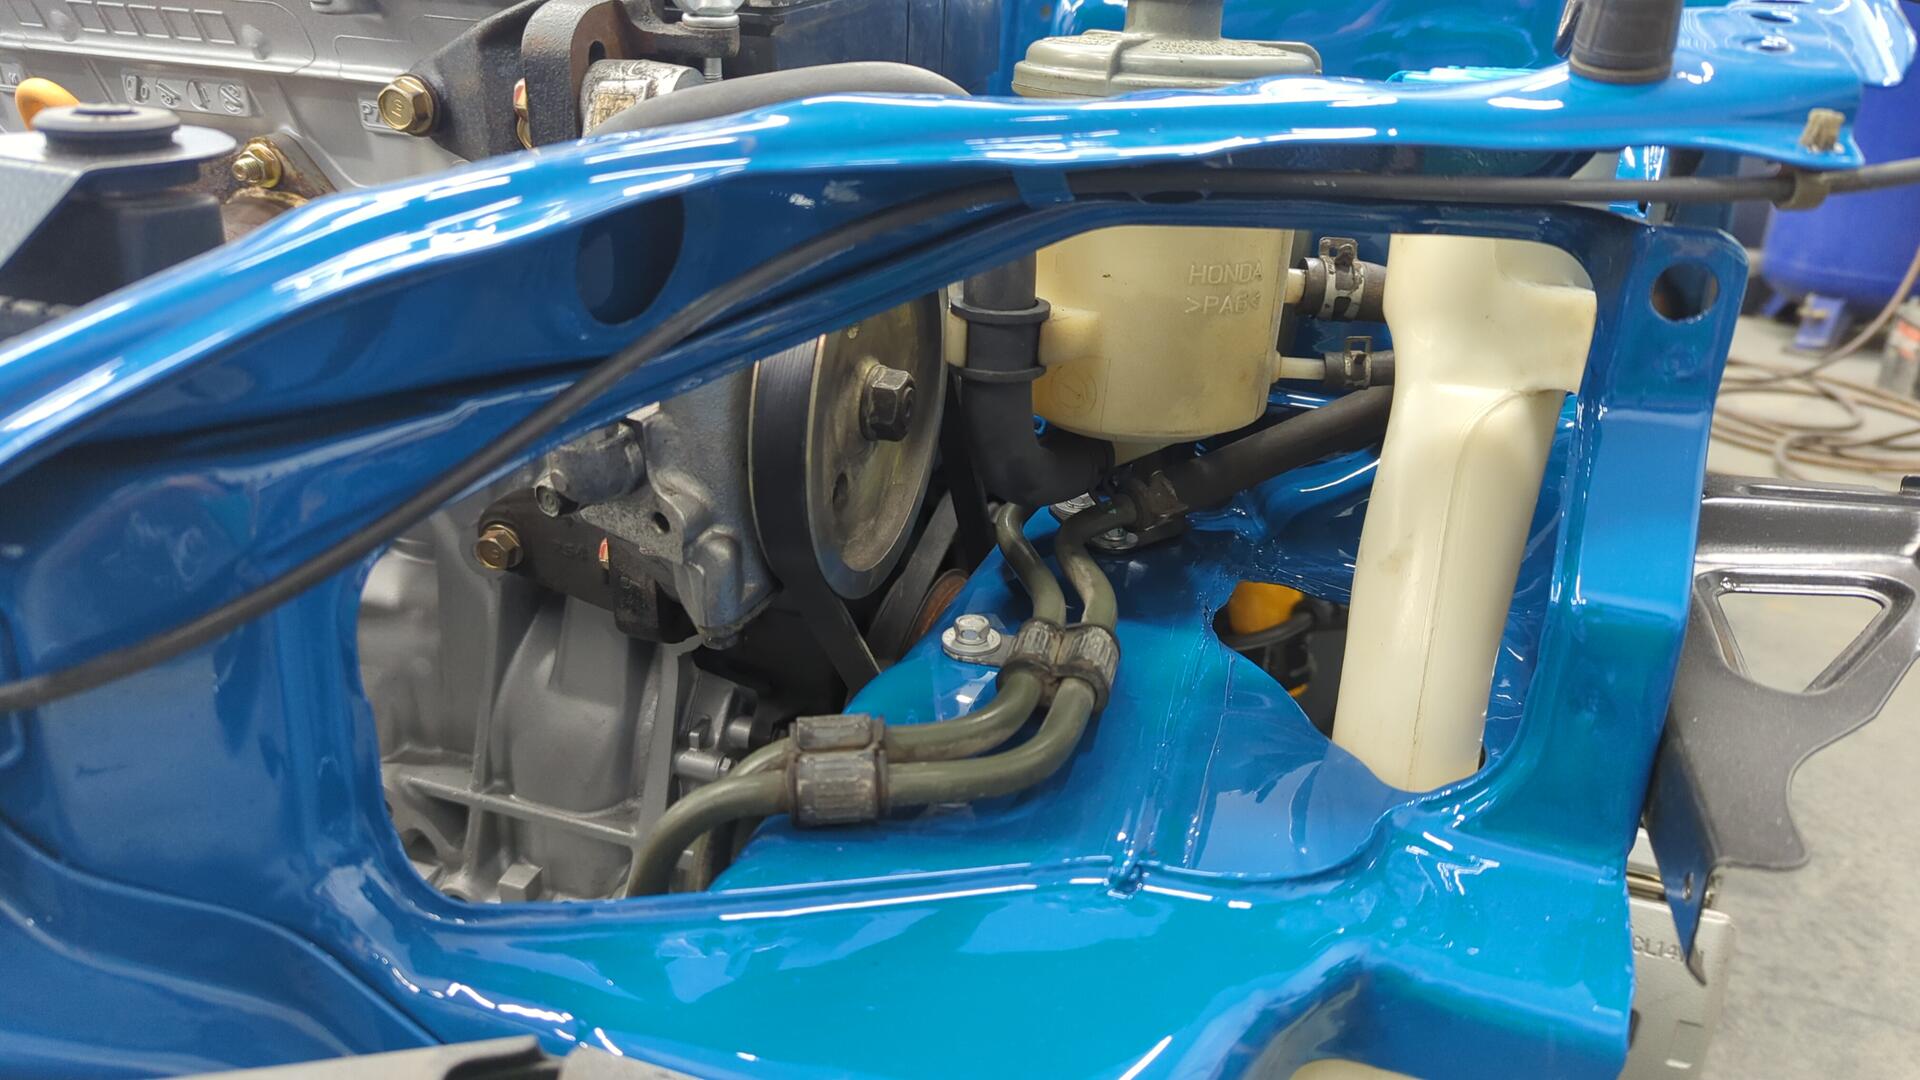
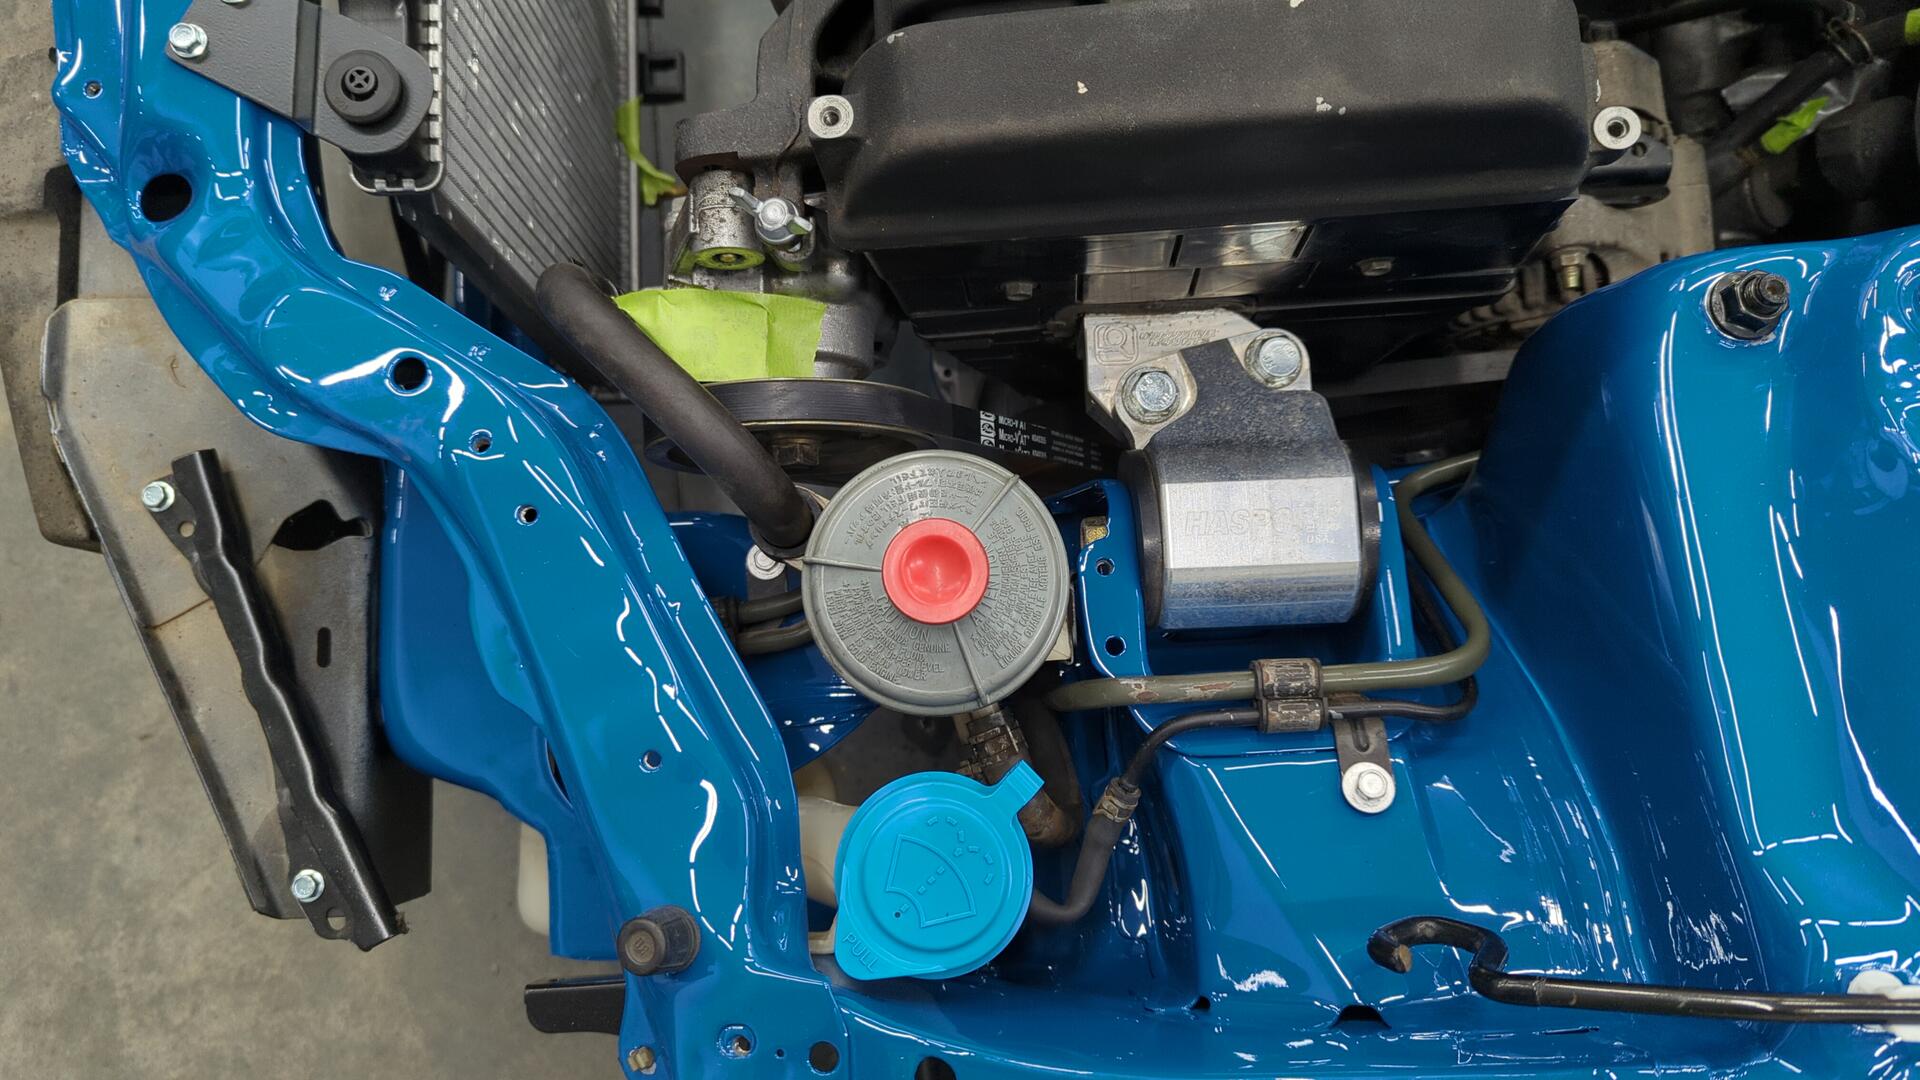
I was even able to retain the OEM cooling loop.

After that I ran the fuse box wiring through the firewall using one of the new grommets I picked up.
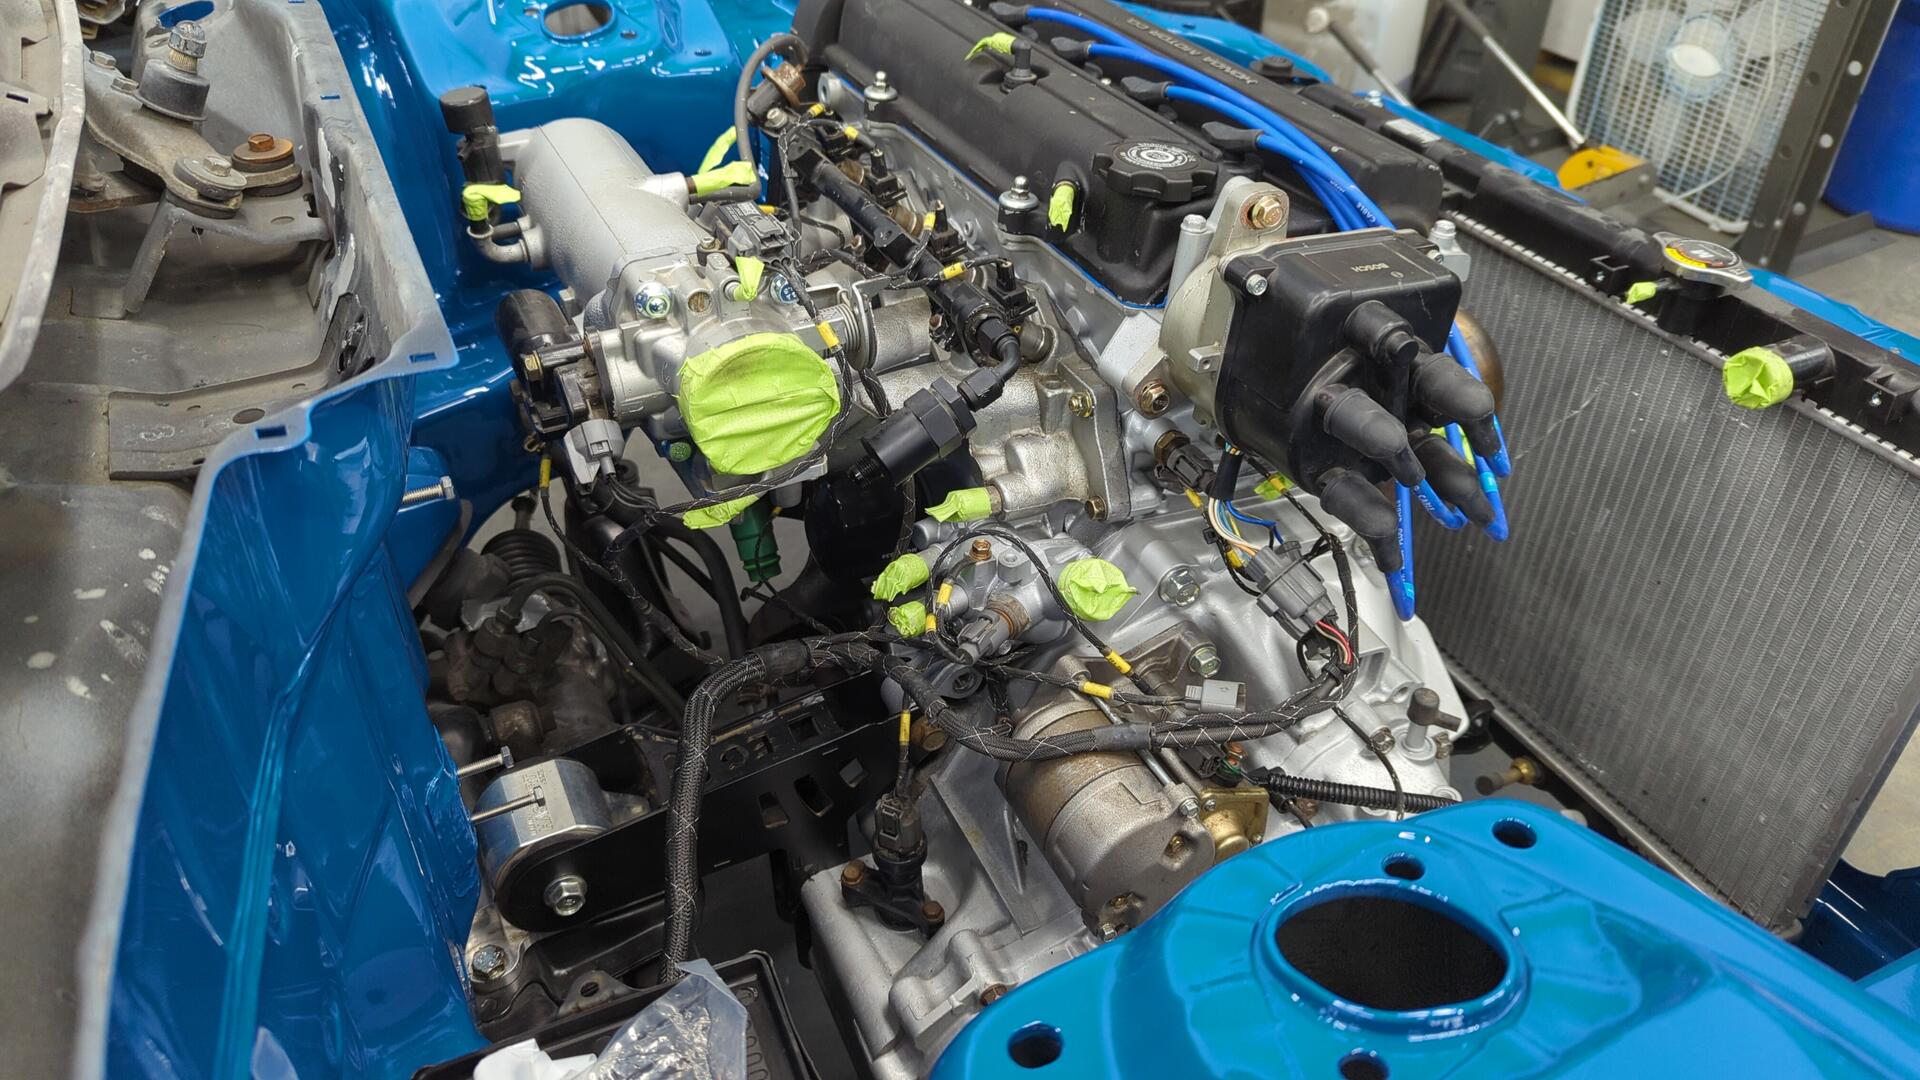
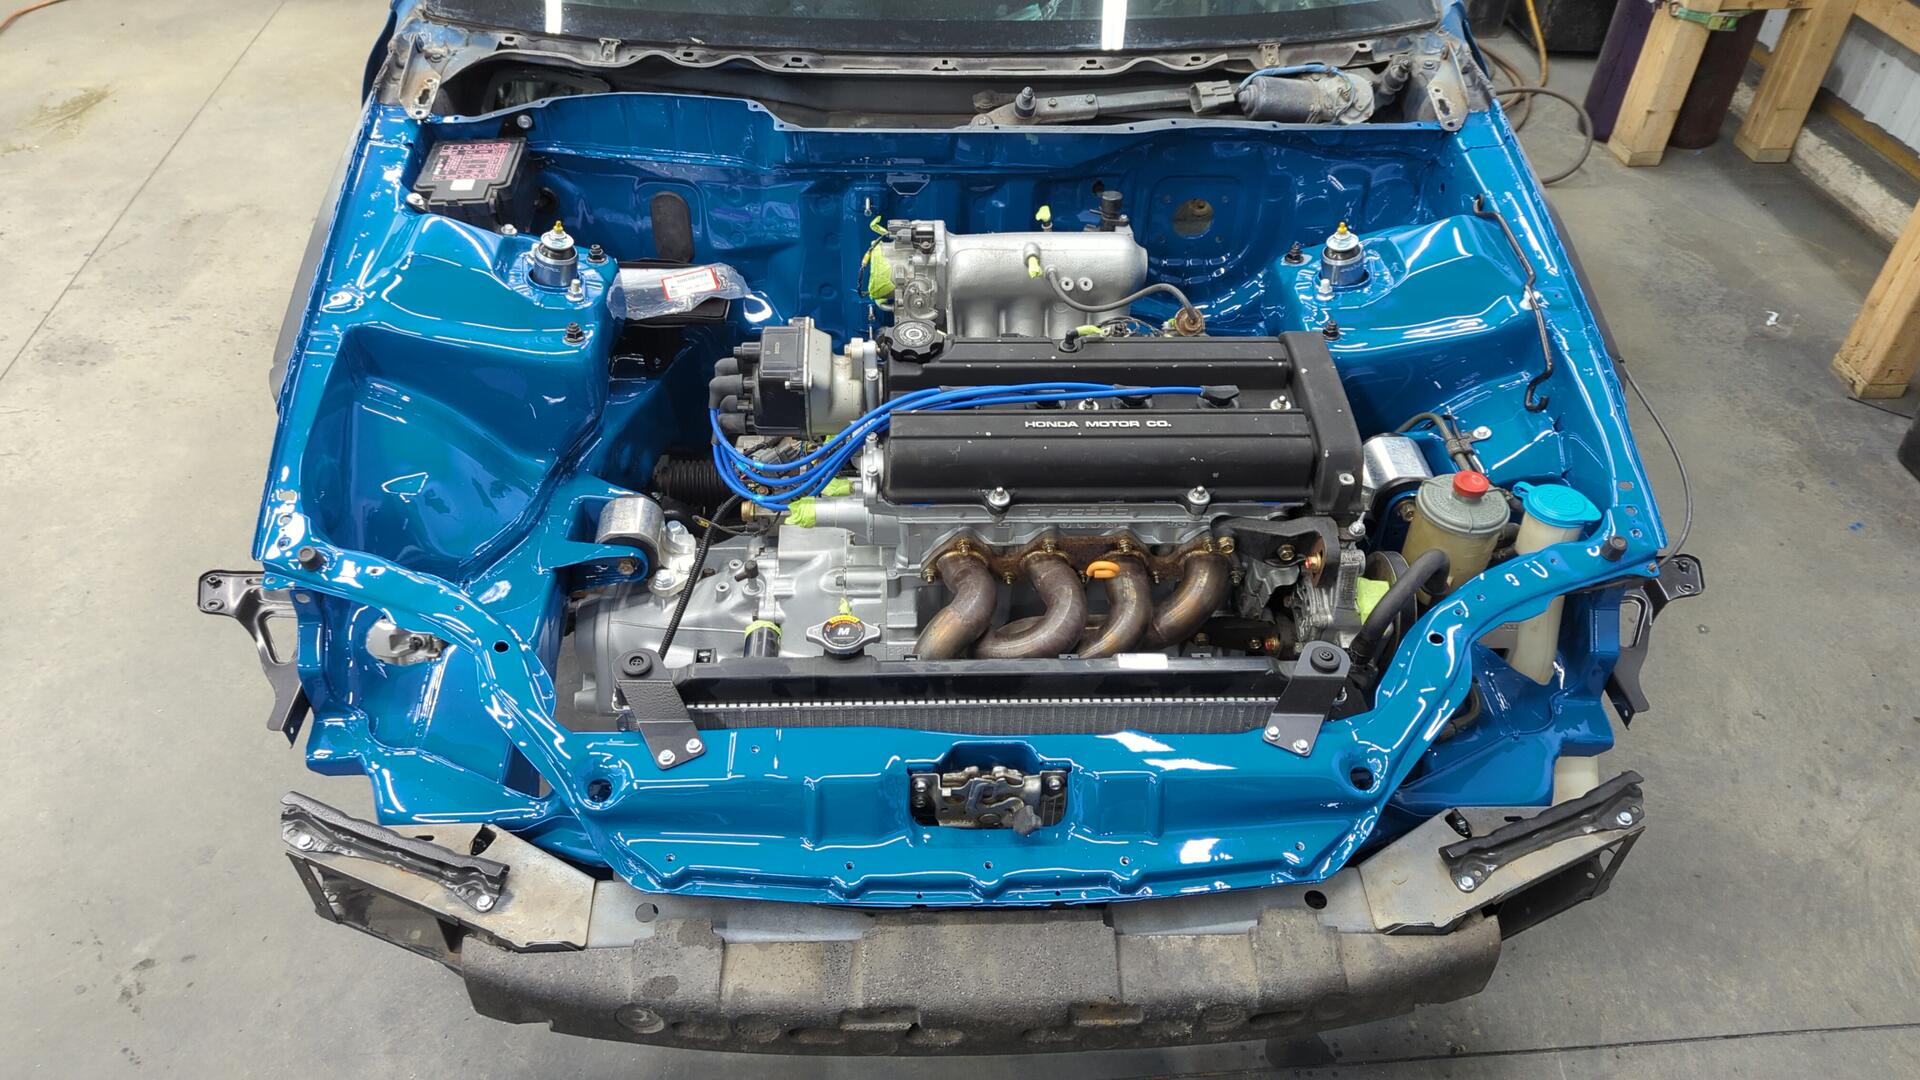
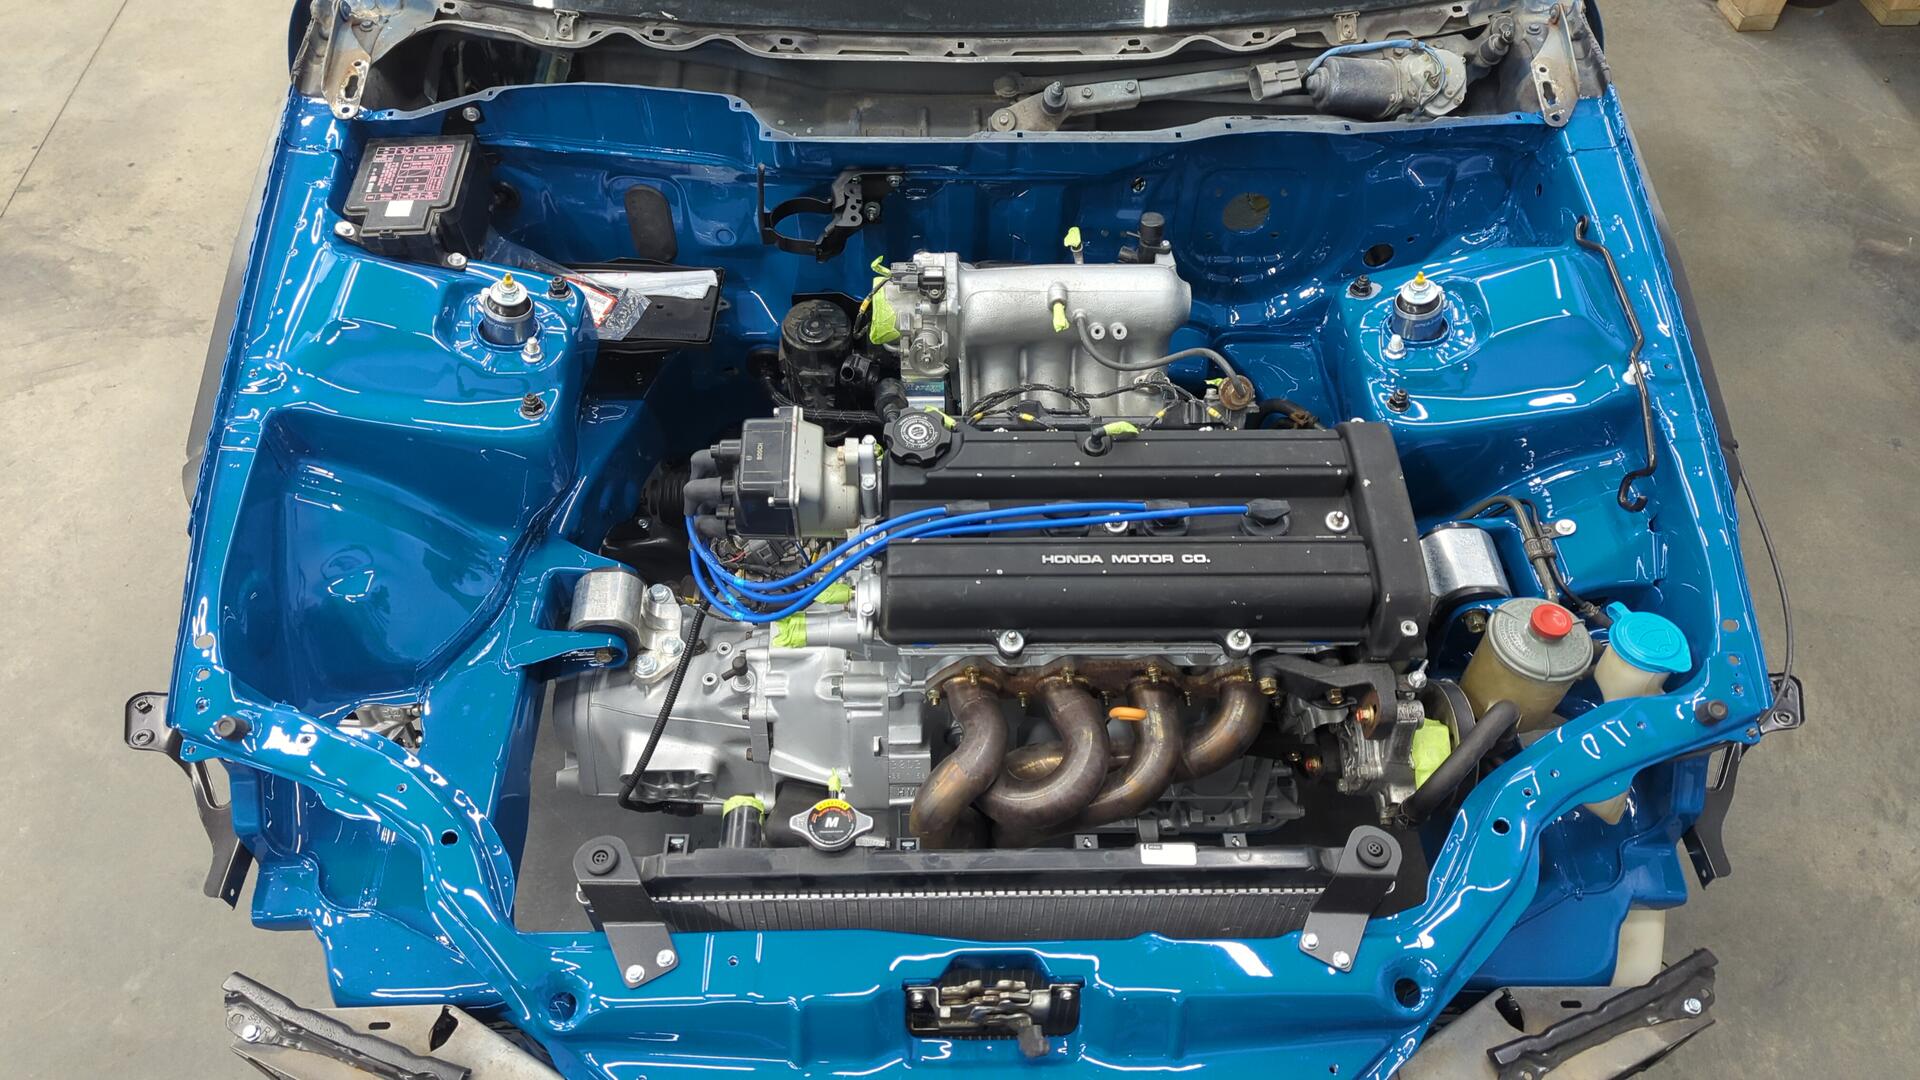
The bays looking pretty good now.
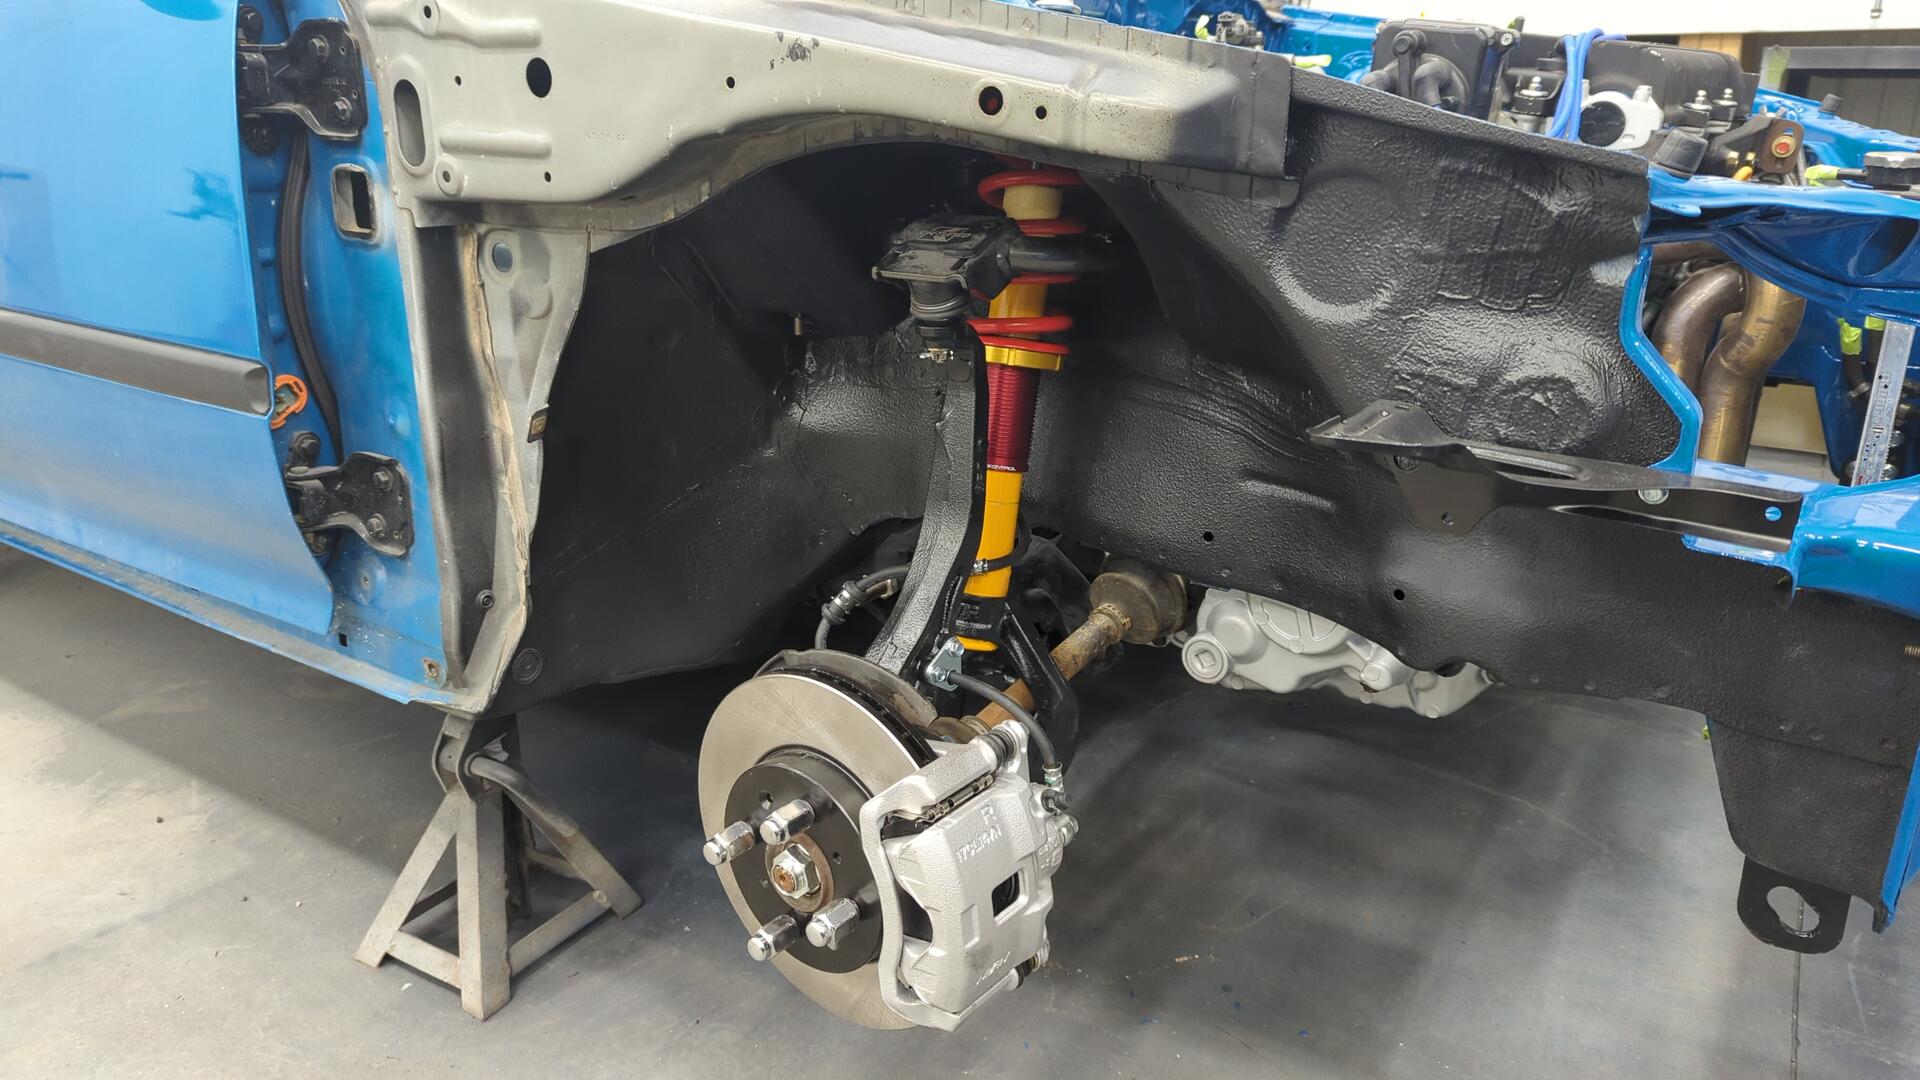
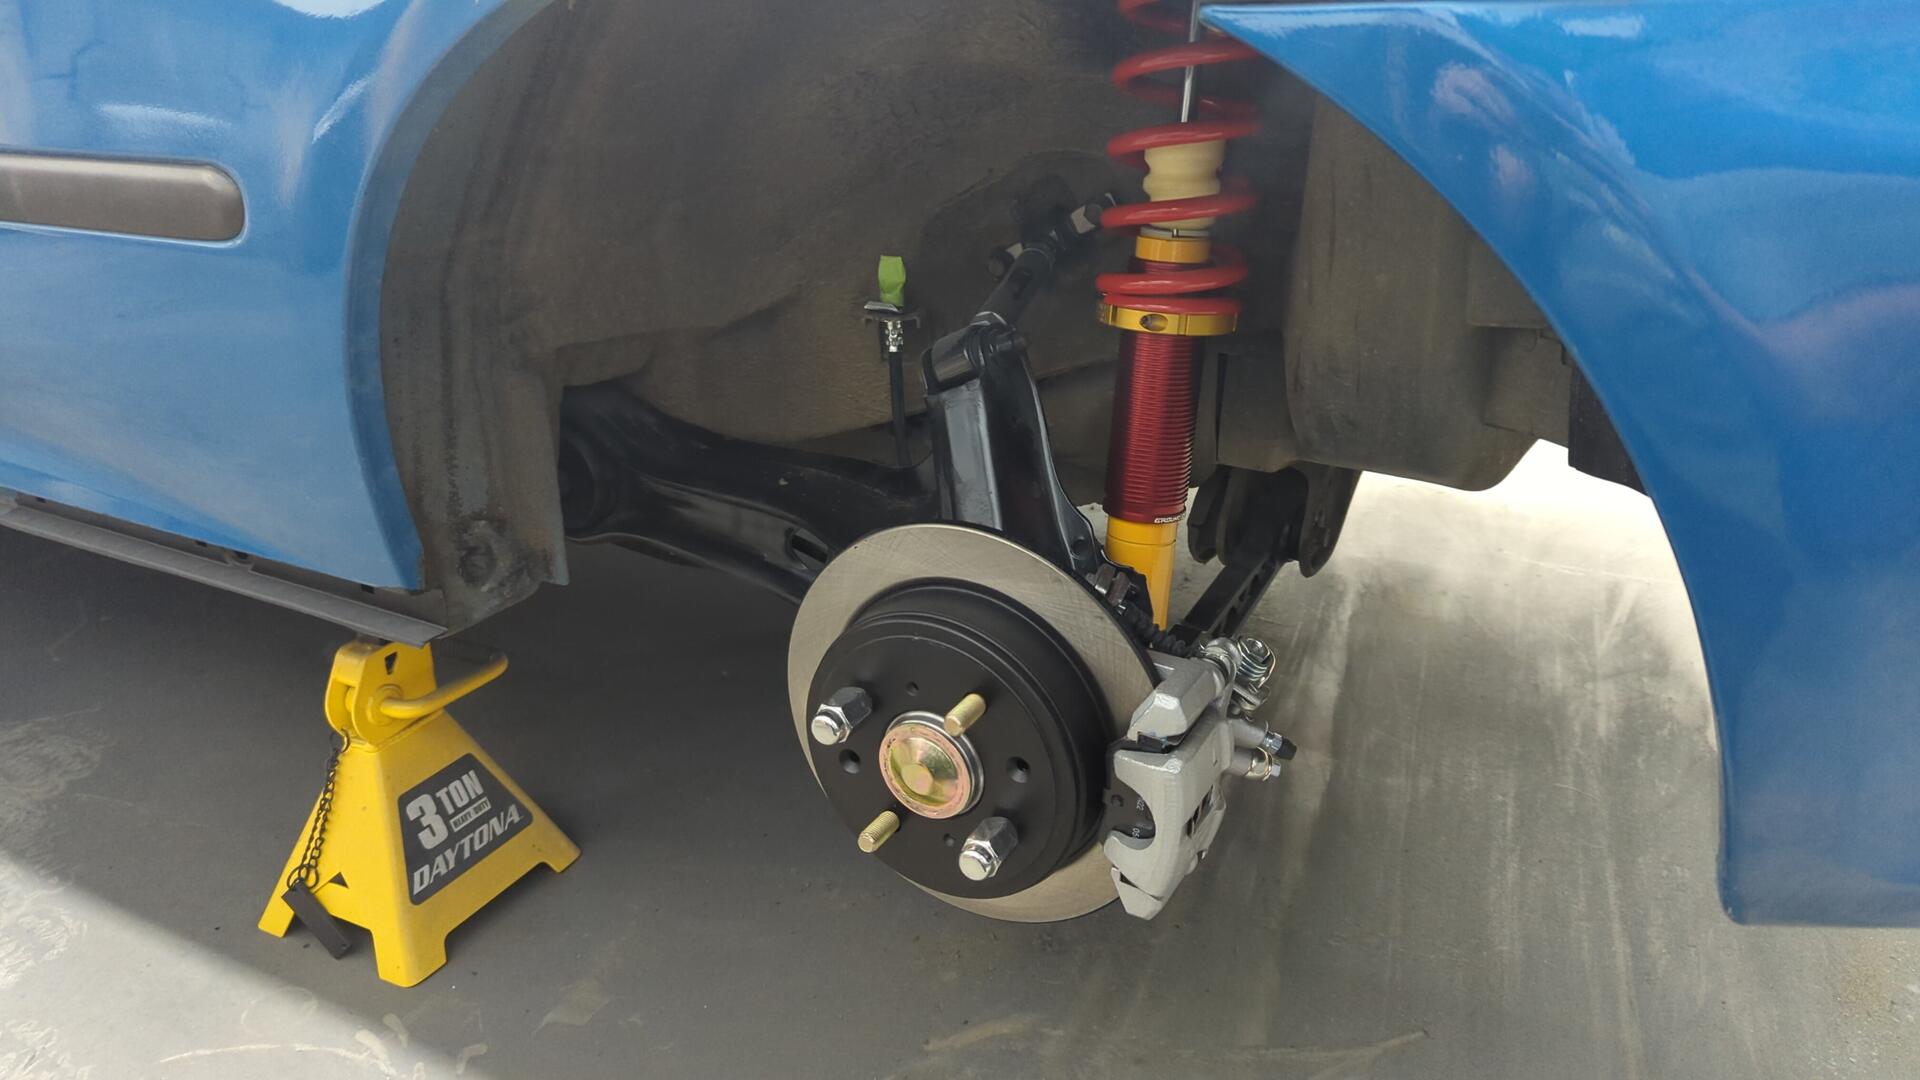
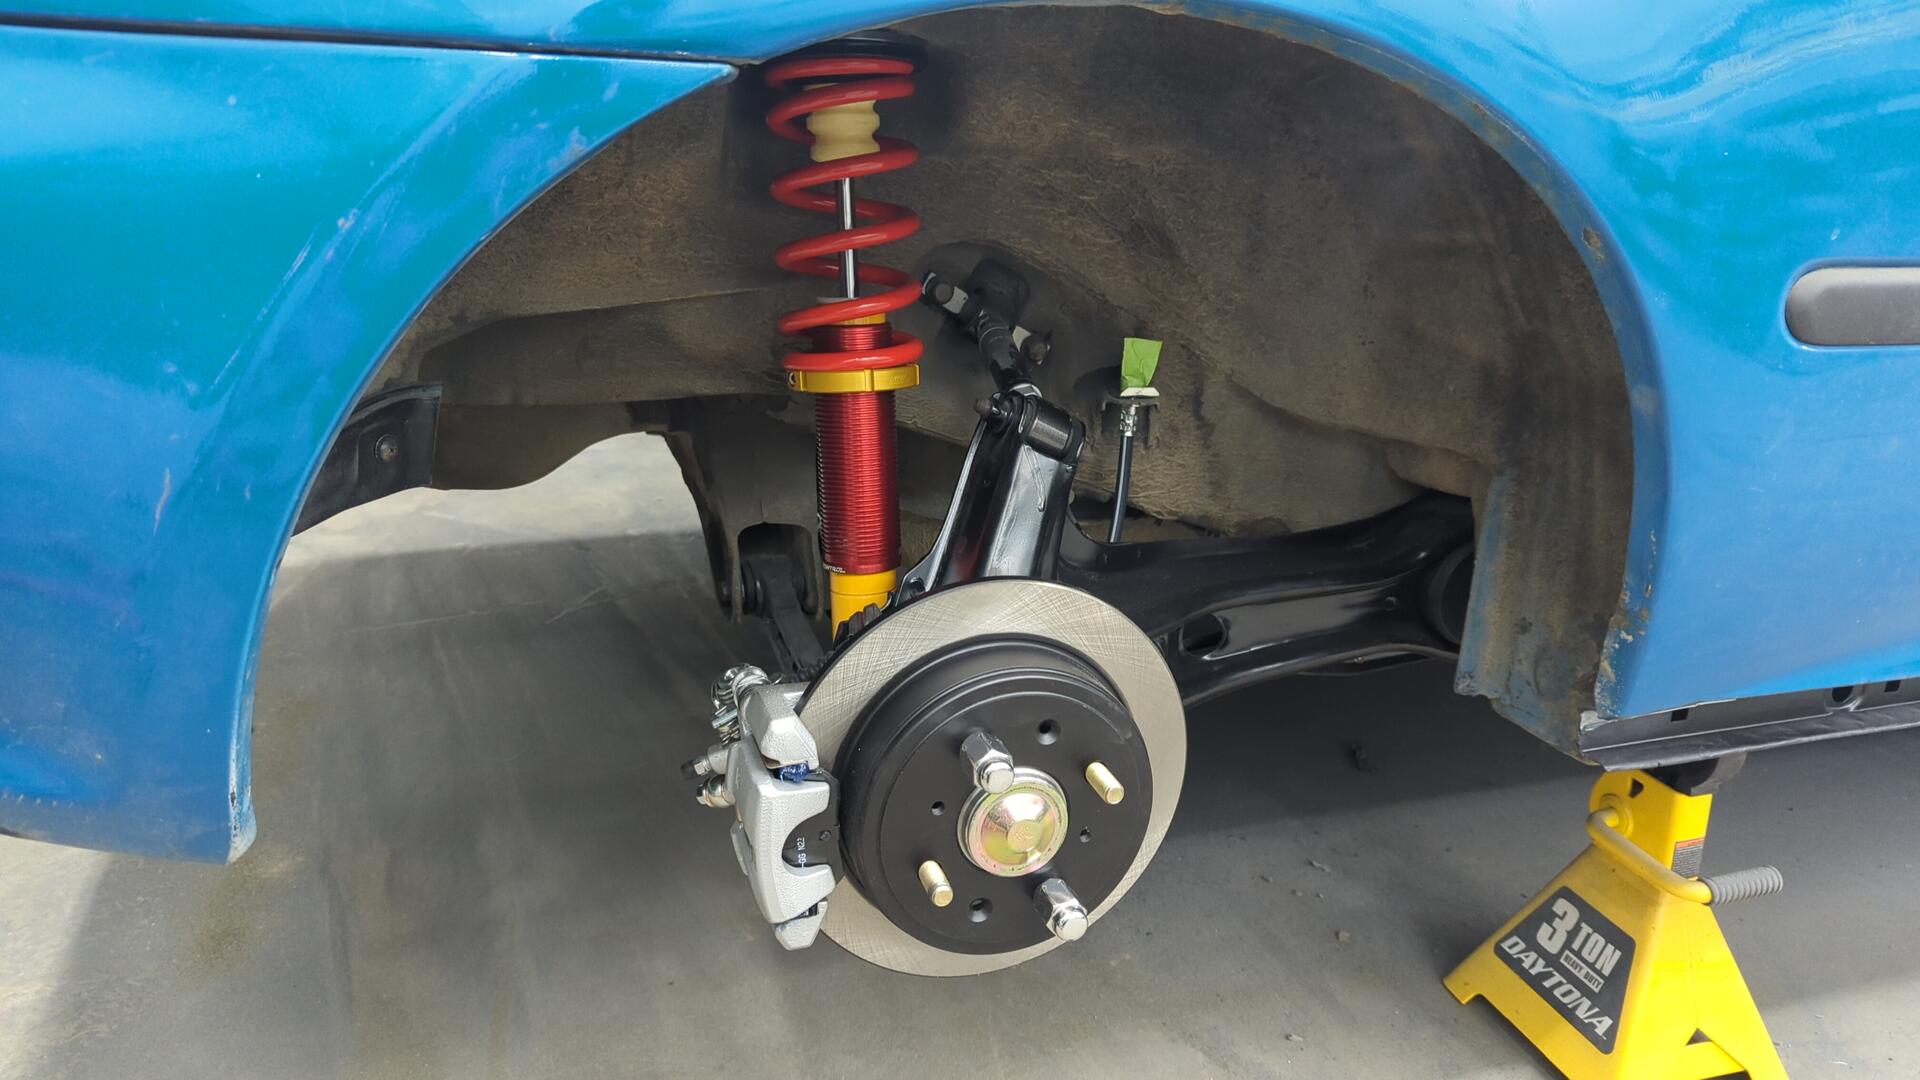
Goodbye Tein, Hello Koni Yellows / Ground Controls
Back when I first lowered the car I bought a super cheap set of Teins. They rode as stiff as you’d expect and I had no idea what I was running for spring rates.
Since I’m getting more serious with Auto-x I wanted an easier to customize setup so I decided ditch them and jump on the Koni yellow / Ground Control bandwagon.
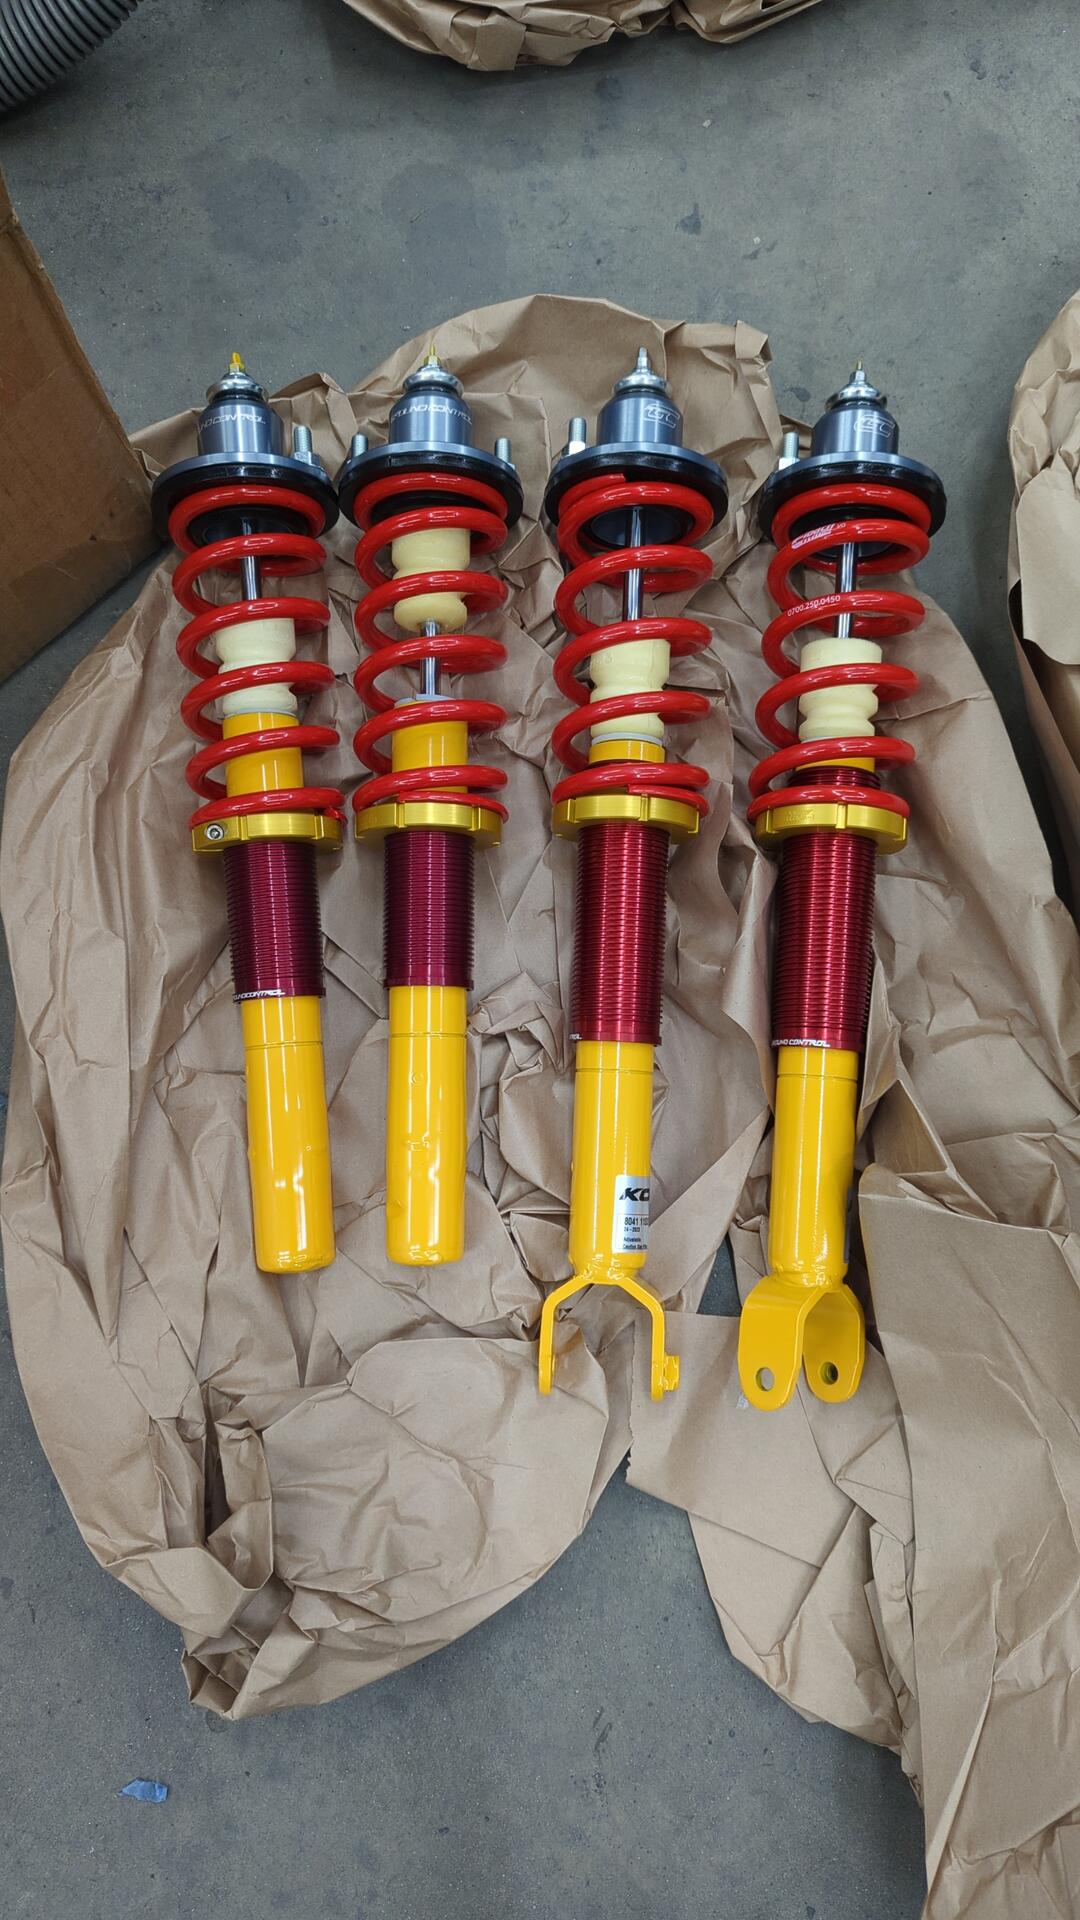
For spring rates the fronts are 400 lbs/in and the rears are 450 lbs/in. This should give the car a relatively balanced feel with a bit of oversteer.
I was very on the fence about running 400/450 or 400/500 but opted to start off at 450 in the rear to see how things felt before I add a big rear sway bar.
Fronts installed.
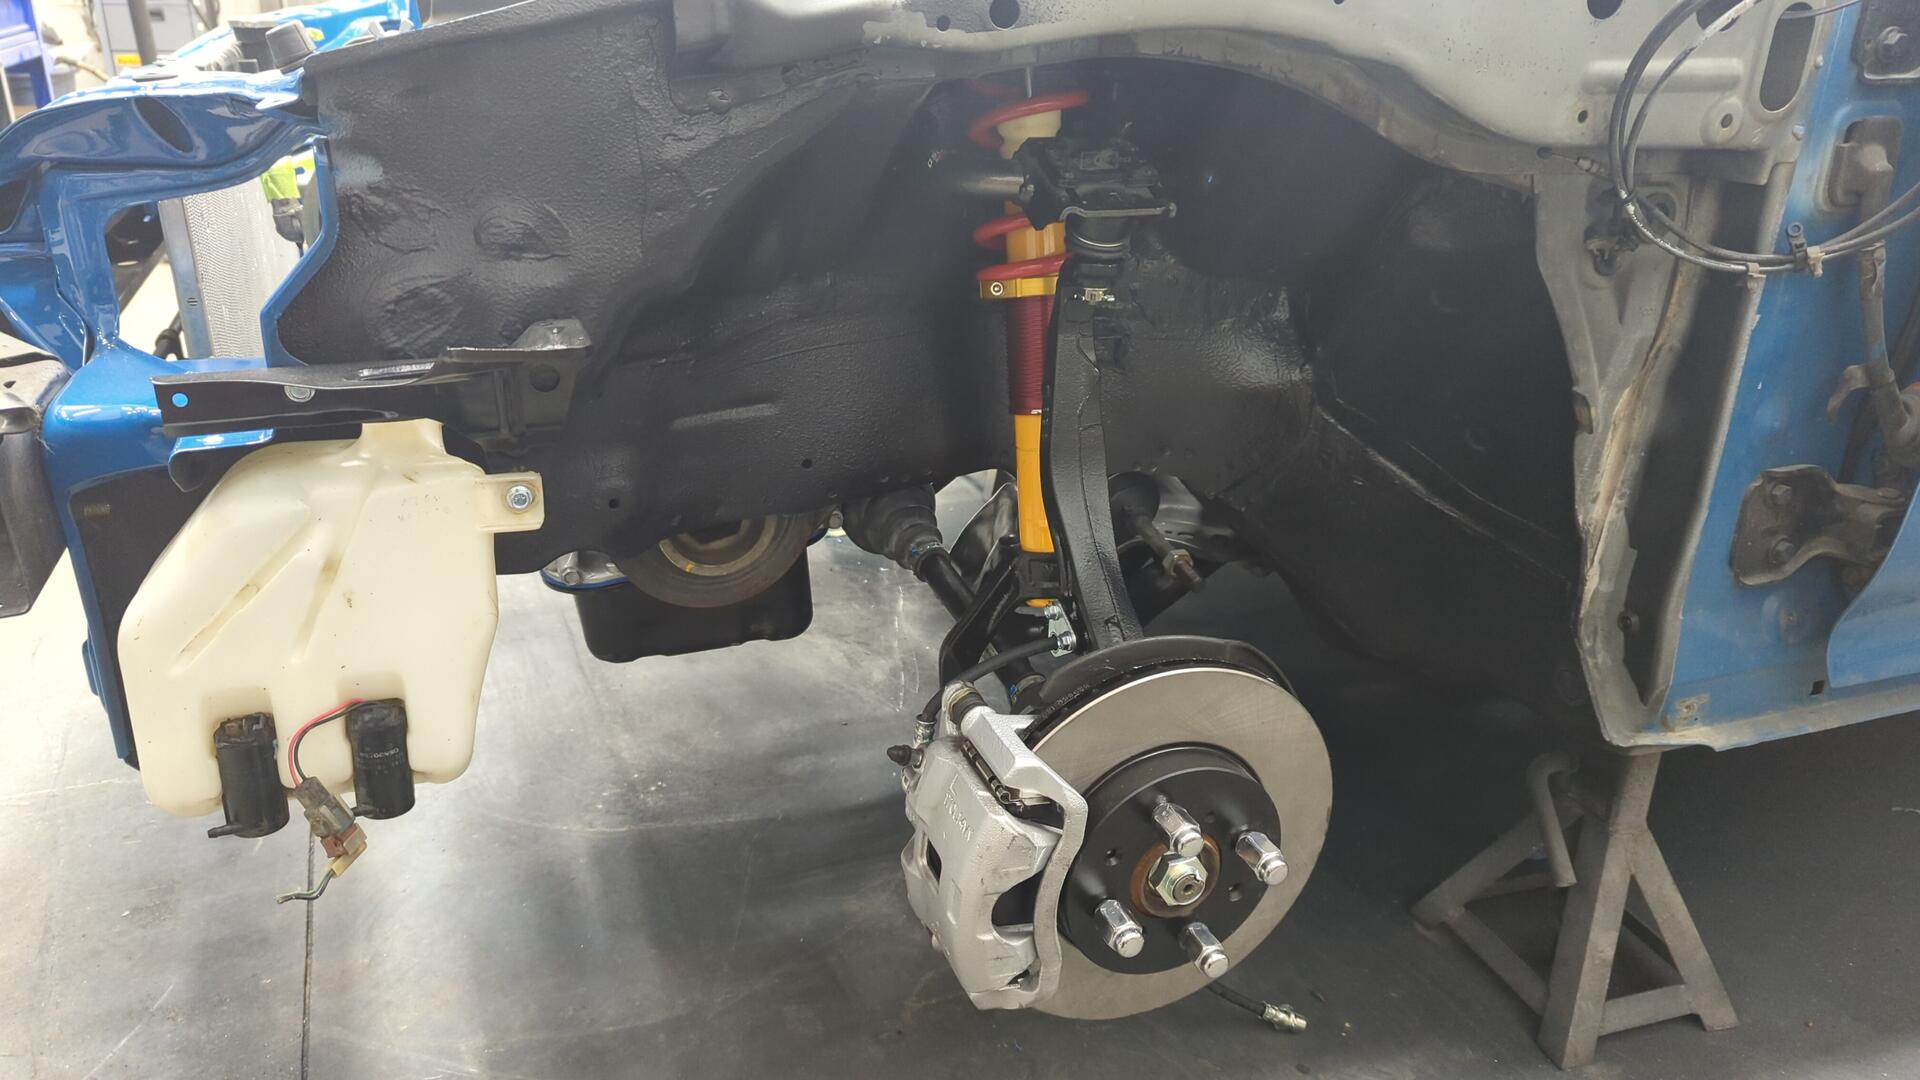
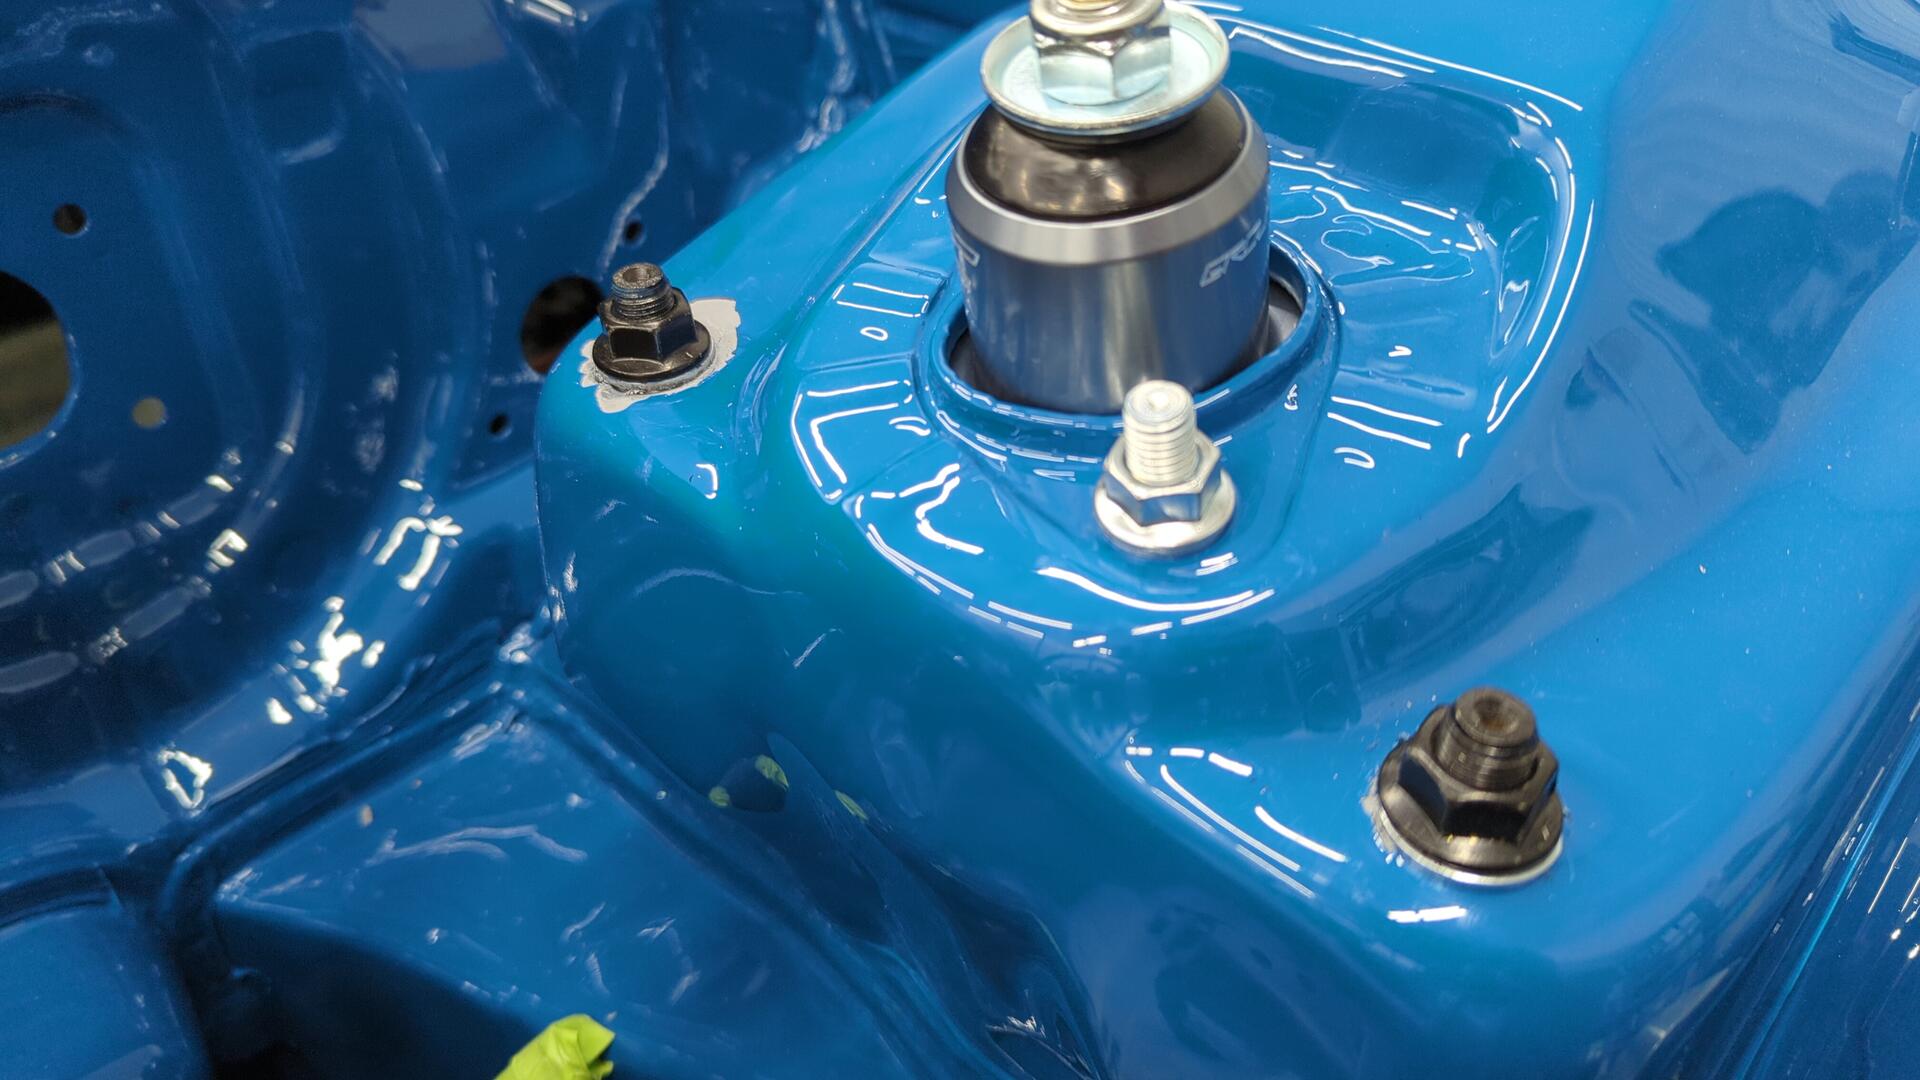
Rears installed.
I had a bit of a mishap with the paint in the engine bay when torquing down the front upper control arms.
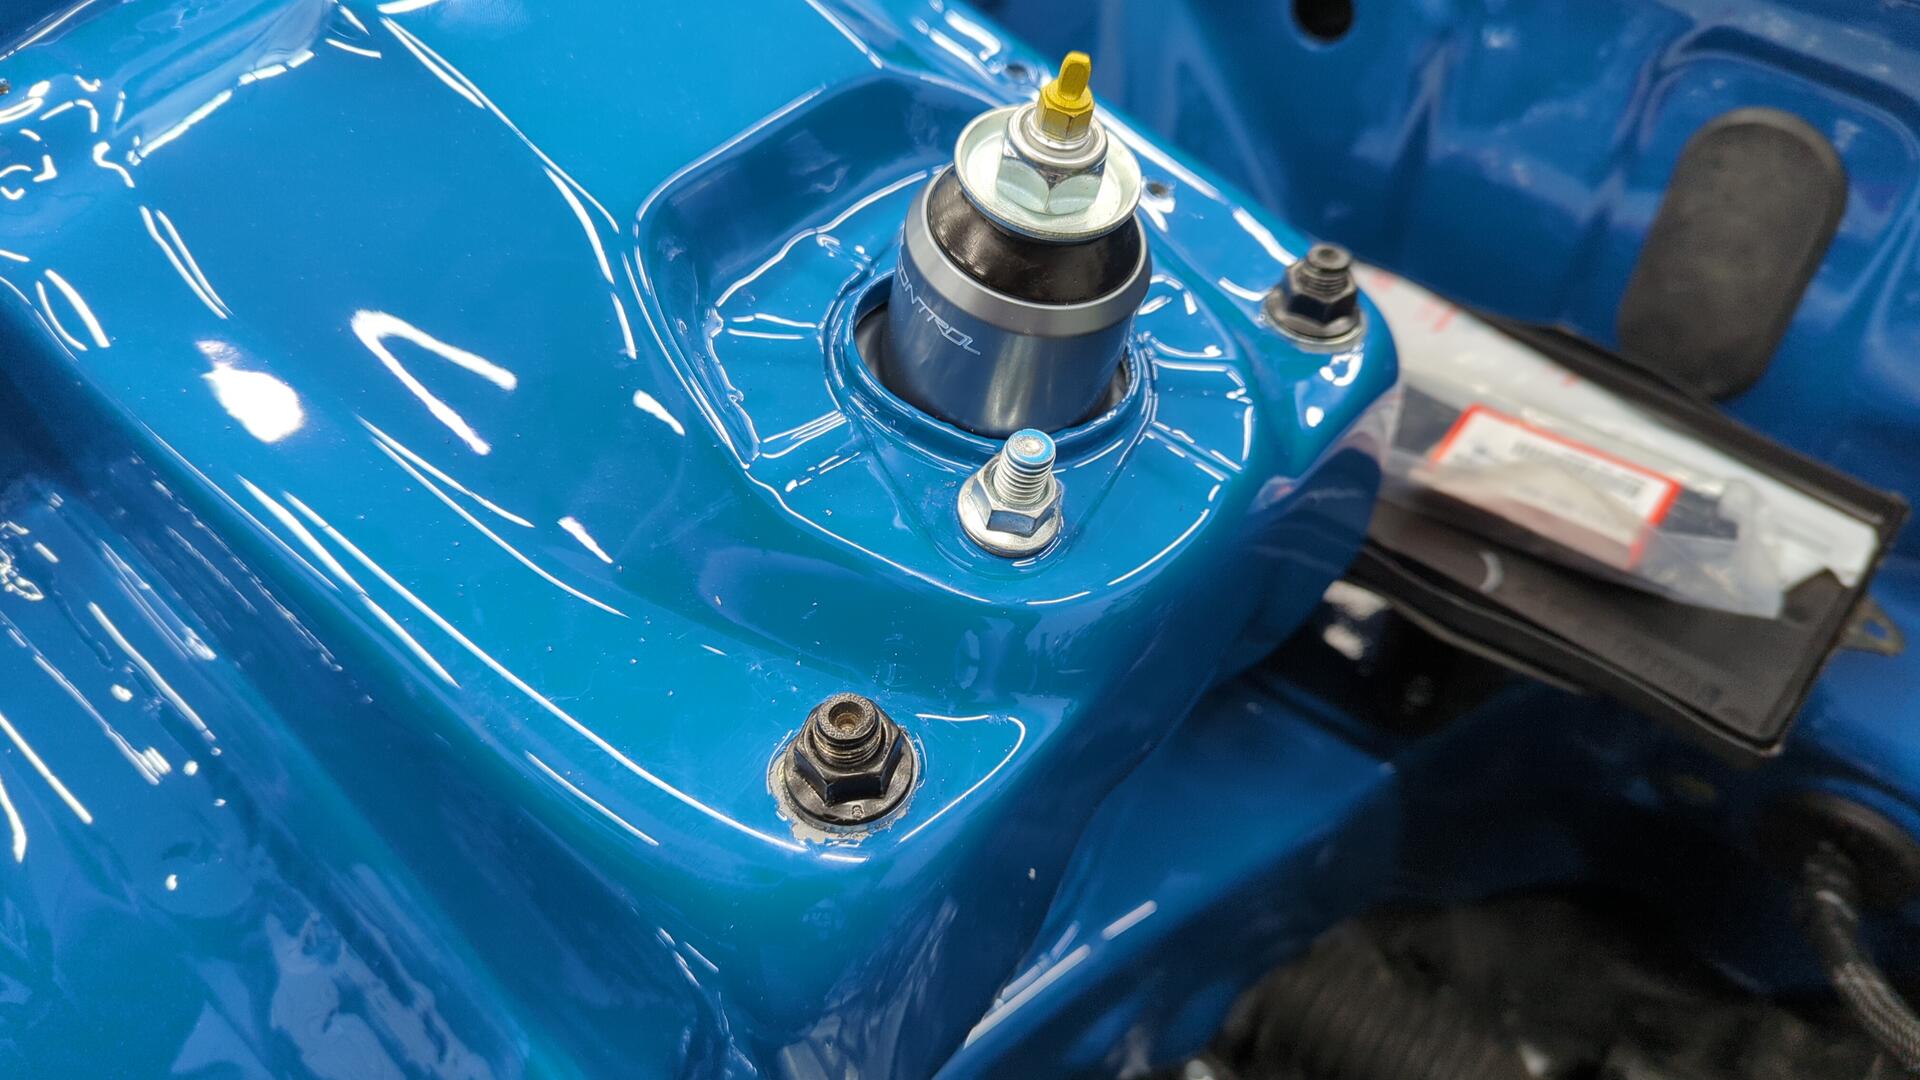
Even with using a washer underneath the nuts they ripped up the paint pretty badly.
I guess this happens when you spray your paint too thick. I was pretty bummed about it at first but I’m not too worried since it’s not a show car and this was a valuable lesson to learn.
Once the engine bay is fully assembled I’ll go back and touch up any paint that was damaged.
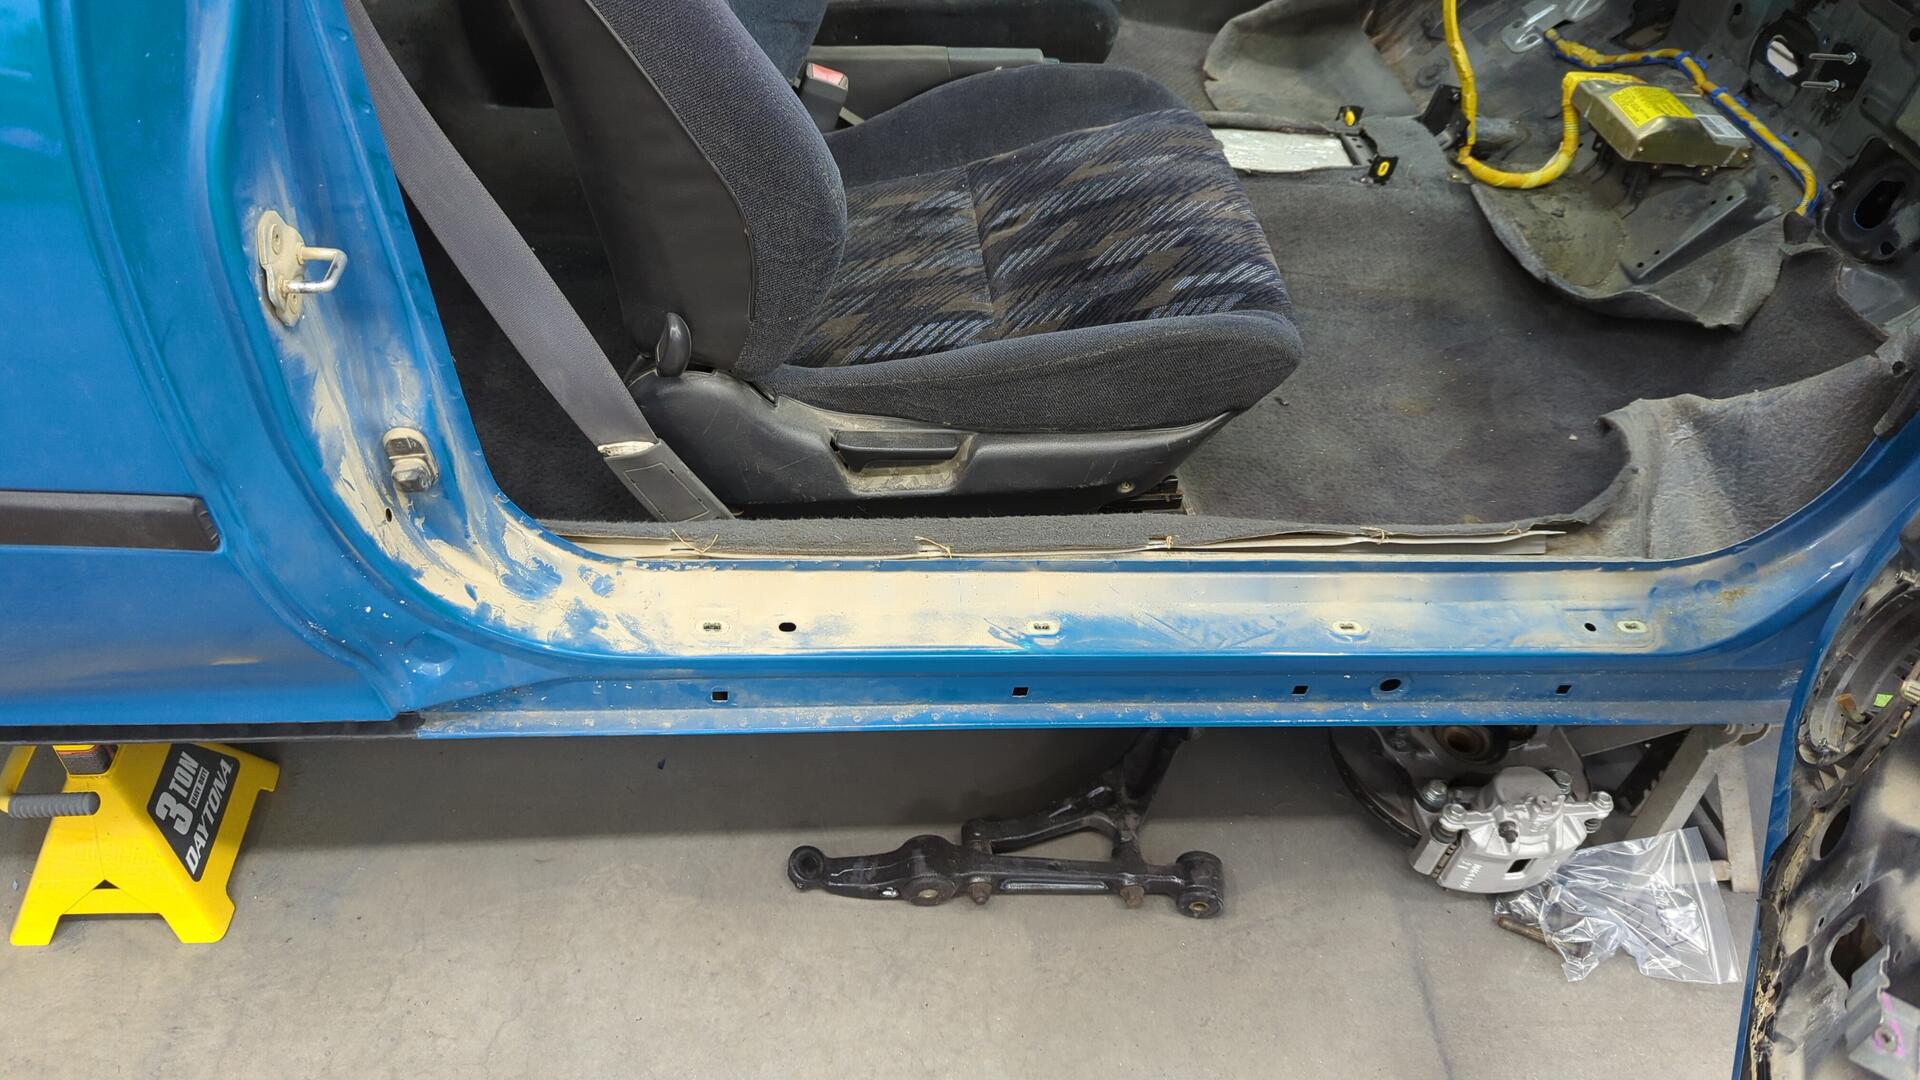
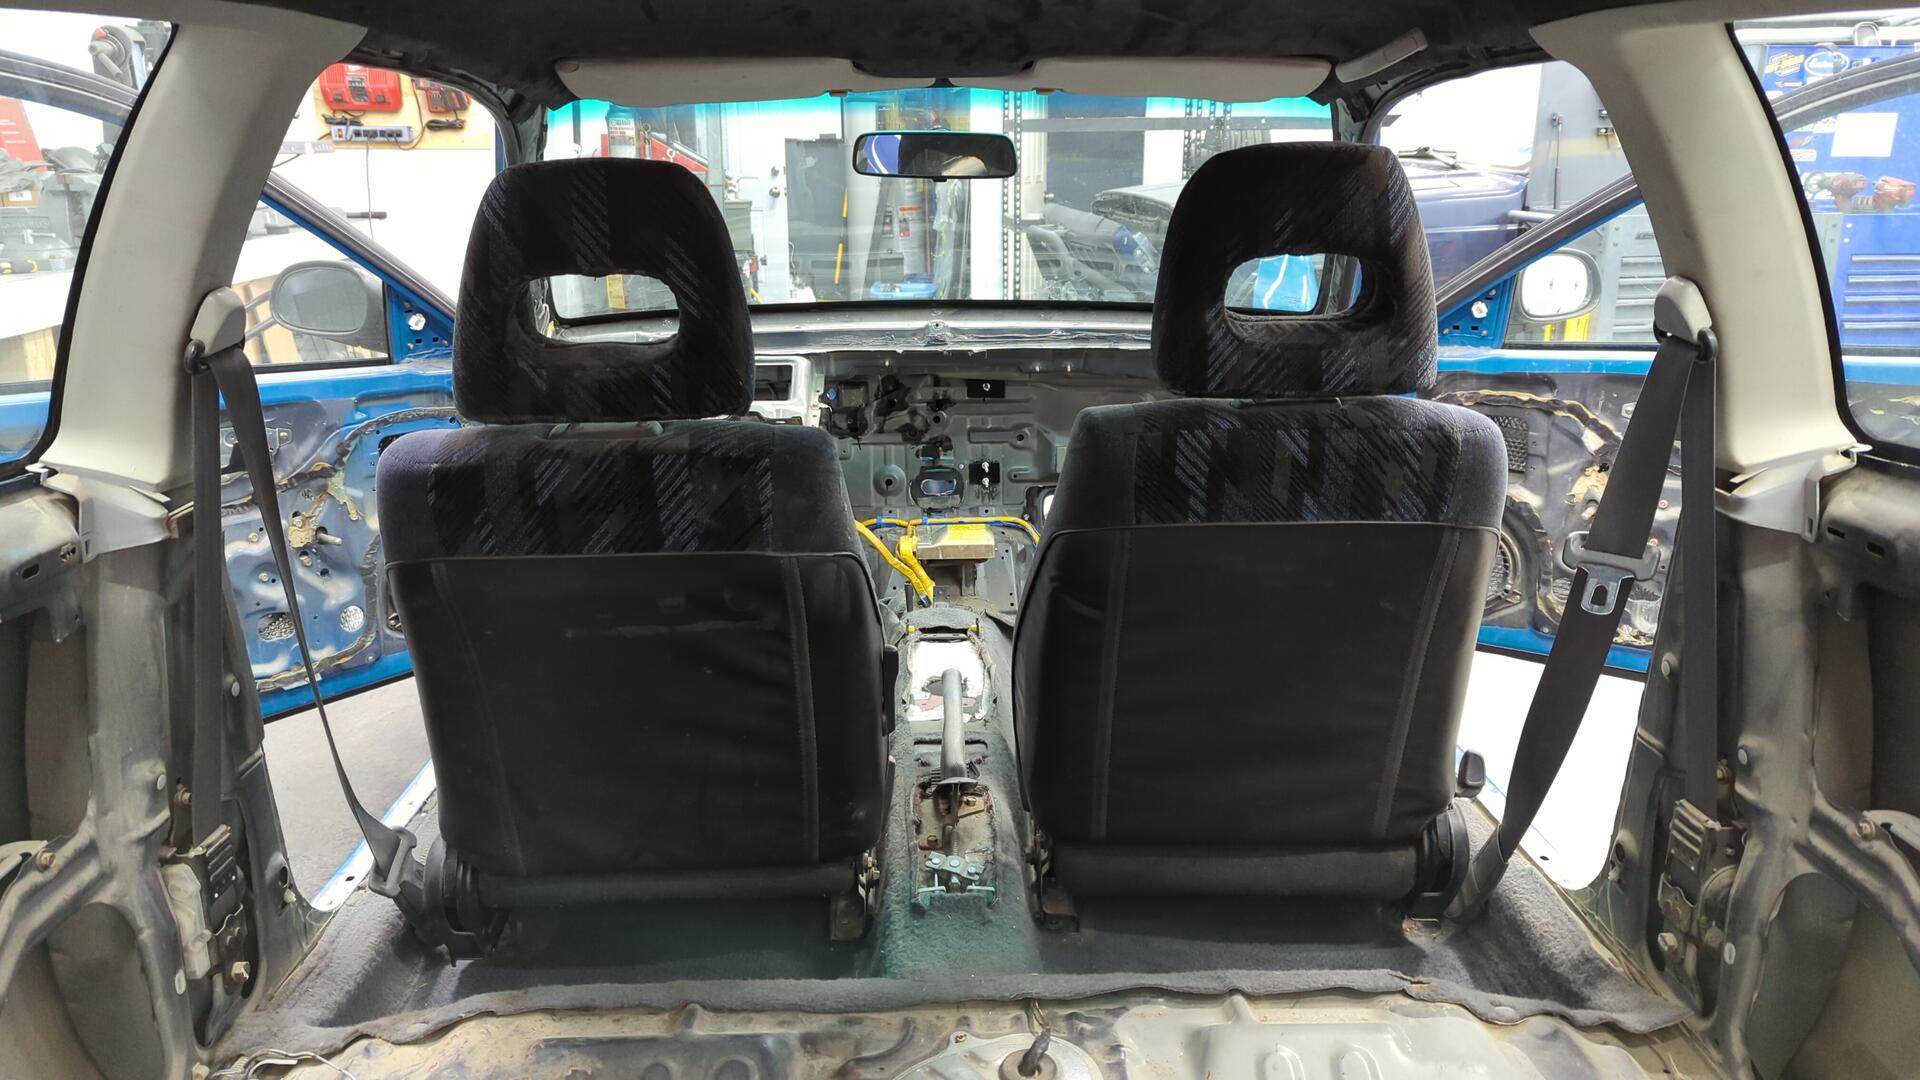
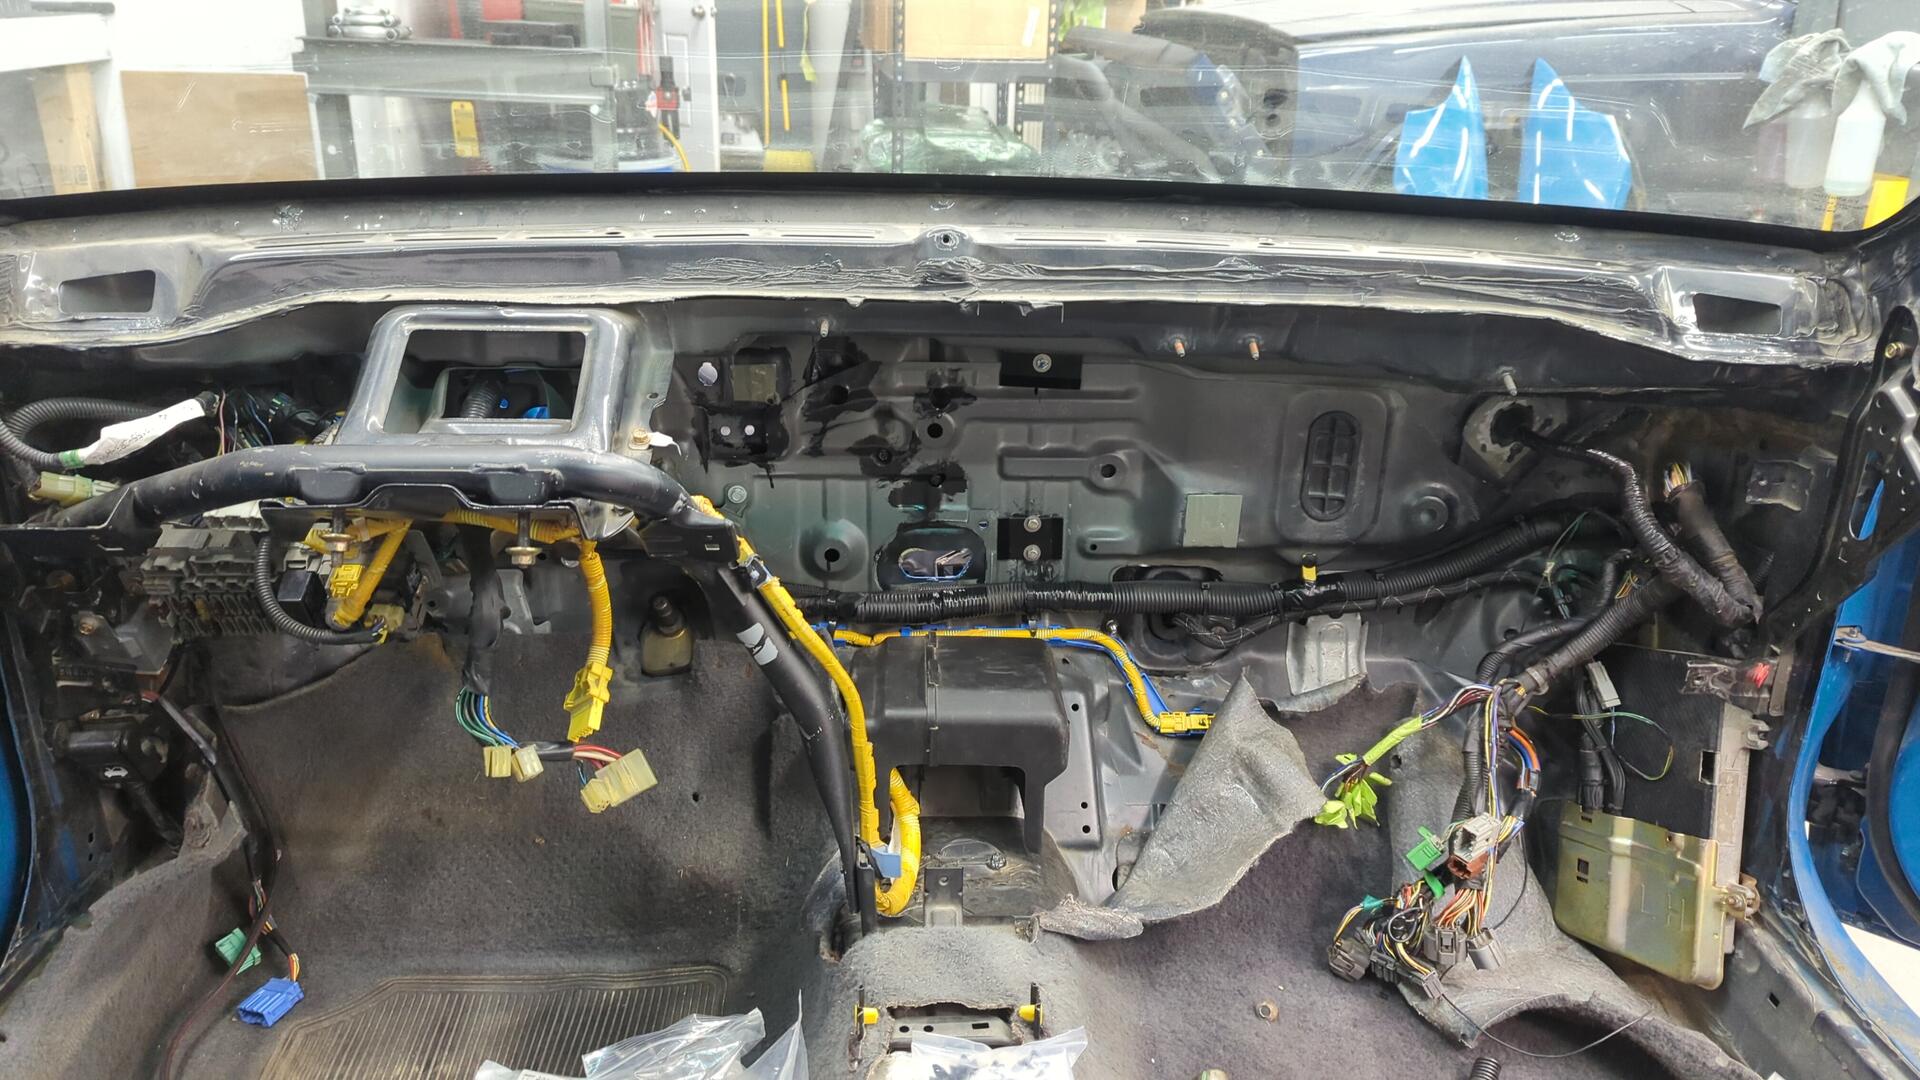
Clearing Out The Interior
For the past couple years I’ve been using the interior as storage for some of the larger parts (front bumper, dash, fenders, and more) but it was finally time to clear everything out so I could start working in there.
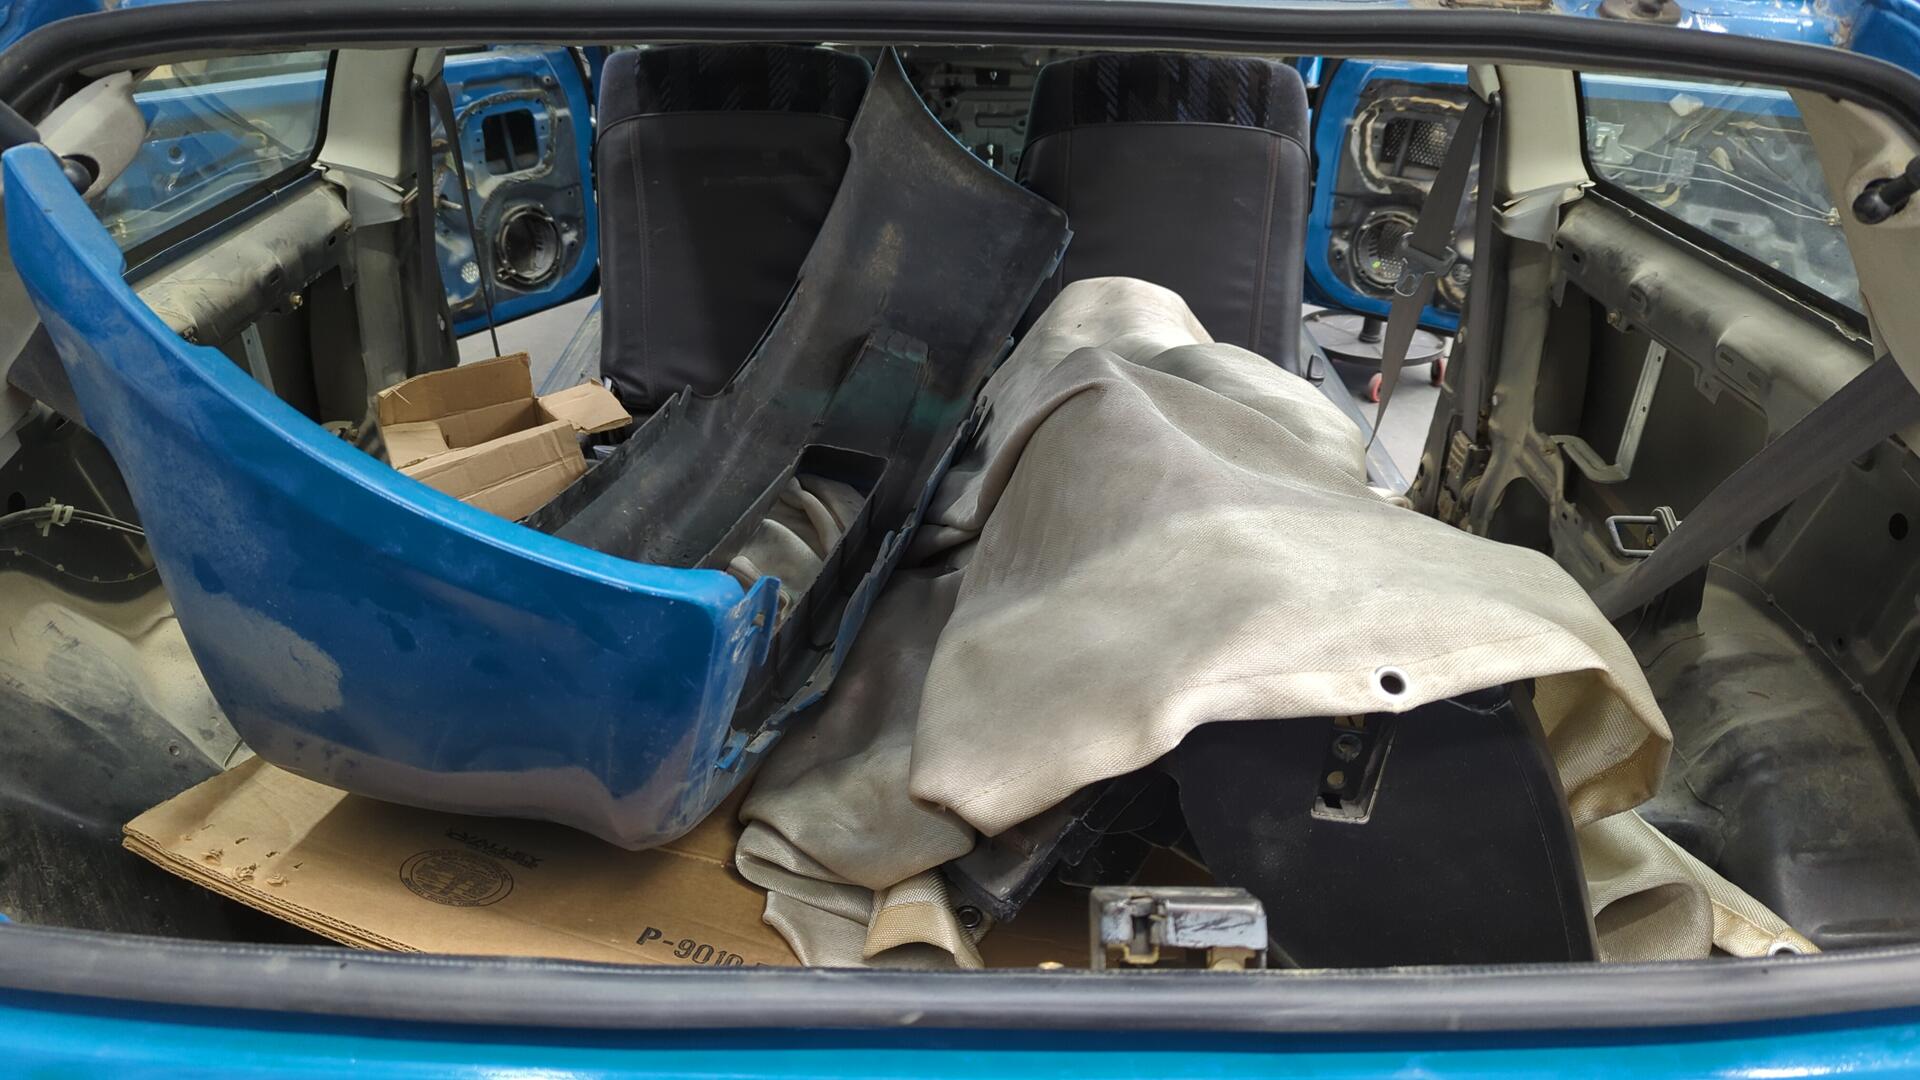
The blankets are Harbor Freight welding blankets. Back when I was doing the metal work in the engine bay I was worried about sparks finding their way into the cabin through the firewall holes so I covered everything up with the blankets as a safety pre-caution.
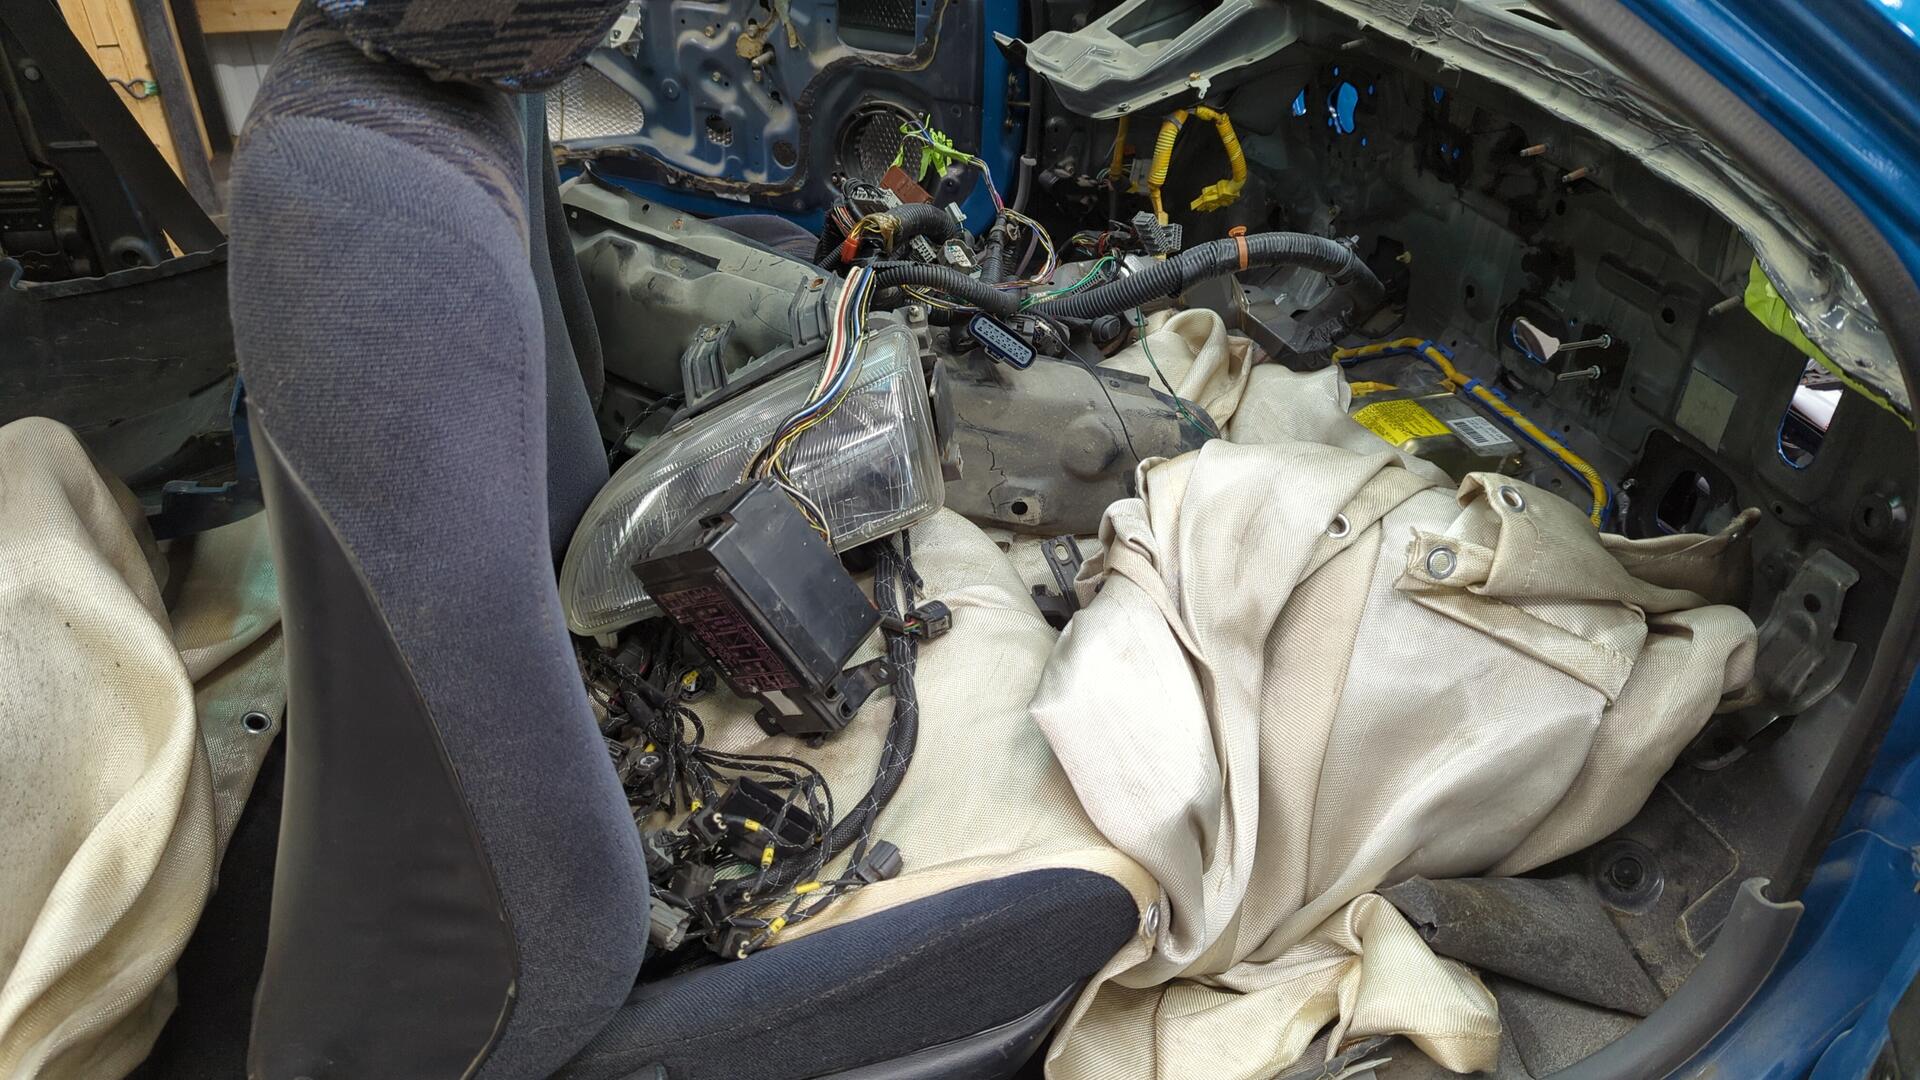
Much better all emptied out. I had to vacuum up a ton of blasting media from beneath the front of the carpet.
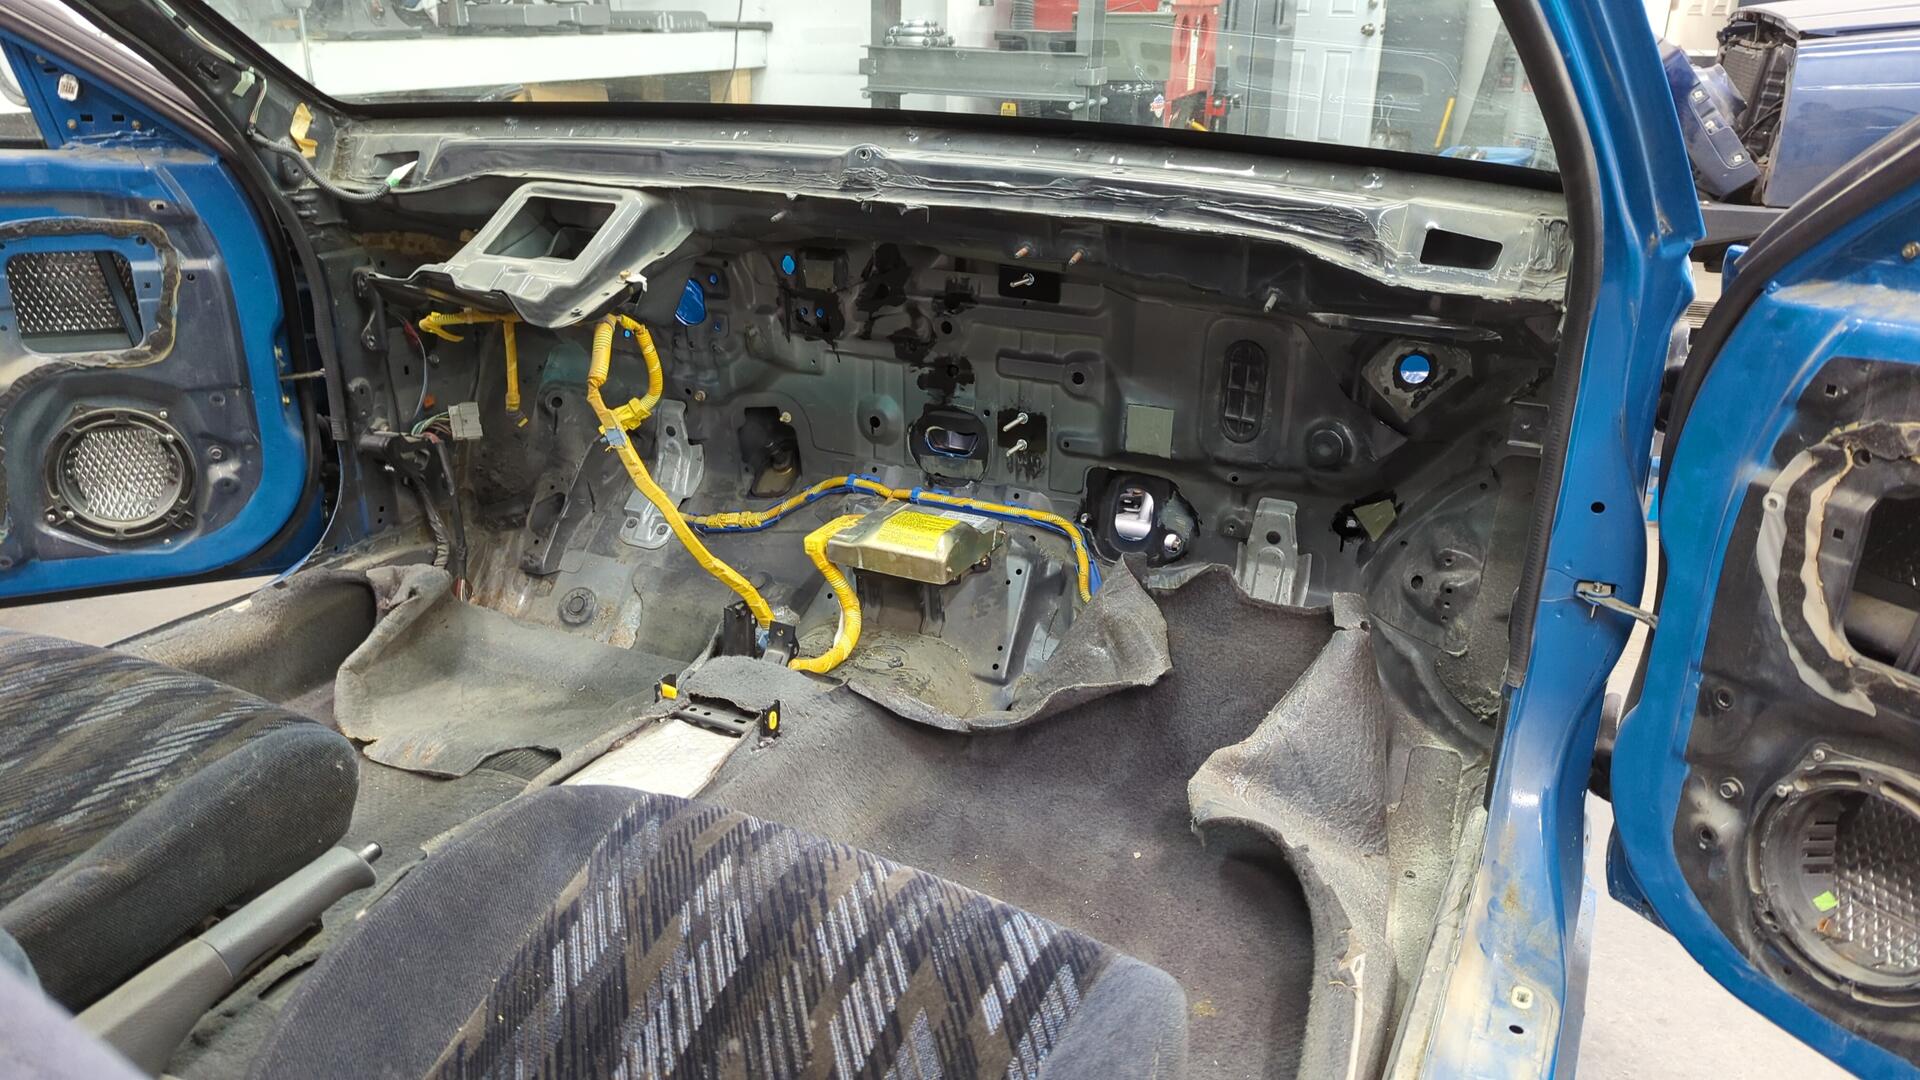
The inside of the car is so dusty because I used to live on a dirt road. The dust finds it’s way into just about everywhere.

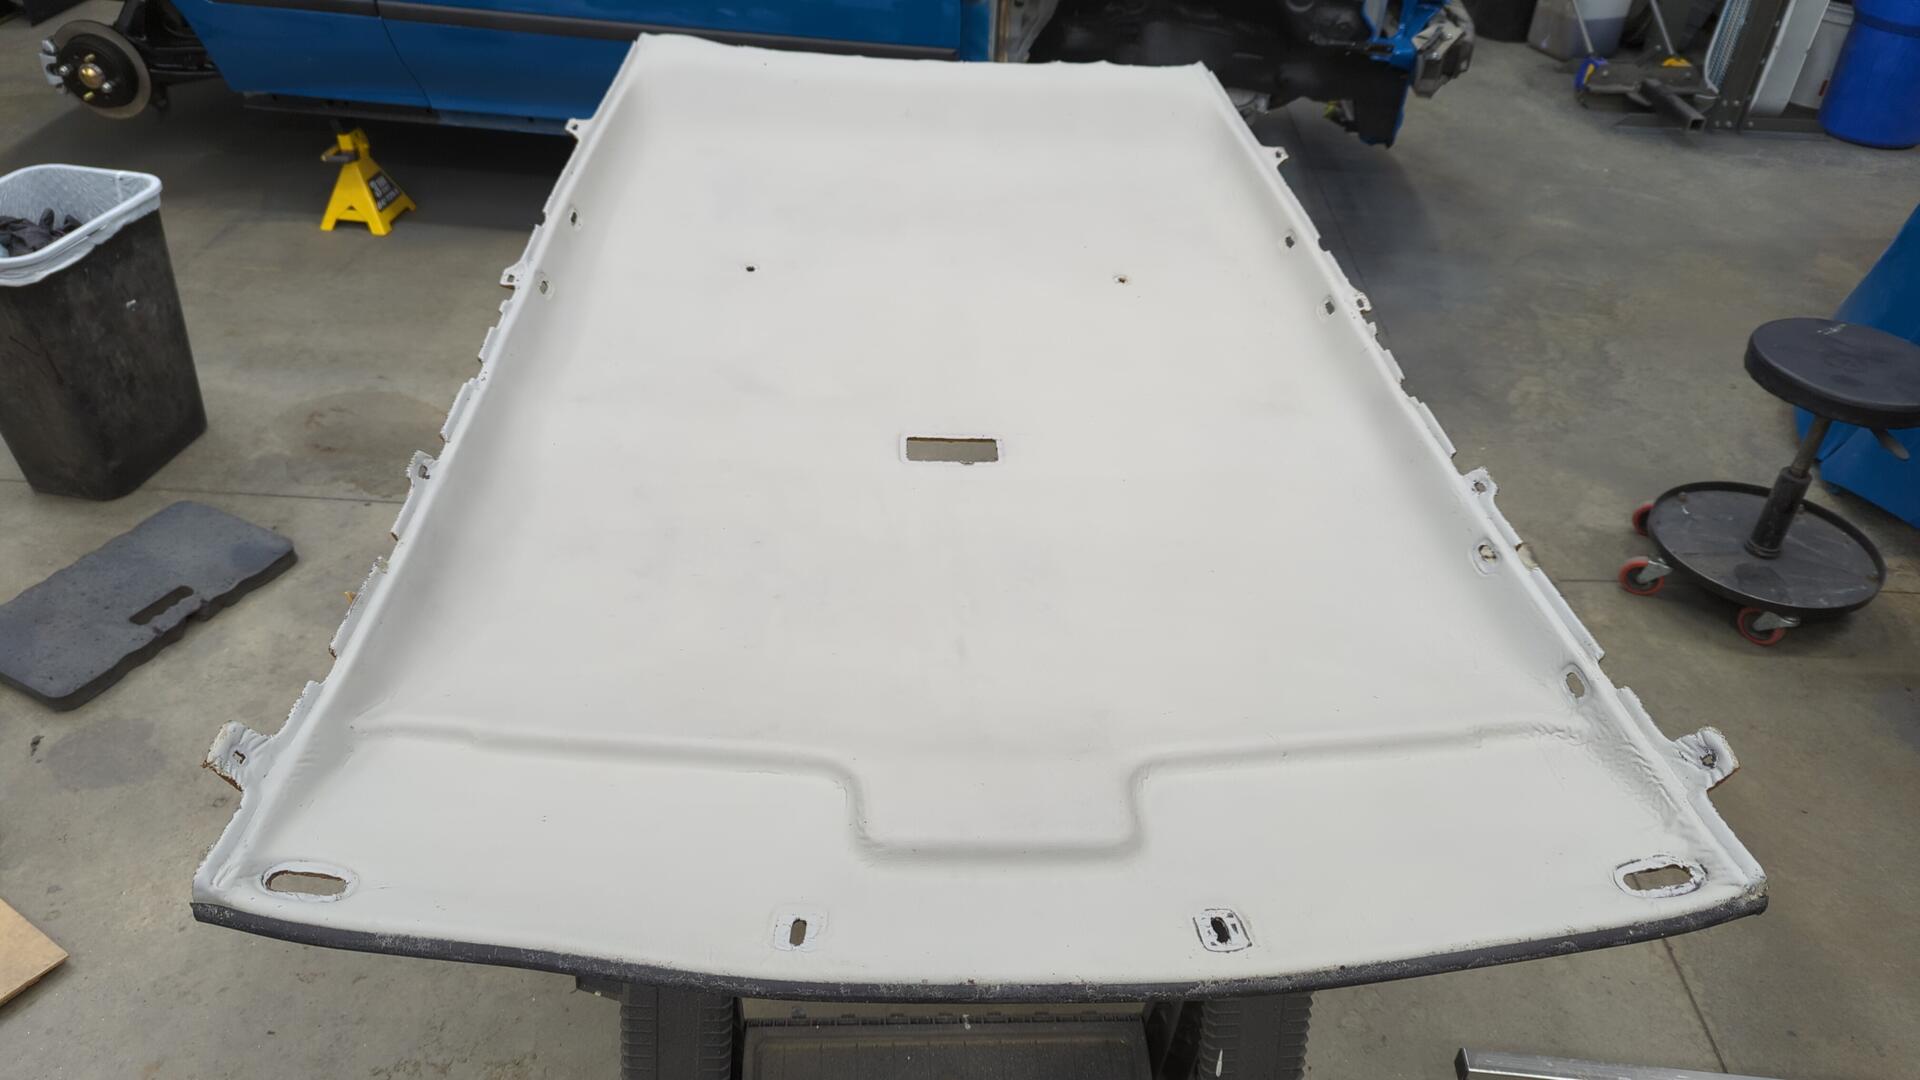
Going Back To A Stock Headliner
Awhile ago I installed a custom suede headliner but didn’t do the best job.
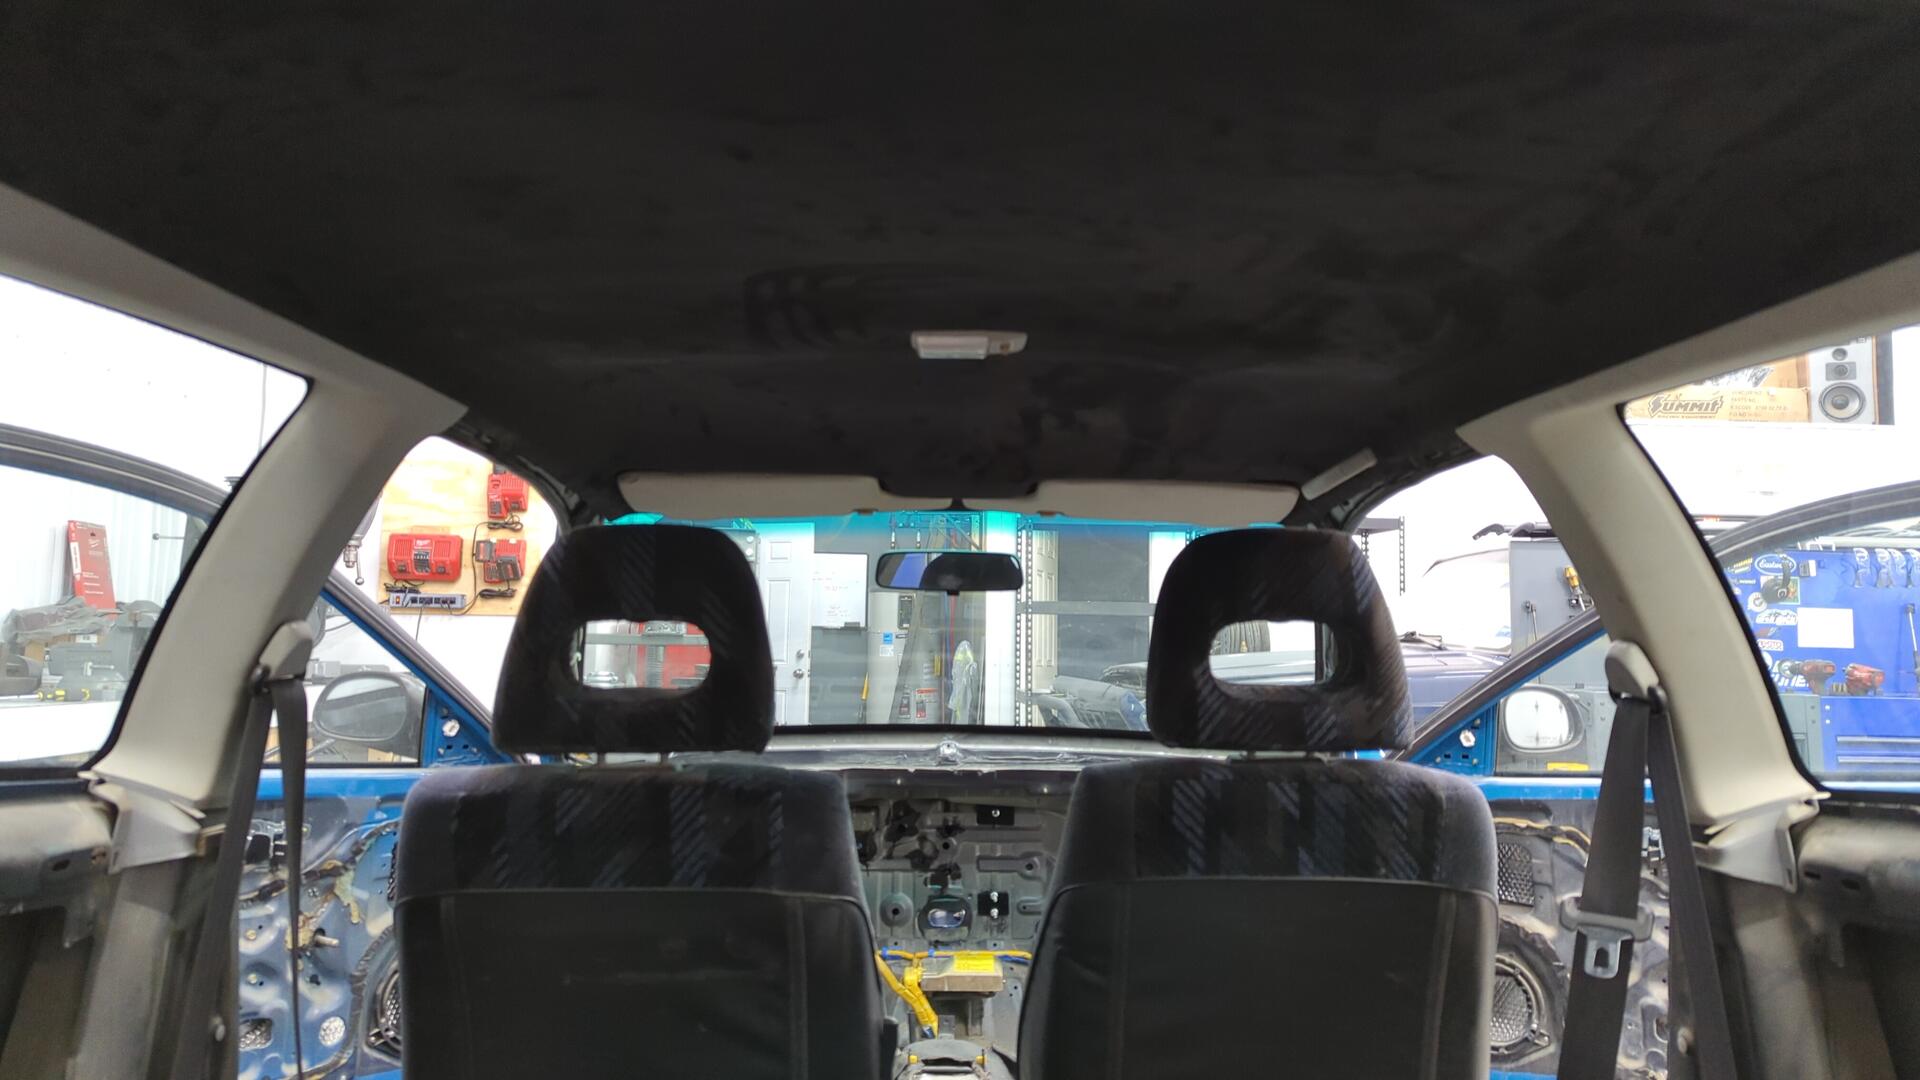
It was wrinkled in several spots, and there were loose sections too.
I also didn’t use the proper adhesive which meant it was likely to fail in the summer heat
Not wanting to see it fail shortly after the car makes it back onto the road I decided to go back to the OEM look.
Taking the headliner out was pretty easy since most of the interior was already removed.
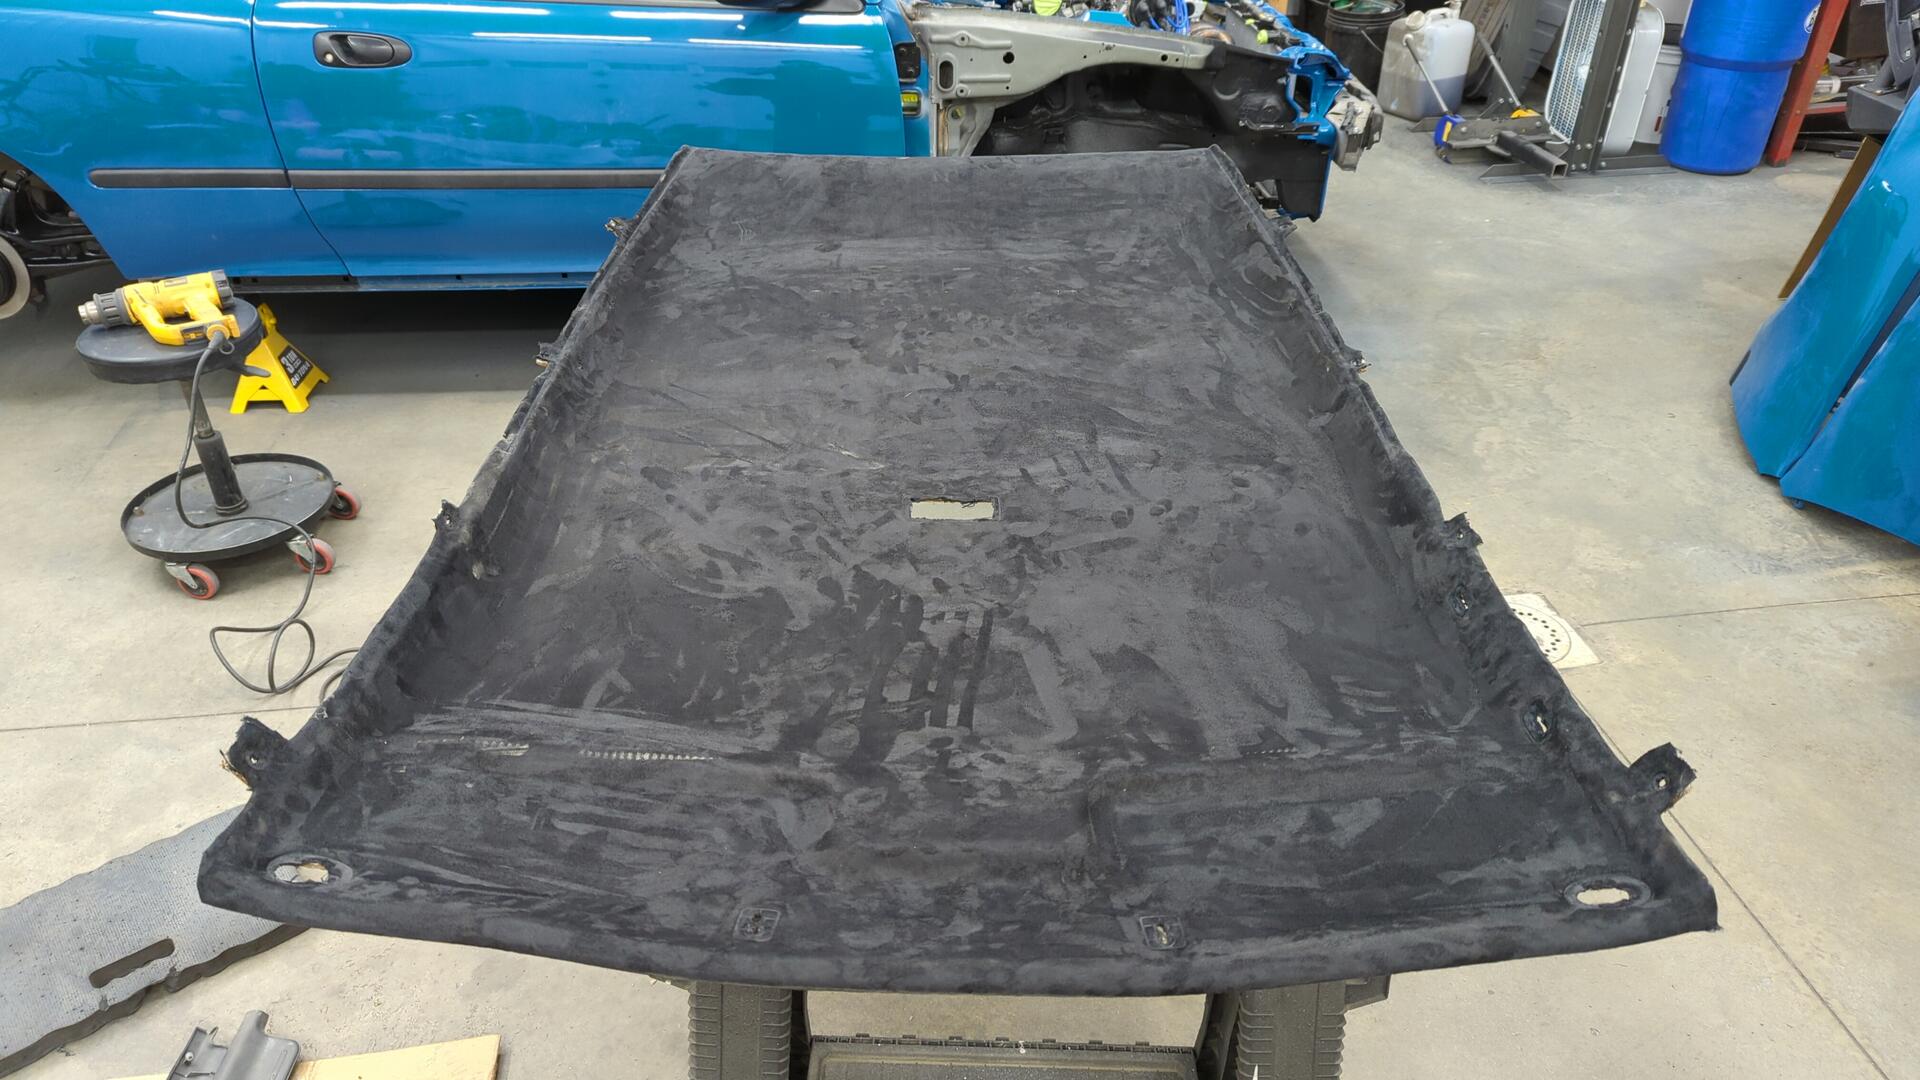
Removing the fabric wasn’t as easy.
I used a heat gun to warm up the adhesive until it was pliable and then pulled the fabric back to separate it. This worked reasonably well but it was super slow going.
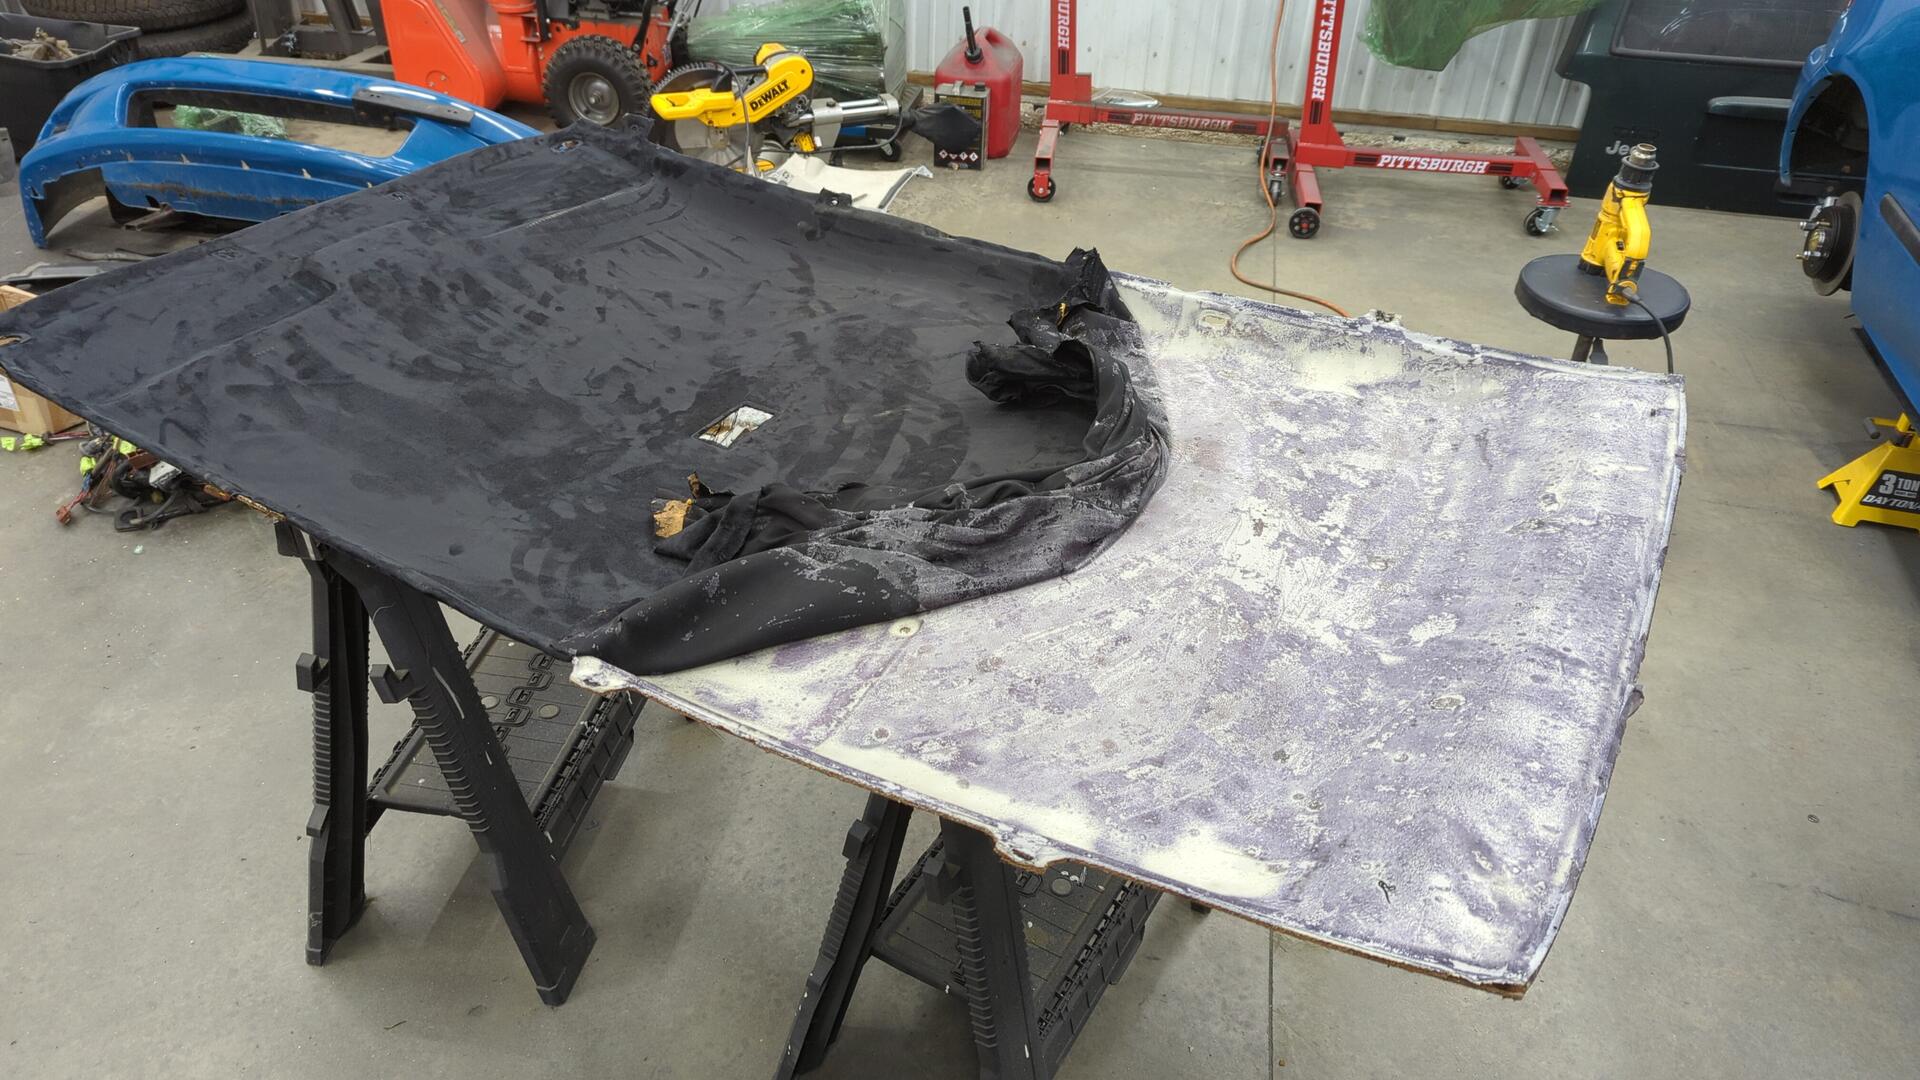
It took about 2 hours to remove all the fabric. And after that I still had a bunch of work ahead of me because now the vinyl was completely covered in old adhesive.

With some testing I found that the adhesive broke down with lacquer thinner and using several plastic razors I was able to pull gooey globs of it off.
Then using a bunch of old microfiber towels and more lacquer thinner I got the headliner back to an almost perfect state.
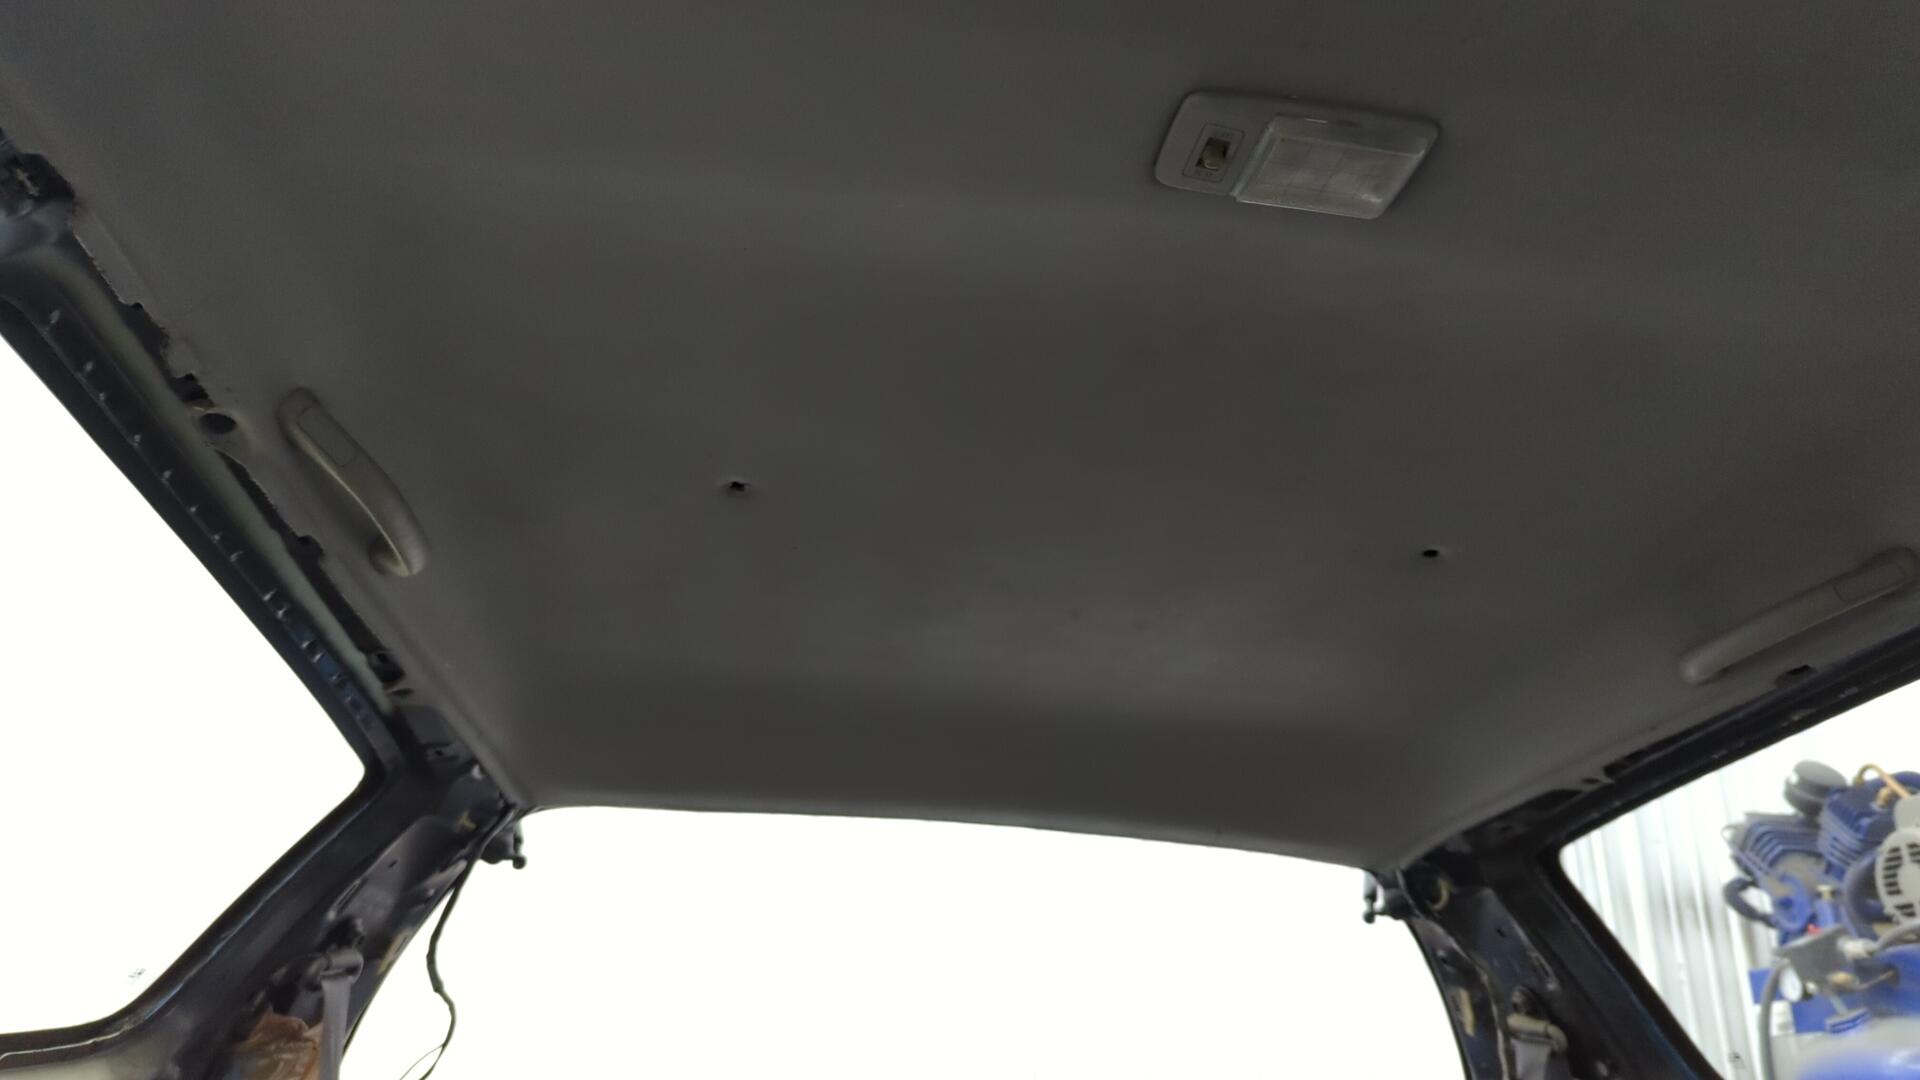
Re-installed along with the sun visors and oh shit handles.
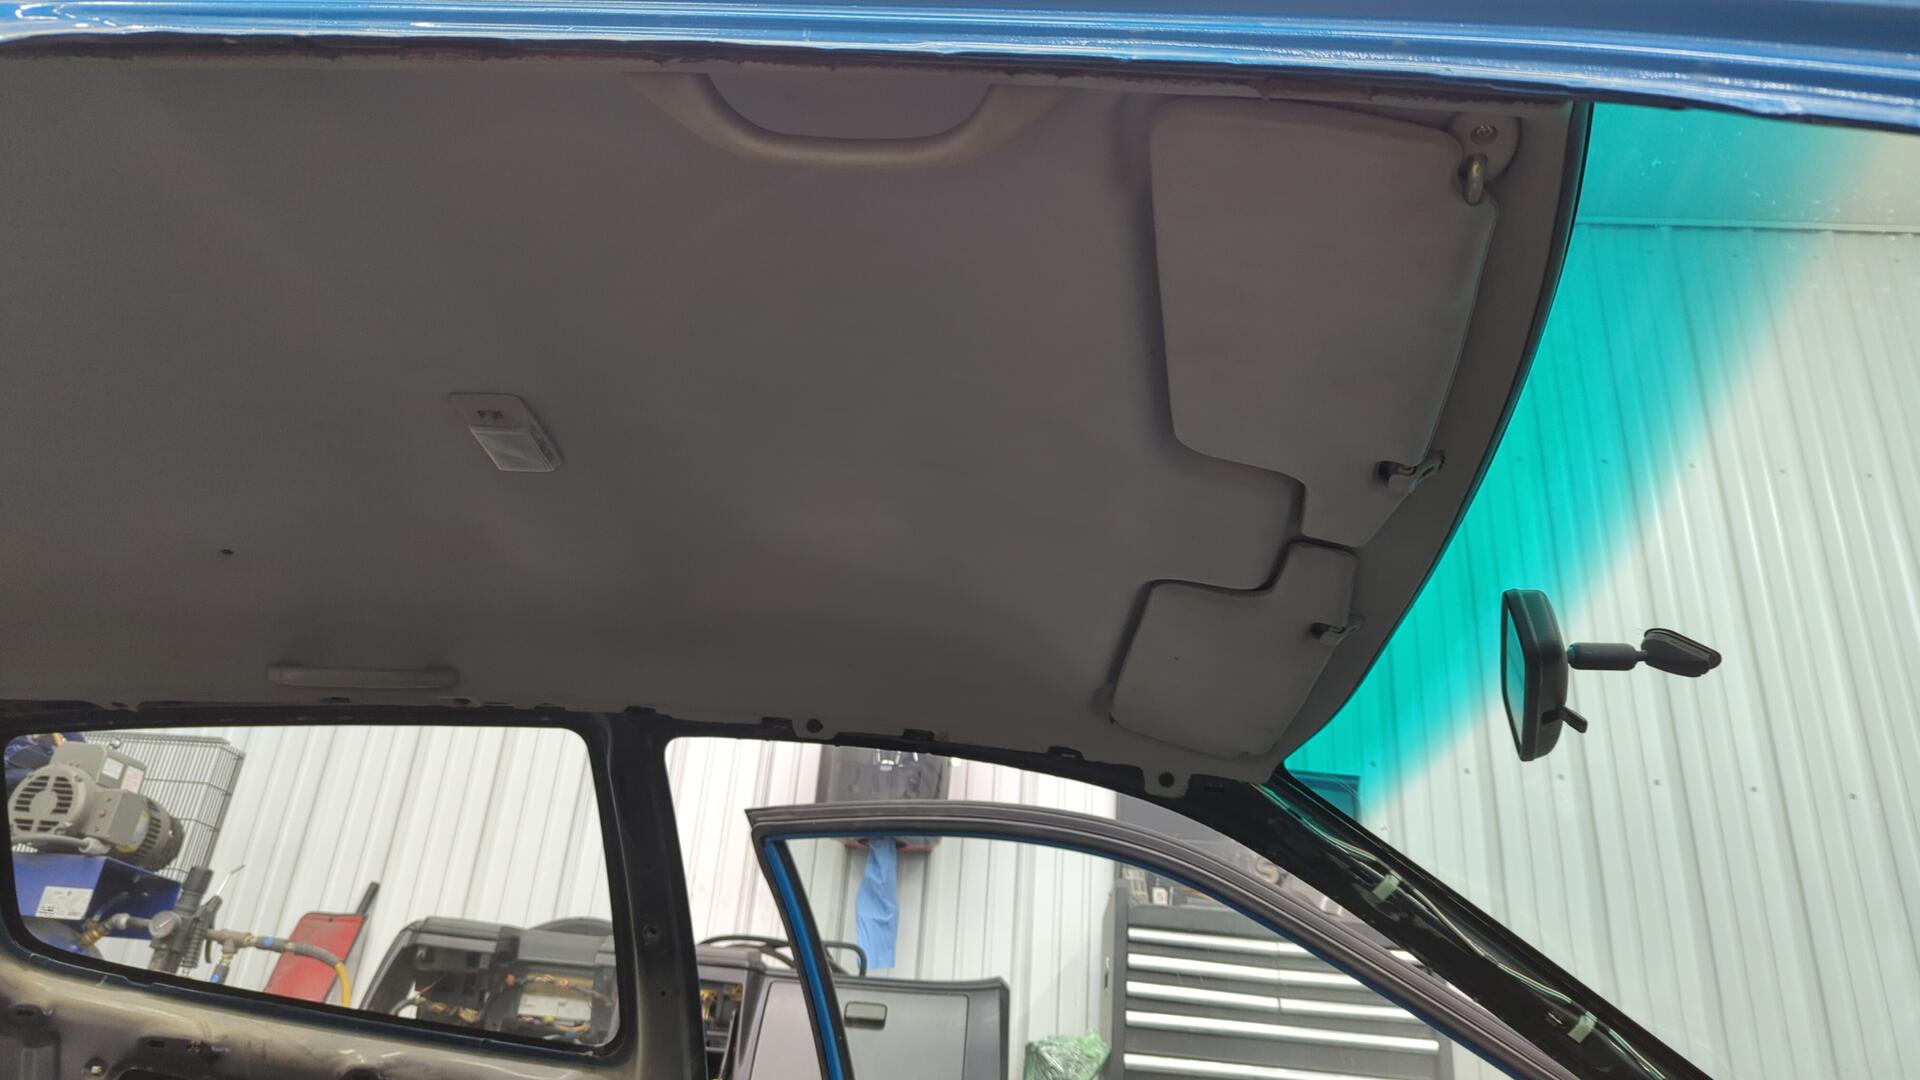
I’m still waiting on two new plugs for the center of the headliner to be delivered.
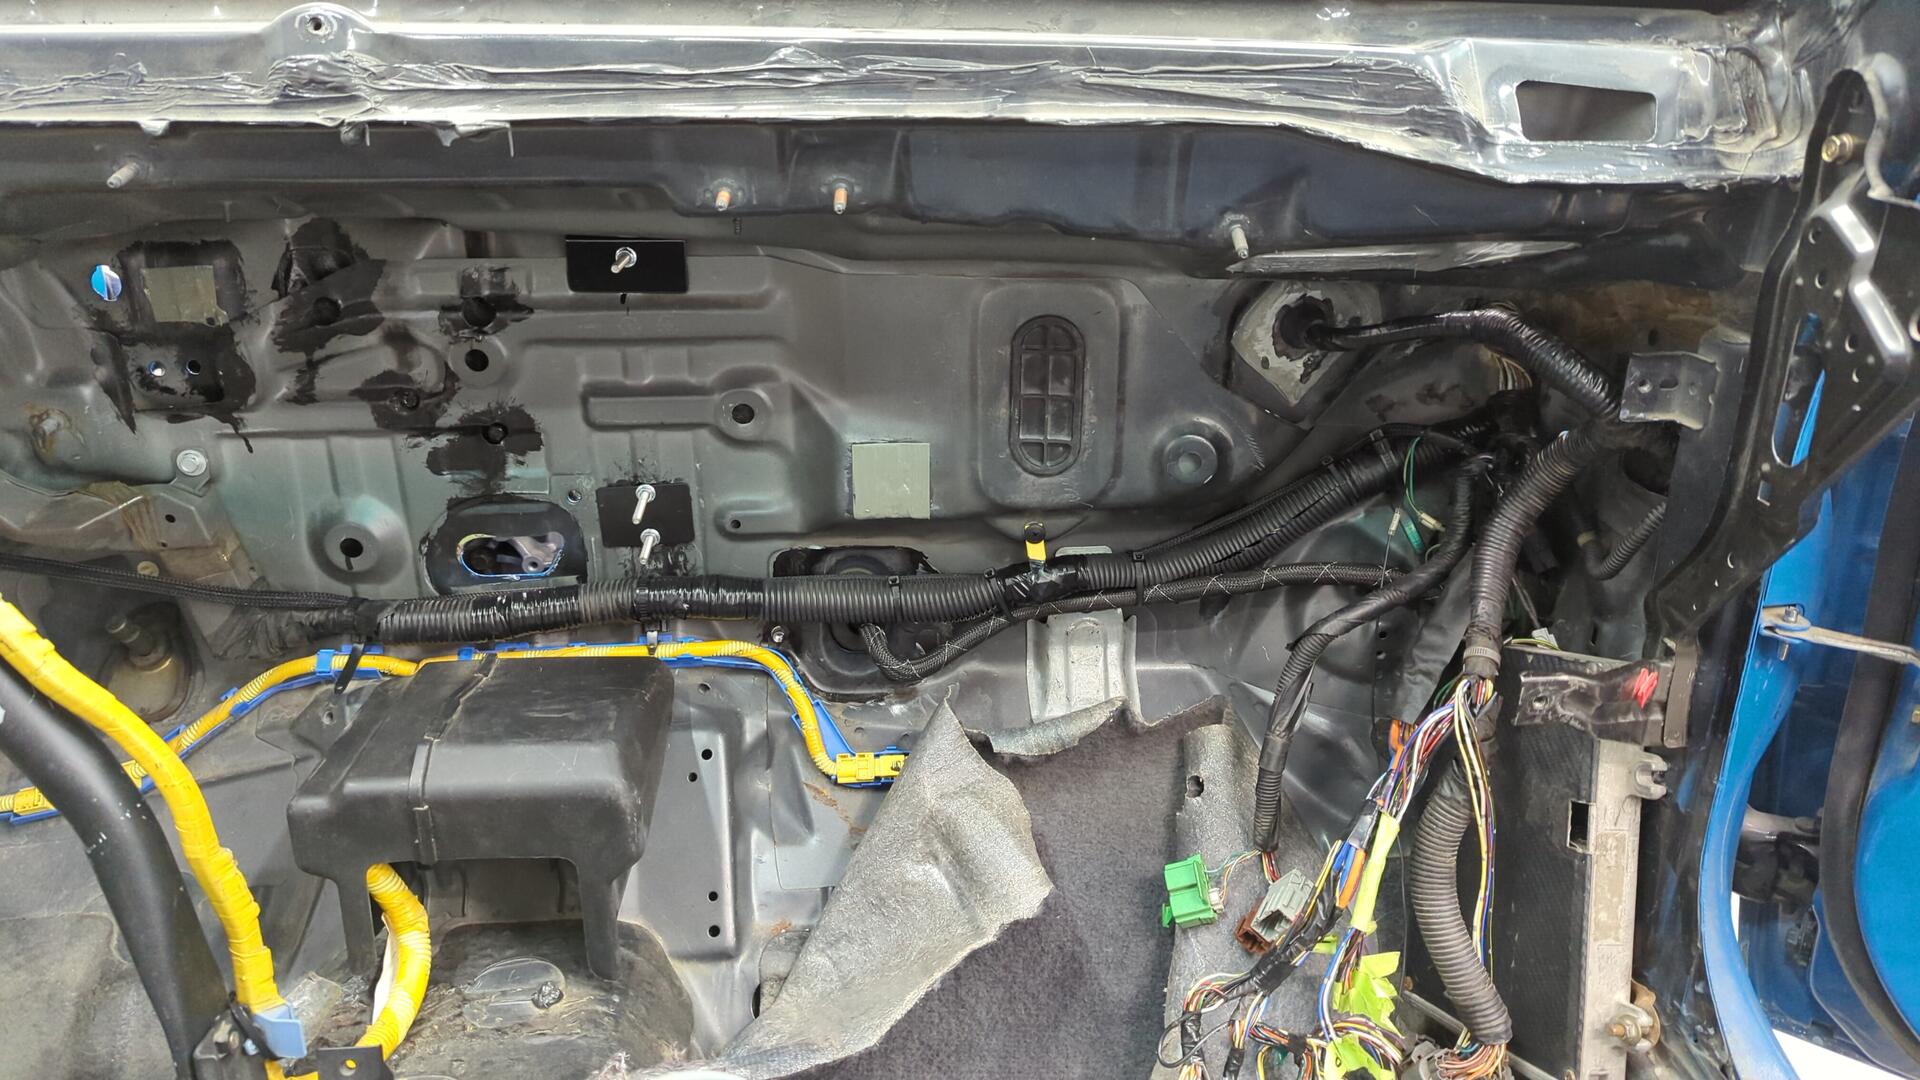
More Wiring
As I was trying to put the cabin harness back into place I realized I didn’t take nearly enough photos before disassembly. With a bit of trial and error along with trawling the internet for any helpful pictures I could find I was able to figure out where roughly everything used to be.
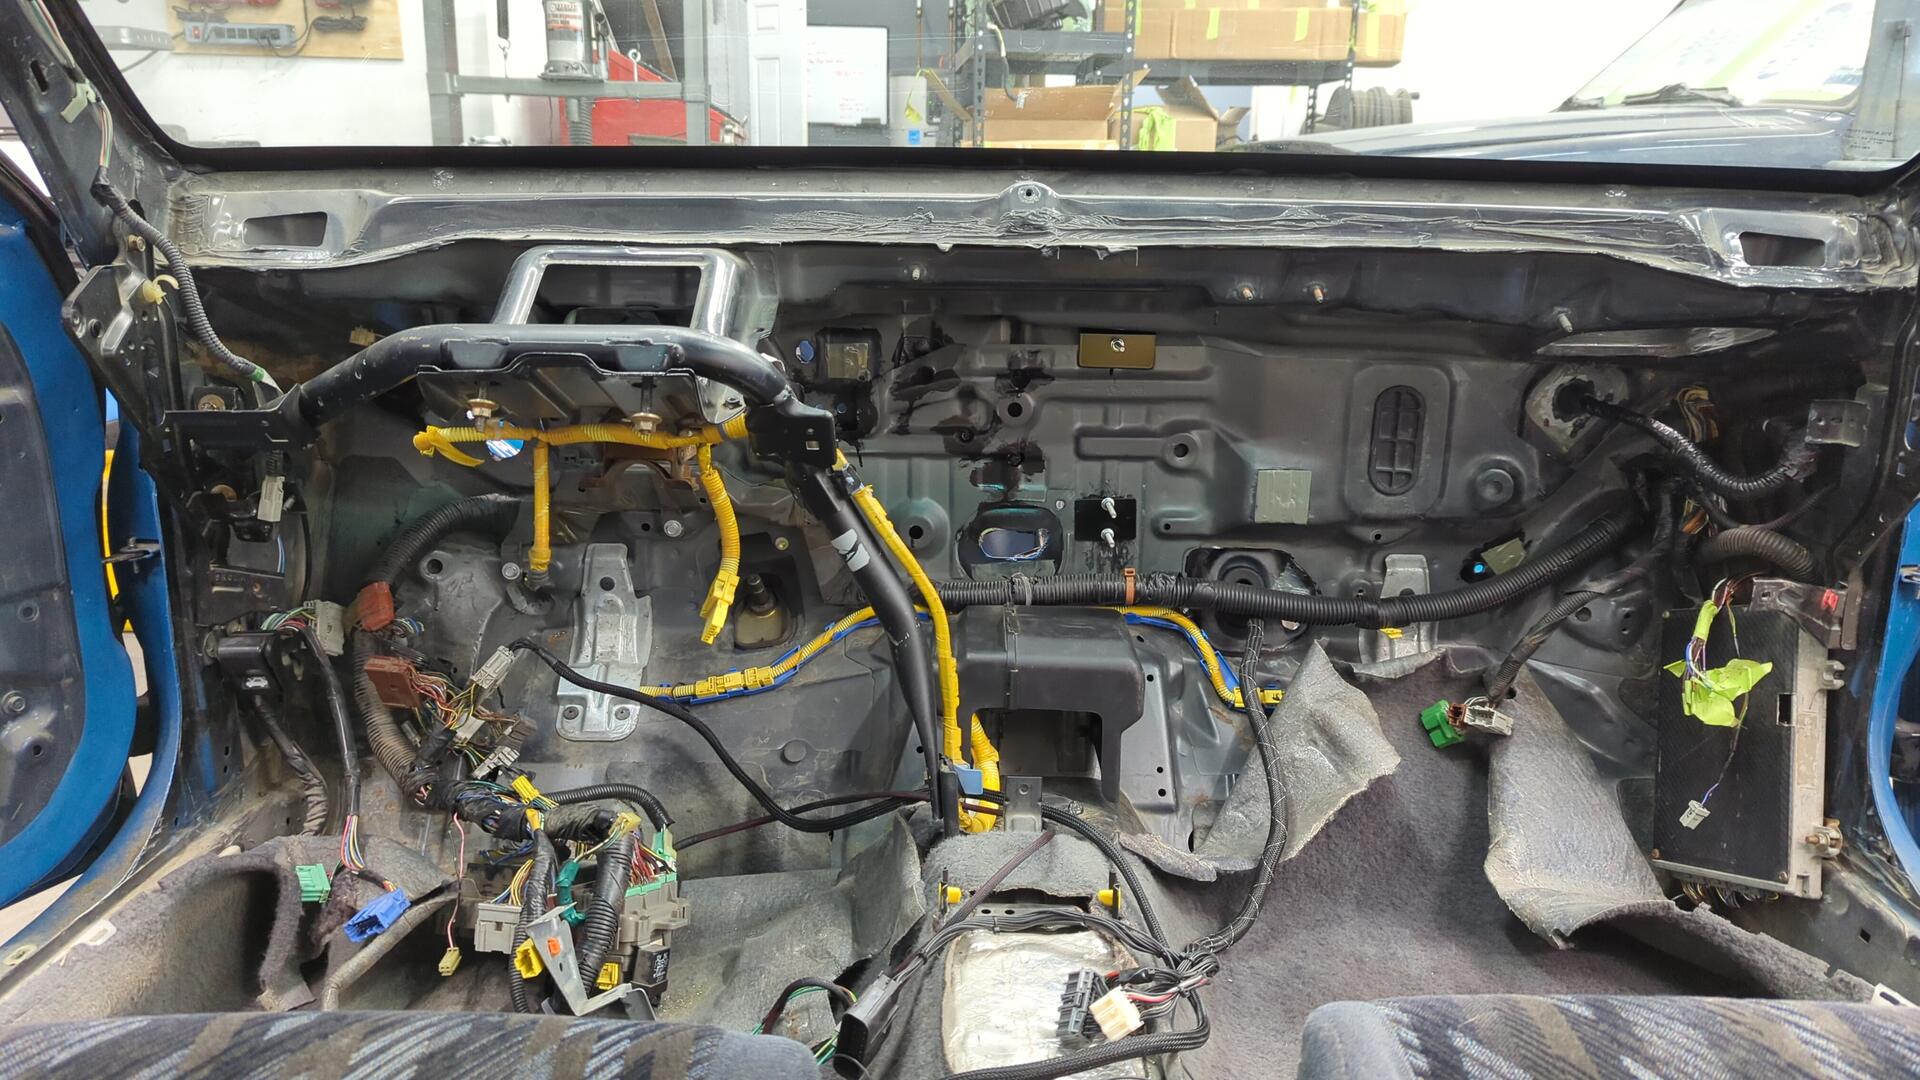
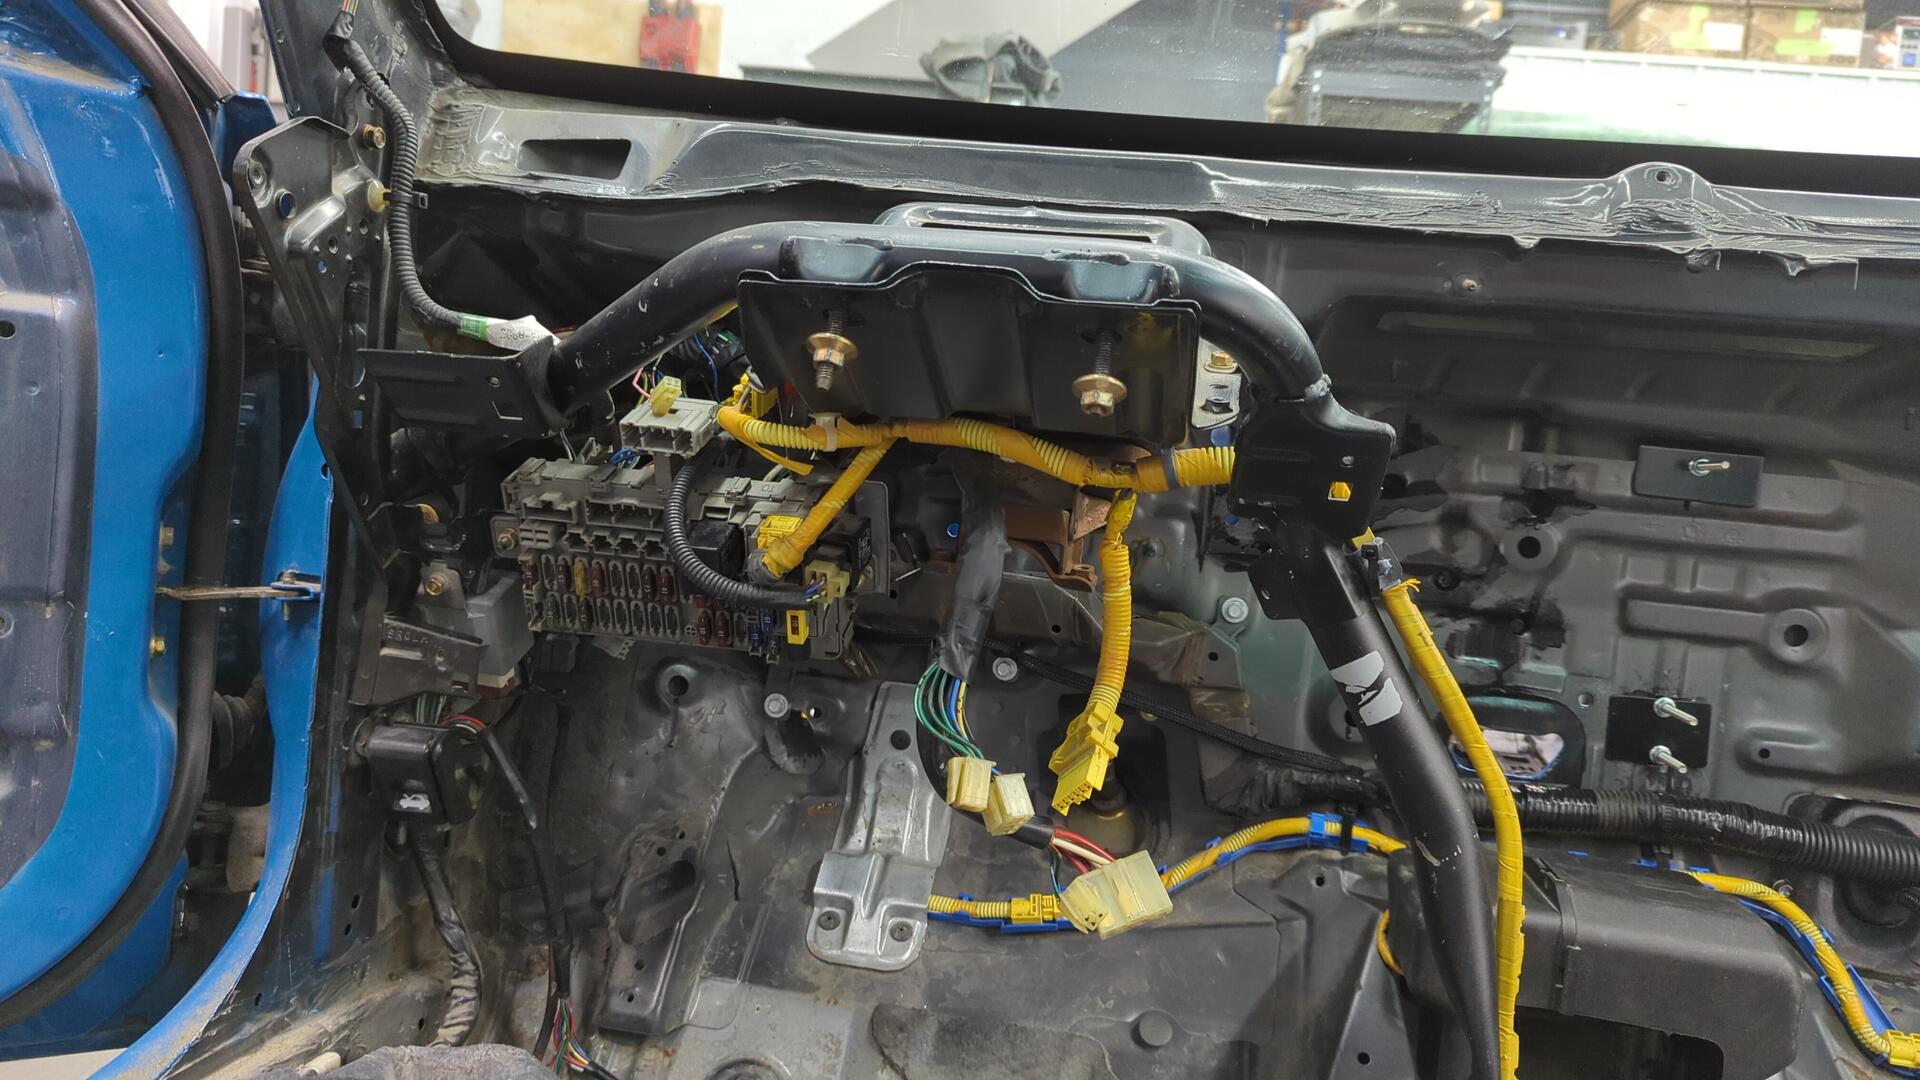
It still looks a bit messy but I’ll dial in things as I get closer to being ready to put the dash in.
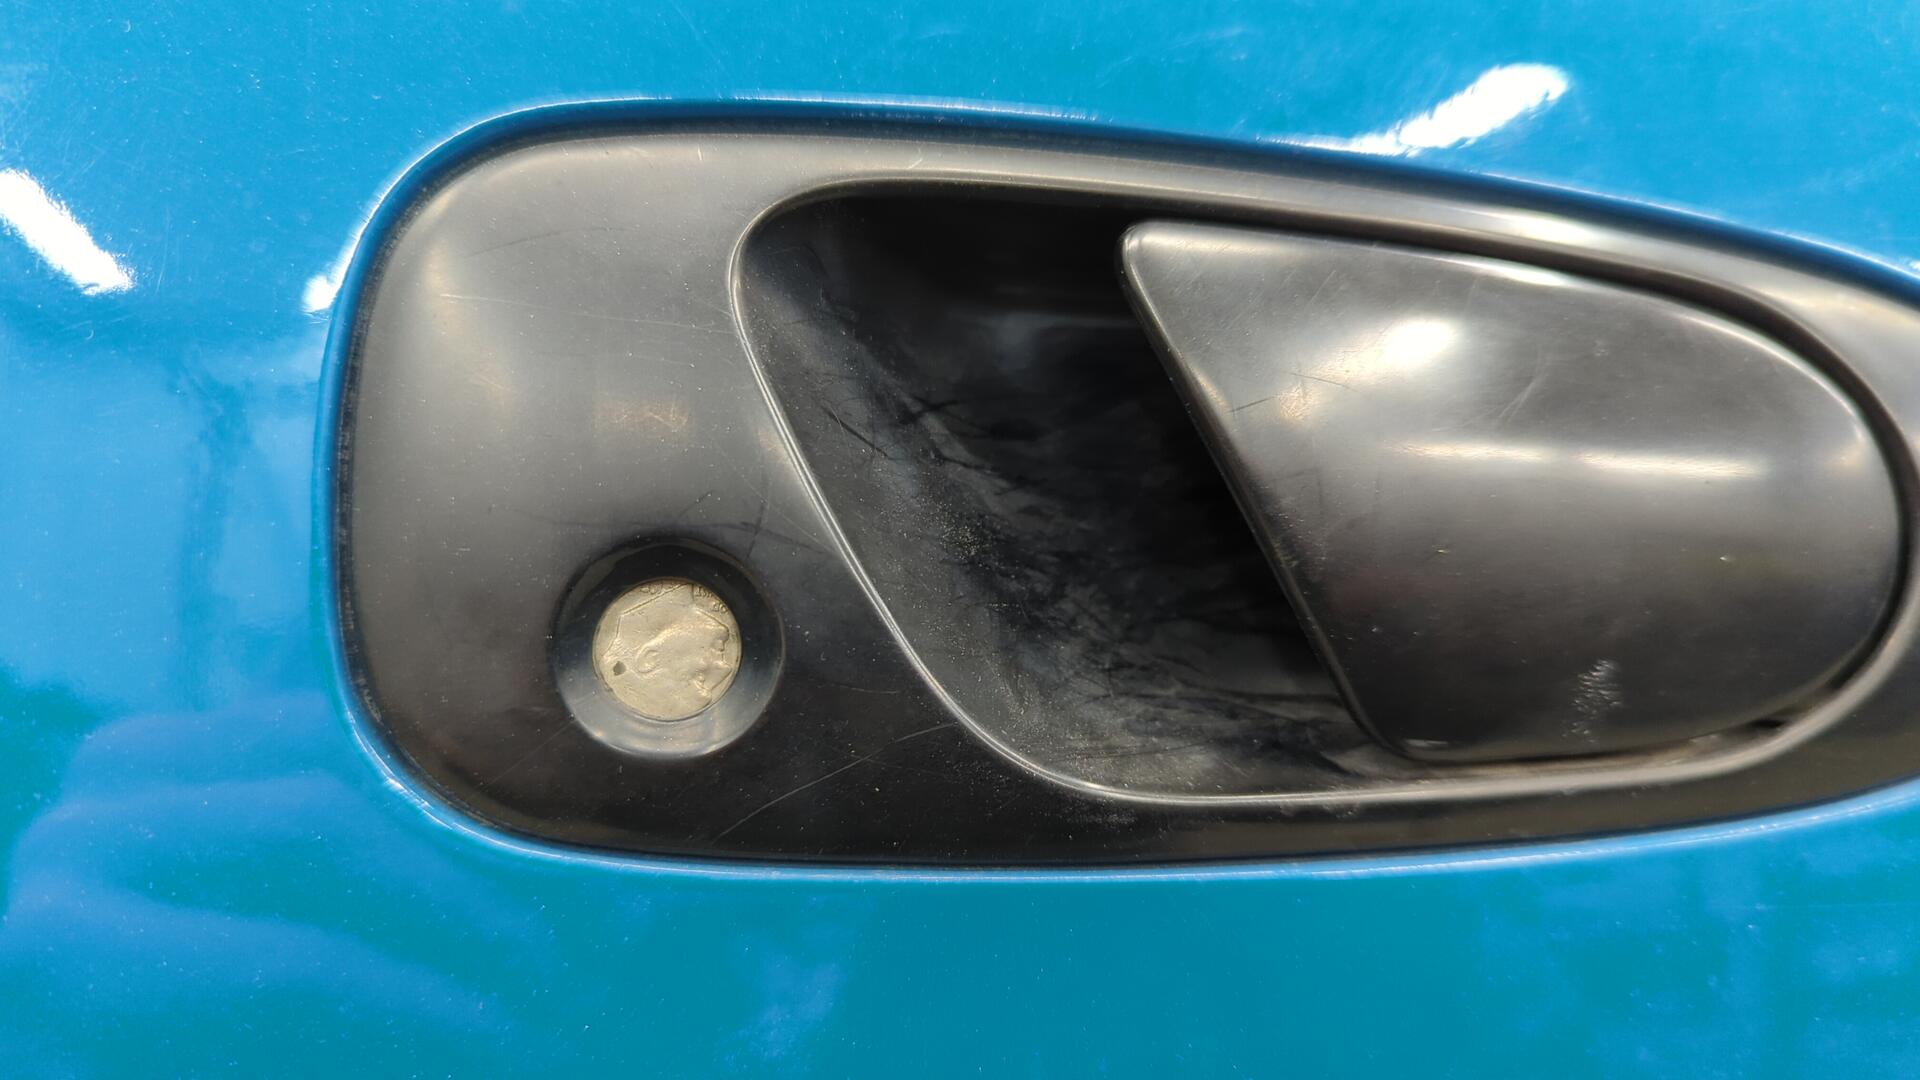
Rebuilding The Door Lock Cylinders
I’m not sure why but the passenger door lock has never worked right with my keys. With a bunch of wiggling you could get it to pop but it was a PITA so a few years ago I blocked off the lock with a dime.
Yes a dime. It was hard to beat the price.
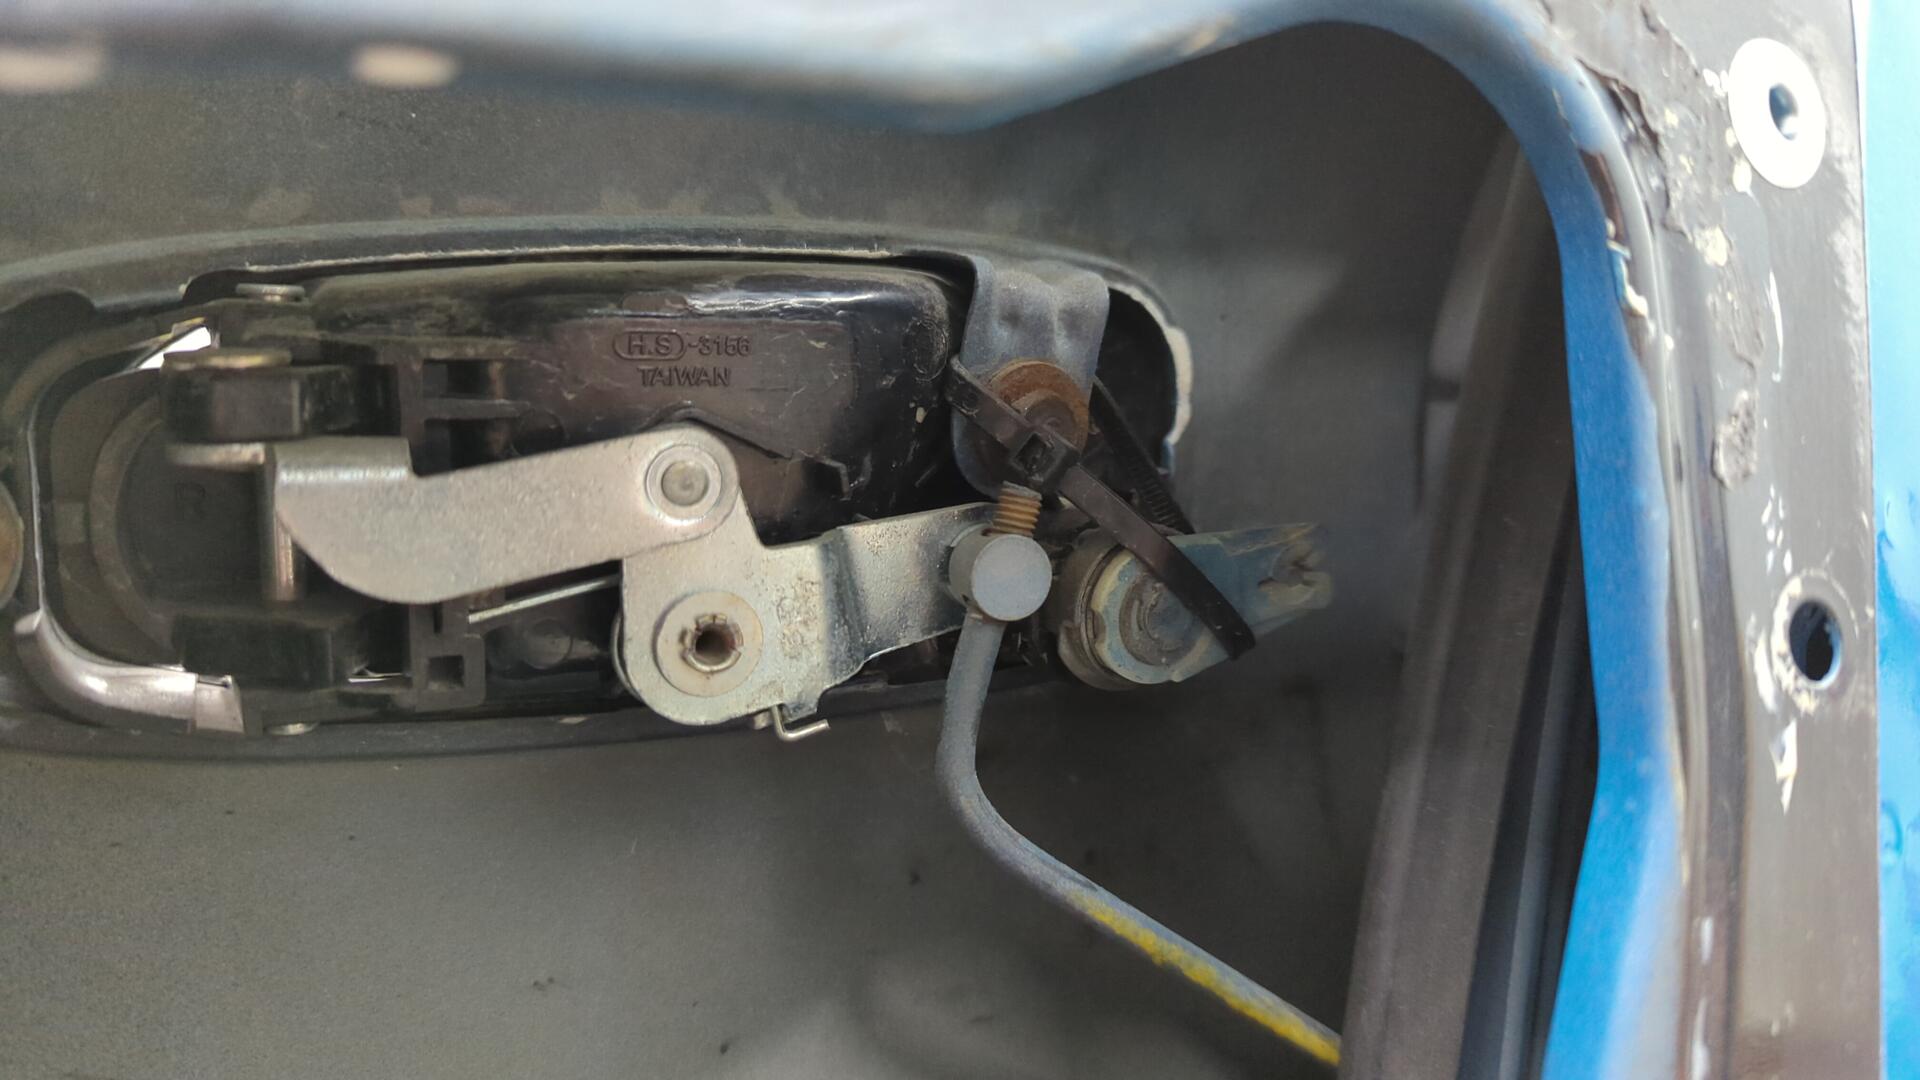
Wanting to try to get everything functional again I picked up some more lock cylinders that I could salvage parts off of.
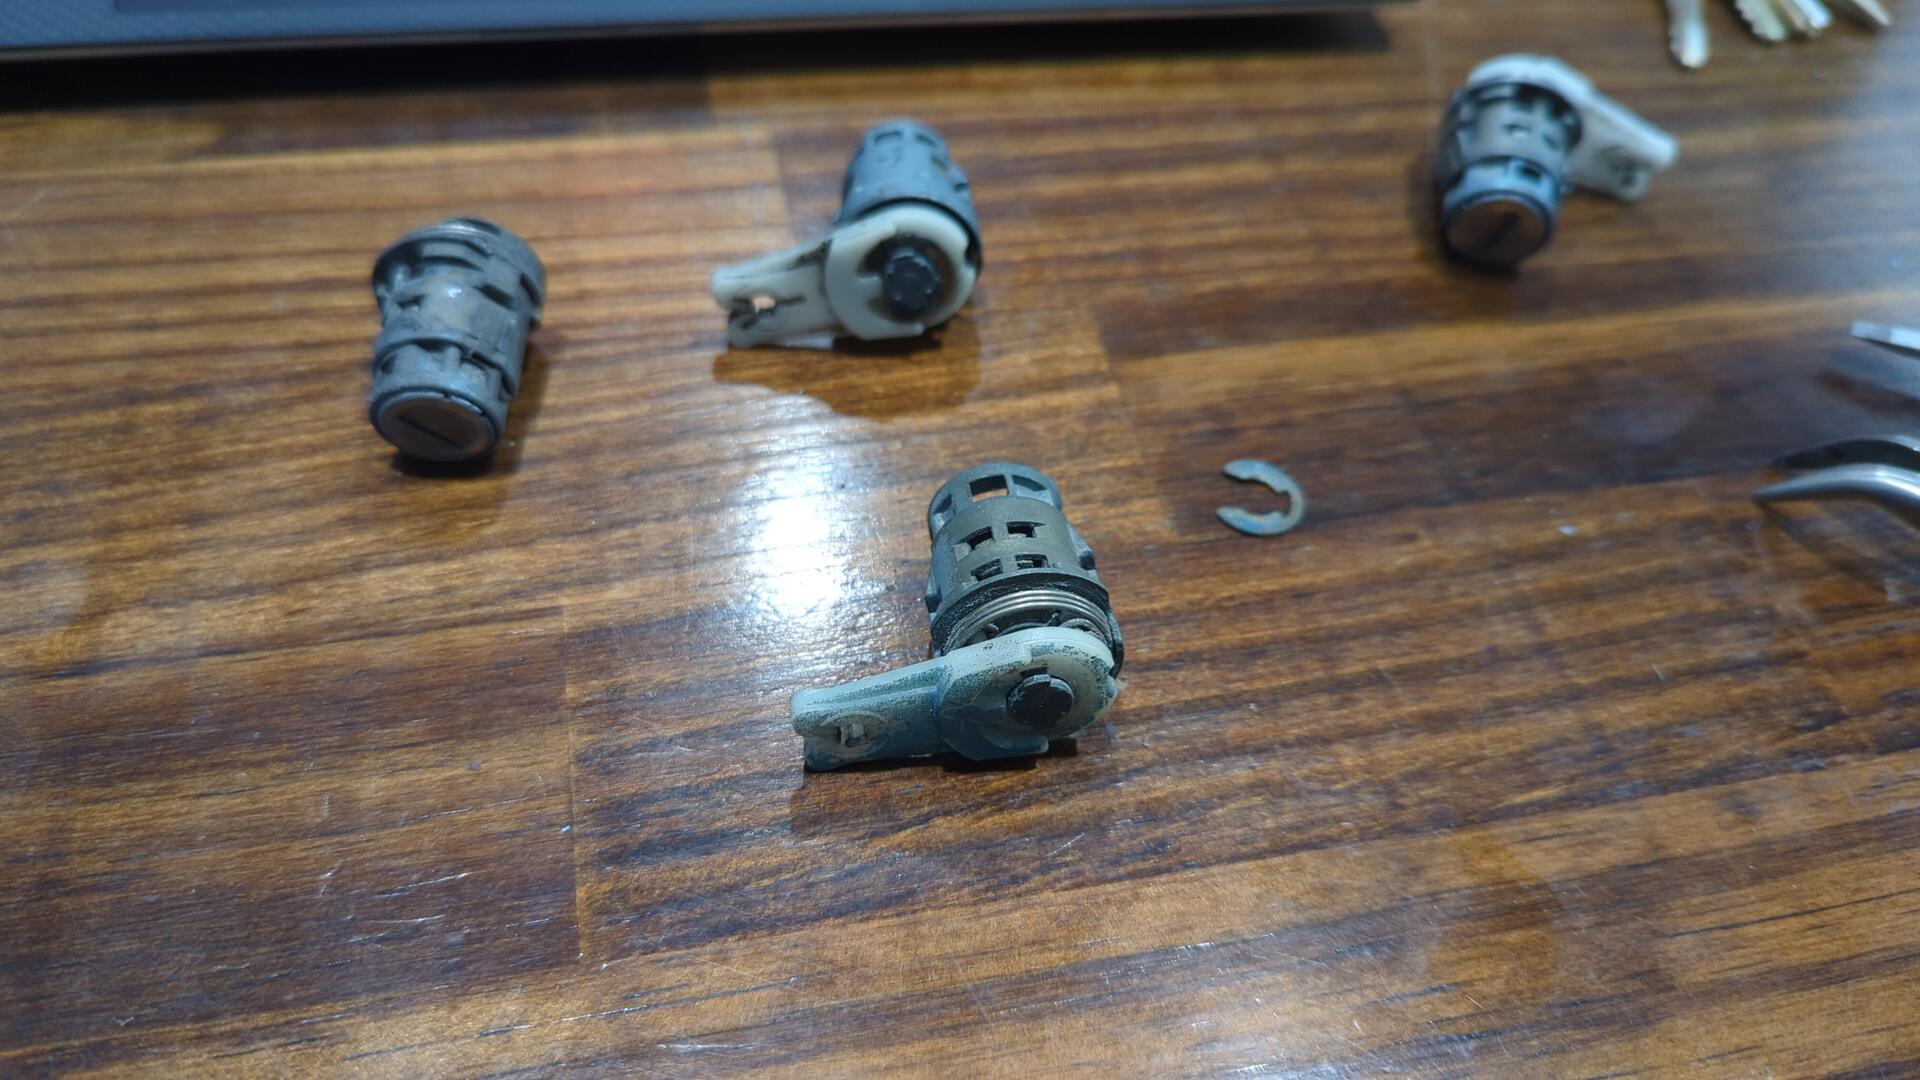
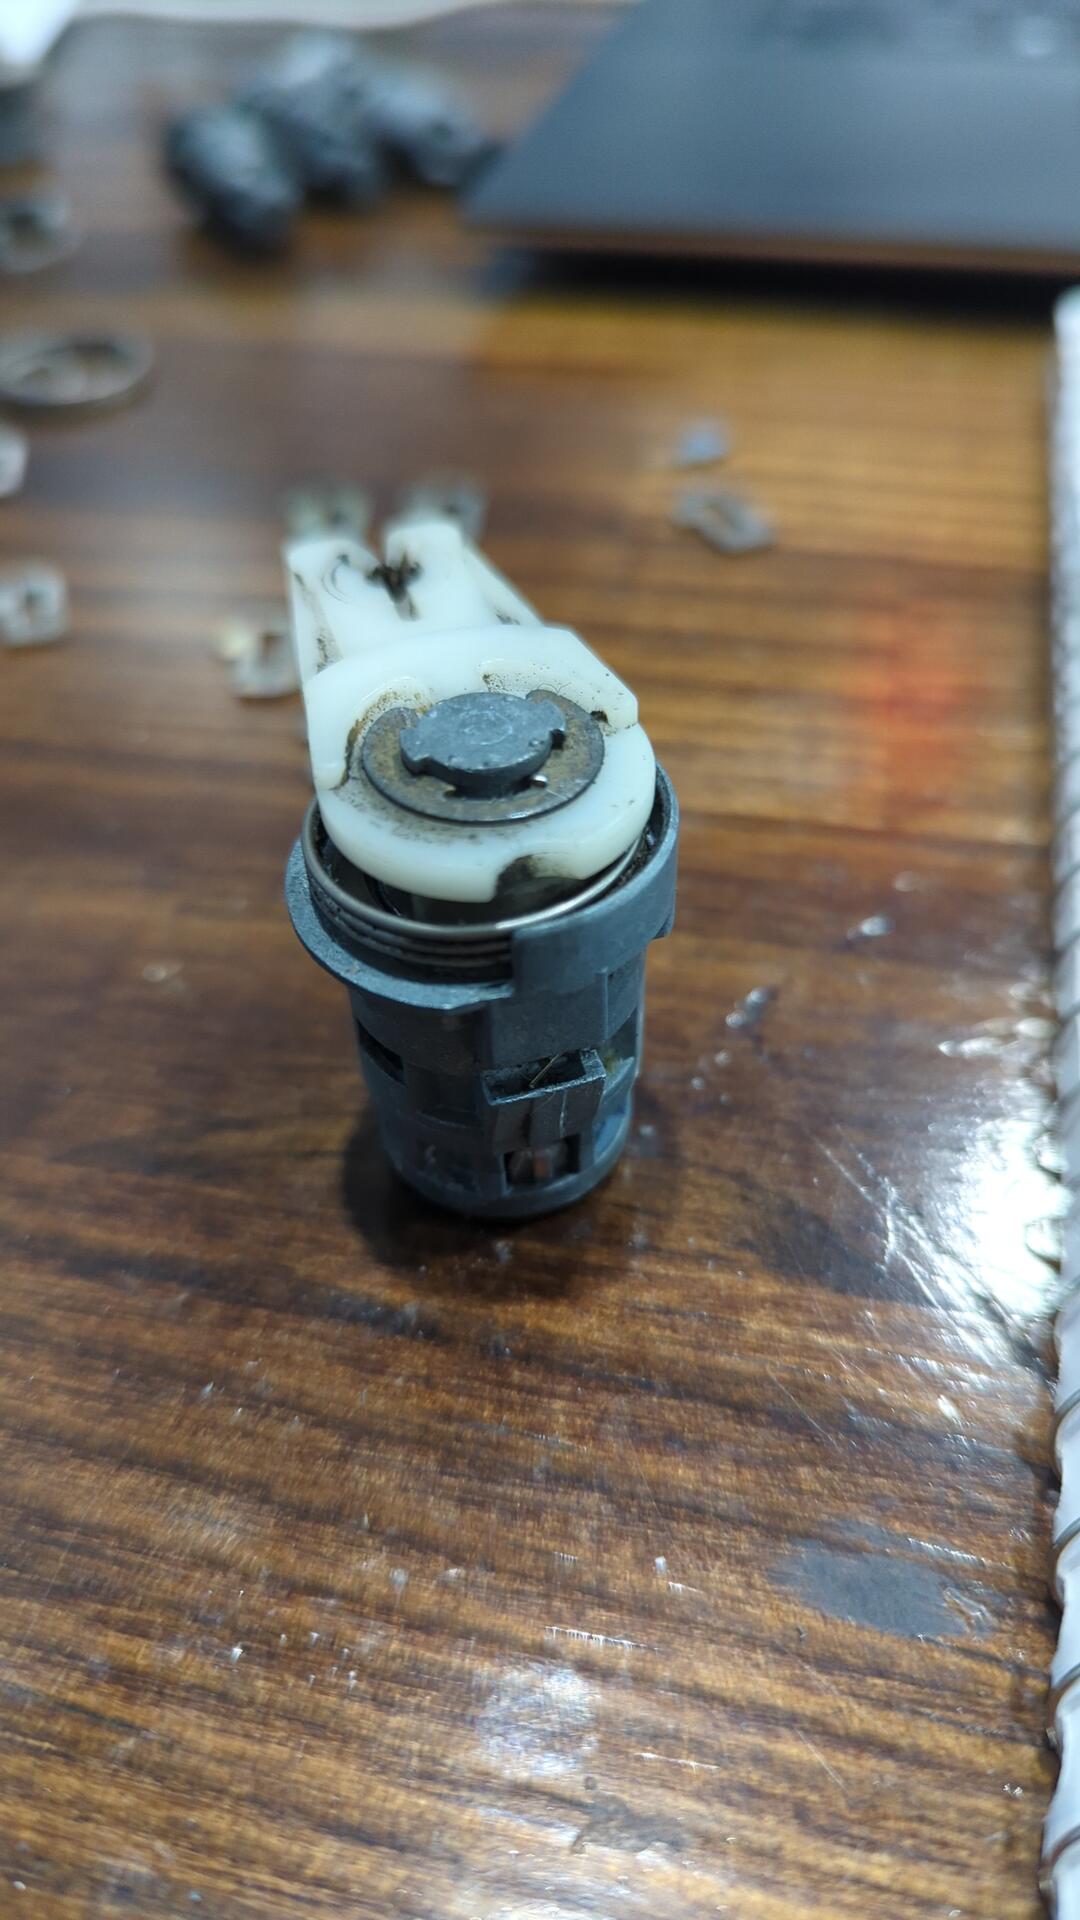
I tore down both door lock cylinders down to nothing and cleaned them up good with some brake cleaner to get all the gunk that had built up in them out.
After that I worked on repinning them until my keys worked nicely with them.
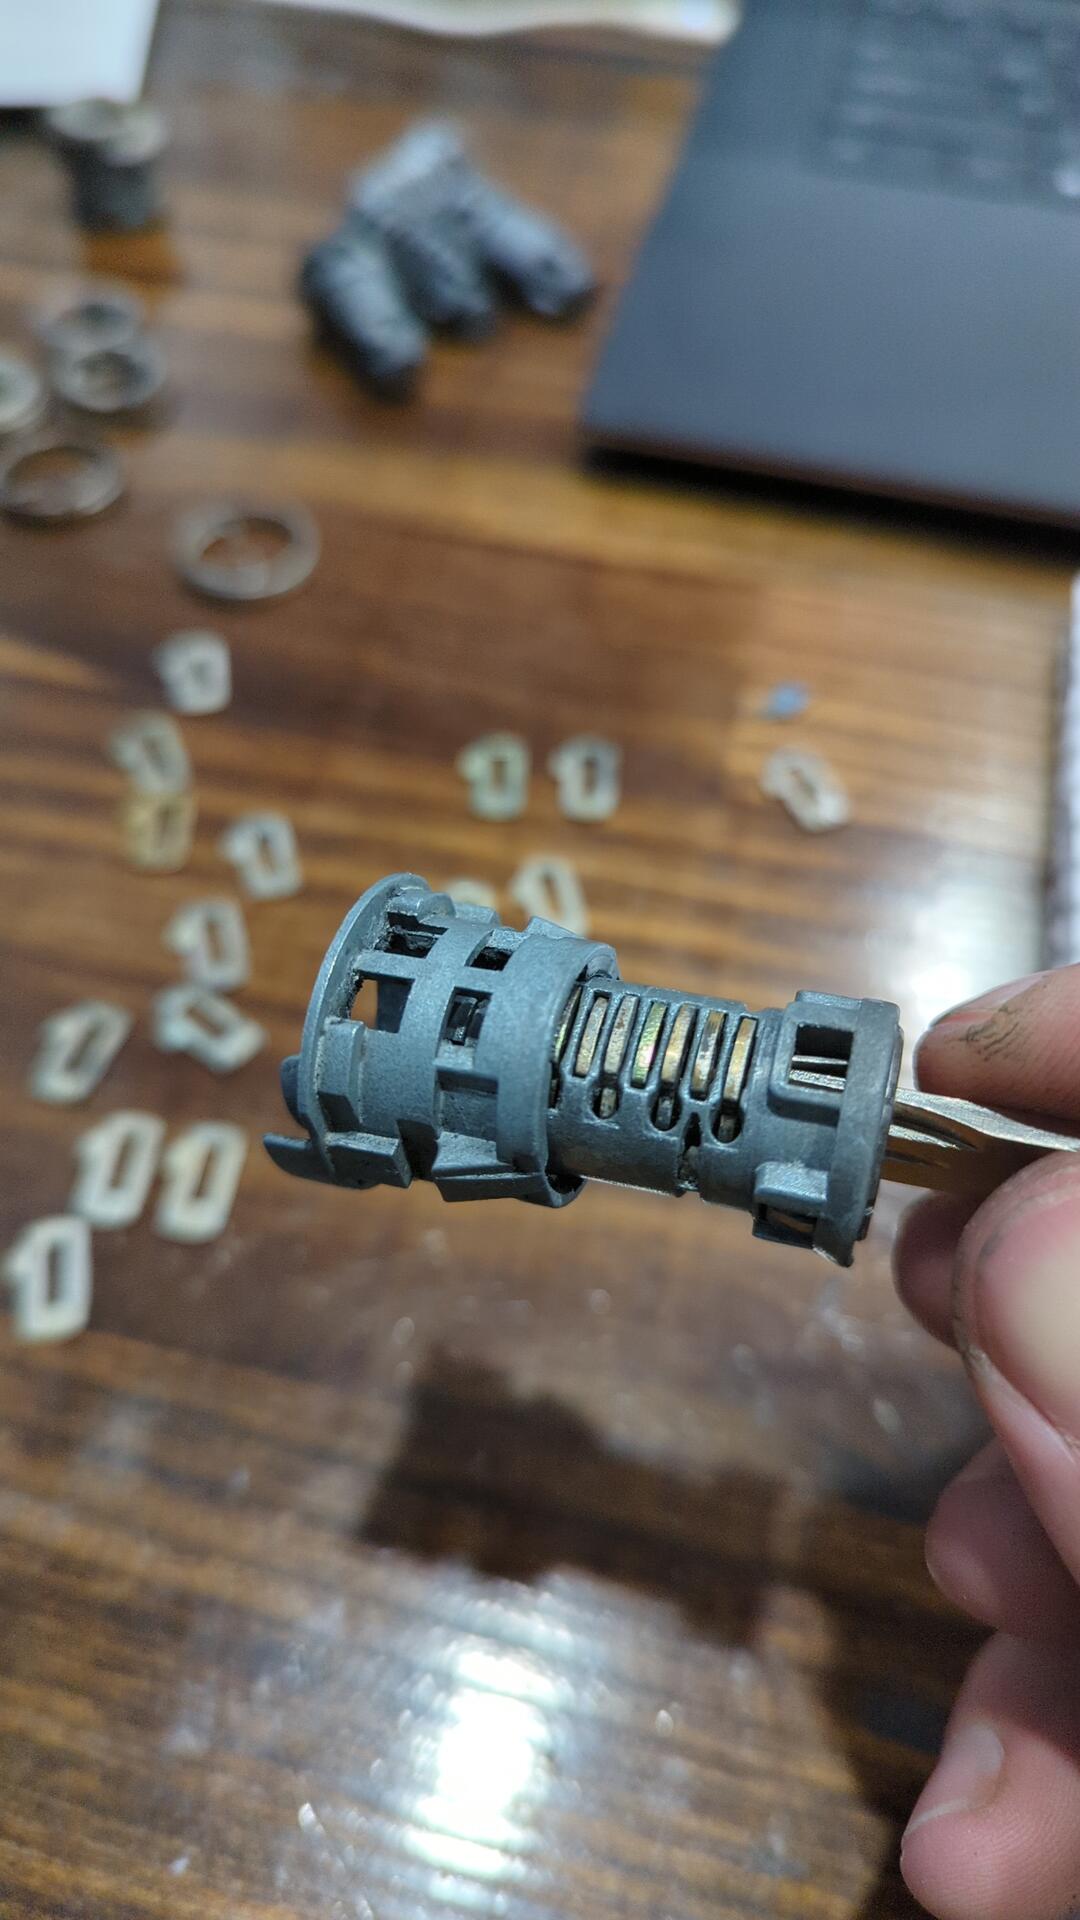
A bit of reassembly later and they were good as new!

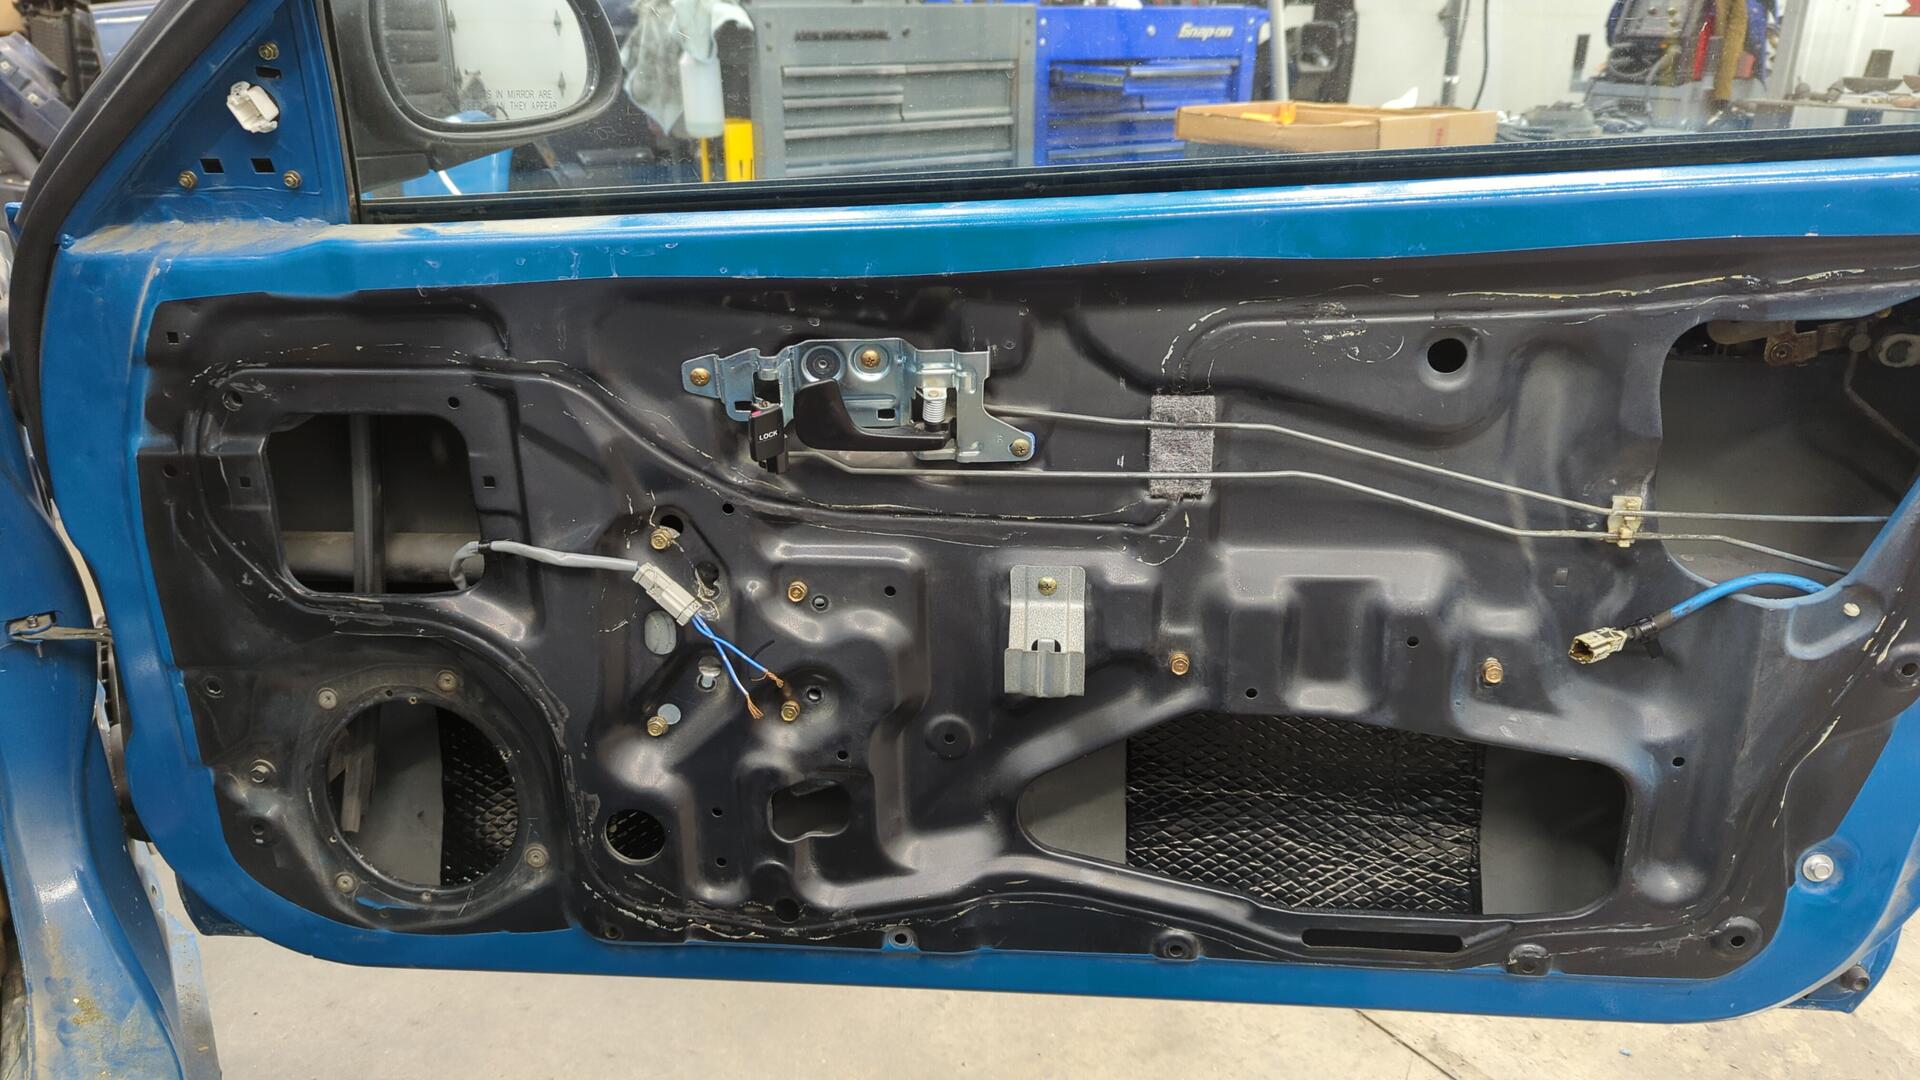
Prepping For Power Windows And Locks
The inner doors were pretty messy. The OEM vapor barriers had been ripped to shreds from years of wear so back when the car was repainted I tried replacing them with new plastic and applied a second layer of adhesive over the first.
The replacement vapor barriers ended up being a flop and in the end the door just looked worse.
The silver stuff inside the door is sound deadening. There’s actually way two much of it as only 30% coverage is needed.
Using some plastic razors I was able to remove almost all of the old adhesive so I could get a fresh start.
I also decided to remove all of the sound deadening and added just a few new patches.
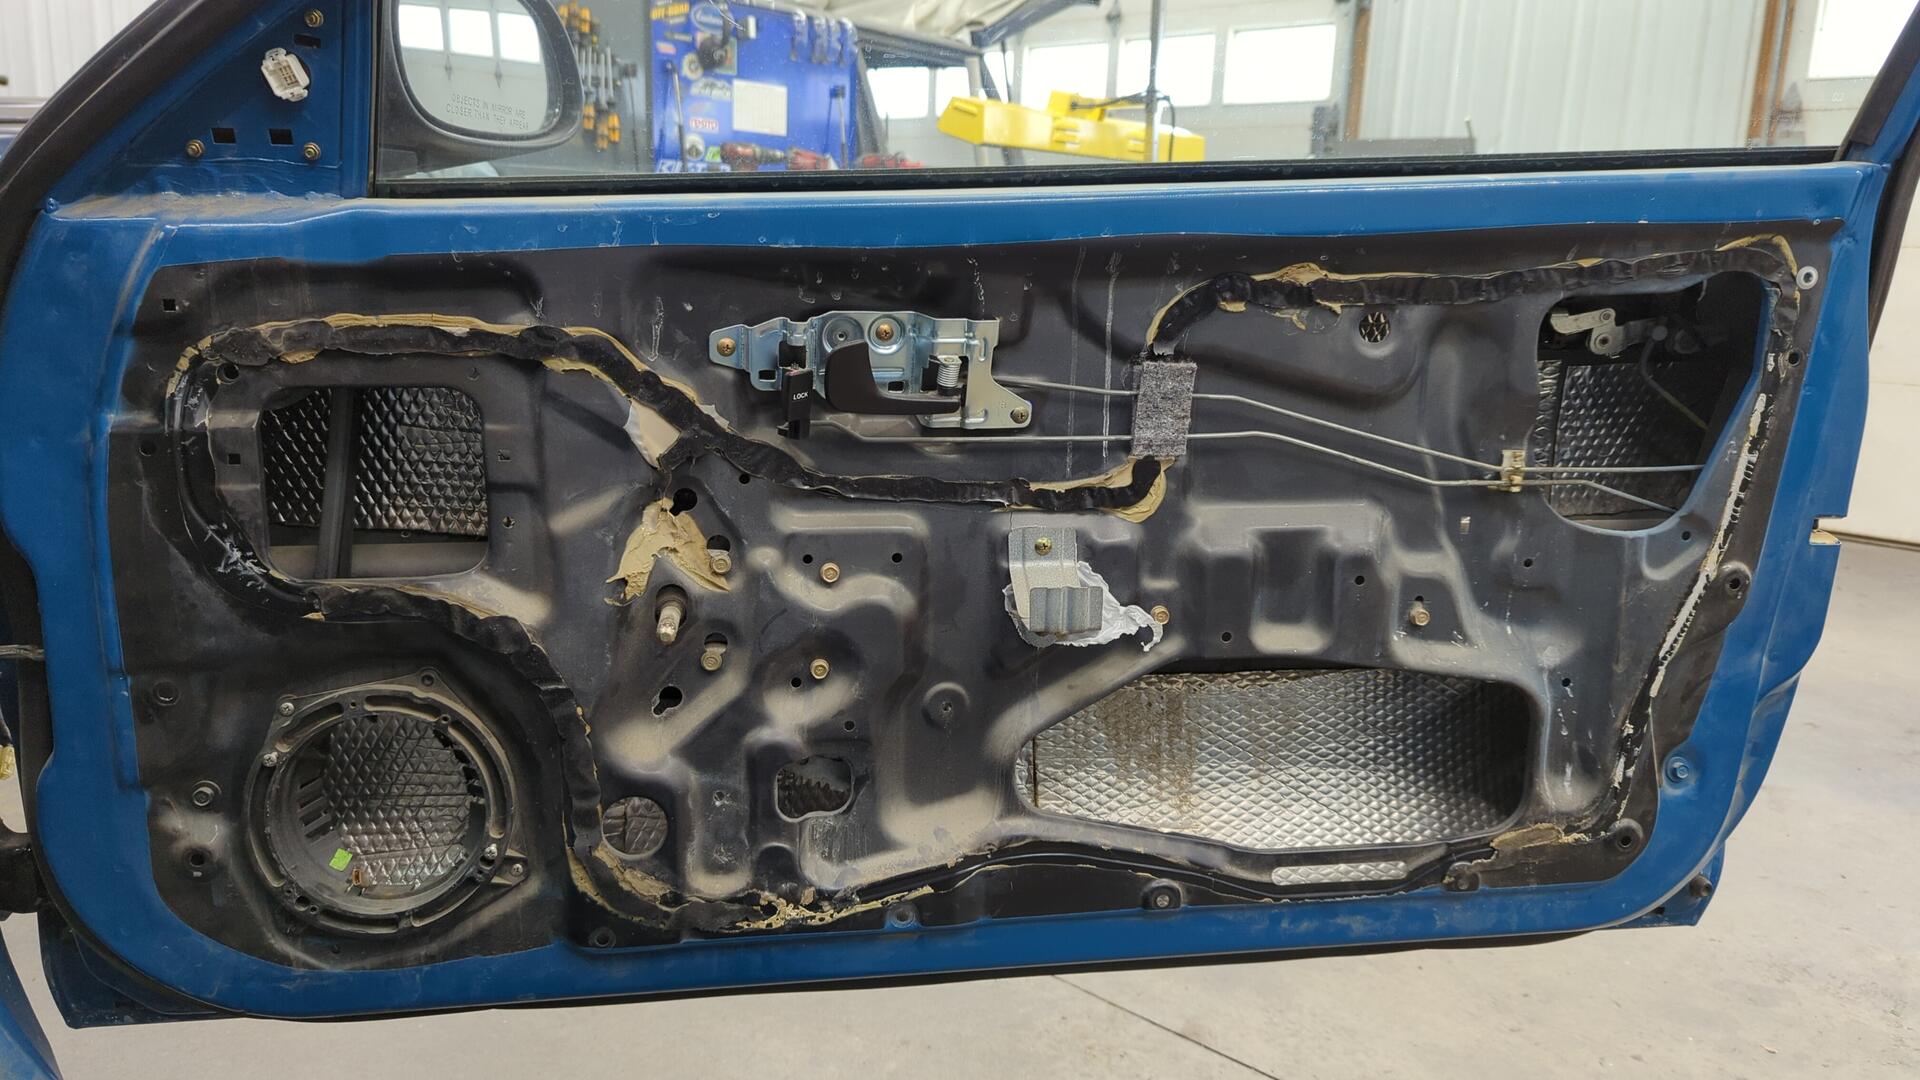
From there I pulled out the window, window regulator, and door lock so I could switch them out for powered units.
Prior to installing the window regulator I cleaned all the old gunk out of them and lubed them up with fresh white lithium grease.
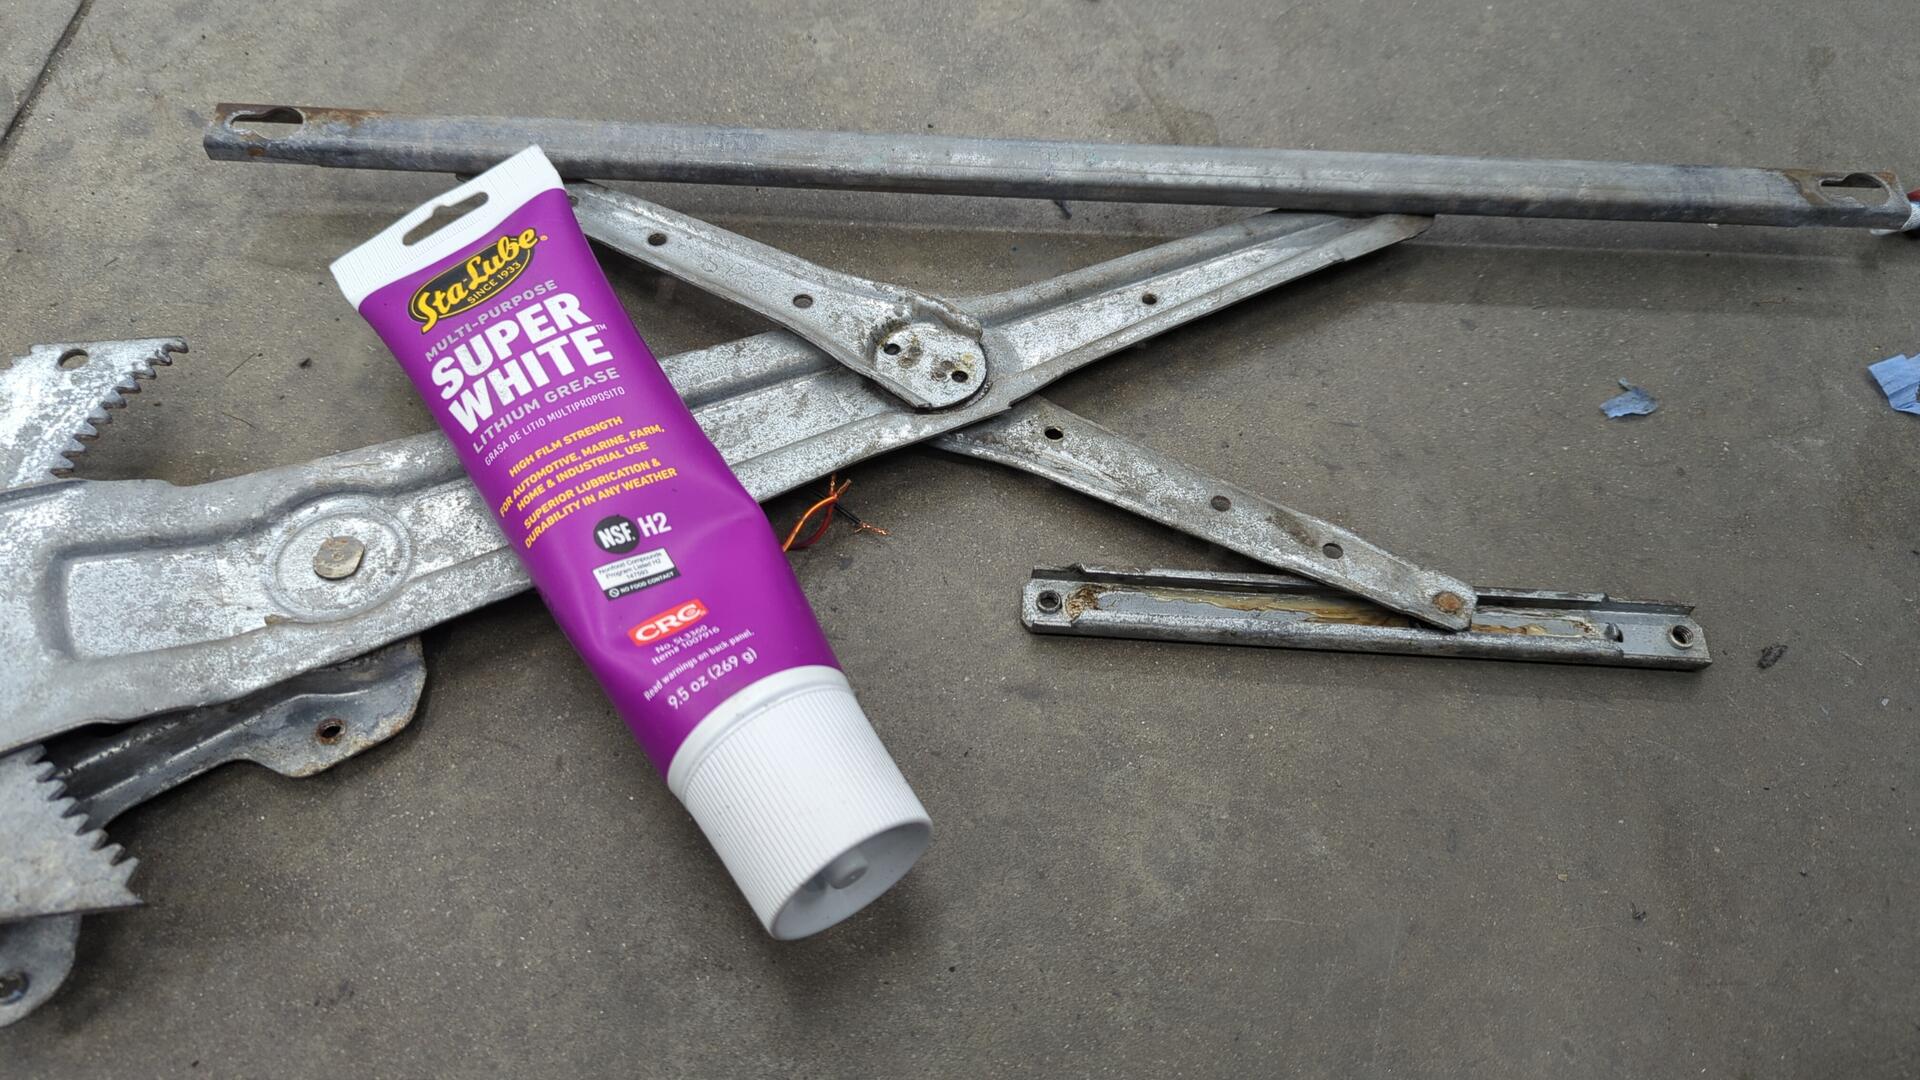
Much better!
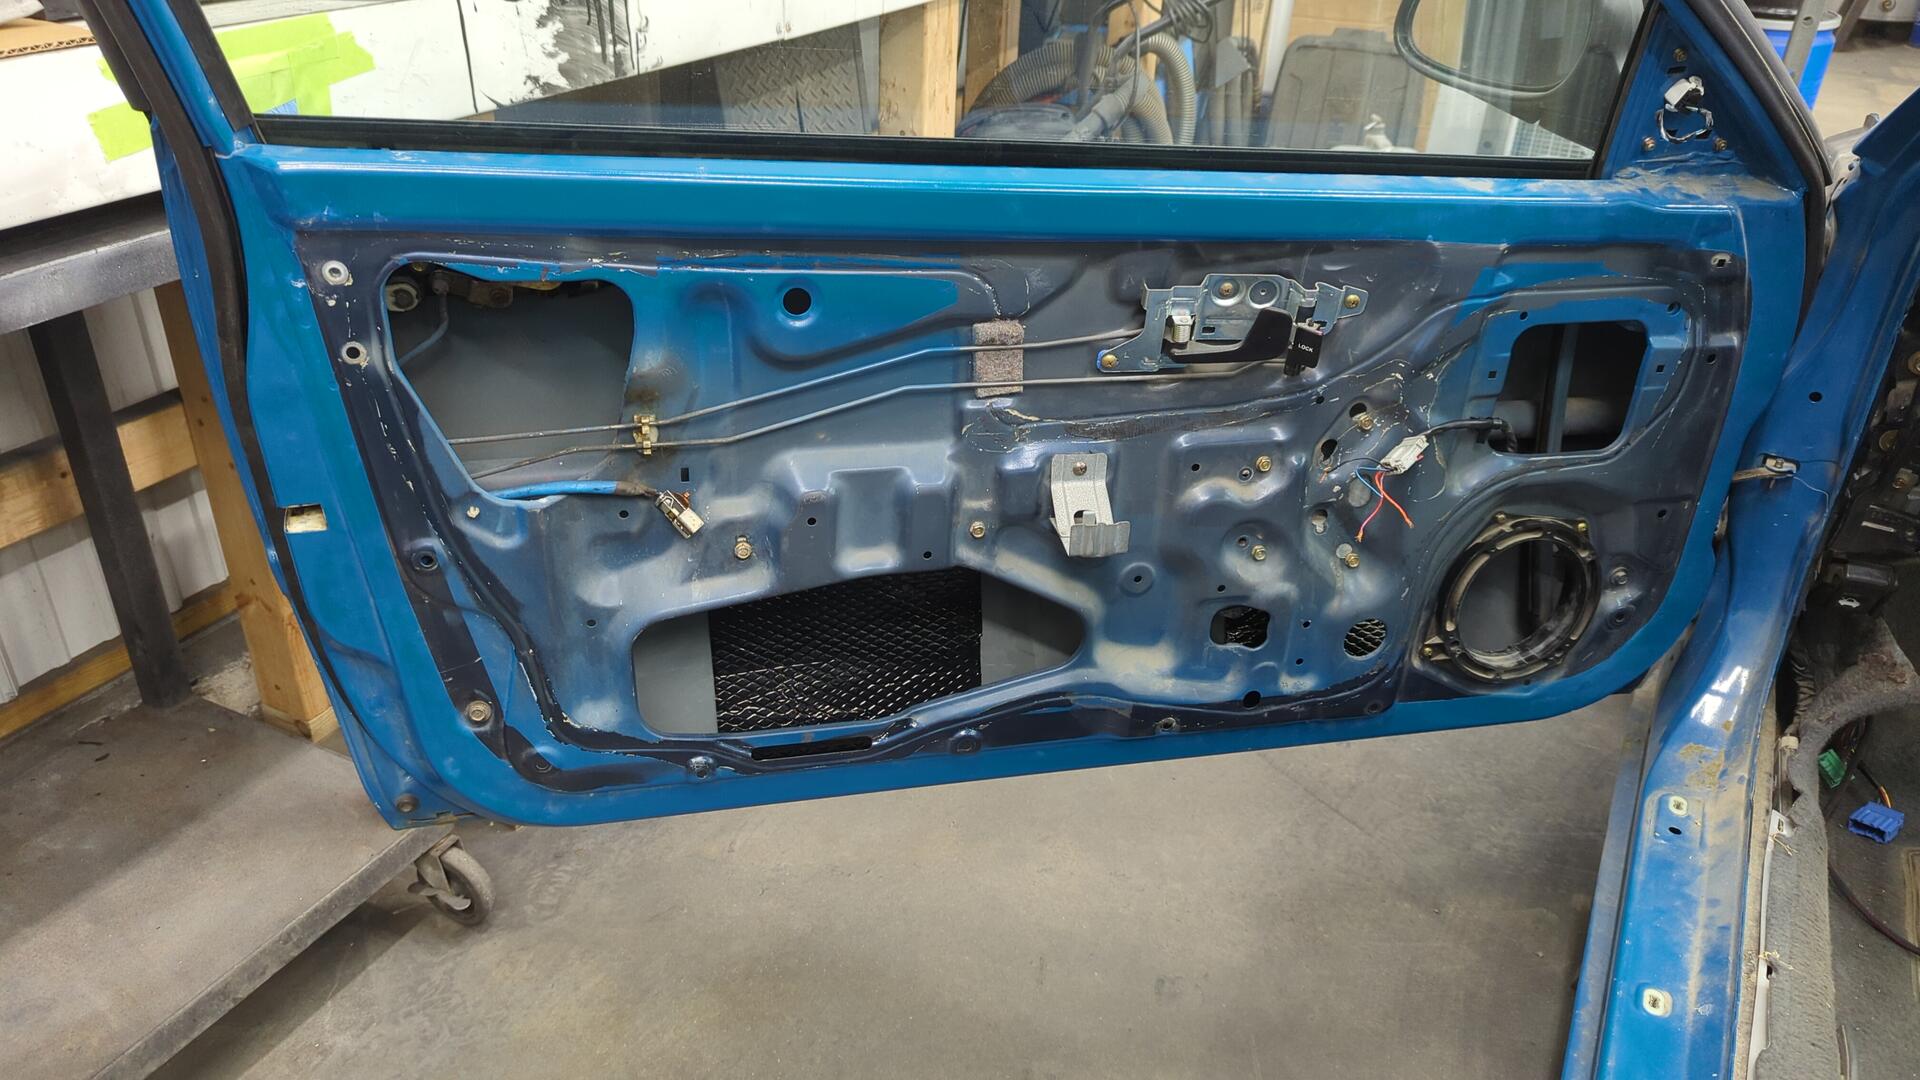
Then I repeated everything on the driver side.
The powered lock actuators and window regulators tested fine but the driver window one was sluggish so I’ve ordered a replacement.
I’m currently working out the final steps for how I plan to wire them and will start that soon.
Mounting the Fuel Filter and Charcoal Canister Brackets
With the doors taken care of I jumped back to the engine bay so I could finally install the fuel filter bracket, and charcoal canister bracket.
This was actually pretty easy as all I had to do was cut down my new studs to length and secure them in place.
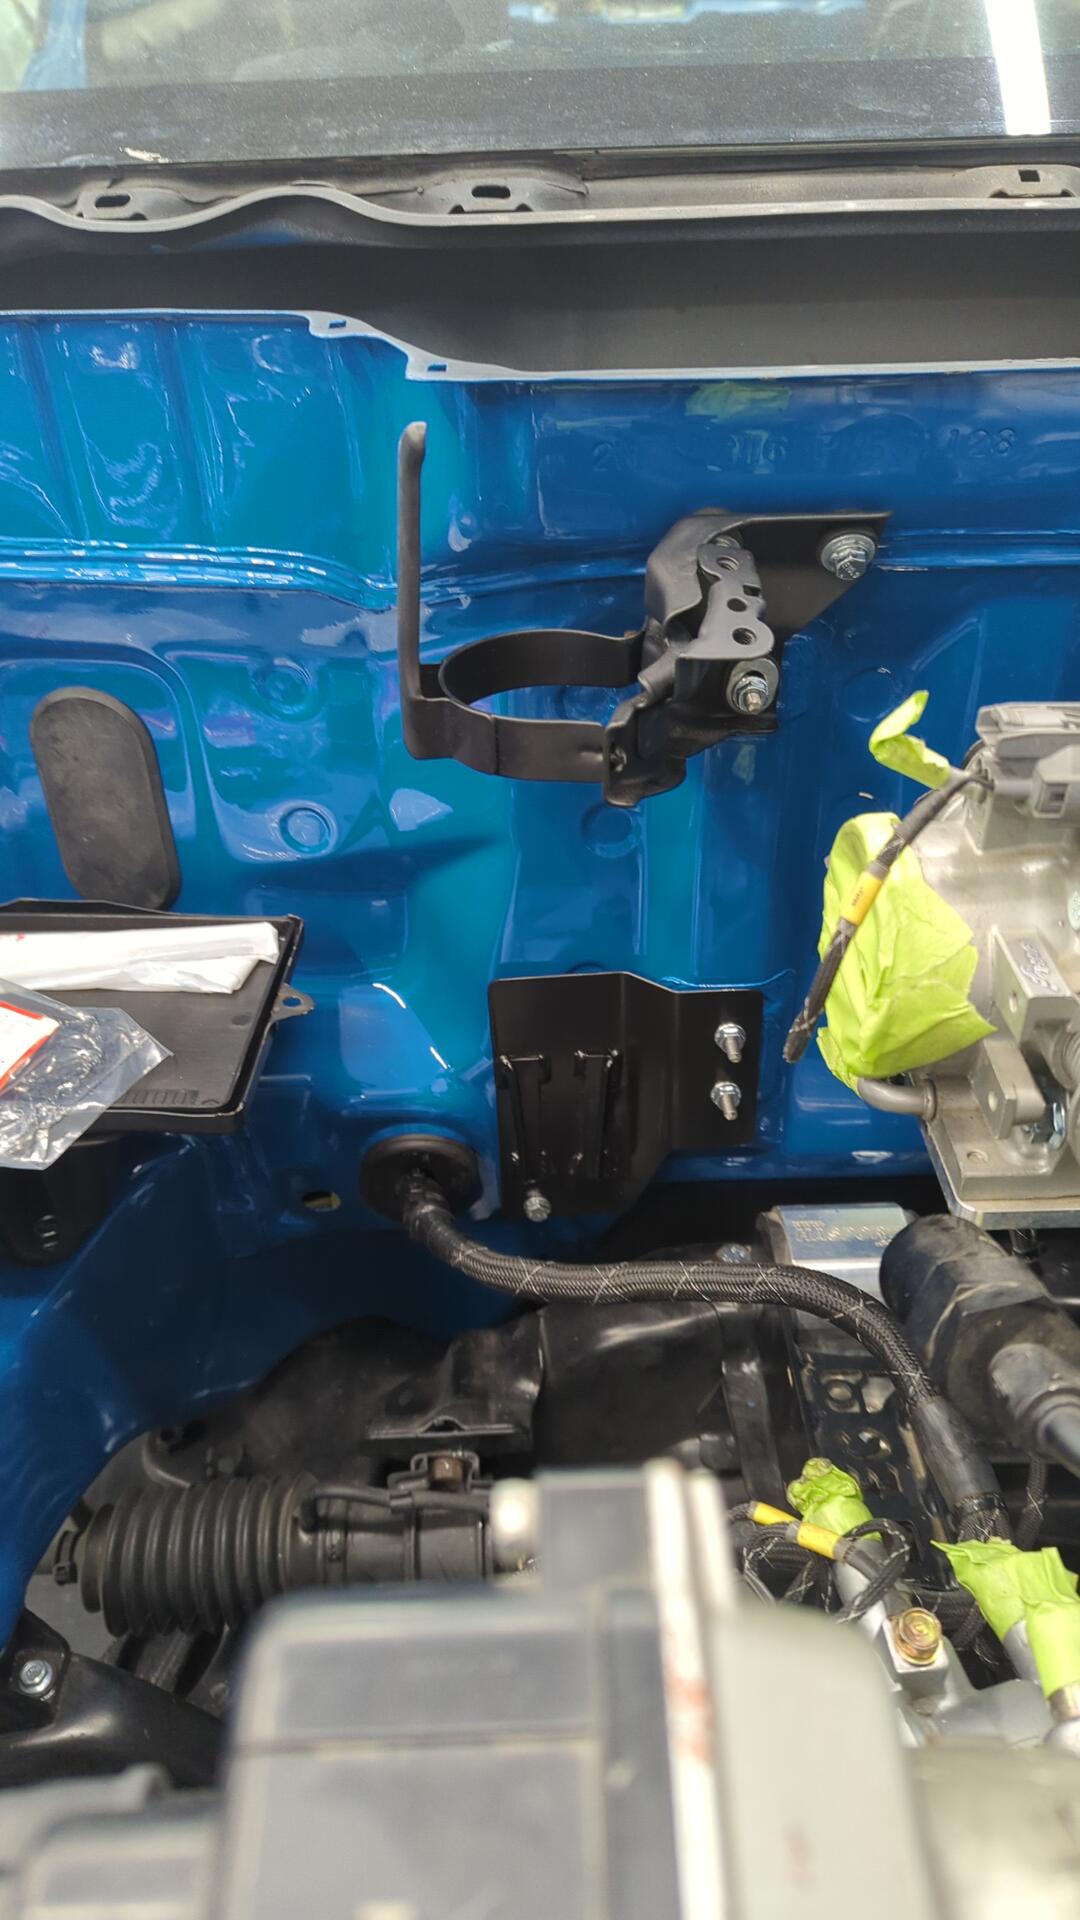
I added a bit of felt tape to the inner brackets to prevent any squeaks from metal rubbing on metal while driving.
New to me charcoal canister installed along with the water valve.
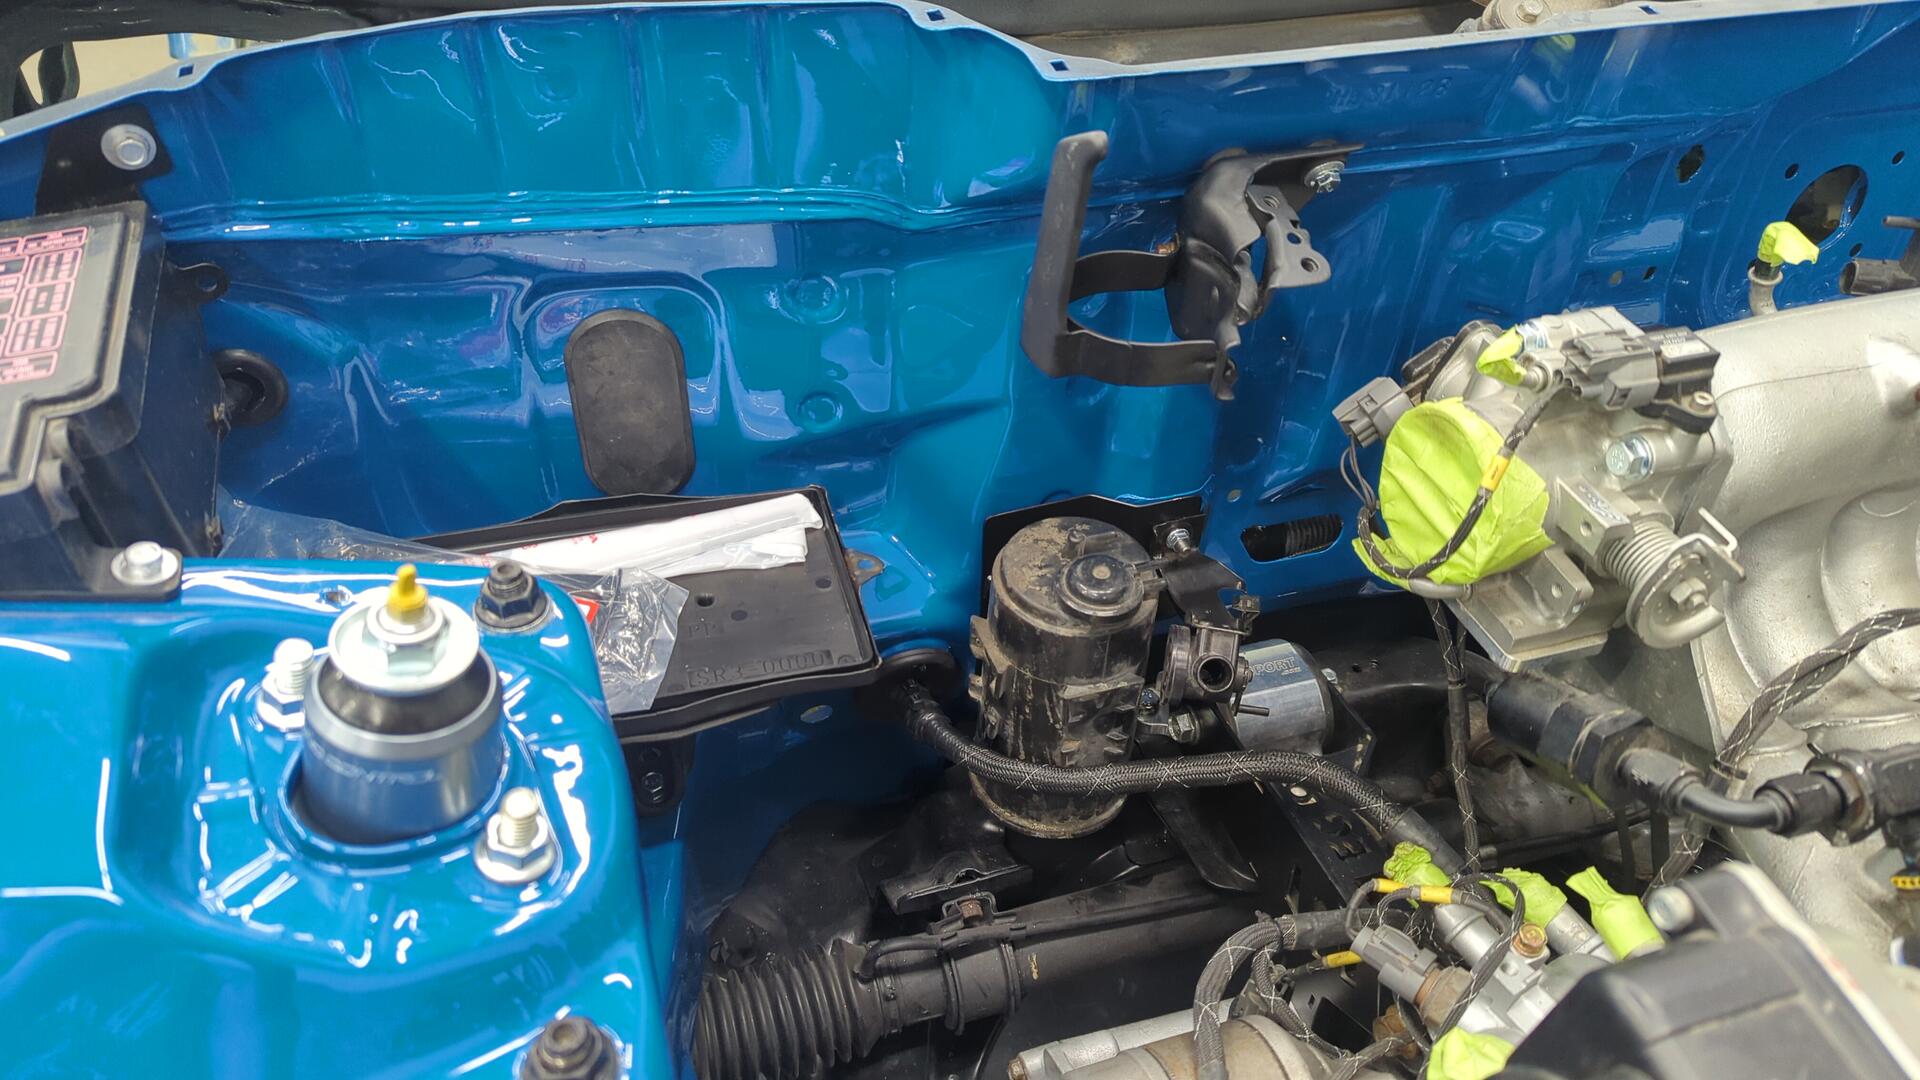
Getting closer! I even mounted up the evap solenoid on the intake manifold.
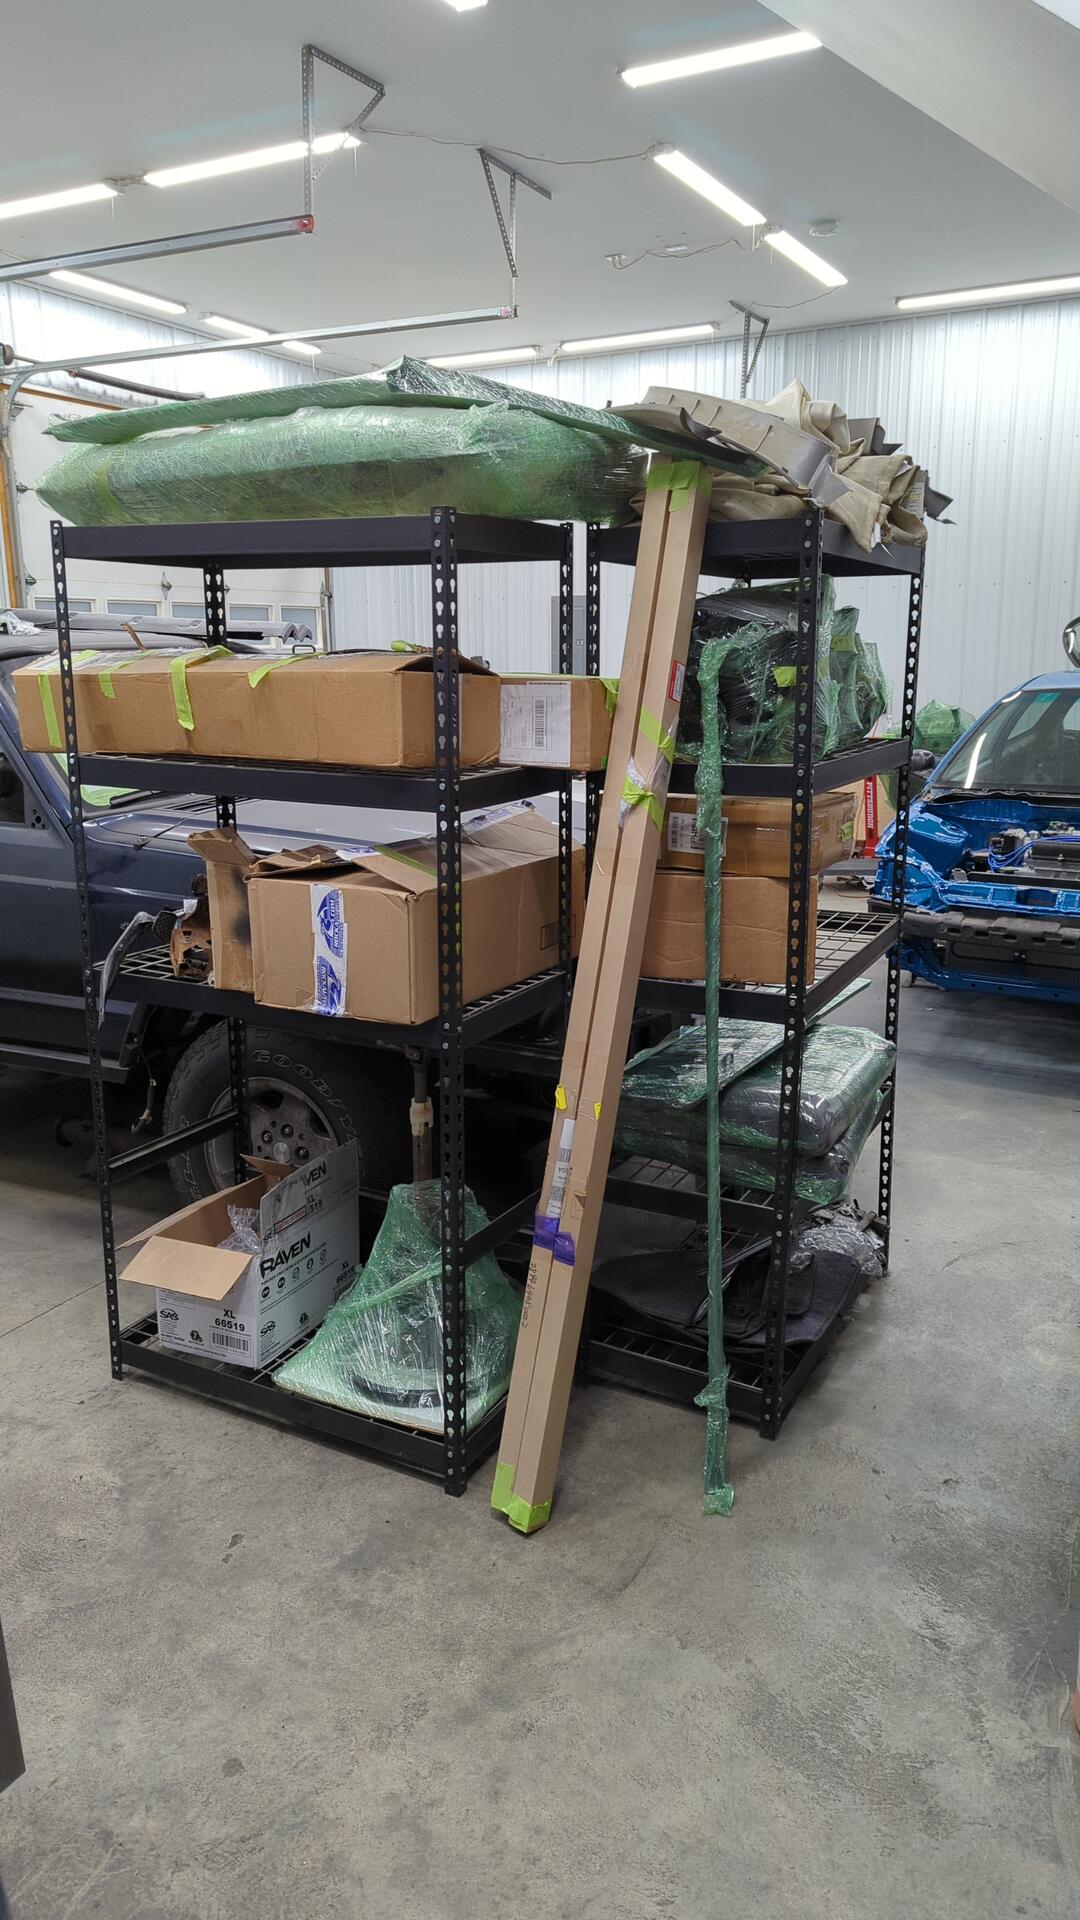
All of the parts still awaiting reassembly.