How to Build a B20 VTEC Part 13: Install And First Start
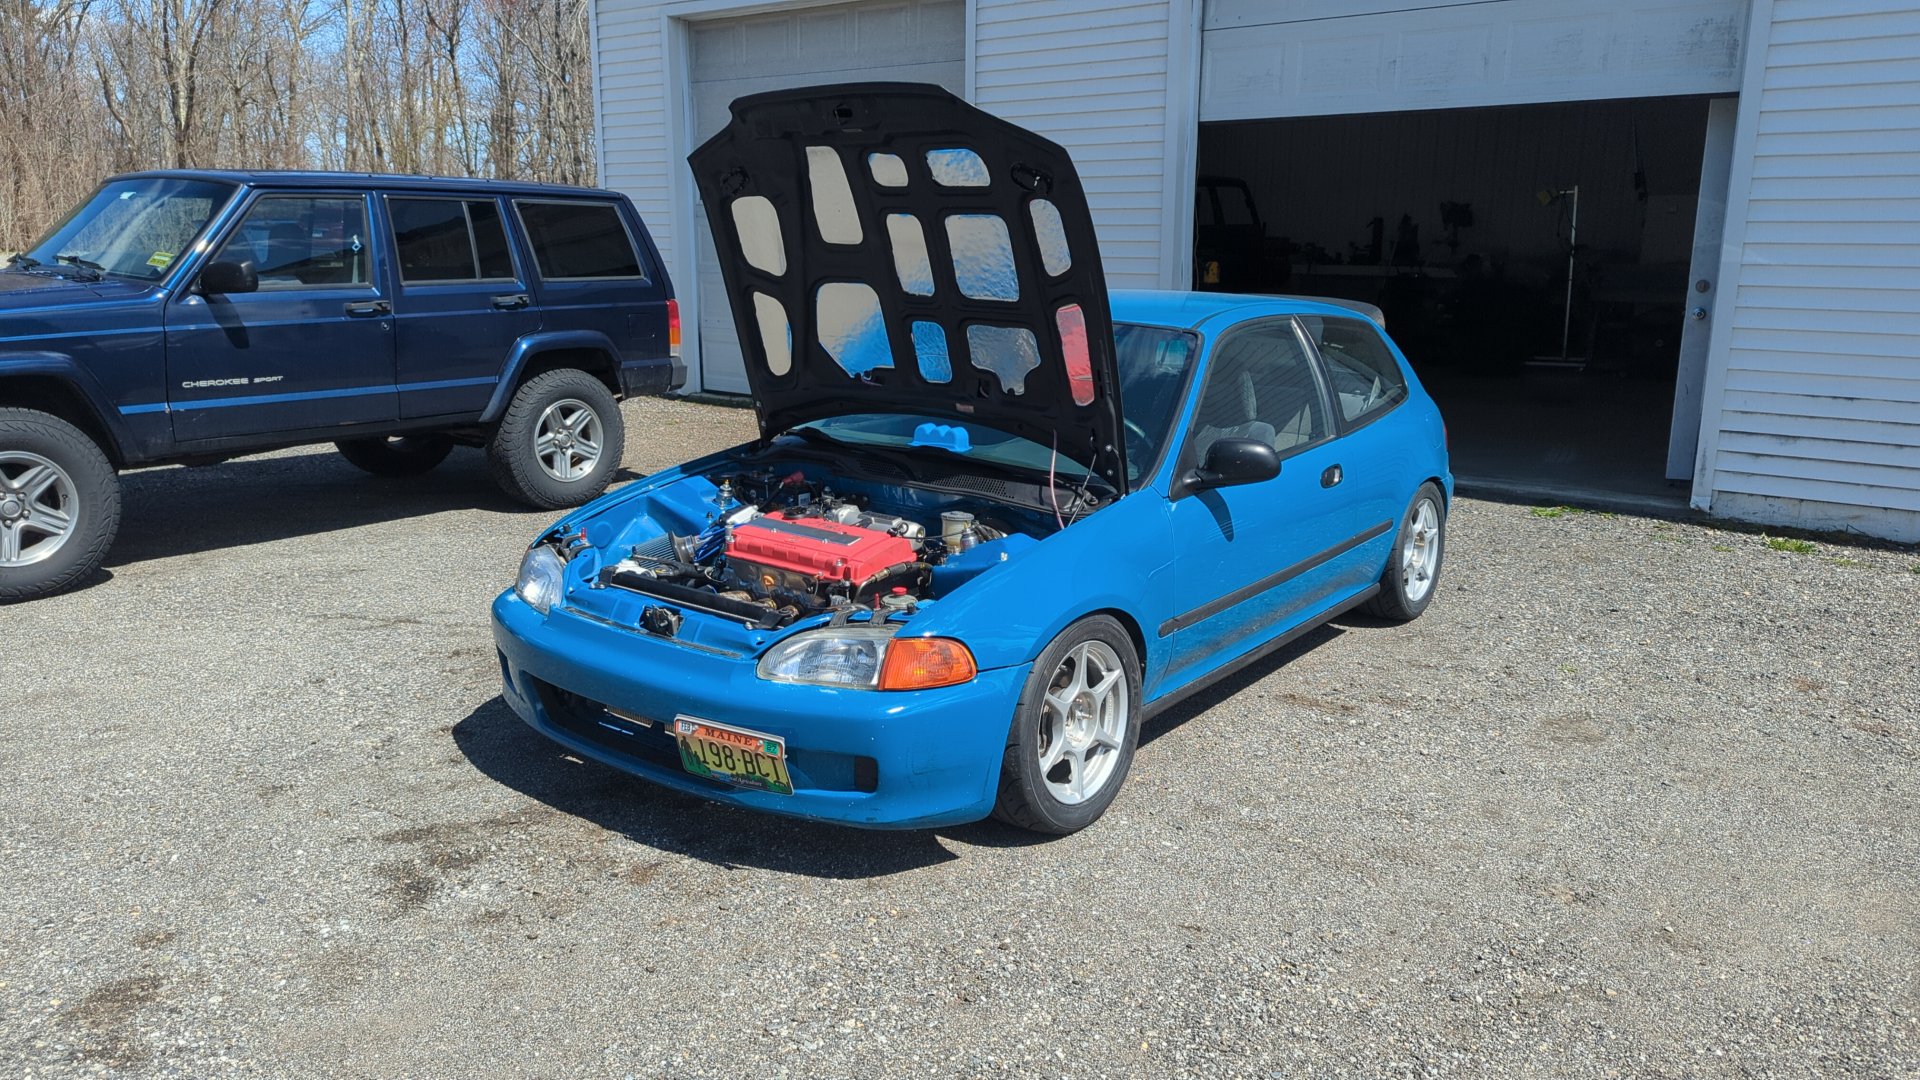
At this point the B20V should be ready to drop in. There’s no special steps required to install it in your car and it can be treated like any other B-series engine. If you’re installing your engine into a chassis that previously had a non-VTEC engine you’ll need to buy the connectors and run two extra wires to the ECU (A4, and D6) and there’s already guides available online for how to do that.
If you need to run the VTEC wires I’d strongly suggest buying Sumitomo connectors instead of the lower quality aftermarket replicas out there. They are the same price and will last way longer.
My B20V is going into my 93 Civic which previously had a non-VTEC B20B in it but before the B20B I used to run a D15 mini-me so I already added the wires for VTEC years ago.
For a clutch and flywheel I’m running an OEM Exedy clutch and Fidanza lightweight (8lbs) flywheel. I’ve read that the stock clutch is good for up to about 250whp and my B20V will be below that so I’m not concerned.
The only thing that actually bothers me with my setup is that my transmission is an LS trans with the longer final drive which will feel even longer with the higher revving B20V. Eventually I’ll do a 4.7 FD swap and upgrade to the GSR 3rd and 4th gear (1st / 2nd are the same between LS and GSR and I want the long 5th gear for highway).
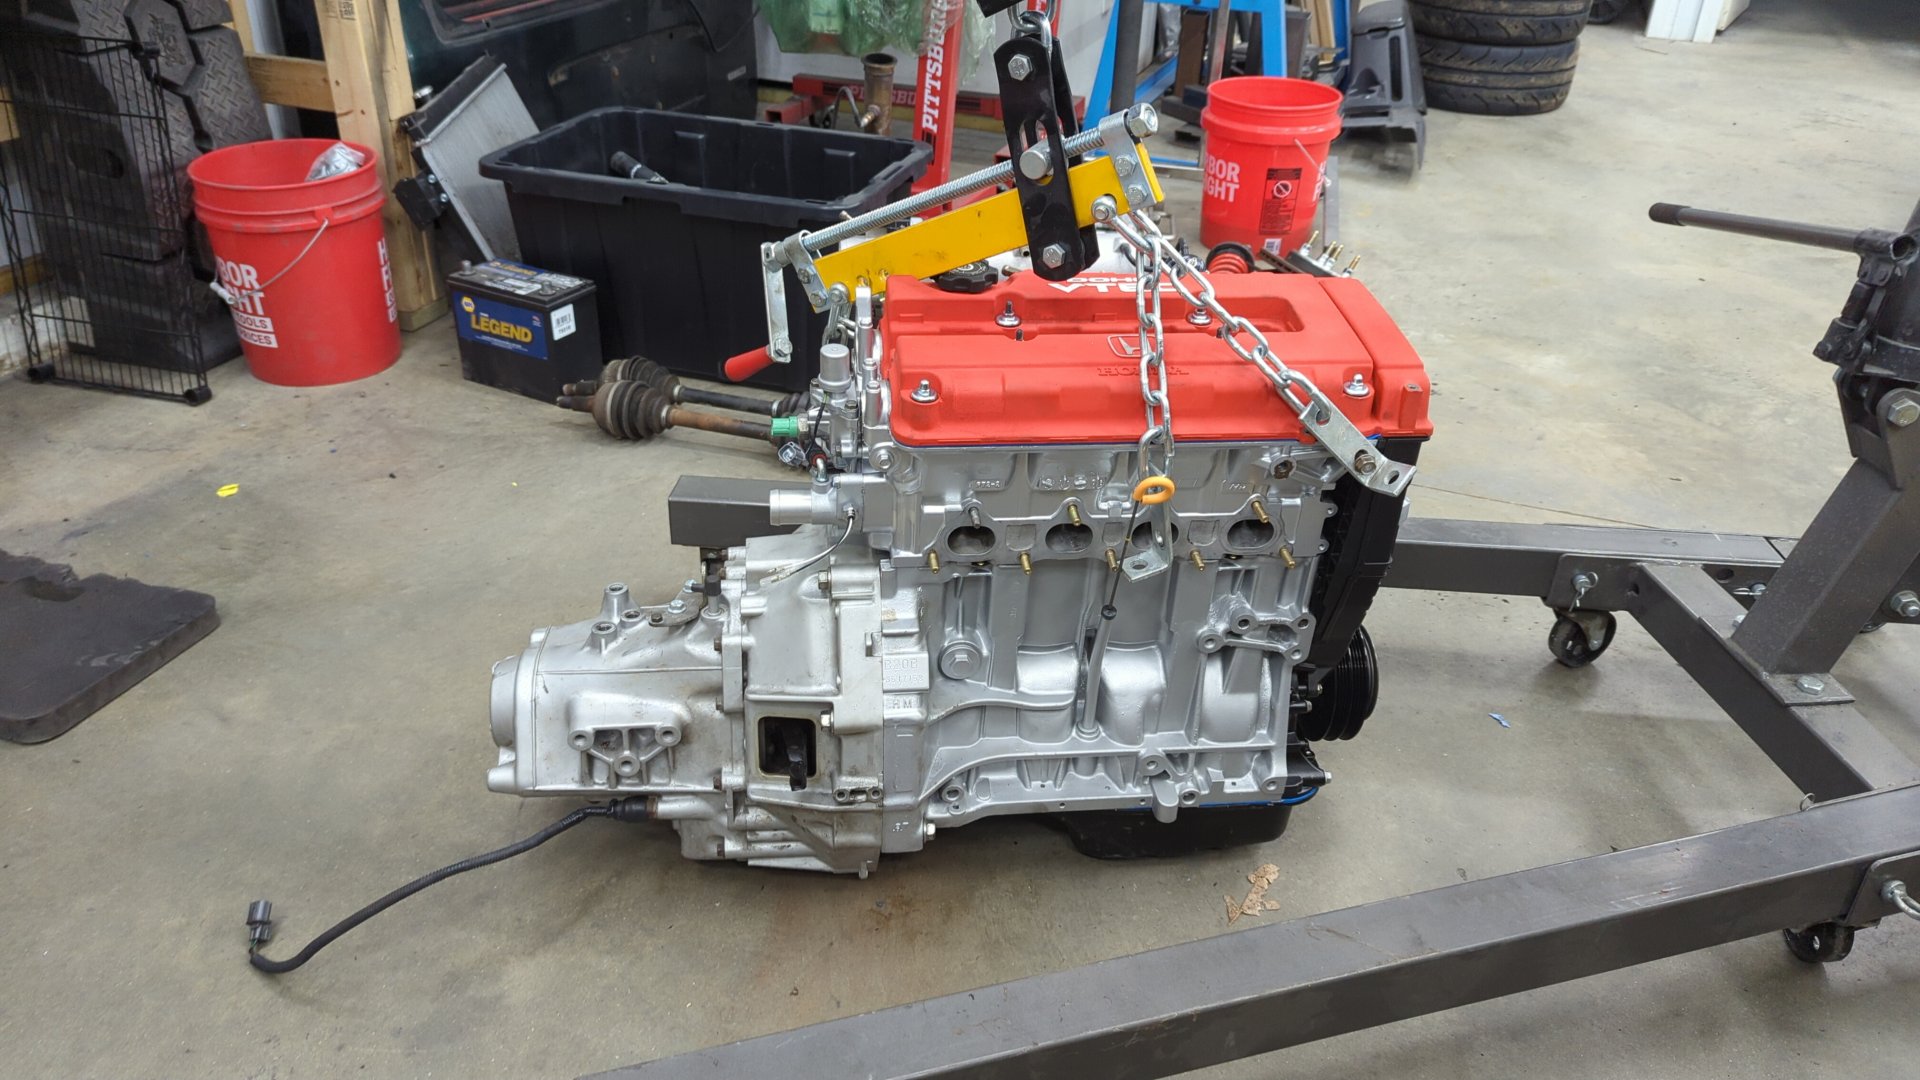
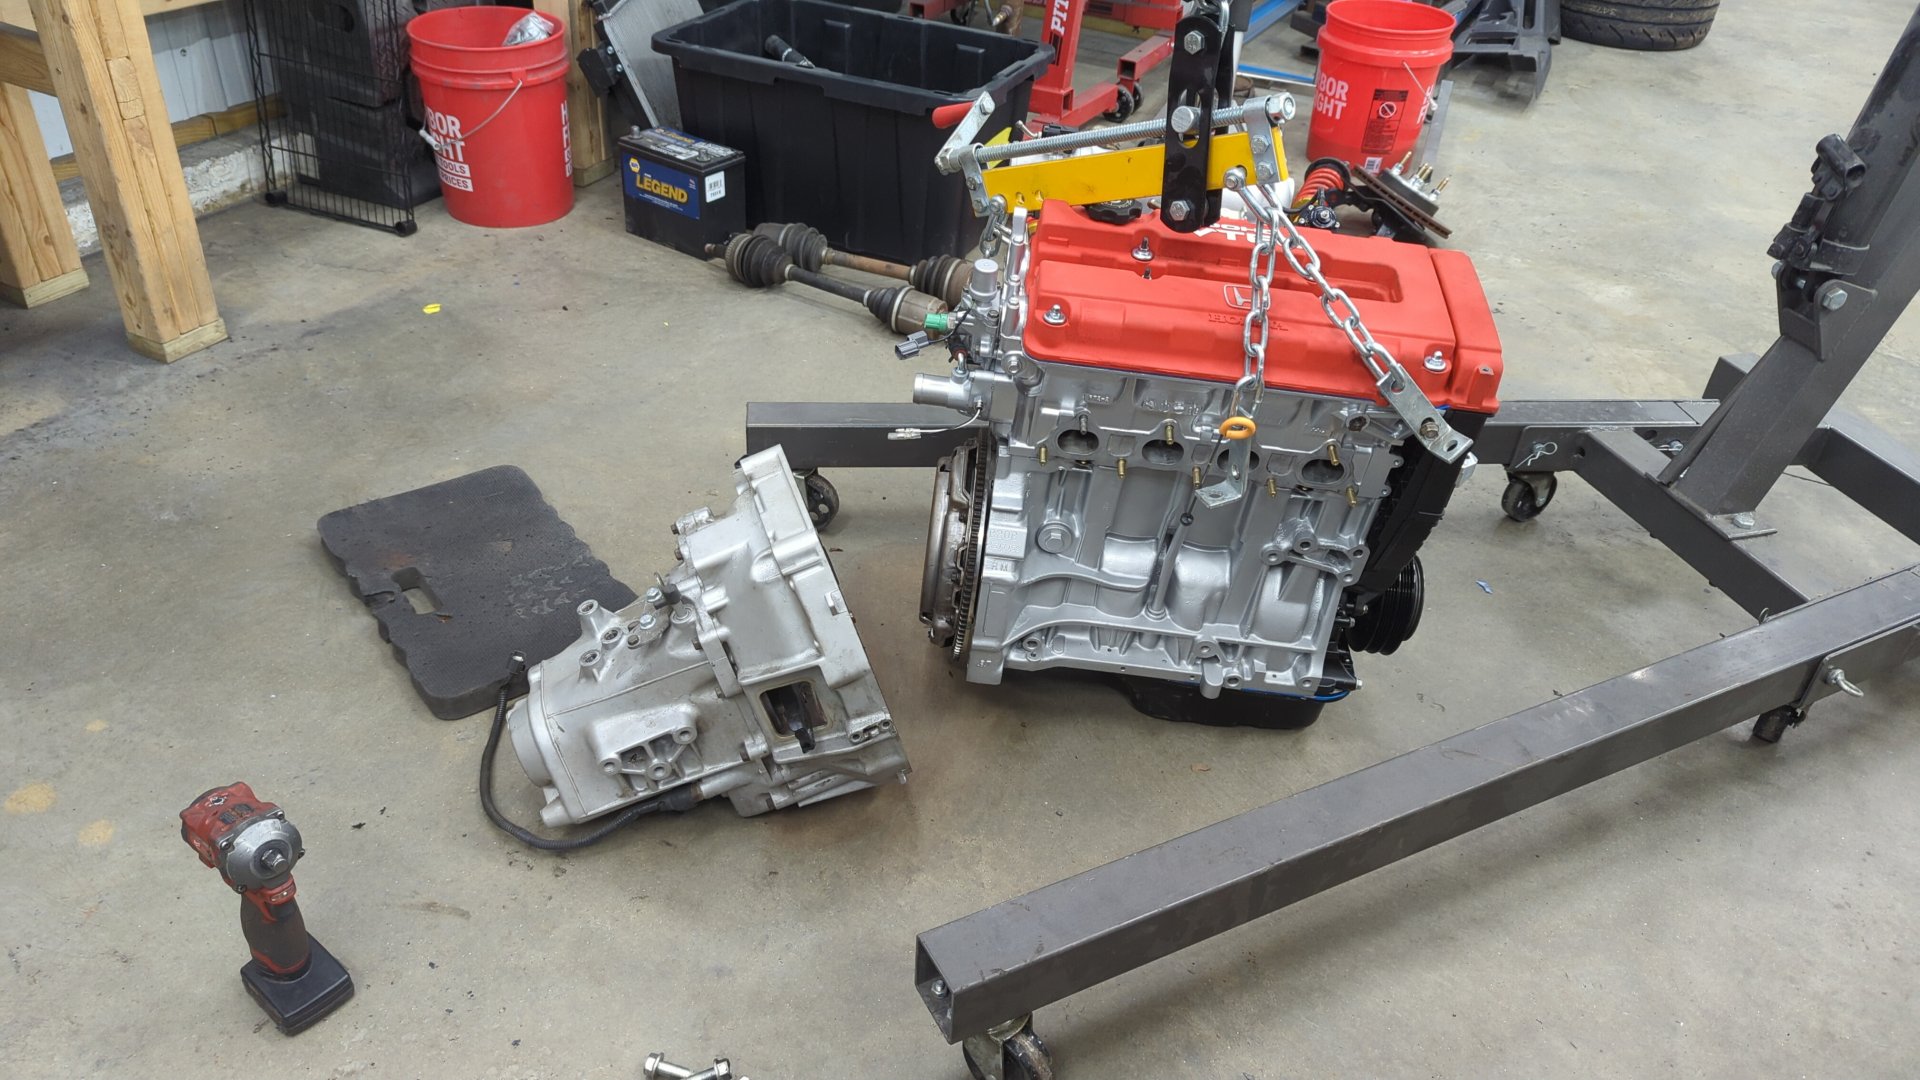
Dropping in the motor was pretty easy.
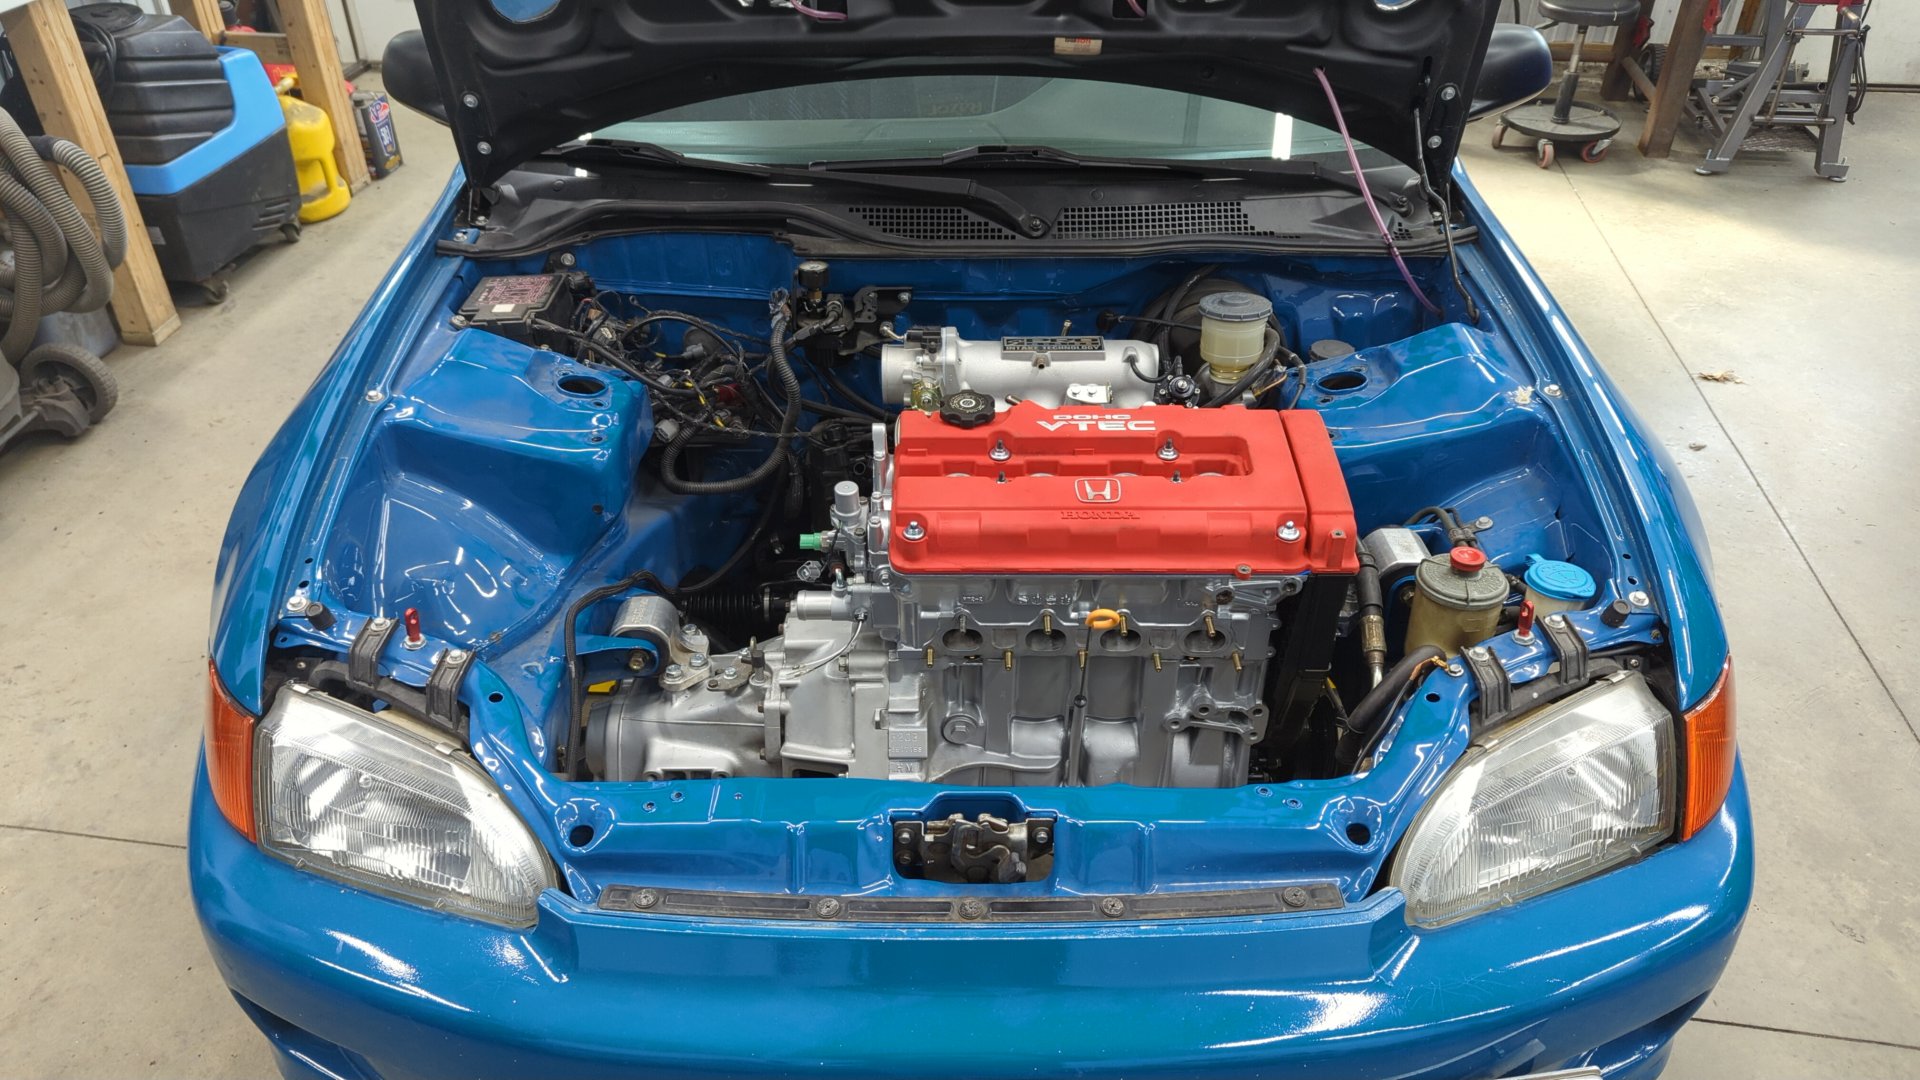
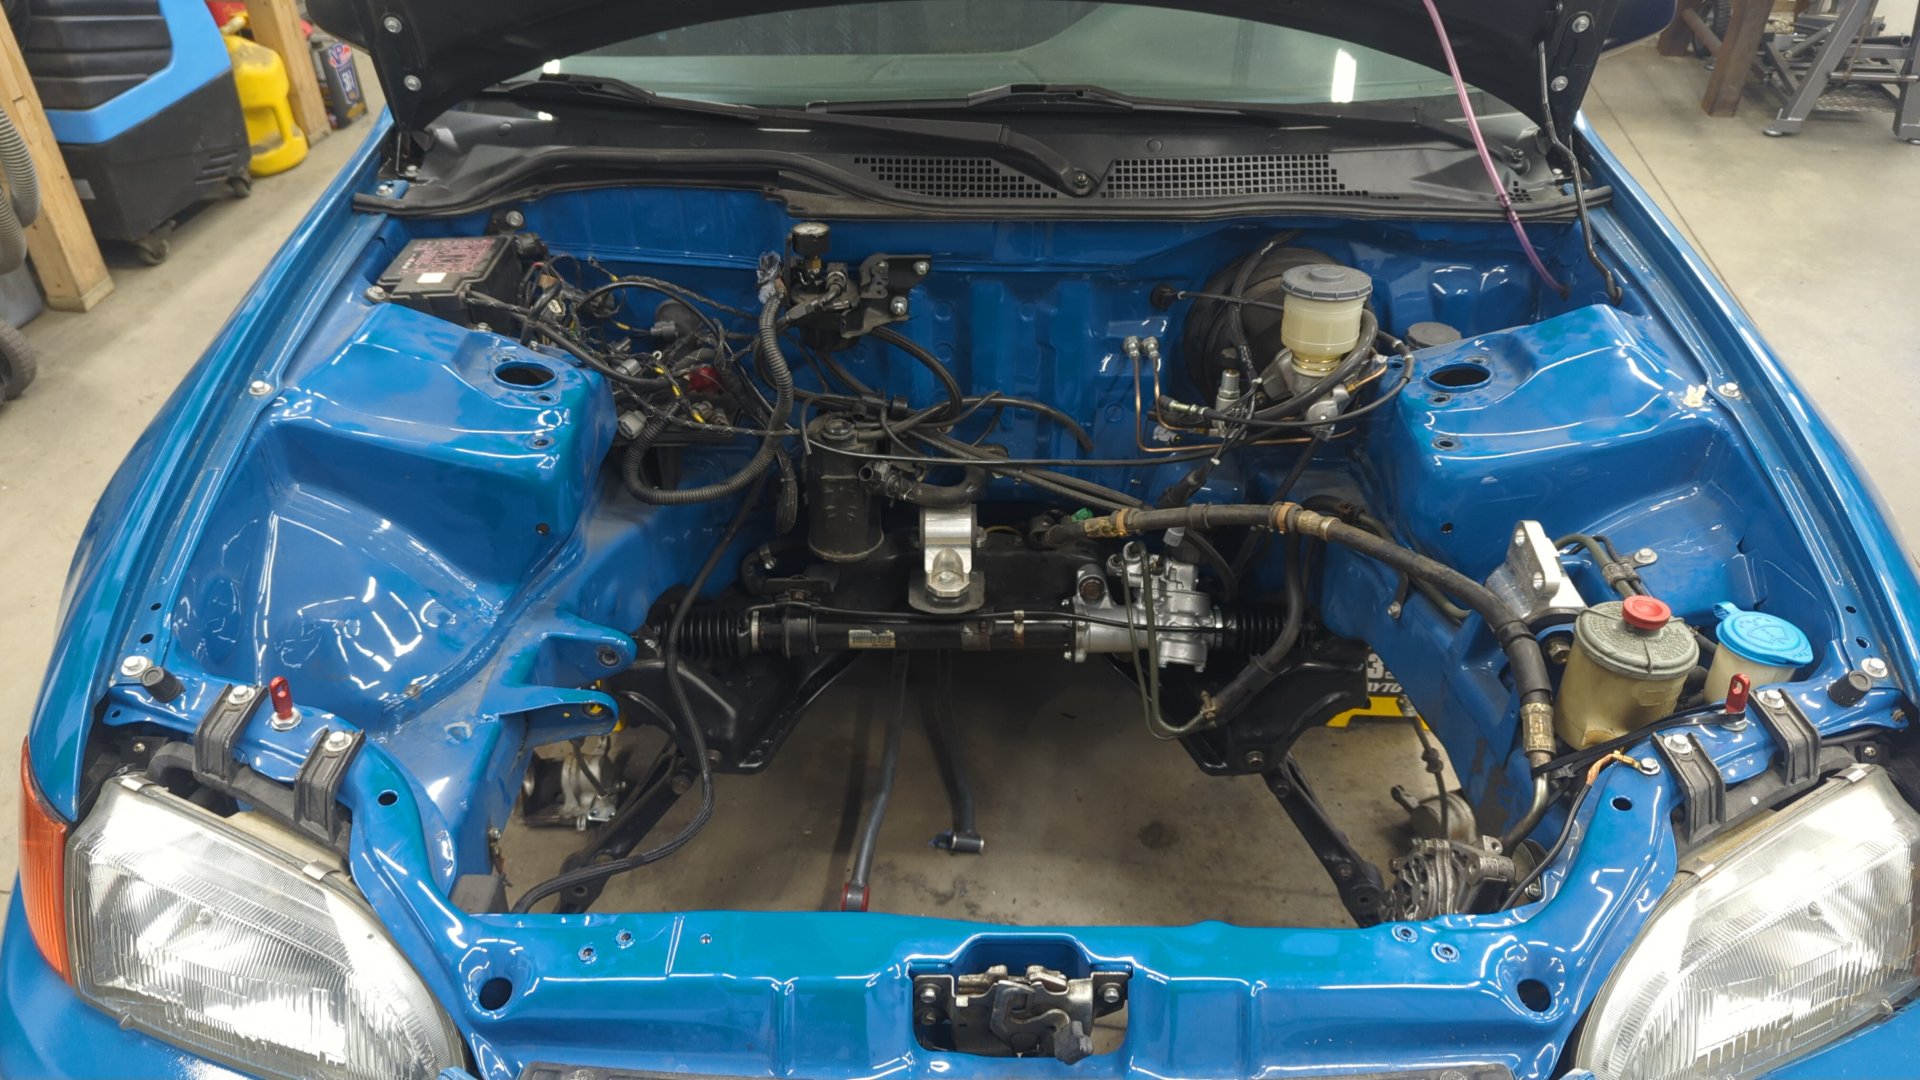
I reused all of my B20B coolant hoses (including radiator hoses), throttle body cable, and exhaust header. The only thing from my old setup that had to be replaced was the intake tube to throttle body coupler because the B20B throttle body was smaller in diameter and it wouldn’t fit over the larger B20V throttle body.
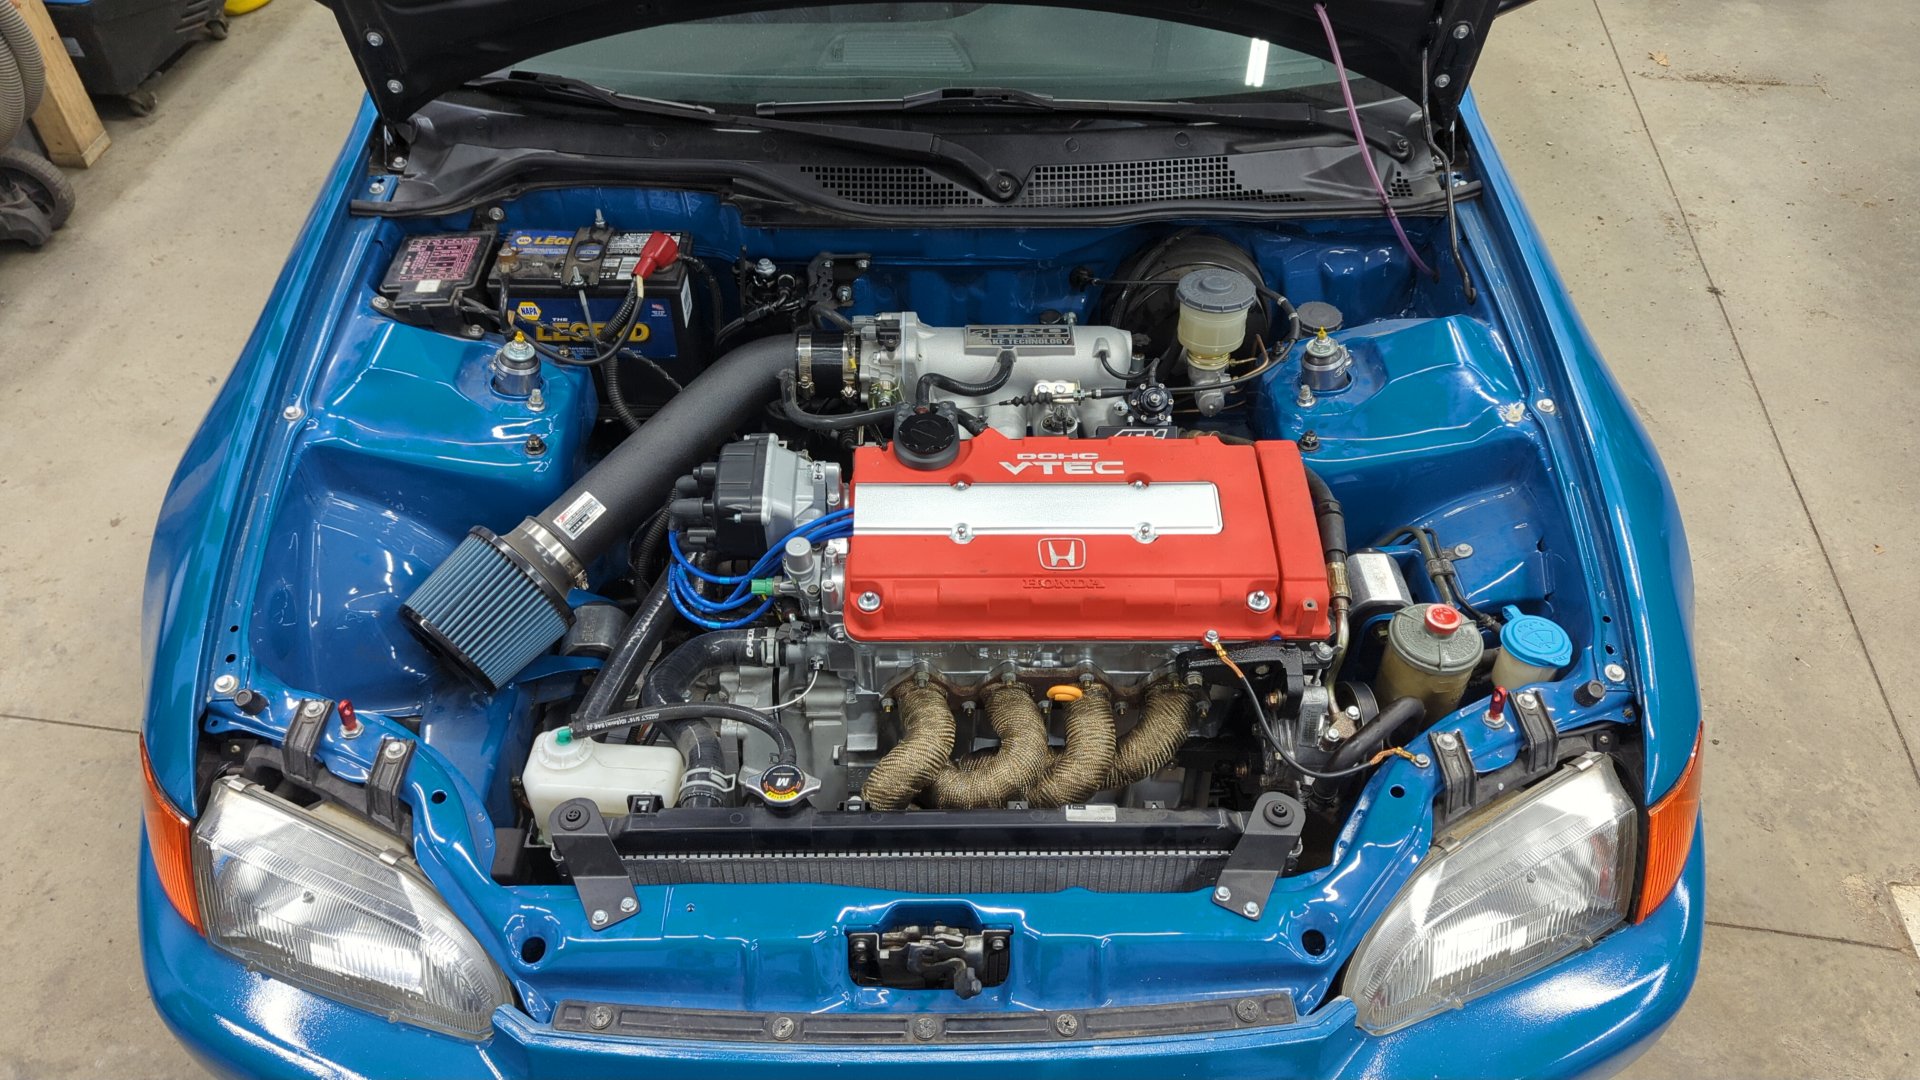
My car already had a Walbro 255 fuel pump and a 6AN supply line installed so it should be able to handle the 450cc injectors on the B20V fine.
First Start
The first start was uneventful in a good way. After confirming the engine had oil and coolant I went ahead and turned the key and after a few rotations the engine fired right up. No scary ticks nor knocks and it sounded strong.
Setting Fuel Pressure
With the engine alive my first objective was to set the fuel pressure since I’m using an AEM FPR. I adhered to the fuel pressure recommendations in the 92-95 Civic factory service manual (page 11-111) and set my pressure to 43psi (with the vac line disconnected) while the engine was running.
Factory specs
- 40-47psi with vac line disconnected
- 32-40psi with vac line connected
Setting Ignition Timing
After that I broke out my timing light to try and set my ignition timing to 16 degrees BTDC (before top dead center). This was more difficult than anticipated because my timing was over advanced at ~28 degrees BTDC even when the distributor was fully retarded.
I don’t know the exact root cause of why this was happening but my intake came is advanced via it’s adjustable cam gear by 2 degrees and I’m running an aftermarket distributor which may be mis-clocked internally so I ended up extending the slots on the distributor mount points with a carbide burr to allow me to rotate my distributor further. After that I was able to reach the target 16 degrees BTDC.
Burping the Coolant System
Another step that gave me a lot of grief was trying to burp the coolant system. I’ve done this numerous times with my B20B without issue but on the B20V I couldn’t get the air out of the head as if the thermostat wouldn’t open. Concerned I had a bad thermostat I removed it and tested it in boiling water but found it was working fine. I think what was actually happening was air had gotten trapped around the thermostat so it was failing to open due to not being heated up by coolant.
I ended up putting the front of the car up on jack stands to try and free up any stubborn air bubbles stuck in the head and that seems to have done the trick.
Now I get to start the fun part of tuning and breaking in the motor.