I Electrified My Push Scooter With A Power Drill
Back in July I had a silly idea that I should convert my push scooter to electric. I mainly use it for getting around at autocross events when I’m working the course and it does fine but with electric scooters being so cheap now I was jealous watching everyone else zipping around on them.
Of course I could have simply bought an electric scooter for myself but I already had a scooter and didn’t want a second scooter because then I’d just have one laying around unused. My scooter is a Razor A5 Lux and was never designed to be converted to electric but thanks to my welder, 3d printer, and some parts from Harbor Freight, Amazon, and McMaster I was able to cobble it into something amazing.
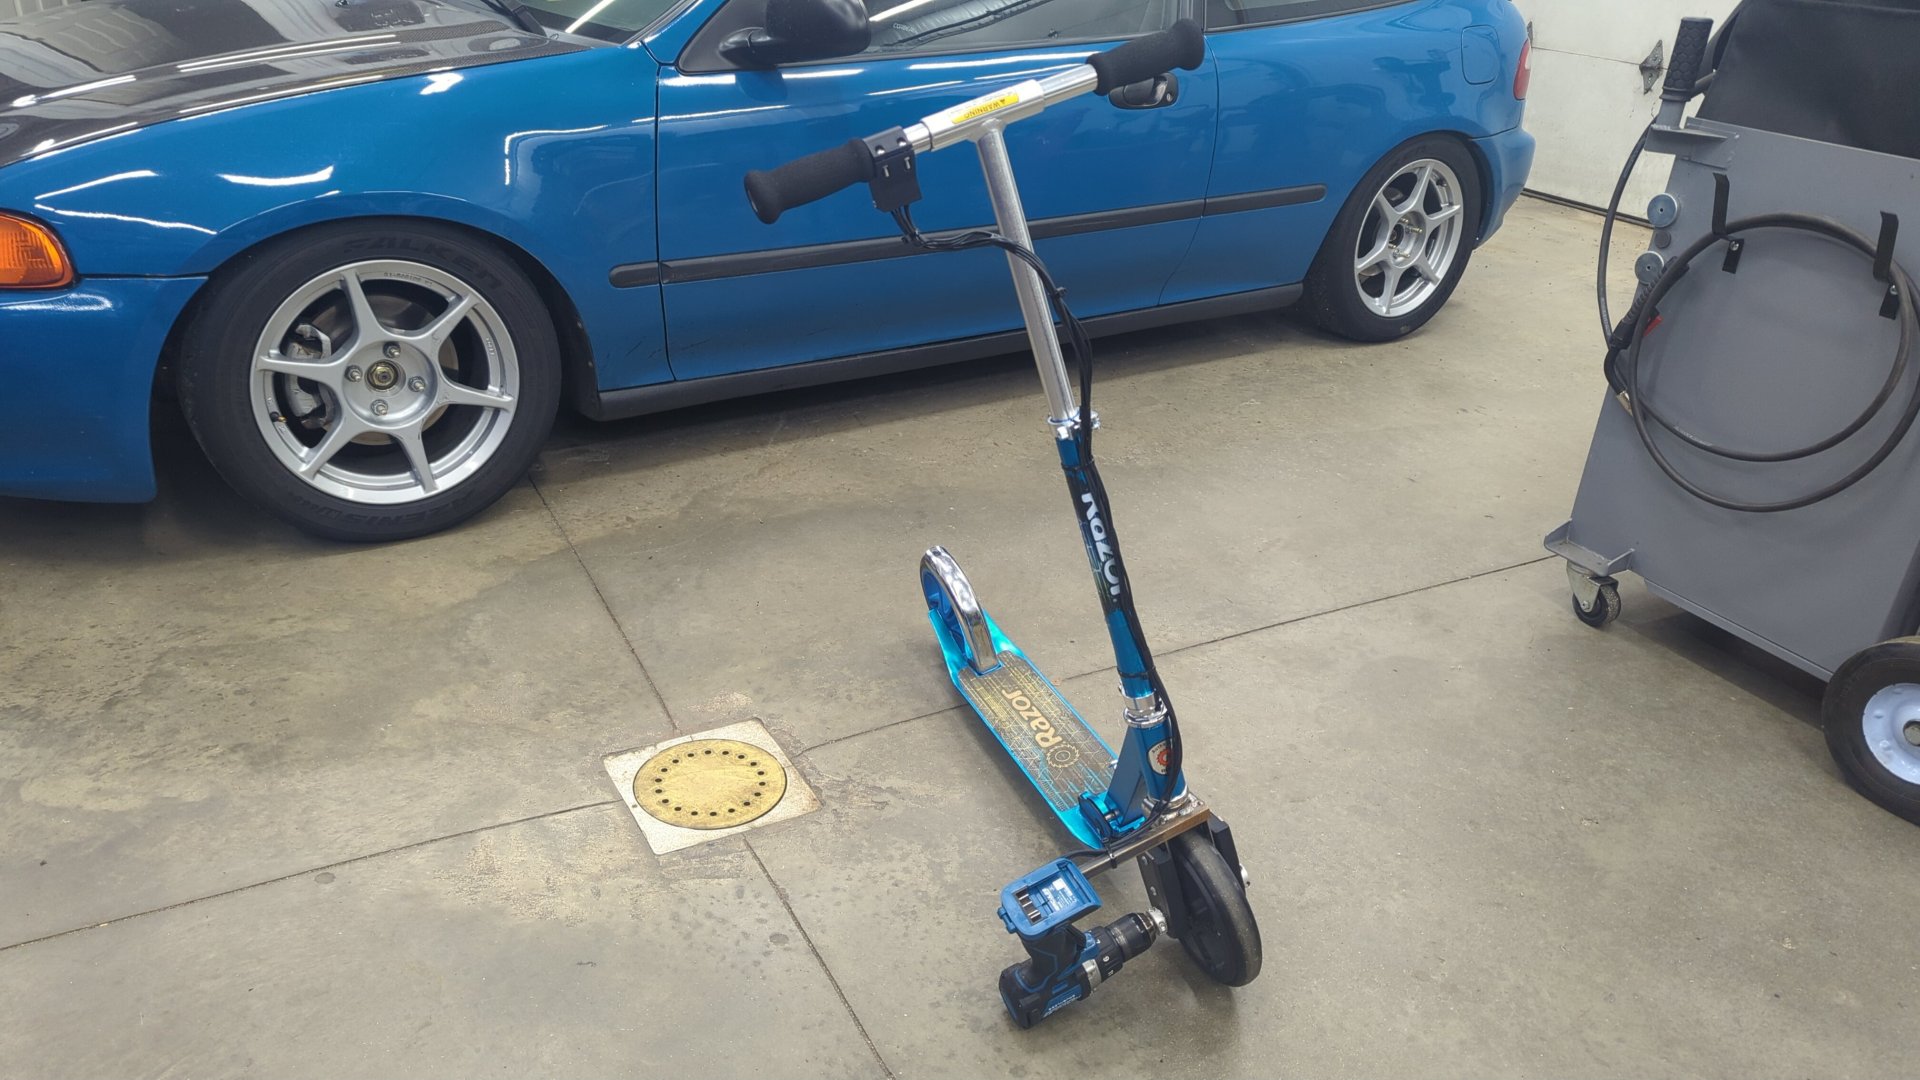
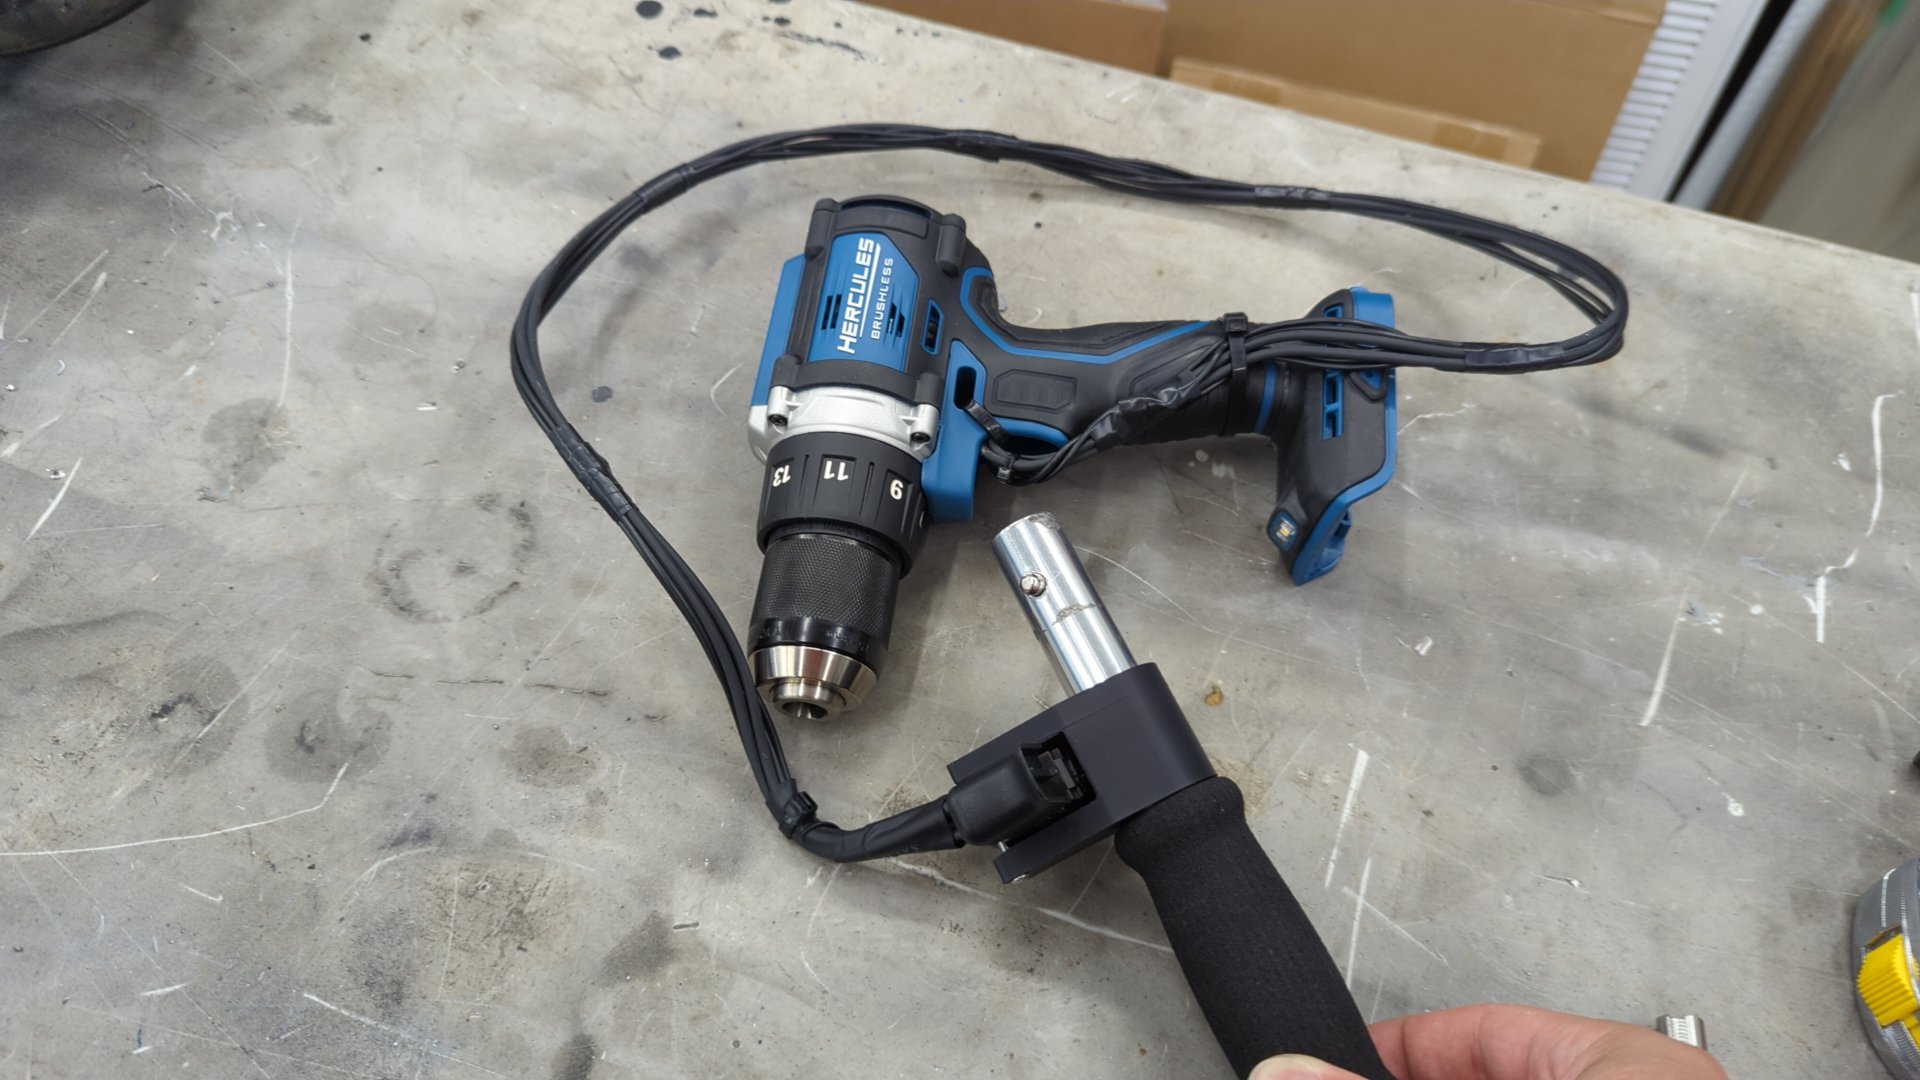
It’s front wheel drive just like my Civic and powered by a beefy Hercules cordless drill. The drill transmits power to the front wheel via the use of a keyed shaft and one way bearings so the front wheel can still free spin when the drill is off.
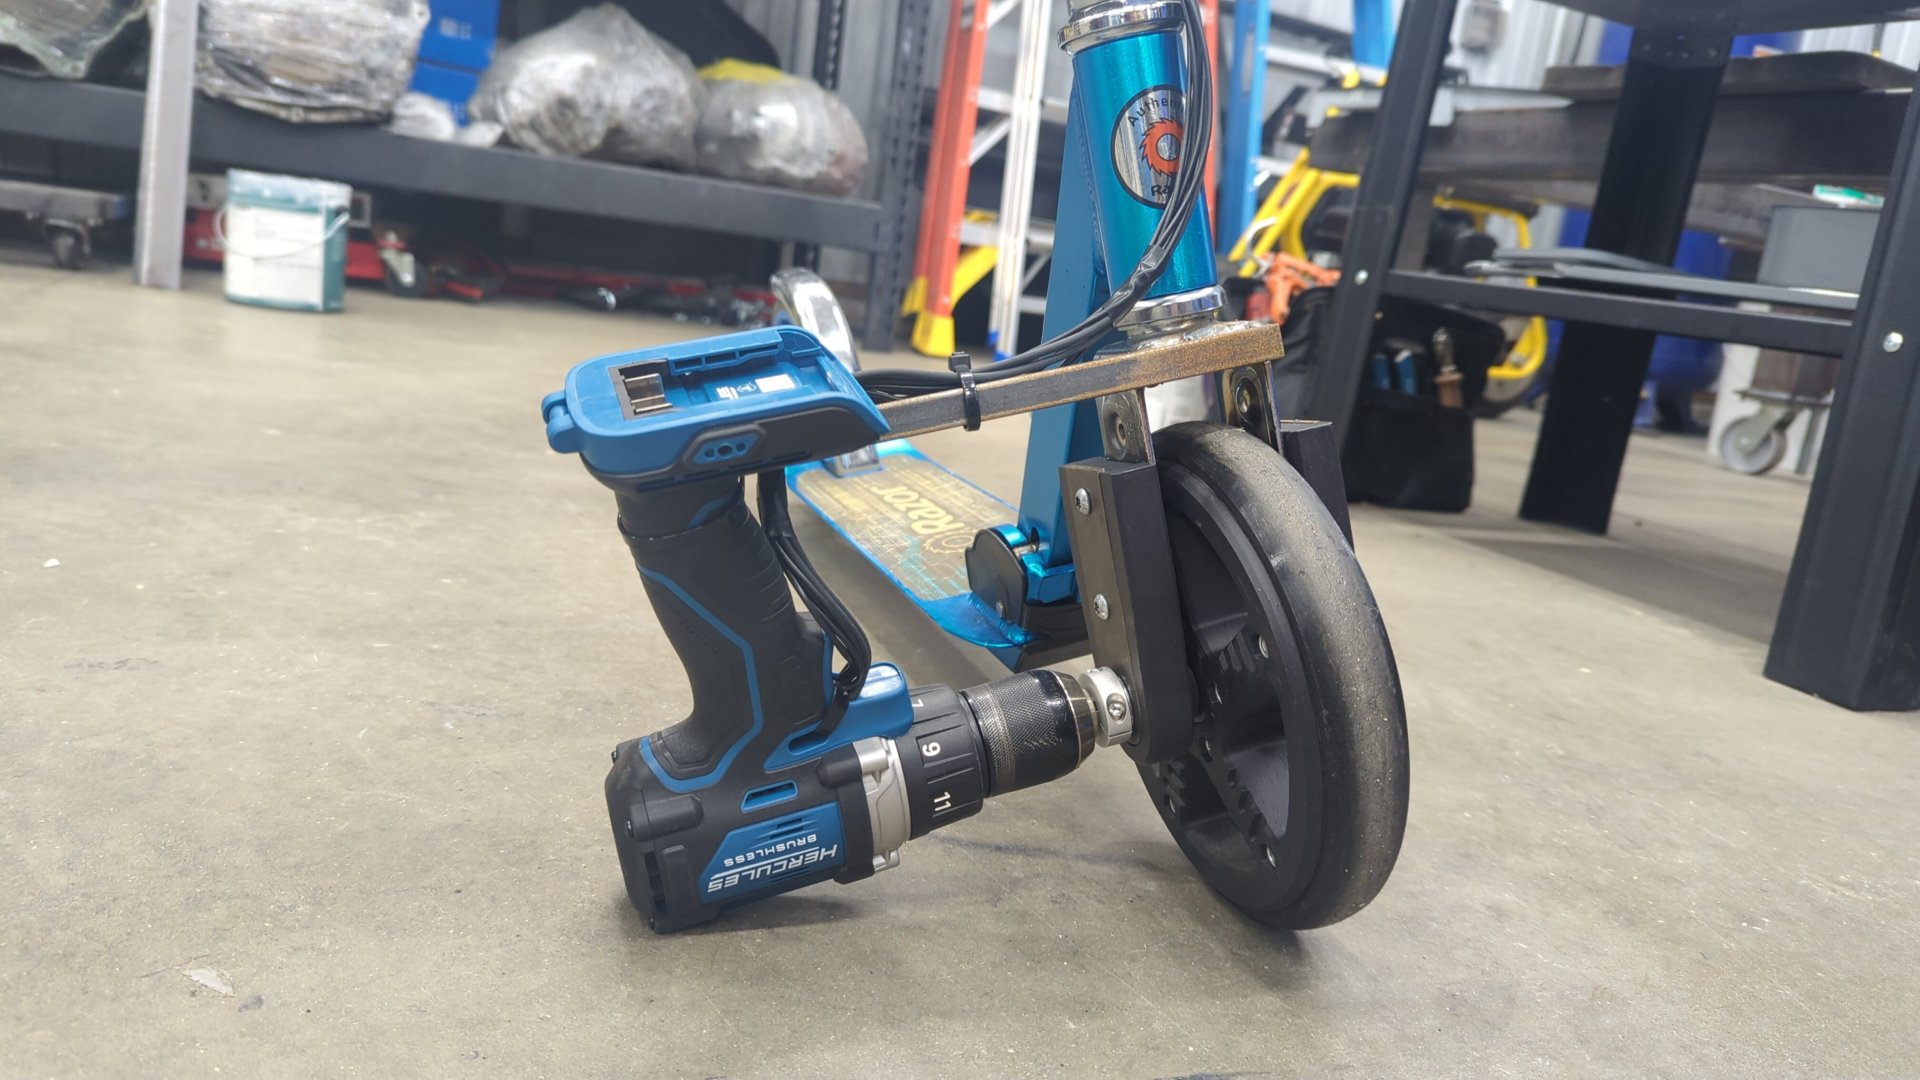
The drill is fairly loud and has way too much torque because it has be ran in the lower speed setting but it can top out at about 10mph with me onboard. It does slow down a bit when going uphill but the drill takes it like a champ.
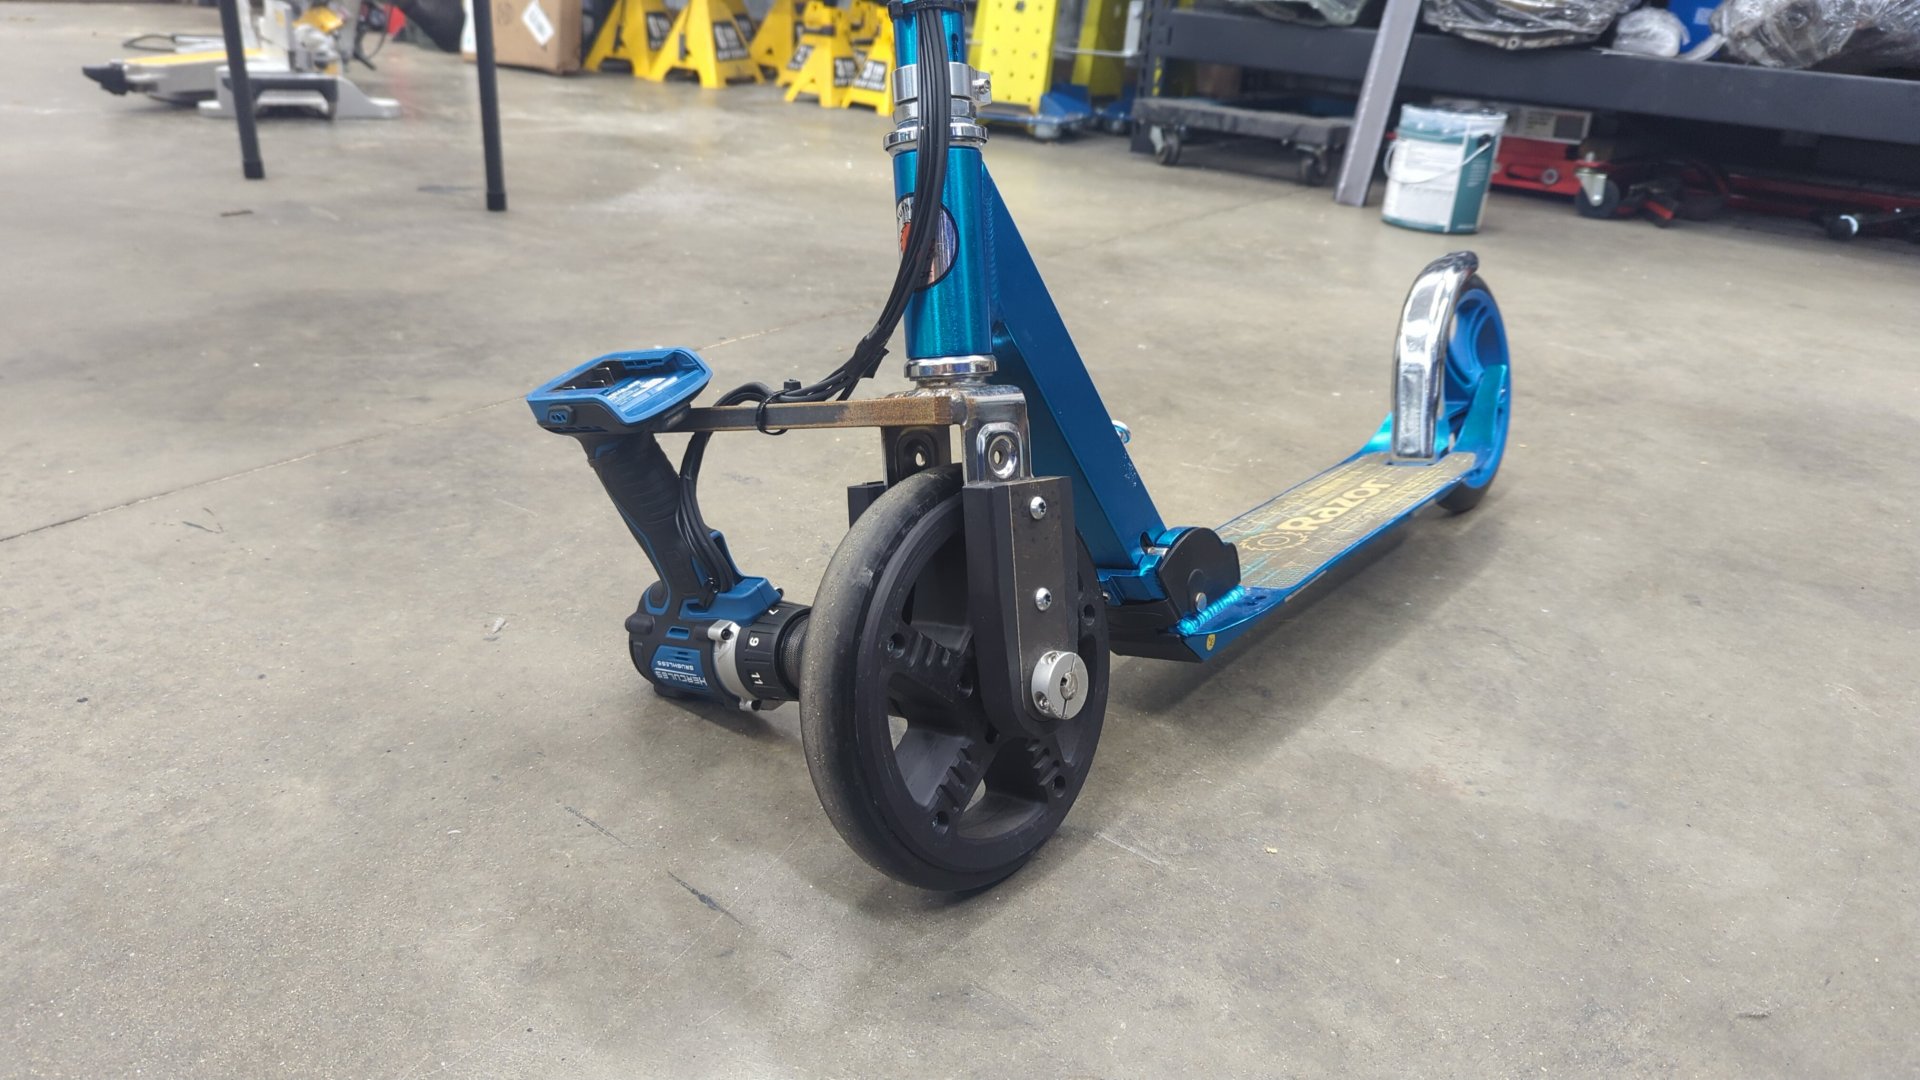
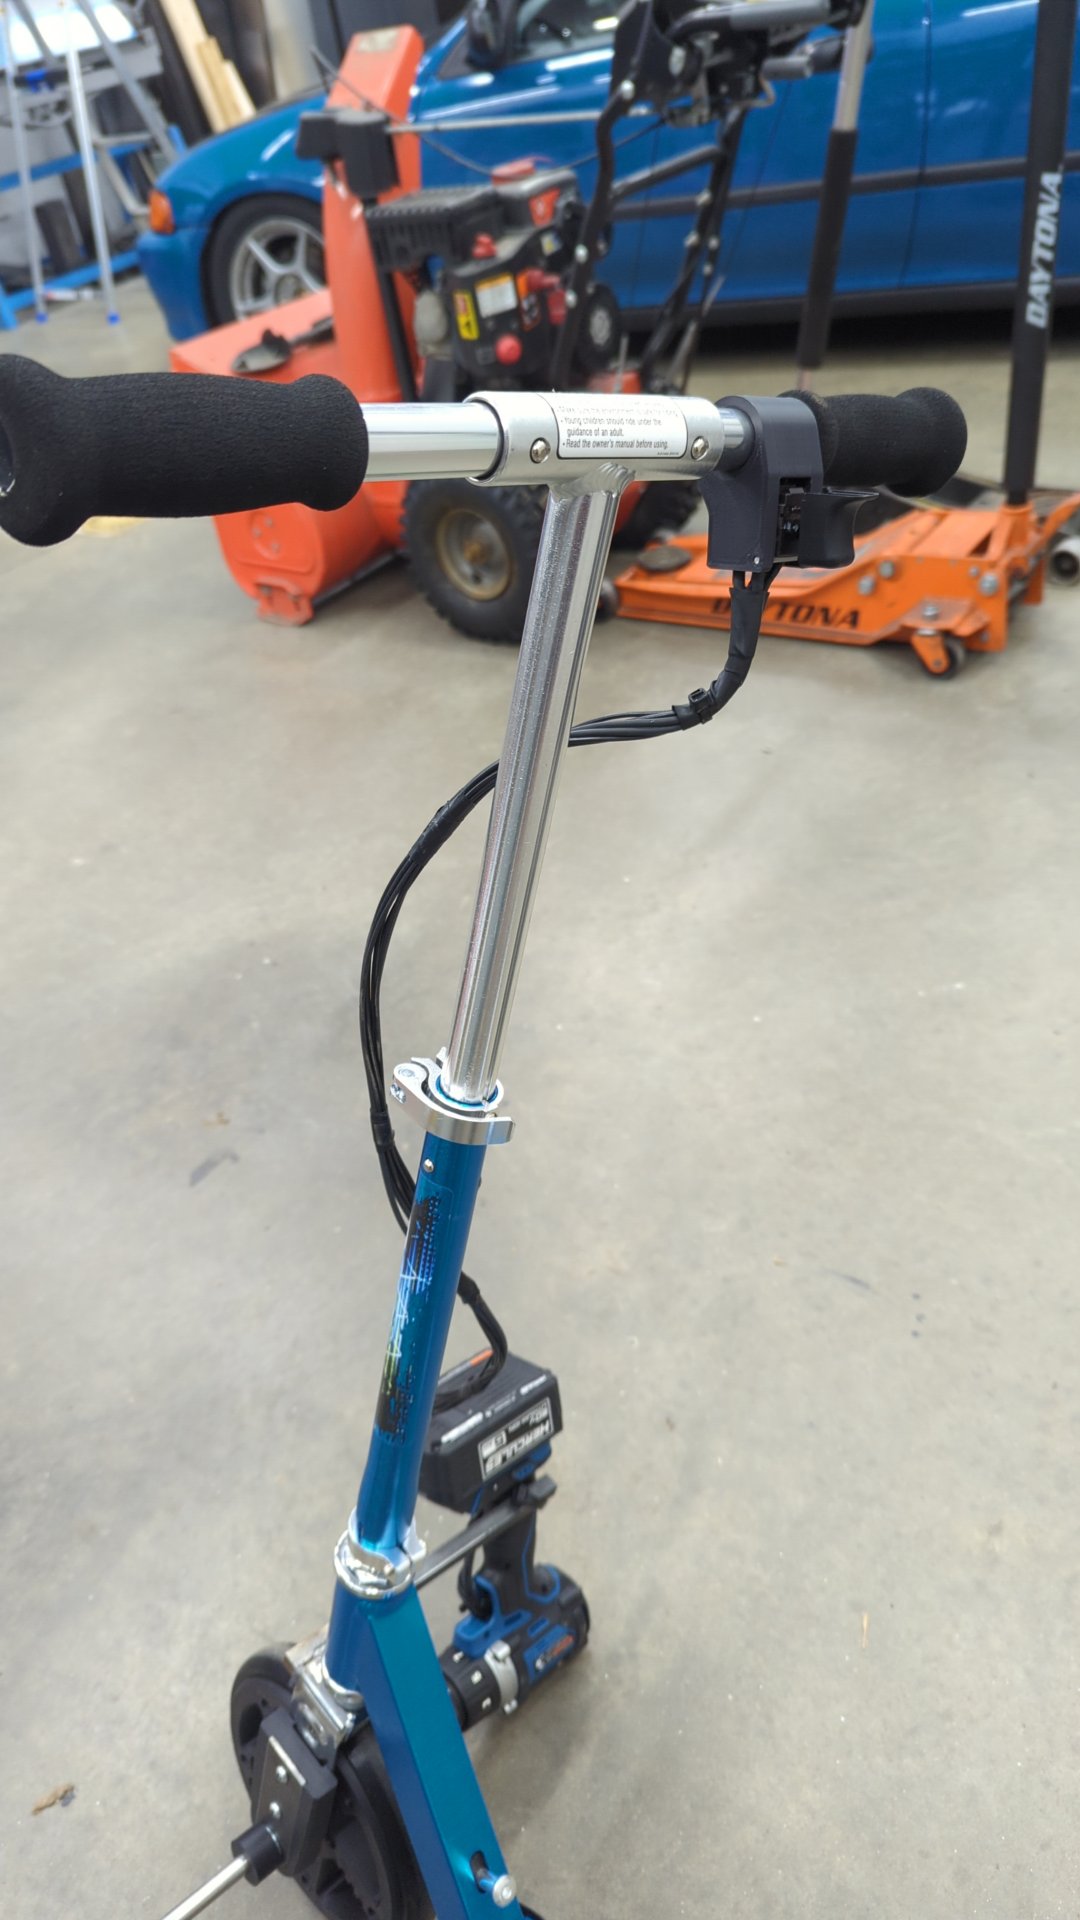
Throttle control is done via the original trigger that’s been relocated to the handle bars. The trigger is overly sensitive with minimal ability to feather in since it was never meant to be used in a scooter so when you first begin accelerating the scooter will do a little burnout until it gets up to speed. My usual technique for riding it is to give it a kick push or two then switch over to drill power.
Battery life is actually pretty decent. A 5amp hour battery can get you about 2 miles of riding which isn’t bad since the drill is at full tilt.
Design And Assembly
I don’t have a lot of build notes or photos because I really wasn’t sure if or how this would all work. I kind of just went into it without much of a plan.
Rough list of parts used:
- (1) Hercules 20v cordless drill
- (2) CSK12PP One Way Dual Keyway bearings
- (2) 6201-2RS bearings
- (2) 12mm shaft collars
- (2) 4x4x12mm keys
- 1’ 1/16"x1/16" key stock
- (10) m6x30mm bolts
- (10) m6 lock nuts
- 200mm 12mm keyed rotary shaft
Relocating the trigger was harder than I anticipated. It wasn’t too difficult to open the drill (the hardest part is removing the left hand bolt holding the chuck in place) but I didn’t expect the trigger to have so many wires!
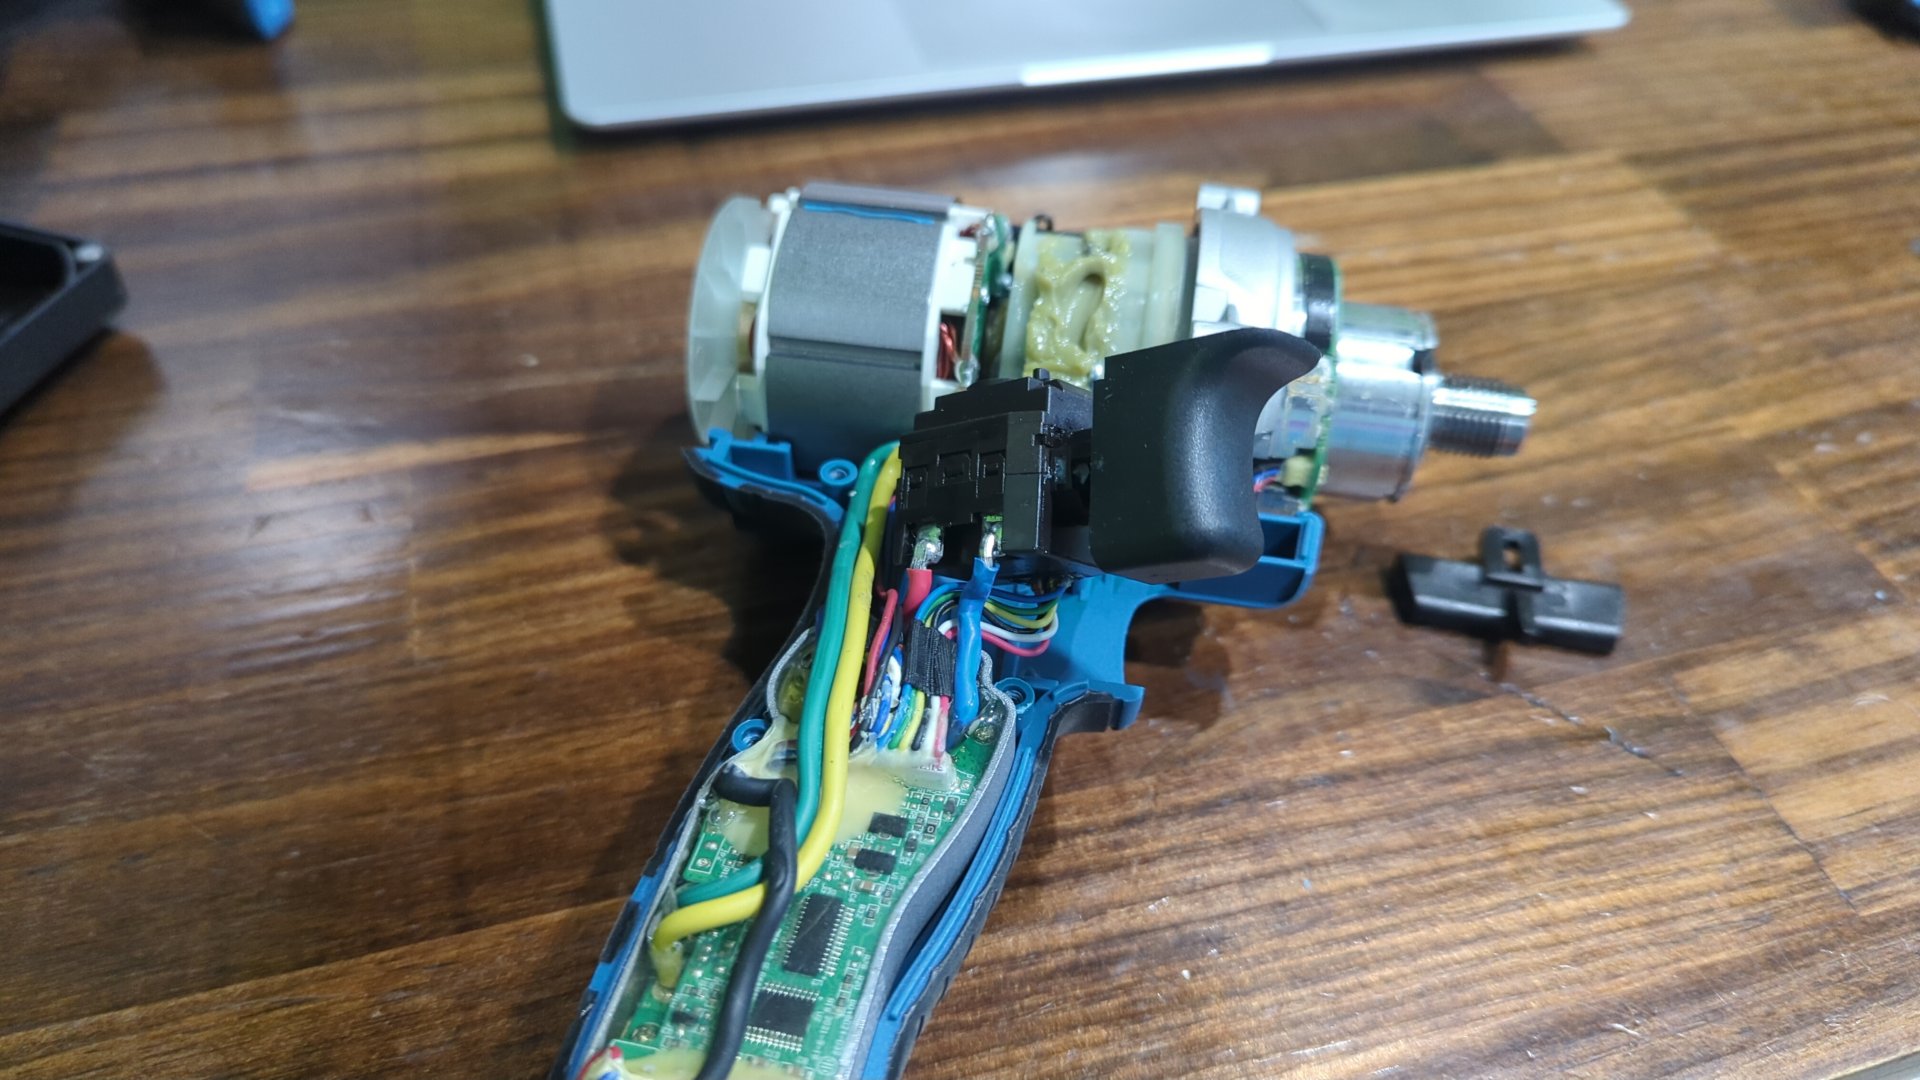
Each wire had to be cut and extended using some 12awg and 18awg wire I had on hand.
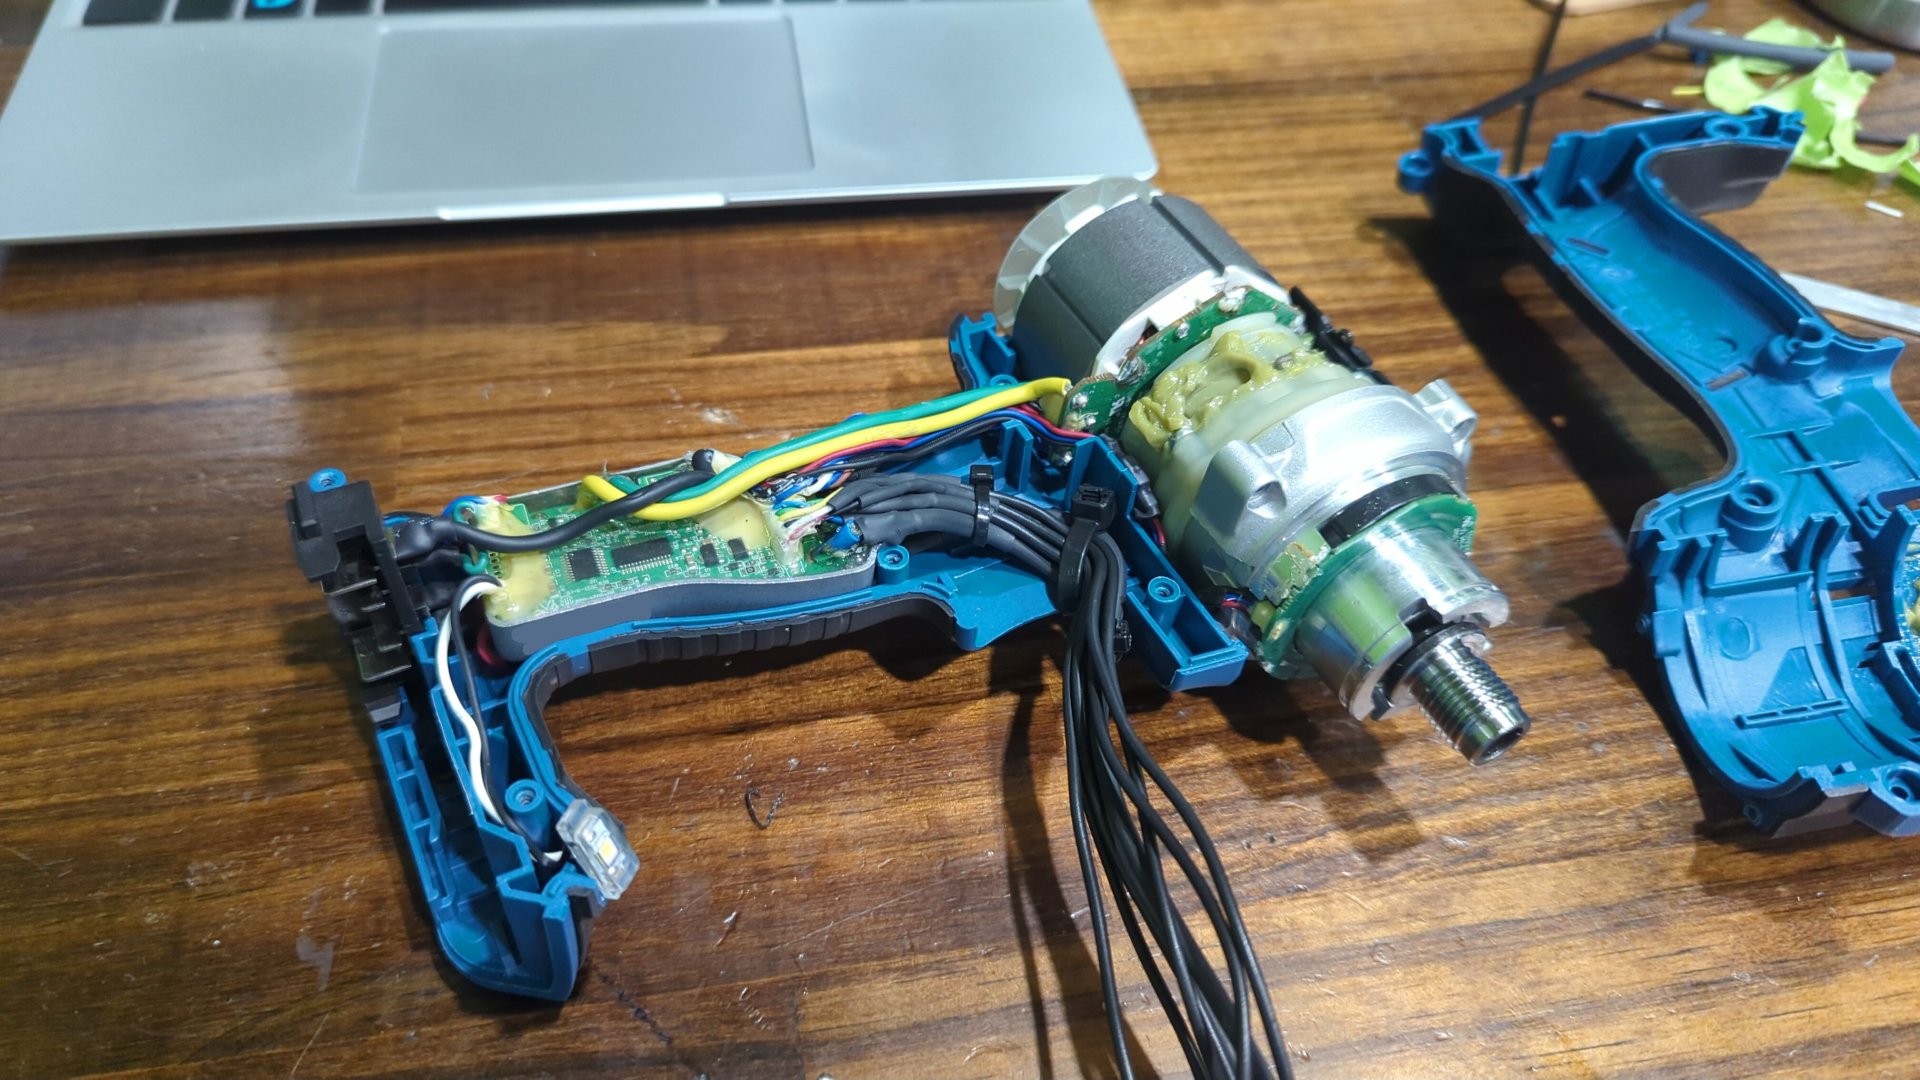
I really should get some wire loom to protect them at some point but I’ve decided to embrace the jank for now.
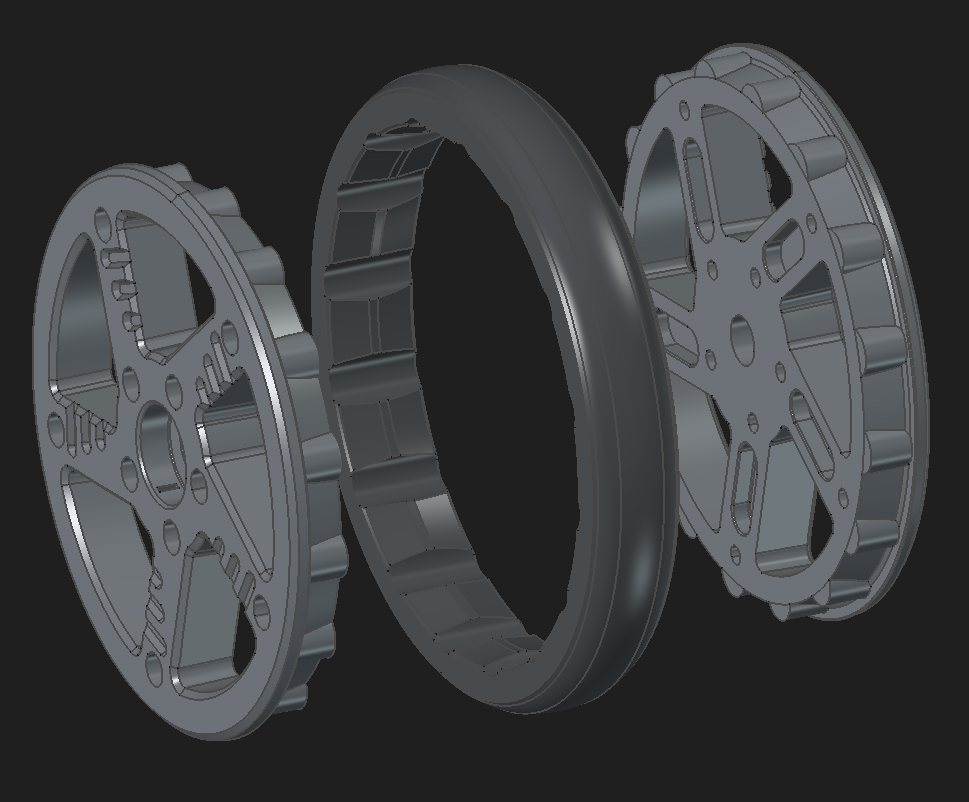
While designing the front wheel I had some fun over engineering it by 3d scanning my scooter.
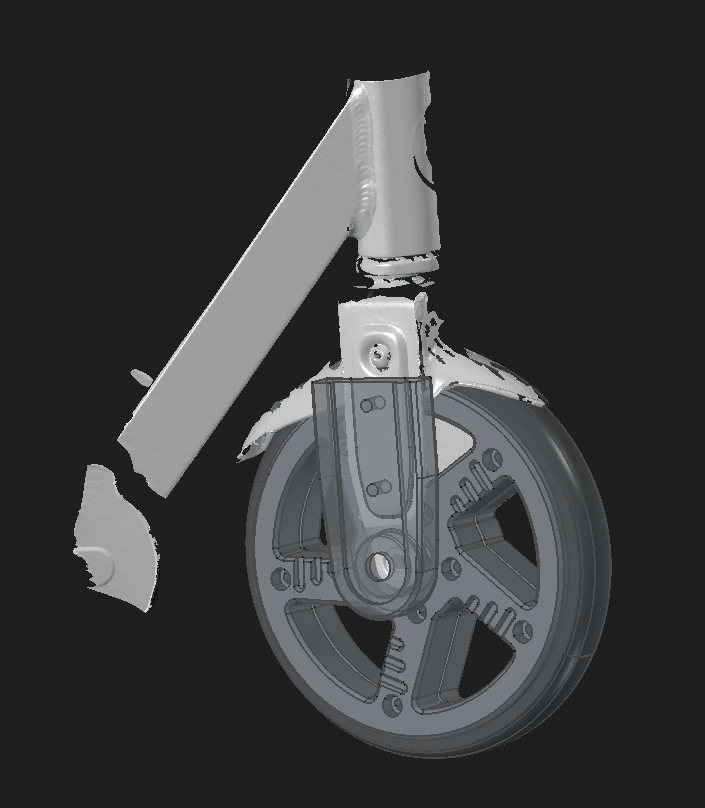
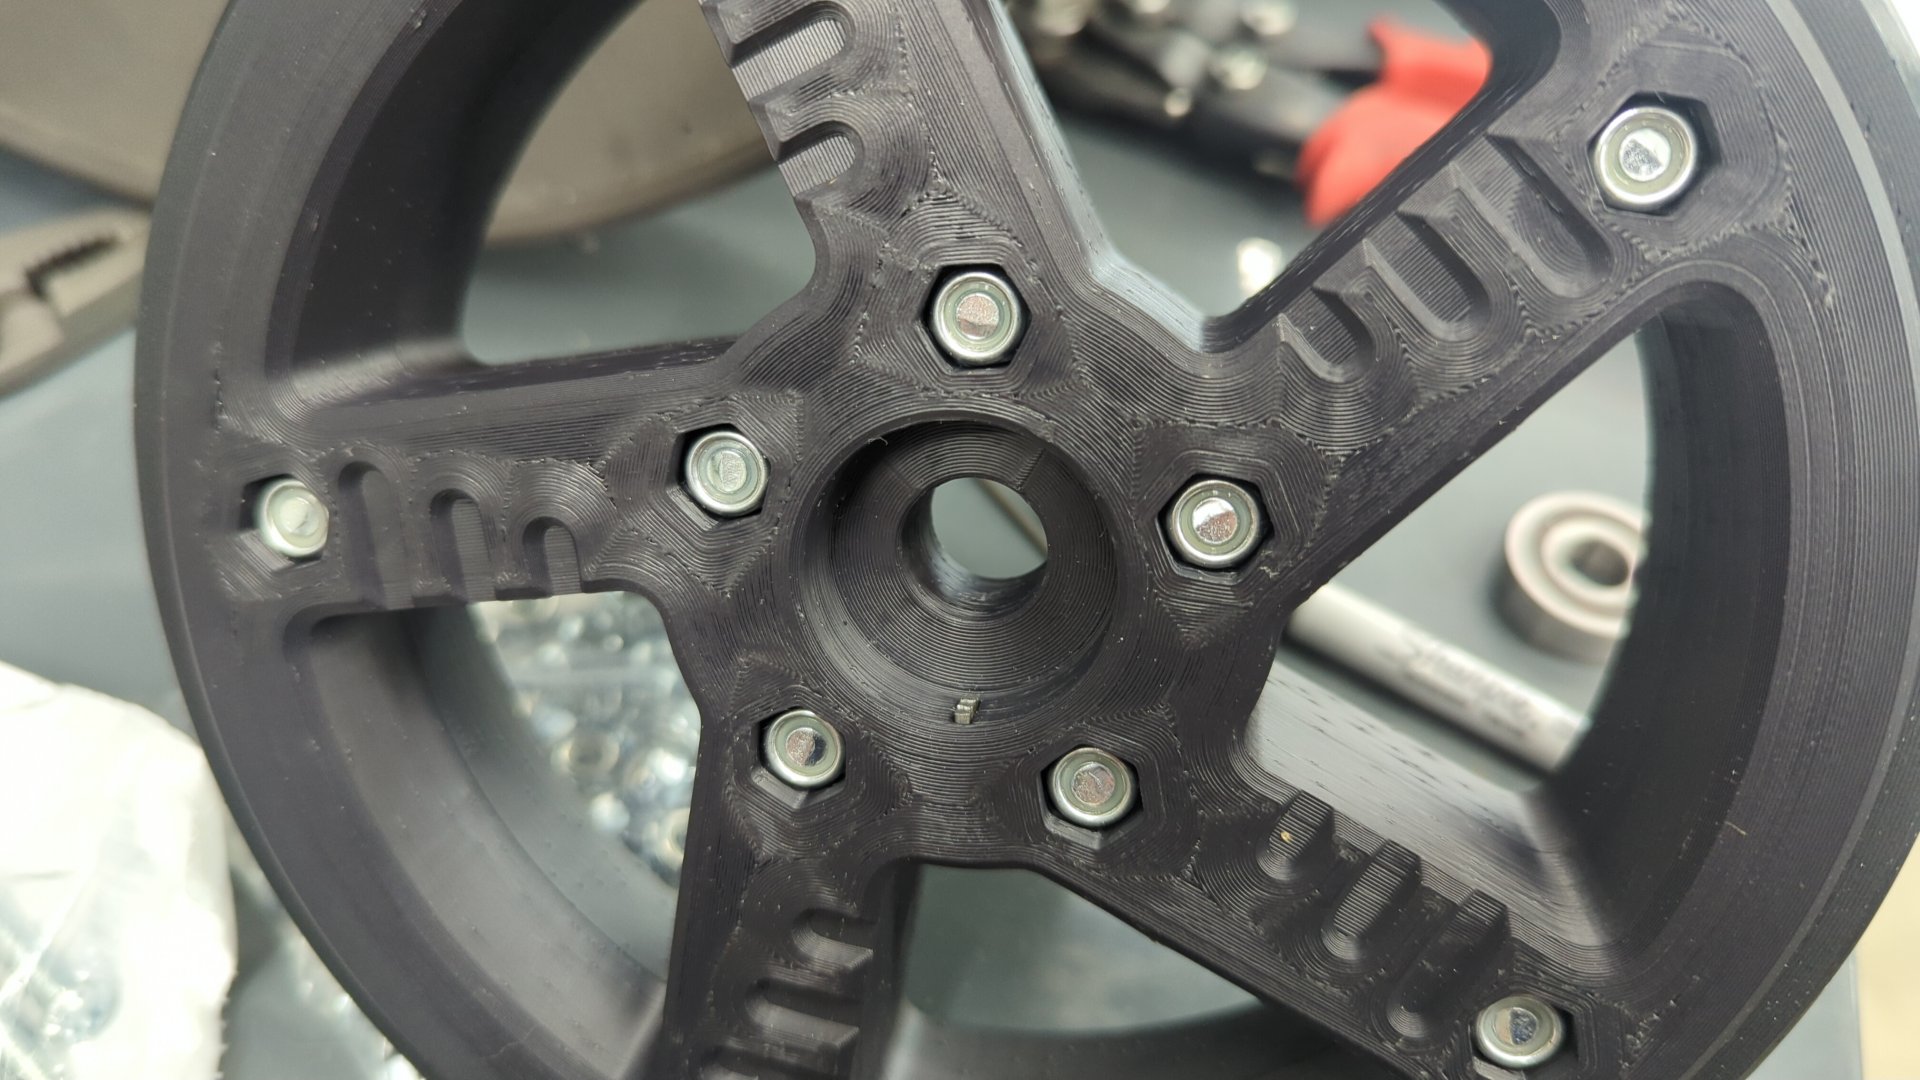
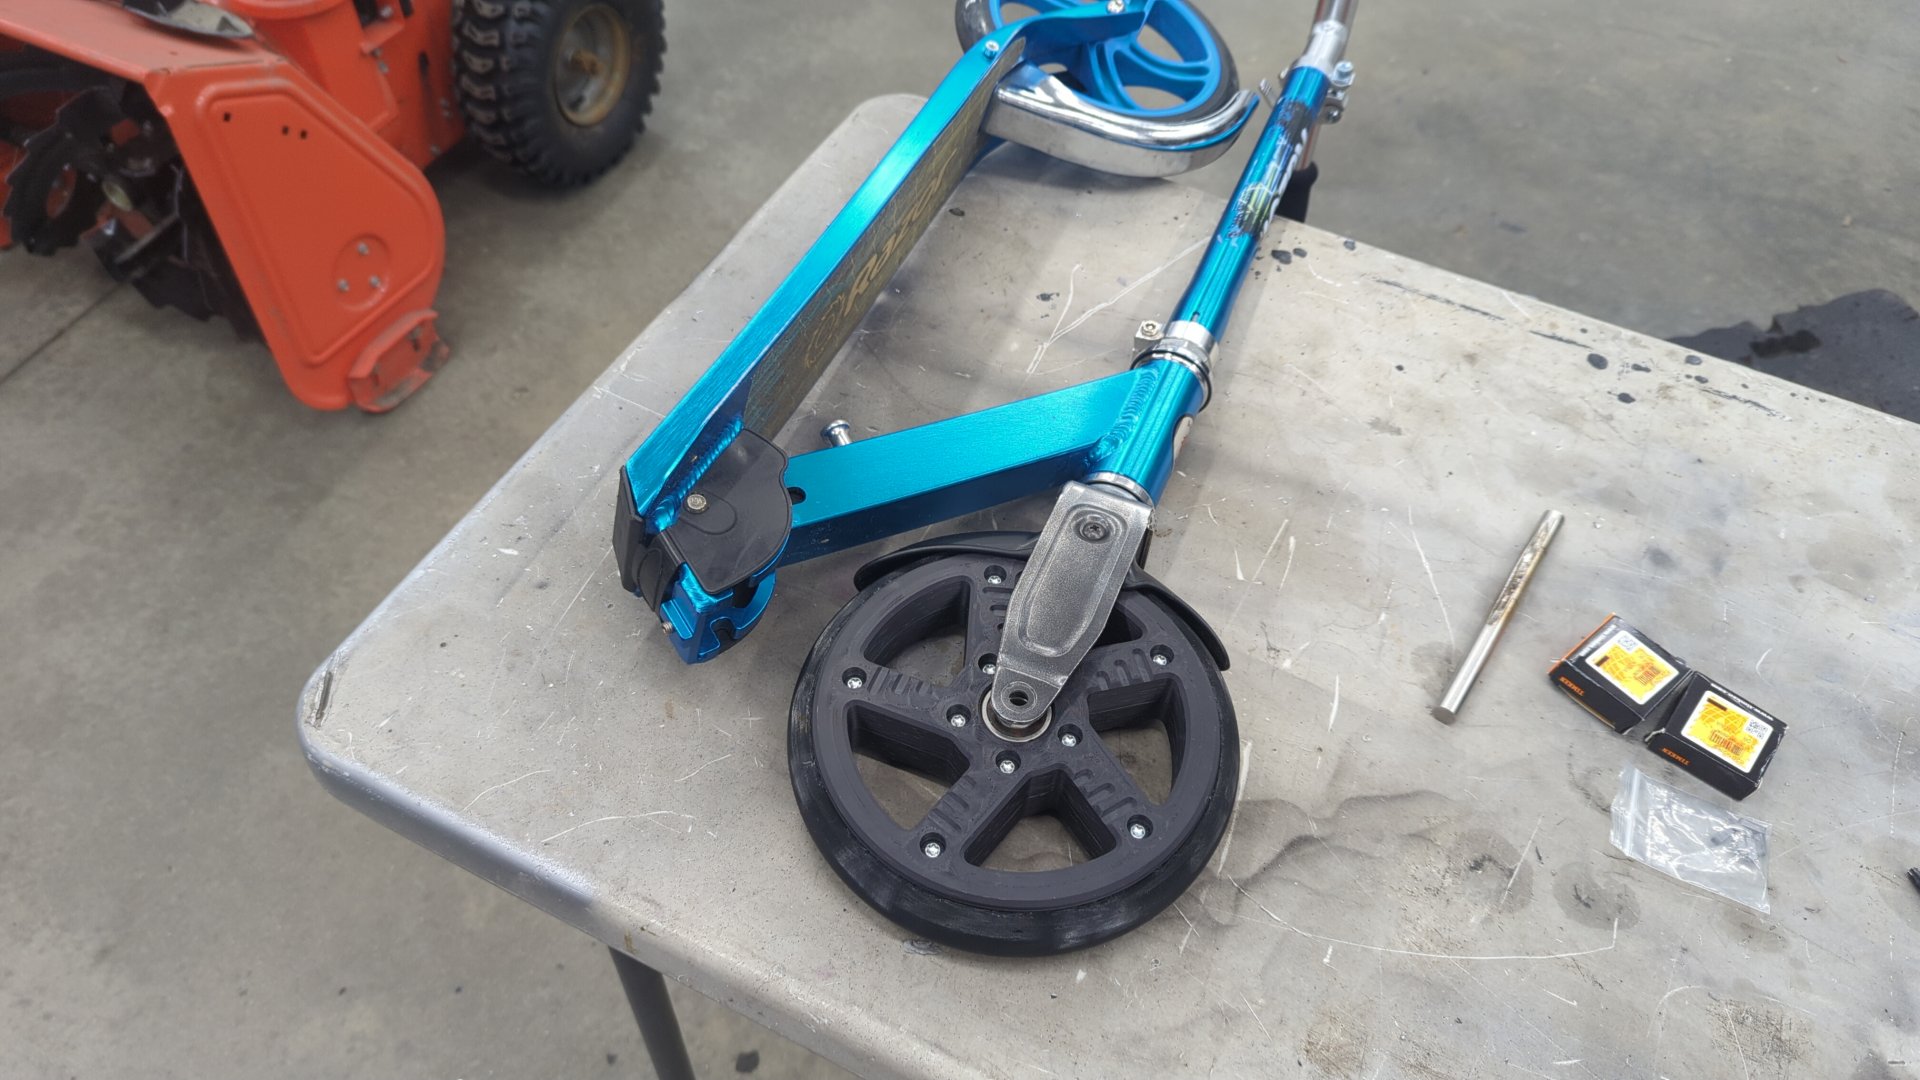
The wheel and tire are printed in 3 pieces with the wheel being made out of ASA and the tire is TPU. Each half of the wheel secures to the other half via 10 m6 bolts and nuts and 5 keys (one in each spoke). To ensure the tire couldn’t spin on the wheel I designed it to be a squish fit and also added teeth to the inside mounting surface.
Example of the key.
Bearings pressed in.
All in all a fun project. I didn’t save any money building this vs buying an electric scooter but I had fun.